It’s What’s Up Wednesday again, you guys! Only two more days until the weekend!! If you don’t count today, that is. I never count today when I’m waiting for the weekend 🙂
So, let’s just get right to it. Let’s talk about sanding. Everybody grunt in unison, now. UGH. It’s the worst, I know. I could make this a real short and sweet post and just tell you that “sanding sucks.” The end. That would be the truth, right? But, that’s not the WHOLE truth.
There is A LOT to know about sanding. I don’t even know enough to scratch the surface…<—did you see what I did there? So I am not going to claim to be a sanding expert. (For real, who would want to be a “sanding expert”? That’s like being the safety guy/girl at work. Everyone already knows you SHOULD do it, but no one likes the one who enforces it.)
But, has anyone ever told you that sanding is totally WORTH IT? Really, you ask, is it REALLY worth it? Is it worth the sawdust in my hair and wearing a dust mask in 100 degree weather? YEEEEEES, I promise. I will show you.
Now, I get it. I ignored sanding for a long time. I thought it was mostly a waste of time. It’s a dirty, time consuming, and sometimes difficult job. I assumed it wasn’t worth the hassle. I mean, I buy 2xs and 1xs at the lumber yard. They’re already PRETTY smooth to begin with. The difference would be minimal, but the effort would be great. I thought, it was surely a “non value adding task.” So, I know the struggle.
But the truth is (and I hate to be the bearer of bad news), sanding really does make all the difference. Dang, I know right? Not what you wanted to hear. But now that you know the truth, it’s time to live by it. These are the general “rules” I have adopted based on my own experience lately (or sometimes lack thereof).
NOTE: This post contains affiliate links. Please see disclosure policy for details.
1. Sand raw wood prior to assembly.
No, I don’t ALWAYS do this. Should I? Probably. I especially always try to sand my 2x material because it’s typically made for building houses and things, so they don’t take great care to get them smooth before you buy them at the lumber yard. Not sanding them could get you a nice pretty splinter like I have in my hand right now. Plus if you are making furniture, you want it to be nice and smooth and not look like building lumber.
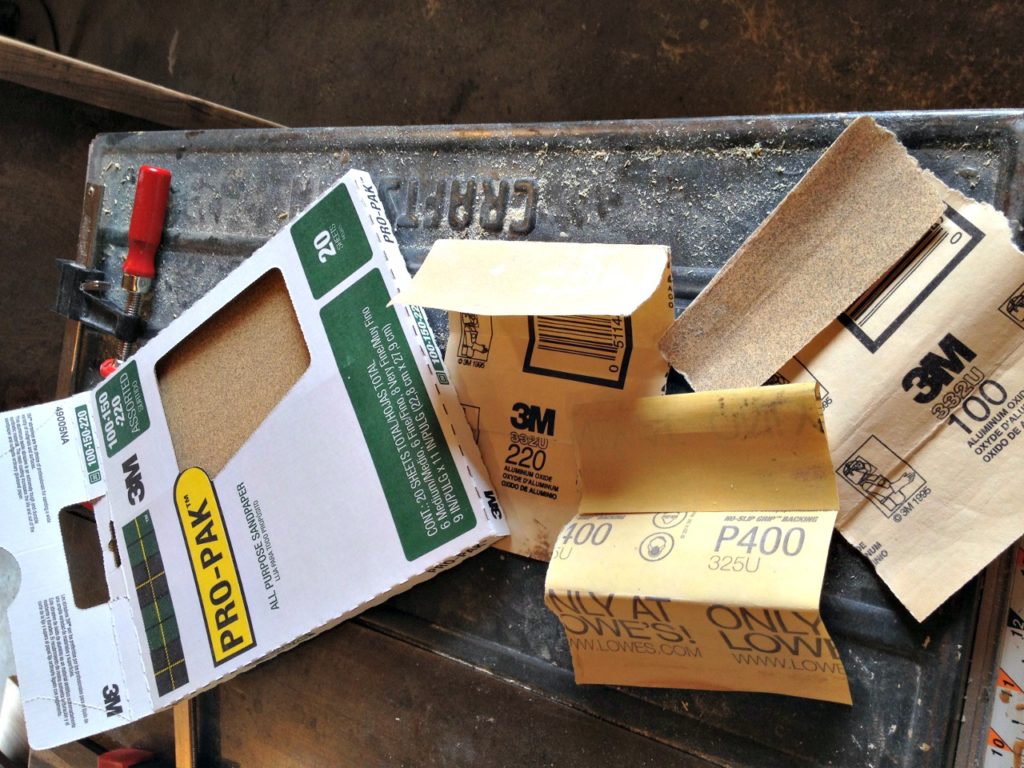
Sometimes I use the belt sander with an 80 grit belt, and sometimes I sand by hand–depends on how rough the lumber is. I typically buy an assorted package of sandpaper to keep on hand for hand sanding.
1x material is USUALLY pretty smooth to begin with, but a good sanding never hurt.
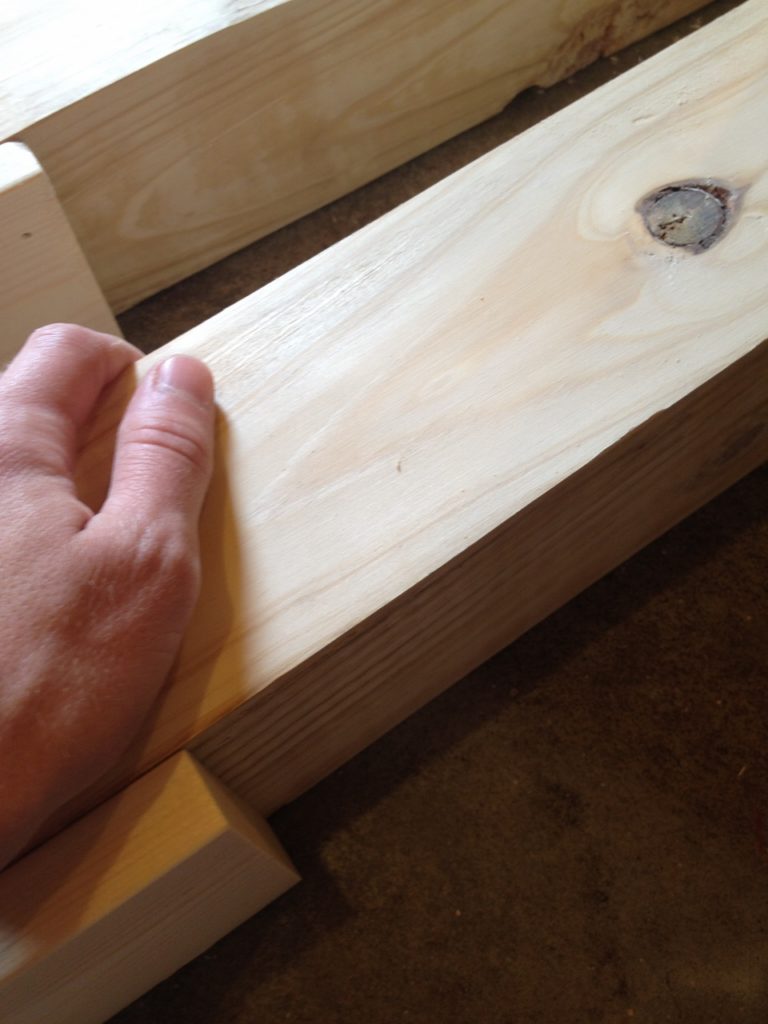
But, do you want to know what was life changing? What made me really understand why this is important? Buying untreated 4x4s at the lumber yard. UGH.
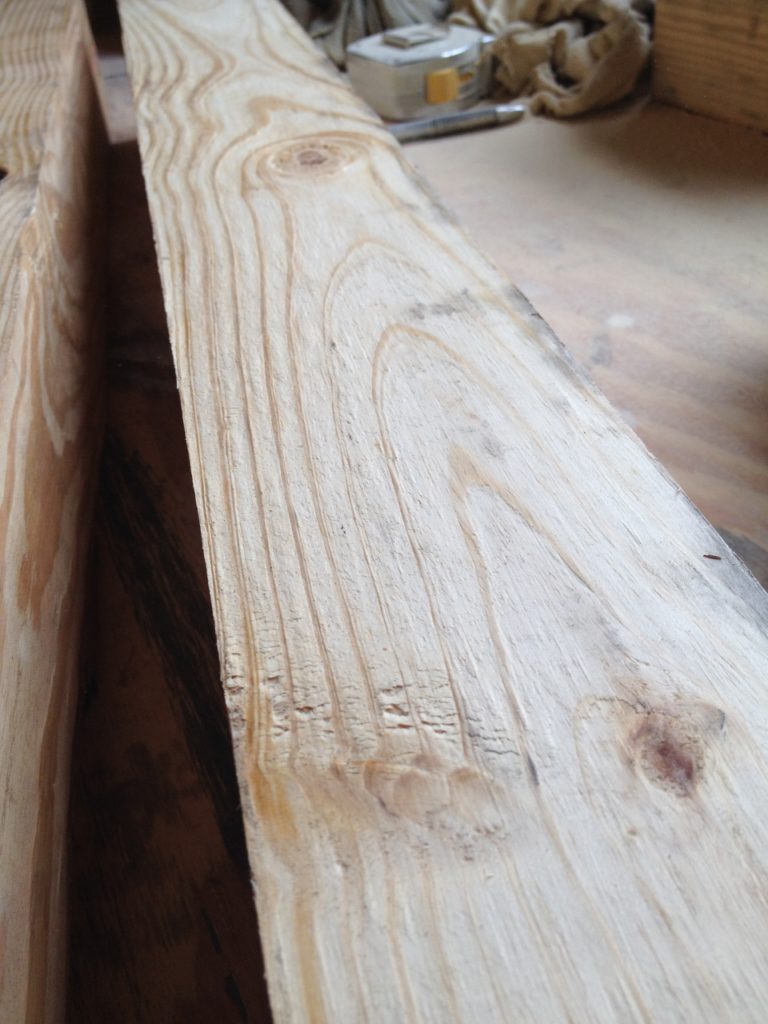
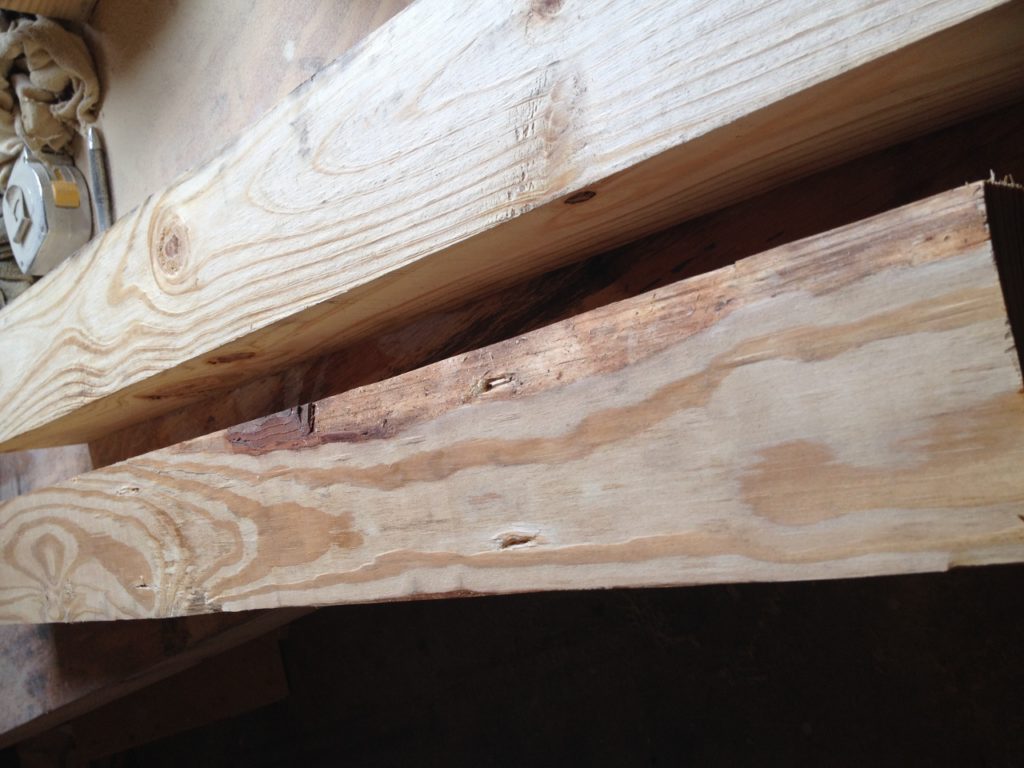
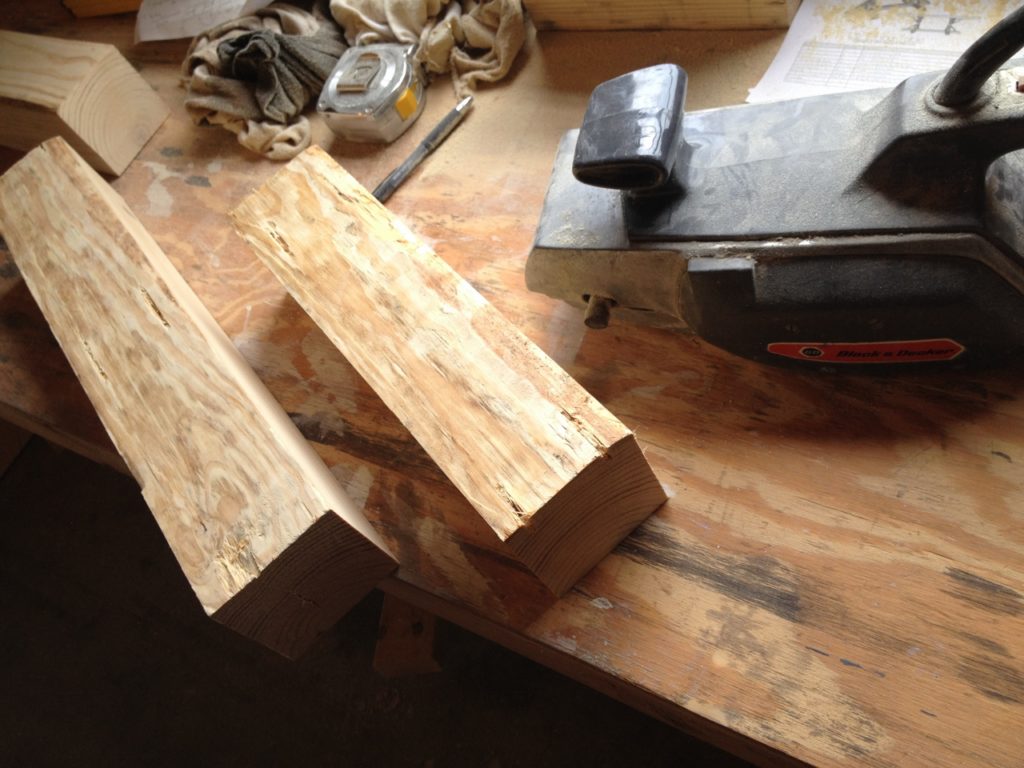
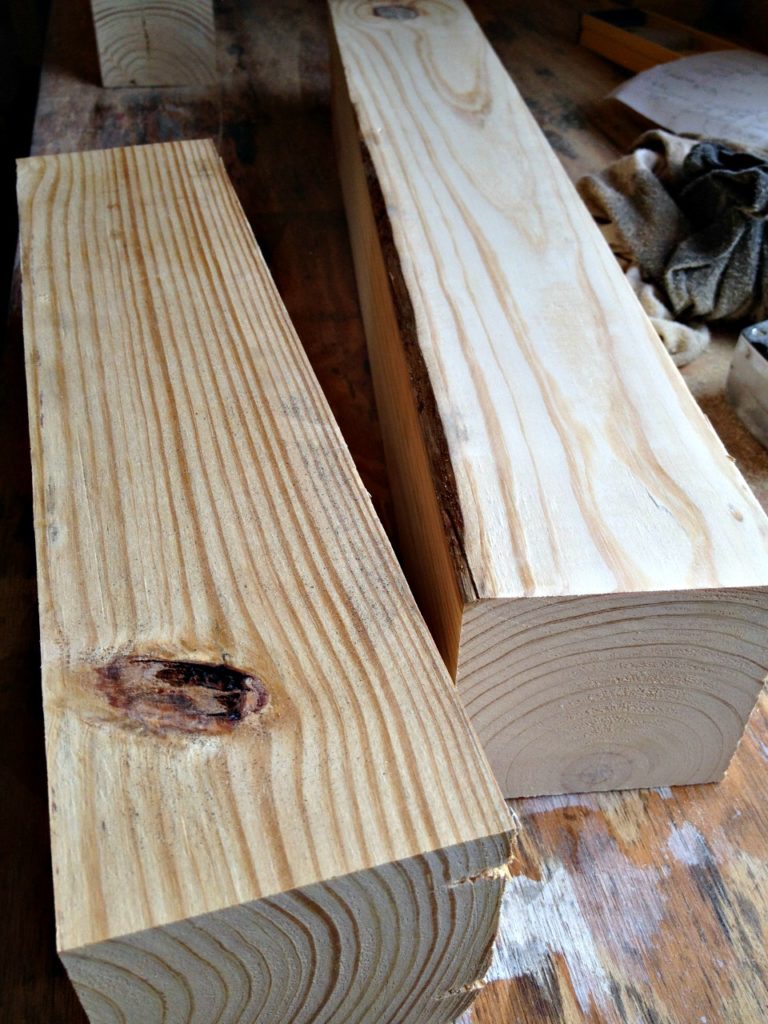
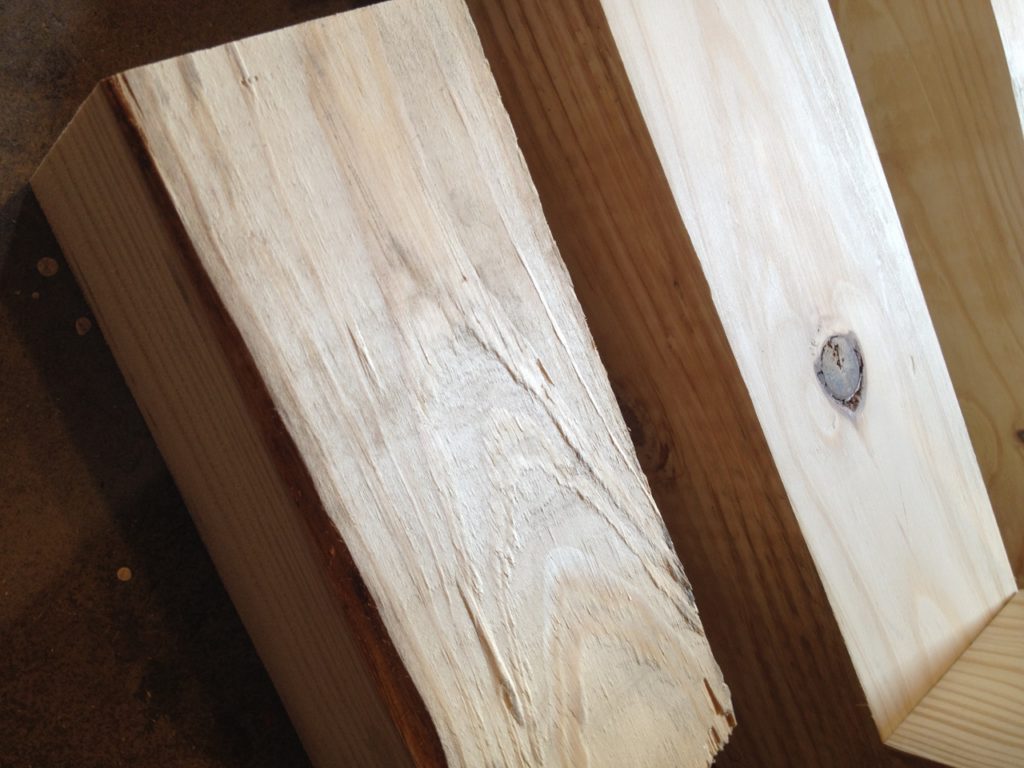
I bought a couple untreated 4x4s from the lumber yard for a project for a friend. They looked HORRENDOUS. Like for real, I almost cried in the parking lot of the lumber yard when I paid top dollar for a couple and they loaded them in the truck and they looked awful. So when I got them home and in the shop, I cut them to size and grabbed my belt sander. I figured before I cut my losses and just burn them, I might as well try a thing or two.
And I’m glad I did because, just look at them now. (Left-unsanded, right-sanded)
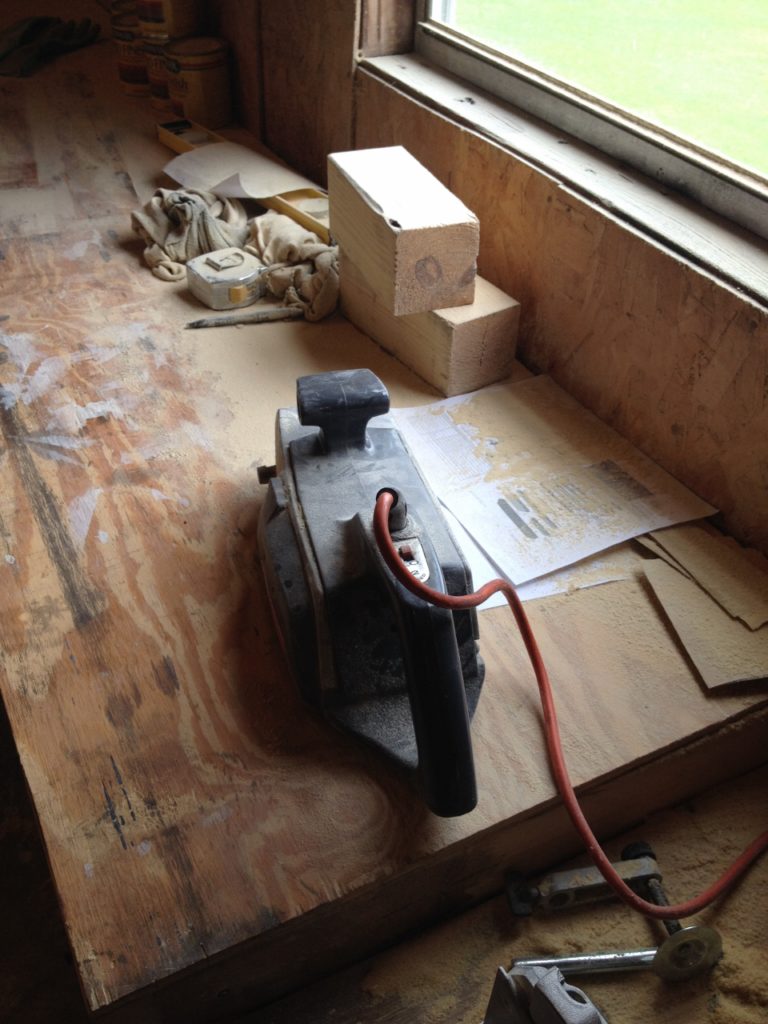
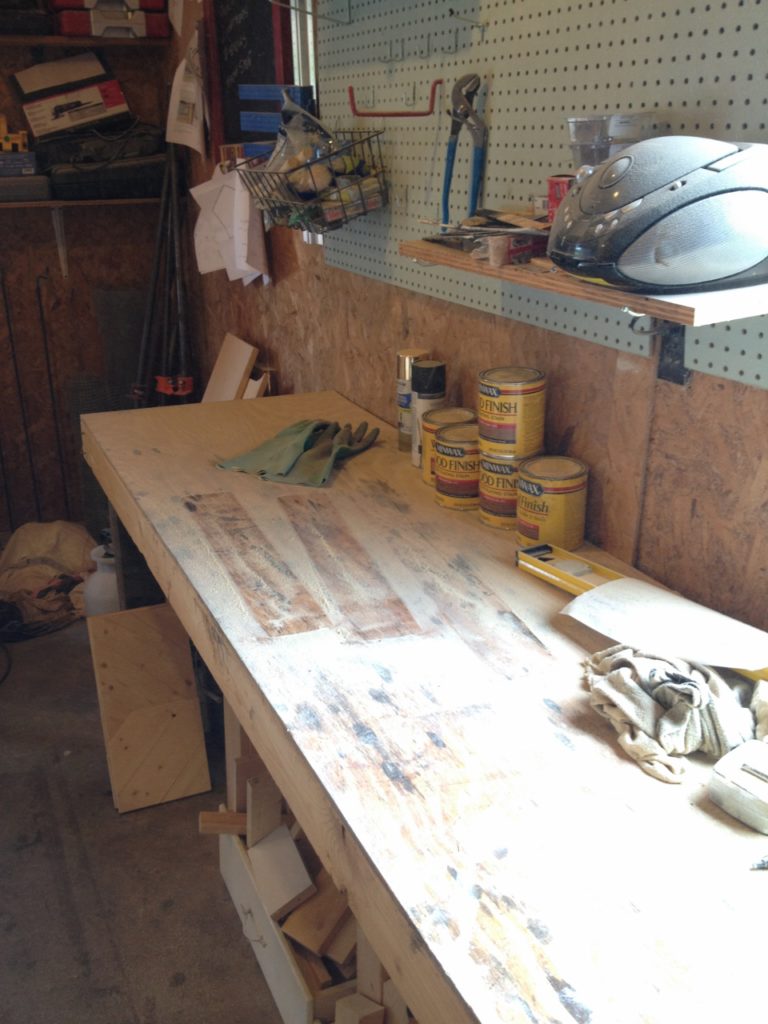
Now, you can see the mess, too. Sanding is definitely messy.
But it was TOTALLY WORTH IT!
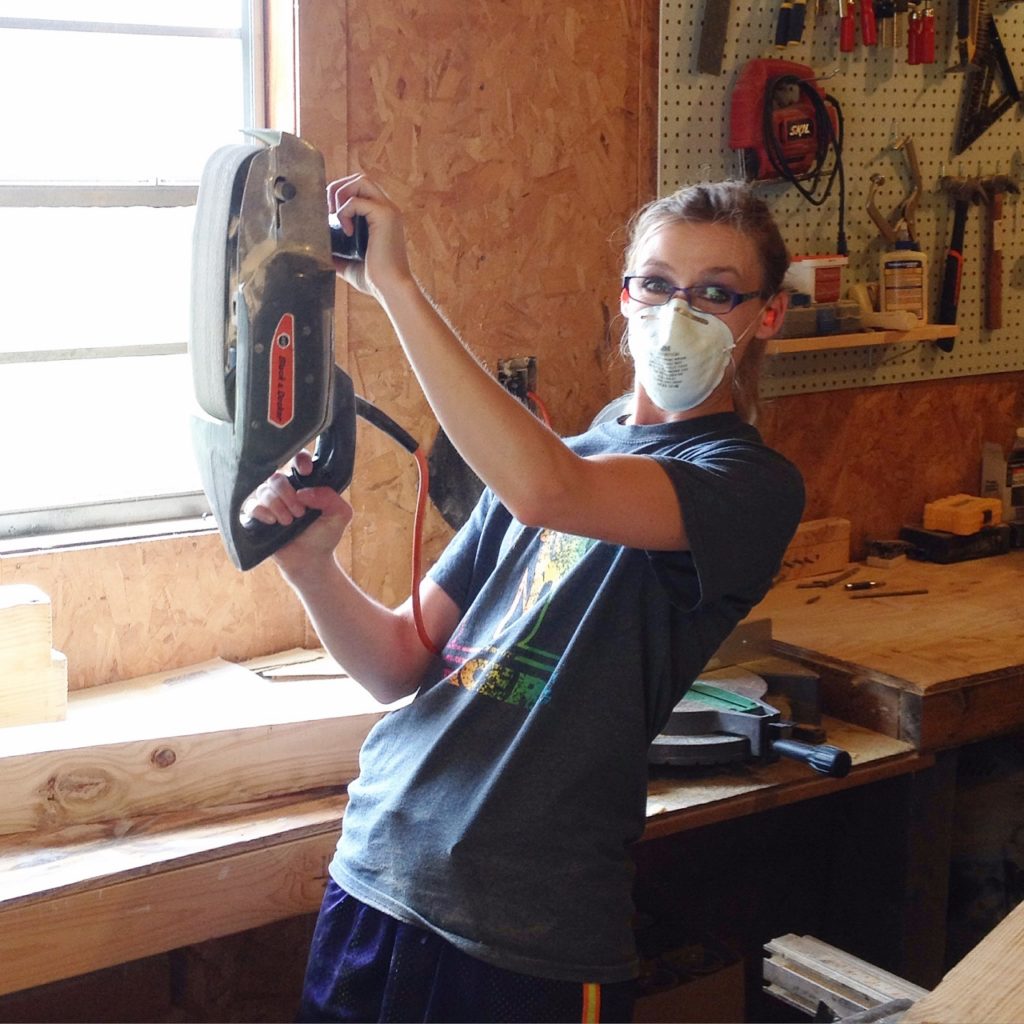
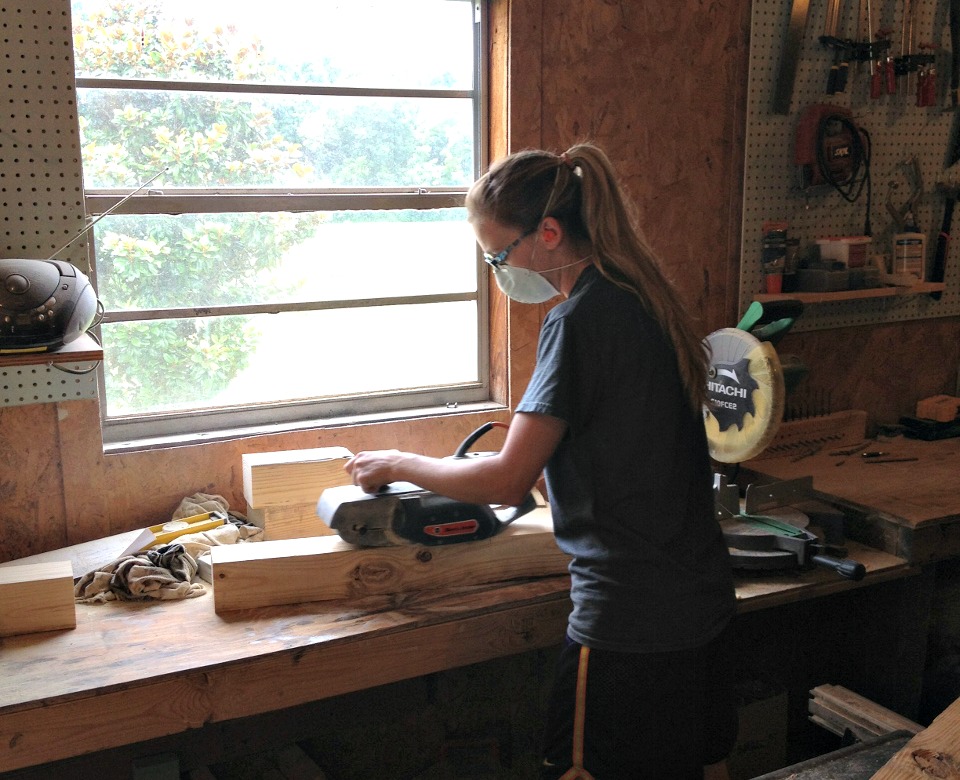
This is me sanding….
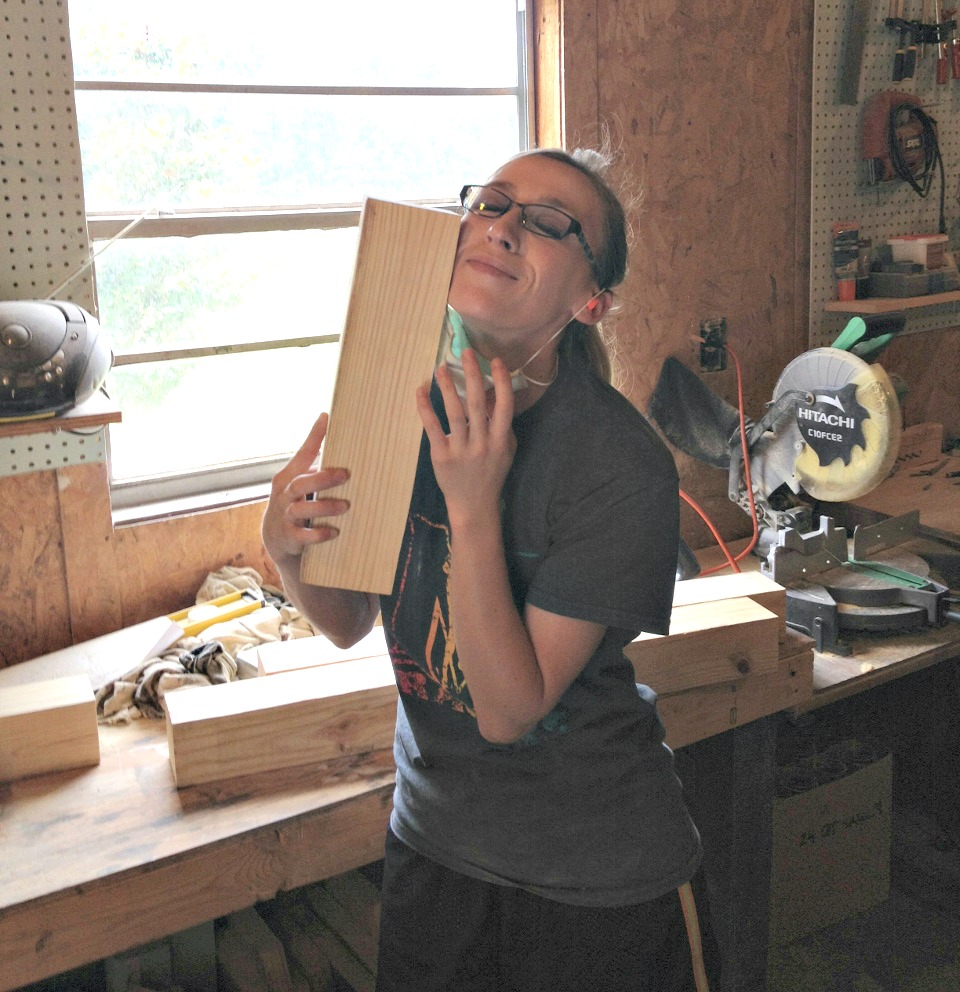
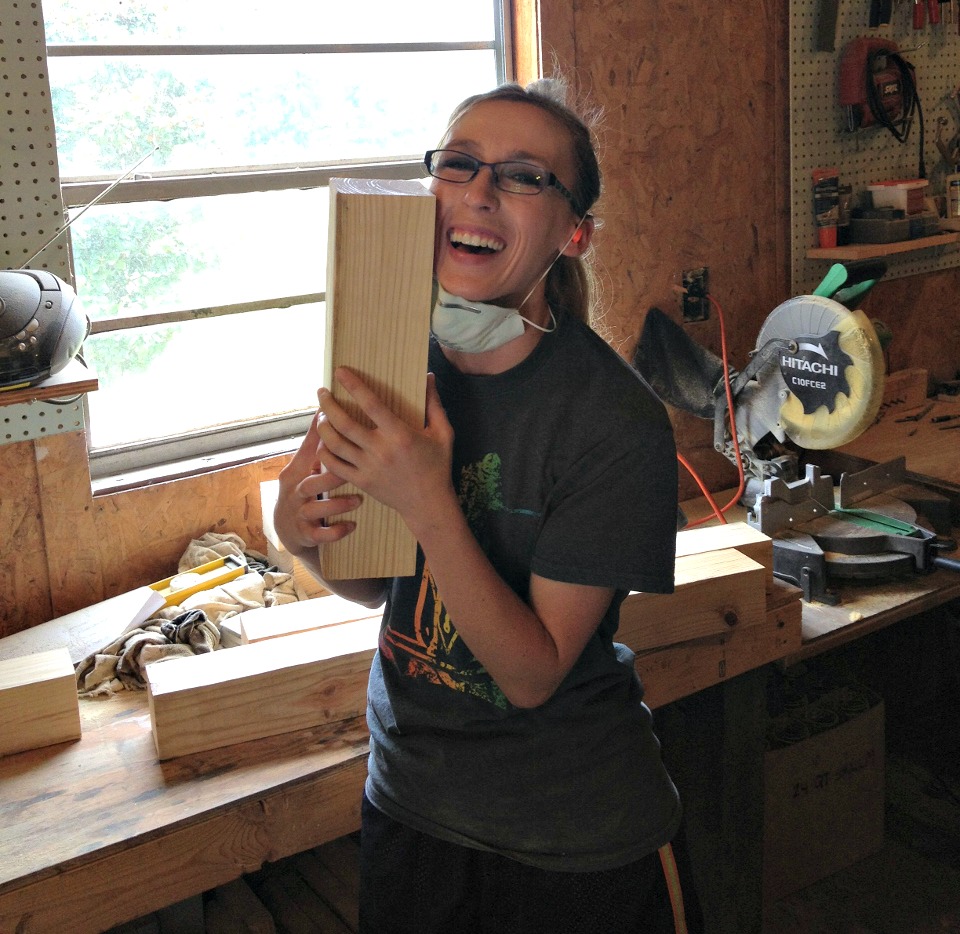
See? They were “rub my face on it” smooth!
What’s sad, though, is that it took me this long to take sanding seriously. So SAND YOUR RAW WOOD (especially 2x and 4x material) before finishing. Before assembly is even easier : ) I PROMISE you this makes such a big difference!
2. Sand after Poly
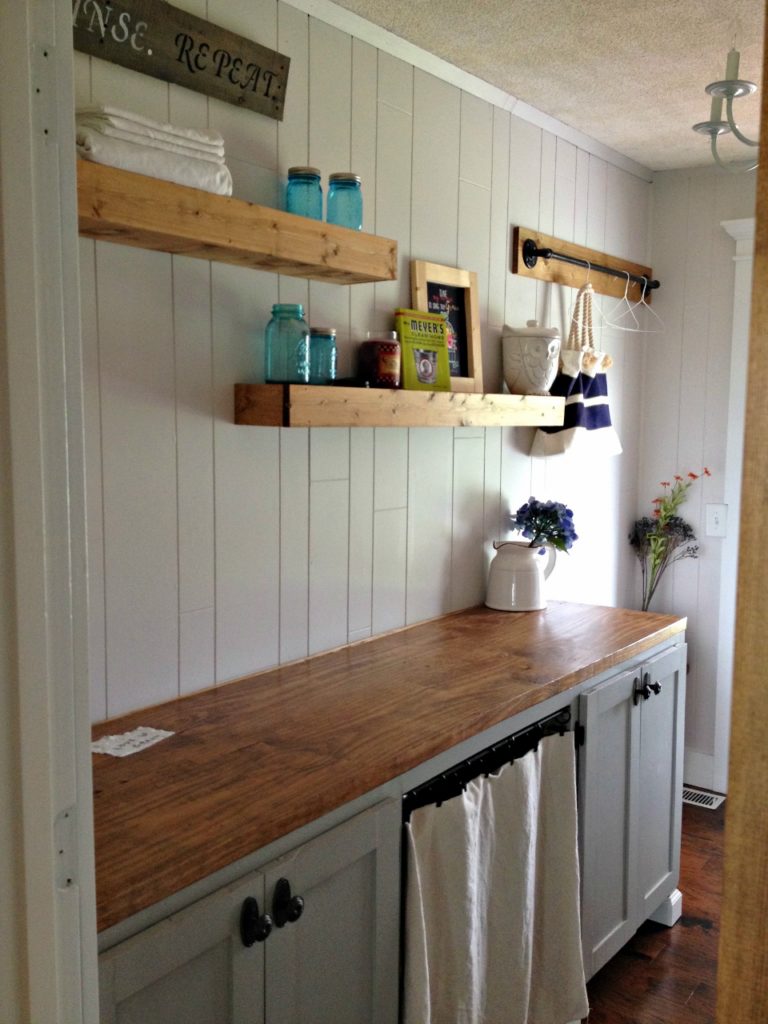
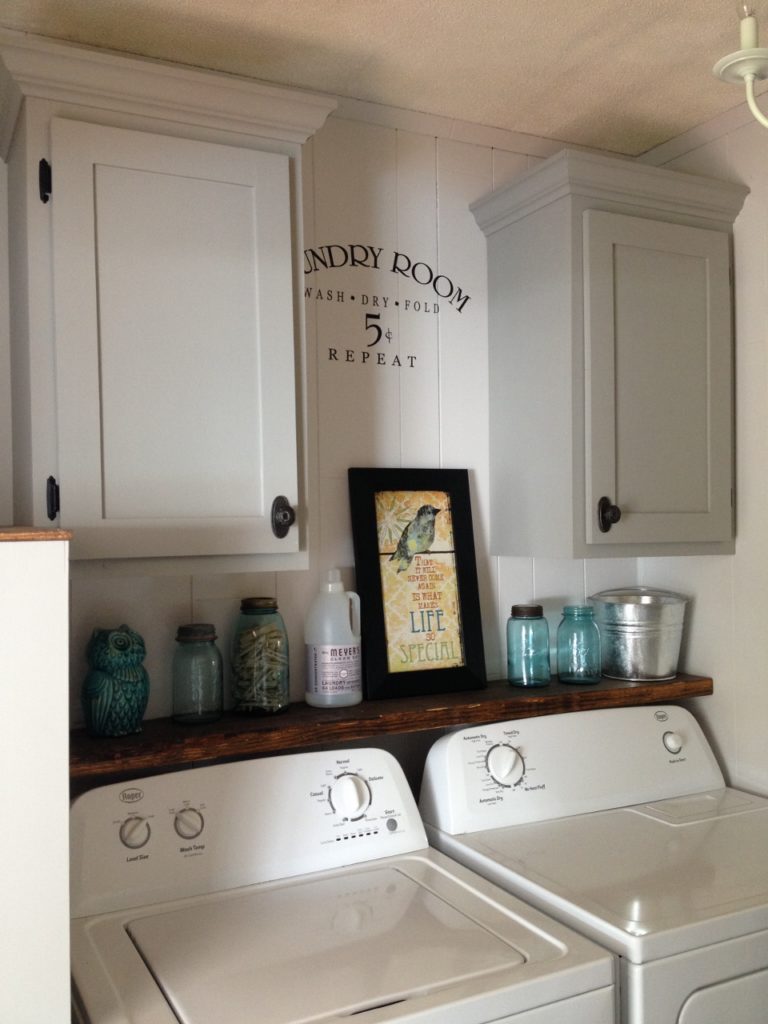
When I was making the countertops for my laundry room redo, I was putting Polycrylic on them in the shop.
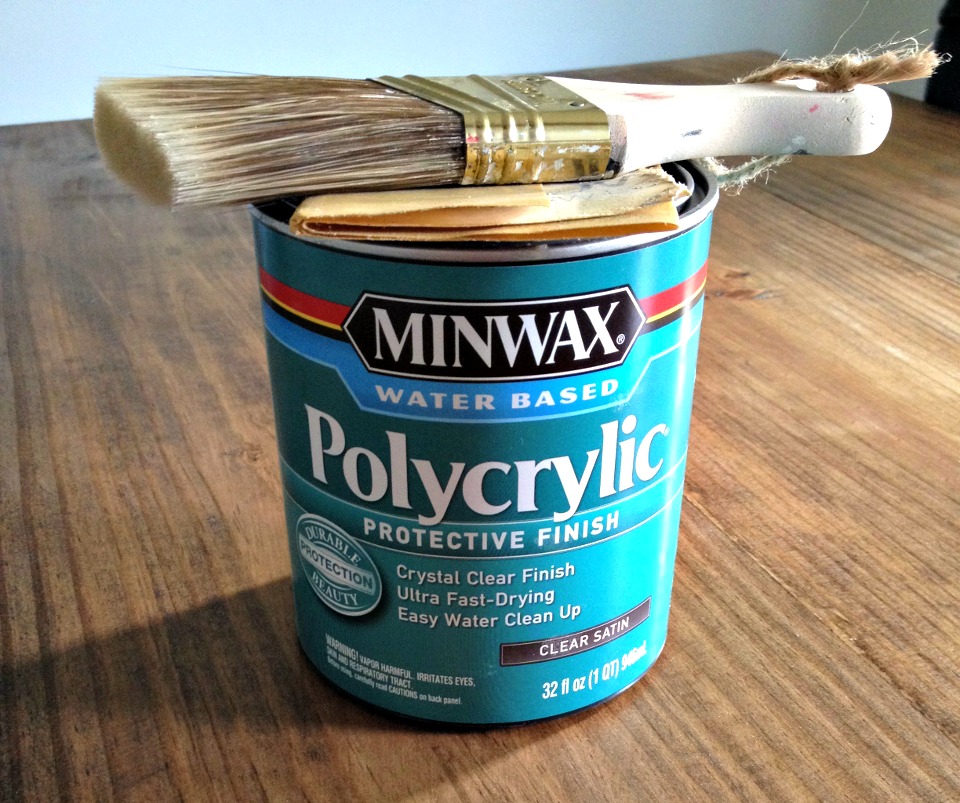
By the way, have you guys tried Polycrylic? IT. IS. AWESOME. Like it’s for real the best stuff ever. It’s a water based sealant that you can apply over stain (or paint if you want) and it’s super easy to clean up, no stinky smell, and doesn’t yellow over time.
There used to be a time when I thought poly was another one of those “non value added tasks,” but then I started editing pictures. I know what you’re thinking, where are you going with this? Sanding, poly, editing pictures? Are you on something? No, just hear me out. Have you ever edited a picture and adjusted the sharpness of the image? (I’m talking to you, Instagrammers) Polying after staining is like sharpening the look of your piece. It makes the wood grain look less “fuzzy,” and makes the stain color really stand out. It also makes it much easier to dust, but that’s another story. All that being said, you should totally NOT skip applying poly after staining.
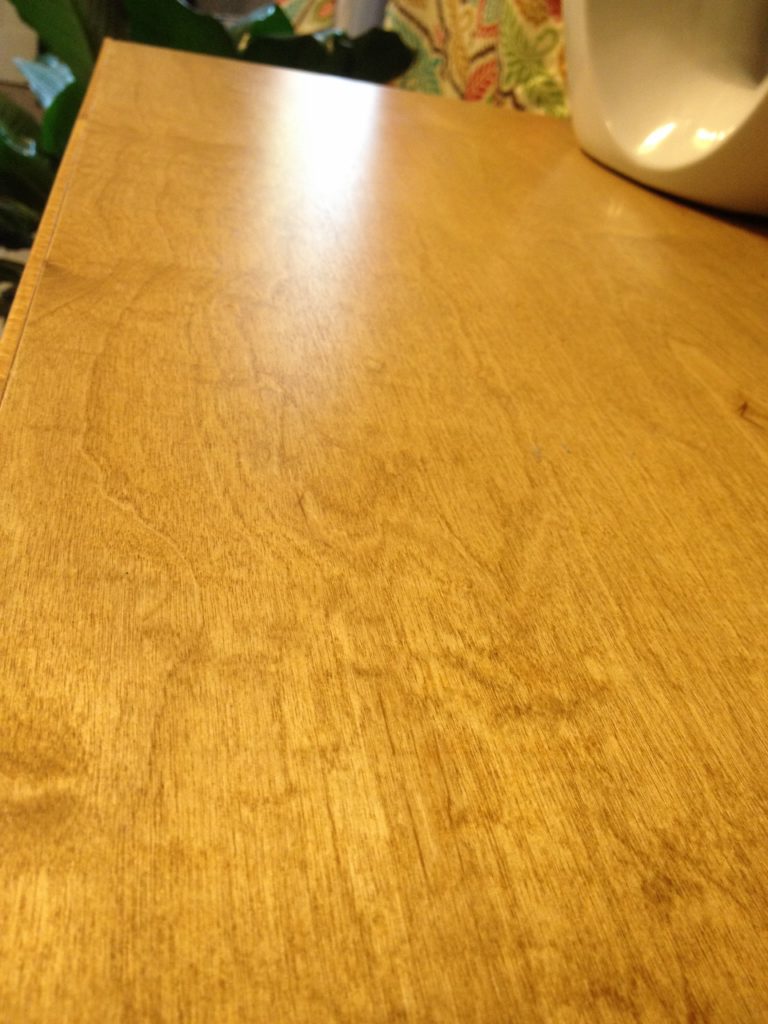
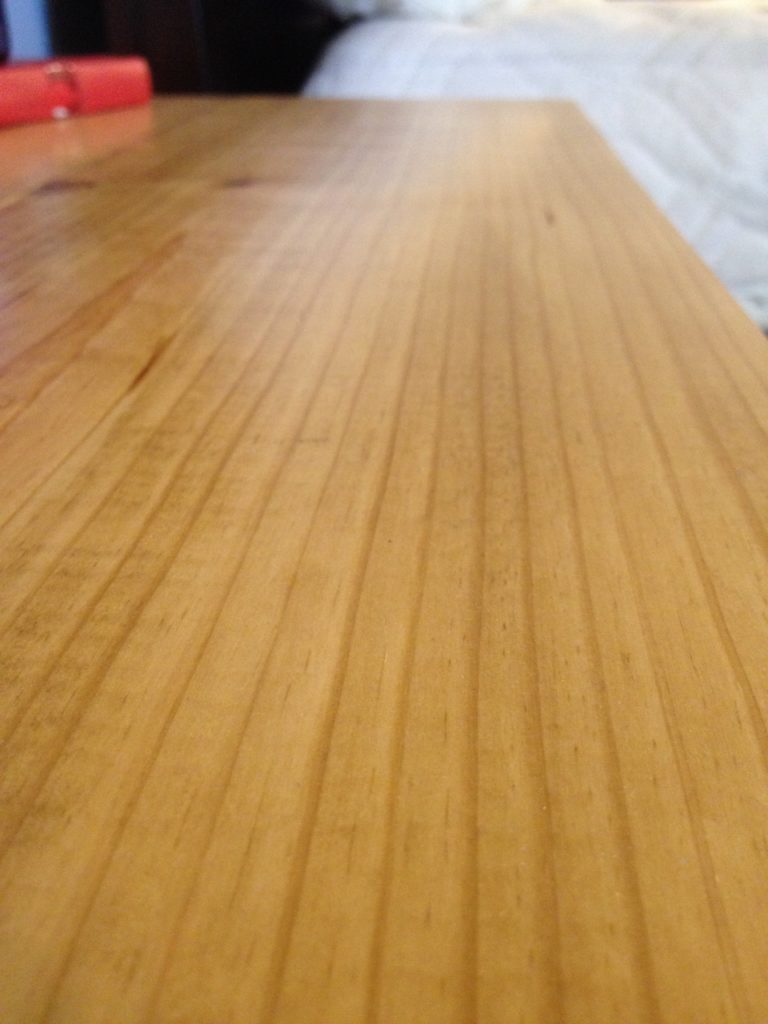
Anyway, so I was polying my countertops and once I had my obligatory (at the time this was my mindset) two coats on and it was kind of dry, I asked Danny to help me carry them inside. I don’t remember what he was doing, but he was busy and said he would help me when he was finished. My can of poly was almost empty and I figured while I waited, why don’t I just finish out this can and give it a third coat? And since I’m already killing time, why don’t I sand before this last coat like the can says (and I had never actually done before) and just see what happens? You want to know what happened? It changed my life forever! And by that I mean that ever since then, I’ve sanded between poly coats. That’s life changing, right? Look how smooth…I wish you could touch it!
It was soooooooo smooth. Like “I wanted to rub my face all over it” smooth. So that whole sanding between poly coats thing was for real all this time and I thought they were just kidding!! Again, with the truth : )
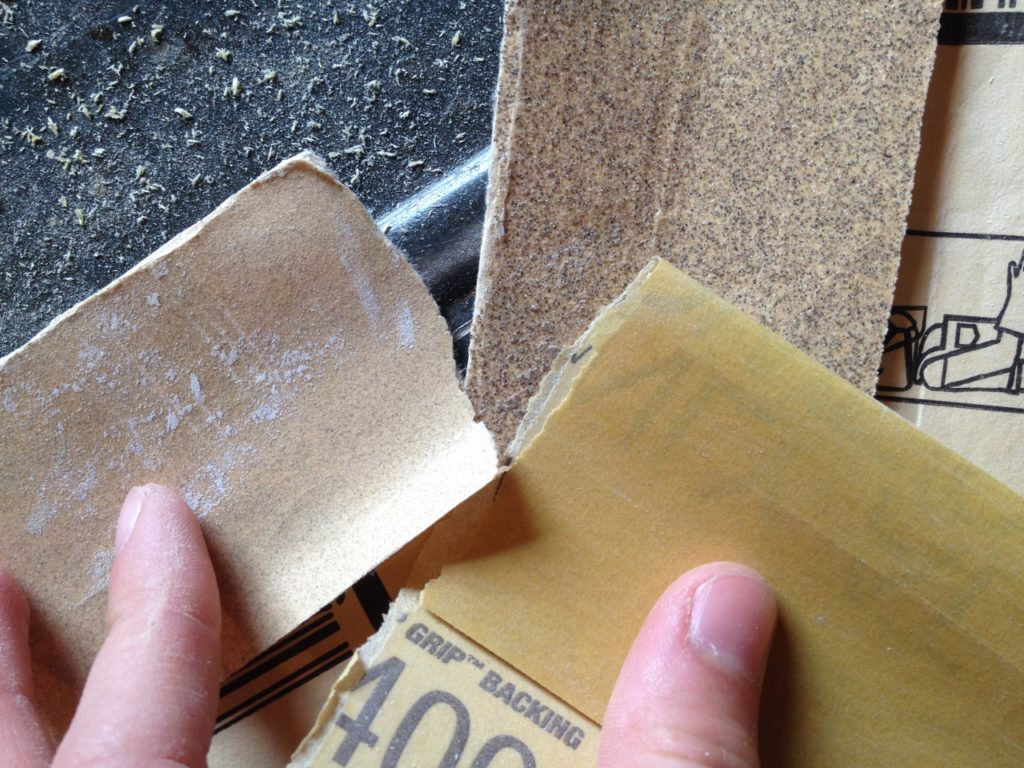
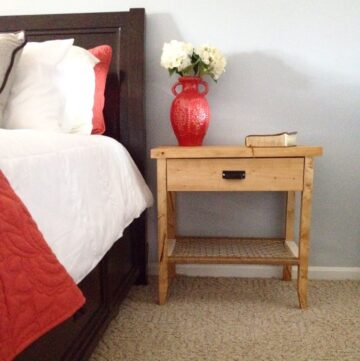
And one time, when I ran out of 220 grit (which is what the can said to use) while finishing my nightstands, I grabbed some 400 grit that I kept for my butcher block (more on that in a second) and used it between coats. I’m telling you, you haven’t felt smooth until you’ve used 400 grit sandpaper between poly coats. Now that is all I use when finishing pieces. See the differences in the grits? this is 100, 220, and 400 grit. The larger the grit, the smoother it will be after sanding.
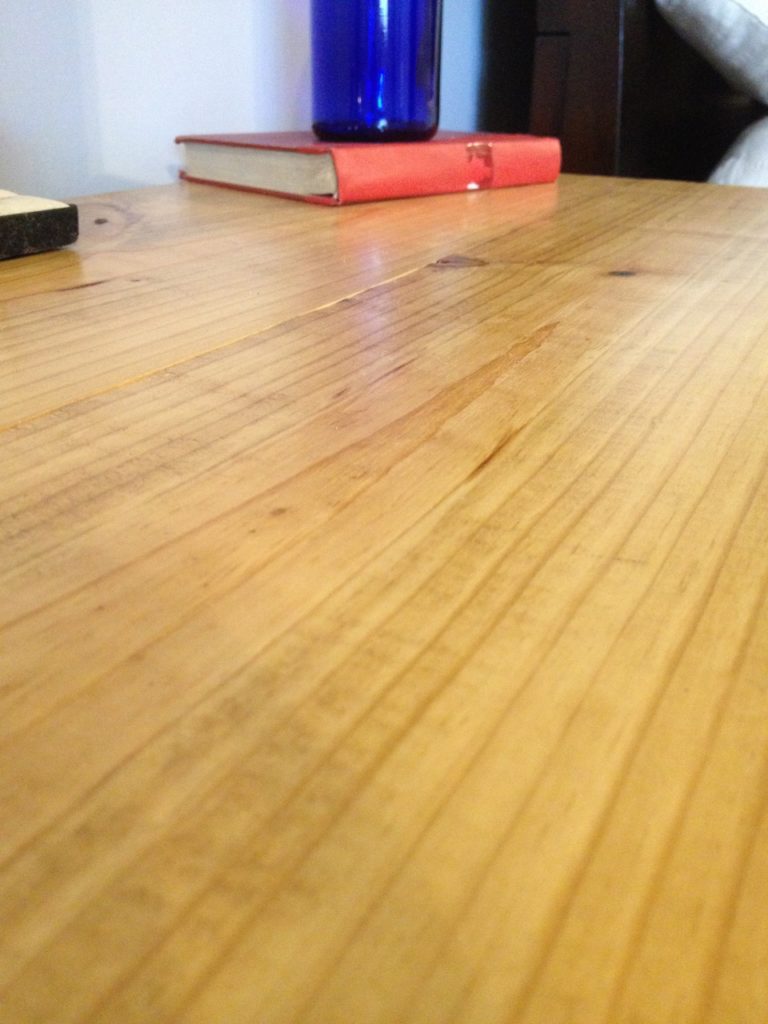
And my nightstands are so smooth.
3. Sand frequently used surfaces occasionally
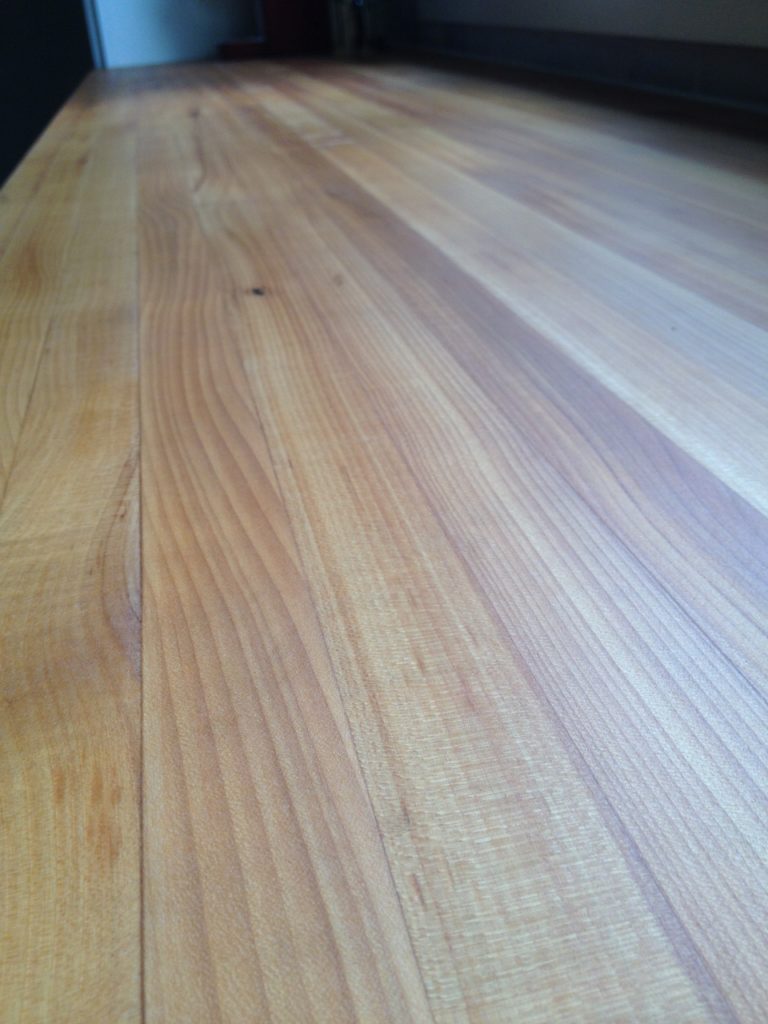
I’m going to confess something. I’ve had butcherblock countertops for over a year and I never sanded them all down. I’ve kept sand paper on hand for them and used it in little spots, but never sanded them all the way down. I simply oiled them and wiped them clean. Once I used 400 grit paper on my nightstands, it occurred to me I should try using it on my butcher block. OMG the difference! I wish I could grab your hand and pull it into this picture to feel this!
Frequently used surfaces can get scratched, dirty, and worn. An occasional sanding and maybe a fresh coat of poly (or oil) makes a world of difference.
4. Sand primer prior to painting
The whole sanding between coats of primer and paint is another thing I thought was “non value adding.” Nope, it does make a NOTICEABLE difference. I use Kilz latex primer and it tends to raise the grain of the wood (just like any water based finish). When I made my laundry cabinets, I made sure to sand everything down before painting and it’s amazing how smooth they feel compared to my door trim that I didn’t sand down before painting. Sometimes it’s the little things that can really make a piece stand out. Sanding is definitely one of those “little things” that are so easy to skip.
I know this was a super long post about a somewhat boring and kind of hated subject, but within the last few months I have really really been convinced of the huge difference a little sanding makes. I’ve known all along that I SHOULD be spending more time sanding and getting a good finish, but it wasn’t until these few experiences I’ve shared with you that it really sunk in. I have a hard head I guess haha.
Many of you probably already knew all of this, but if there is anyone out there like “6 month ago me,” let me encourage you to get out that sander or sanding block and get to it. You’ll be amazed at the difference!
The truth hurts, but splinters hurt worse : )
Don’t forget to pin for later!
Until next time, happy building sanding!!


Thank you so much for posting this. You can call me That Old Lady in That Old House. I love your writing style, hate sanding, and am a complete novice at woodworking. My current project is converting the bottom of a built in (1921) corner china cabinet into a faux fireplace. I’ll be gritting my teeth and following all your advice!
From there I have to move on to making a door for my pantry…which needs to incorporate a stained glass window…and (hopefully) look like it belongs with our brand new cabinets. Did I mention we’re in the middle (actually MIDDLE would be nice, then maybe the end would be in sight) of a full-blown, down-to-the-exterior-brick kitchen remodel?
I know nothing of hash-tagging and am not even sure this will appear where I think I’m sending it, but just wanted to let you know how much I enjoy your blog (?) and how inspiring you are. Keep ’em coming!
Thanks so much!! So glad you enjoyed the post! Good luck with all your upcoming projects–I’m sure they will turn out beautifully 🙂 Kitchen remodels are draining, but you can do it!! So glad to have you following along!
OMG, I NEEDED to read this! I’m still relatively new to woodworking, and after my coffee table and console table projects, I thought to myself “why in the world are these not pretty and smooth like the furniture in the stores?!”. I had sanded them (some…) and put on 2 coats of Poly, but they were still rough and rugged. It wasn’t until I built my accent table, that I took the time to sand with a 330 grit, that I realized “wow, this is way smoother than the other two pieces I did!”. It wasn’t baby-butt smooth, but it’s a step up. You have now inspired me to take my other two pieces back to the garage and go at them again, this time sanding between coats 2 &3. Thank you for your wisdom, and I look forward to your future posts! Happy wooding 🙂
That’s awesome to hear! I am glad I was able to help you out! It took me a while to realize what a difference sanding can make…although I didn’t want to admit it because I HATE sanding haha. Good luck with your pieces, I would love to know how they turn out this time! Thanks so much for following along!