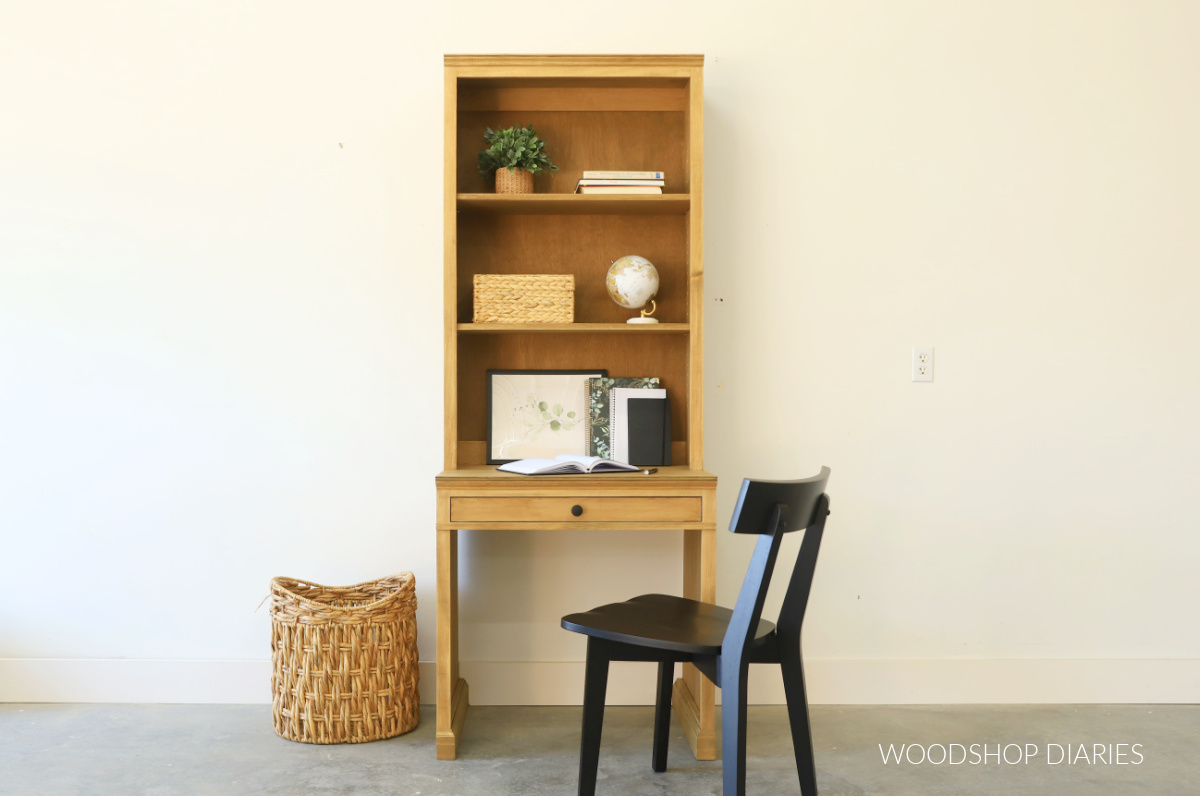
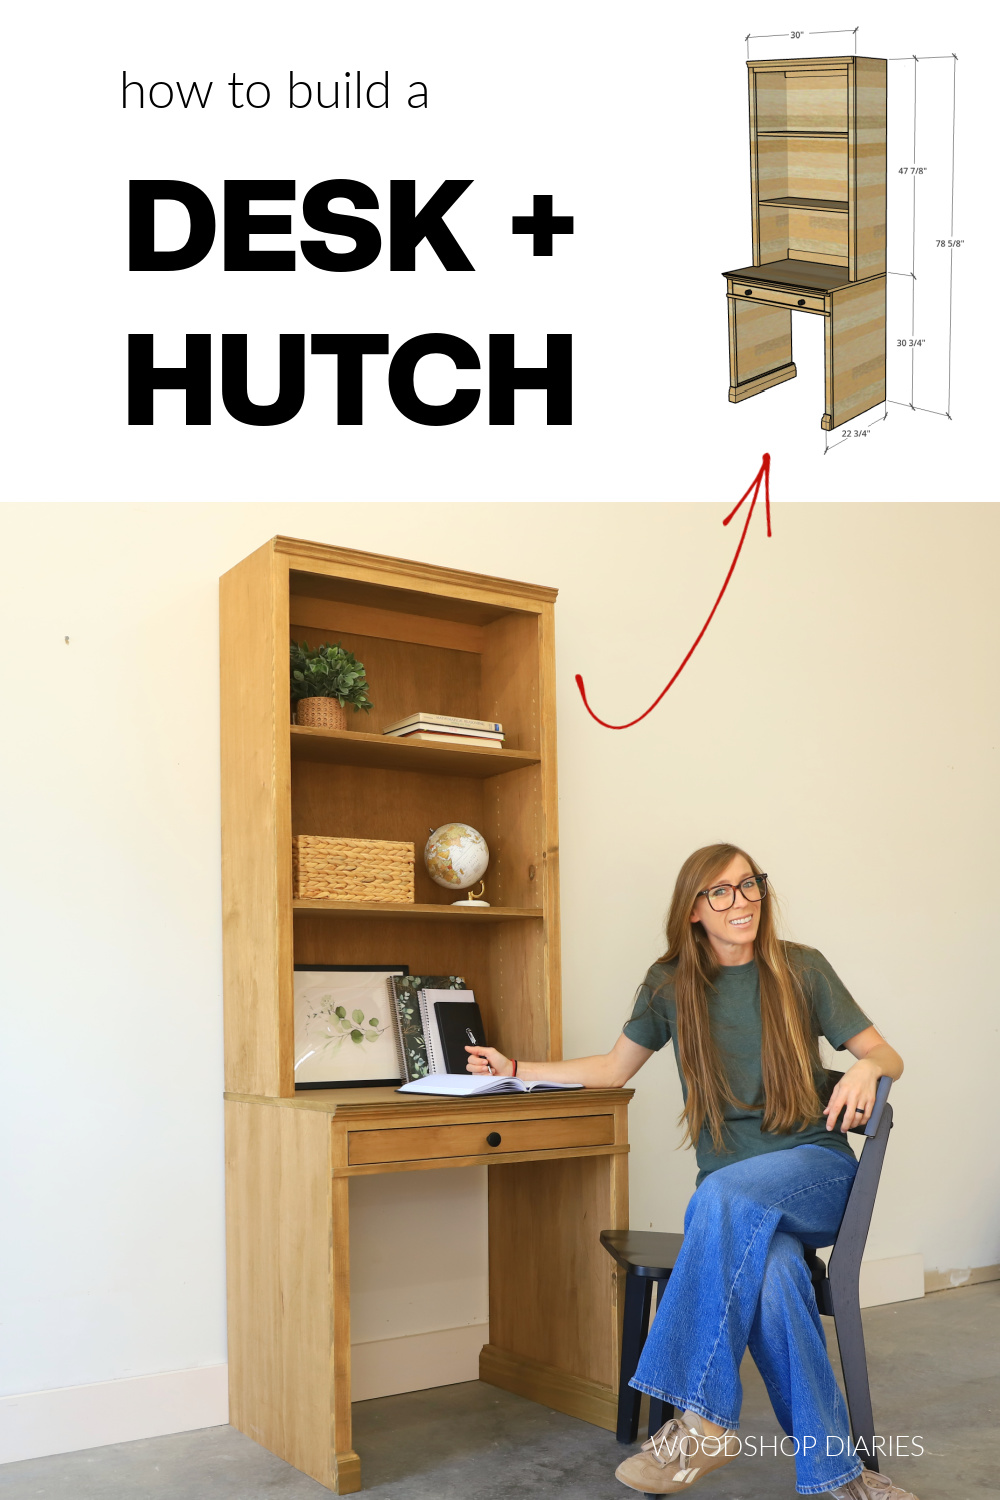
In this post, I’ll show you how to build a simple writing desk with bookcase hutch.
And (bonus points!), DIYing it saved almost $1300 off the retail version it was inspired by! I always love a good buget friendly knockoff, don’t you?
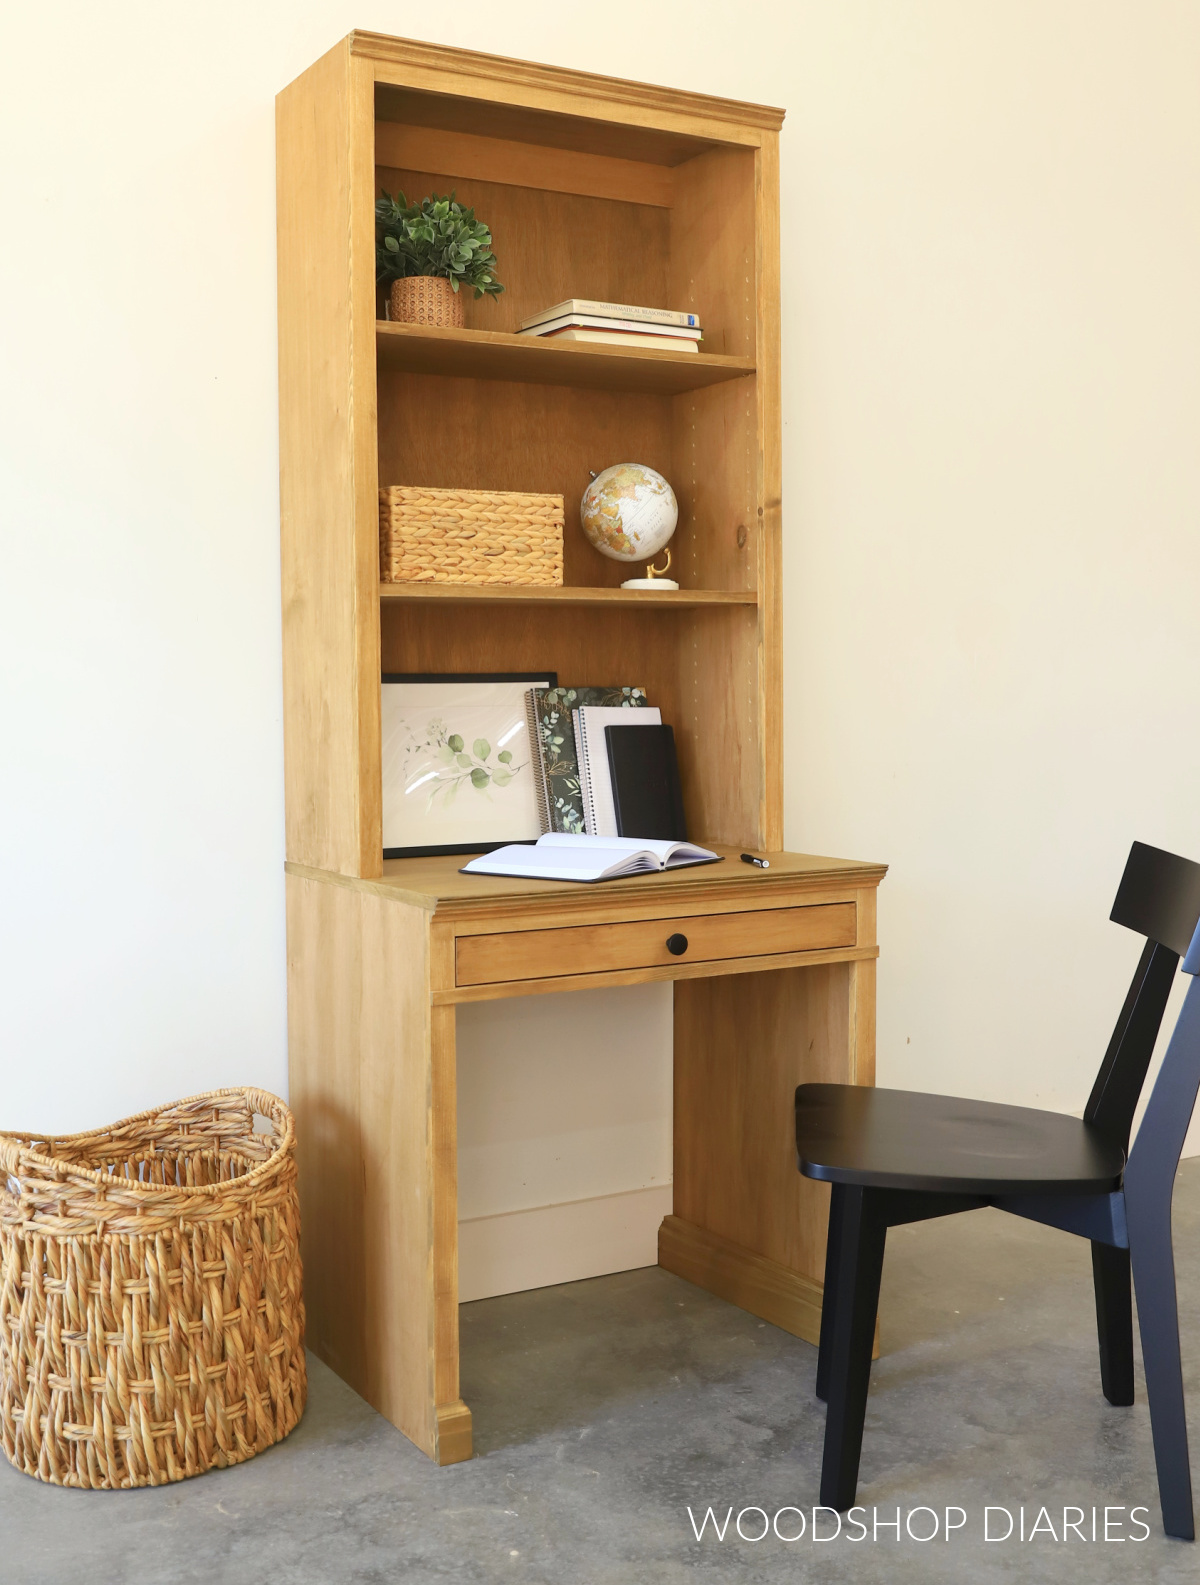
Earlier this year, I discovered several modular furniture systems at Pottery Barn. I really really loved the Livingston collection, but it was a bit pricey.
So I started building a “knock off” version with a few subtle design differences and one MAJOR price difference (mine was obviously much cheaper to build).
This writing desk with hutch is actually a combination of two pieces of that modular set: the writing desk and the separate hutch that sits on top.
Pottery Barn was selling it’s version for about $1550 for both pieces (yikes!). But below, I’ll show you how to build it for well under $250.
*This post contains affiliate links. See website policies.
What to consider before building
I designed the desk and the hutch as two separate pieces as part of a modular furniture system. The modular mix and match concept allows you to combine different pieces to create your own built ins, media consoles, office storage, and more.
The desk can absolutely work well on it’s own. And the hutch can sit on top of pretty much any base.
But I designed them to be arranged with these matching 3 drawer cabinets and/or glass door cabinets in a variety of different layouts. Here’s just one idea:
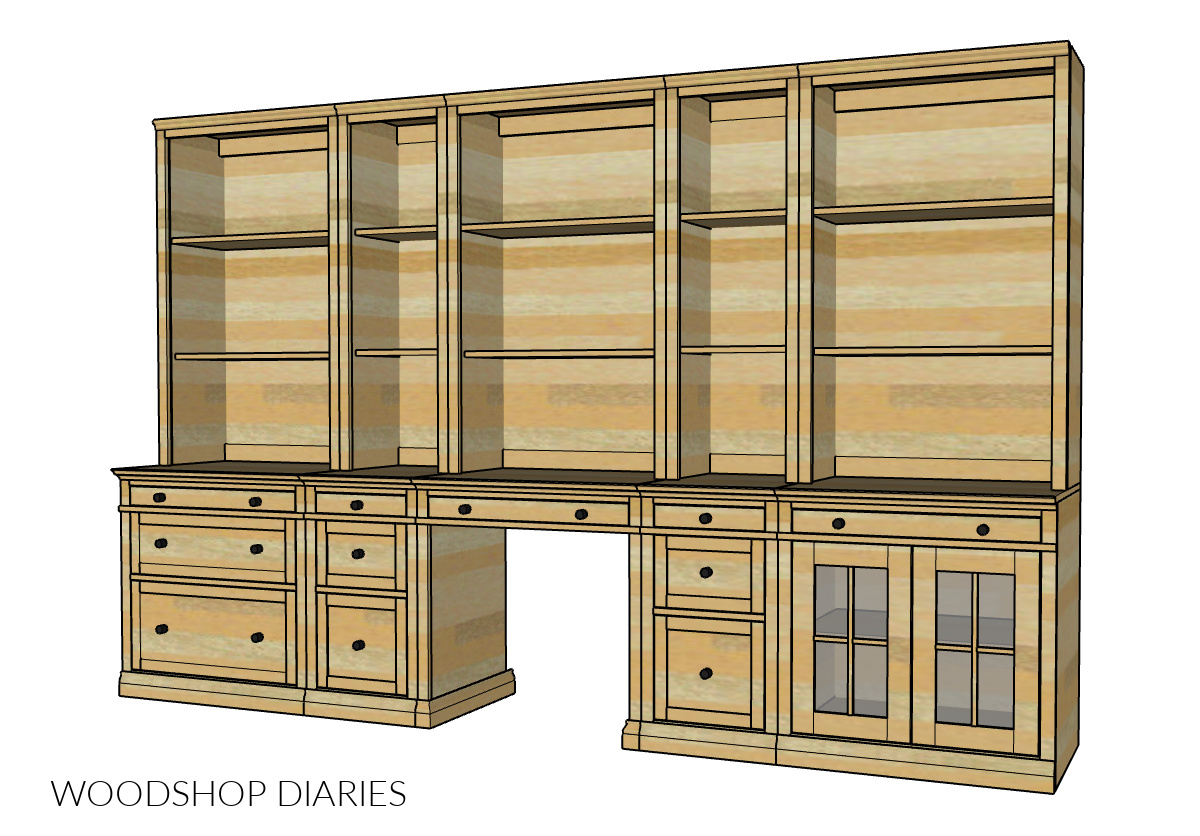
You can build just one cabinet or several to create your own custom masterpiece!
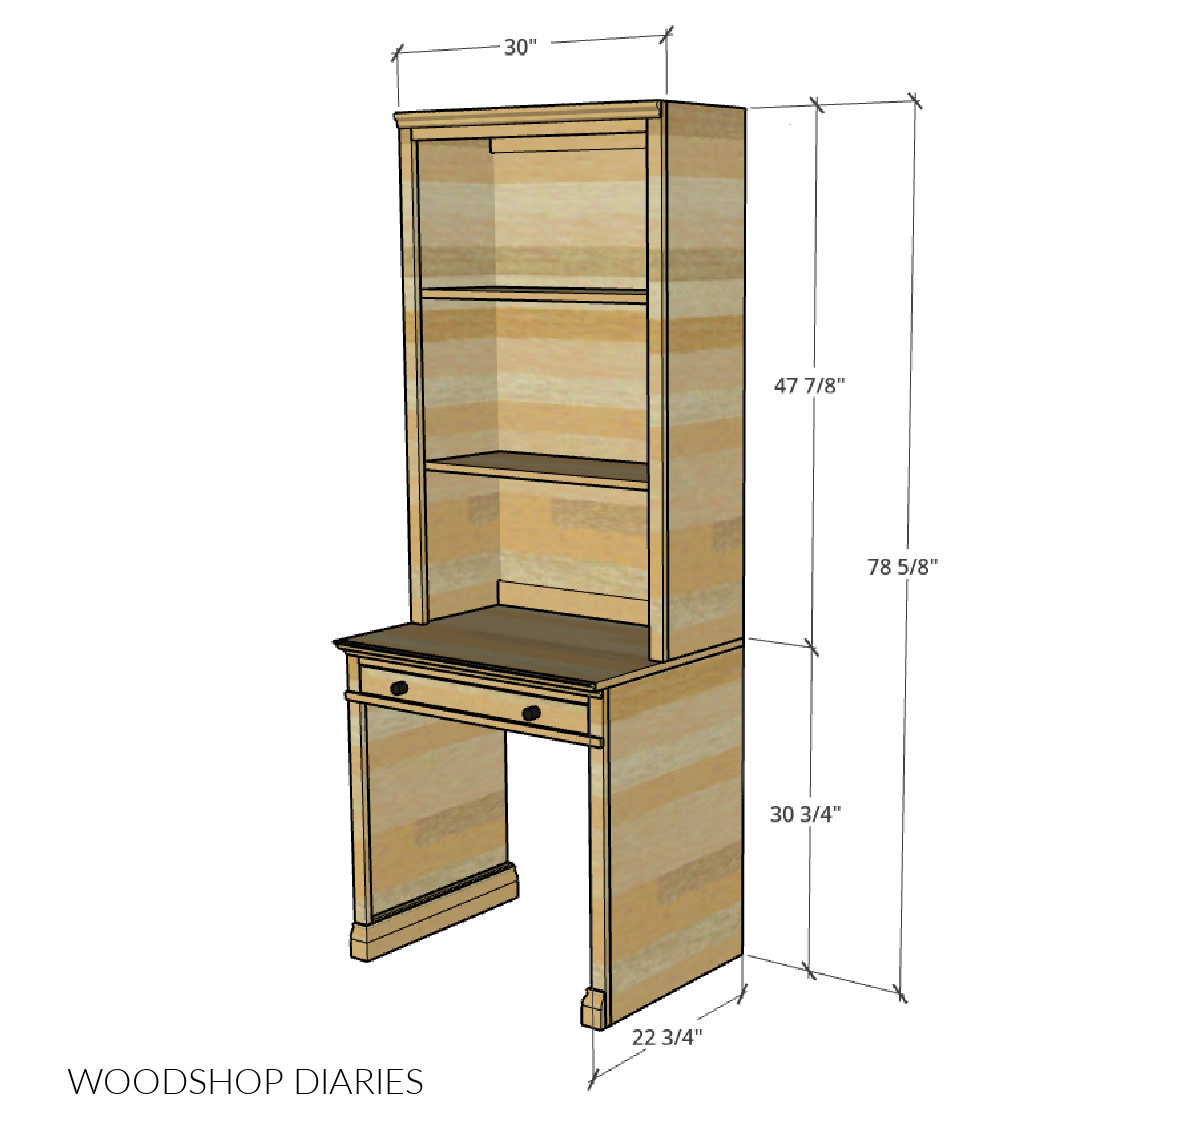
OVERALL DIMENSIONS
The overall dimensions of this desk WITH the hutch is 22 ¾″ deep x 30″ wide x 78 ⅝″ tall. The desk portion is 30 ¾″ tall and the bookcase is 47 ⅞″ tall.
Trim Details
This project calls for several types and sizes of trim/molding to dress it up a bit. It is 100% customizable, so feel free to skip or substitute however you want.
Here’s what and where I used each piece:
- (1) 3′ piece ¾″ base cap molding (front edge of desk top)
- (1) 3′ piece cove molding (just below desk top)
- (1) 4′ piece 3 ¼″ base board molding (around bottom of desk)
- (1) 3′ piece ⅜″ x ¾″ lattice trim (just under top drawer)
- (1) 3′ piece 1 ⅜″ base cap (or other as desired) molding (across top of hutch)
I trimmed out this desk and hutch to match the previous pieces I had built as part of this modular system. So if you’re building this as part of the modular set, you’ll want to make sure your trim matches throughout.
But, if you’re building this as a standalone piece, you can pick and choose what moldings or trims you use any way you’d like.
You may find these additional resources helpful throughout the build:
Enjoy DIY projects and woodworking plans? Sign up for priority access for the latest posts on Woodshop Diaries!
How to build a writing desk with bookshelf
If you prefer to watch, I’ve shared the full build video with tons of tips, behind the scenes, and additional details on my YouTube Channel here.
Love watching how-to videos? Subscribe to my YouTube channel for plenty more where that came from!
Prefer to print? Grab the printable desk with bookcase hutch building plans available here:
Tools & Materials
Tools:
- Drill/Driver
- Circular Saw and Plywood Cutting Guides (Kreg Rip Cut & AccuCut)
- Miter Saw
- Pocket Hole Jig
- Brad nailer
- Router with ⅜″ rabbeting bit (optional)
- Chisel (optional)
- Shelf Pin Jig
Materials:
- (1 + ¼) sheet ¾″ plywood
- (1) 4’x4′ (half sheet) piece ¼″ plywood
- (2) 1x2x8′ boards
- (1) 1x3x8′ board
- (1) 1x4x4′ board
- (1) ¾″ square dowel 3′ long
- Trim/molding as desired
- 1 ¼” brad nails
- 1 ¼” pocket hole screws (100 count box)
- 1 lb box 1 ¼” wood screws
- Edge banding (optional, but recommended)
- Drawer pulls, knobs
- (1) pair 18″ drawer slides
- Shelf Pins
Not sure what type of wood to use for this project?
1x LUMBER: If painting, preprimed pine, spruce, or poplar are great budget friendly options. And if staining, usually, you want to use the same wood type as your plywood or something that will stain similarly so that they match. Check out this post to learn how to shop for and purchase lumber for your project.
PLYWOOD: I recommend using cabinet grade hardwood plywood (like birch, maple, oak, etc). Check out this post to learn how to choose the right plywood for your project.
This project was built with maple plywood and pine/spruce for the 1x material and moldings.
Step 1: Assemble Desk Frame
First, like most cabinet-style projects, I started by cutting down the plywood. The complete cut diagrams and full cut list can be found in the printable building plans here.
RELATED: How to cut plywood sheets
This desk is essentially a base cabinet, just without a bottom panel. So I cut two sides and three support strips. I used pocket holes and screws to attach the support strips between the sides: two across the top and one at the back.
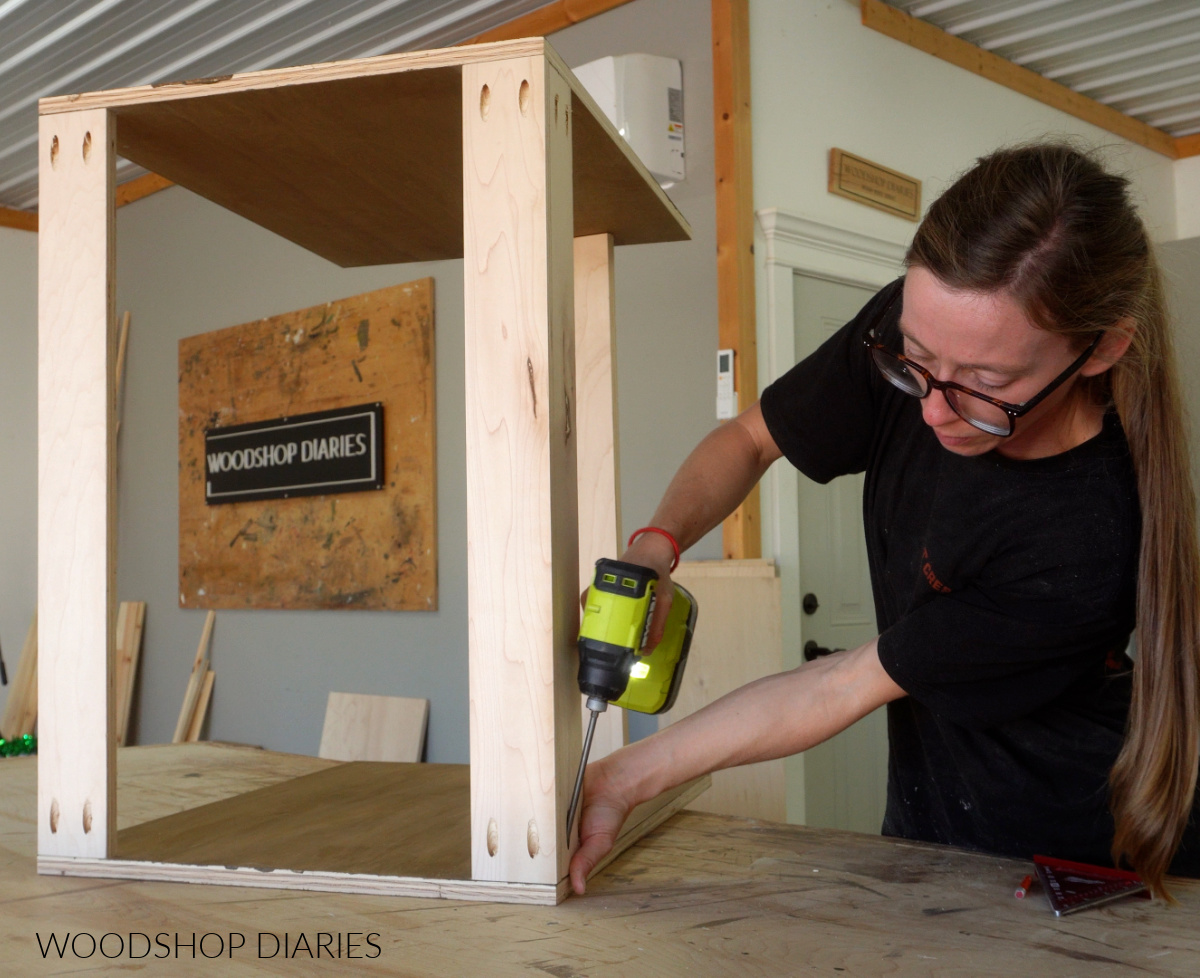
RELATED: How to use pocket holes
NOTE: In the image above, you can see that I used a scrap plywood strip to help support the side panels toward the bottom while I assembled the strips toward the top. This was really handy.
ALSO NOTE: It’s a long story, but when I first started building this modular set (back in the spring), I used Minwax Water Based Wood Stain in Driftwood for my finish. I REALLY love the color, but water based stain is a real pain to apply, especially on large pieces.
It’s best to apply it to each piece before assembling vs all at once at the end. In hindsight I really wish I’d not used this, but since all these pieces are supposed to match, I’m kind of stuck. So that’s why the pieces and parts are already stained in the process photos you see.
After the desk “cabinet” was together, I assembled a simple face frame using pocket holes and screws. I used 1x2s for the sides and top and a ¾″ square dowel just under where the drawer will go.
Then, I glued it nailed it onto the front of the desk.
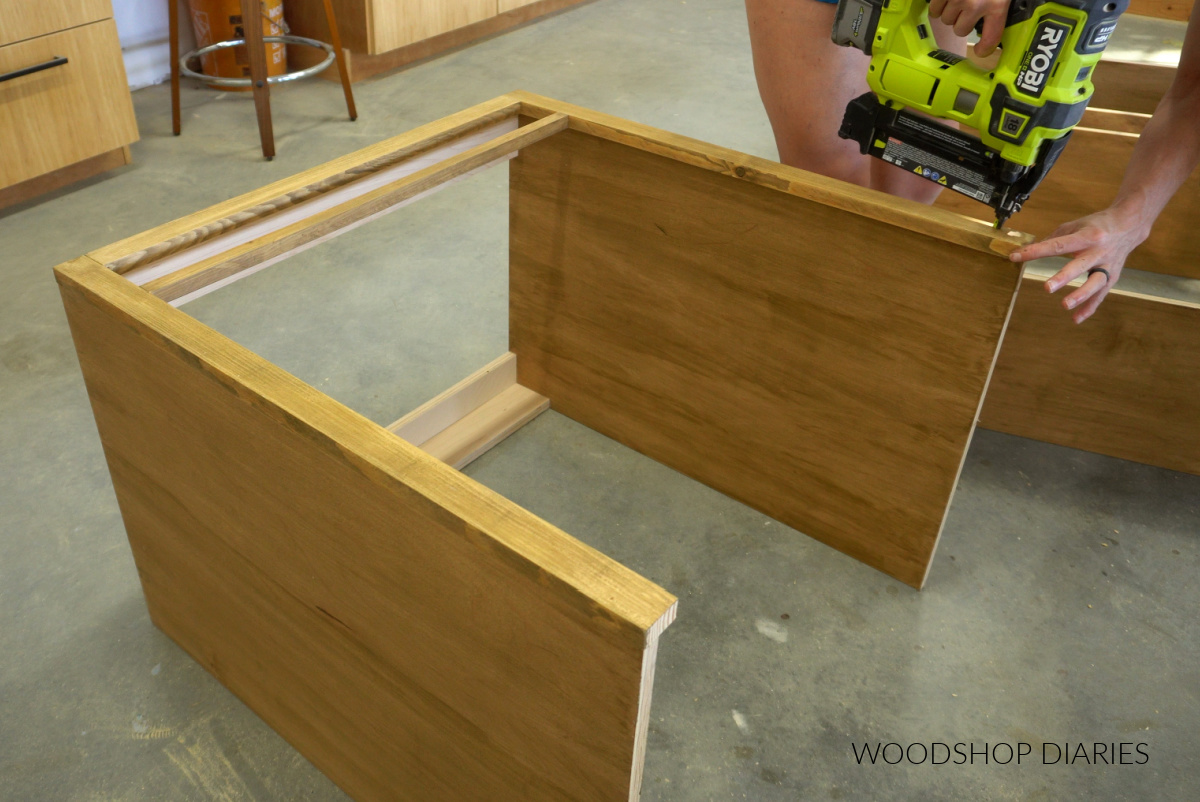
TIP: A standard size pocket hole jig can work if you’re careful, but I recommend using a Kreg Micro Jig for these face frame pieces with pan head pocket hole screws. The smaller holes and screws are less likely to cause splits.
Learn how, when, and why to use the Kreg Micro Pocket Hole Jig here.
Because I installed a face frame, in order to install my drawer slides, I first needed to screw some ¾″ plywood spacer strips behind where the slides will go. These will help “push” the slides out into the face frame opening.
RELATED: Learn how to install drawer slides
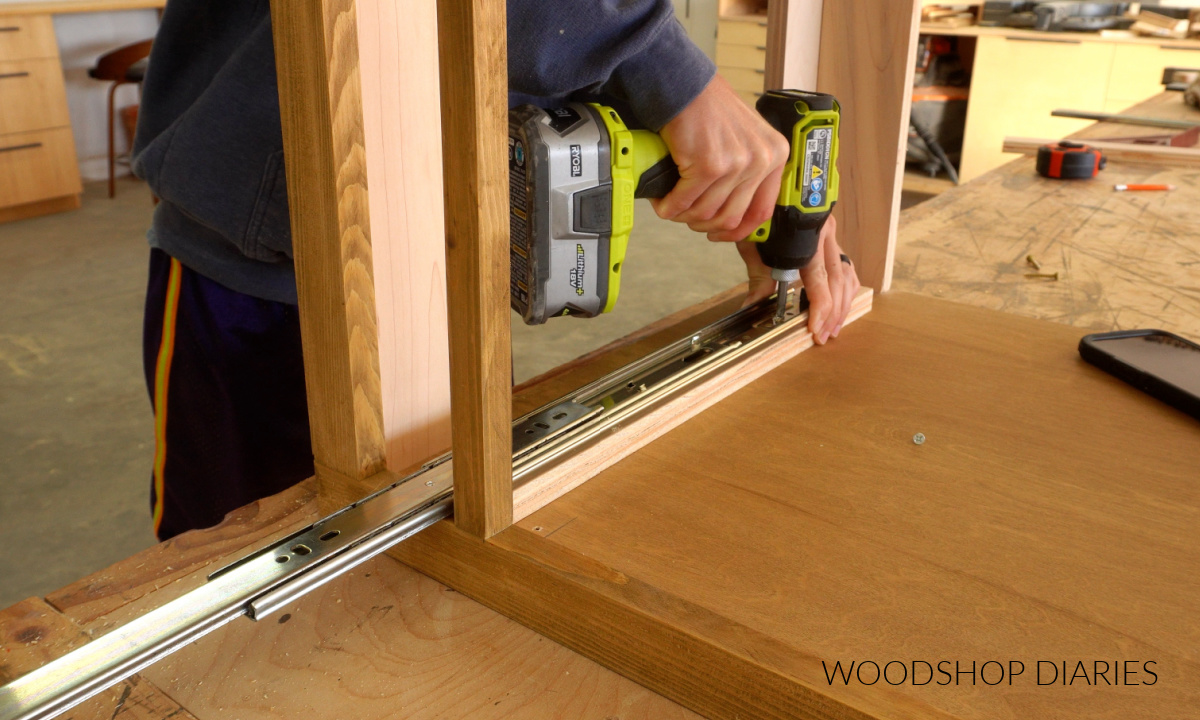
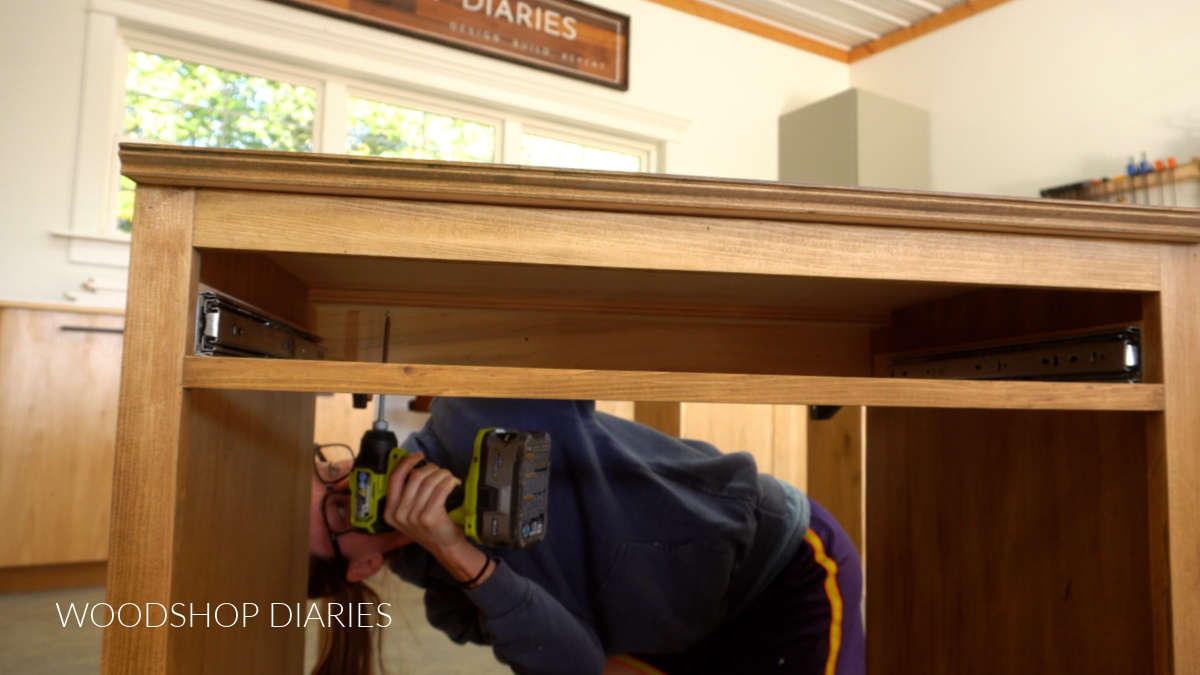
I didn’t have to install the slides just yet, but it was easier to install them without the top panel being in the way.
For the top, I cut a piece of ¾″ plywood to fit over the desk cabinet and edge banded the sides.
RELATED: How to apply iron on edge banding
Then, I glued a piece of ¾″ base cap molding along the front edge (you could just use edge banding, the the extra molding looks “fancier”). After staining, I secured this top panel to the desk using screws through the top supports.
Prefer to print? Grab the printable desk with bookcase building plans here.
Step 2: Add Trim to Desk
Next, I dressed up the desk a bit more with some more trim. See notes above.
You can absolutely skip or change any of these trim details as desired, but I glued some cove molding just under the top panel and added some thin lattice trim across the ¾″ dowel on the face frame.
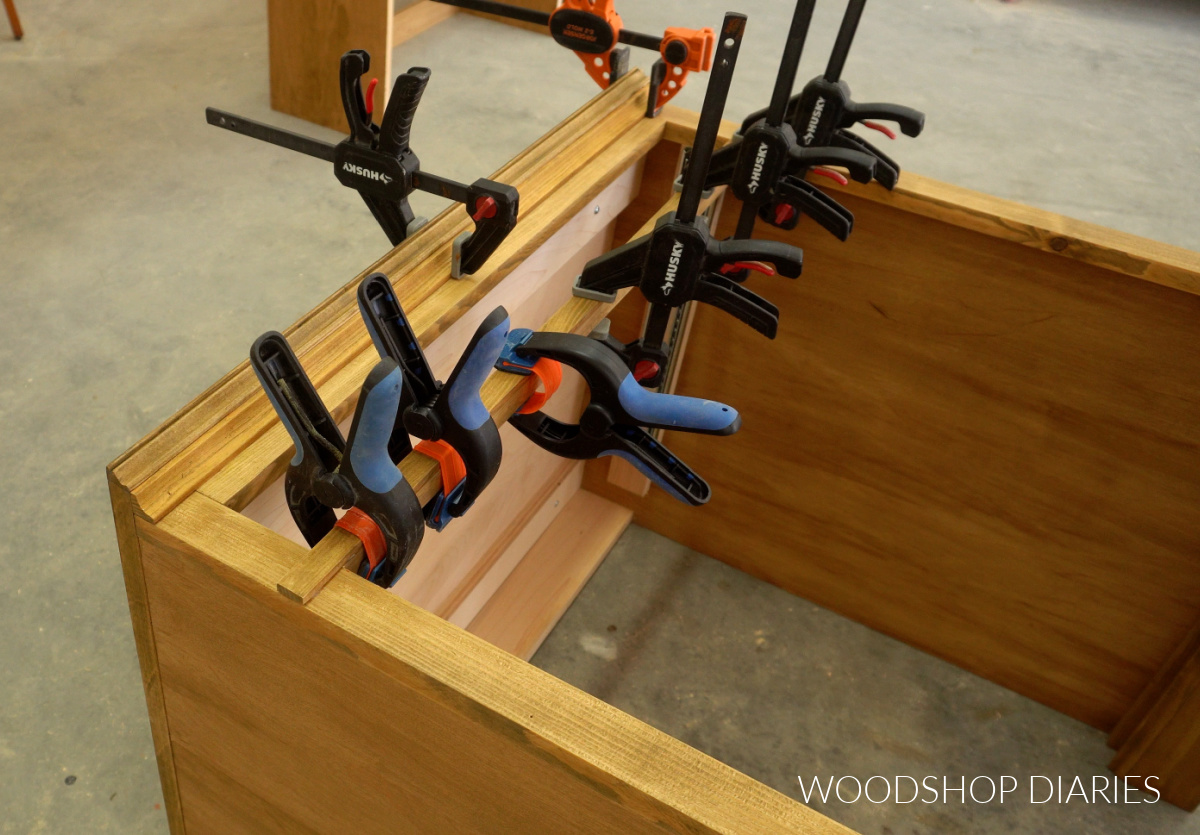
I cut all this trim square on the edges because, since this is part of a modular system, it’s designed to butt up to other cabinets on each side. If you didn’t plan to add anything on the sides, you can absolutely wrap the trim around the sides as well as the front.
Then, I added base board molding around the bottom. Instead of only adding two small pieces on the front of the face frame, I opted to wrap the baseboard trim around the inside of the desk–this is completely optional.
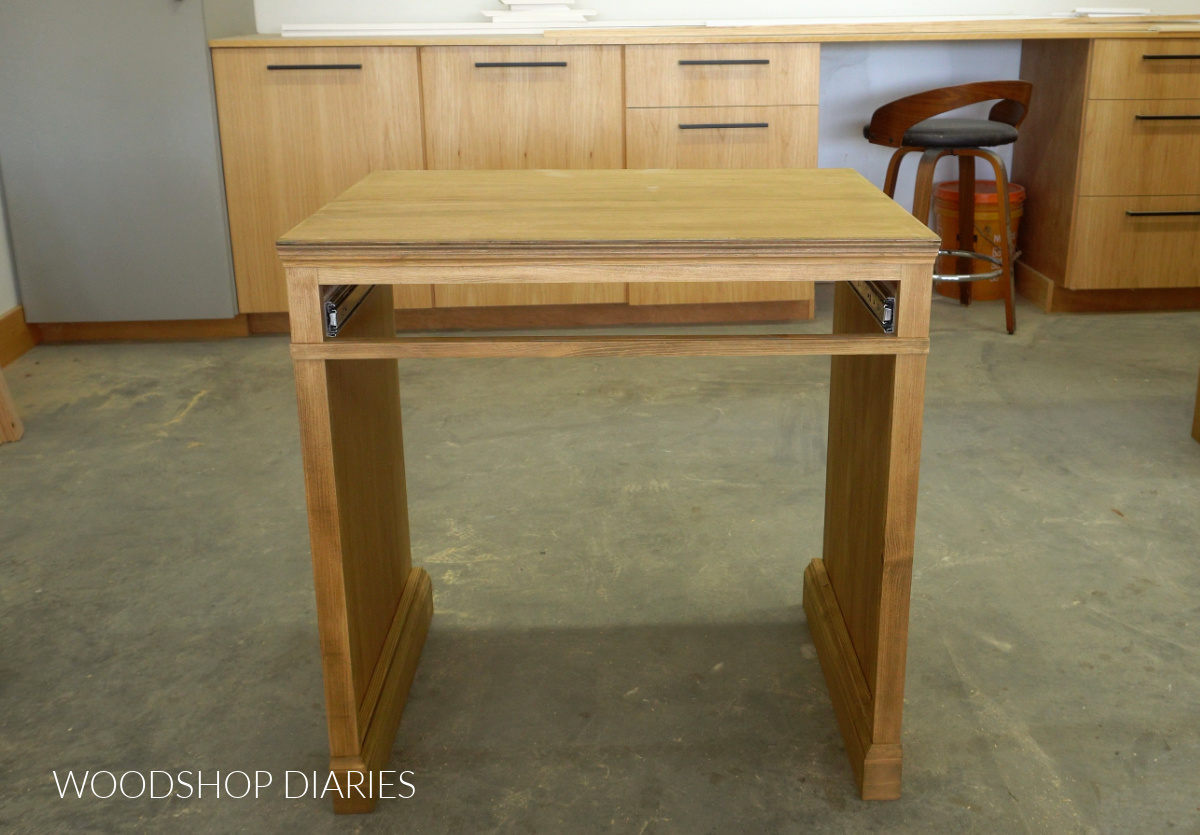
The trim really helps add dimension and detail to an otherwise simple desk.
Step 3: Install Drawer
All that’s left to finish up this desk is adding the drawer. A shallow drawer in the top of a writing desk is really nice to have for pencils and notebooks.
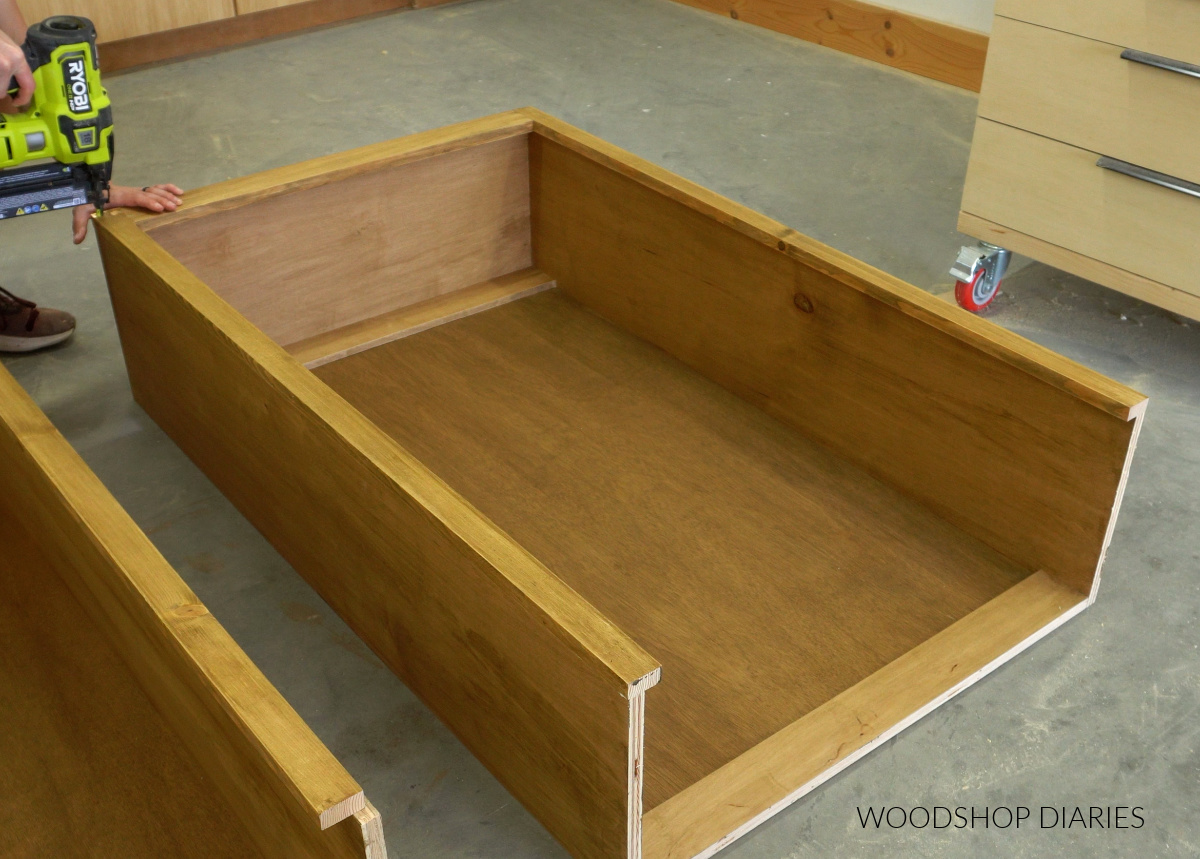
So I built a very shallow drawer to fit into the top section of the desk using ¾″ plywood strips.
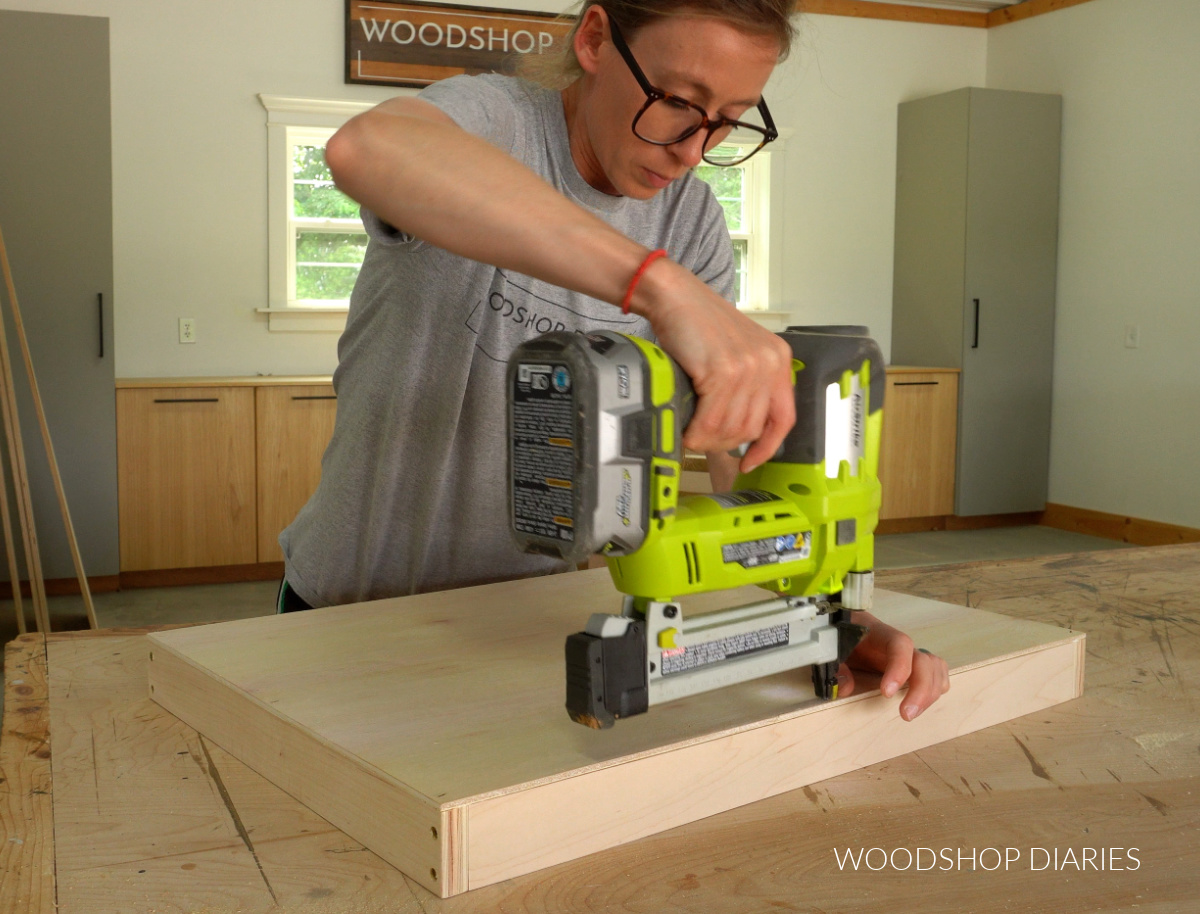
Normally I cut dadoes to install the ¼″ plywood bottom panel of my drawers, but since this was already so shallow, I didn’t want to take up any extra room inside with a dado. So, I glued and nailed the ¼″ plywood bottom panel onto it.
Then I installed this into my desk onto the slides and secured a ¾″ plywood drawer front to it from inside the box.
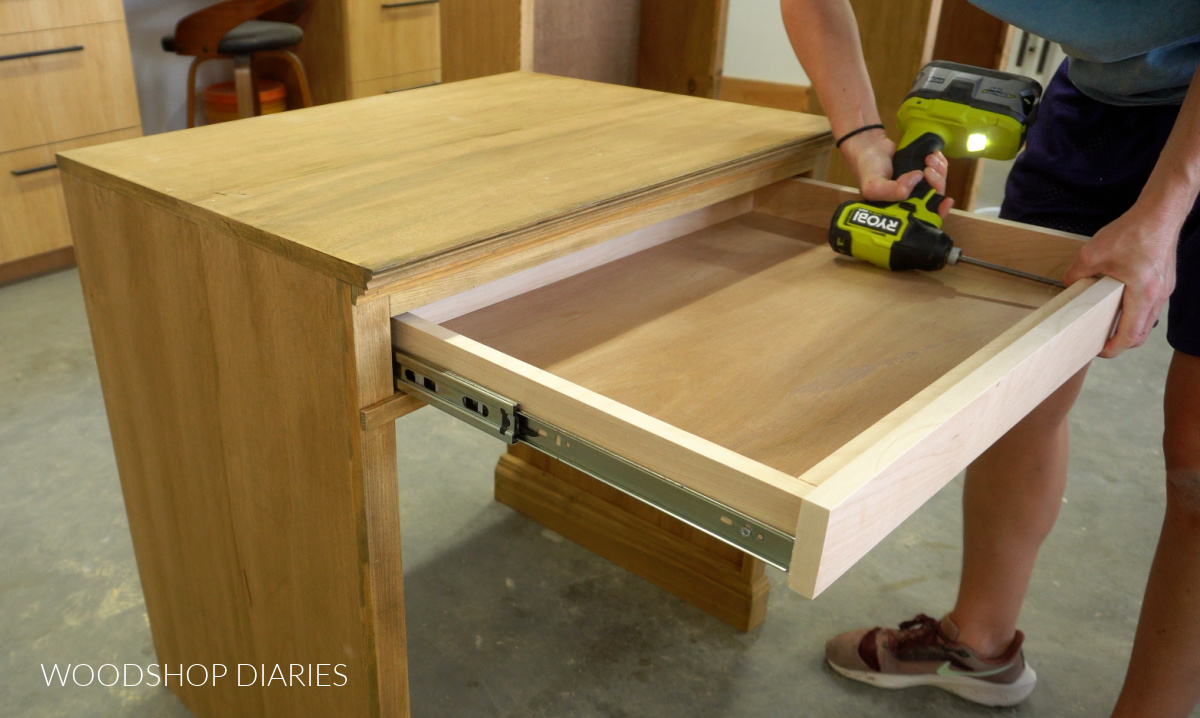
At this point, the desk is finished. It is a great little desk all on its own even if you didn’t want to add the bookcase.
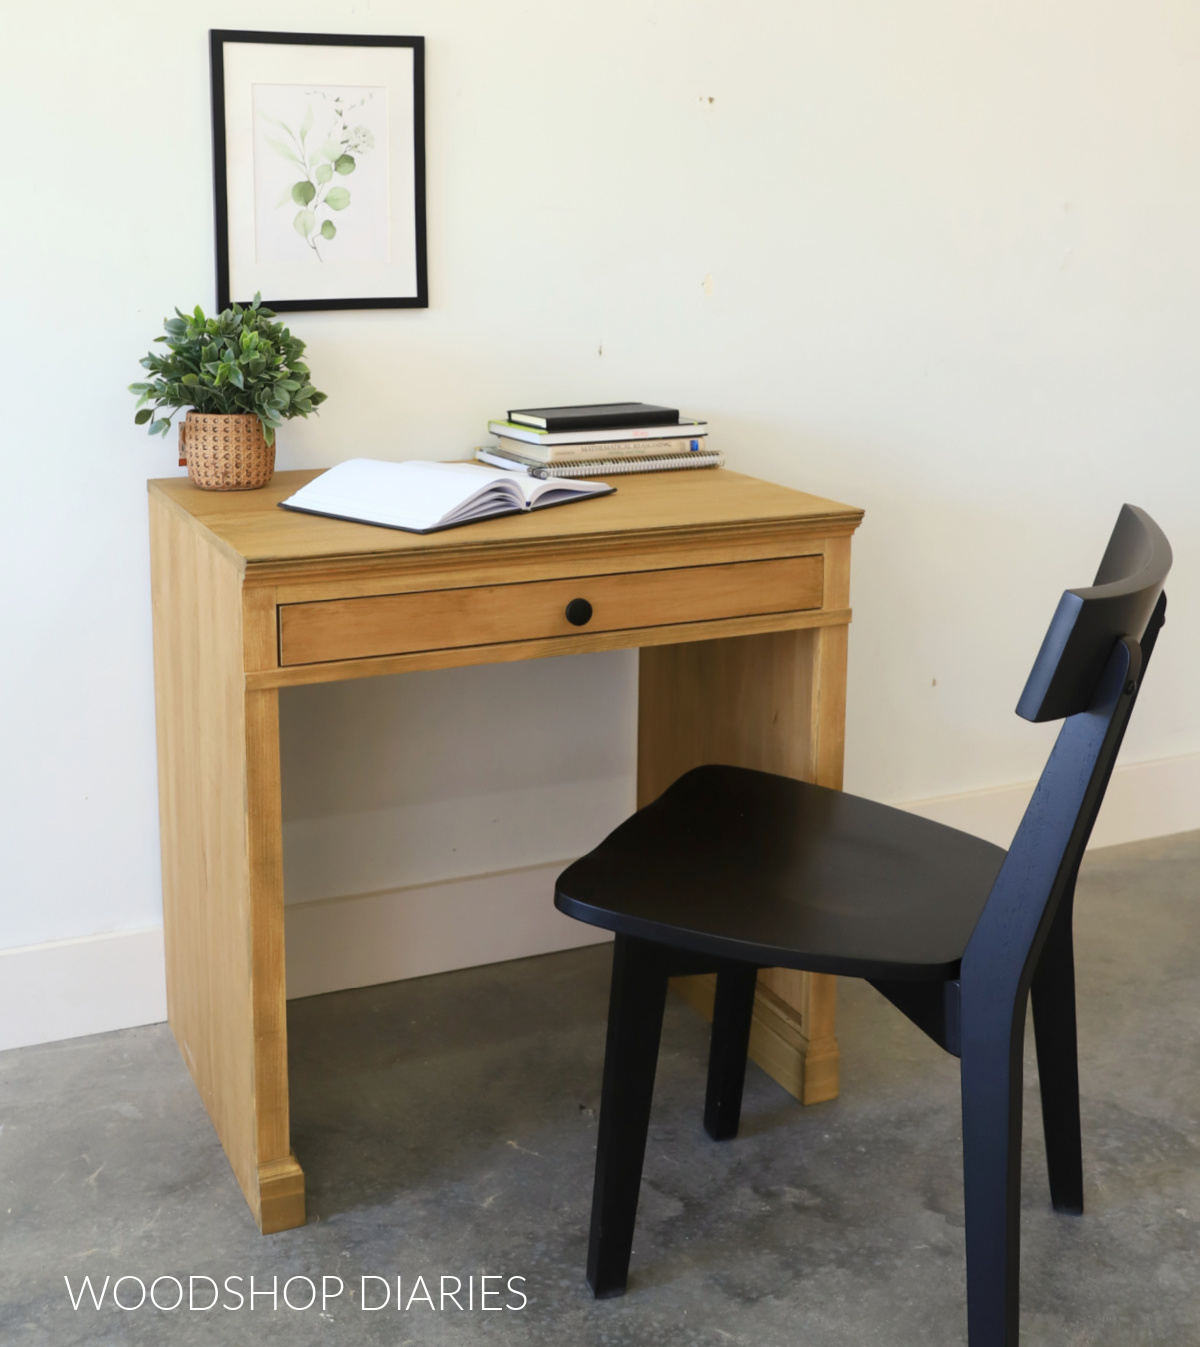
Want to build your own? You can find all the dimensions, cut list, and step by step diagrams to walk you through this project in the plans here.
Step 4: Assemble Bookcase Hutch
But of course, the bookcase adds a lot to both the look and function, so let’s build that next.
I mentioned earlier that the desk is essentially a base cabinet without a bottom panel. Well, the bookcase hutch is essentially an upper cabinet without a bottom panel.
Just like the desk body, the bookcase is assembled using ¾″ plywood with pocket holes and screws: two sides, a top, and two back supports.
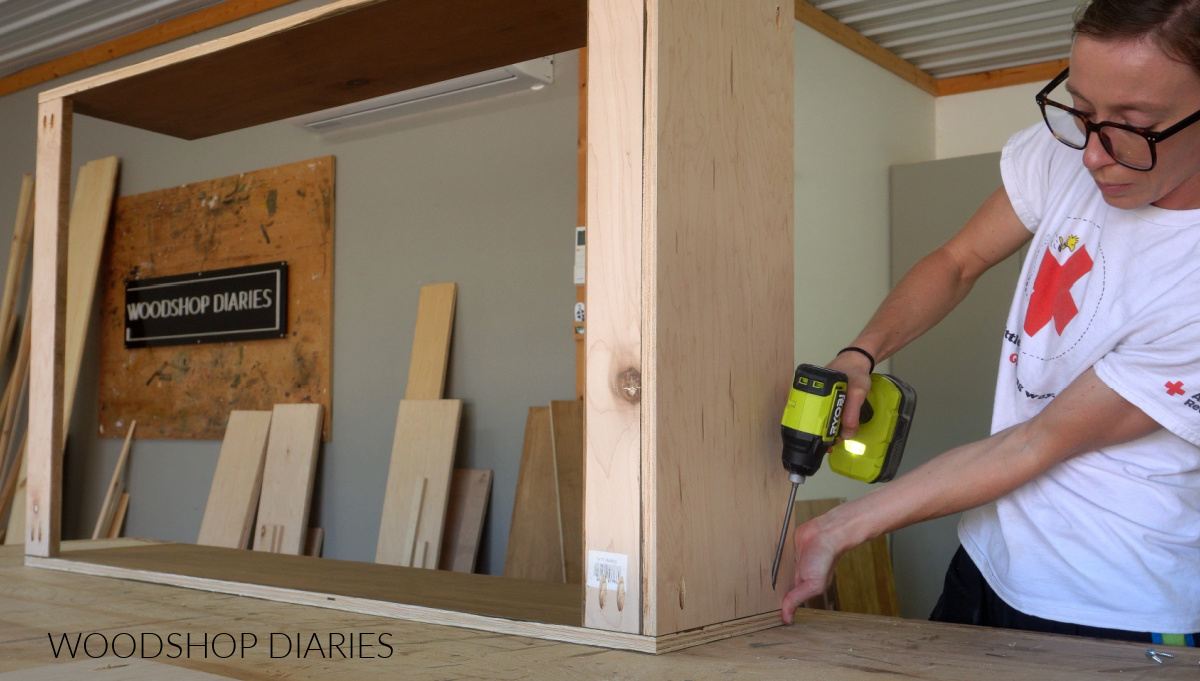
I used a router and ⅜″ rabbeting bit to route a rabbet along the back side of the bookcase to recess the ¼″ plywood back panel into.
BUT…if you don’t want to use a router (or just don’t have one), I totally get it (truth be told, I hate routers)! You don’t have to route the back side of this cabinet. You can simply cut the 1×4″ plywood to fit over the back side and staple/nail it on.
The benefit of the rabbet is that it hides the ugly plies on the sides, but a little putty and sanding can help smooth that out instead.
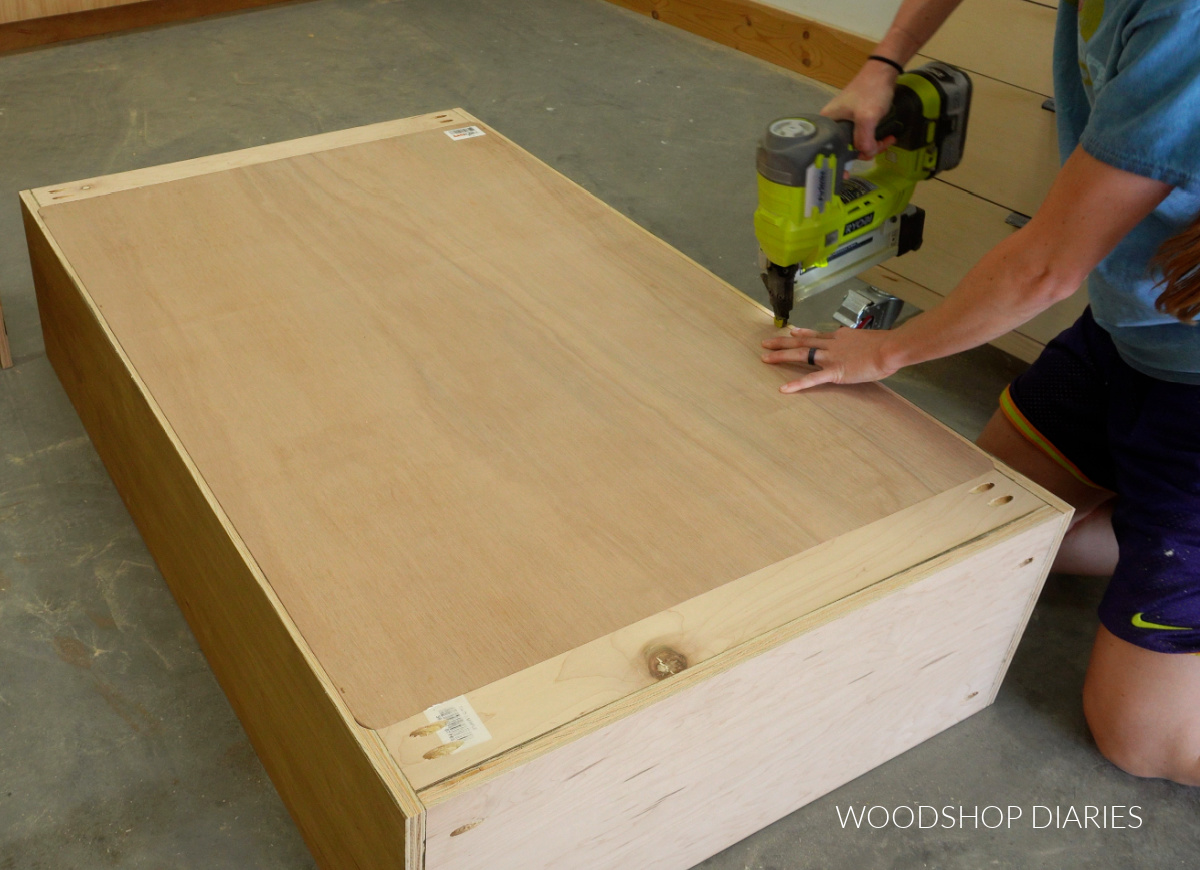
Just like the desk, I assembled and added a face frame onto the front of the bookcase. I used 1x2s for the sides and a 1×3 at the top.
Step 5: Add Trim and Shelves
I cut to fit, then glued and nailed a piece of trim across the front of the bookcase flush to the top edge to dress it up a bit. Just like with the desk, I cut this square on the ends, but you could wrap it around the sides if desired.
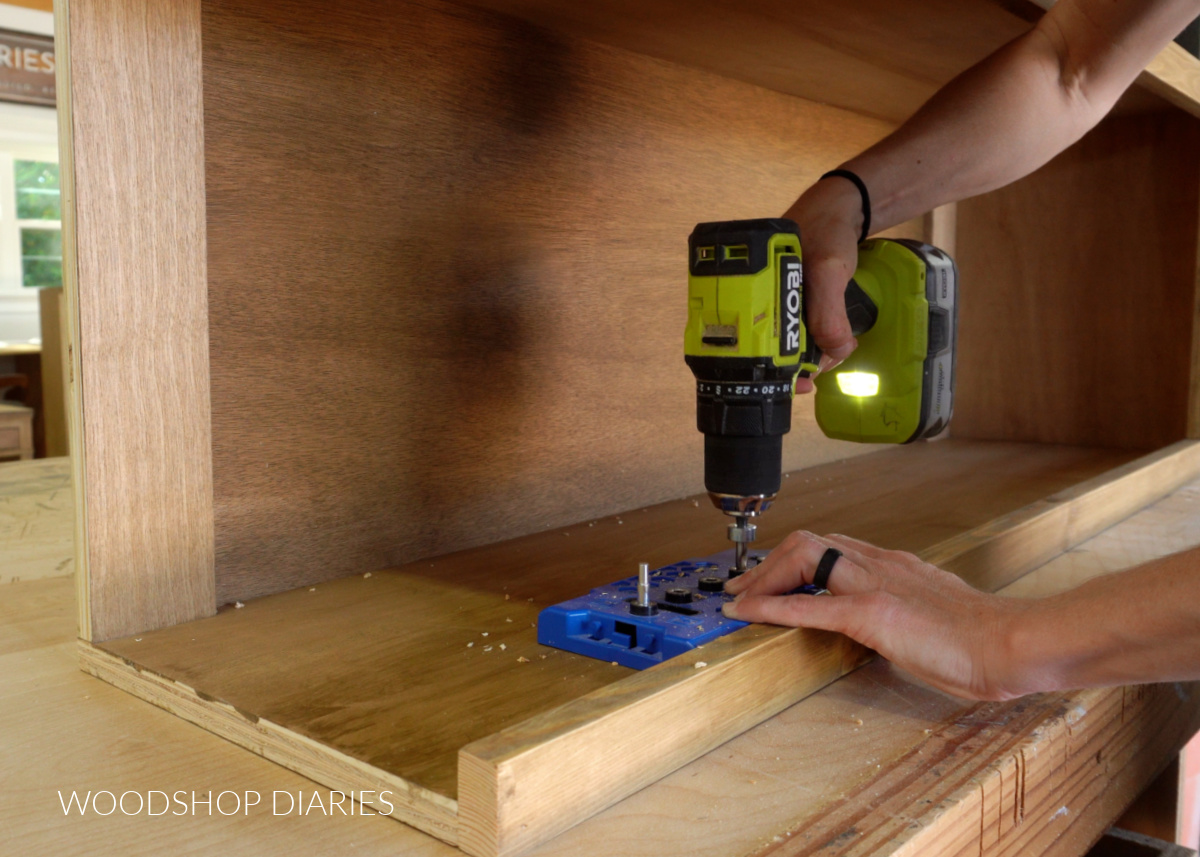
And finally, I used a shelf pin jig to drill shelf pins along the inside of the cabinet to add adjustable shelves.
RELATED: How to add adjustable shelves
Prefer to print? Find the printable building plans for this project here.
Step 6: Finish and Attach Hutch to Desk
This simple hutch just sits right on top the desk (or whatever base you’re using).
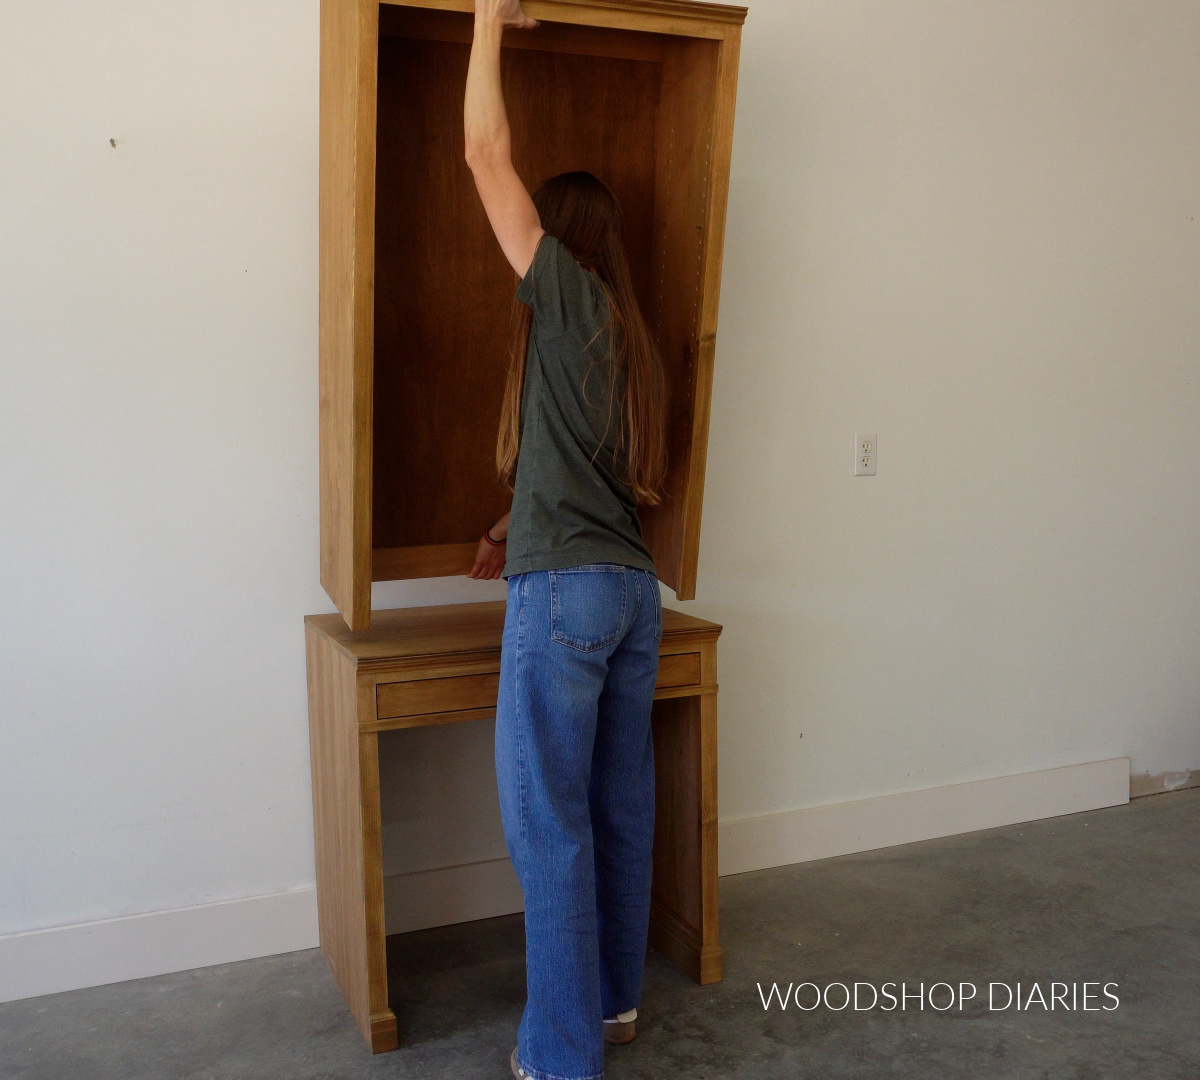
I recommend securely fastening each corner of the hutch to the top that it sits on. If it is going flat against a wall, also secure to the wall studs behind it.
To secure the hutch to the desk, you could use screws up through the desk top to secure the hutch or use 90 degree corner brackets from the top side.
This simple writing desk is great as is, but adding these two pieces (the desk and the hutch) to the modular system opens up so many unique possibilities!
Check out the matching armoire, matching 3 drawer cabinet, and matching glass door cabinets to pair with this desk for your own custom set up.
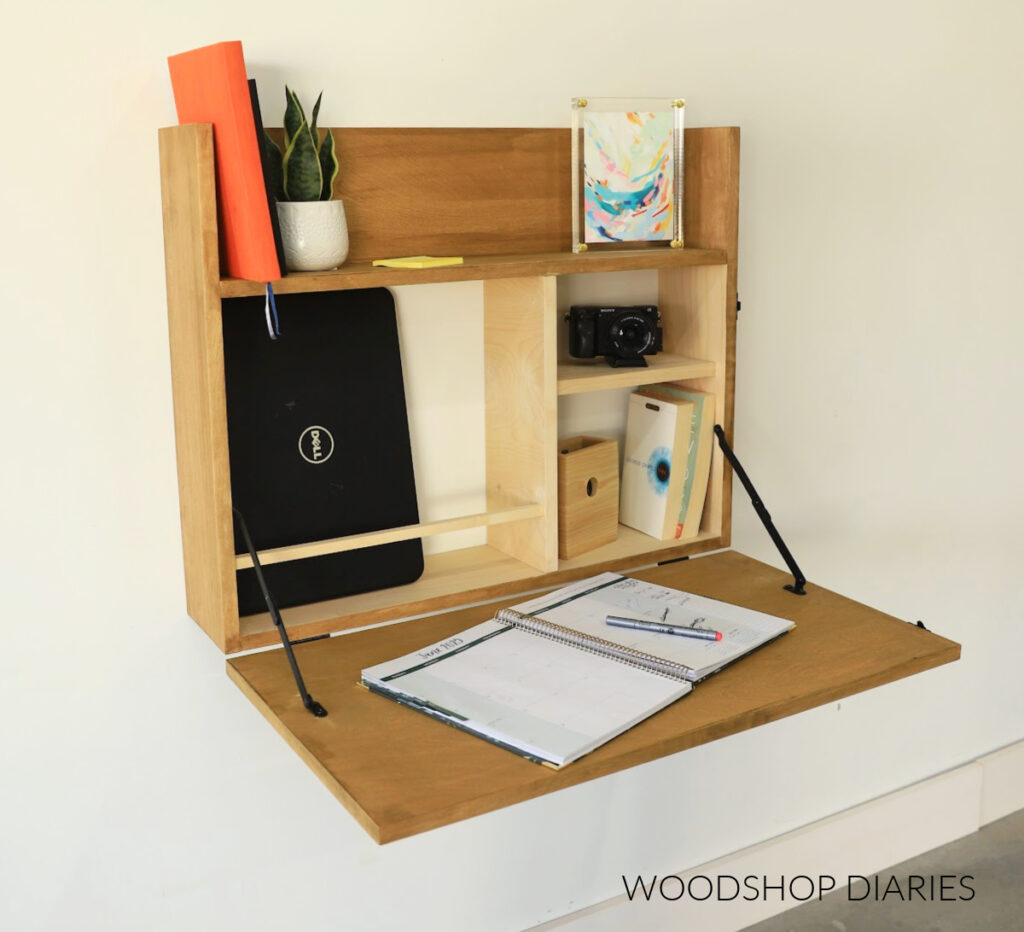
Looking for more DIY desk ideas?
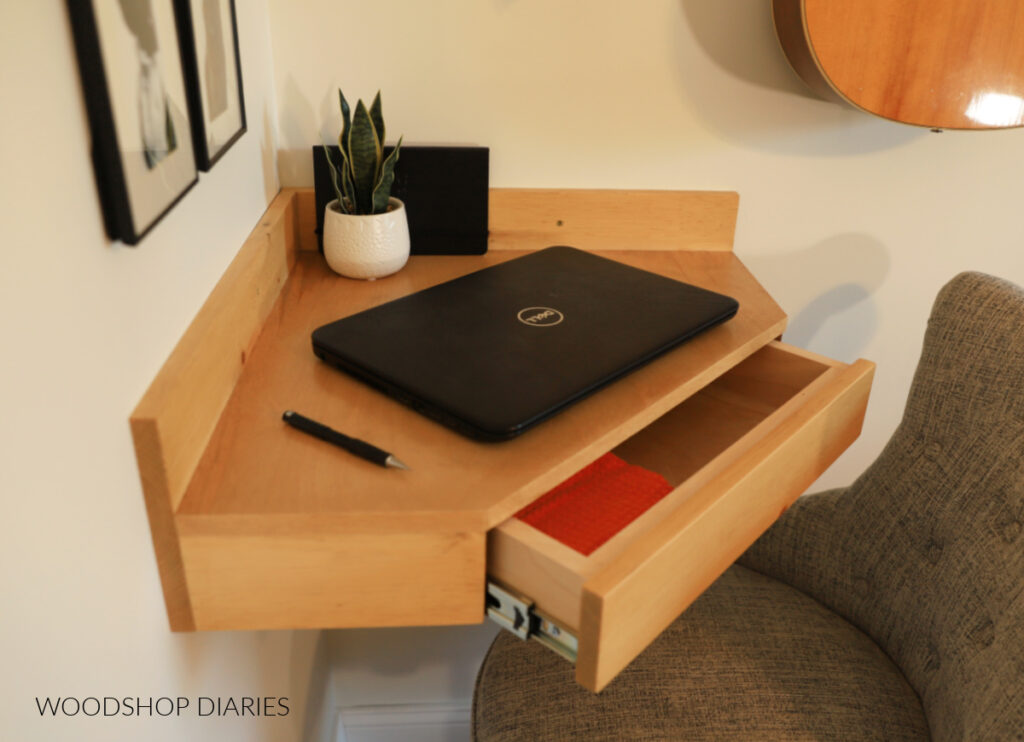
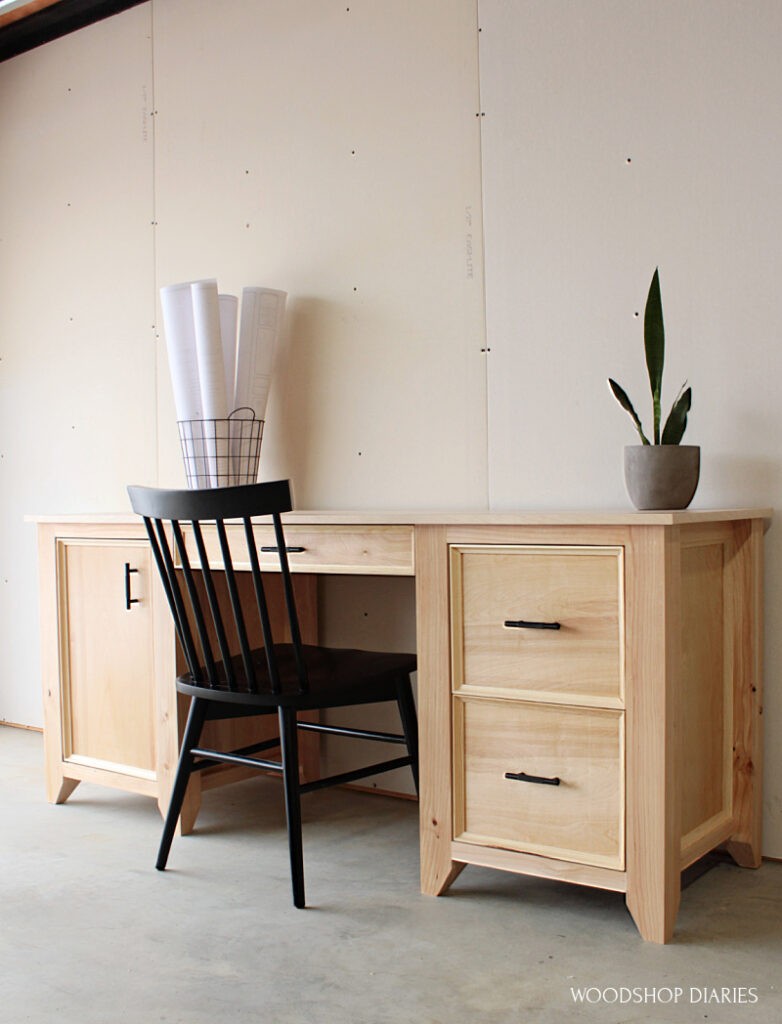
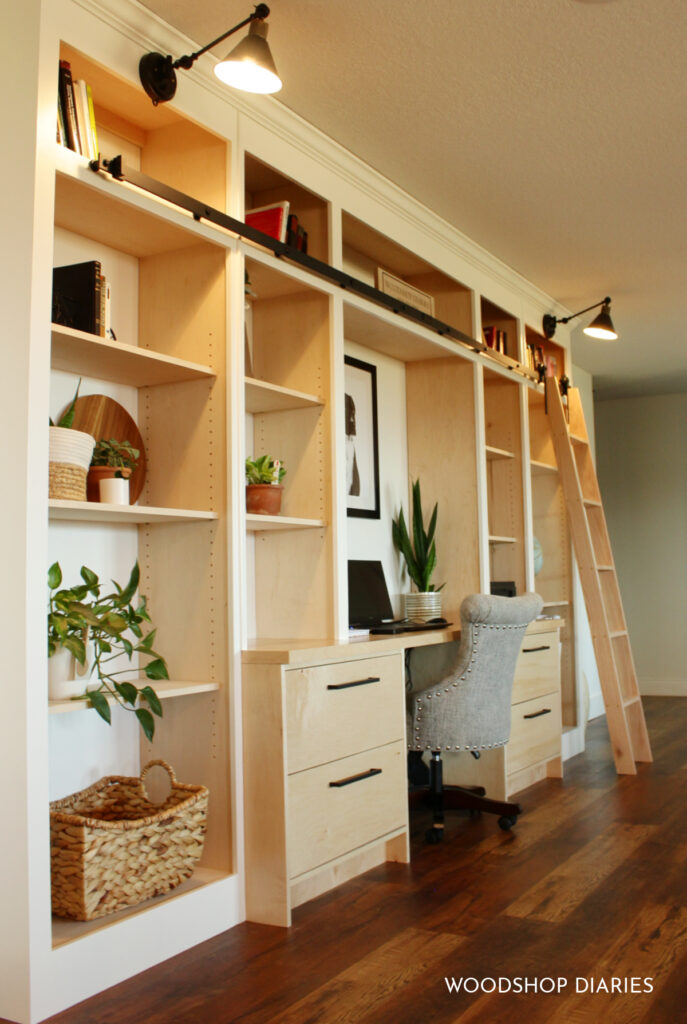
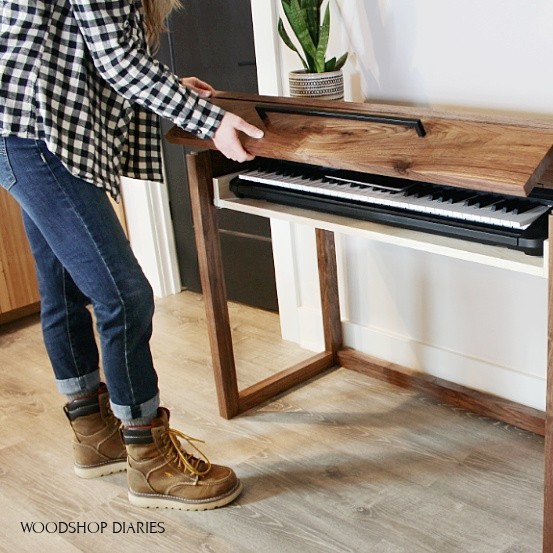
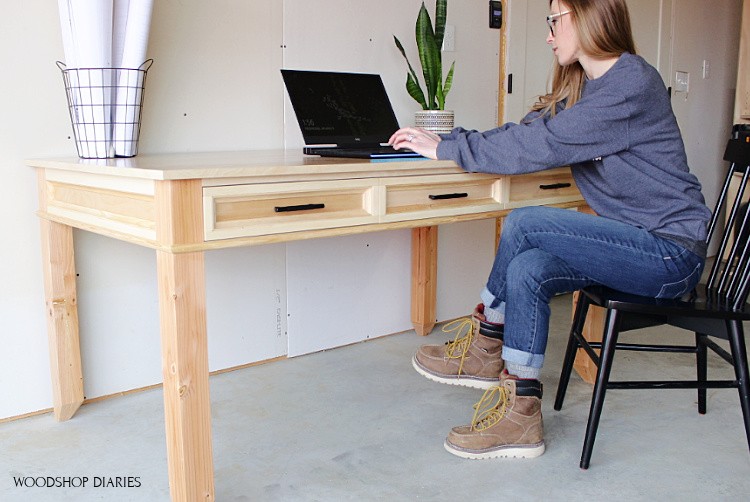
Enjoyed this build, but looking for more DIY desk plans? I’ve got you covered! Click on the image(s) below to learn how to build each project:
If you enjoyed this post, be sure to save it for later by pinning or sharing to your favorite social channel!
Until next time, friend, happy building!