
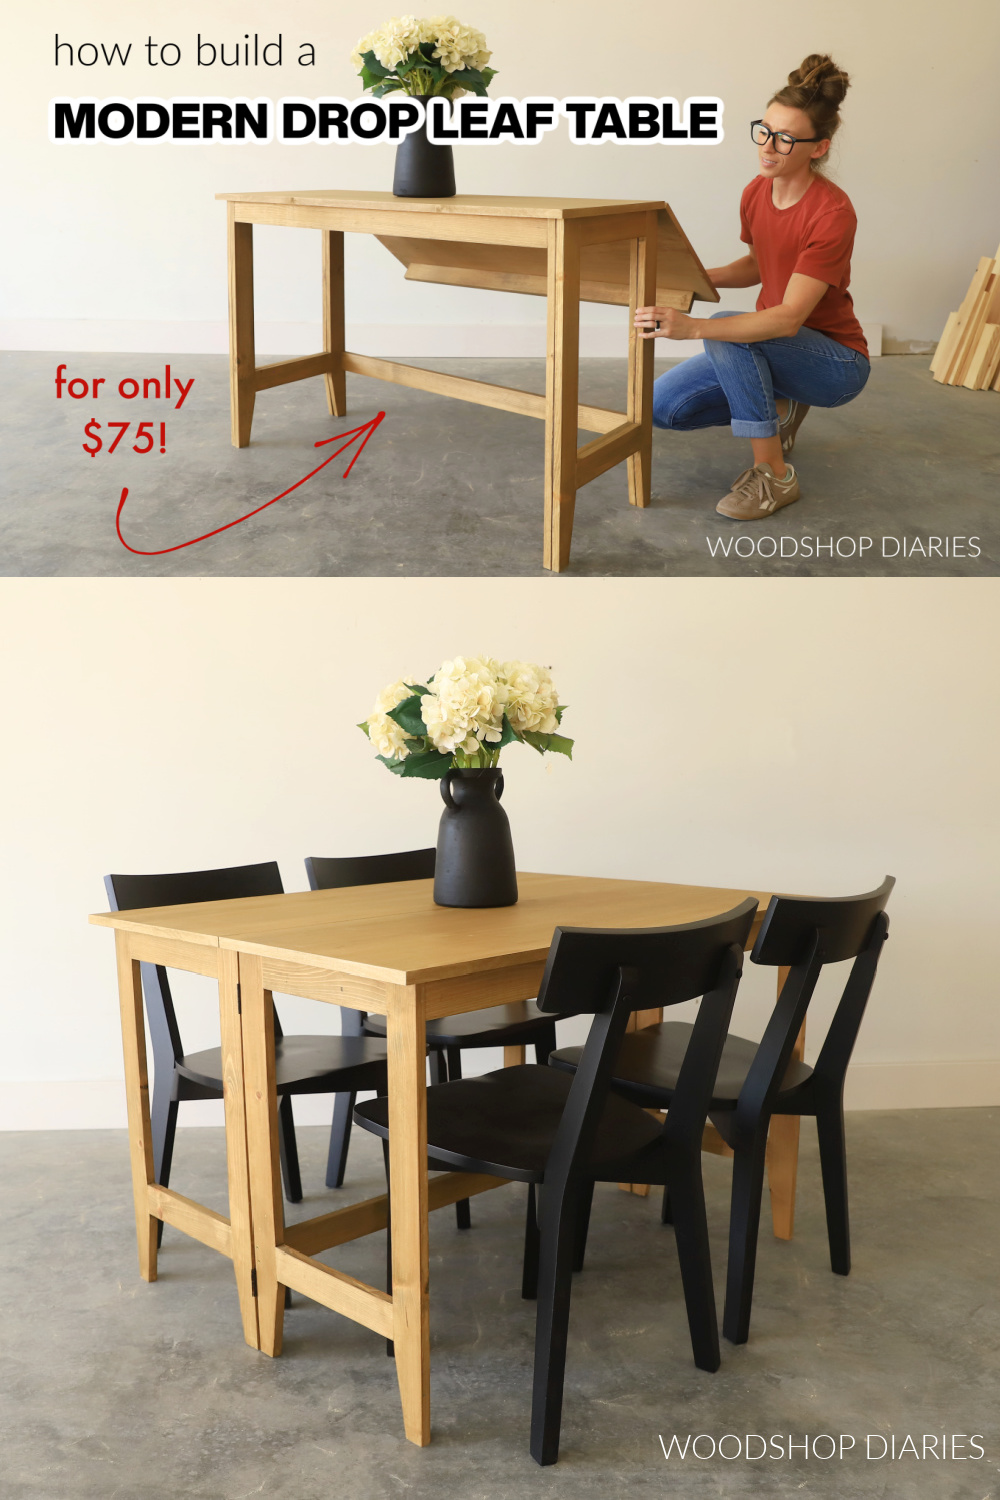
In this post, I’ll show you how to build a modern drop leaf table!
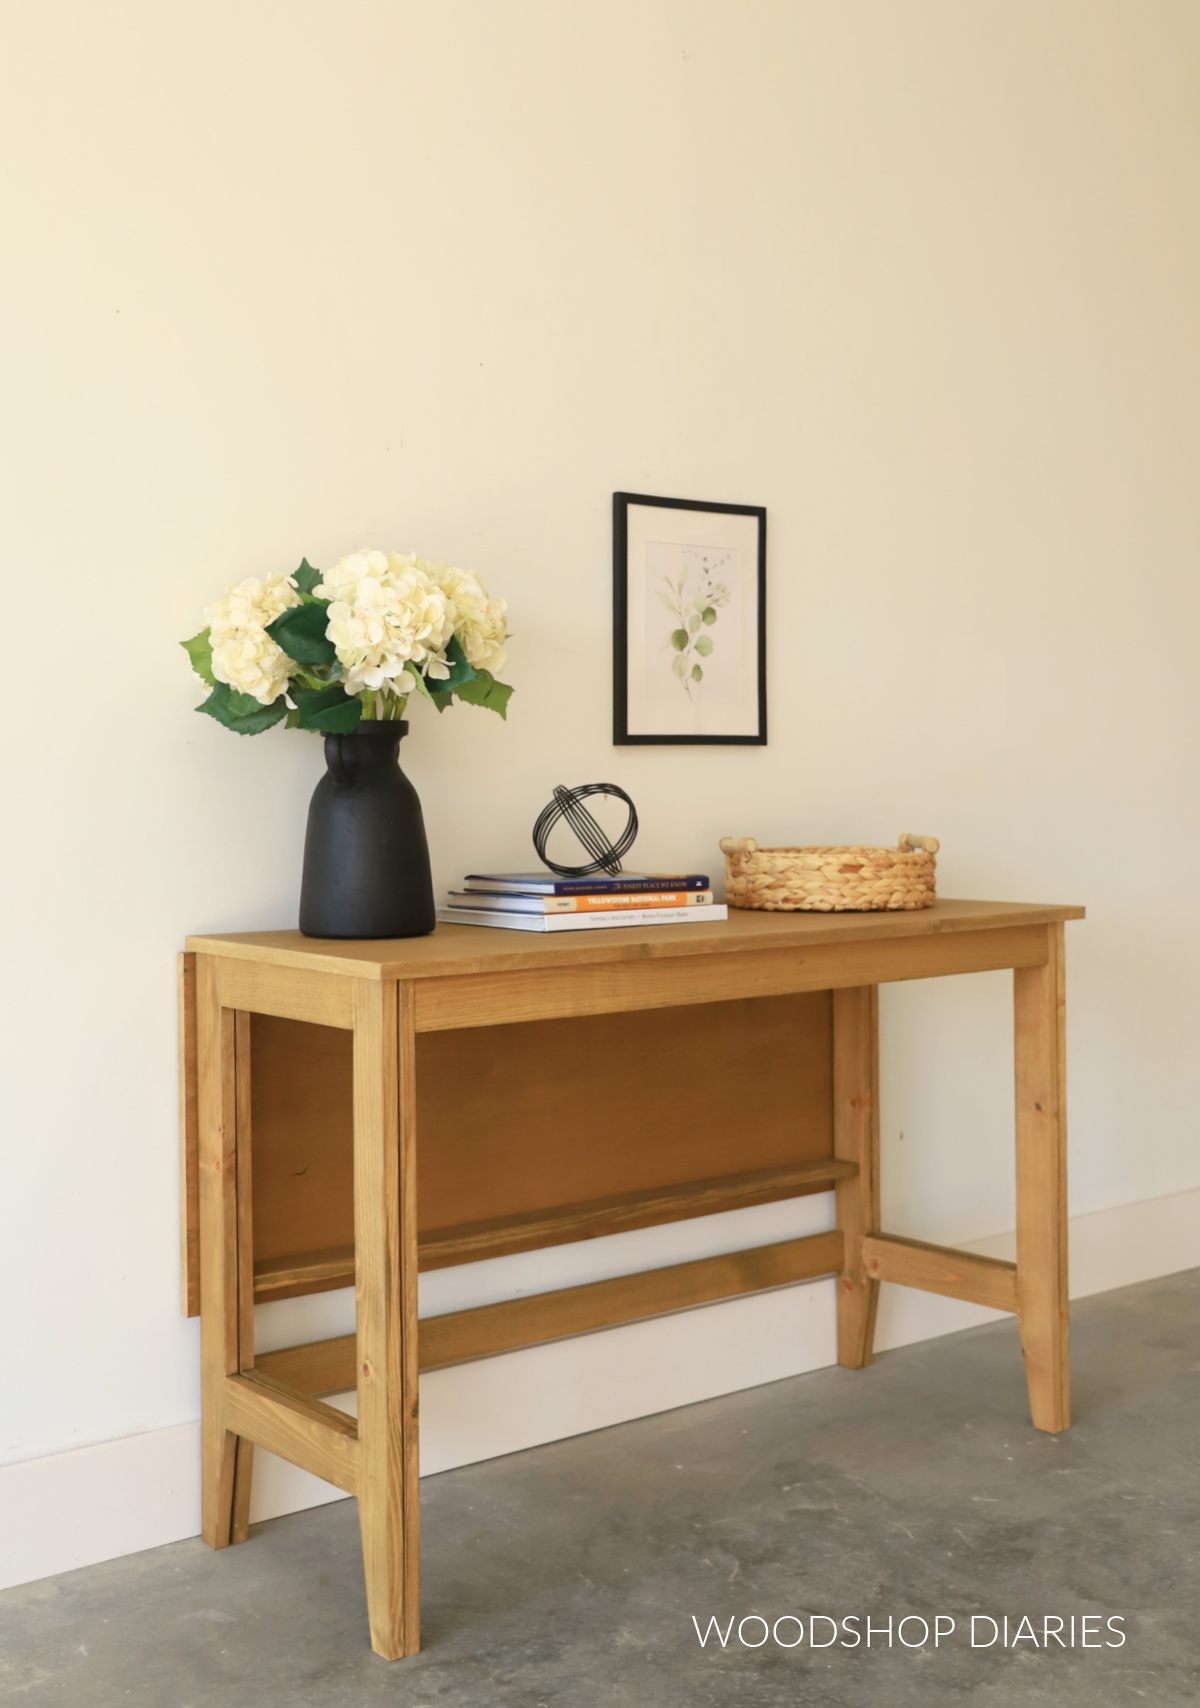
If you’re limited on space or need a multipurpose piece, this is the perfect solution. When folded down, it works great as a console table or a desk.
But, when folded out, it expands into a table that can seat 4-6 people for dinner or games!
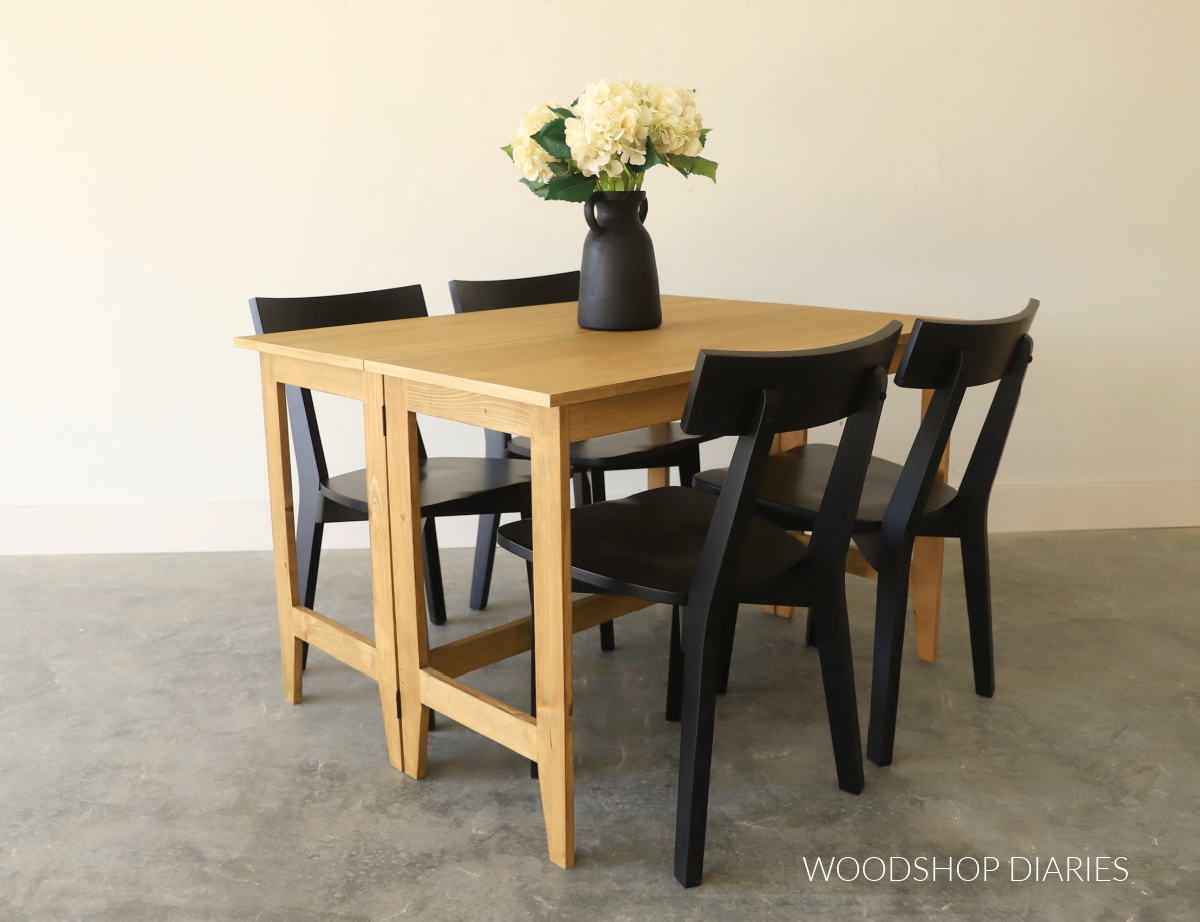
It’s not your traditional drop leaf table design, but I think it’s a more practical solution that can work well in just about any small space.
And the best part? It’s a quick and easy DIY project that you can build in a weekend (really in just a few hours if you don’t count the time it takes for the glue to dry). I’ll show you how to build your own in the plans, video and tutorial below.
*This post contains affiliate links. See website policies.
What to consider before building
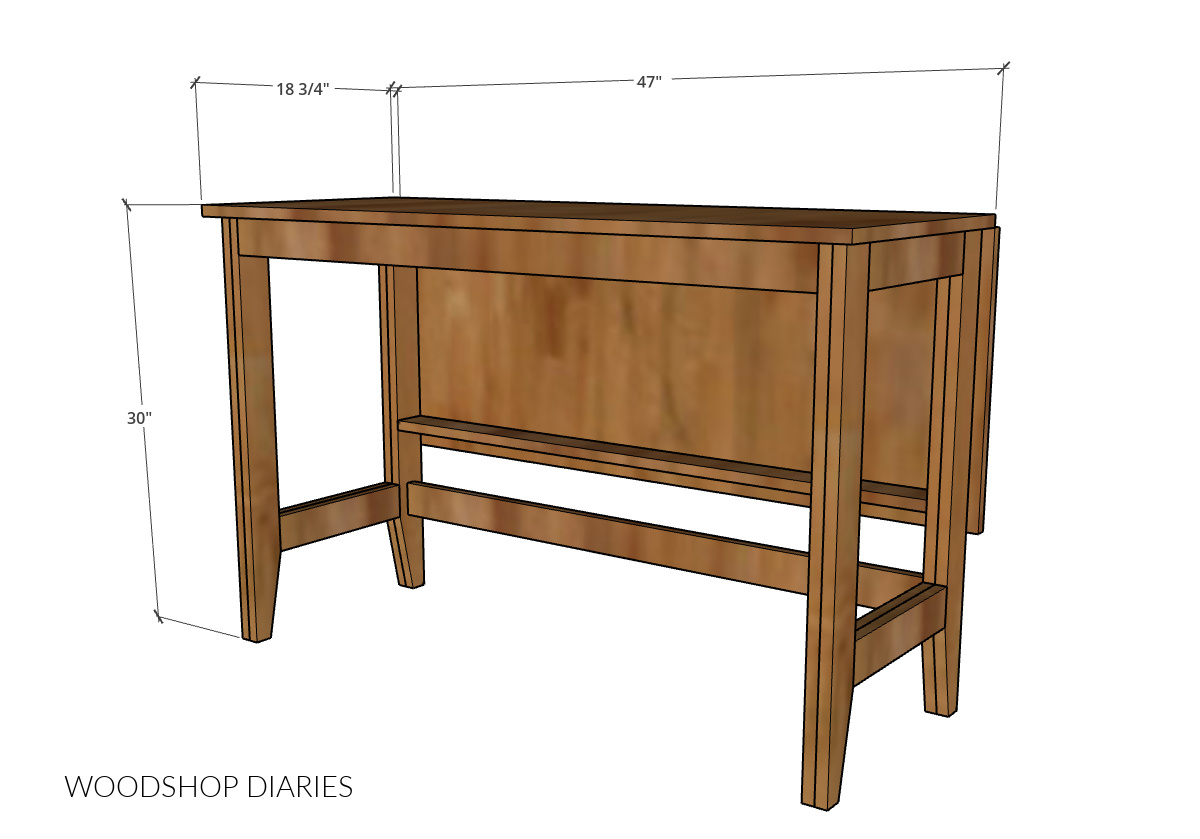
This modern drop leaf table design is so versatile. It’s a standard dining table height, which is also a standard desk height (30″), so when it’s folded down, it makes an excellent desk. Or you could use it as a two seater dining table in a small eat in kitchen.
But it could also work well as a console table in the entryway or living room.
Traditional style drop leaf tables require specialty hardware to prop up the leaves which makes them more expensive and more complicated to assemble.
But this design has hinged side frames that fold out to support the drop leaf…so no specialty hardware is required.
That saves money, but also makes for super simple assembly. This drop leaf table cost about $75 to build.
OVERALL DIMENSIONS
When folded down, this DIY drop leaf table is approximately 18 ¾″ deep x 30″ tall x 47″ wide. When folded out, it’s the same height and width, but extends to 36″ deep.
You may find these additional resources helpful throughout the build:
Enjoy DIY projects and woodworking plans? Sign up for priority access for the latest posts on Woodshop Diaries!
How to build an EASY Drop Leaf Table
If you prefer to watch, I’ve shared the full build video with tons of tips, behind the scenes, and additional details on my YouTube Channel here.
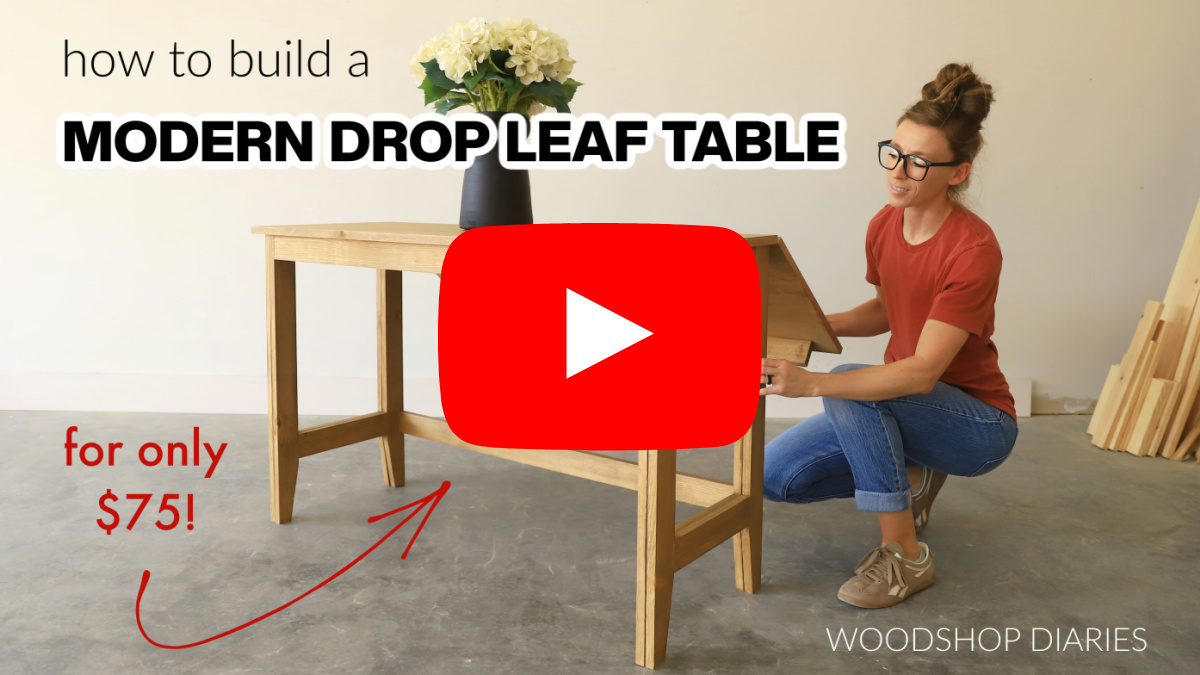
Love watching how-to videos? Subscribe to my YouTube channel for plenty more where that came from!
Prefer to print? Grab the printable drop leaf table building plans available here:
Tools & Materials
Tools:
- Drill/Driver
- Circular Saw and Plywood Cutting Guides (Kreg Rip Cut & AccuCut)
- Miter Saw
- Jig Saw (optional)
- Pocket Hole Jig
- Dowel Jig
- Clamps
Materials:
- (1) 4’x4′ sheet (½ sheet) ¾″ plywood
- (6) 1x3x8 boards
- (4) pair butt hinges
- Wood Glue
- (4) 1 ¼” wood screws
- 1 ¼” pocket hole screws (100 count box)
- (32) ⅜” x 1 ½” dowel pins
- Edge banding (optional, but recommended)
Step 1: Assemble Table Side Frames
To get started, I cut down eight pieces of 1×3 to build my side frames. This table is built with four “side frames.”
Each side of the table gets two frames so that when it’s folded down, the frames are doubled up. This will make more sense as it comes together.
For now, these 8 pieces will be the legs of the table. To add a little interest, I used a jig saw to cut a slight taper on the bottom of each piece. That’s totally optional.
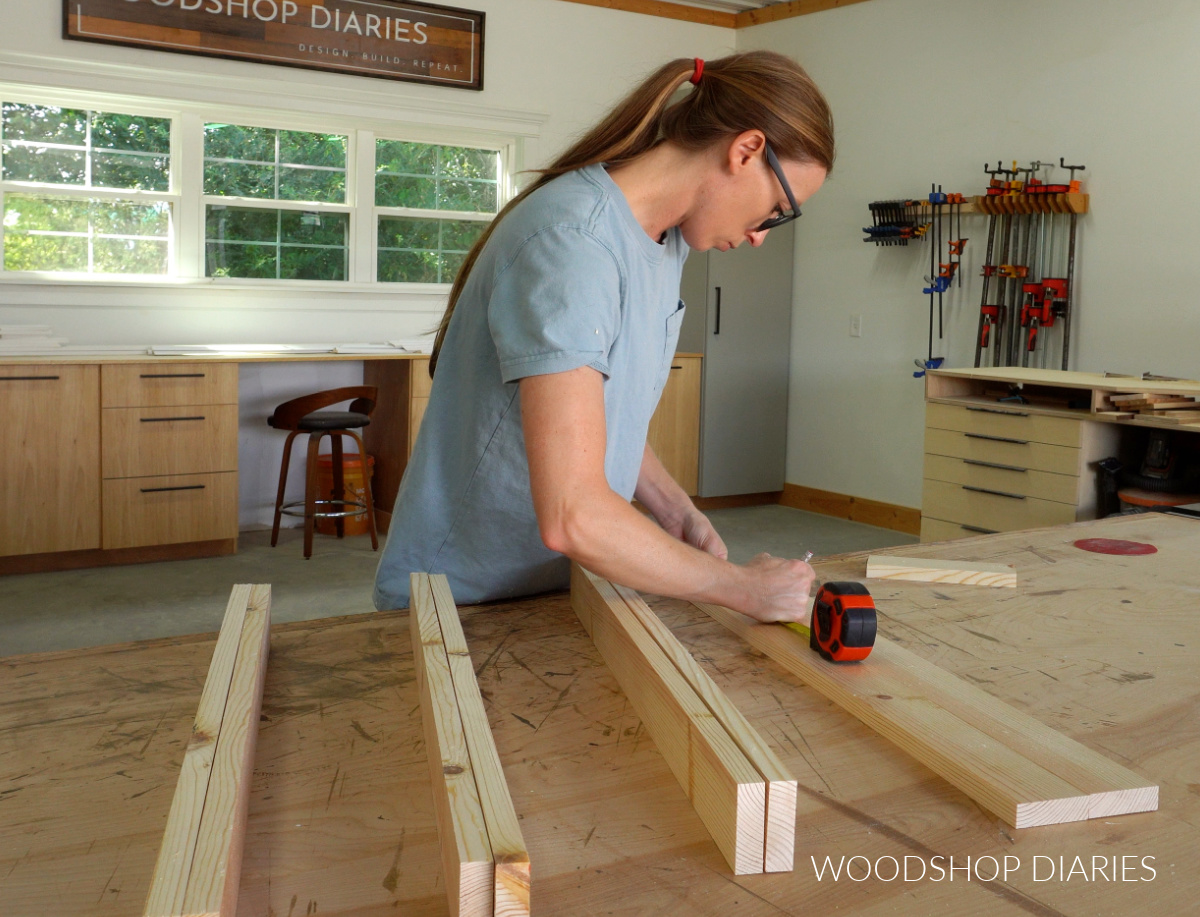
Then, I cut 8 more shorter 1×3 pieces to run between these legs to make the four side frames.
The way that this table is made, there’s no where to put pocket holes in these pieces where they won’t be visible in the finished project. You can absolutely assemble them using pocket holes if you don’t mind seeing them.
But, I didn’t want to see pocket holes in my finished project, so I put these together using wood glue and dowels.
RELATED: How to use a dowel jig
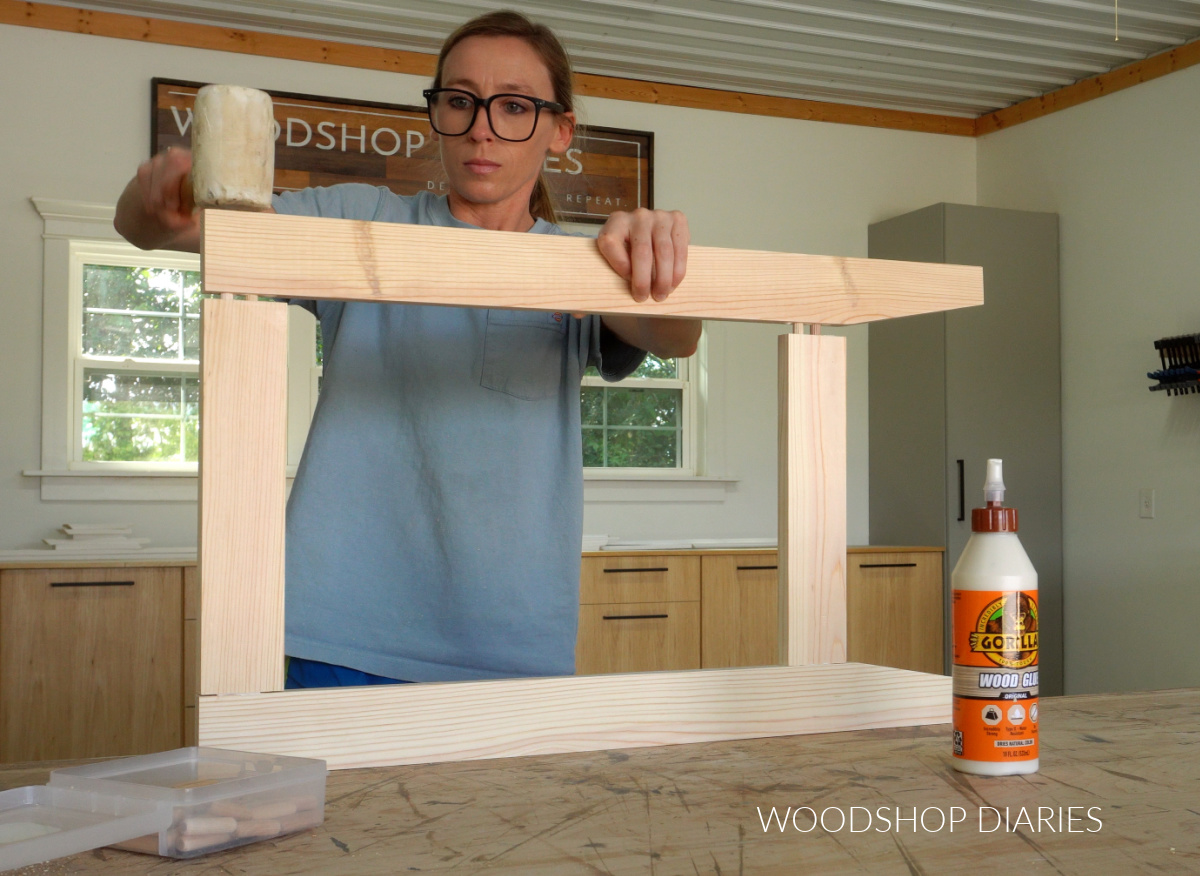
After the glue dried, I sanded and stained these frames separately before moving on.
TIP: You can stain once it’s completely assembled, but I was using a water based stain and that’s hard to apply to large pieces at once (it dries too fast). So I stained each piece individually before assembling.
I used Minwax Water Based Wood Stain in Driftwood for this project.
You can find all the dimensions, diagrams, cut list, and more in the printable building plans here.
Step 2: Assemble Drop Leaf Table Base
I set two of the side frames from step 1 to the side for now and cut two longer pieces of 1×3 for the table aprons. These pieces will connect the sides together around the top.
For this, I used pocket holes and screws. Note that the back apron is installed slightly inset from the back edge, but the front apron is installed flush.
RELATED: How to use pocket holes
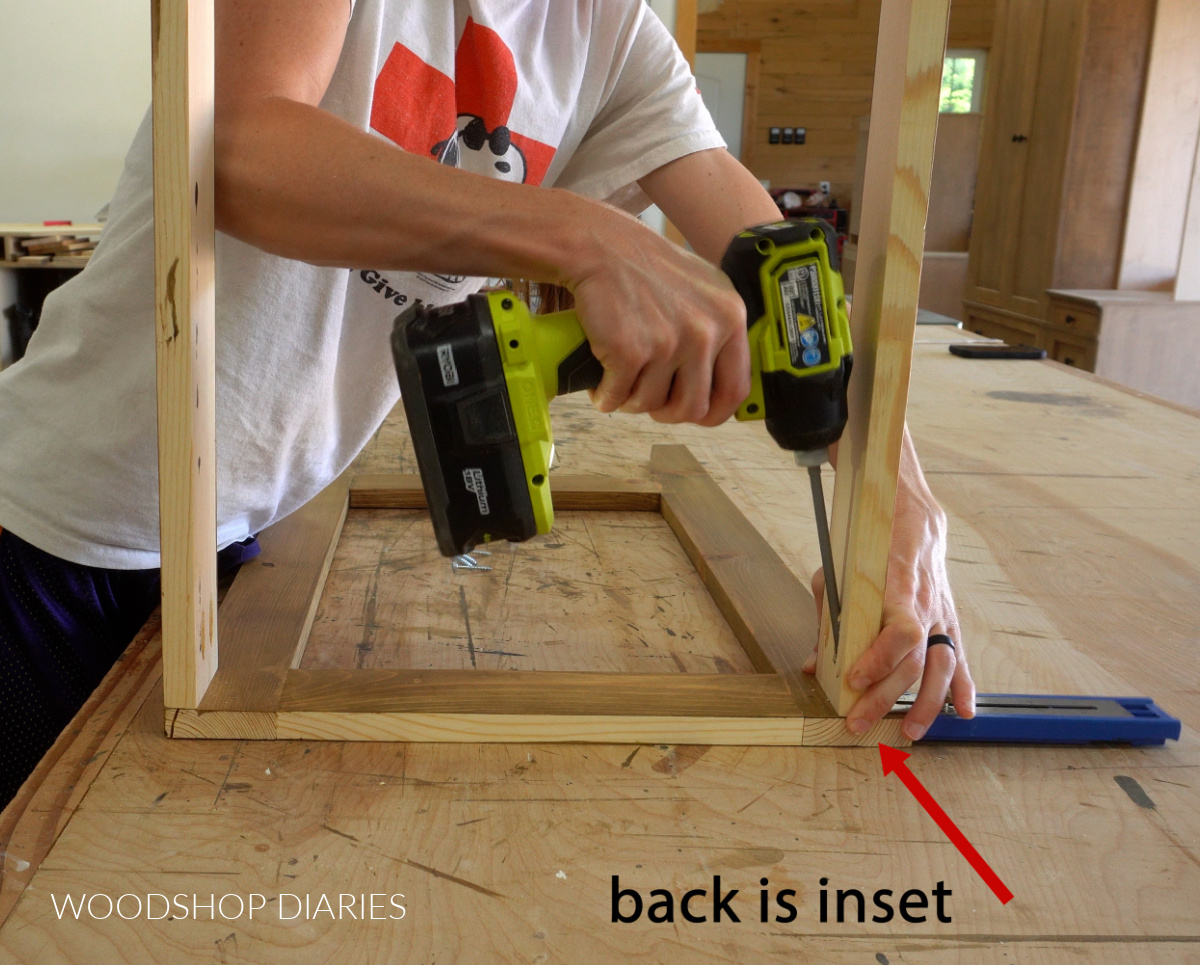
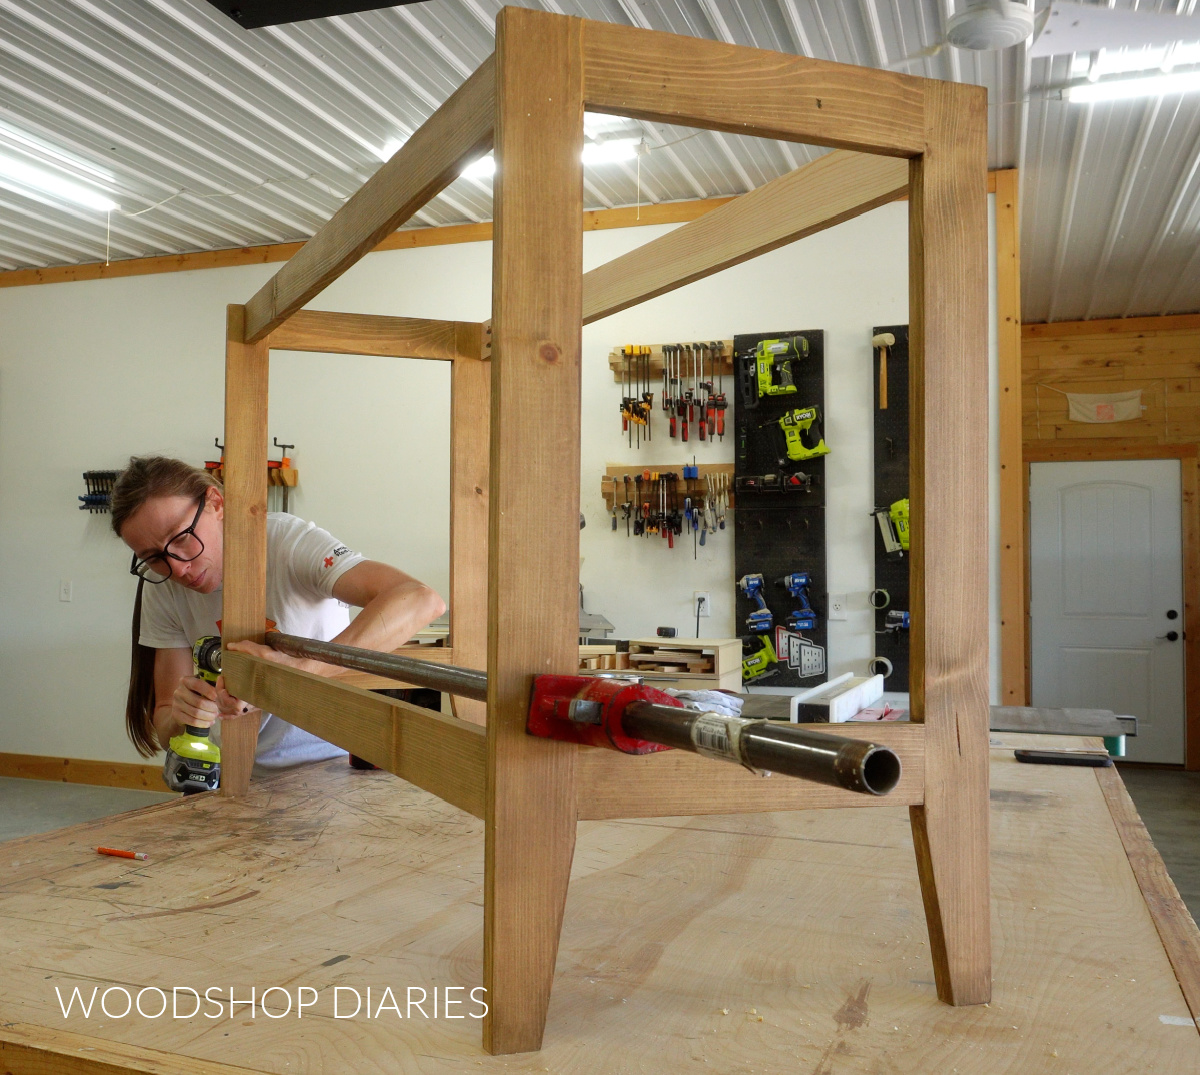
Then, I cut another piece of 1×3 to attach between the side frames toward the bottom and flush to the back. For this, I just used some wood screws through the sides.
Pocket holes would have worked fine here, but the screw heads were less noticeable than pocket holes.
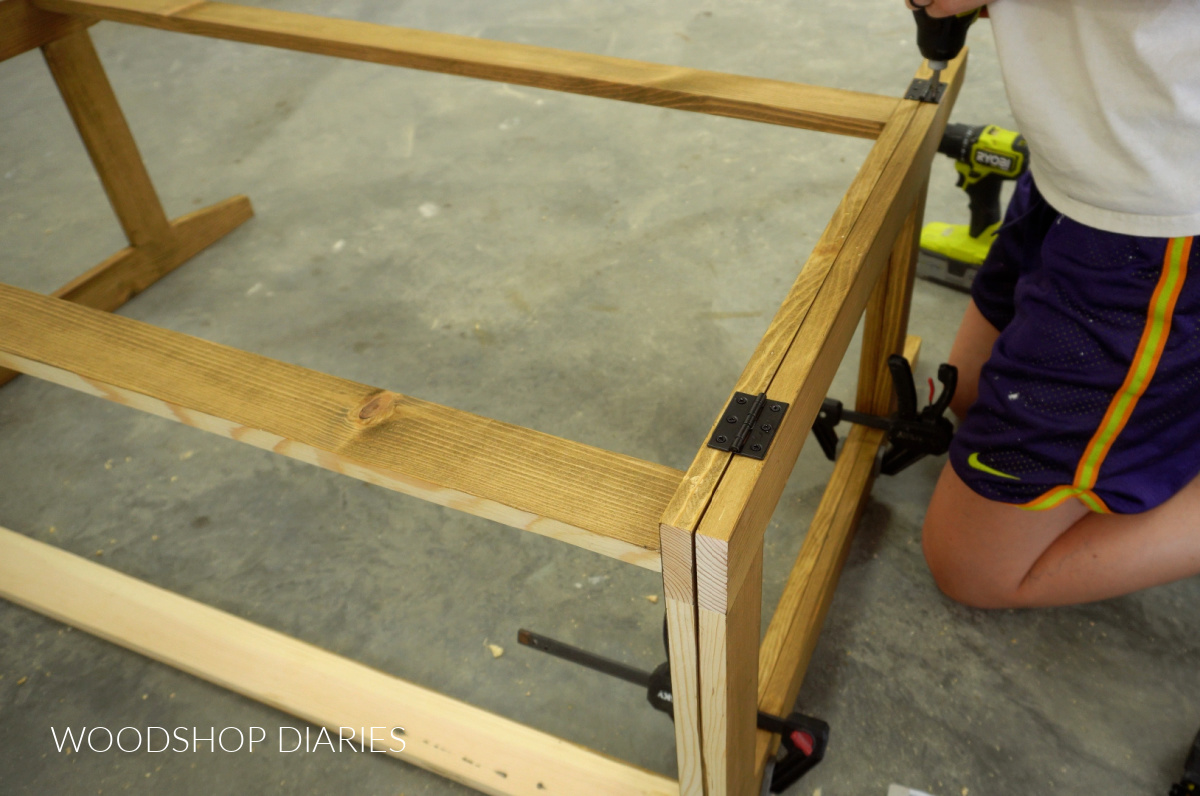
Remember those two extra side frames from earlier? I brought those back out and secured one to each side using some 2″ cabinet butt hinges along the back edge.
This will allow the side frames to “open up” to support the drop leaf top.
Prefer to print? Grab the printable building plans for this drop leaf table here.
Step 3: Build Expandable Table Top
For the top, I opted to use ¾″ plywood. You could glue up a solid wood top if you’d like, but plywood is more stable and easier to keep flat.
I cut two pieces of plywood for my top: one will be stationary and one will fold up/down. To make them look more like solid wood, I applied iron on edge banding to the edges of each piece to hide the plies.
RELATED: How to cover plywood edges
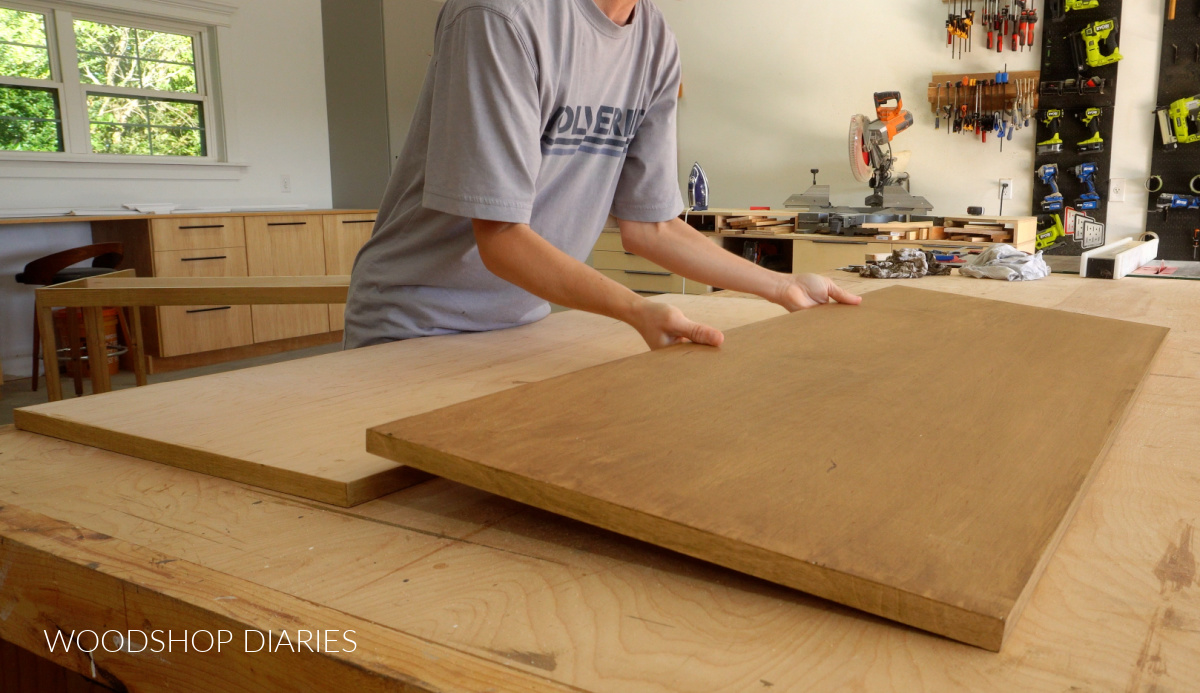
I stained the top and edges of the stationary piece (you won’t see its bottom side when finished). But I stained all sides of the folding piece.
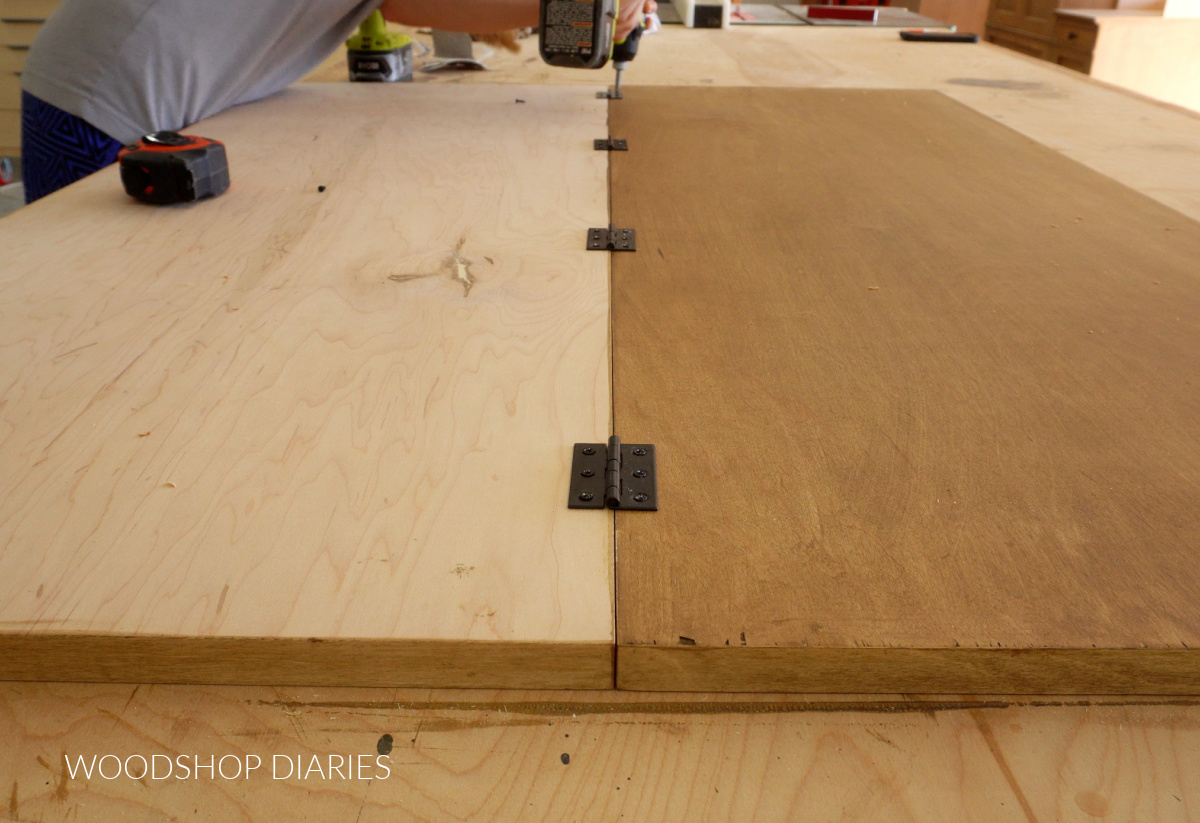
Then, I flipped these upside down on my workbench and attached them together at the seam with some more butt hinges.
Step 4: Attach Drop Leaf Table Top
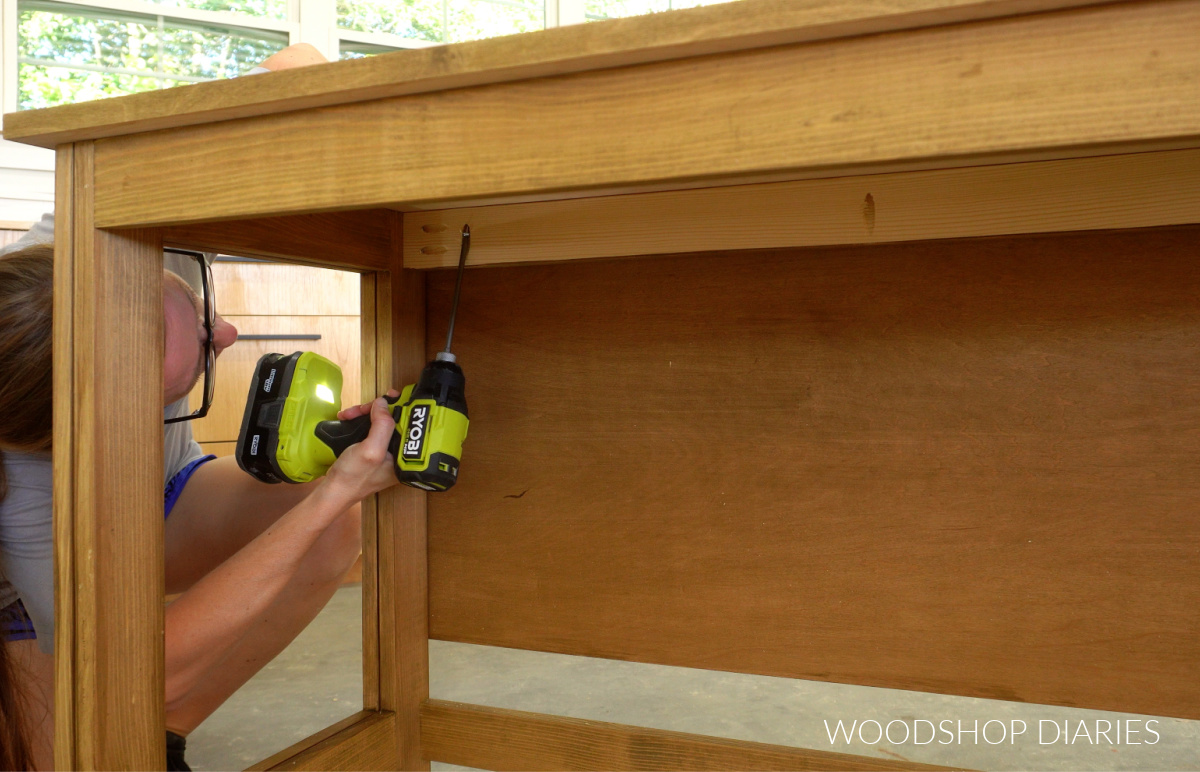
Before placing the top, I drilled pocket holes along the front and back table apron (on the inside so you can’t see them) to secure it.
Then, I centered the stationary top onto the base like shown below with the folding side toward the back.
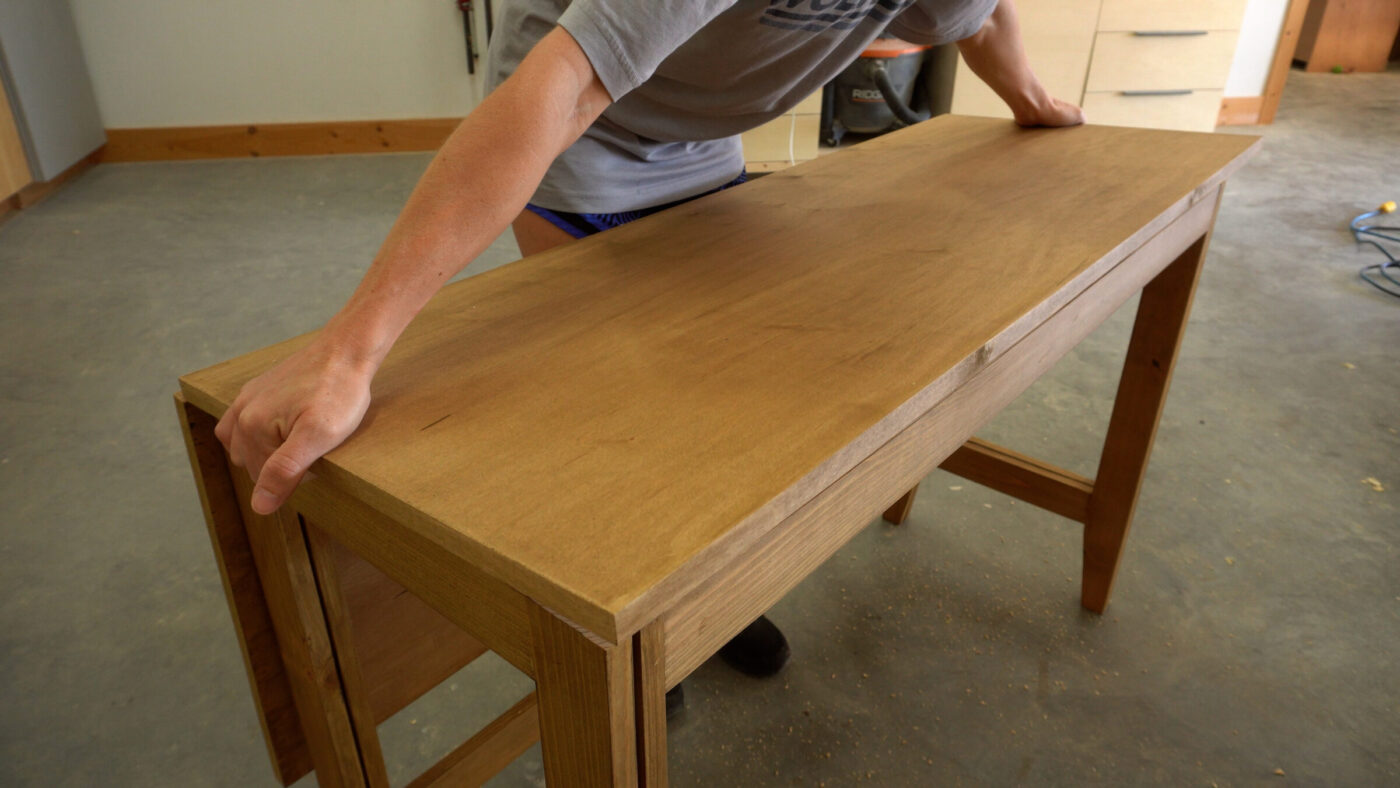
I secured the top using pocket hole screws through the holes in the apron. Side note: You don’t have to use pocket holes here. You could also use some corner brackets, z clips, figure 8 fasteners, etc.
And finally, I cut one last piece of 1×3 to use as a “faux apron” for the expanding table top. This piece is both for looks, but also helps with stability.
I glued this onto the bottom side of the fold down table top, making sure it fit snug between the back legs (you don’t want it rubbing).
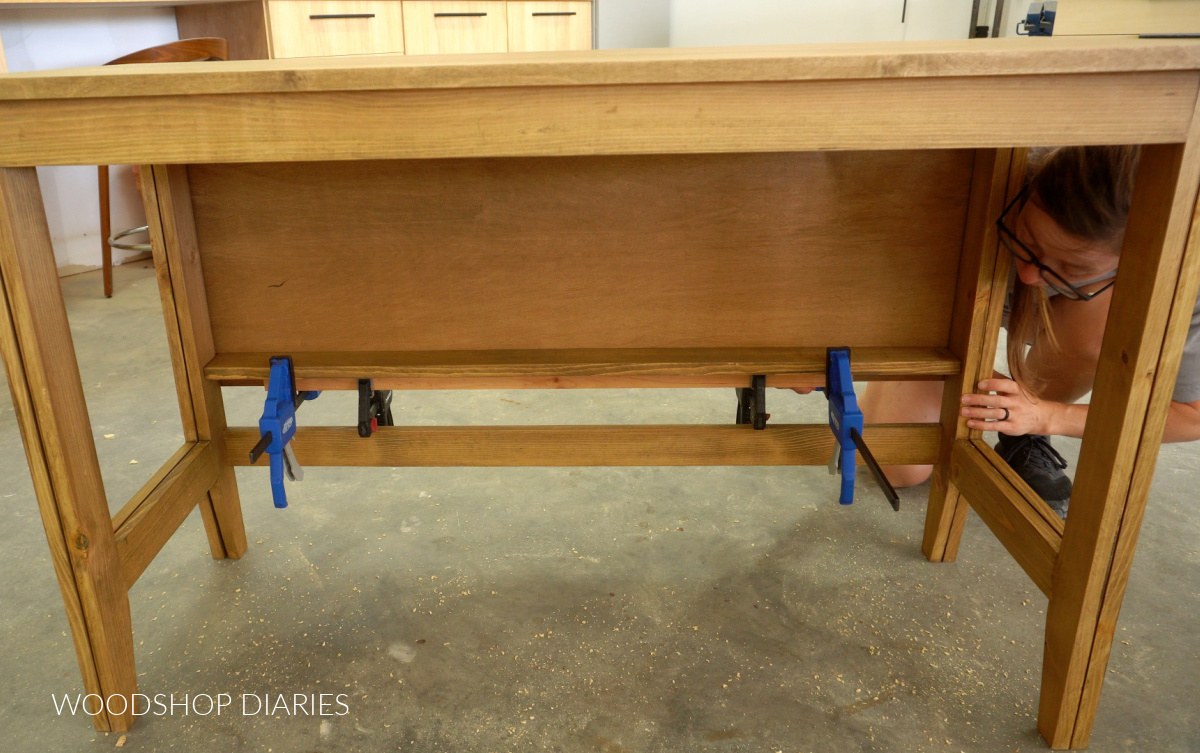
Once that was dry, This table was finished and ready to put to use!
To expand the top, simply lift the top panel that hangs off the back side, and rotate the side panels back on each side to support it. Butt the side frames up to the edges of the faux apron on the top.
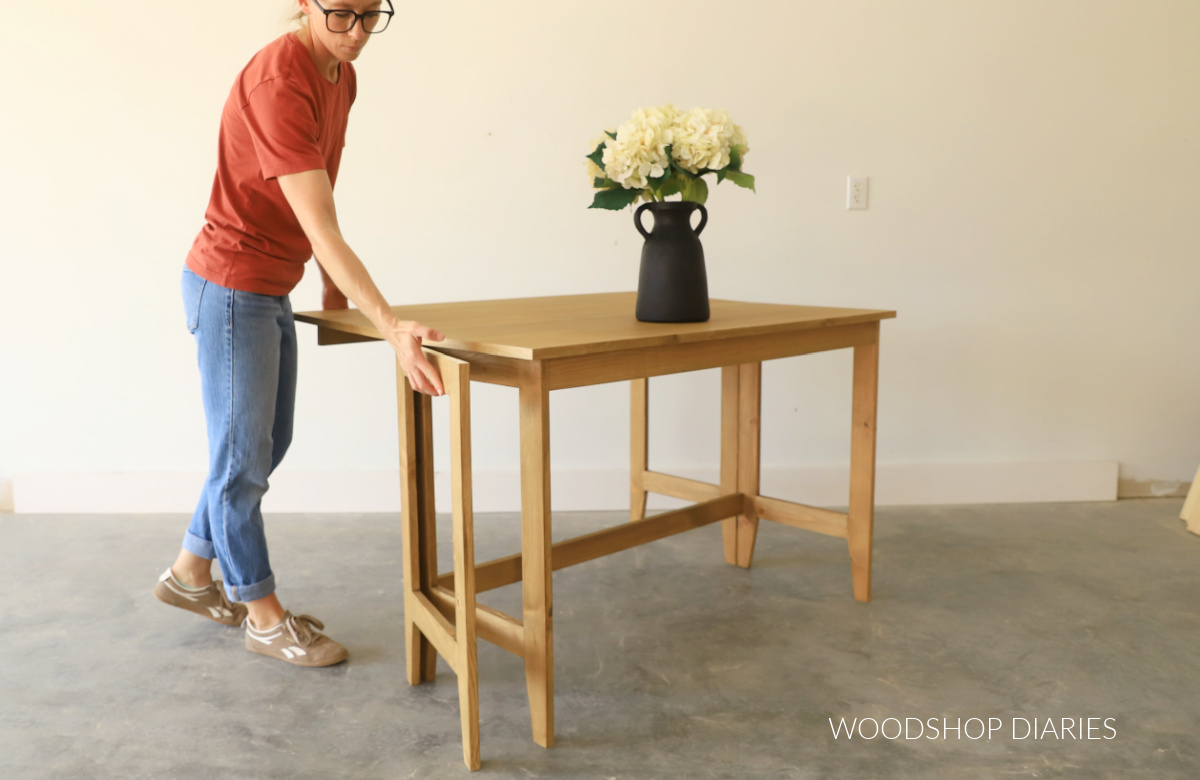
To fold back down, rotate the side panels forward and lower the top panel.
It only takes a few seconds to “transition” it from a simple desk or console, to a dining or game table when you’re expecting guests or need some extra seating. No tools, no fancy hardware needed.
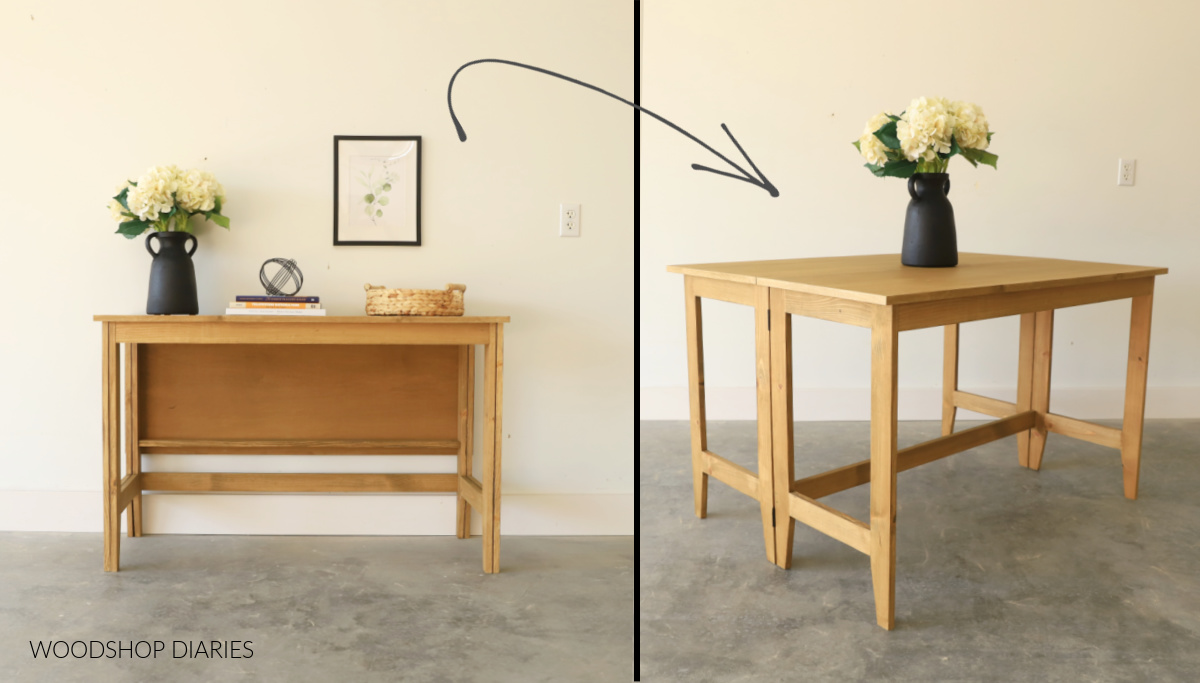
Enjoyed this project and want to build your own? Grab the printable building plans for this drop leaf table here.
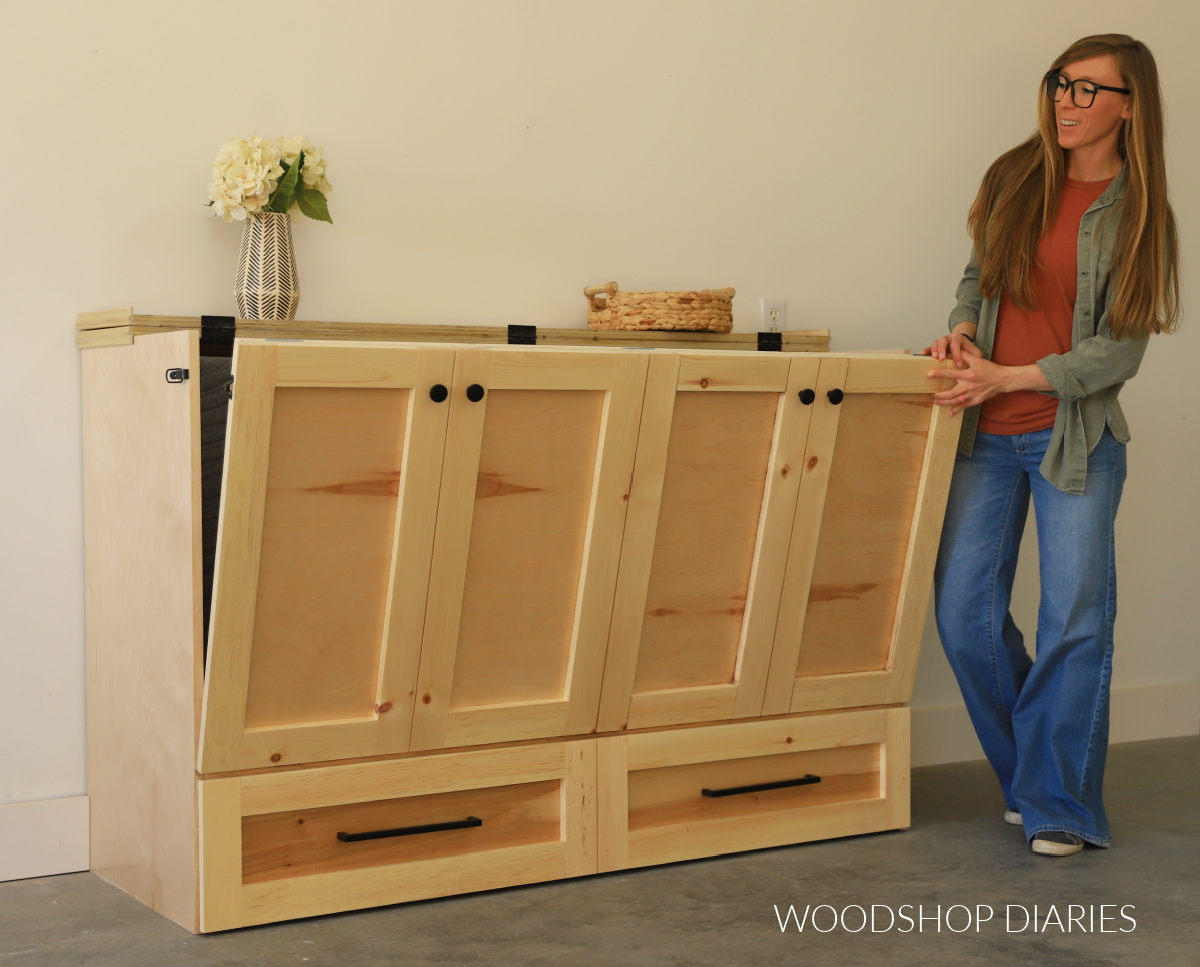
Looking for more multipurpose DIY furniture projects?
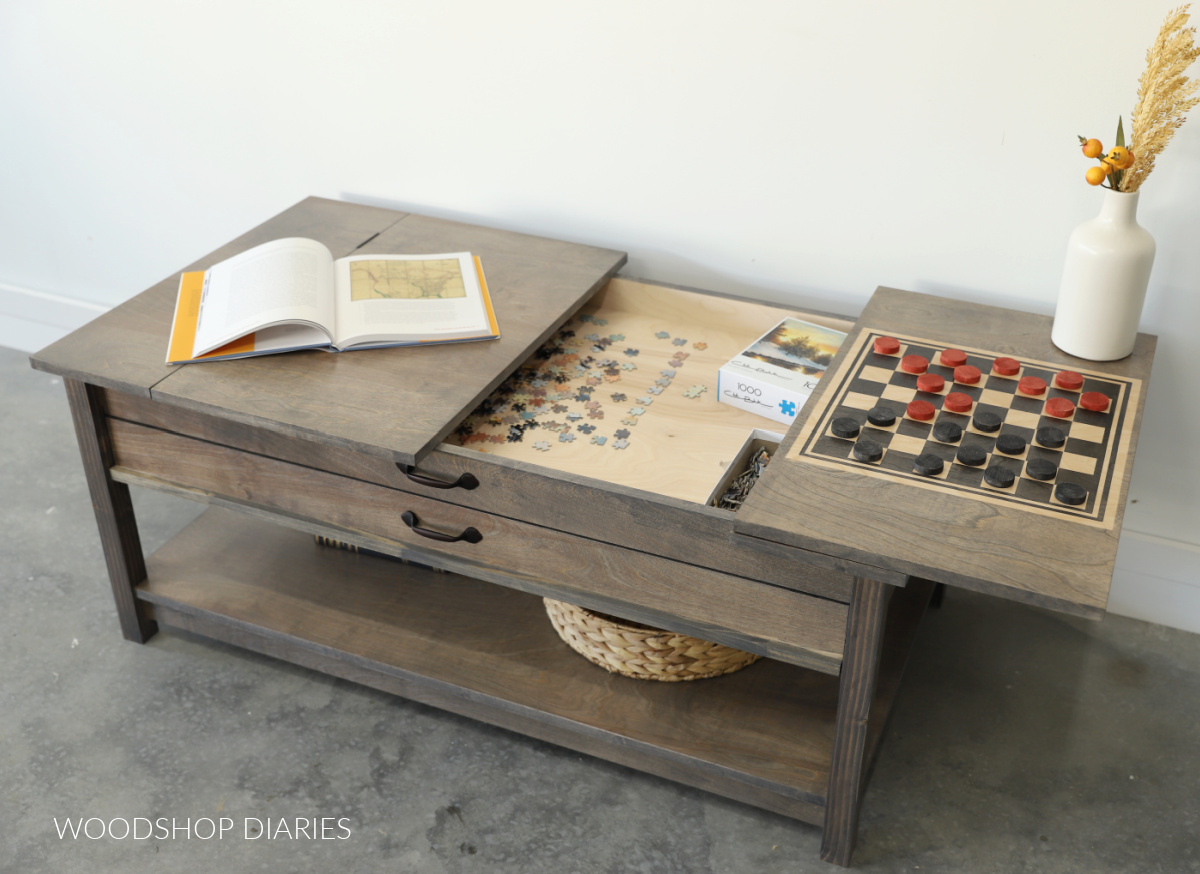
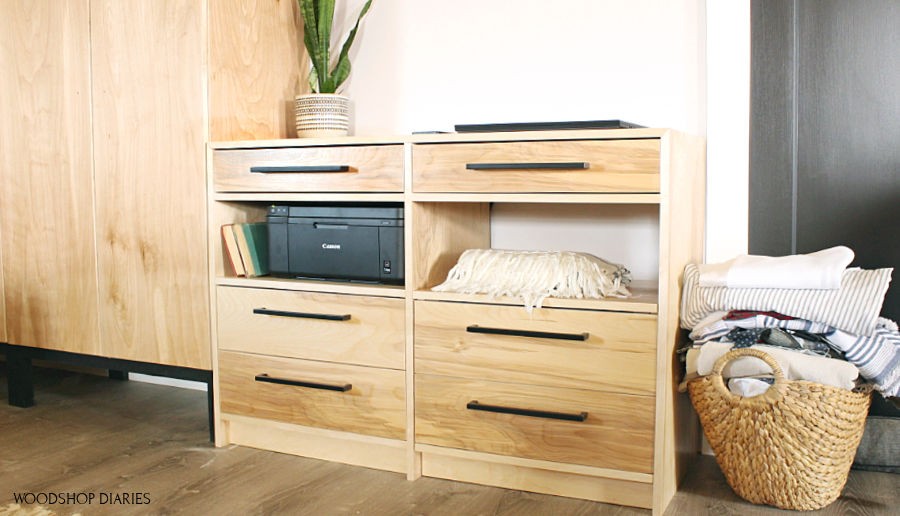
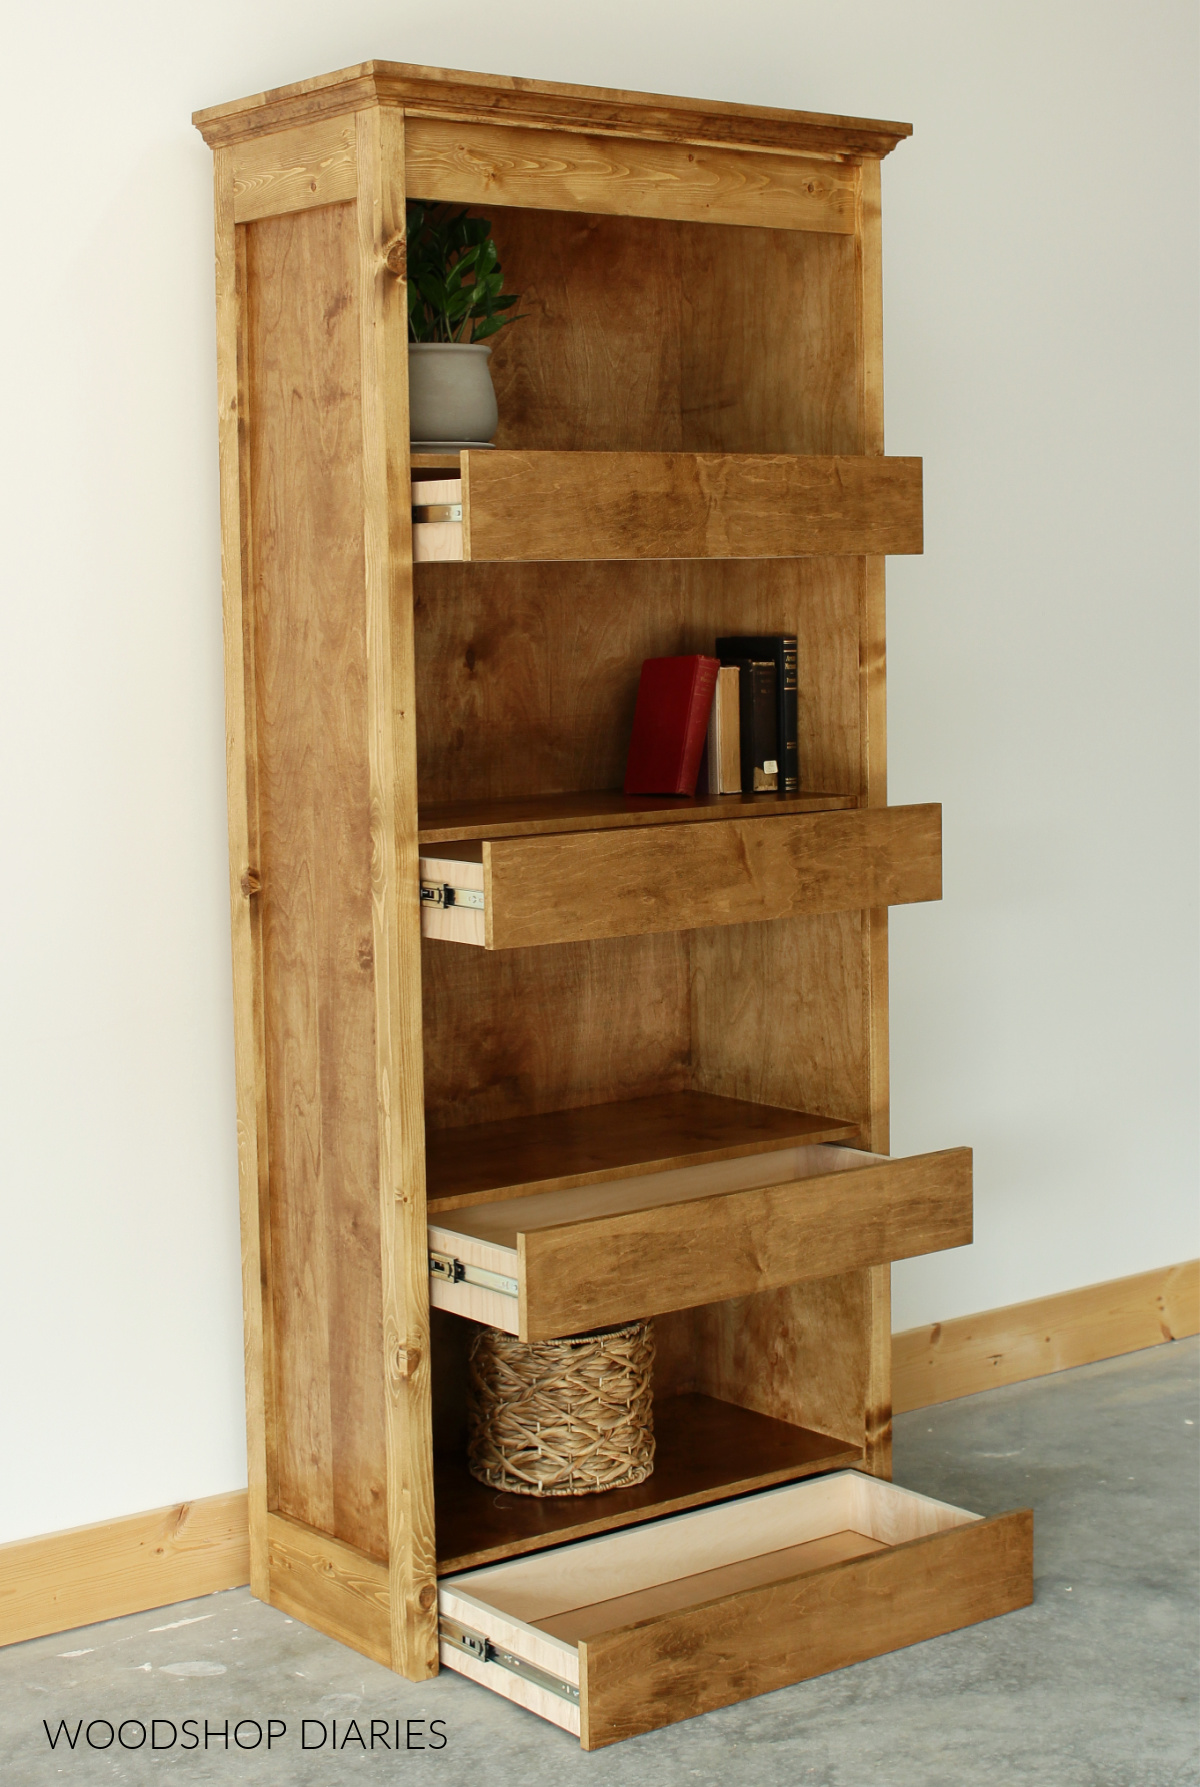
Enjoyed this build, but looking for more multipurpose DIY ideas? I’ve got you covered! Click on the image(s) below to learn how to build each project:

If you enjoyed this post, be sure to save it for later by pinning or sharing to your favorite social channel!
Until next time, friend, happy building!