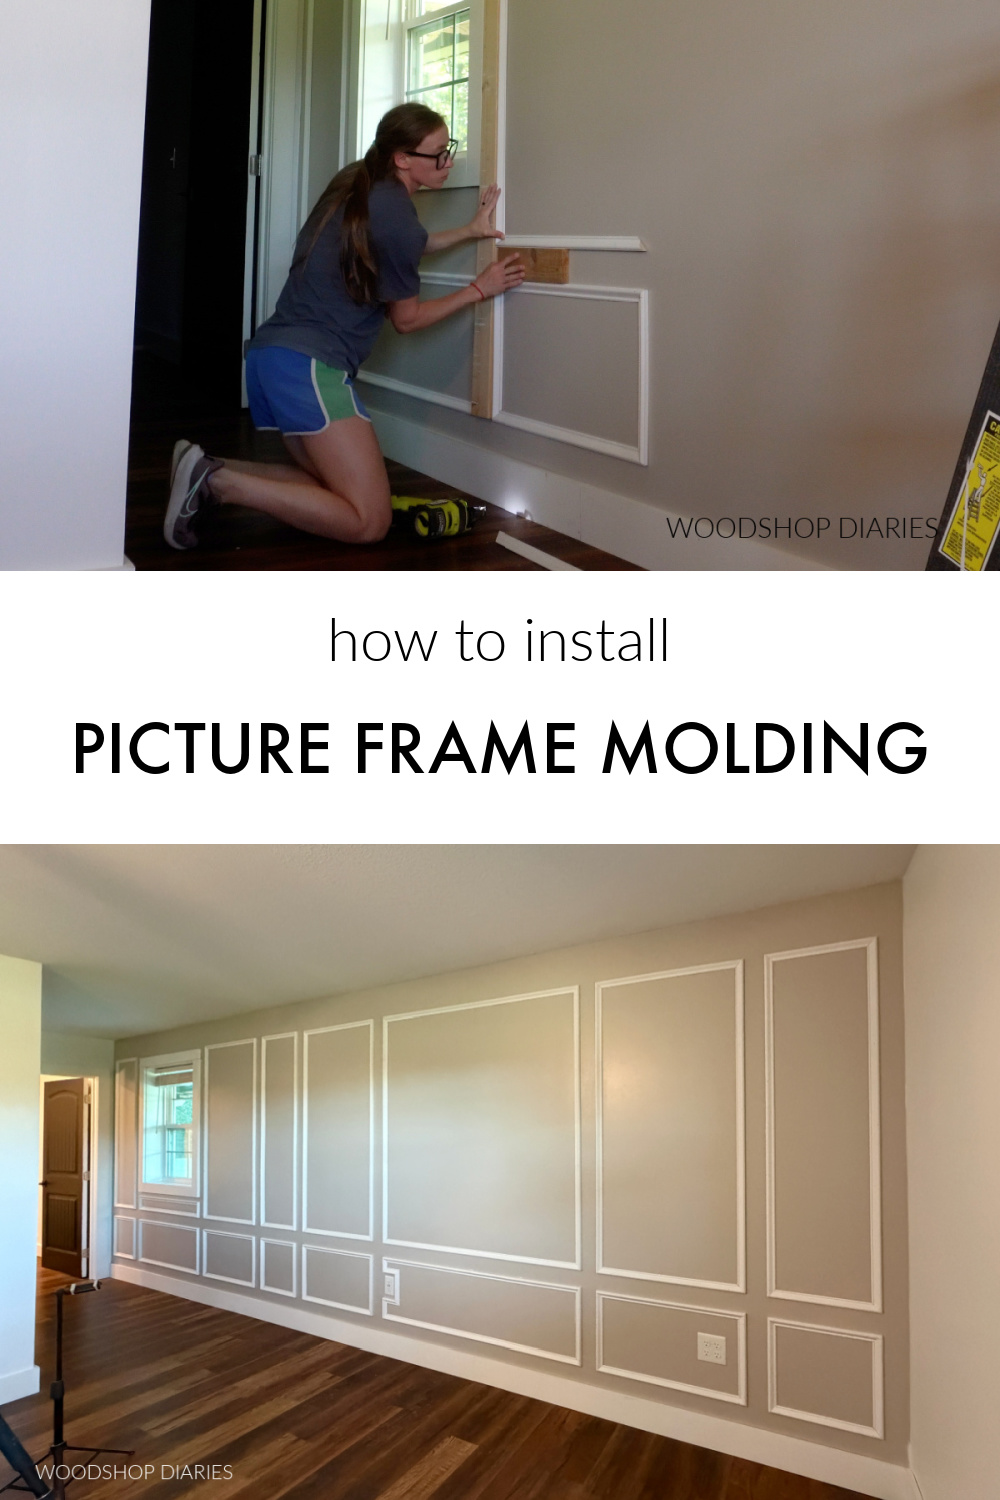
In this post, I’ll show you how easy it is to add picture frame molding on a bedroom wall!
This is such a quick and easy way to update any room…not just a bedroom…and you can easily complete it over a weekend.
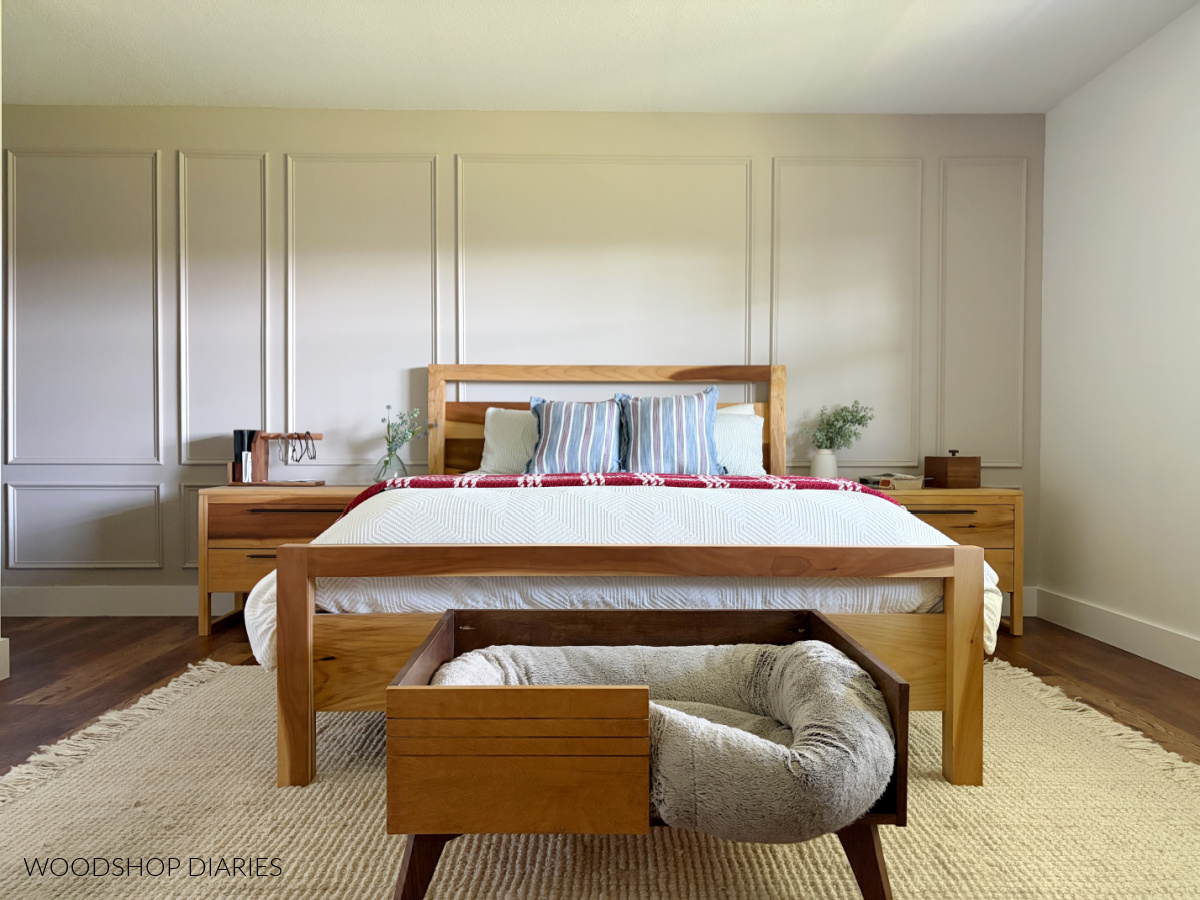
Plus adding picture frame molding is a pretty inexpensive project and only requires a couple basic tools. So it’s the perfect budget friendly way to add a ton of character and interest to your walls.
The hardest part is just figuring out your layout. The actual installation is so easy. I’ll walk you through the whole process below, so if you’re ready to transform your room, let’s dive in.
*This post contains affiliate links. See website policies.
What to consider before adding picture frame molding
Picture frame molding can take so many shapes and designs. There’s no ONE right or wrong way to do it.
You can do a lot of smaller boxes, a few larger boxes, you can double up and install smaller frames inside larger ones. There are just a thousand and one (probably more haha) ways to design it.
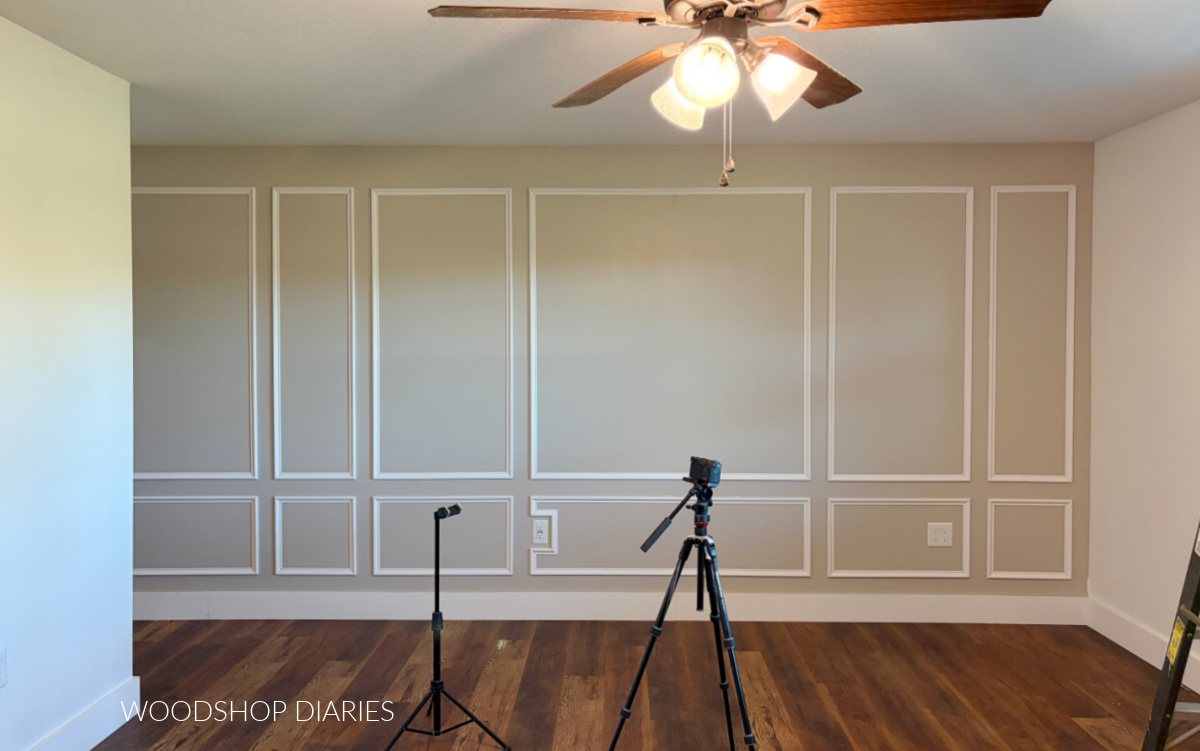
So feel free to get creative and do what works best for your style, budget, and preference. On that note, let’s talk about layout.
LAYING OUT THE MOLDING
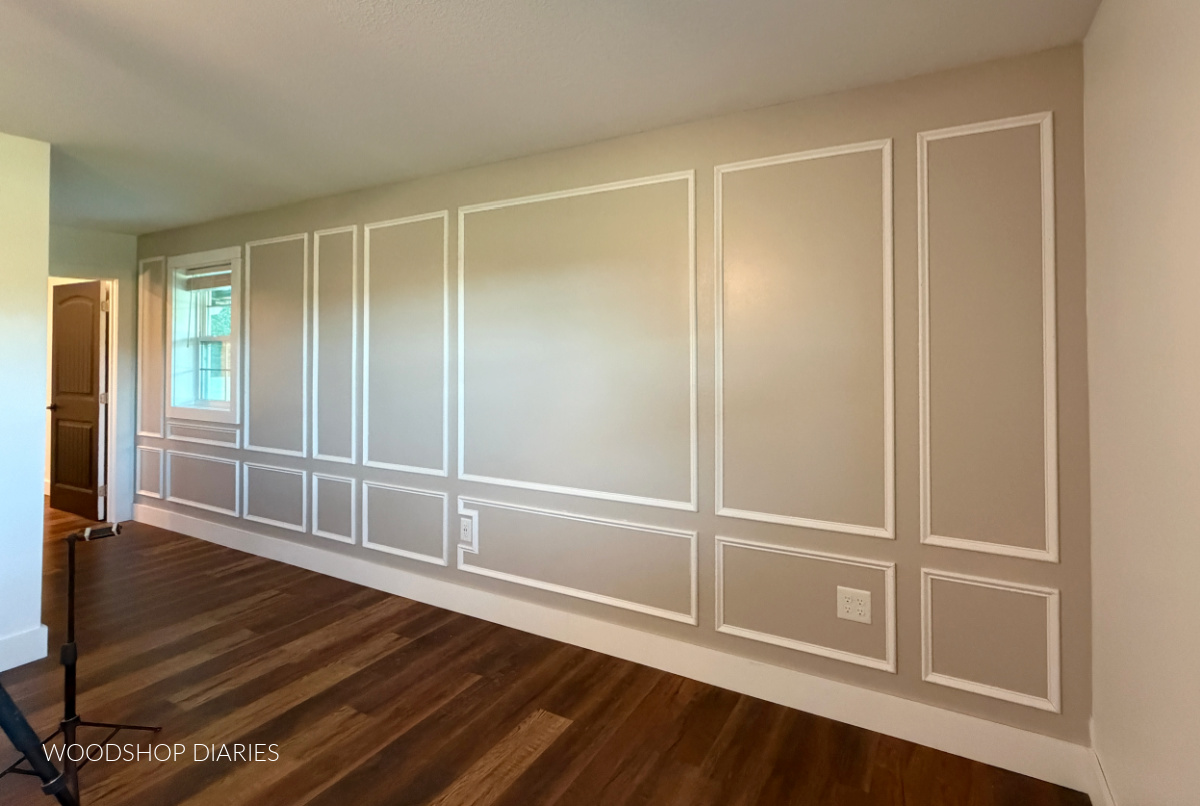
In my case, I opted to install my molding so that there were some shorter boxes along the bottom of the wall with taller boxes above them. I purposely chose to vary my frame widths to add interest, but you can make yours all the same widths if you’d like.
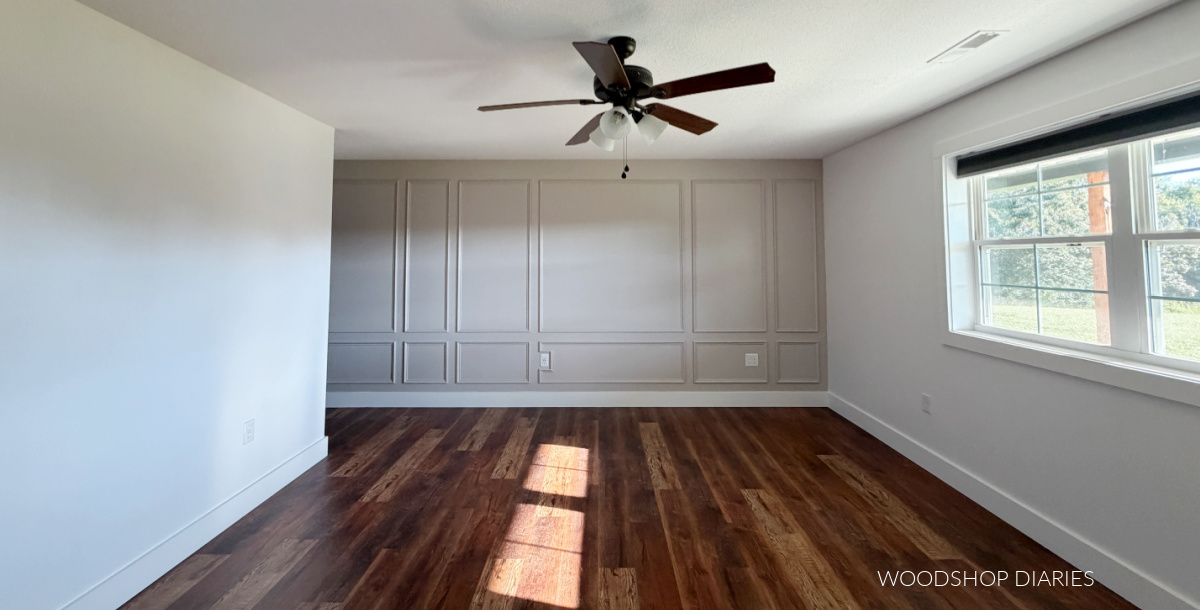
Every room will vary in size and shape, so you’ll need to customize your own layout, but here’s what to consider:
Treat every wall individually. Every wall will have its own dimensions and obstacles, so if you plan to install molding on multiple walls, lay out your frame sizing on each wall separately. Don’t assume the same size frames you use on one wall will also work on another wall.
Consider all obstacles. This includes doorways, windows, baseboards, outlets, thermostats…whatever immoveable objects that exist on the wall that you’ll need to work around.
Think about the overall room layout. This is probably a very niche example that probably won’t apply to your particular case, but the wall I was adding this molding to wasn’t just our bedroom wall, but it also extended down a short hallway (to the closet and bathroom). I had to consider how this molding would flow from the bedroom into the hallway.
So as an example, let’s take a look at my wall. The right side is the bedroom and the left is the hallway. There’s a window in the hallway and of course…it’s not centered.
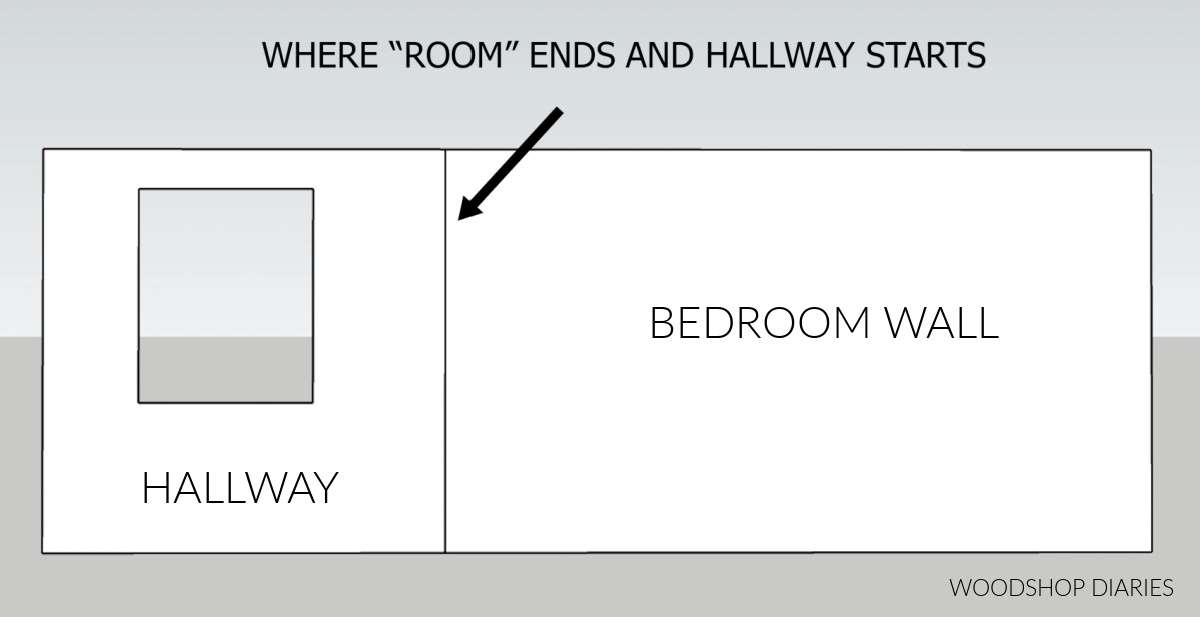
TIP: I highly recommend sketching your wall layout out on paper with dimensions and noting all gaps and obstacles you need to work around.
I want the picture frame molding to be centered on the bedroom side because the ceiling fan is centered in that room and the bed will be centered, too. If the molding isn’t centered, it will look odd.
But because the window isn’t centered in the hallway, I can’t have equally spaced picture frame boxes that will also be centered in the bedroom.
So…I decided to intentionally make different width frames. I will add a narrow section on the left of the window (pink). Then a wider section on the right (yellow), and fill the space between them under the window (green).
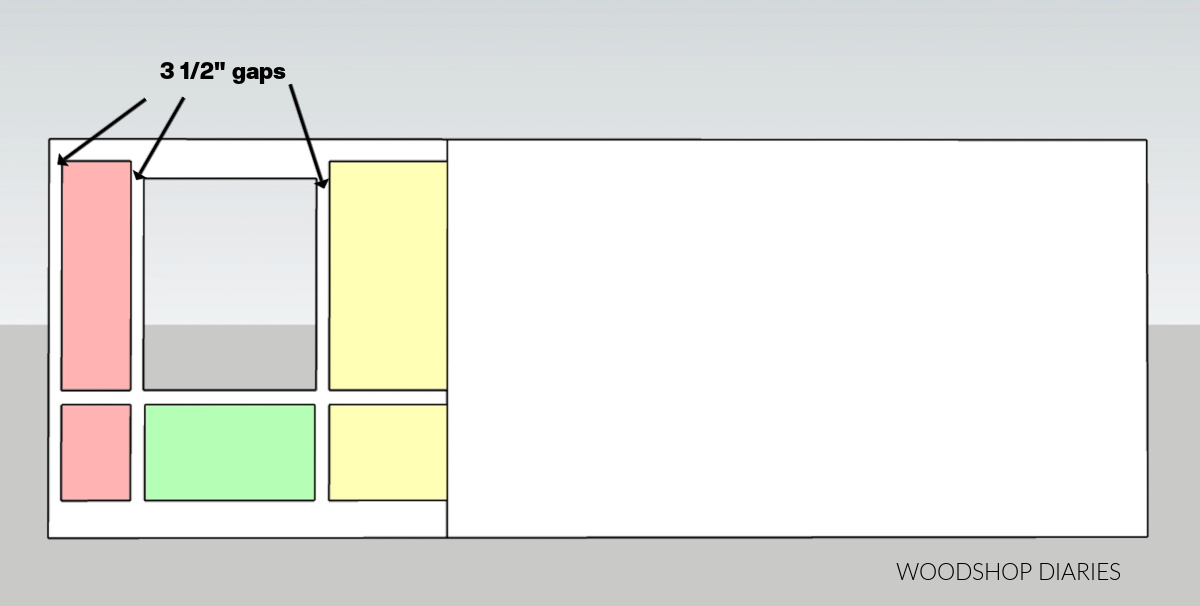
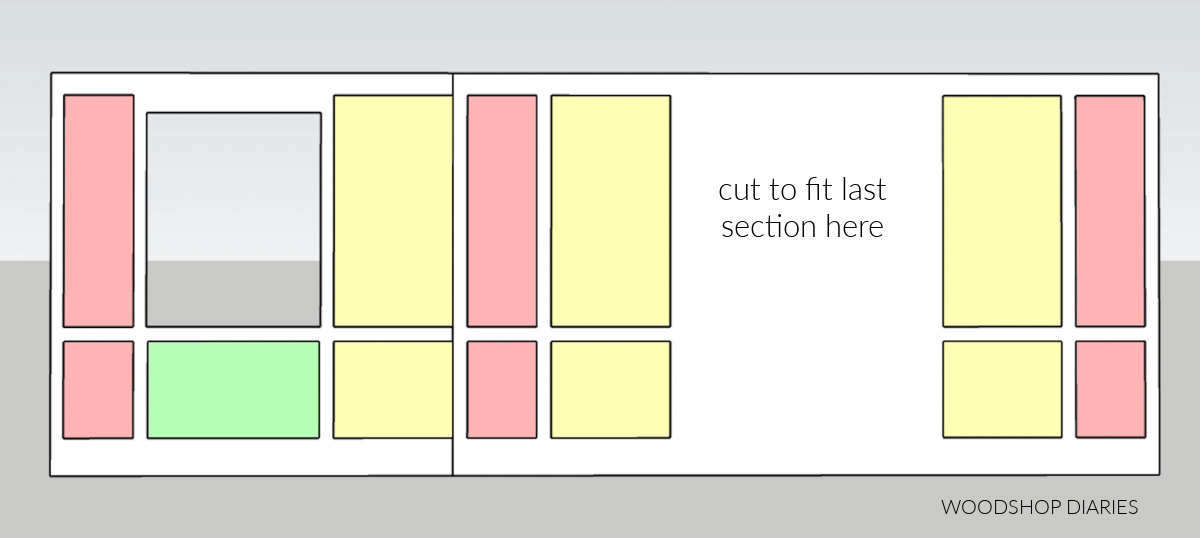
Then, I can repeat those same sizes into the bedroom: two narrow sections on the ends (pink), wider sections next to them (yellow), and after those are all up, I can measure between them to add a final extra wide section in the center.
HOW DID I DETERMINE THE SIZING?
I am installing this molding with 3 ½″ gaps, so I measured between my window trim and the far left wall and subtracted 7″ (because there will be a 3 ½″ gap on the left and a 3 ½″ gap on the right). That gave me my narrow frame width (it was 16 ½″).
For the right side of the window, I measured between the window trim and where the hallway ended. In this case, I only subtracted 3 ½″ because I want the right edge of my frame to end at the edge of the hallway. This gave me my wider frame width (about 28 ½″).
I repeated those exact same frame sizes on the bedroom wall. After those were installed, I could measure the space left in the center, subtract 7″ (again, for a 3 ½″ gap on both sides), and get my final frame width.
I know that sounds complicated, but once you know your desired gap (in this case, 3 ½″), you can use this to help you size your frames however you’d like.
For equal width frames:
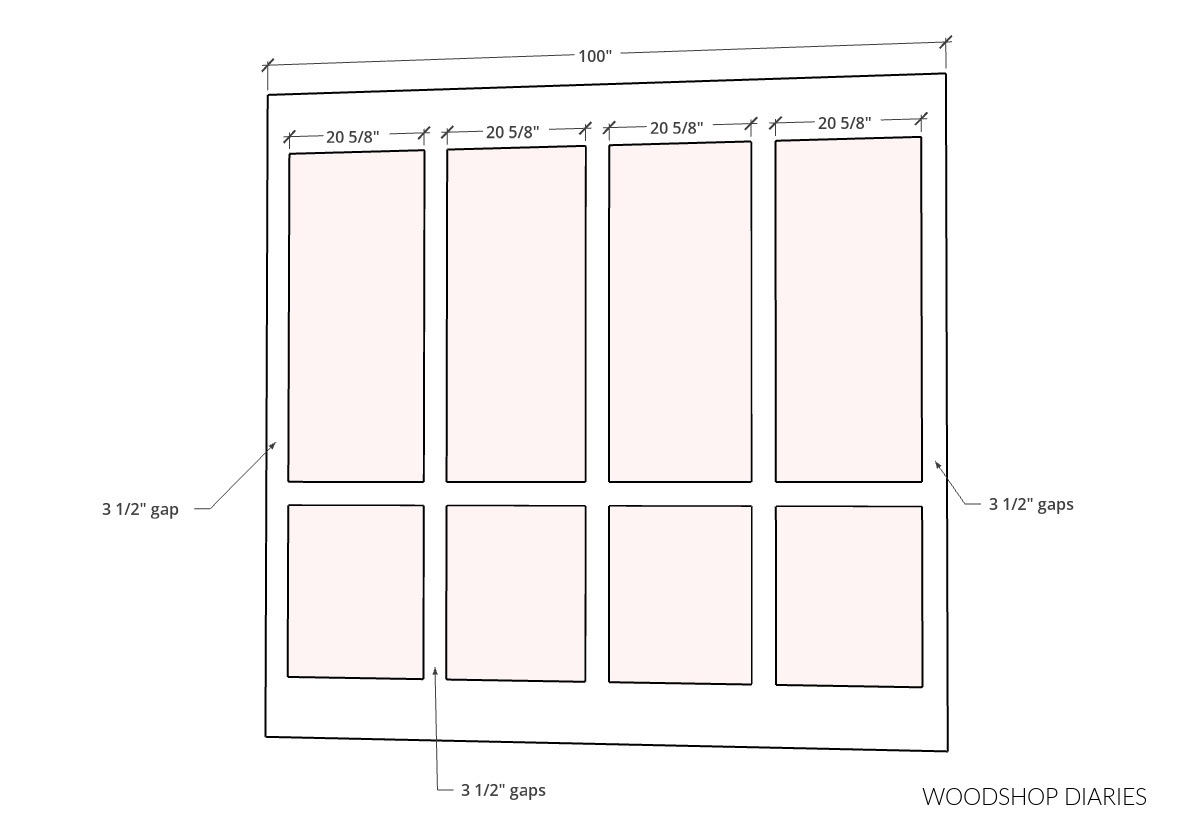
If you had a plain, basic wall with no obstacles, this is much easier. You can take the width of the wall and subtract 3 ½″ times however many frame sections you want PLUS 1 (so if you want 4 frame sections, subtract 3 ½″ x 5). Then, divide that by 4 to give you the width you’d need to have 4 equally sized frame sections.
For example, if the wall is 100″ long and you want four frame sections. 100 – (3 ½″ x 5) = 82 ½″. Divide that by 4 and you will have four 20 ⅝″ wide frame sections.
For the height, that’s really up to you. You can make one tall box that runs floor to ceiling or split them into a bottom and a top like I did. You can switch up your gaps, or leave them the same (3 ½″). Just make sure to consider the baseboard height in your calculations.
In my case, I made my bottom frame boxes 16″ tall. Then I made my top frames so that they would hit just above my window trim. I thought it would look odd to go much above the window trim (of course, if you don’t have a window to worry with, that doesn’t matter).
But, I also wanted to leave some extra space at the top in case I ever decide to come back and add crown molding.
What kind of molding to use?
There are TONS of options of molding to use for this style of accent wall, but in this case, I chose to use base cap molding.
It’s readily available at most big box stores and fairly inexpensive. Because I’m painting it, I went with preprimed base cap molding.
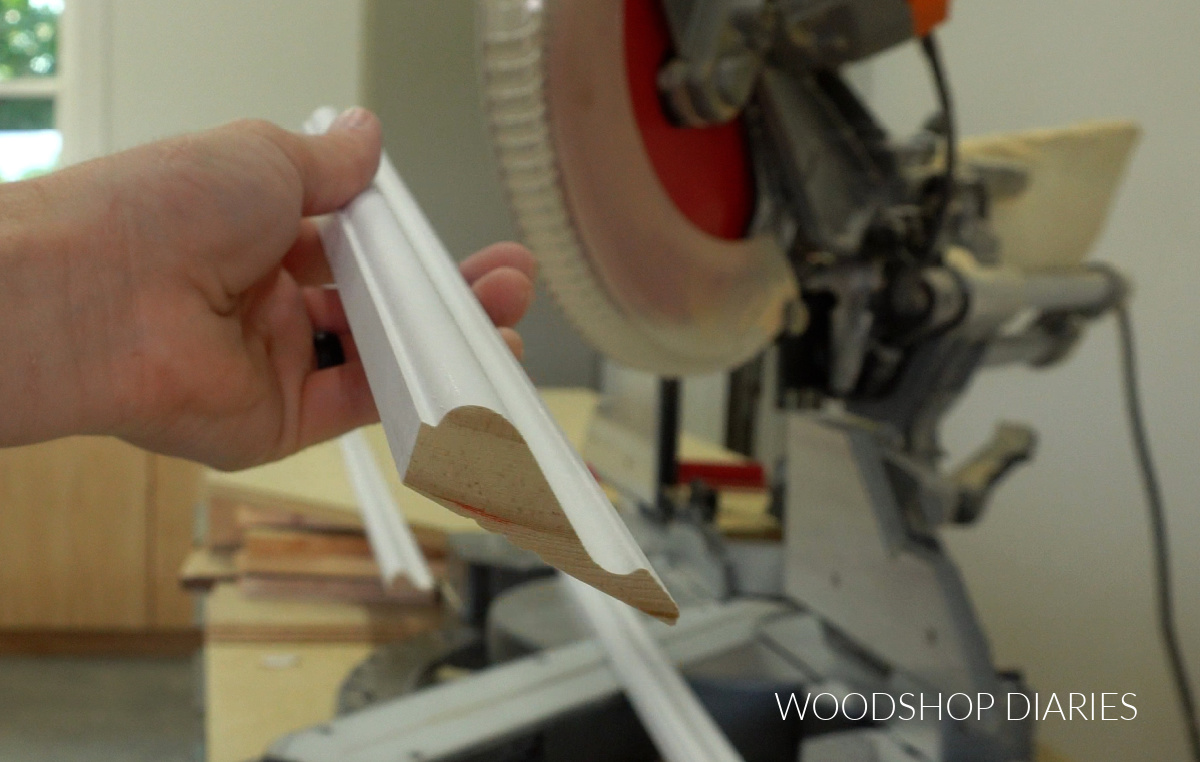
But, there are a lot of other options that would work well. Ultimately it comes down to your particular style preference. Some moldings are chunkier, some more subtle.
Enjoy DIY projects and woodworking plans? Sign up for priority access for the latest posts on Woodshop Diaries!
How to add picture frame molding to a wall
If you prefer to watch, I’ve shared the full video with tons of tips, behind the scenes, and additional details on my YouTube Channel here.

Love watching how-to videos? Subscribe to my YouTube channel for plenty more where that came from!
Tools & Materials
Tools:
Materials:
- Picture frame molding (I used base cap molding, but you can choose other molding profiles if desired)
- Construction adhesive
- 1″ Brad nails
- 1×4 scrap blocks (not required, but helpful)
- Paintable Caulk
- Paint/Painting supplies
Step 1: Determine the layout
I covered the layout in detail in the notes above. First, I determined the overall size of my frames.
My bottom frames were 16″ tall, my top frames were about 49 ½″ tall. The widths varied as I discussed above.
Step 2: Cut the molding
Once I knew my frame sizes, I began cutting the molding to these lengths. Each piece gets cut with ends mitered 45 degrees so that they fit together cleanly at the corners.
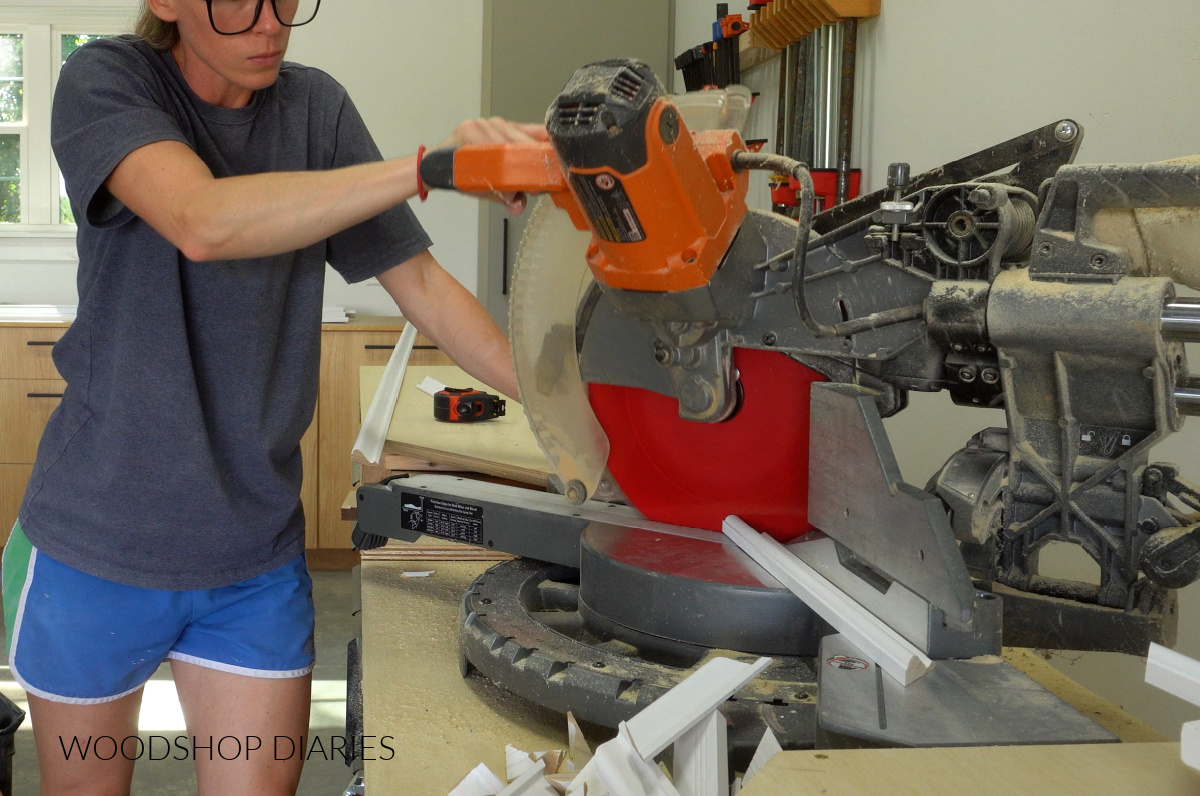
It was kind of annoying running back and forth from the shop to cut to the bedroom to install, so I cut my frames in batches/sections at a time.
TIP: Ends are mitered 45 degrees NOT parallel to each other. The longest side of each piece of trim should be the overall desired width/height of the frame. For example, for a frame 16″ x 49 ½″ you will need two pieces cut to 16″ and two pieces cut to 49 ½″ long (on their longest side).
Step 3: Install picture frame molding to wall
Because my gaps were 3 ½″, I used some scrap 1x4s as spacer blocks to help with installation. (FYI: 1×4 boards are actually 3 ½″ wide.)
I applied a SMALL bead of construction adhesive (I used Gorilla Construction adhesive for this, but Liquid Nails, or other type can work well, too.) to each piece, then placed it on the wall and brad nailed it.
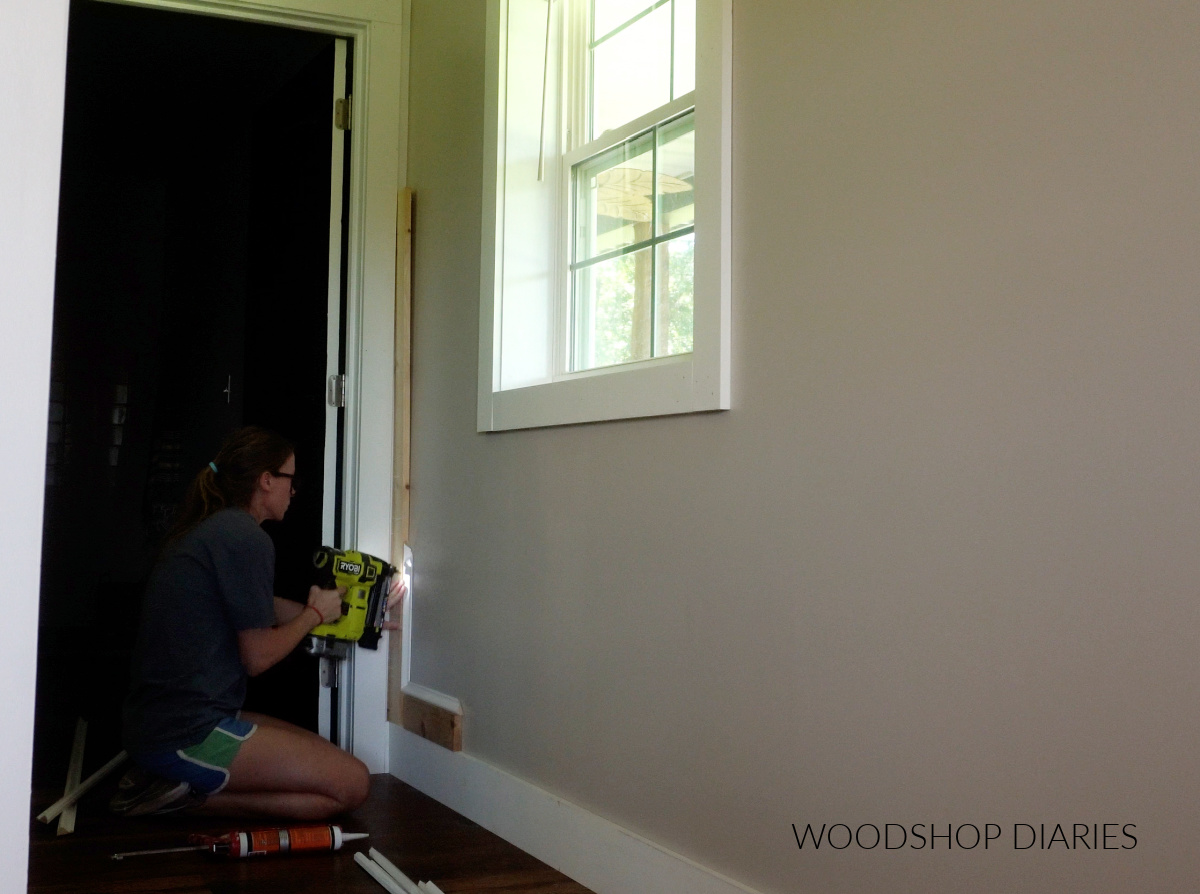
TIP: Use short nails! These nails just hold the trim while the adhesive sets up, you don’t want them to go through the drywall. Since my base cap molding was about ⅝″ thick and my drywall is ½″, I used 1″ long brad nails. That way, they don’t go all the way through the drywall and nick anything behind it.
I started in the bottom left corner and just worked my way down the hallway using the 1x4s to keep everything straight and evenly spaced.
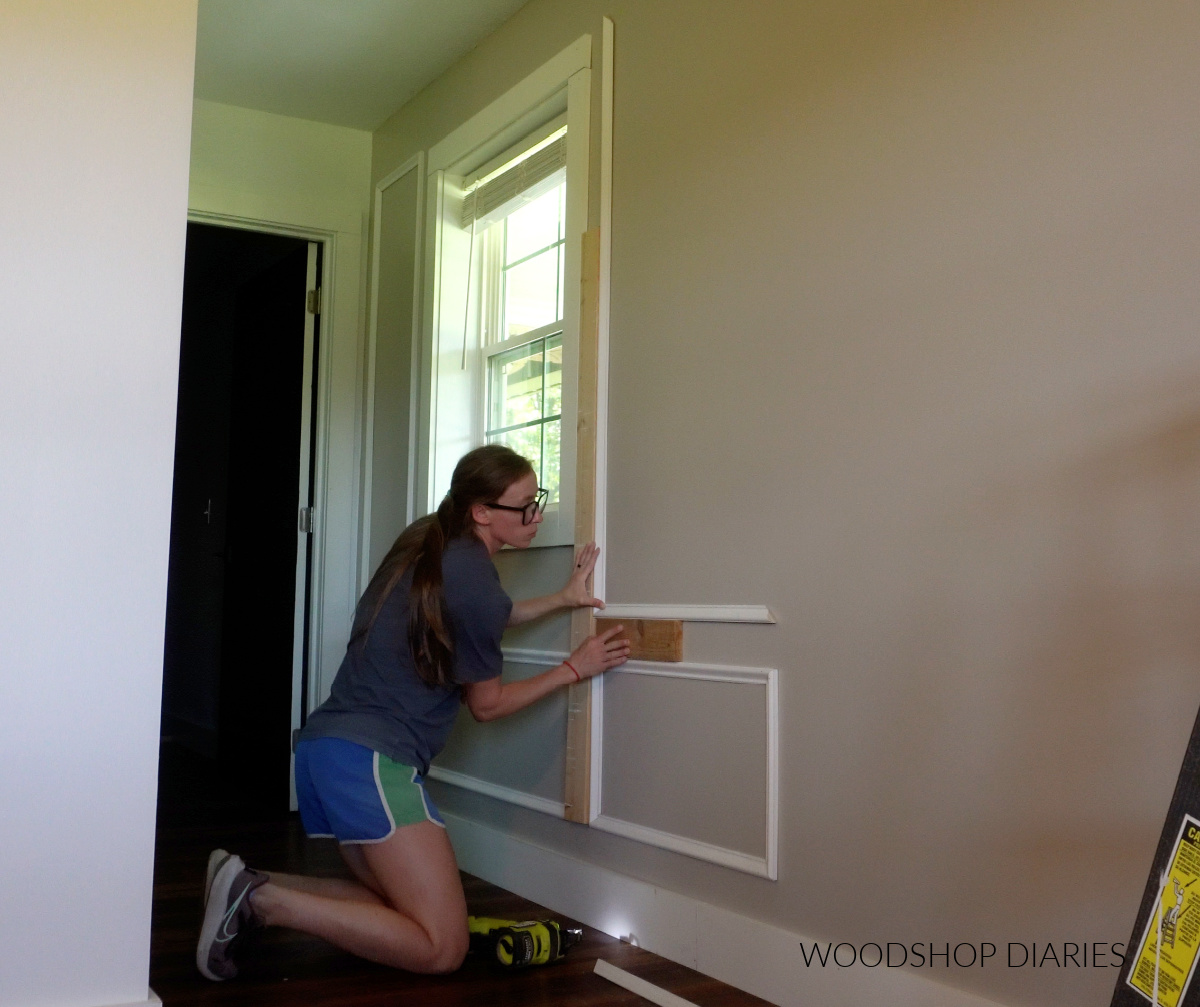
After I finished the hallway, I repeated to add the two identical sized frame sections on each side of the room.
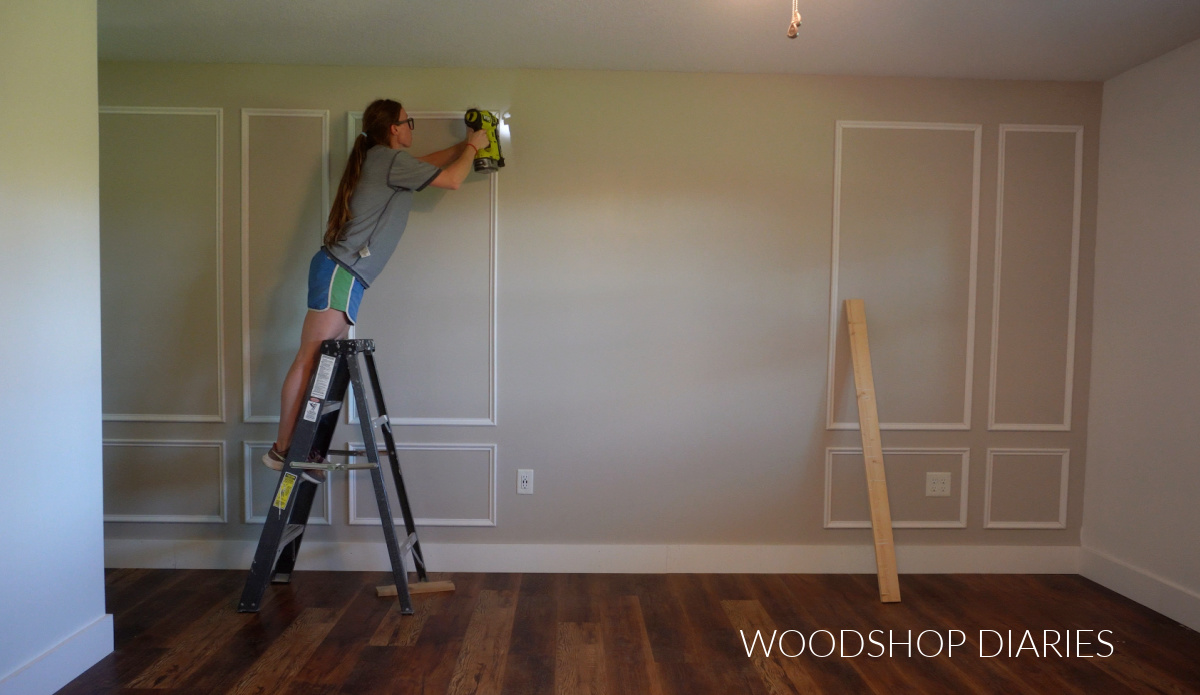
Luckily it was really smooth sailing until I got to the middle section. I measured the open section, subtracted 7″ (two 3 ½″ gaps), to give me my frame widths, but, my bottom frame fell right into an outlet.
So I had to carefully cut some small pieces (again, with ends mitered 45 degrees so the corners met nice and neat), to fit around the outlet.
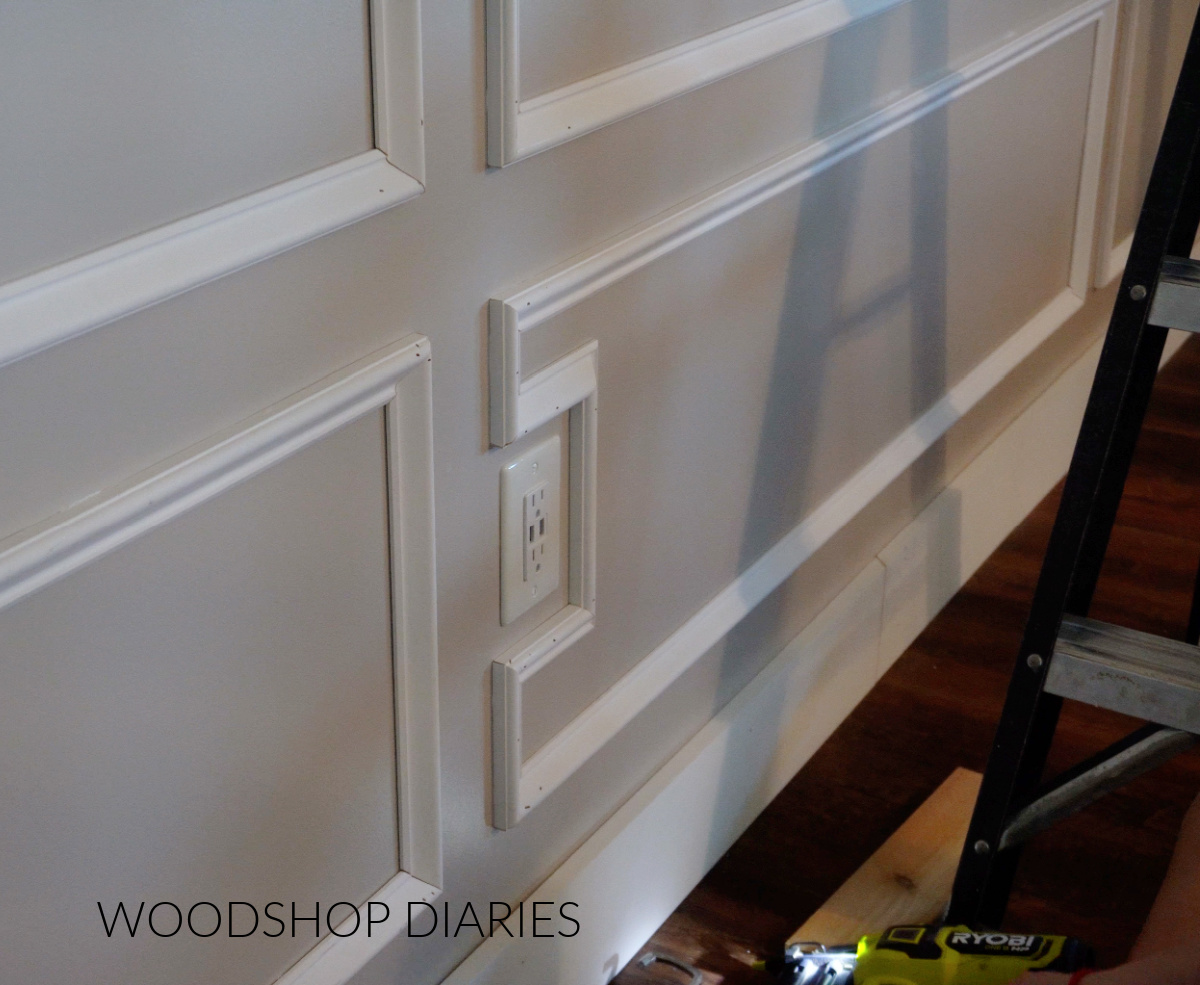
Thankfully that wasn’t too bad and once that was finished, the trim was up! This actually went super fast.
TIP: Construction adhesive isn’t NECESSARY for installation. If you ever decide to remove it, the adhesive will cause the drywall paper to tear, so you’ll have some patching to do. HOWEVER, if you don’t use it, it’s likely your frames will come loose from the wall in time. Of course, you can nail them back, but it can cause cracks and gaps that just don’t look very clean. I recommend using adhesive, but, again, you don’t HAVE to.
Step 4: Caulk and paint
Once the trim was on the wall, I used paintable caulk to fill all the nail holes, corners, and every joint between the molding and the wall. This was tedious, but caulk makes a WORLD of difference and will make the end result look nice and seamless.
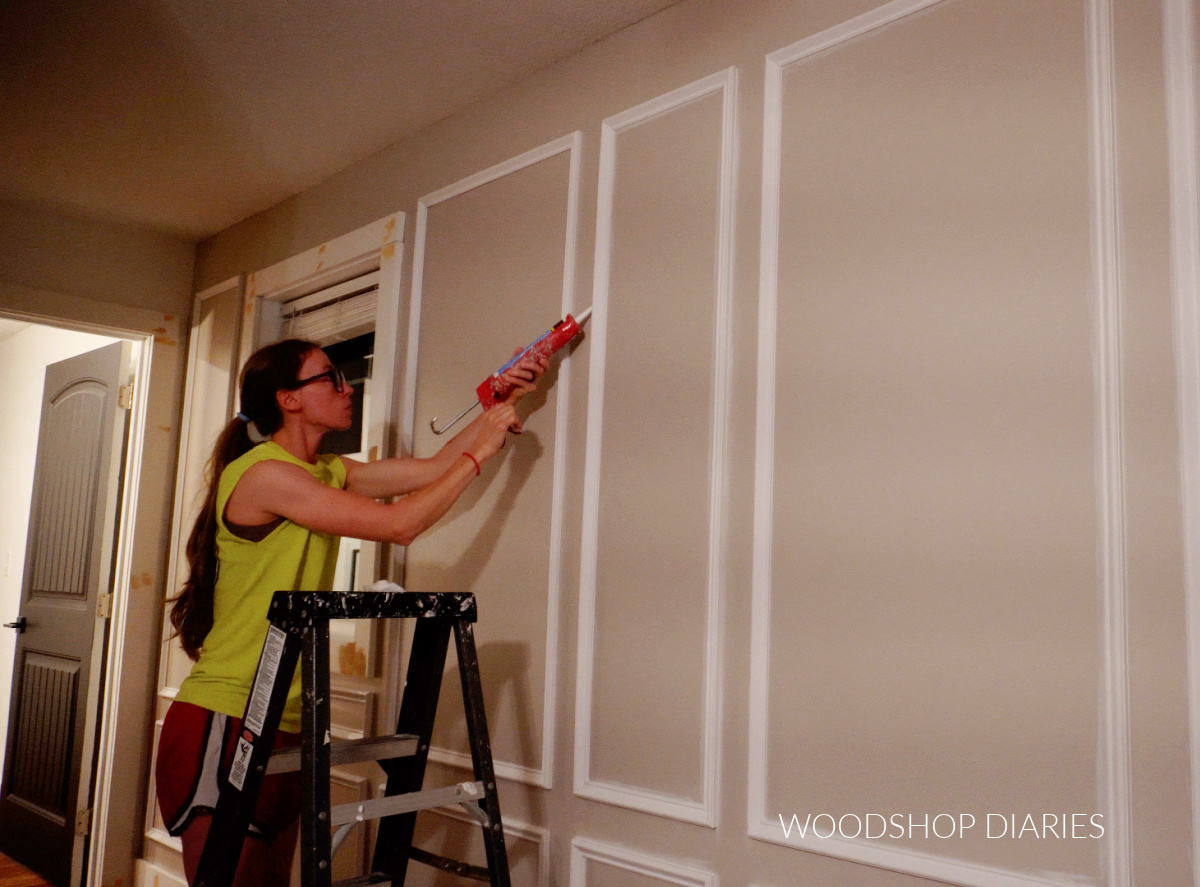
I promise, it’s worth it!
Then, I could finally paint the molding to match the wall to wrap this up. This is BEHR Wheat Bread (in case you wondered the color).
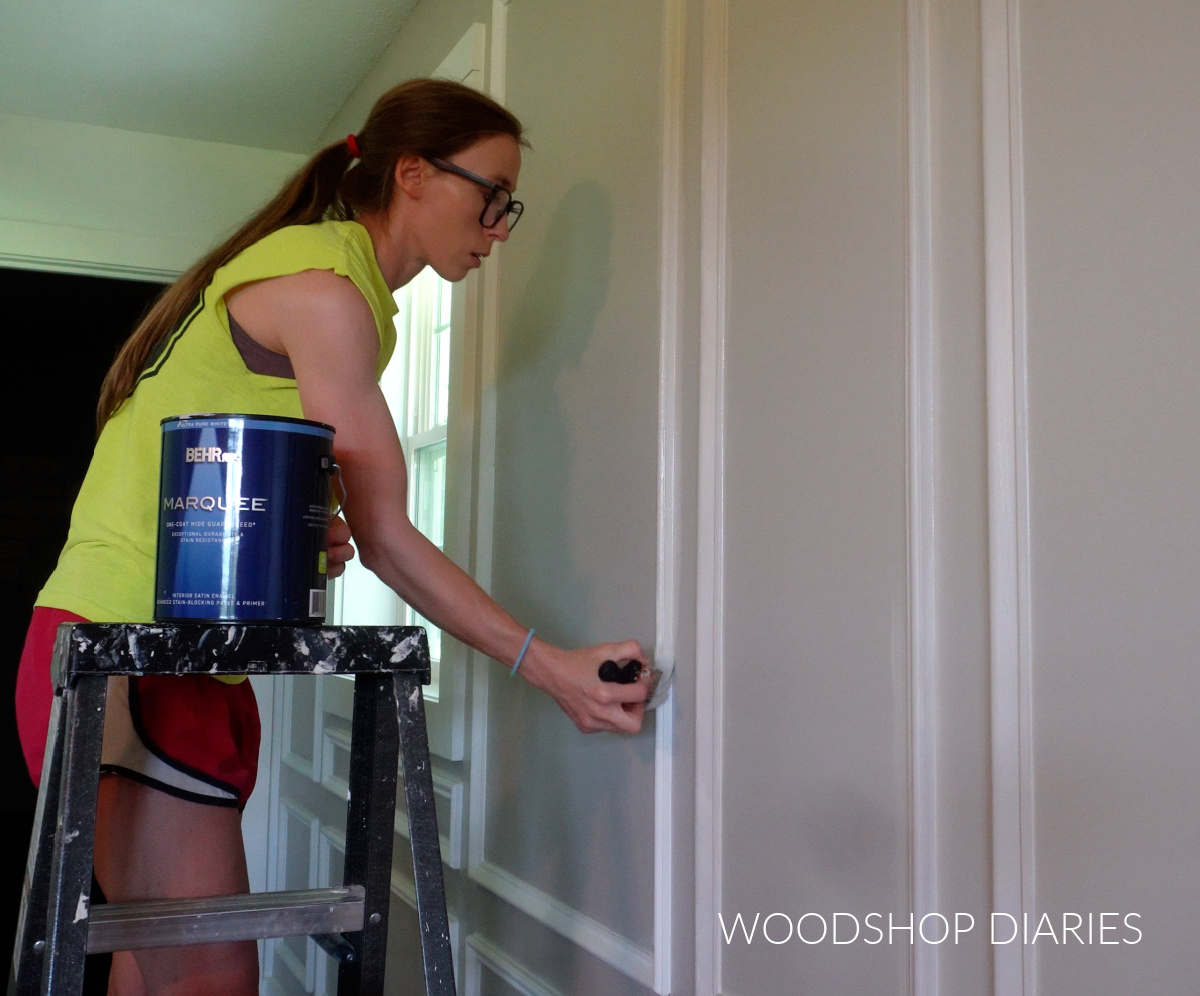
By the way, if you are painting the entire wall a new color, I recommend painting the wall BEFORE adding the trim. Then, you can just paint the trim once it’s on. I personally think this is much faster than having to paint around the trim to cover the wall.
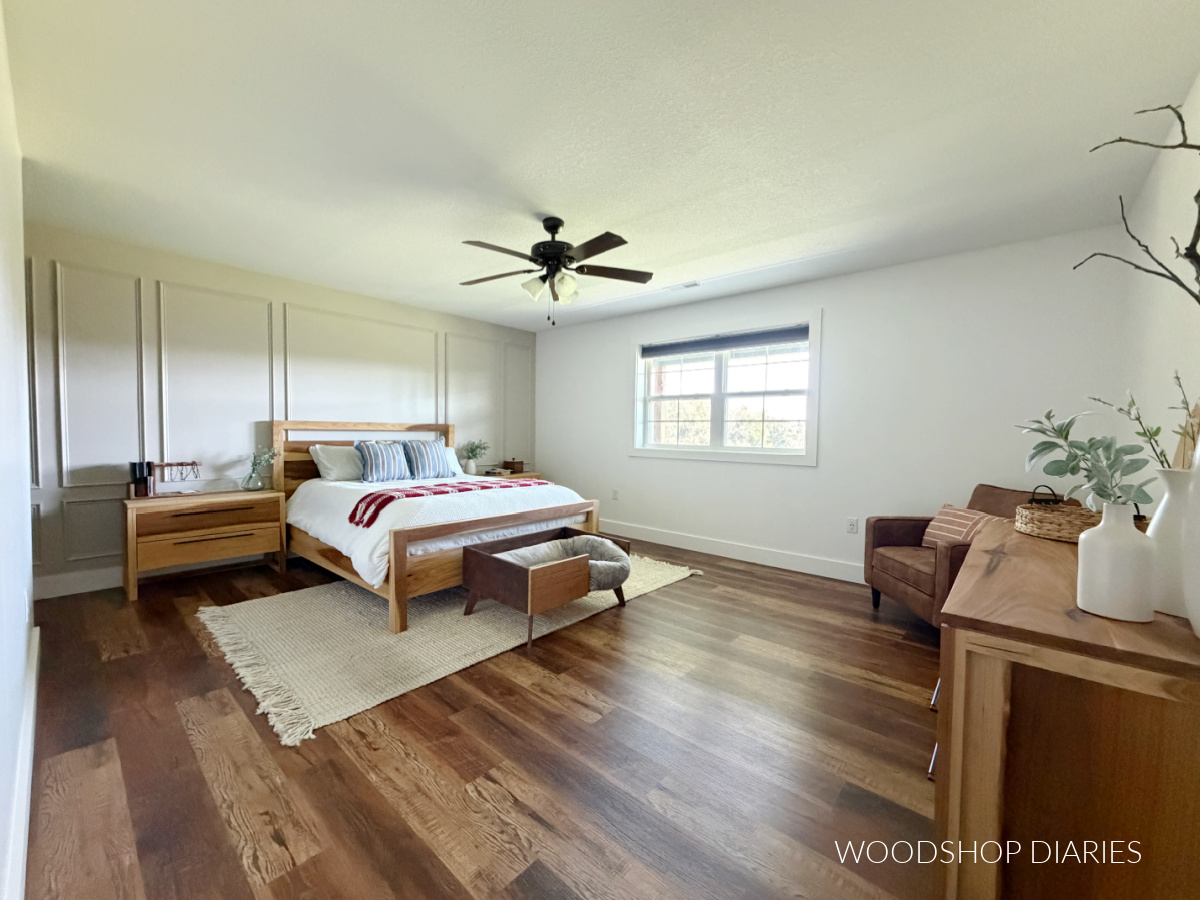
I LOVE LOVE LOVE how this picture frame molding turned out in this room. I was really concerned about how it would flow into the hallway, but it ended up looking really good and like it was meant to be there all along.
Adding some simple wall molding can really make a room look more expensive (without actually BEING expensive *wink wink).
Looking for more easy weekend DIY projects?
Enjoyed this post, but looking for more easy weekend projects to refresh your space? I’ve got you covered! Click on the image(s) below to learn more about each project:

If you enjoyed this post, be sure to save it for later by pinning or sharing to your favorite social channel!
Until next time, friend, happy building!