
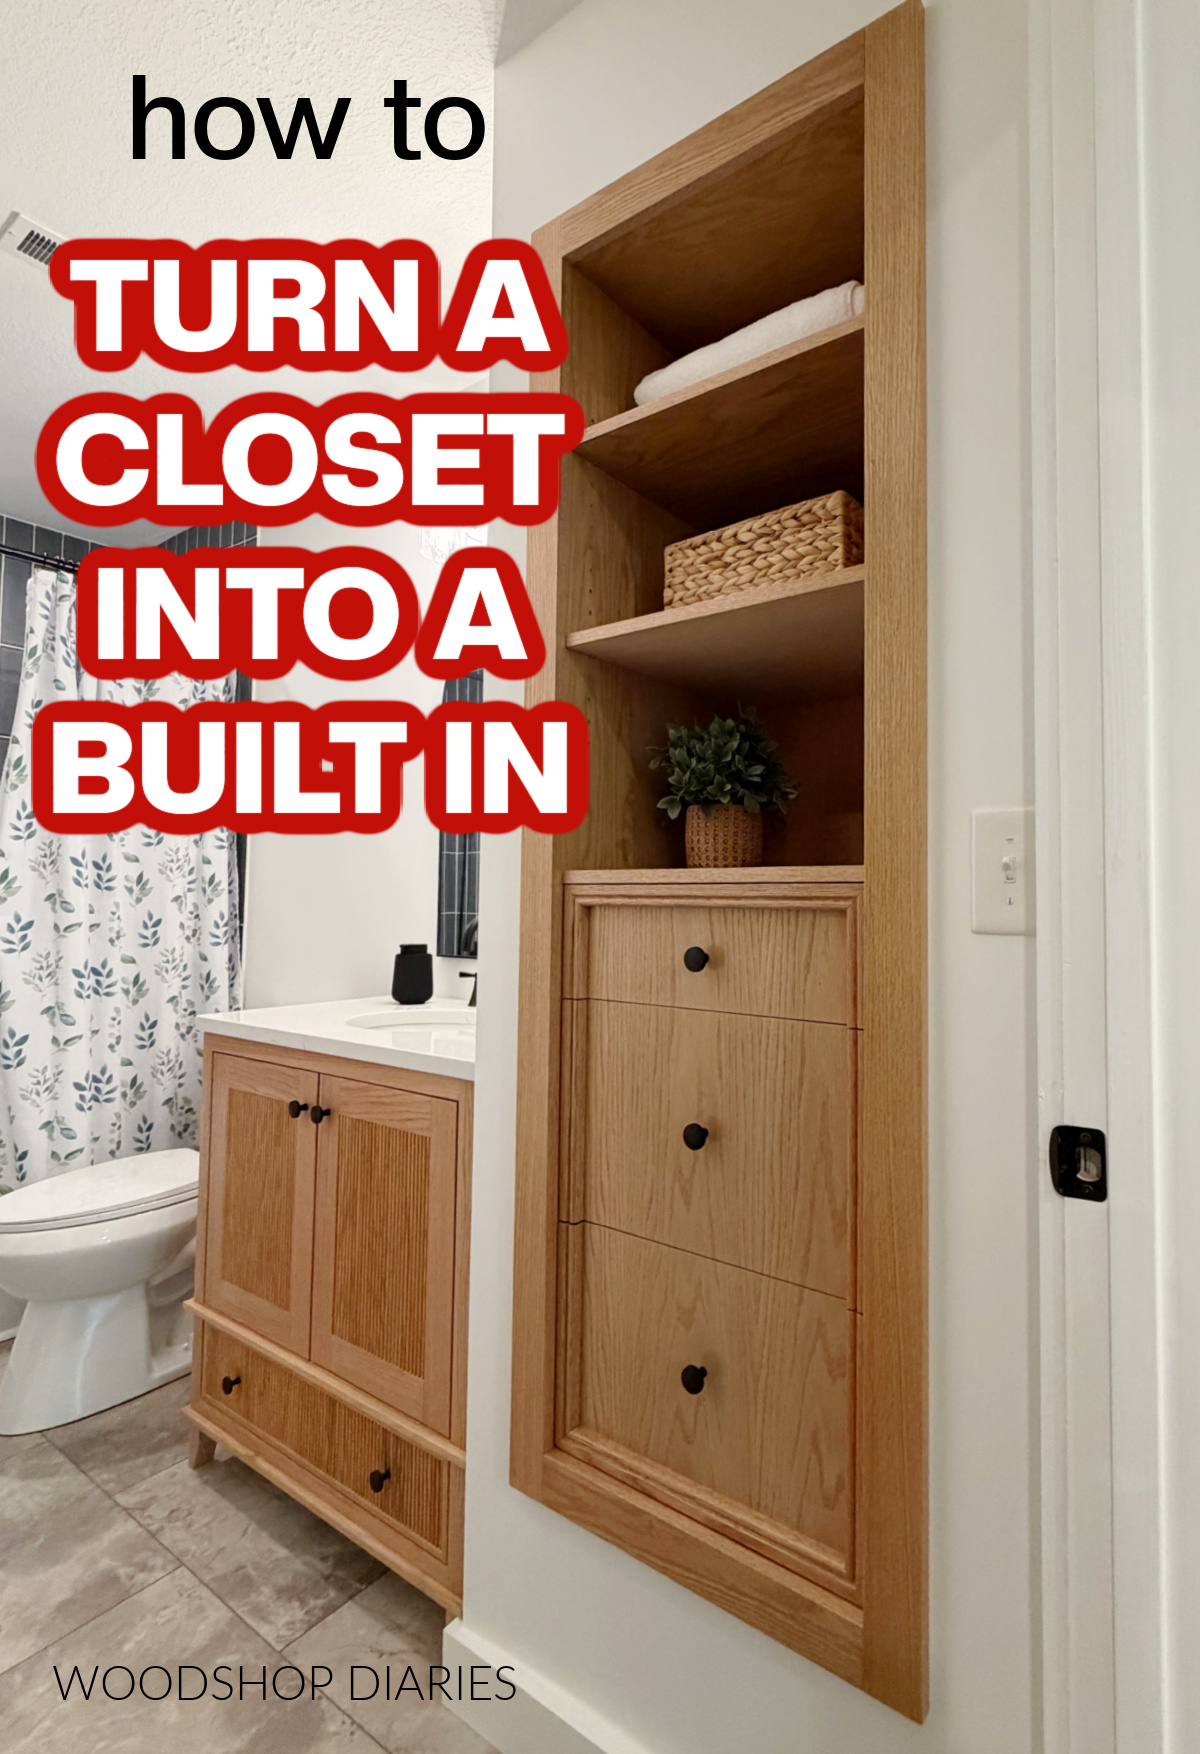
In this post, I’m sharing how to transform a boring closet into a custom cabinet that’s built right into the wall!
These recessed linen cabinets used to be pretty common in older houses, but it seems these days, it’s just easier to slap on a basic closet door and call it good.
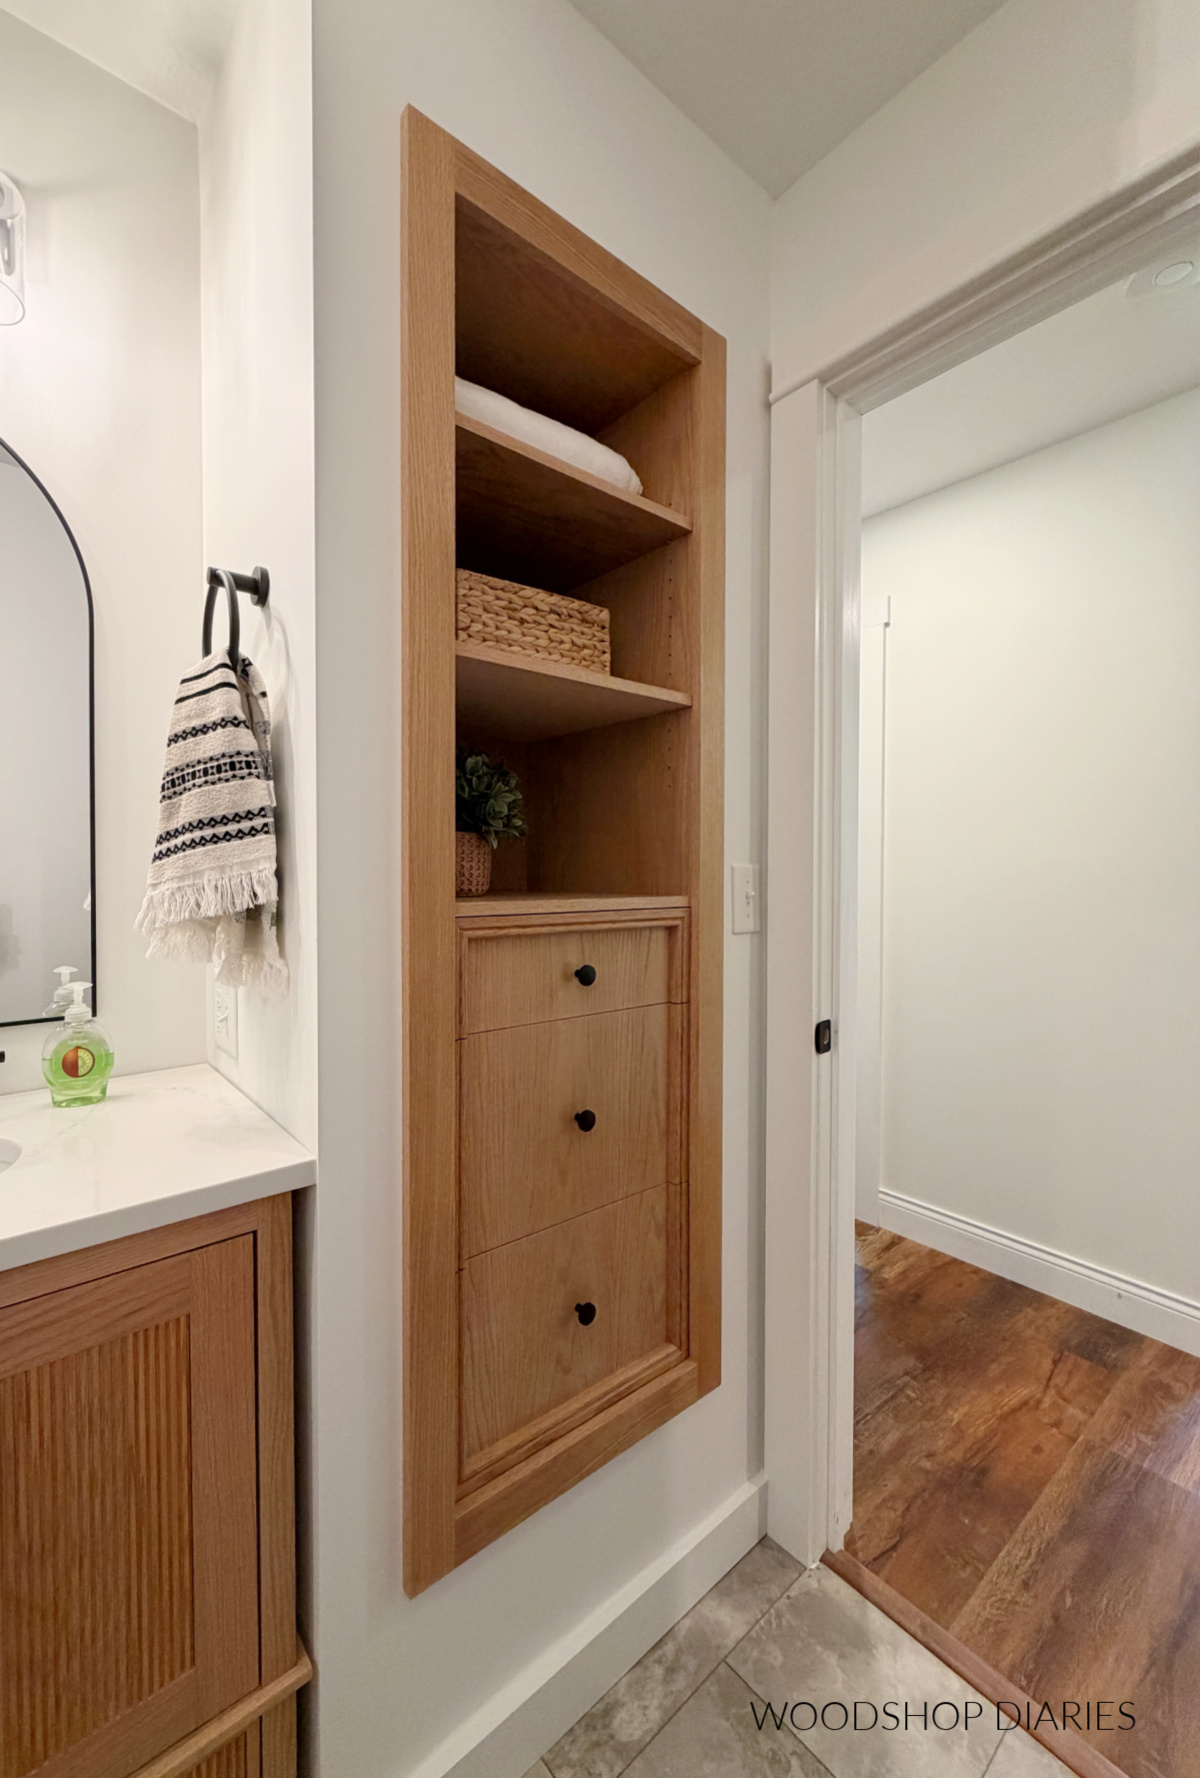
And that certainly works if that’s what you need…but a built in adds a ton of personality and character!
I’ve actually already replaced several of my existing closets with built ins (no regrets!), so when I recently remodeled my guest bathroom, I knew I wanted to transform that one as well.
And truth be told, I think this is my favorite closet to built in conversion yet!
So, if you’ve got a closet that could use a style boost, I’ll show you how to turn it into a built in below.
*This post contains affiliate links. See website policies.
What to consider before building
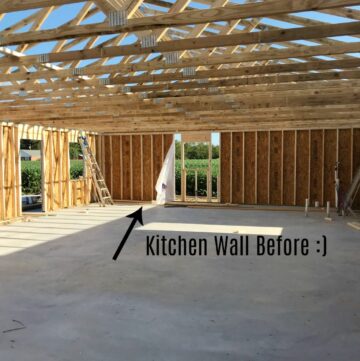
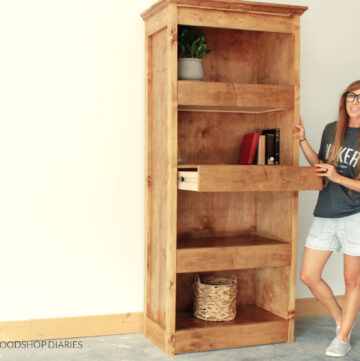
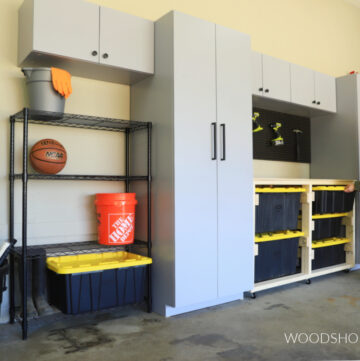
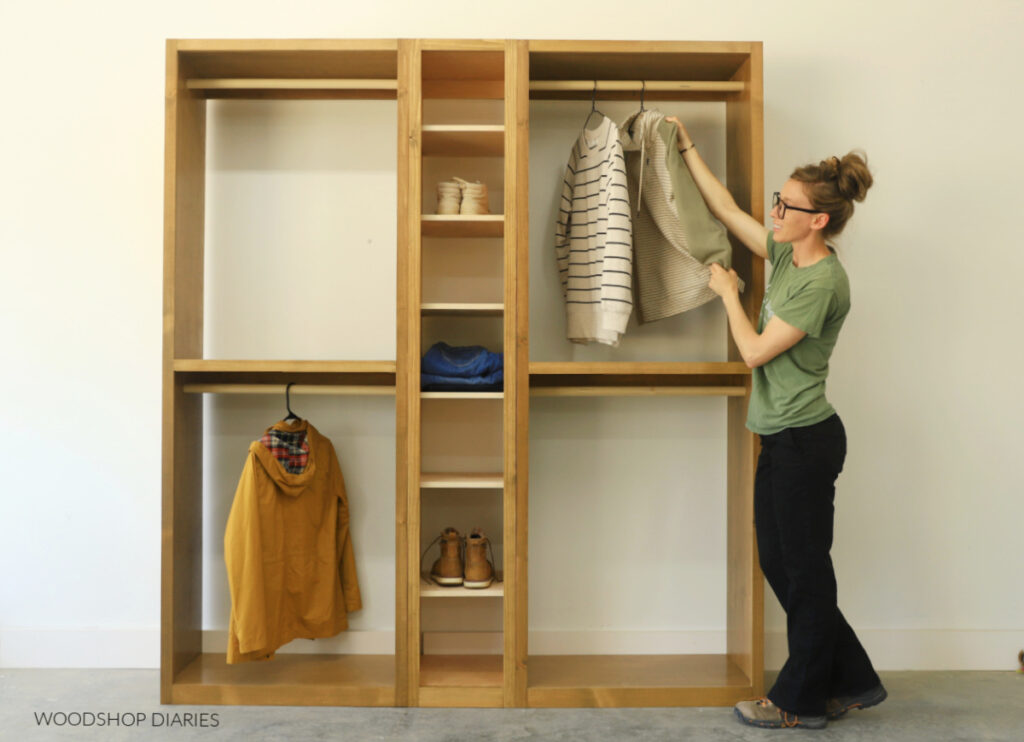
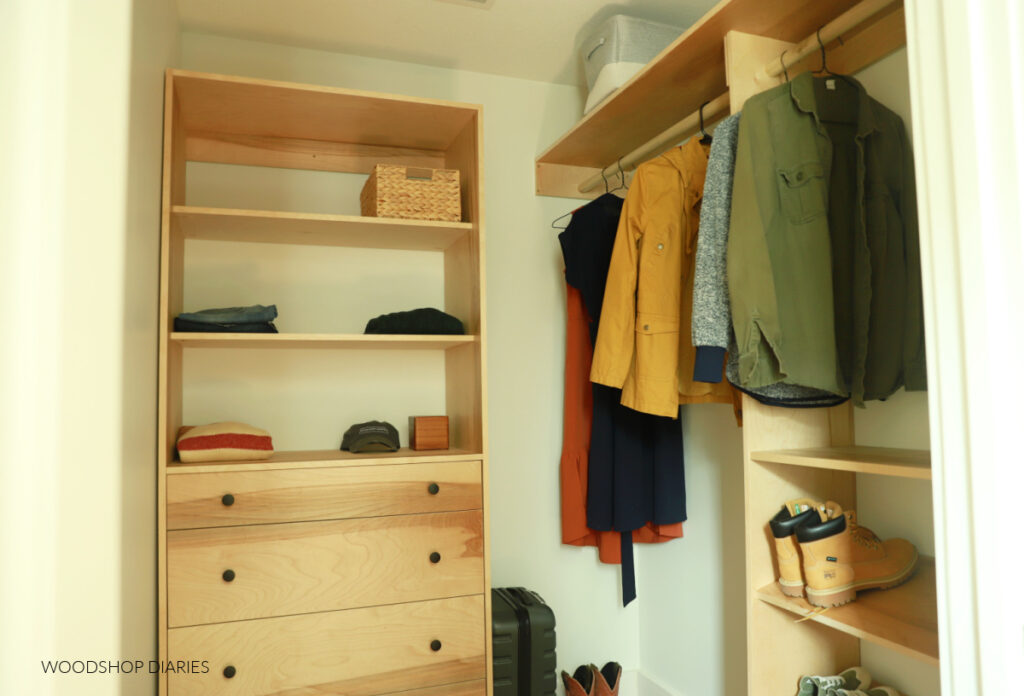
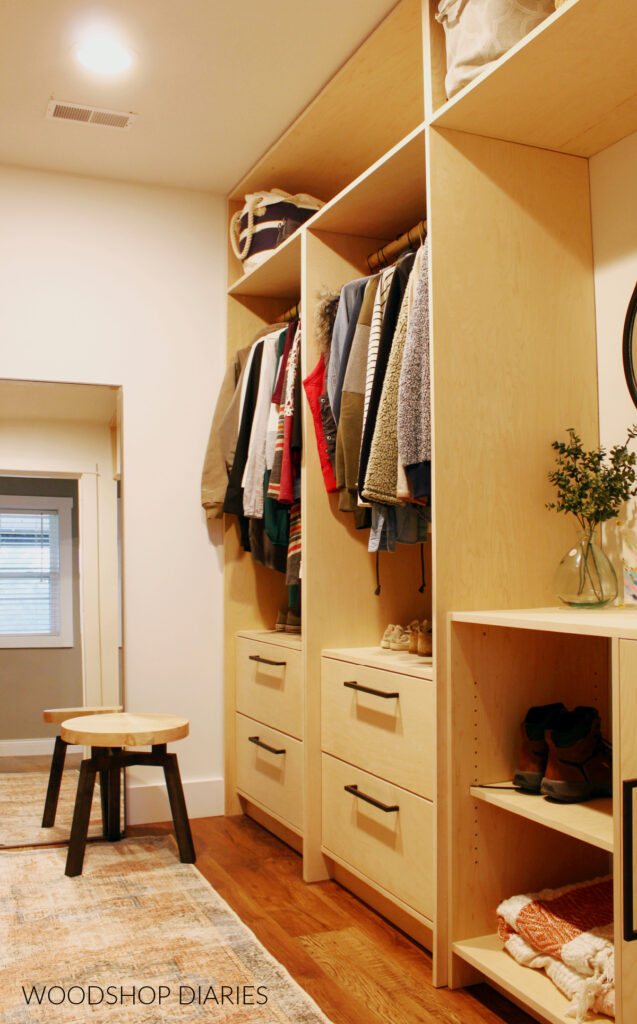
This is the third closet that I’ve turned into a built in cabinet. Each one has been a little bit different than the one before it, so you may enjoy seeing the others here:
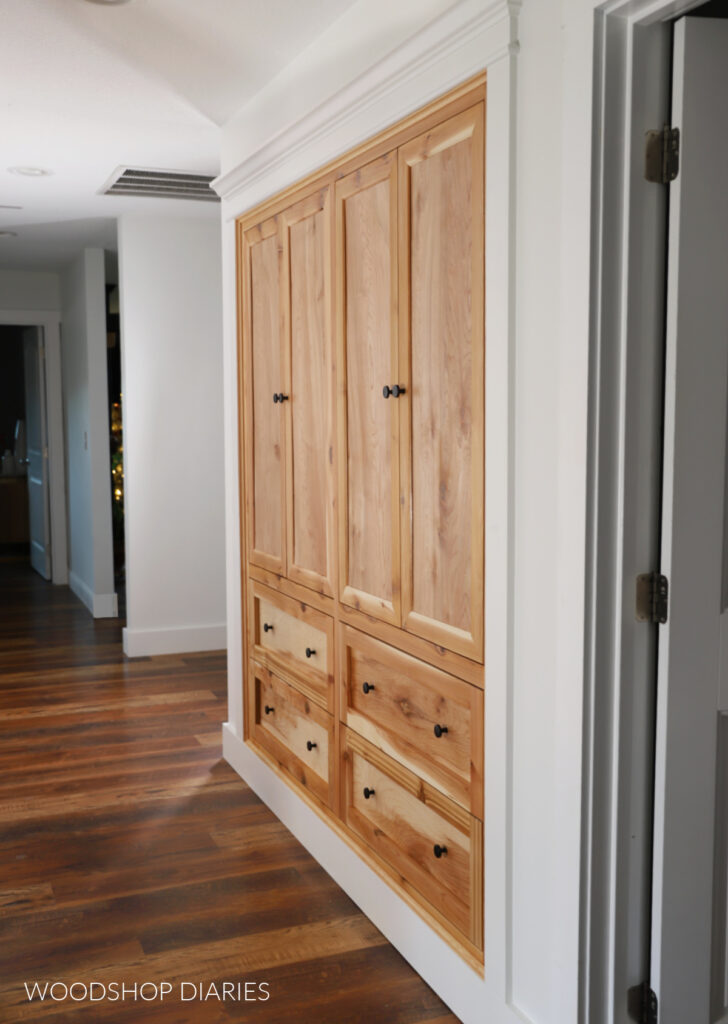
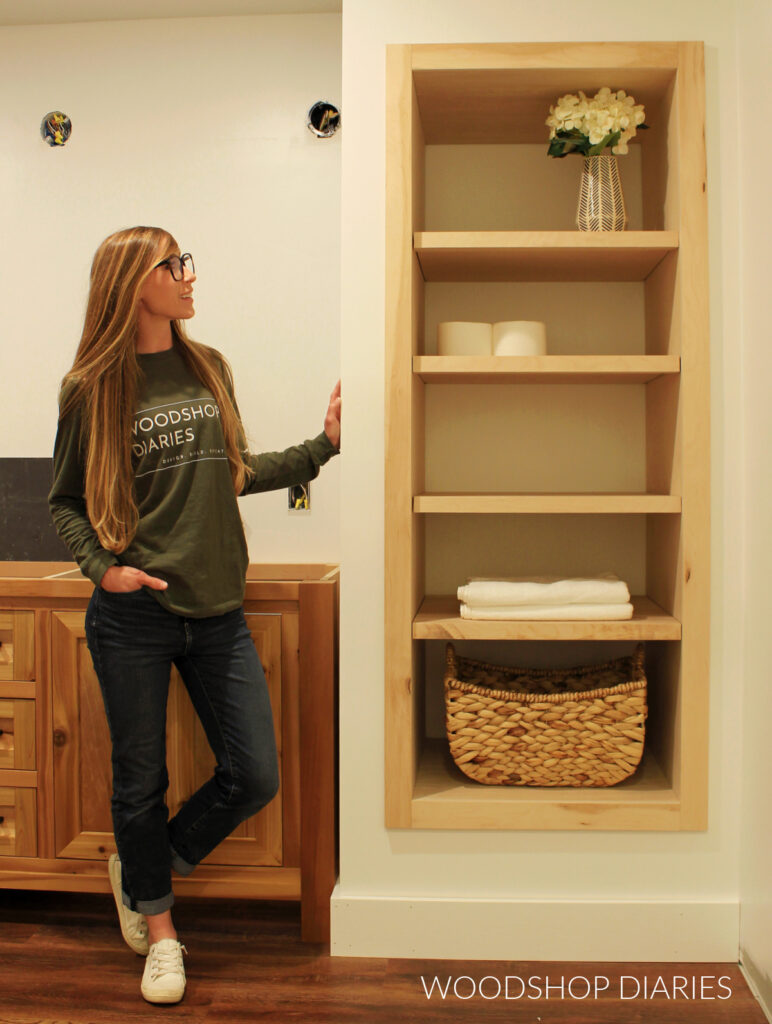
In every case, just to be transparent, some storage volume was lost.
However, in every case, because the cabinets were customized with drawers and/or adjustable shelving to fit the items I planned to put here, the space was utilized much more efficiently.
So, I’ve ended up being able to store everything I had in the previous closets in the new cabinets with extra room to spare.
It’s not always about the AMOUNT of space you have. It’s about how you use the space you have. But, if you feel that you need every cubic inch of space you can get, this may not be the project for you.
At the end of the day, efficient storage > more storage. And honestly, that’s the beauty of DIY. You can customize your projects for your specific needs.
Preparing the Existing Closet
This is a reasonably simple project (it’s quite literally just a bit box that slides into a hole in the wall). However, it does require a little bit of demo and prep work to make the existing closet ready for a built in.
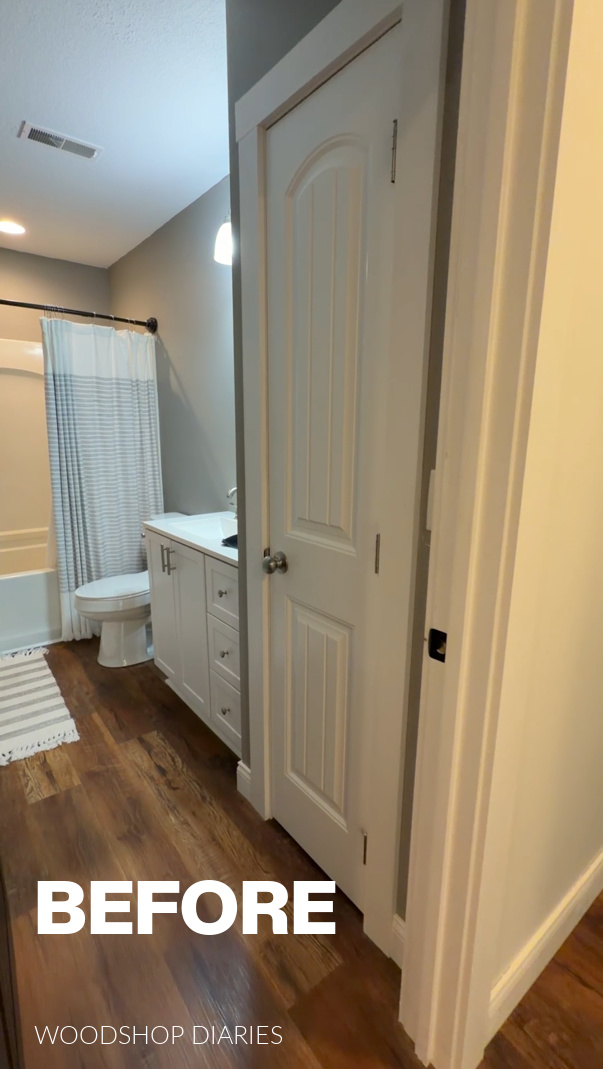
I discuss this more in step 1 below and in the video here. But essentially, the existing closet door, trim, and door frame need to be removed and the bottom section of the opening needs to be framed in and covered with drywall (or wall covering of your choosing).
If you’d rather not add the extra framing and drywall in the bottom, consider this type of closet built in instead.
Helpful Resources for this Project
You may find these guides helpful throughout the building process:
Enjoy DIY projects and woodworking plans? Sign up for priority access for the latest posts on Woodshop Diaries!
How to replace a closet with a built in
If you prefer to watch, I’ve shared the full build video with tons of tips, behind the scenes, and additional details on my YouTube Channel here.
Love watching how-to videos? Subscribe to my YouTube channel for plenty more where that came from!
Prefer to print? Grab the printable recessed closet cabinet building plan available here:
Tools & Materials
Tools:
- Drill/Driver
- Circular Saw and plywood cutting guides (Kreg Rip Cut & Kreg AccuCut)
- Miter Saw
- Pocket Hole Jig
- Shelf Pin Jig
- Brad nailer or stapler
- Stud Finder
- Level
Materials:
- (2) 4’x8′ sheets ¾″ plywood
- (1) 4’x8′ sheet ¼″ plywood
- (2) 1x3x8 boards
- (1) 1x4x8 board
- (1) trim piece 10′ long (this is for the drawer fronts and can be whatever type of trim you desire)
- (3) pair 16″ drawer slides
- Wood Glue
- 1 ¼” brad nails or ¾″ long staples
- 1 ¼” pocket hole screws (100 count box)
- 1 lb box 1 ¼” wood screws
- (4+) 2 ½” long screws (to secure to wall studs)
- Edge banding (optional, but recommended)
- Drawer pulls, knobs
- Shelf Pins
Step 1: Prep the Closet
Before building the cabinet, the existing closet needs a bit of prep work. I didn’t document the entire process on this particular closet, because it’s the same thing I did to a previous closet.
So you’ll notice the pictures here are of a different closet, but the process is the same. First, I removed the door, door trim, and the door frame until we were down to just the studs and the drywall.
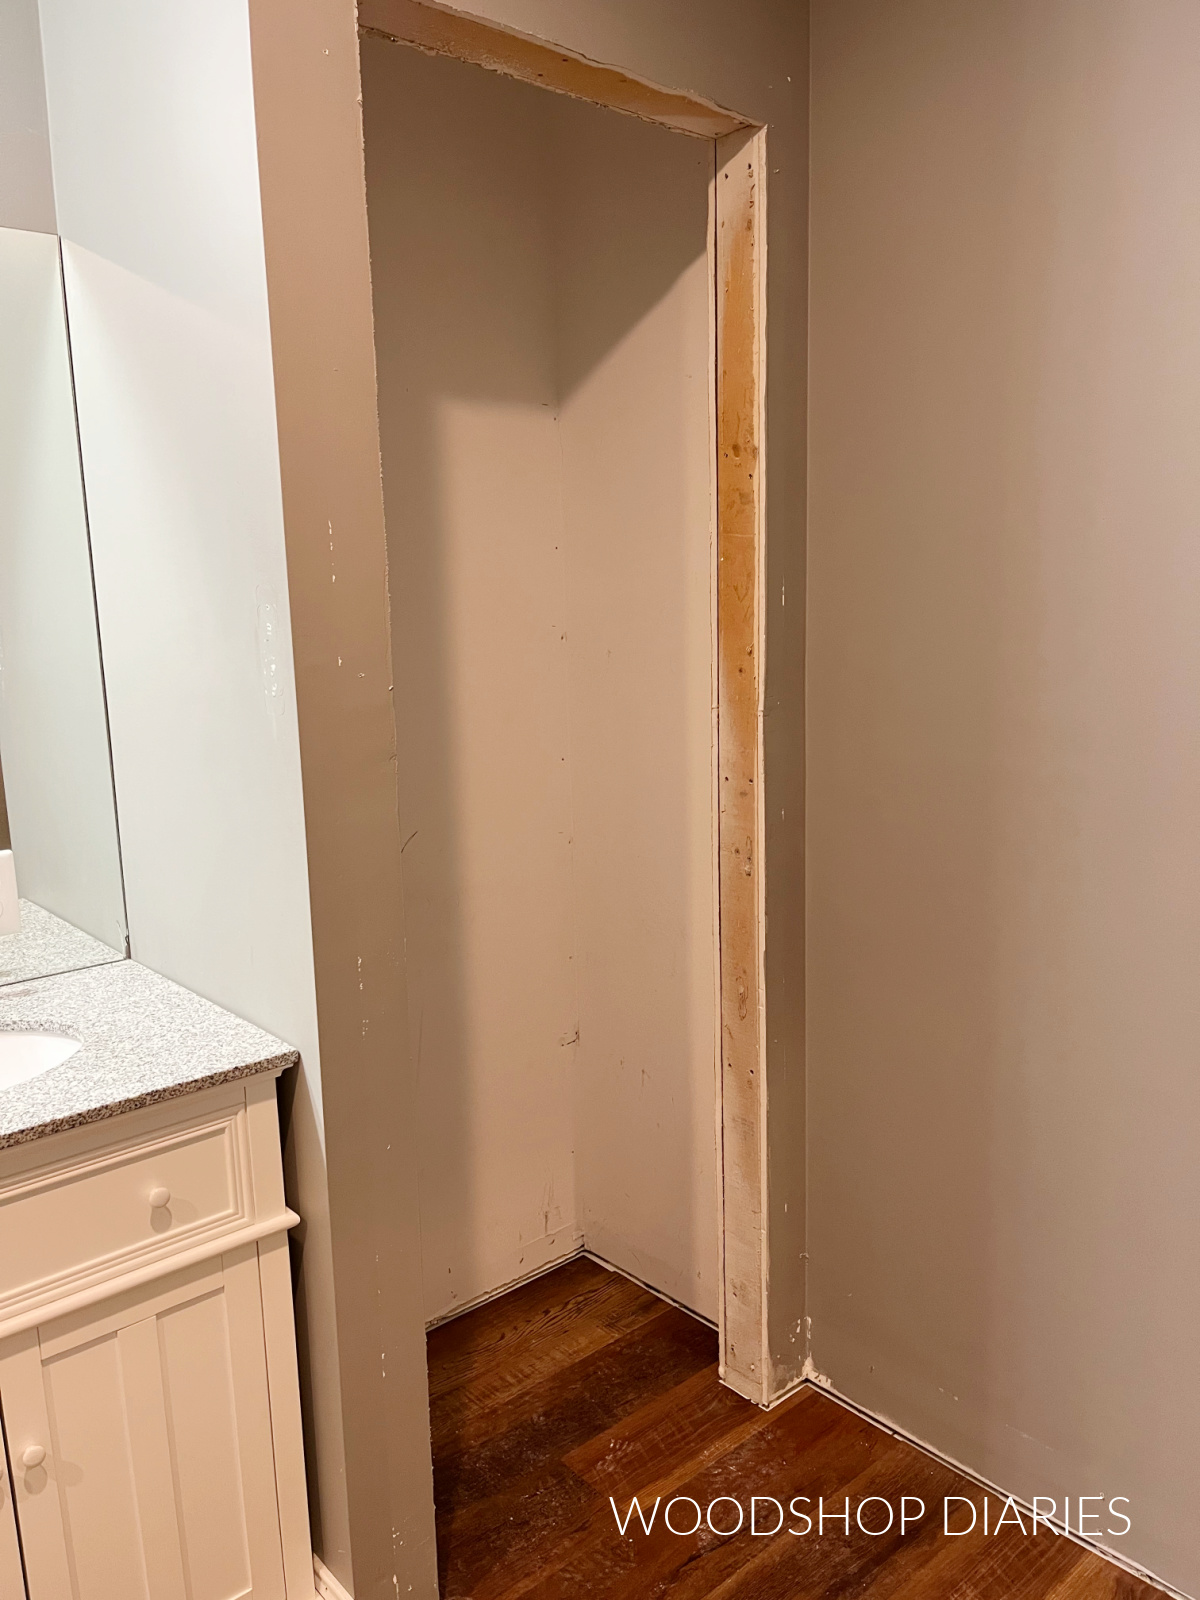
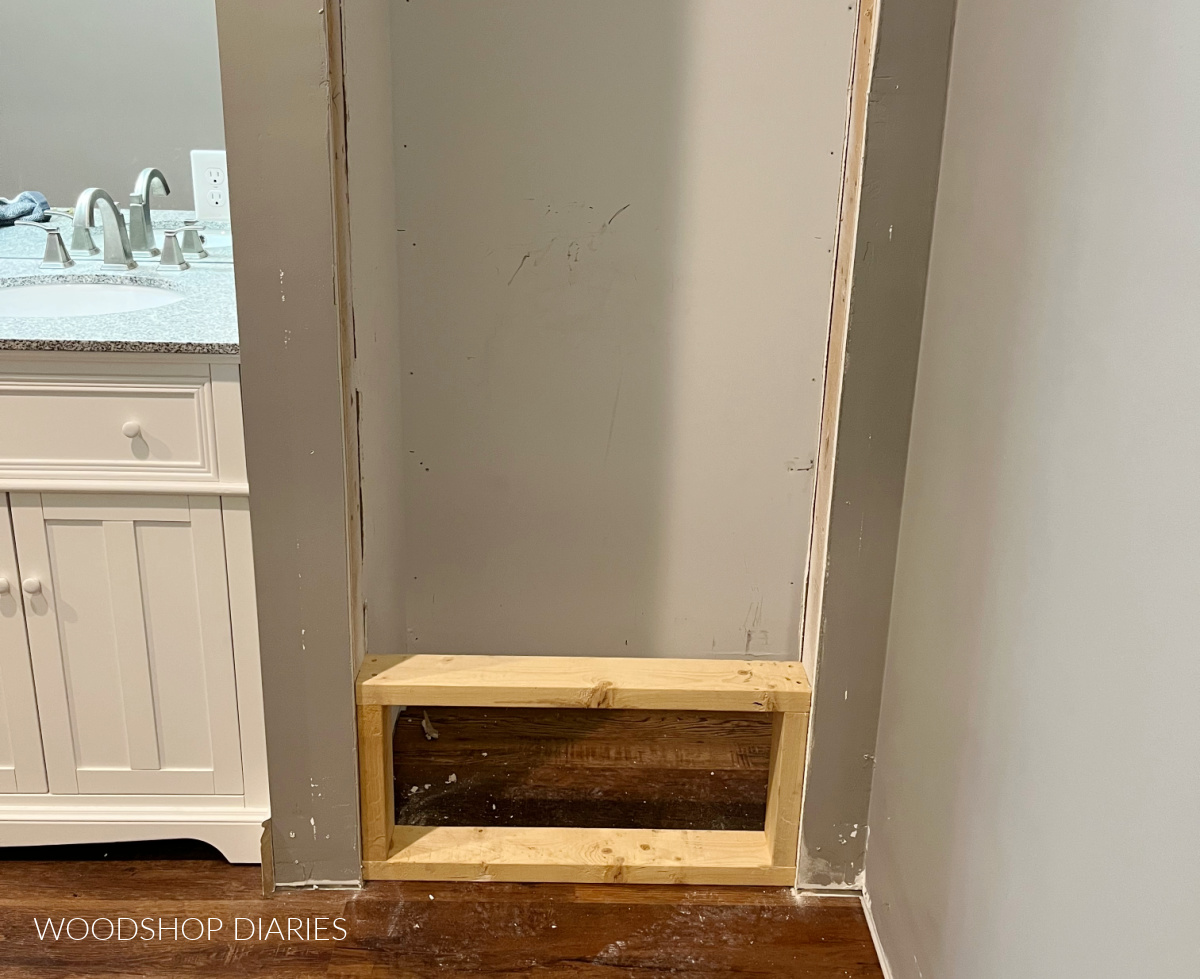
This built in cabinet is designed to fit into a hole in the wall and I didn’t want it to interfere with the baseboard trim. So I built a 2×4 frame to fit into this bottom opening and screwed it to the studs on each side.
Then, I covered it with drywall and finished the seams. I also touched up and patched the nail holes from the trim I removed. Once it was mudded, sanded, and smooth, I could paint this wall.
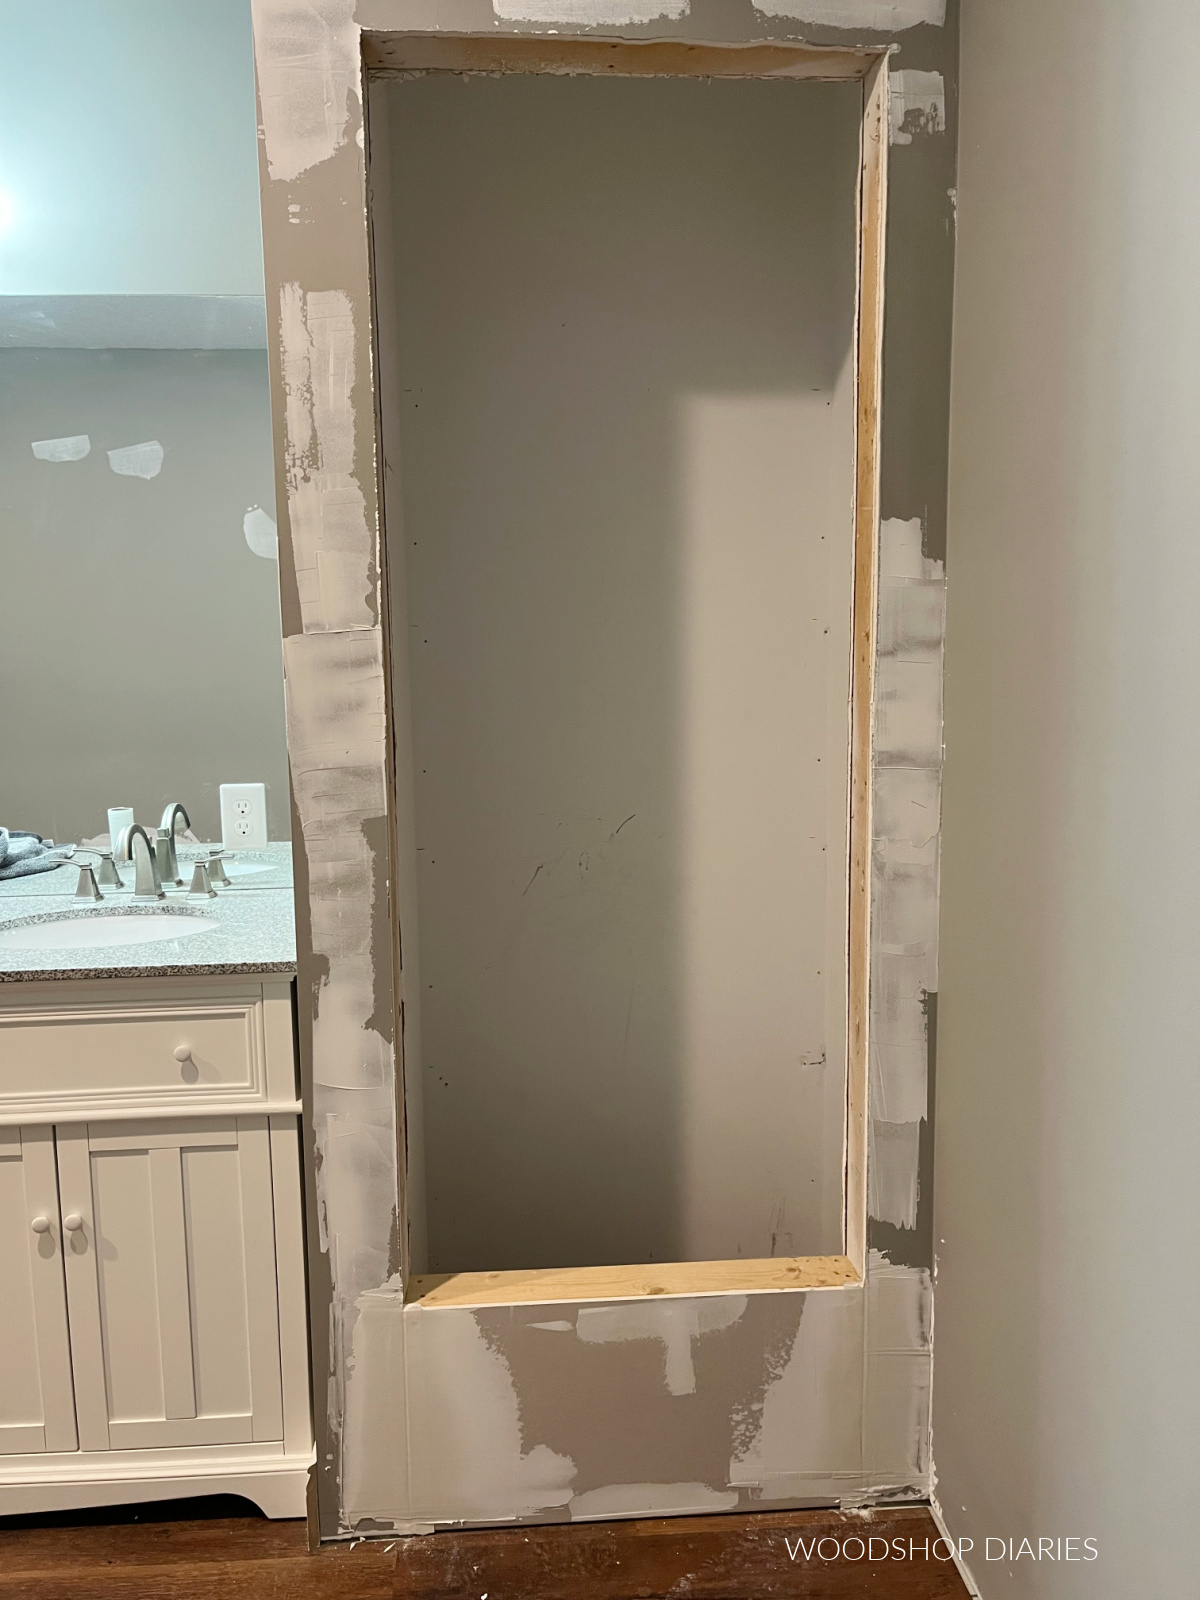
And after the paint dried, I could replace the baseboard trim and now the opening is ready for the cabinet. So I started building it.
FYI: I built my frame and patched my drywall about 14″ tall from the floor. I chose to make it 14″ because that’s how much drywall there was between the top of the closet opening and the ceiling. So the cabinet would be centered vertically on the wall.
However, you can adjust the height of this section as desired. Just make sure there’s enough height to add the baseboard.
Once the closet opening was prepped, I carefully measured the height and width of the opening and the depth of the closet (from the back wall to the front edge of the drywall).
This cabinet box in the next step needs to be slightly smaller than this in all dimensions so that it can easily slide into the hole.
Step 2: Assemble the Cabinet Box
I built this project using red oak plywood because the vanity in this bathroom is made from red oak. Since they’ll be side by side, I figured it was best that they match.
So I cut down ¾″ red oak plywood pieces to build a simple box using pocket holes. This box was built with two tall sides, a top and bottom panel, and a middle shelf.
NOTE: Keep the overall size of this box ½″-1 ½″ smaller in all dimensions than the closet opening. See printable plans for dimensions and sizing instructions.
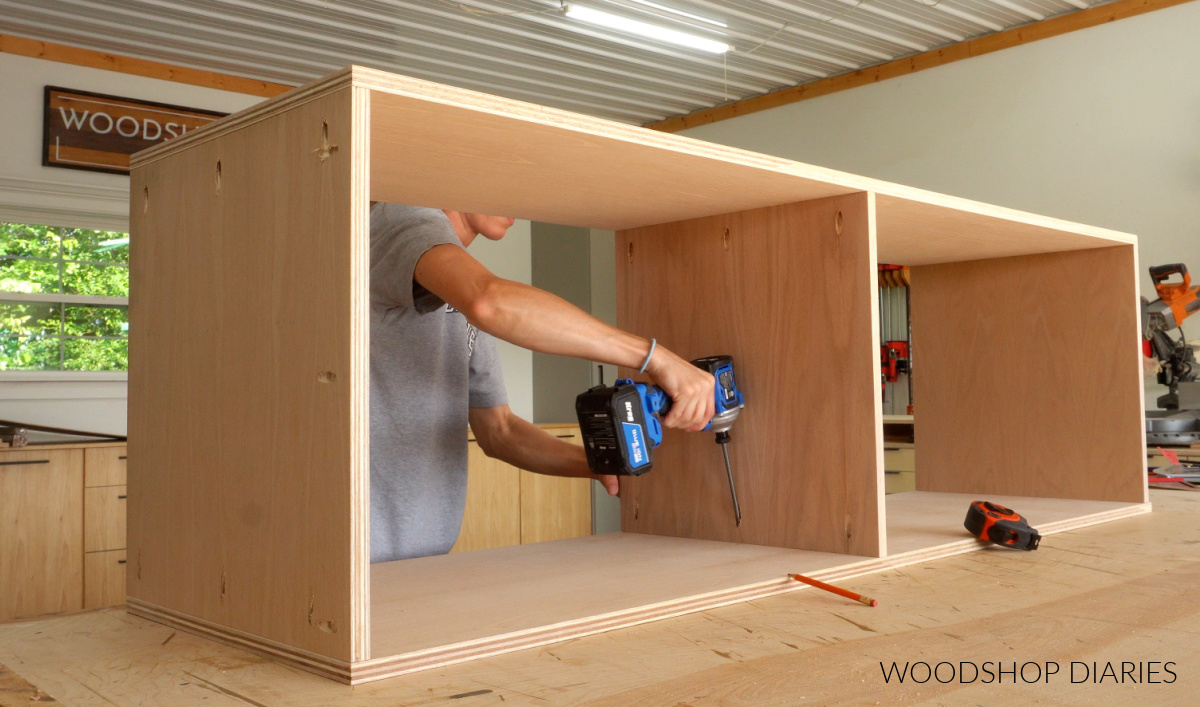
TIP: When assembling this box, I made sure to not only drill the pocket holes necessary to assemble the box, but I also drilled pocket holes along the front edges of the sides, top and bottom. You’ll see why in a minute.
RELATED: How to use pocket holes in DIY projects
After building the box, I assembled a face frame using 1x3s (actually, if you watch the video, I mentioned that I used plywood strips here, but in hindsight, I wish I had used 1x3s).
This face frame should be sized so that the INSIDE OPENING matches the inside opening of the cabinet box. All the overhang should be around the outside edges.
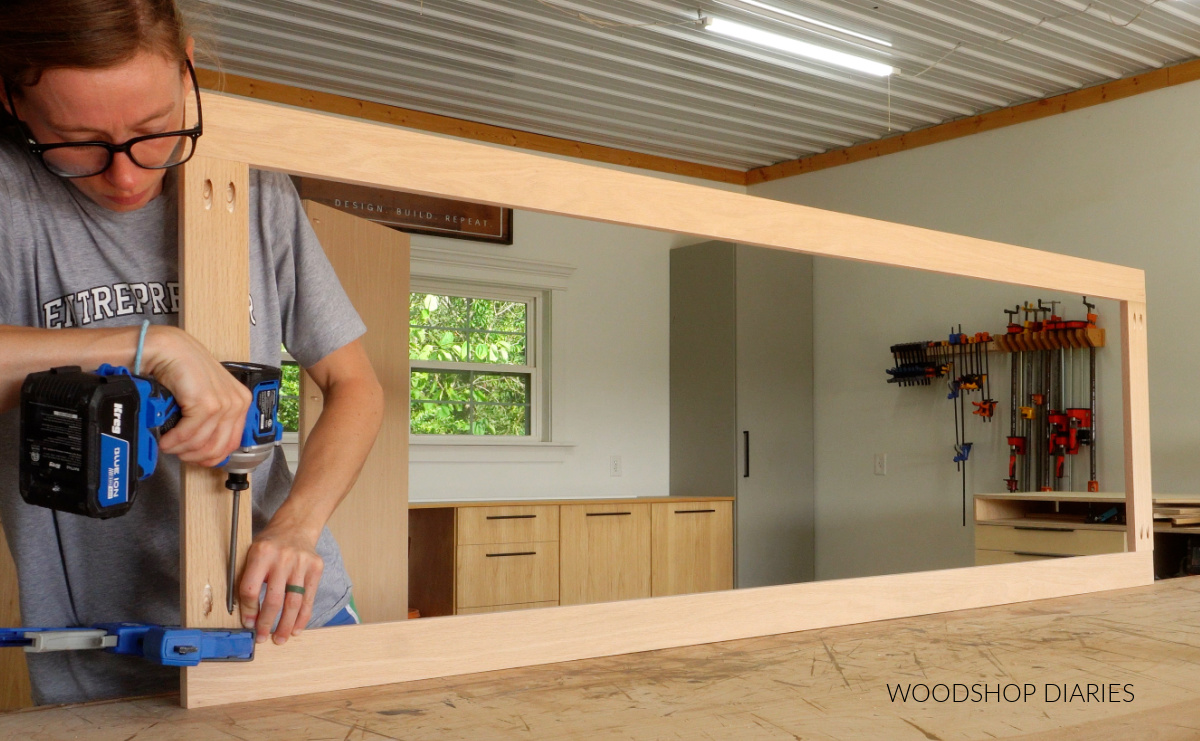
Then, those pocket holes I drilled around the front edges of the cabinet box? I used pocket hole screws through those to secure the face frame to the front of the cabinet.
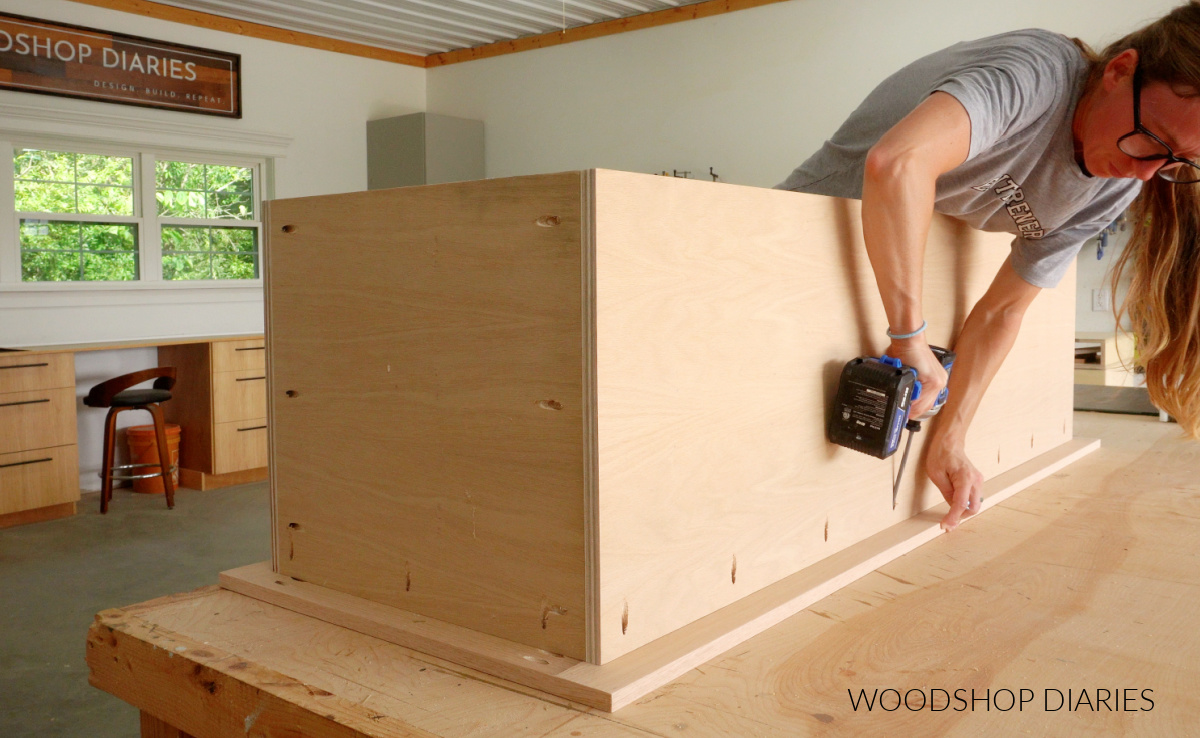
I know it’s a bit unusual that the face frame overhangs all sides of the cabinet, but in this case, once installed, this will help cover the drywall edges around the cabinet for a clean, built in look.
Prefer to print? Grab the printable building plans for this project here.
Step 3: Install Drawers
For inside this cabinet, I wanted to add drawers into the bottom section and shelving in the top.
So for now, I focused on the drawers and installed 3 pair of drawer slides into the cabient.
RELATED: How to install drawer slides
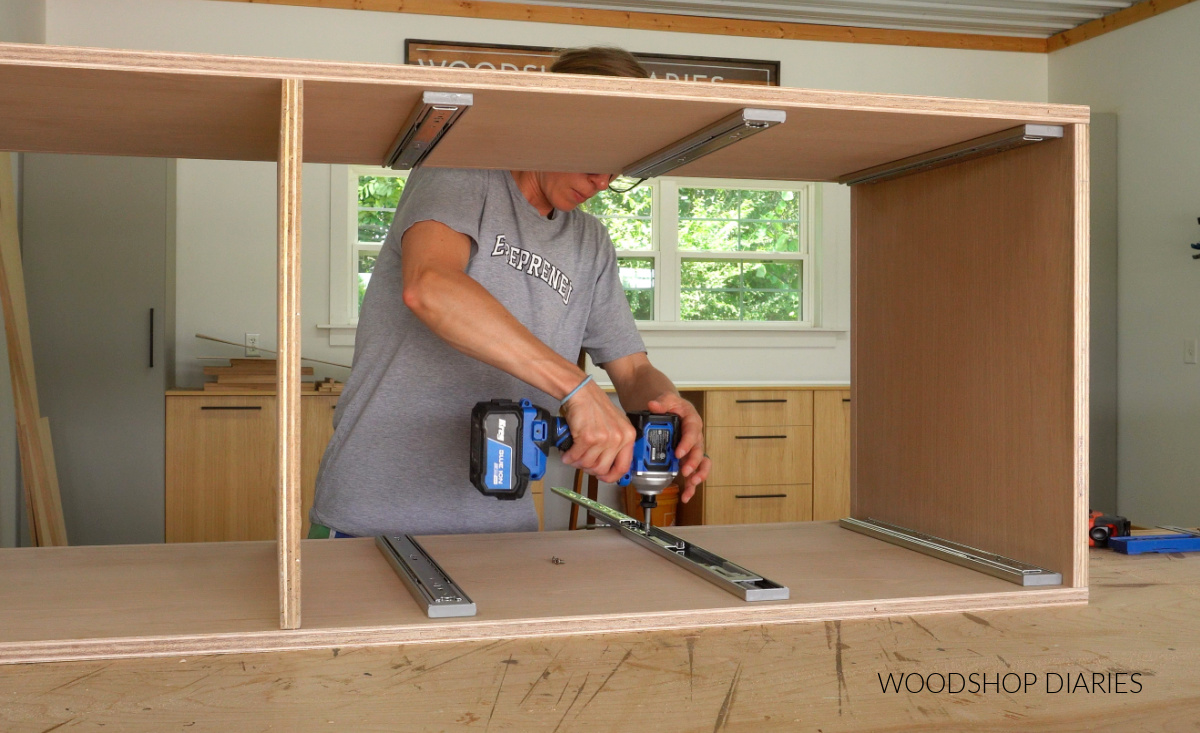
Then, I assembled three drawers using ¾″ plywood for the box and ¼″ plywood for the bottom. I built the boxes using pocket holes and screws and just stapled the ¼″ bottoms on.
NOTE: I split these drawers so that there were two deeper drawers in the bottom and a shallower drawer in the top section. You can divide these up however makes sense for you. I just like variety ha!
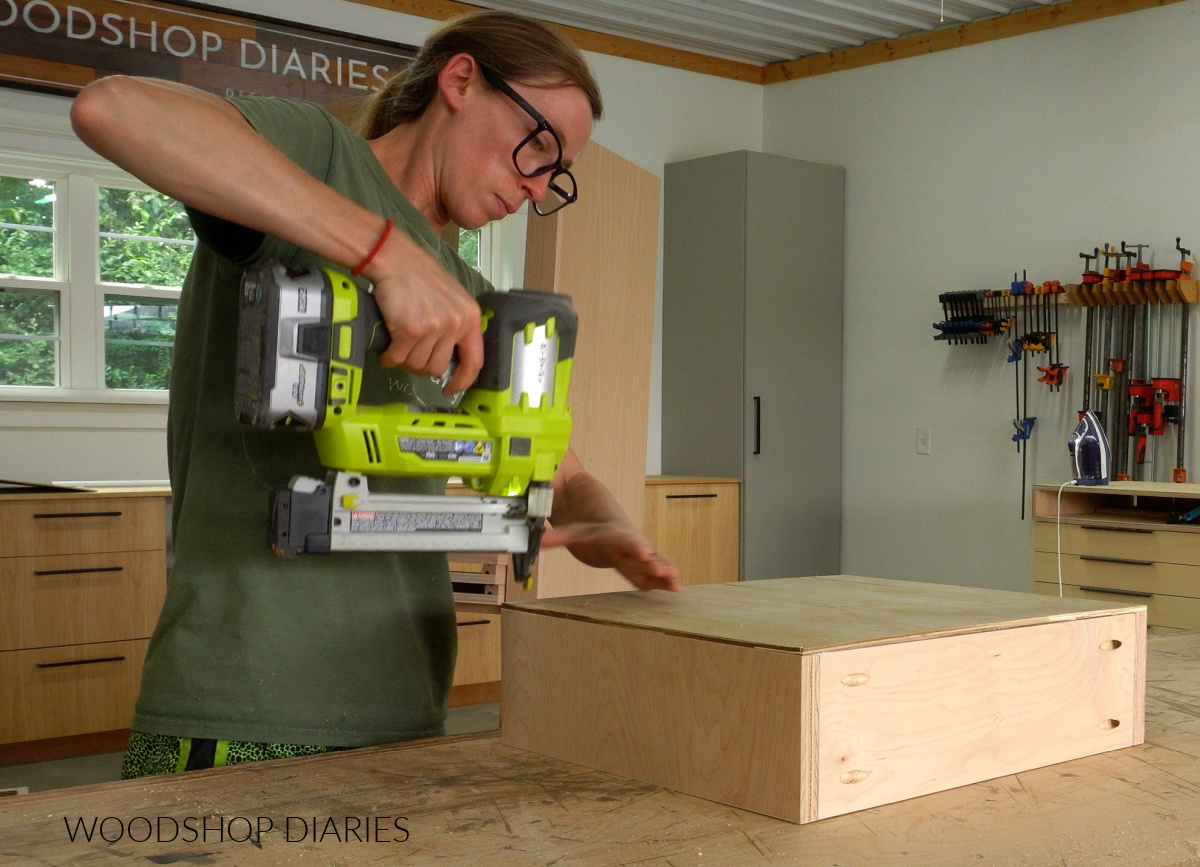
After the drawers were built, I installed them into the cabinet.
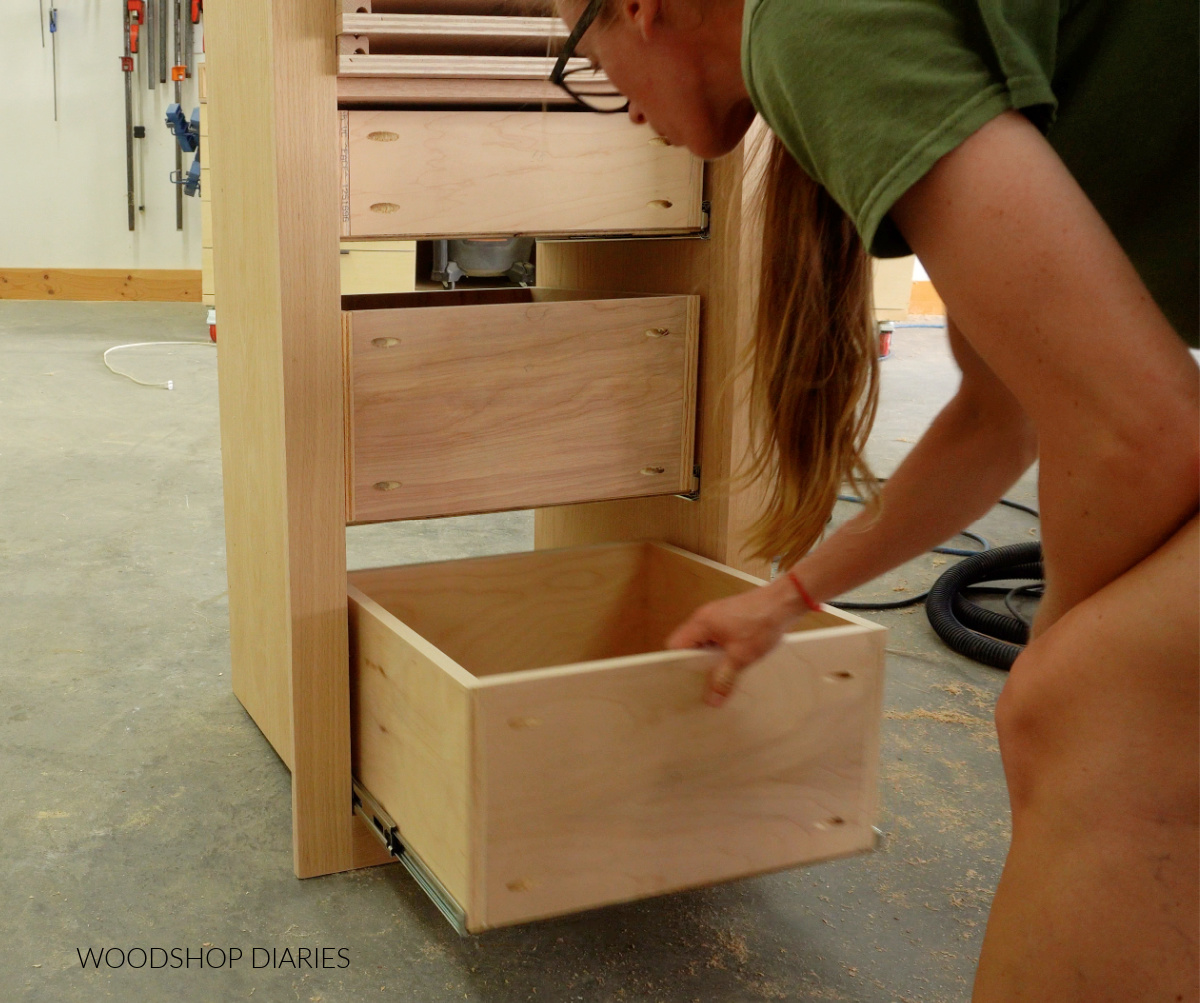
Then, I could focus on my favorite part of this entire project: the drawer fronts. I wanted these drawer fronts to have a continuous grain pattern, so I cut a single panel of ¾″ plywood (as if I was cutting a door instead of drawer fronts) to fit the bottom section of the cabinet.
Then, I cut some trim molding (I actually cut this from some leftover fluted trim board I used when building the bathroom vanity, but any type of trim or molding could work here) to glue around the front edges (see left image below).
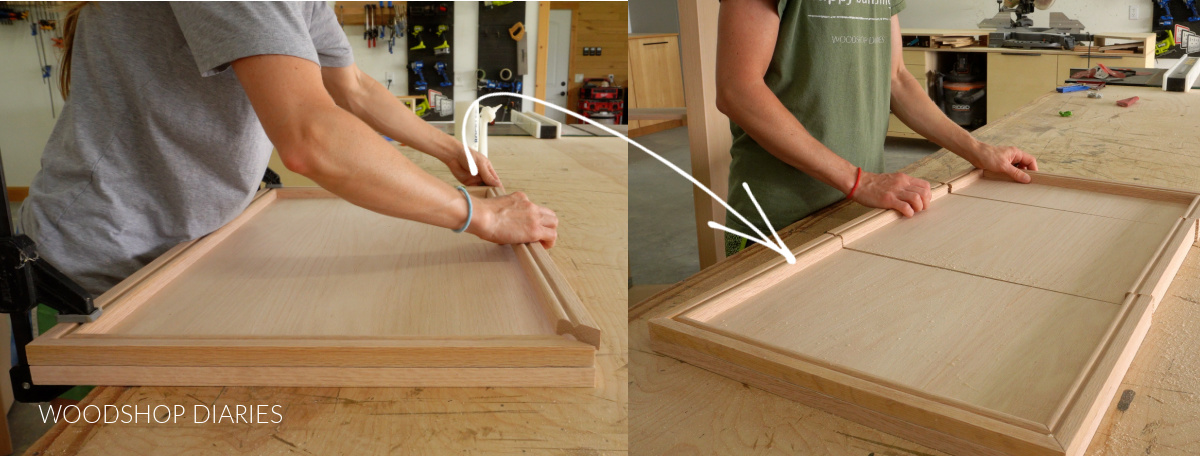
After the glue dried on the trim, I cut this panel into three pieces to use as my drawer fronts.
I screwed these onto my drawer boxes and the continuous grain pattern and the extra dimensions added with the trim really makes this piece look “fancy!”
Step 4: Add Shelves and Back
After the drawer fronts were on, all that was left was drilling shelf pin holes into the top section of the cabinet for adjustable shelves.
RELATED: How to add adjustable shelves to your projects
Then, I cut a piece of ¼″ plywood to fit over the back of the cabinet and tacked it in place with brad nails.
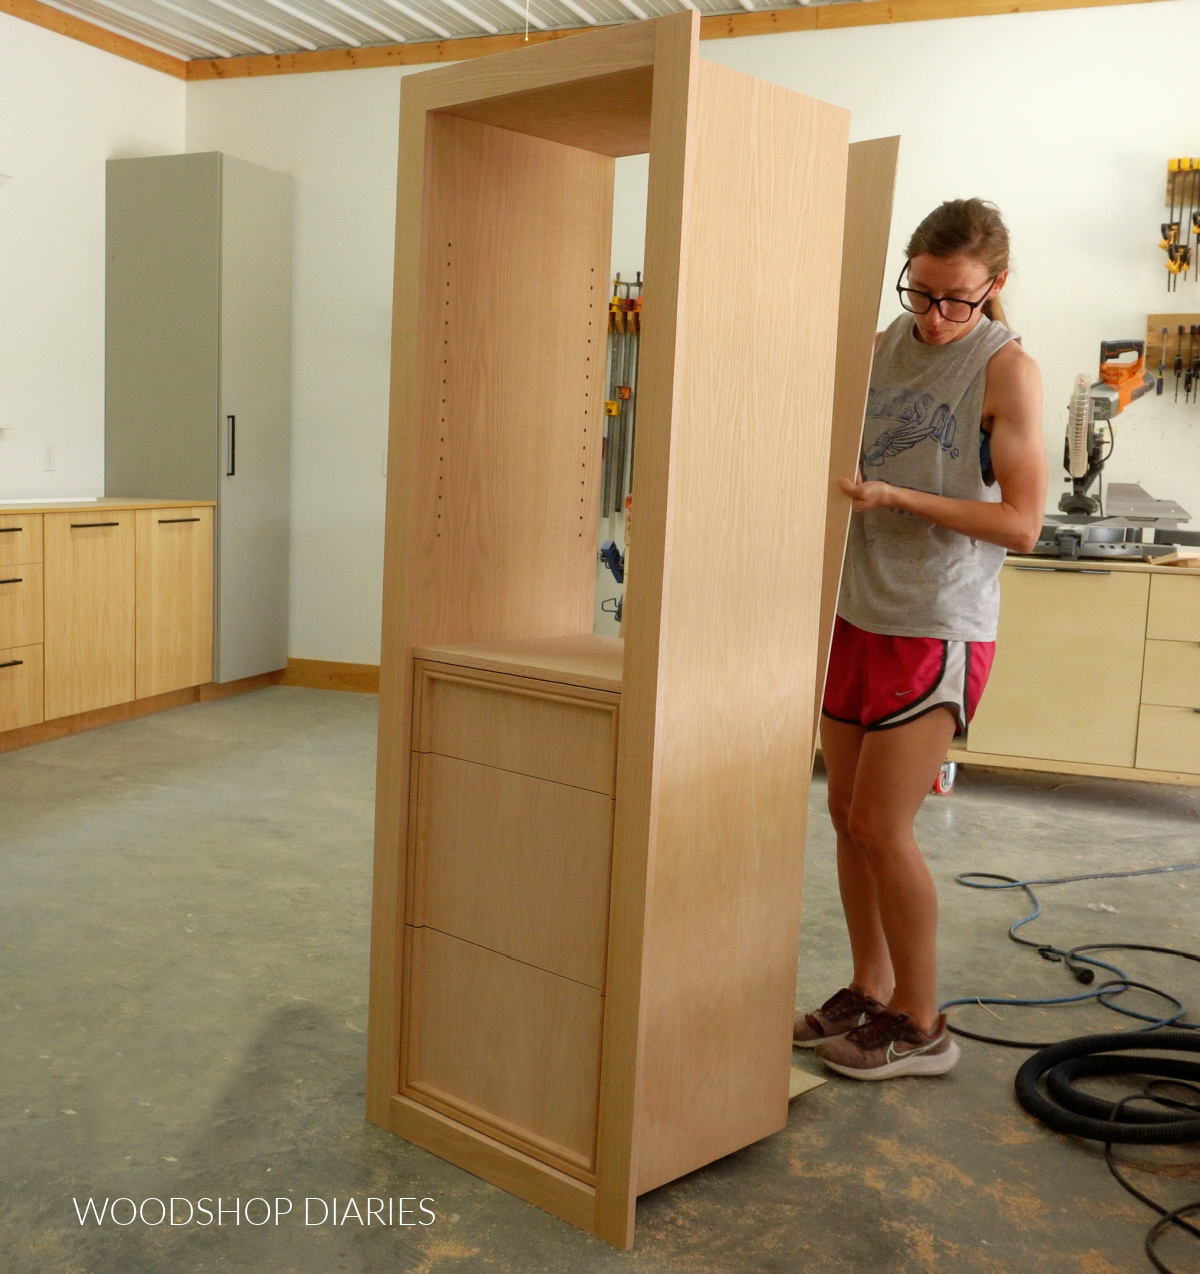
Now the cabinet is built, so I went ahead and finished it before installing. It’s much easier to stain and poly before it’s in place (in my opinion).
I stained this piece in Minwax Weathered Oak and sealed it with a few coats of Minwax Polycrylic.
Step 5: Install Closet Built In Cabinet
While the finish was drying on the cabinet, I moved back inside to install some bottom supports to help hold the cabinet when it’s slid into place.
I used scrap 1×4 boards for this (I actually used the door trim I removed from the original closet door because I had it handy ha!), but you could use thicker 2x boards as well.
First, I cut a piece of 1×4 board to run across the back of the closet and screwed it into the wall studs so that it was level with the top of the opening of the closet.
Then, I cut two 1×4 support strips to run front to back between the front framing and this back support strip. I secured these with wood screws.
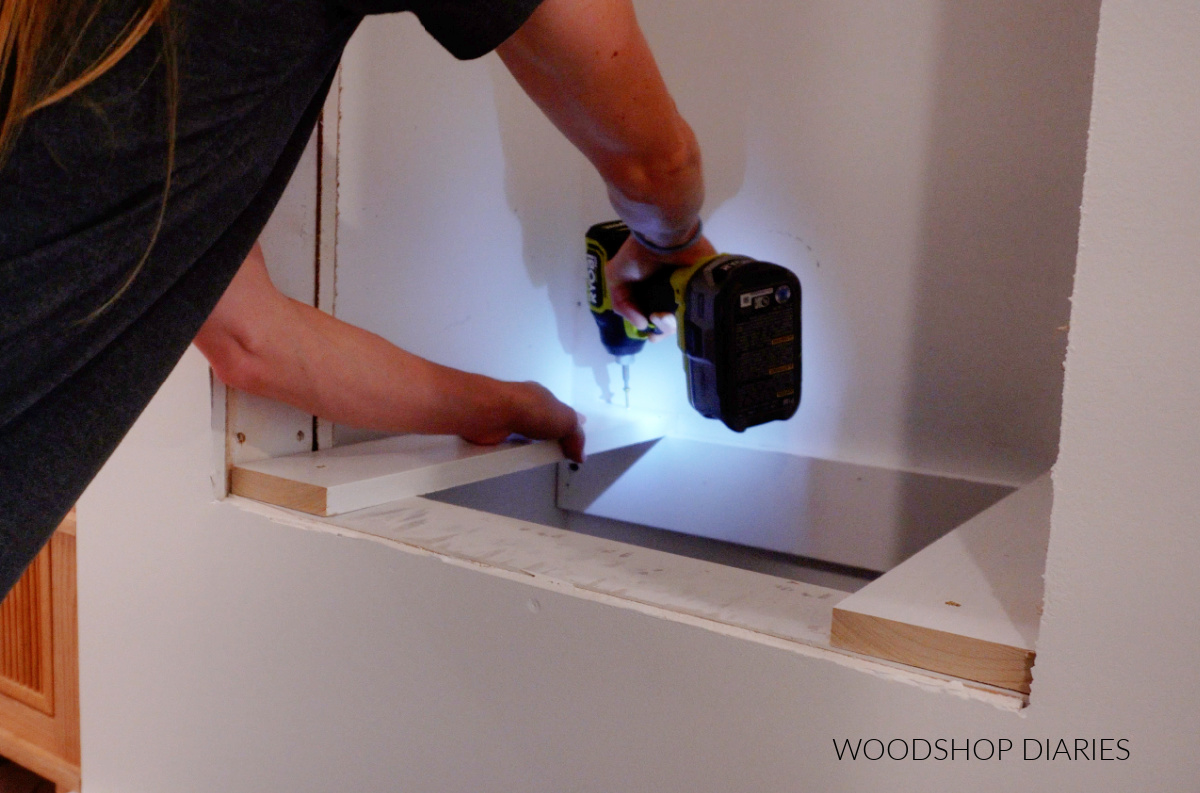
Now, I could lift and slide the cabinet box onto these support strips and push until the face frame contacted the drywall on all sides.
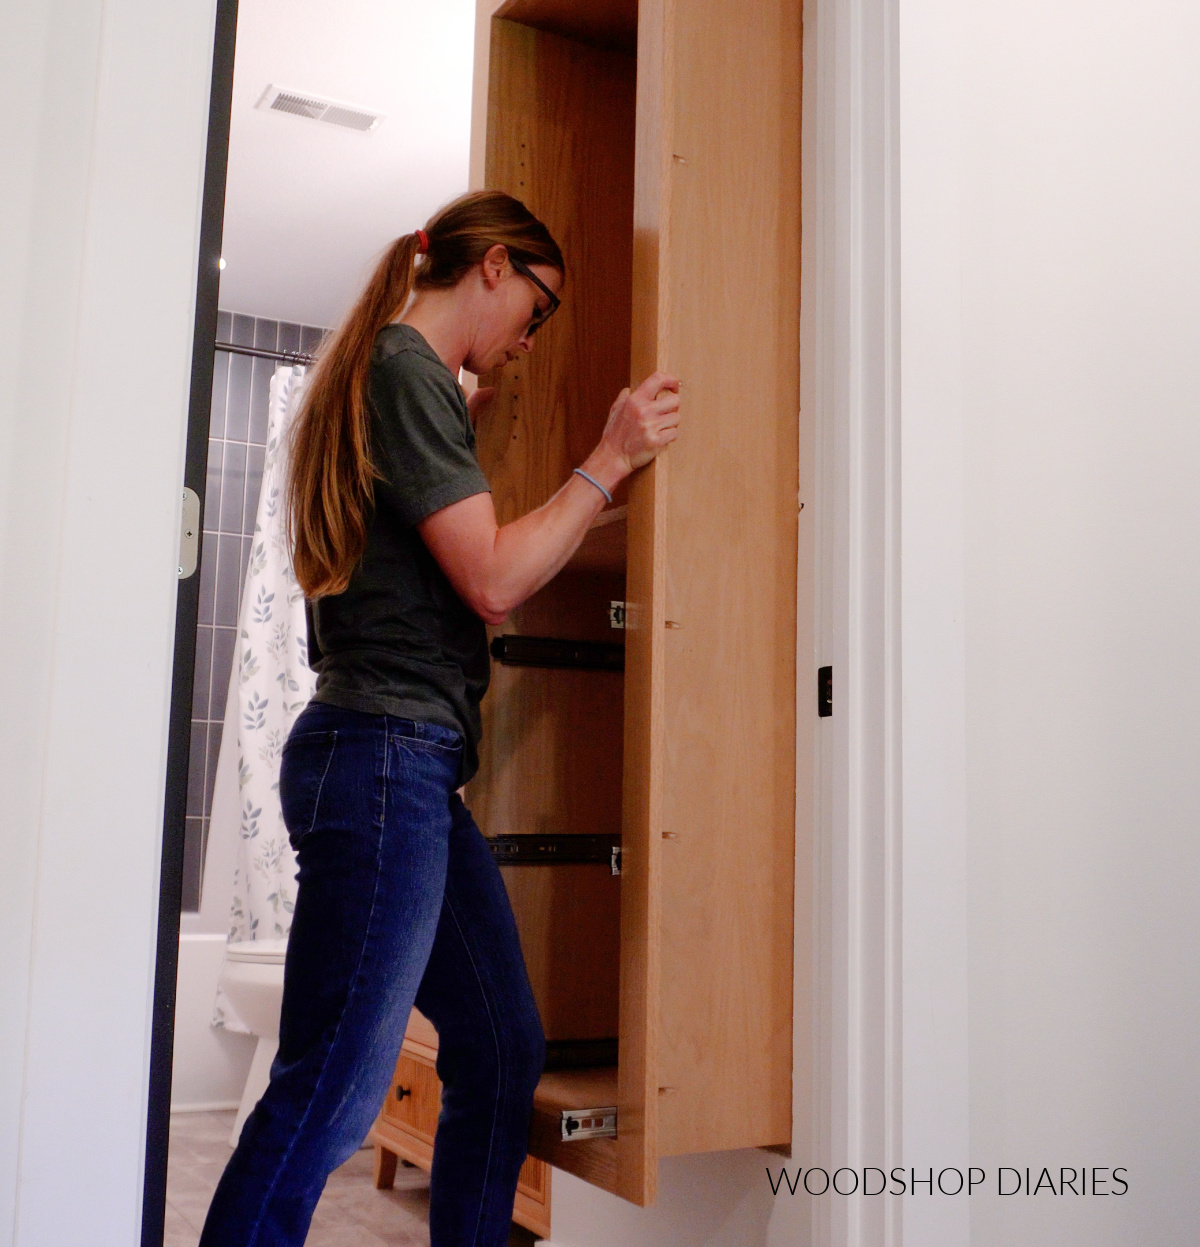
Once the cabinet was in, I screwed it (through the bottom panel) into the support strips, and replaced the drawers and shelves back in.
Then I took a step back and smiled because I am SOO happy with how this turned out. It was the last part of my bathroom remodel I had to finish and I honestly think it’s my favorite part of all!
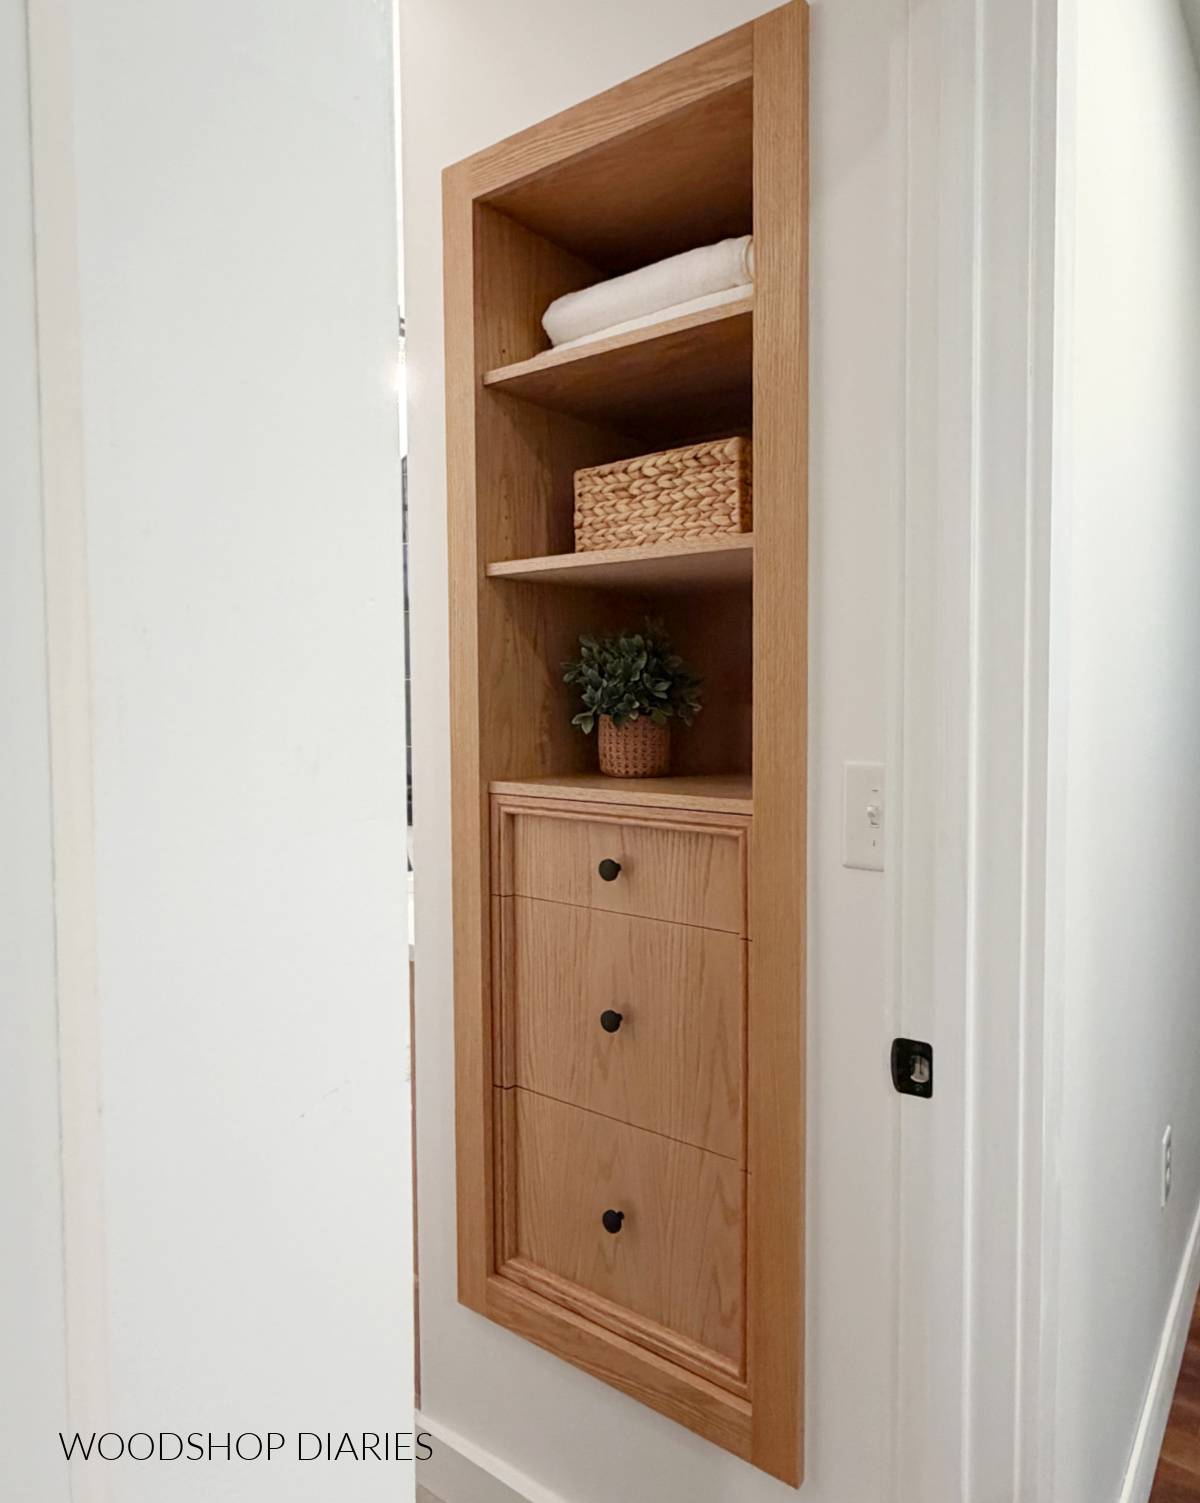
The wood grain really ties in with the matching vanity and I love that this is what you see as you are walking down the hallway. All in all, this was a great upgrade and my only regret is that it’s a tight fit, so it’s hard to get a good photo of it ha!
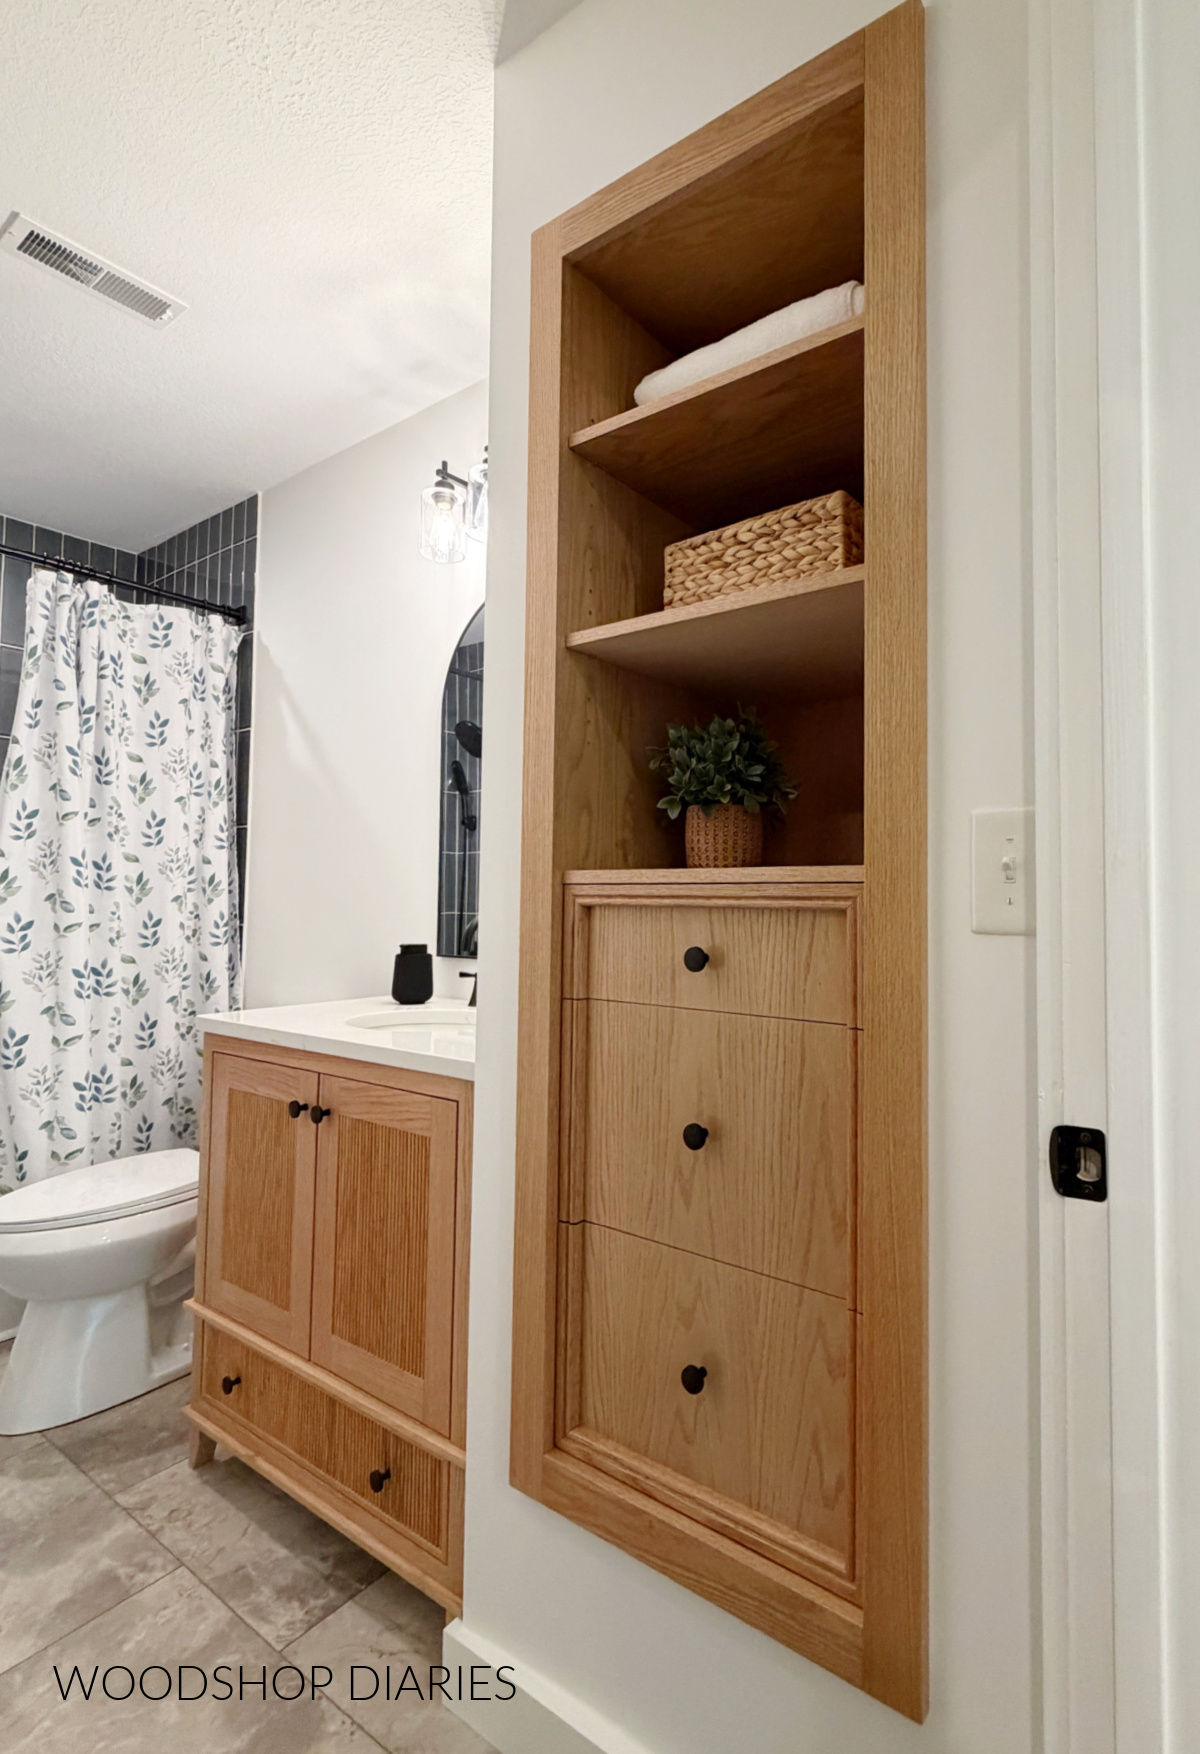
I really hope you enjoyed seeing how it came together and if you’d like to build your own, you can find the printable building plans for it here.
Looking for more DIY closet and built in ideas?
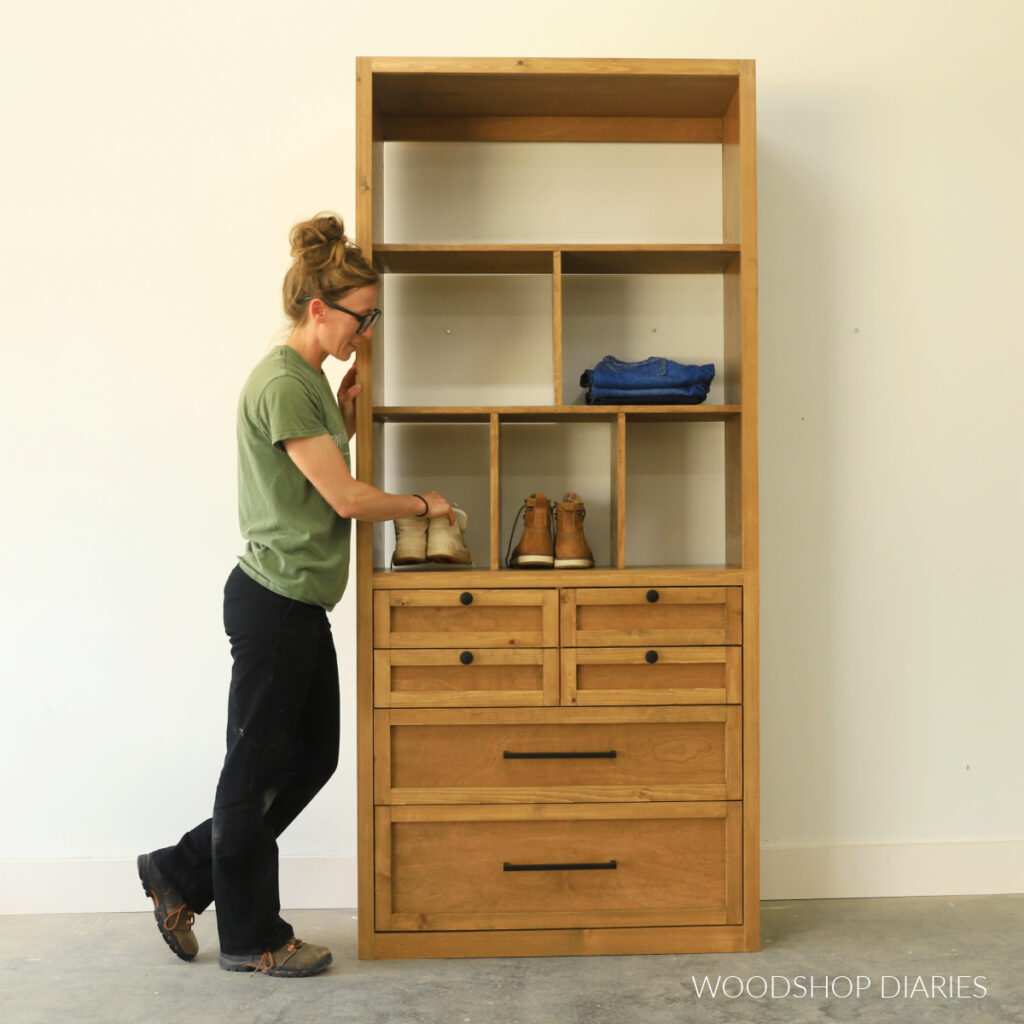
Enjoyed this build, but looking for more custom closet ideas? I’ve got you covered! Click on the image(s) below to learn how to build each project:
If you enjoyed this post, be sure to save it for later by pinning or sharing to your favorite social channel!
Until next time, friend, happy building!