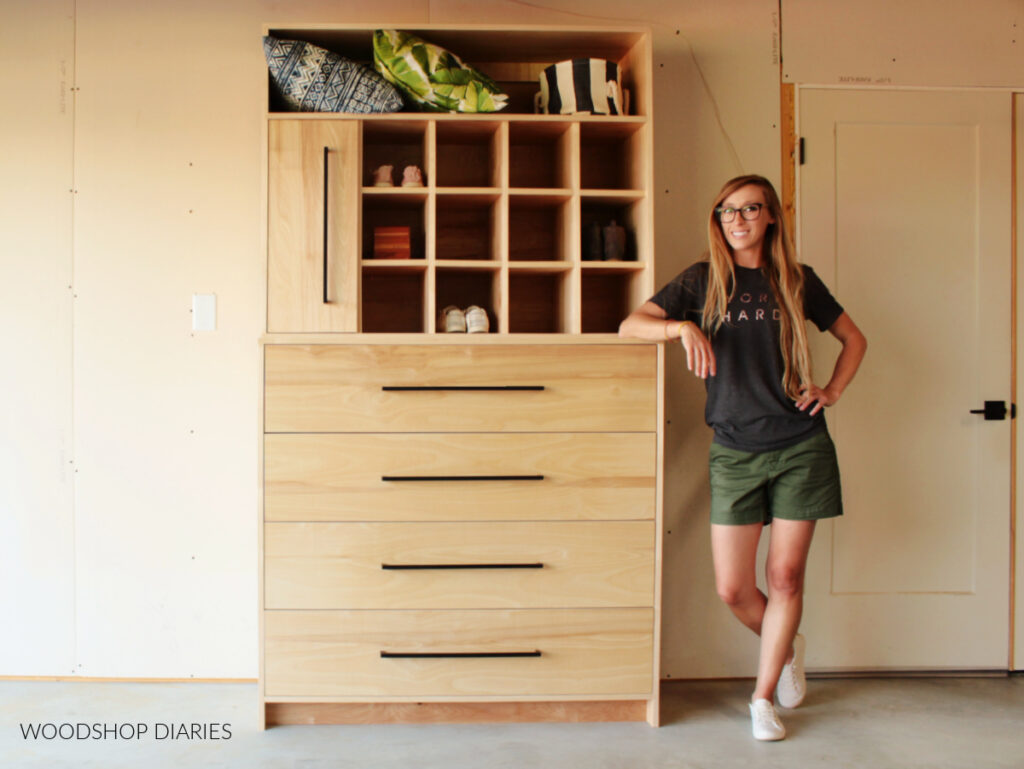
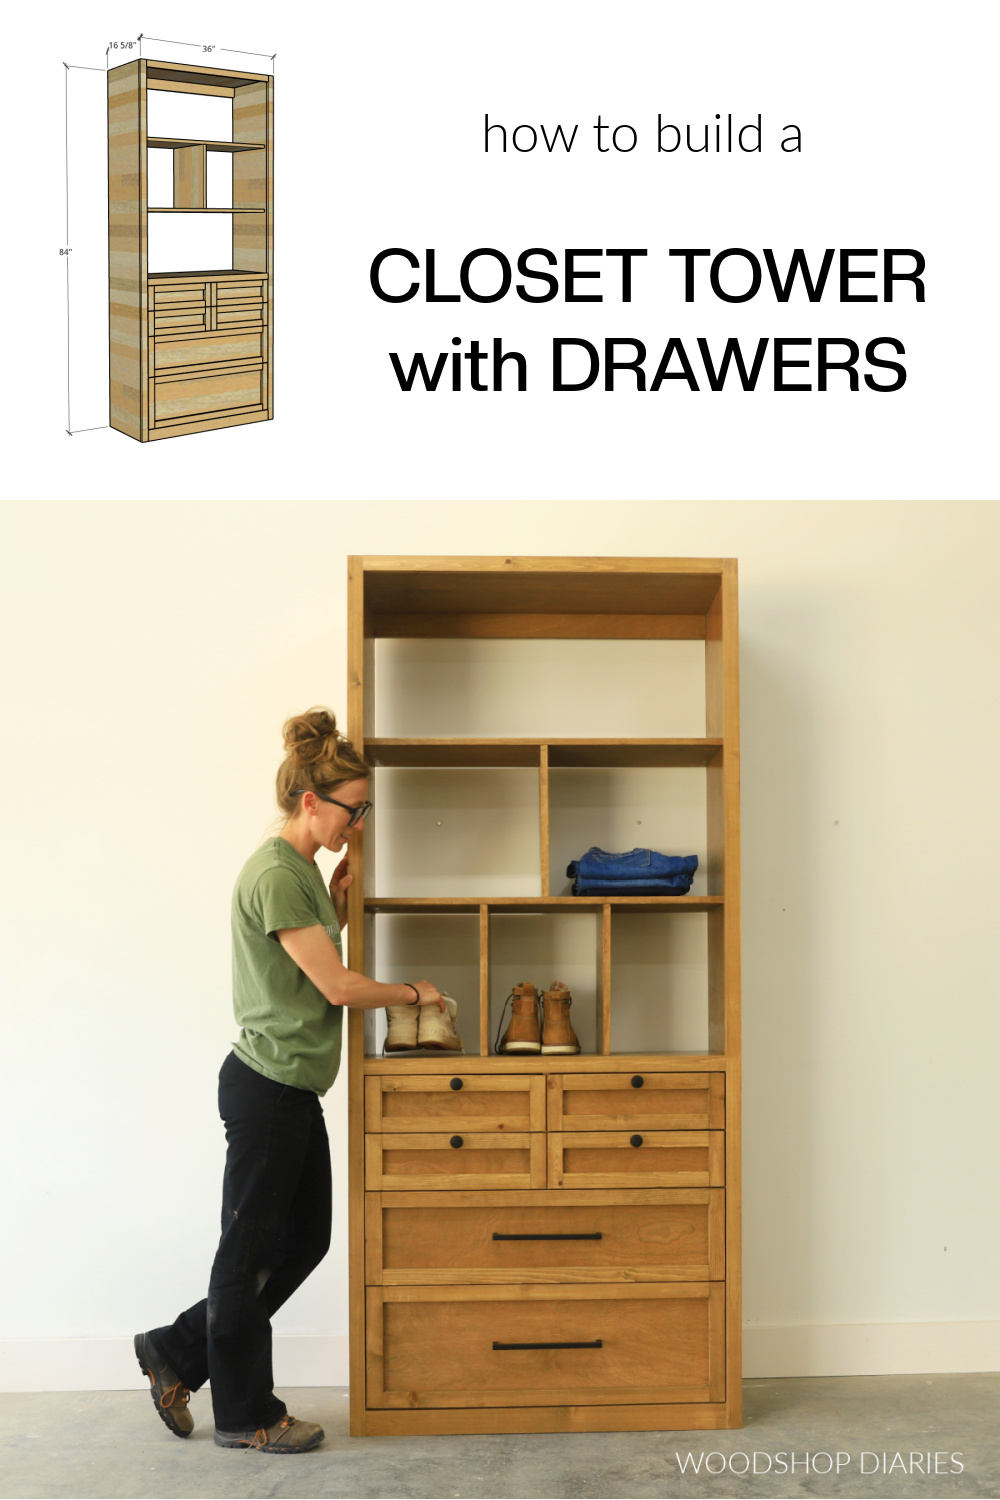
In this post, I’ll show you how to build a large closet tower cabinet with drawers on the bottom and shelving on the top!
What I think is really neat about closet cabinets is that they are typically just really large boxes…nothing fancy at all. But what you put inside can be mixed and matched a thousand ways to customize it to fit YOUR specific needs.
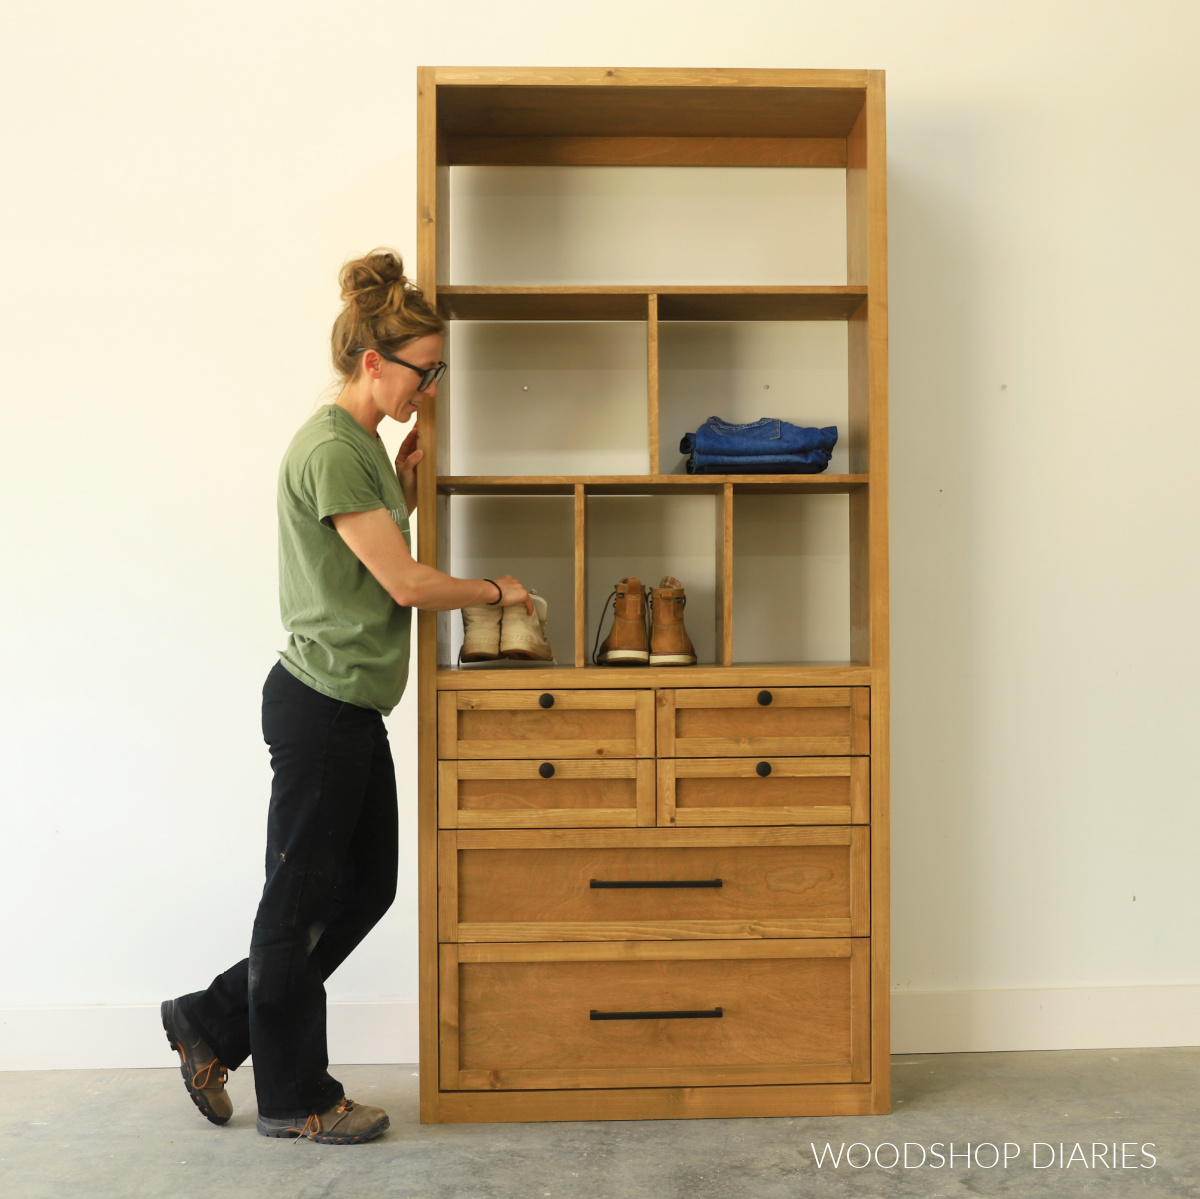
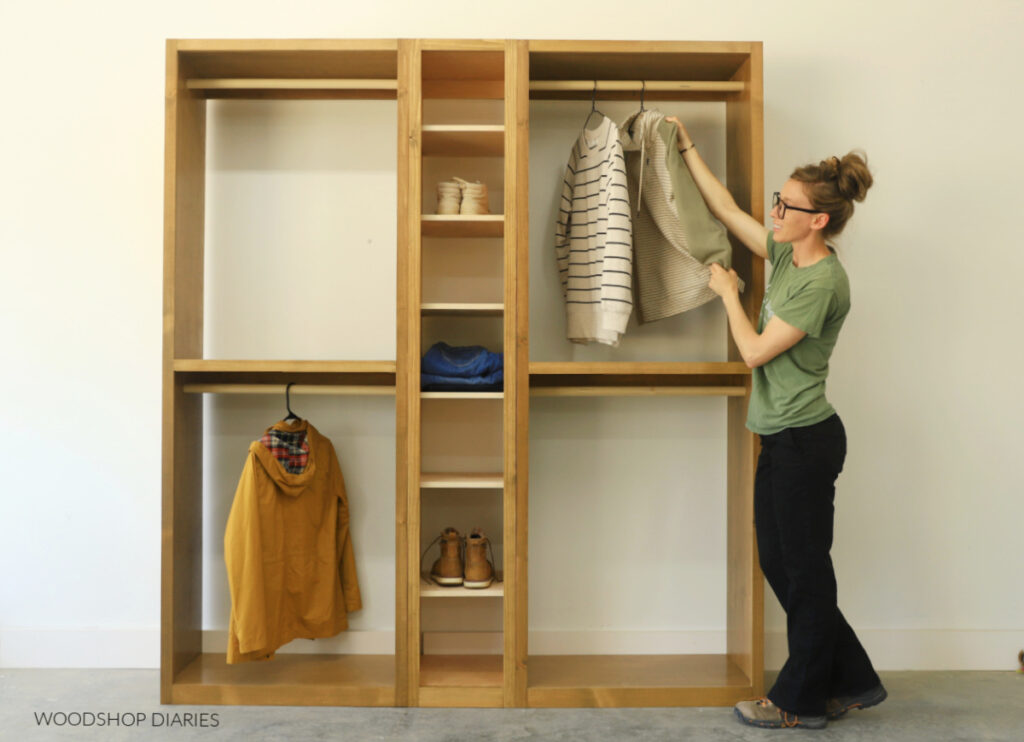
For example, even though I added shelves at the top here, you could easily swap those for a hanging rod, or shoe cubbies instead.
But, no matter what you put in the top section, it’s hard to beat a good set of drawers here in the bottom for closet storage…especially when they come in a variety of sizes!
So if you could use a closet upgrade, let’s dive in and I’ll show you how to build this custom closet tower with drawers.
*This post contains affiliate links. See website policies.
What to know before building
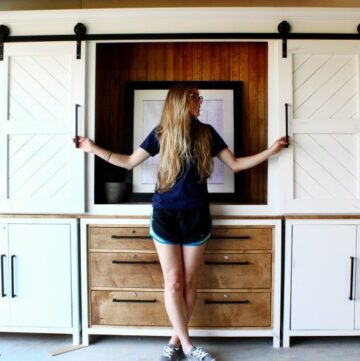
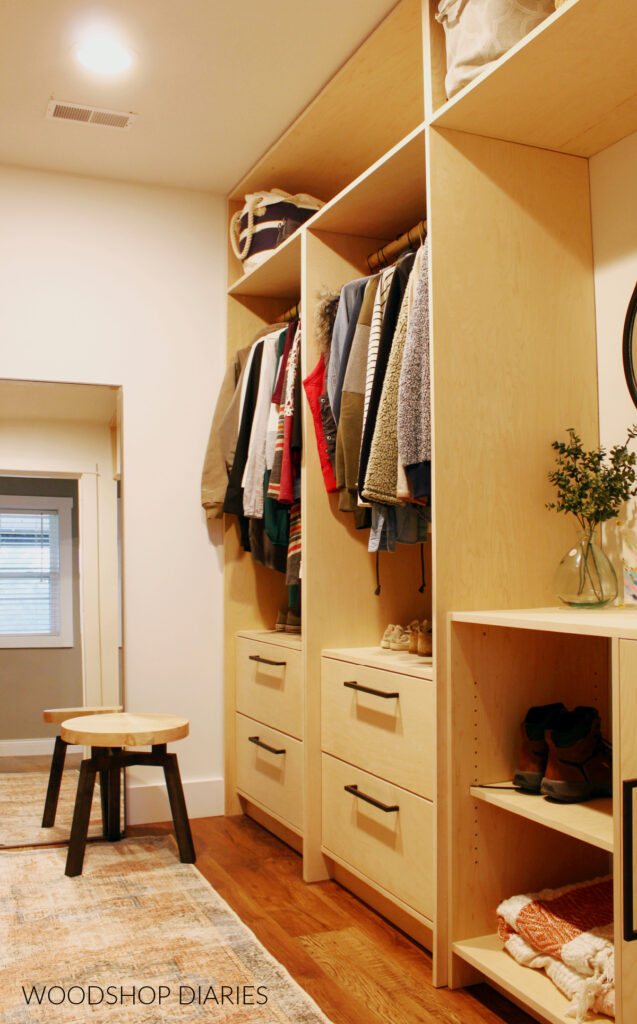
I built this cabinet with drawers plus these hanging rod cabinet towers for my dad’s small walk in closet.
The hanging rod cabinets spanned across one wall and this cabinet fit into the opposite corner on an adjacent wall. If you’re looking to create full custom built ins for your closet space, these are all great options to mix and match.
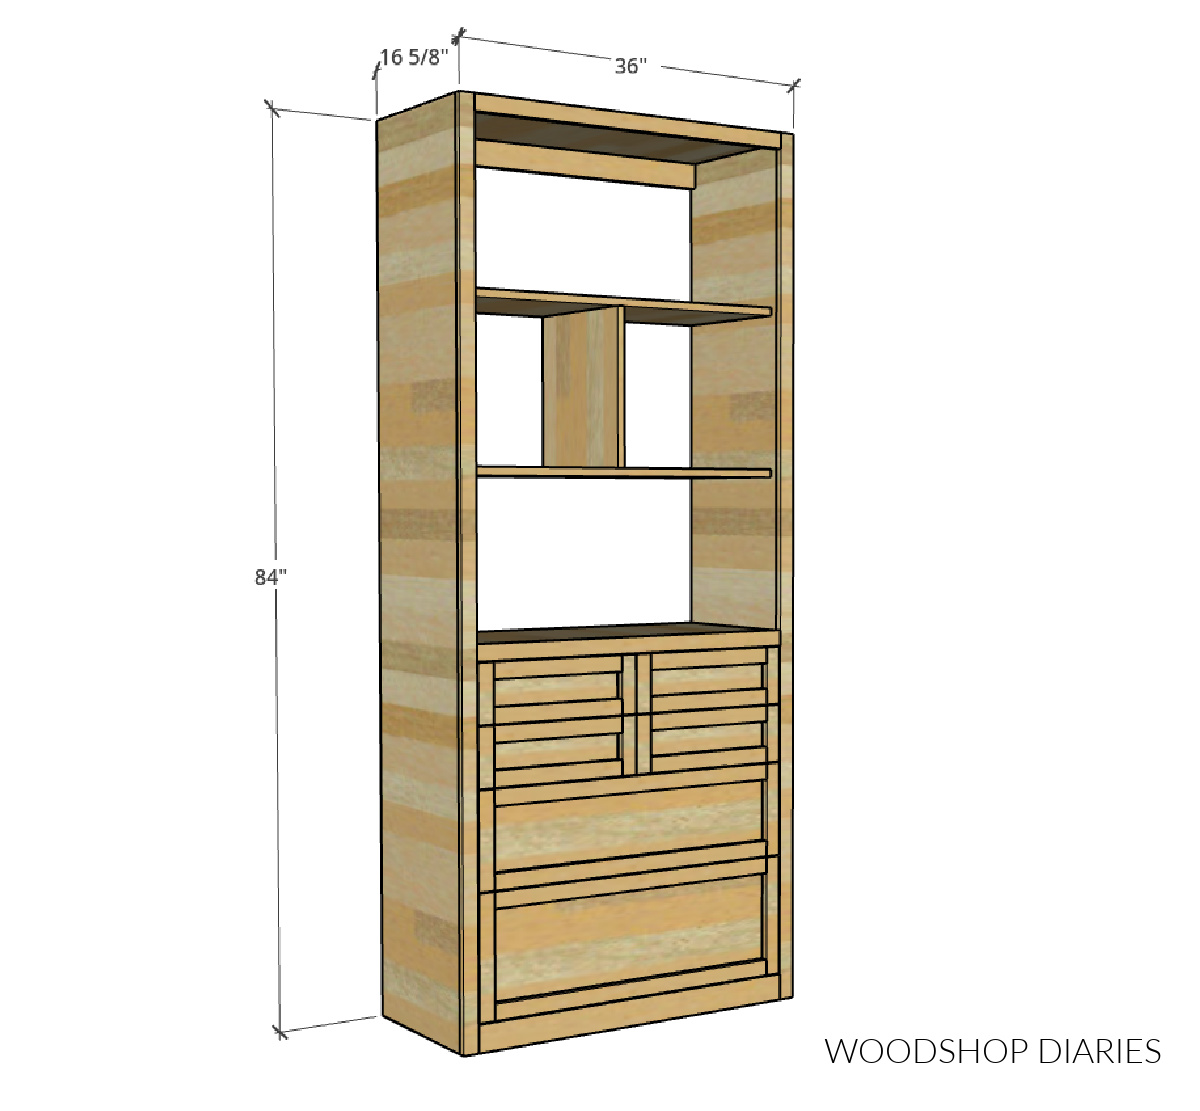
The overall dimensions of this closet cabinet are approximately 16 ⅝″ deep x 36″ wide x 84″ tall.
Helpful DIY Resources
If you’re new to building drawers, don’t worry! I’ll walk you through the entire drawer building process from start to finish in this drawer building series (with videos!). I’ve broken it down into four parts:
- How to measure for and size drawer boxes
- How to assemble a drawer box
- How to install drawer slides
- How to install drawer fronts
Prefer to print the whole series? Grab the Ultimate Drawer Building Guide which includes all four parts in a printable e-book you can take to the shop with you.
NOTE: The drawer boxes for this project were assembled using screws through the sides instead of my usual method of pocket holes. The reason is because the frames I used for drawer fronts would not have have covered the pocket holes. This is discussed in more detail in the video linked below.
You may find these additional resources helpful throughout the build:
Enjoy DIY projects and woodworking plans? Sign up for priority access for the latest posts on Woodshop Diaries!
How to build a closet tower with drawers
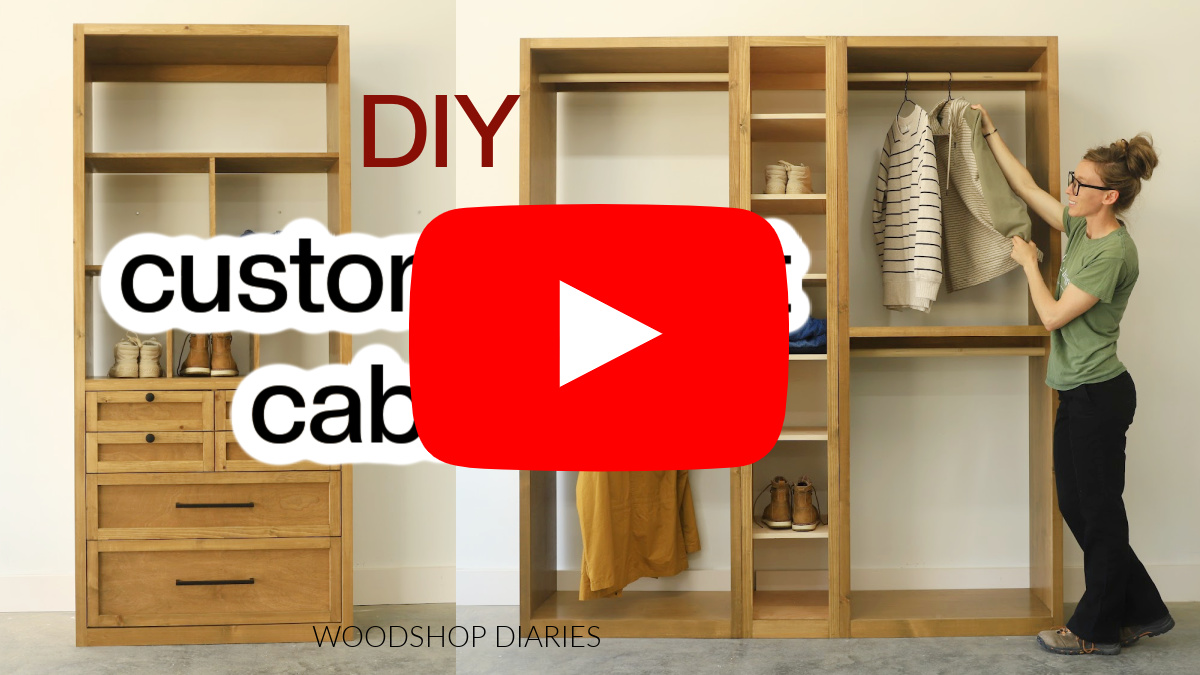
If you prefer to watch, I’ve shared the full build video with tons of tips, behind the scenes, and additional details on my YouTube Channel here.
Love watching how-to videos? Subscribe to my YouTube channel for plenty more where that came from!
Prefer to print? Grab the printable closet tower with drawers building plan available here:
Tools & Materials
Tools:
- Drill/Driver
- Circular Saw and Rip Cut Guide
- Miter Saw
- Pocket Hole Jig (standard & micro sized recommended, but micro is optional)
- Brad nailer
- Table saw or router (optional to cut drawer box dadoes–see notes)
Materials:
- (2) 4’x8′ sheets ¾″ plywood
- (1) 4’x8′ sheet ¼″ plywood
- (6) 1x2x8 boards
- (1) 1x3x8 board
- (6) pair 16″ drawer slides
- Wood Glue
- 1 ¼” brad nails
- 1 ¼” pocket hole screws (100 count box)
- 1 lb box 1 ¼” wood screws
- (2-3) 2 ½” long screws (to secure to wall studs)
- Edge banding (optional, but recommended)
- Drawer pulls and/or knobs
Not sure what type of wood to use for this project?
1x LUMBER: If painting, preprimed pine, spruce, or poplar are great budget friendly options. And if staining, usually, you want to use the same wood type as your plywood or something that will stain similarly so that they match. Check out this post to learn how to shop for and purchase lumber for your project.
PLYWOOD: I recommend using cabinet grade hardwood plywood (like birch, maple, oak, etc). Check out this post to learn how to choose the right plywood for your project.
This project was built with birch plywood and pine/spruce for the 1x material.
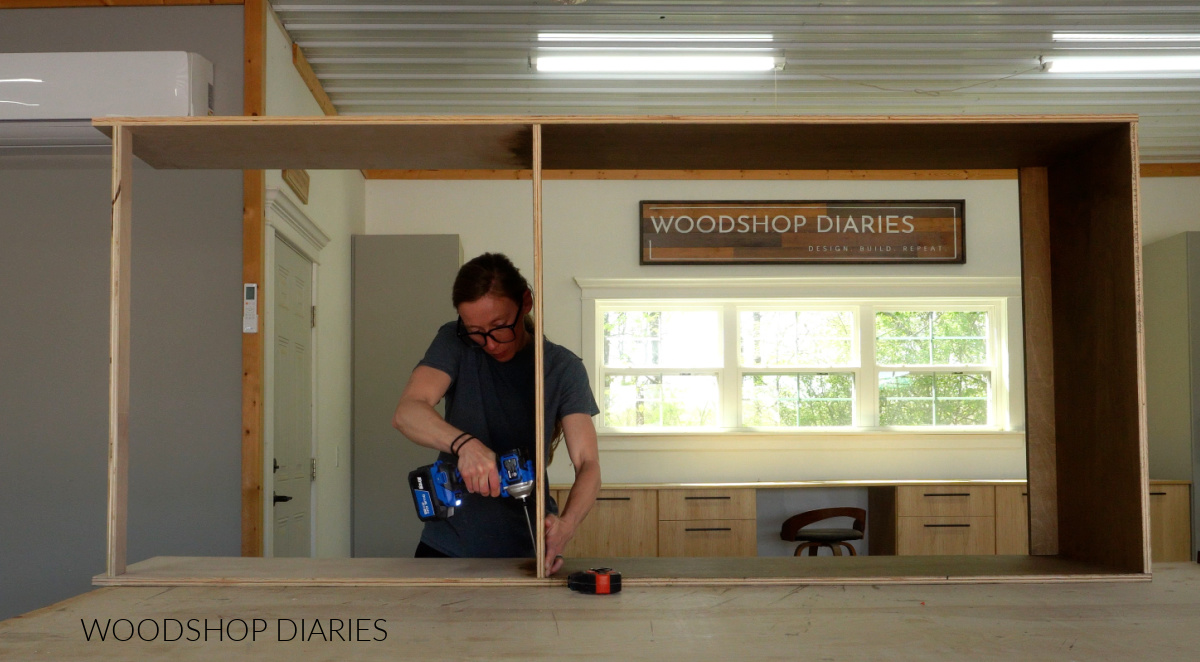
Step 1: Assemble Closet Tower Cabinet Box
The first step is assembling the main cabinet, which is, quite literally, just a big plywood rectangle with dividers.
So I cut two side panels, a top shelf and a middle shelf from one of my ¾″ plywood sheets and assembled the box using pocket holes and screws.
RELATED: How to use pocket holes to build cabinets
You can find all the dimensions, cut diagrams and full cut lists in the plans here.
To save on lumber, instead of making a solid bottom shelf, I used some ¾″ plywood strips–one at the front and one at the back. Since drawers are going above them, it doesn’t matter that it’s not solid.
Then, because I was dividing up my smaller top drawers and my larger bottom drawers, I added two more strips and a divider panel into this bottom section just below the middle shelf.
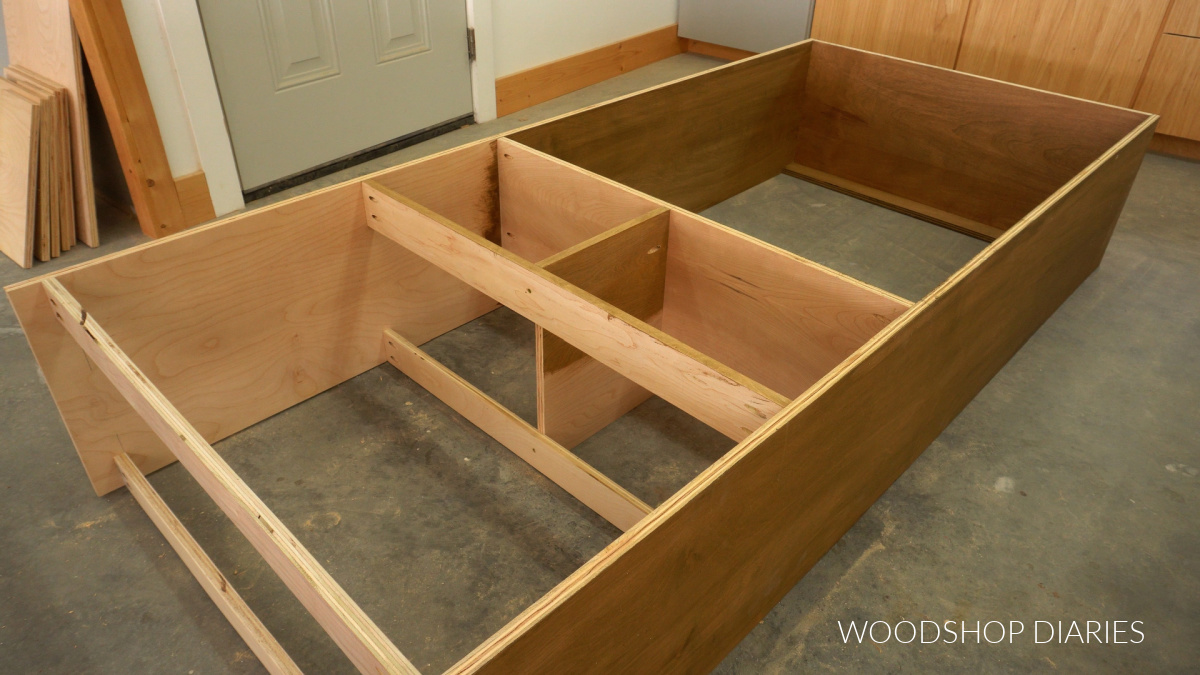
This essentially just gives me somewhere to mount my drawer slides…which we will cover in a later step.
Then, I cut 1x2s for the sides, top and middle and a 1×3 for the bottom and built a simple face frame to glue and nail onto the front of my cabinet.

FYI: I used Minwax Water Based Wood Stain in Driftwood on these pieces. I’ve found water based stain is easier to apply to individual pieces before assembling, so I stained each piece here before putting them together. Feel free to paint/stain/poly however you’d like.
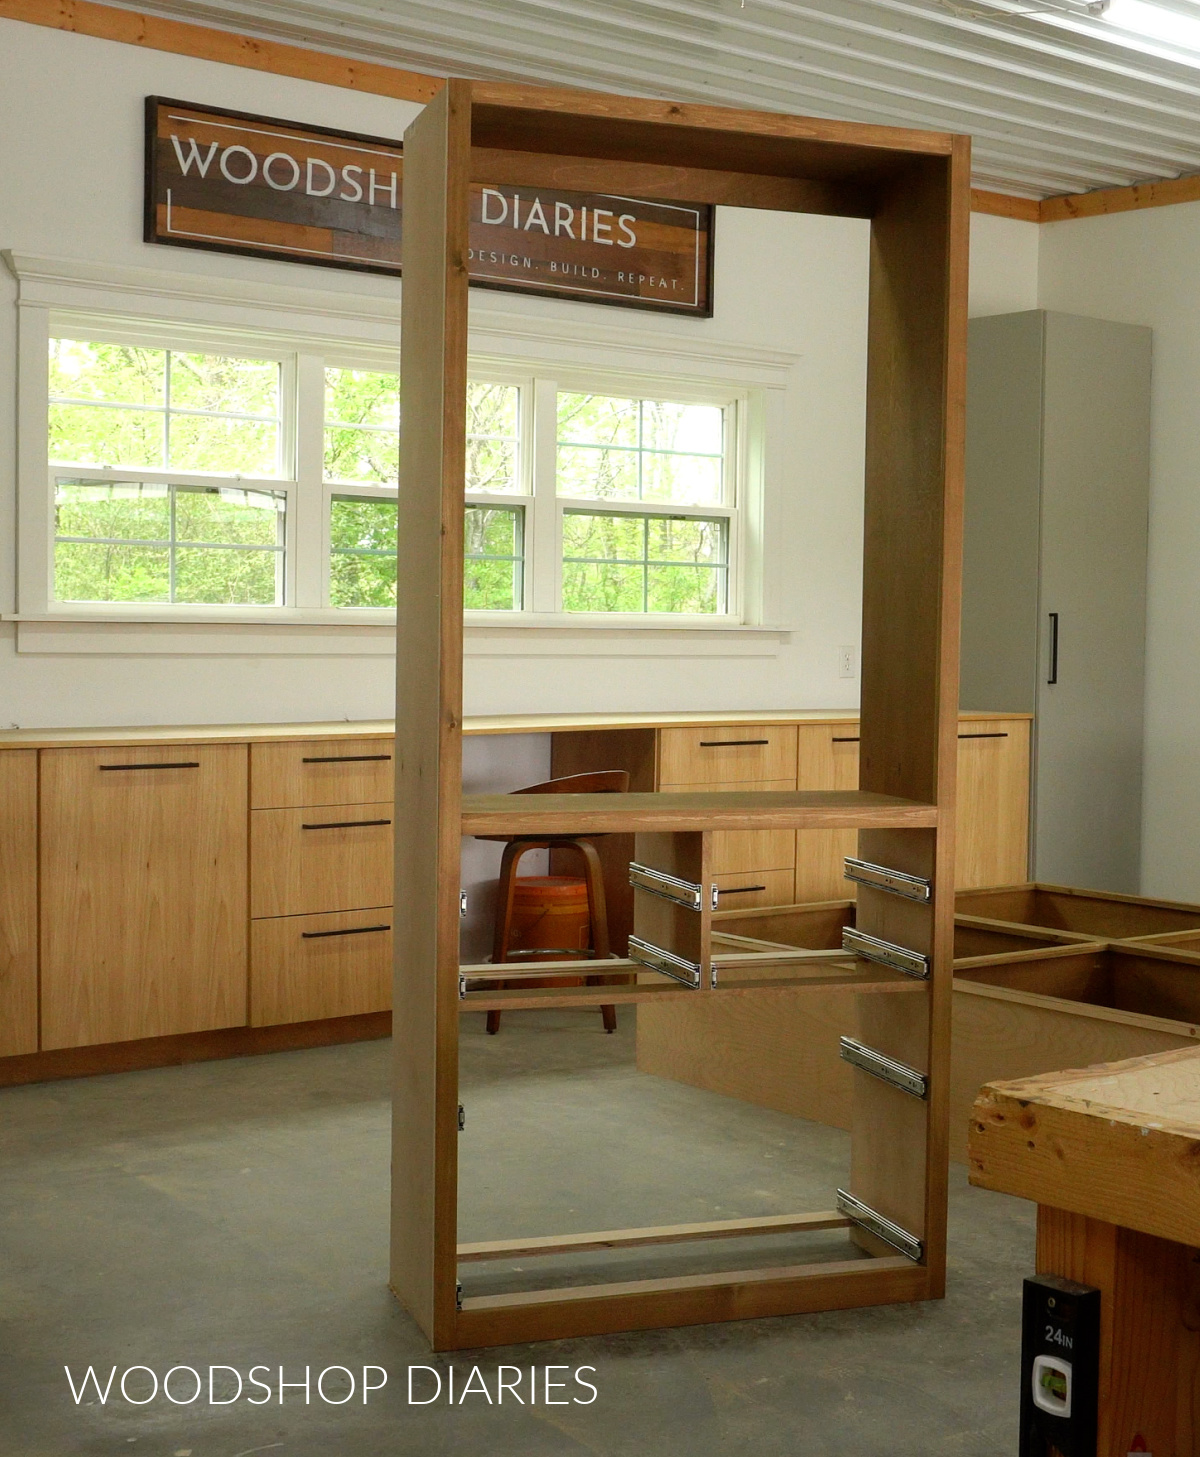
Step 2: Install Drawer Slides
Because I added a face frame, I needed to add some spacer blocks on the sides of my cabinet to mount the drawer slides onto. These spacer blocks “push” the slides flush to the inside opening of my frame (otherwise, they can’t slide open).
So I glued and brad nailed scrap ¾″ plywood strips on each side of my cabinet where I wanted my slides.
Then I mounted 16″ drawer slides directly to these blocks.
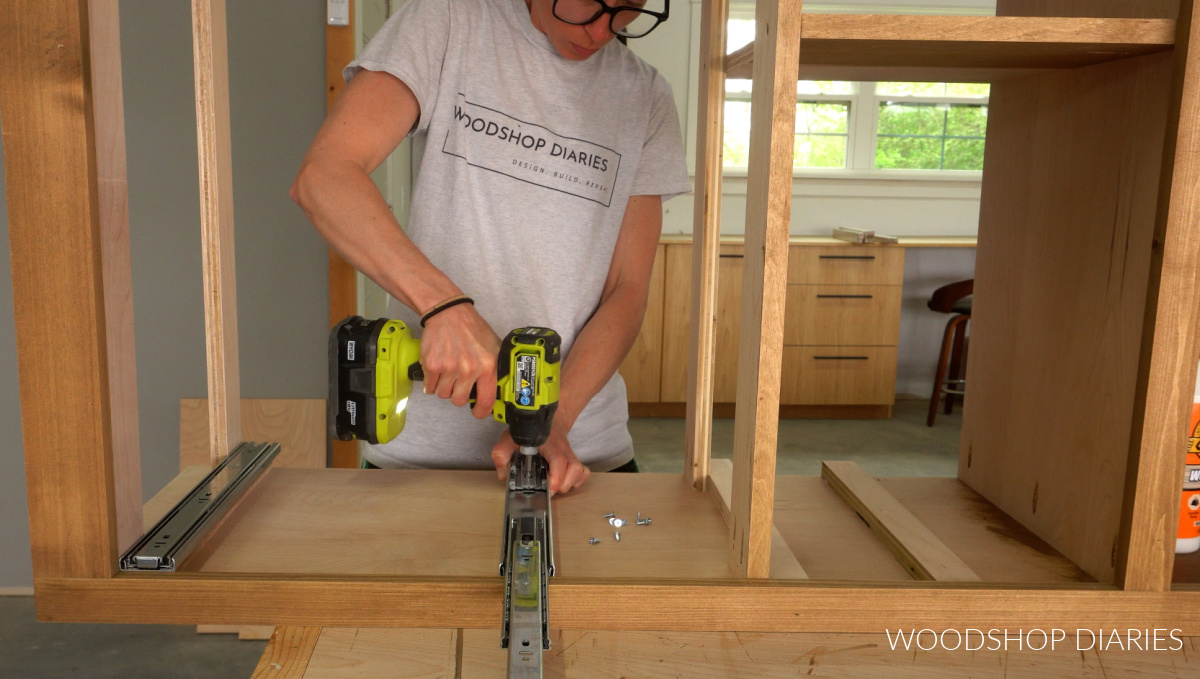
I’m adding six drawers total: two large drawers on the bottom and four small drawers at the top. So I needed 6 pair of slides. Eight slides mount to the cabinet sides onto the spacer blocks, but four of them will mount directly to the center divider.
The slides on the divider do not need spacer blocks.
Check out this post for more information on installing drawer slides.
Prefer to print? Grab the printable closet tower with drawer building plans here.
Step 3: Build and Install Drawer Boxes
Next, I cut down my second ¾″ plywood sheet to build my 6 drawer boxes from. The detailed cut diagrams and cut lists for these can be found in the plans.
I cut ¼″ dadoes into the sides of my drawer boxes to install ¼″ plywood bottom panels, but if you don’t have a table saw or a router to cut dadoes, that is OKAY!
Alternatively, you can simply glue and staple or nail the ¼″ plywood panels onto the bottom of the drawer box sides. Dadoes aren’t necessary.
Normally, I assemble my drawer boxes using pocket holes and screws on the front and back sides. The pocket holes are then covered by the drawer fronts…usually.
However, this time, I wasn’t installing solid drawer fronts, so the pocket holes wouldn’t be covered. So instead of pocket holes, I just screwed these boxes together using wood screws through the sides.
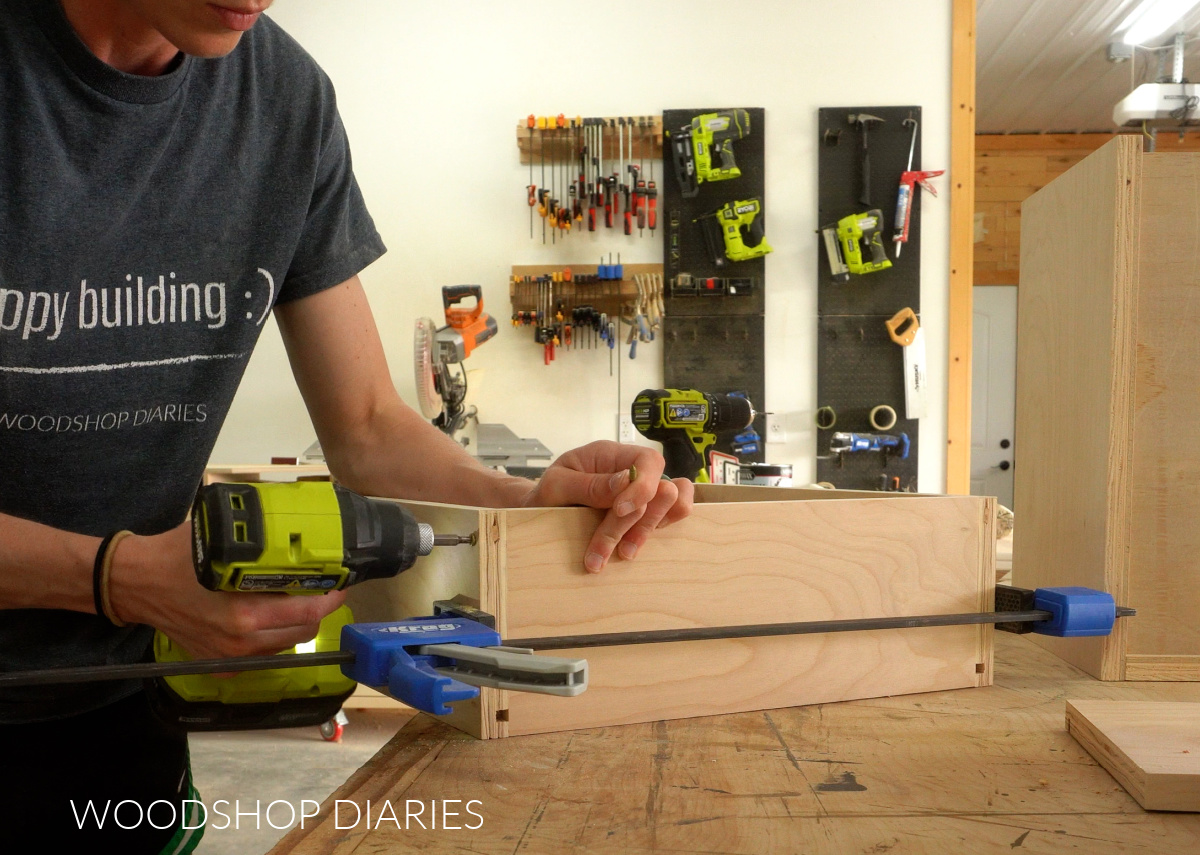
That way the fronts stay “clean.”
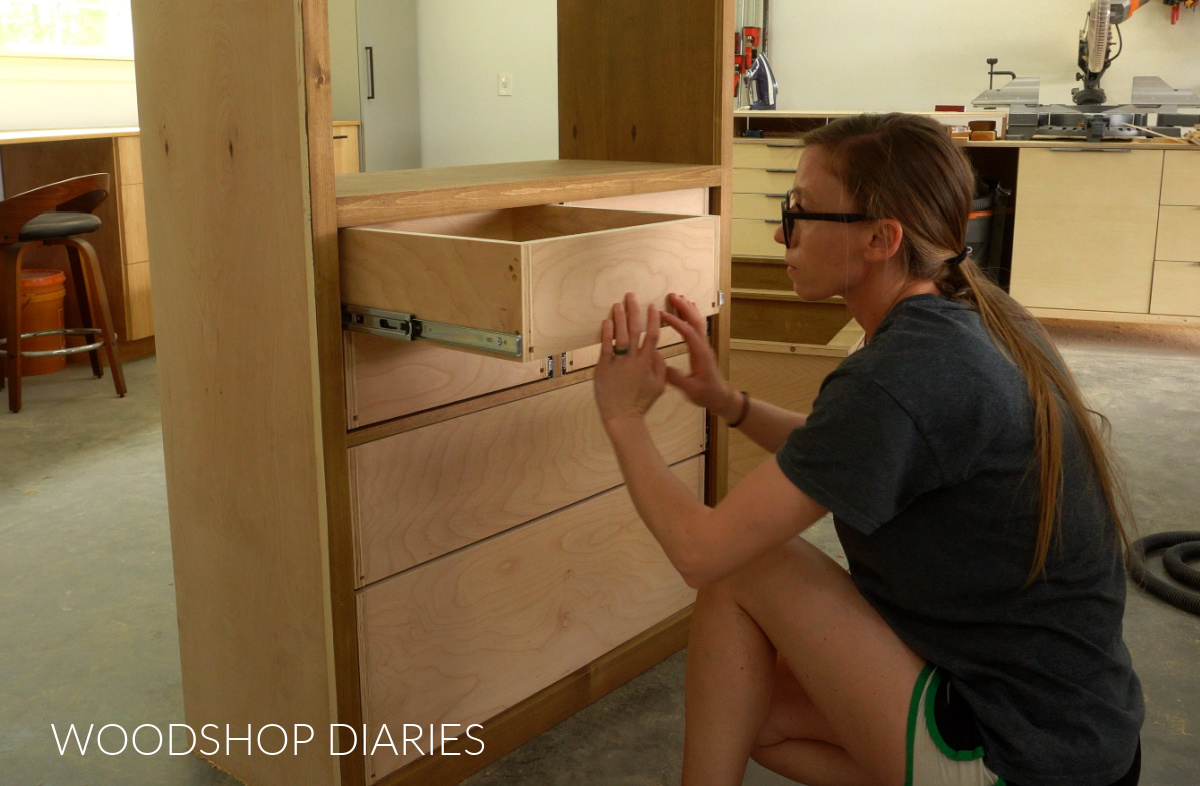
Once the drawer boxes were together, I installed them into the cabinet. I found it easiest to remove the section of the drawer slide that mounts to the box and screw this directly to each side of each drawer.
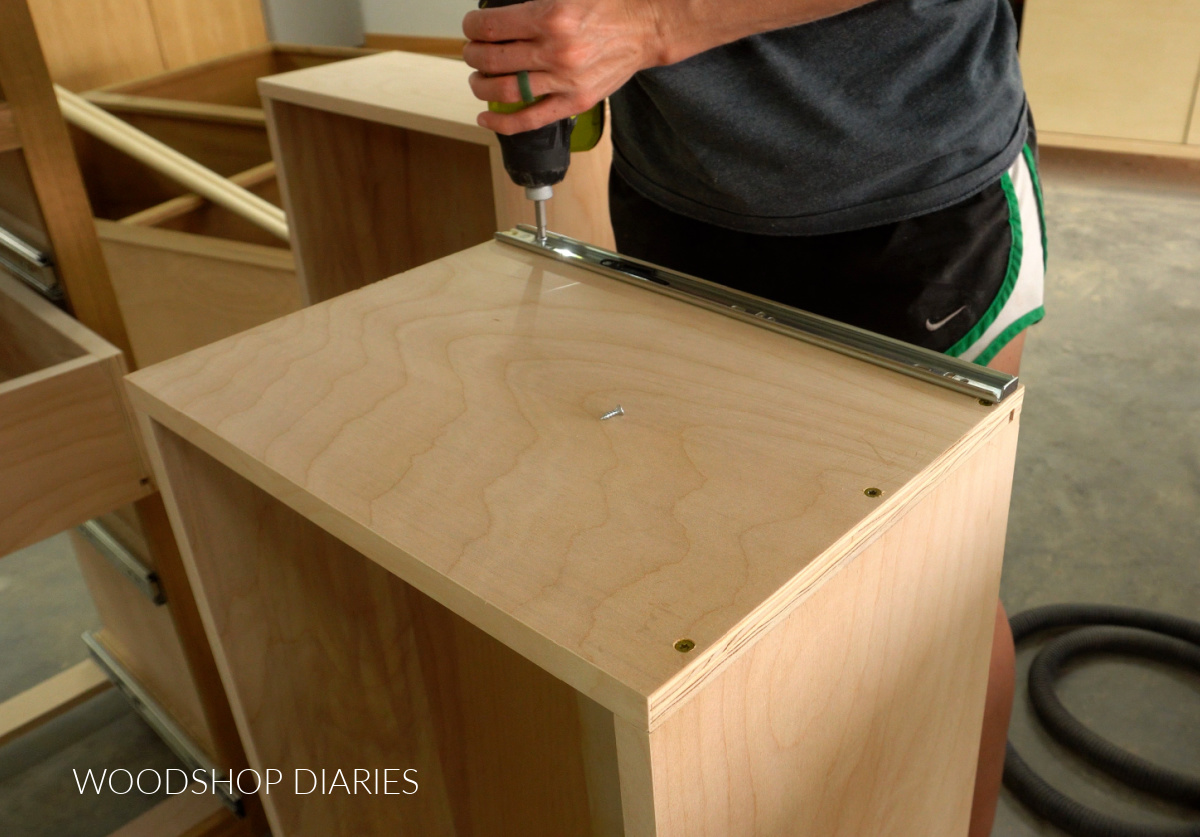
Then, I could slide these right into the cabinet. Notice there are three sizes of drawers: a deep drawer on the bottom, a medium drawer in the middle, and four small drawers at the top.
The variety of sizes is great for organization so you have a place to store large, bulky items, but also smaller accessories, too.
Step 4: Add Drawer Fronts
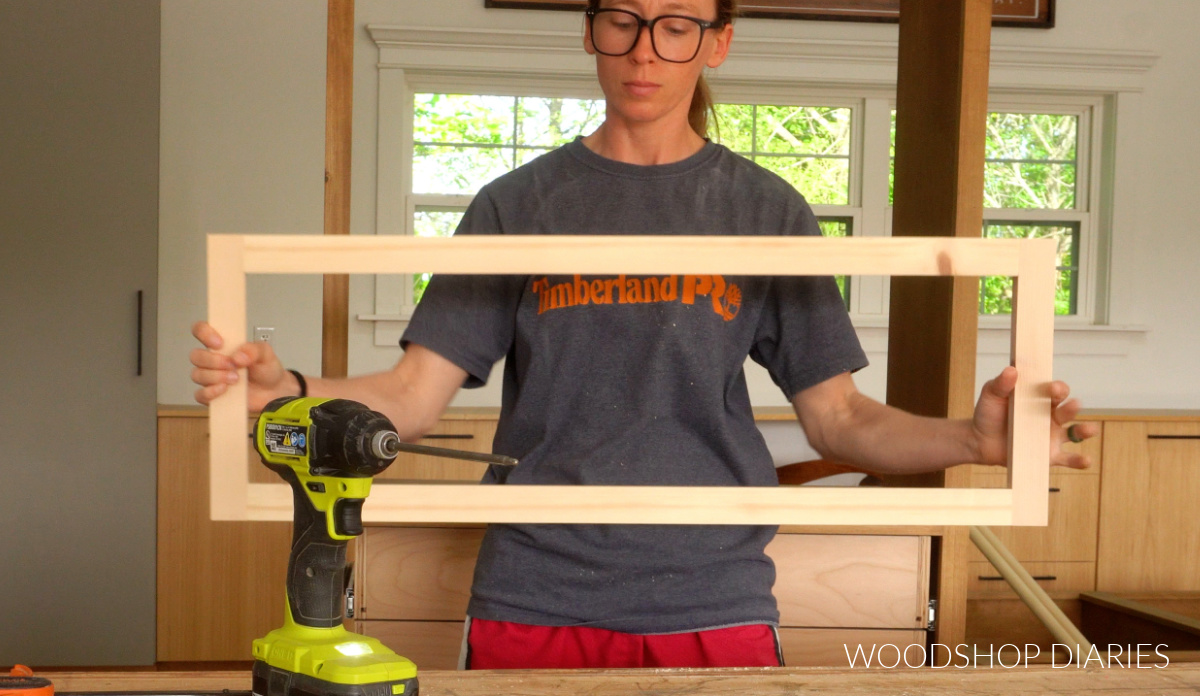
I mentioned that I didn’t opt for solid drawer fronts in this case. Instead, I assembled some simple frames from 1x2s.
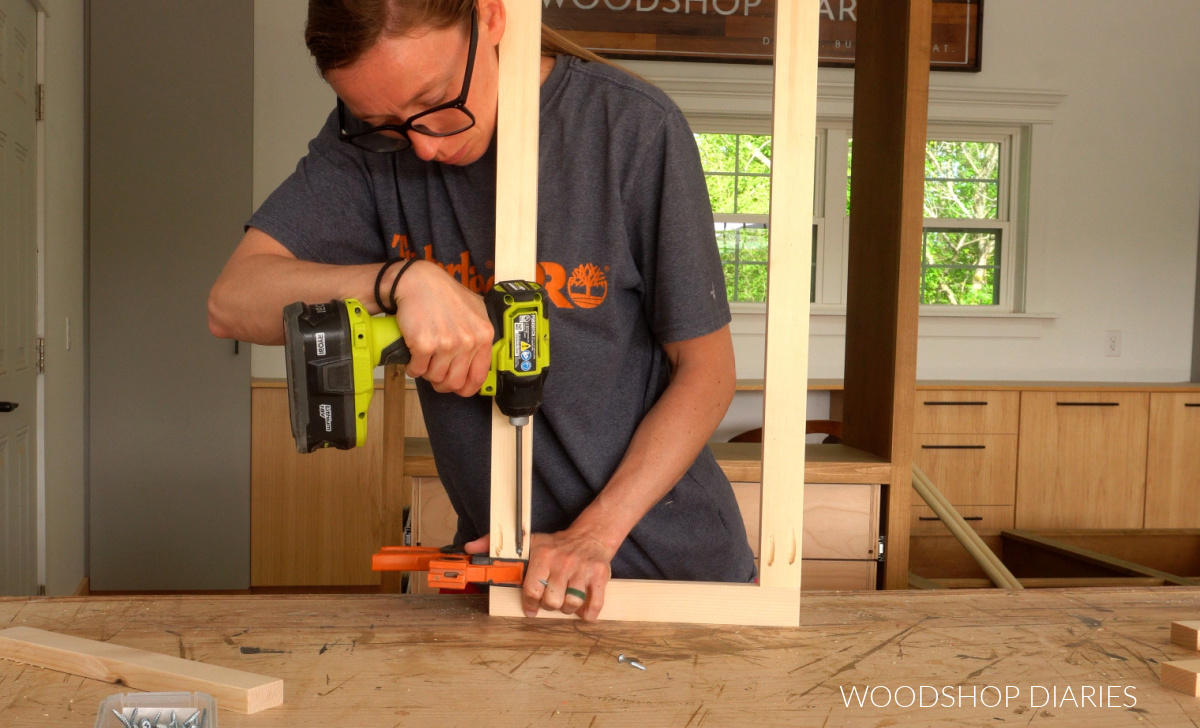
I screwed these together using pocket holes and screws, one for each drawer box.
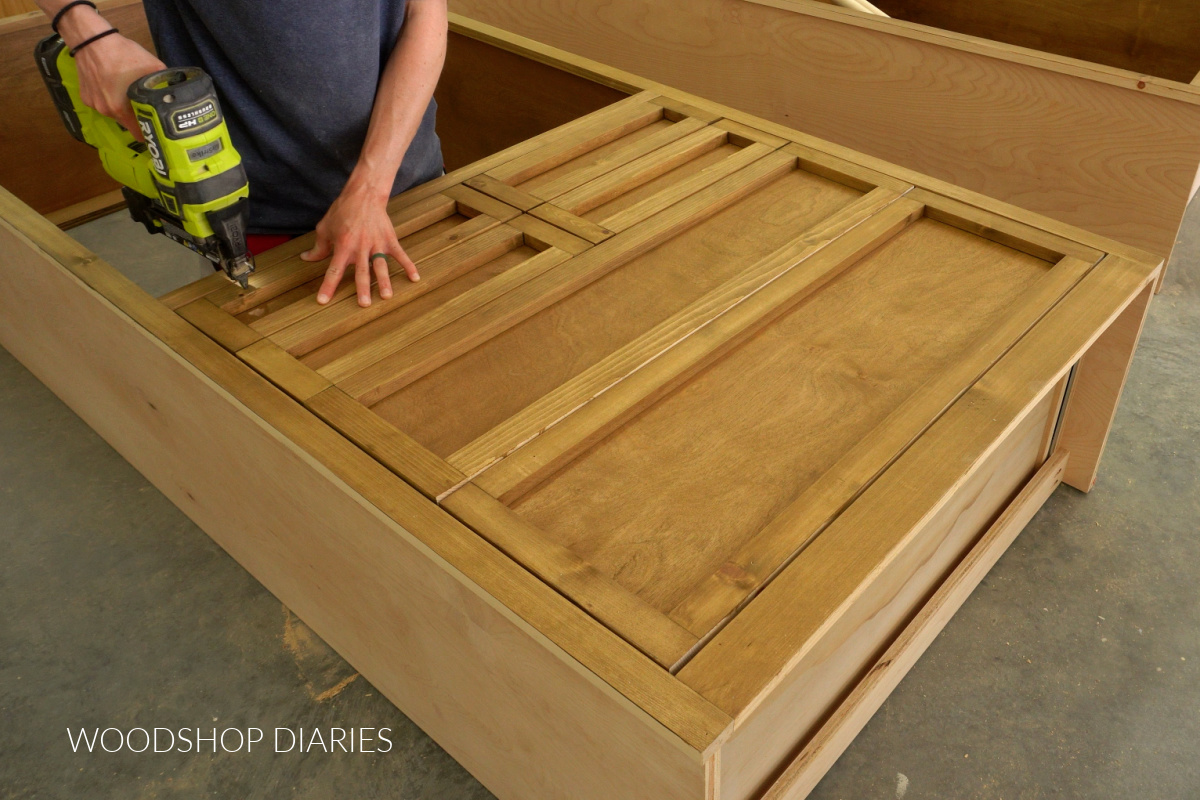
Then, I laid my cabinet box (with drawer installed) on its back, arranged my fronts on my boxes, and carefully glued and brad nailed them in place.
Laying it on it’s back made it easy to ensure my gaps were even on all sides (⅛″ gaps) while gravity helped hold everything in place.
Prefer to print? Grab the printable building plans for this project here.
Step 5: Install Closet Cabinet Shelving
Now the drawer section is finished and all that’s left is adding some functionality to the top. I mentioned earlier that this would be a great place for a hanging rod if you wanted to hang clothes here instead.
But because I had already make hanging rod cabinets for this closet, I added shelving to this section.
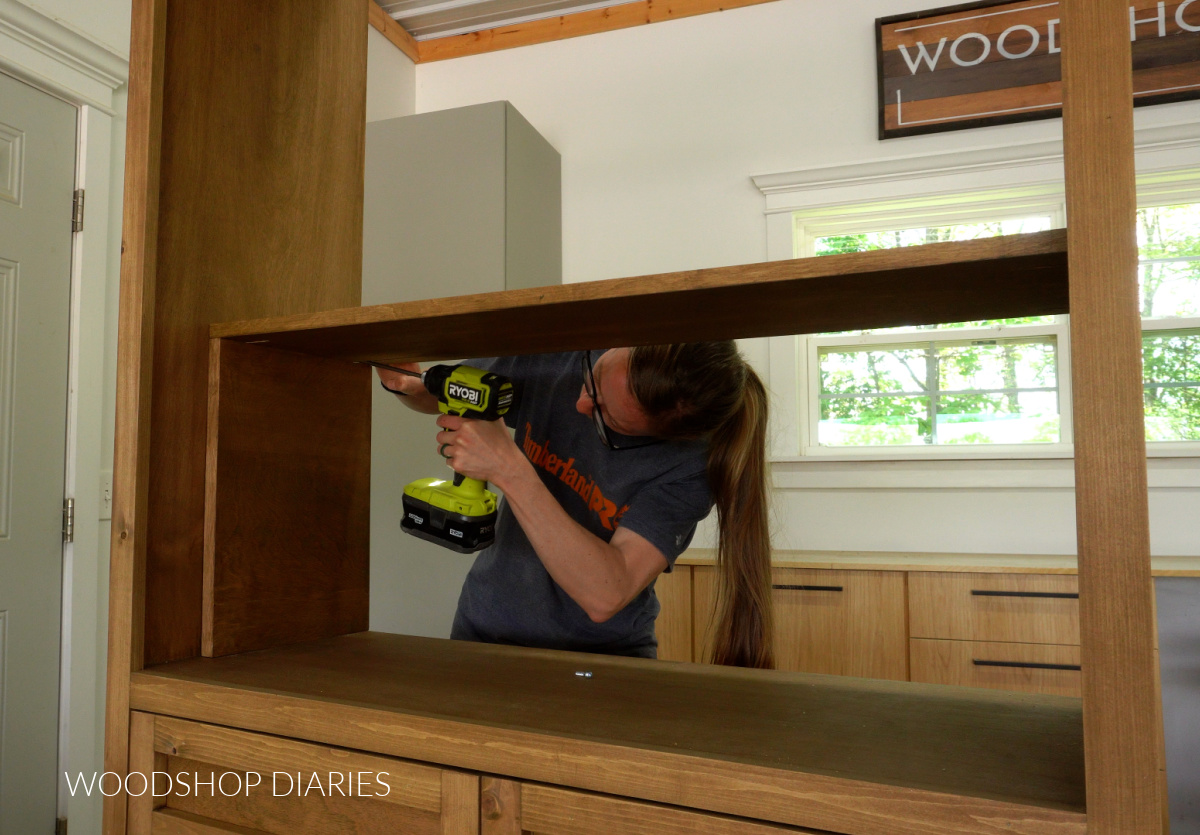
I used pocket holes and screws to install two long ¾″ plywood shelves to run the width of my cabinet opening.
TIP: I applied iron on edge banding to the fronts of these shelves to hide the plies. Learn how to cover plywood edges here.
Dad has a problem with his stacks of clothes spilling onto each other and creating one big unorganized pile (and I have that same problem haha). He asked if I could add some dividers on the shelves.
So I cut some pieces of plywood to use as dividers. I just brad nailed these between my shelves.
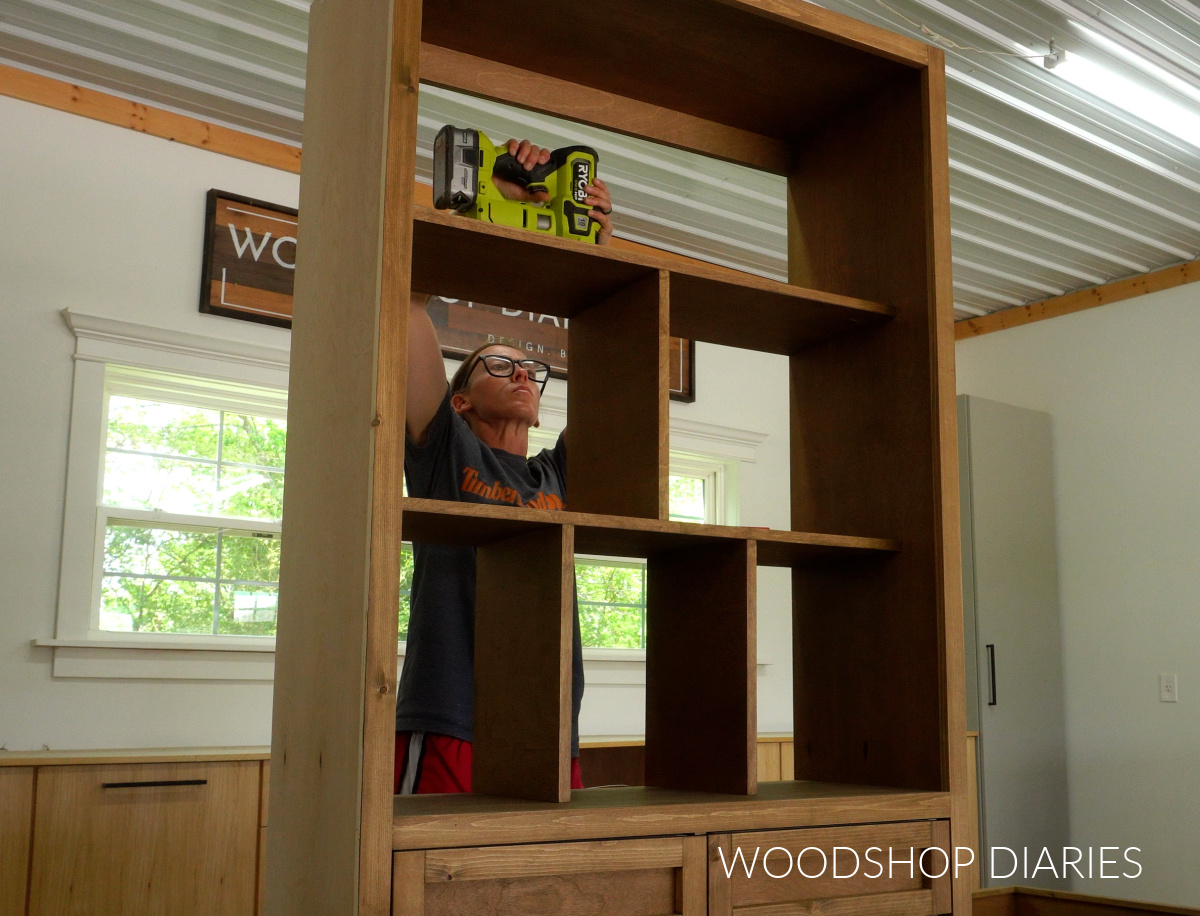
On the bottom shelf, I divided it into three sections. But I’ll be honest, in hindsight, these three sections are a bit too narrow to be practical for clothes.
So in the middle shelf, I only used one divider to make two sections. I think this spacing was much better.
Depending on how you plan to use this section of the cabinet, feel free to modify and adjust your shelving, spacing, and dividers however makes sense for you.
Step 6: Finish & Install Closet Tower
After a few coats of Minwax Polycrylic to seal it, this cabinet was ready to install.
Well, actually, it did need some drawer pulls first. The inside opening of the top drawer fronts was pretty small. I had planned to put knobs in there, but was worried it might be hard for Dad and his big fingers in to get ahold of the knobs.
So I opted to install the drawer knobs on the top frame of the small drawers. Then I used these long handles for the bottom drawers.

It’s a little “unusual” but I thought it turned out nice and will be more practical than a knob recessed deep into a small frame.
To install, I cut away the baseboard in the corner of Dad’s closet so this cabinet can butt directly up to the wall. Then I secured it to the wall studs with screws through the top back support.
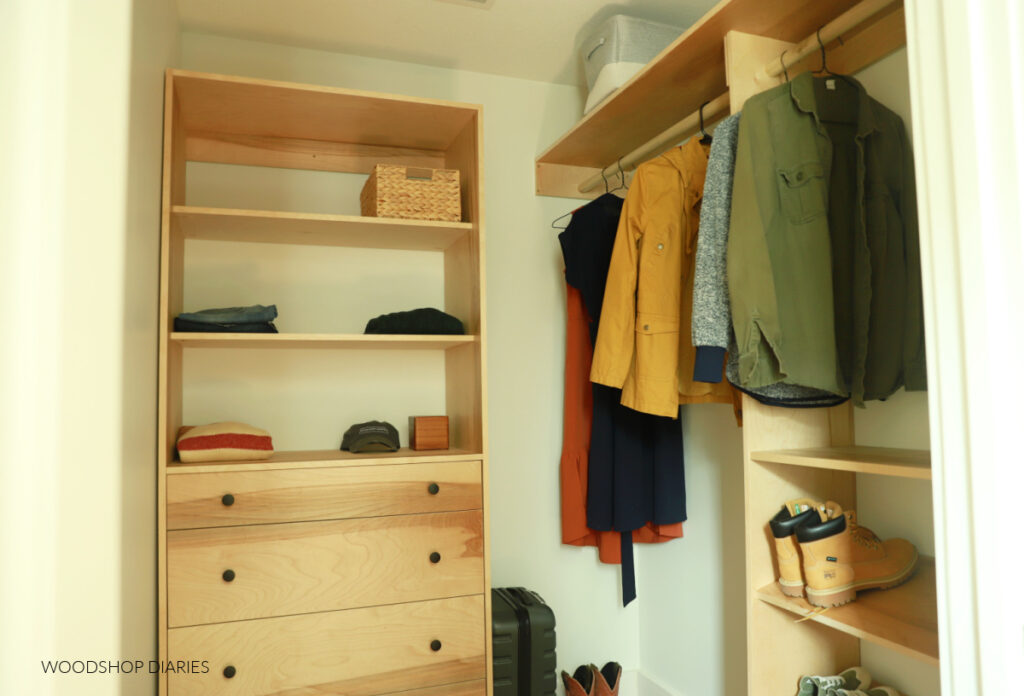
It’s tough to get a good shot of it installed in such a tight space, but here’s Dad’s closet complete with this cabinet on the left and the hanging rod closet towers on the right.
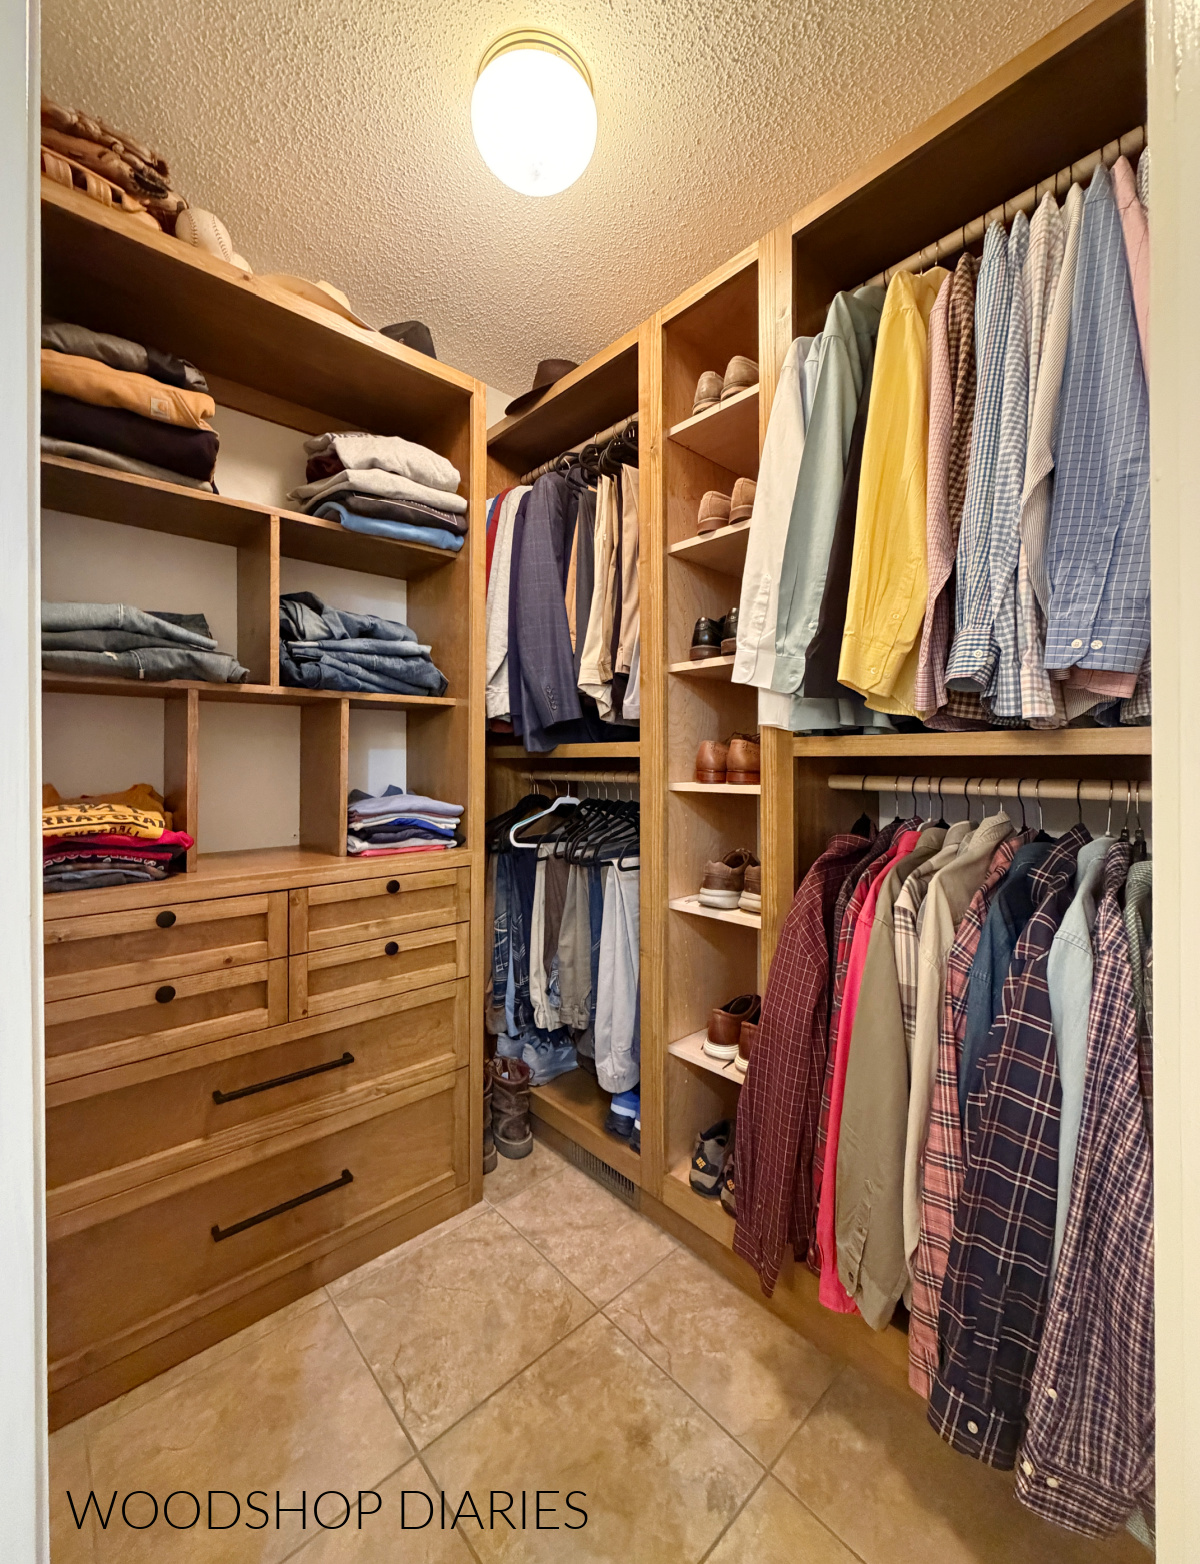
Dad said it feels like he’s walking into a fancy men’s clothing store with these nice wood cabinets lining the wall haha! It’s definitely an improvement over the old wire shelving he had in here.
If you’re ready to build your own simple custom closet tower cabinets, be sure to grab the printable building plans here.
Looking for more closet cabinet ideas?
Enjoyed this build, but looking for more custom closet ideas? I’ve got you covered! Click on the image(s) below to learn how to build each project:
If you enjoyed this post, be sure to save it for later by pinning or sharing to your favorite social channel!
Until next time, friend, happy building!