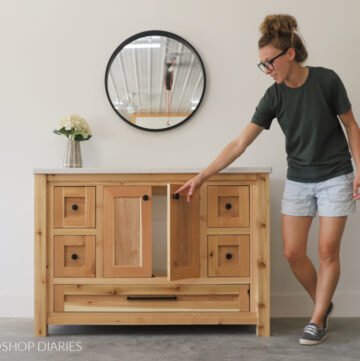
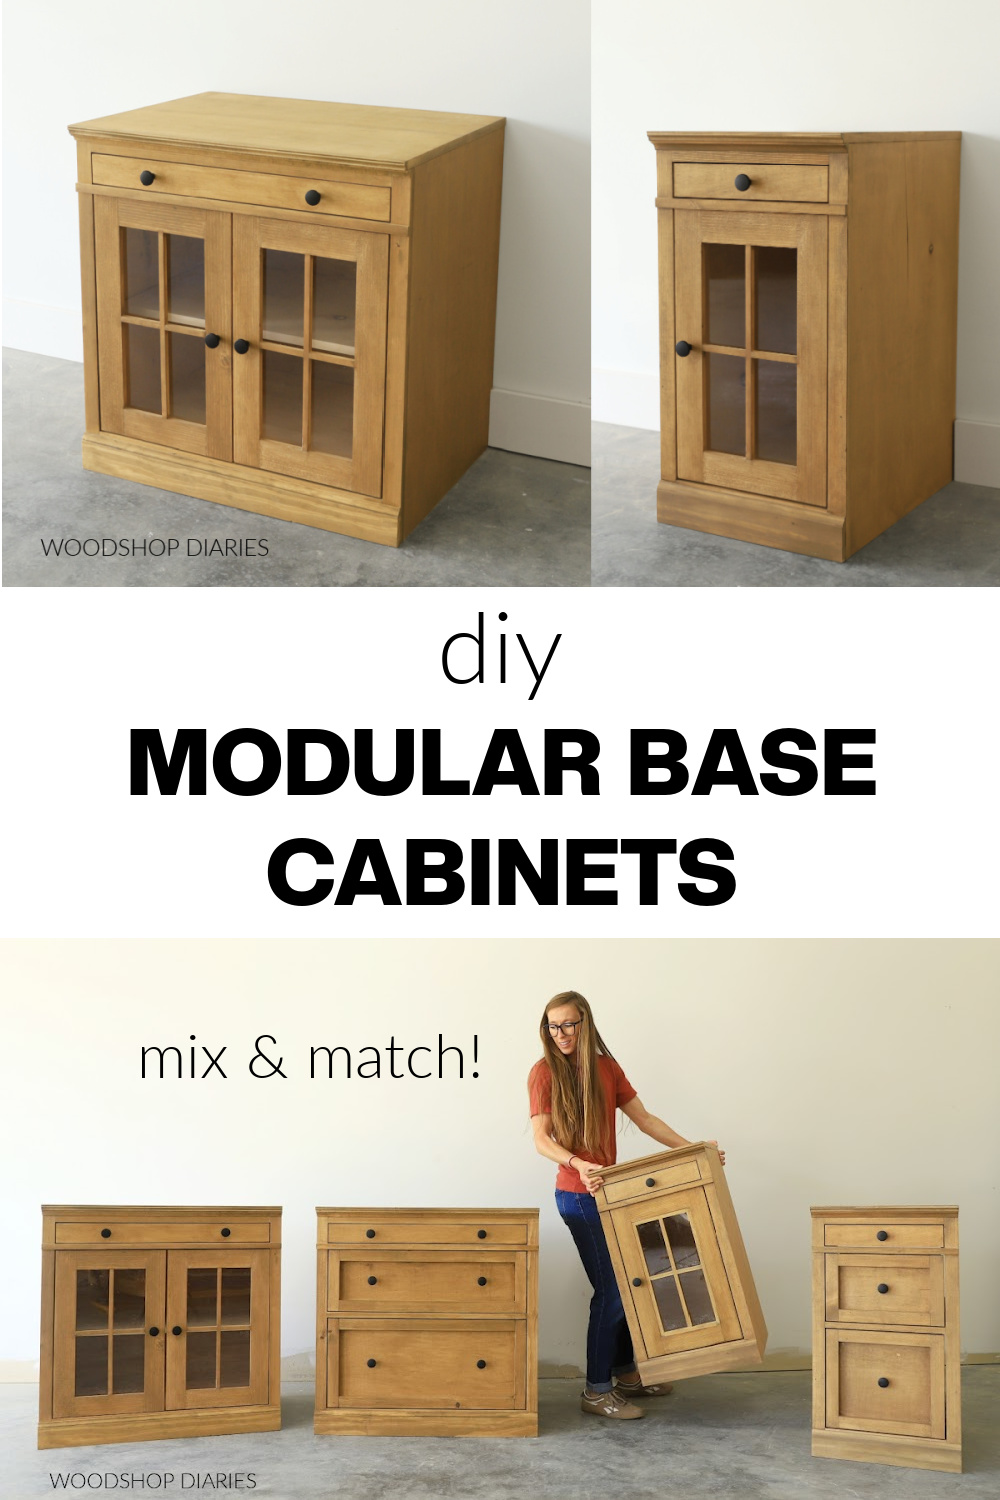
In this post, I’m showing you how to build mix and match glass door base cabinets that are perfect for built ins.
Unlike your typical kitchen style base cabinets, I designed these cabinets so that they don’t have a toe kick. Instead, they have added trim details to make them look more like furniture.
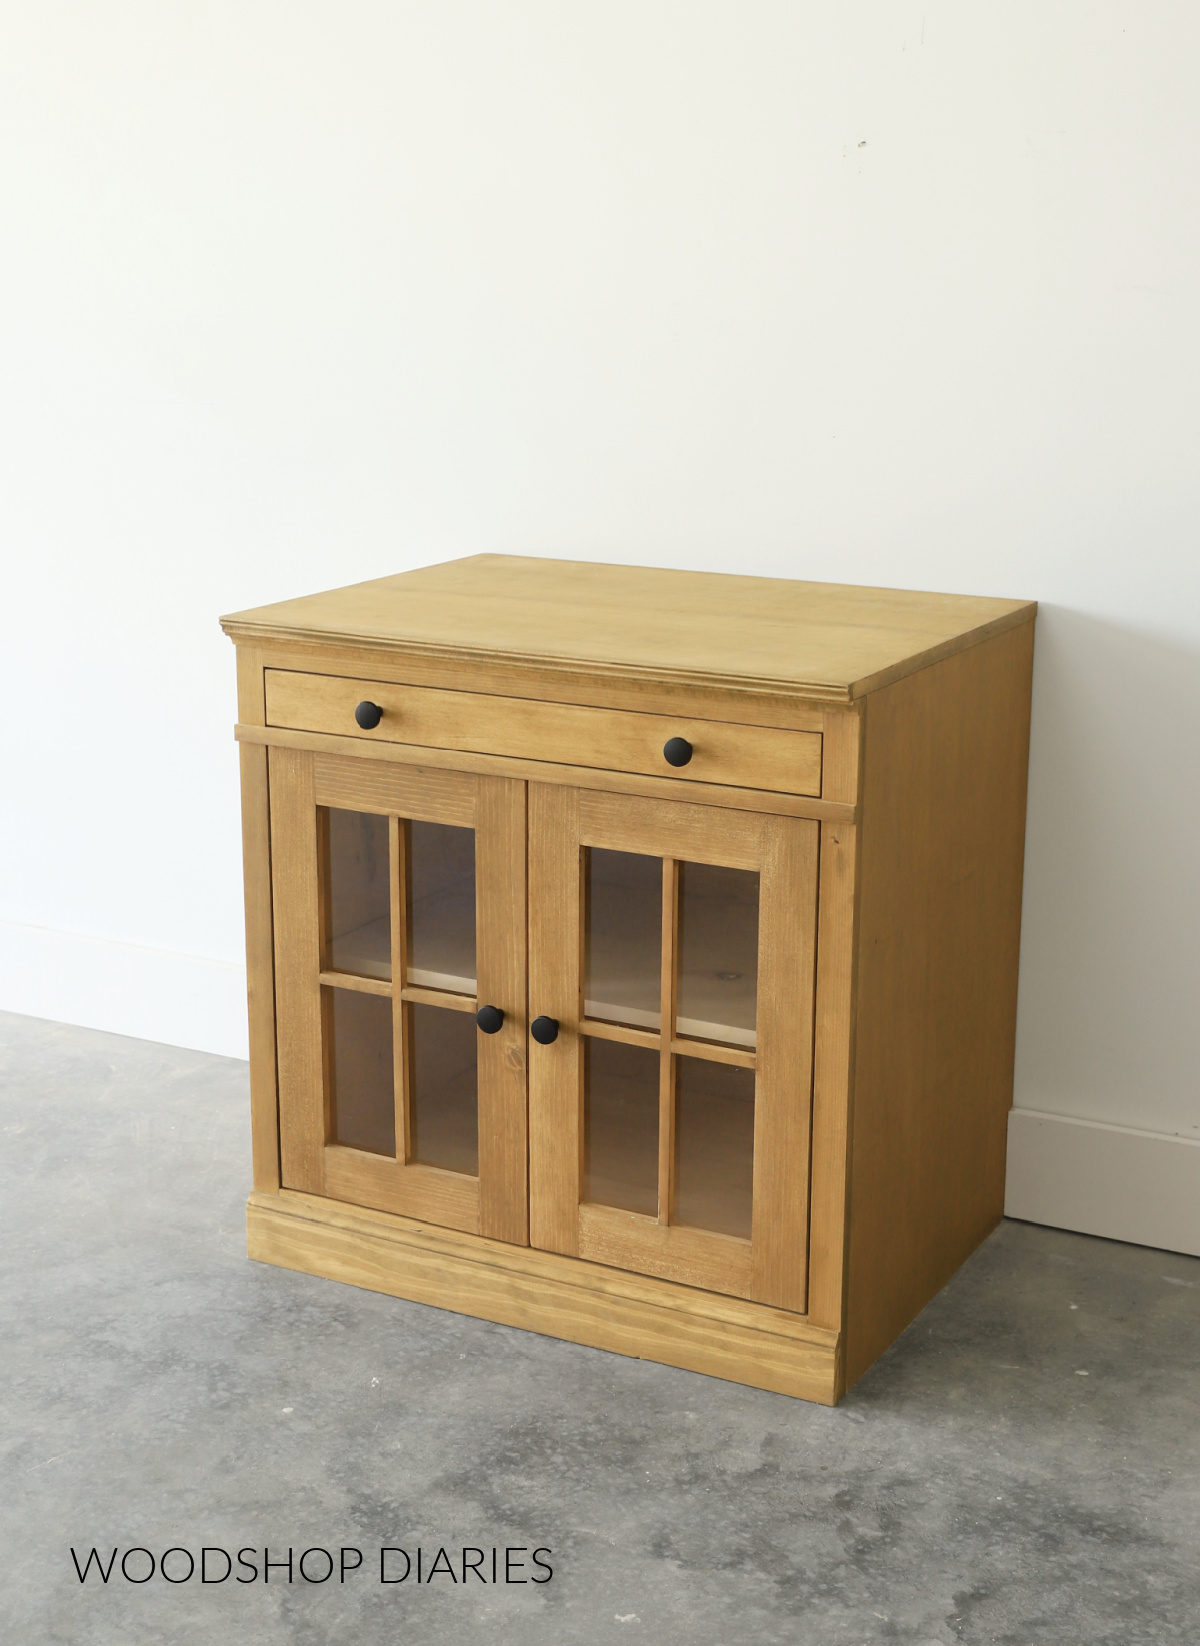
They’re part of a modular mix and match furniture system that I’ve been working on, and I’m so excited to show you all the possibilities.
So, if you’re ready to see how to build the foundation of the series (get it…because they’re BASE cabinets?) let’s dive into the how to below.
*This post contains affiliate links. See website policies.
What to know before building
I designed these glass door base cabinets as part of a modular furniture system so you can mix and match various pieces. That means it’s easier than ever to create your own built ins, media consoles, office storage, and more!
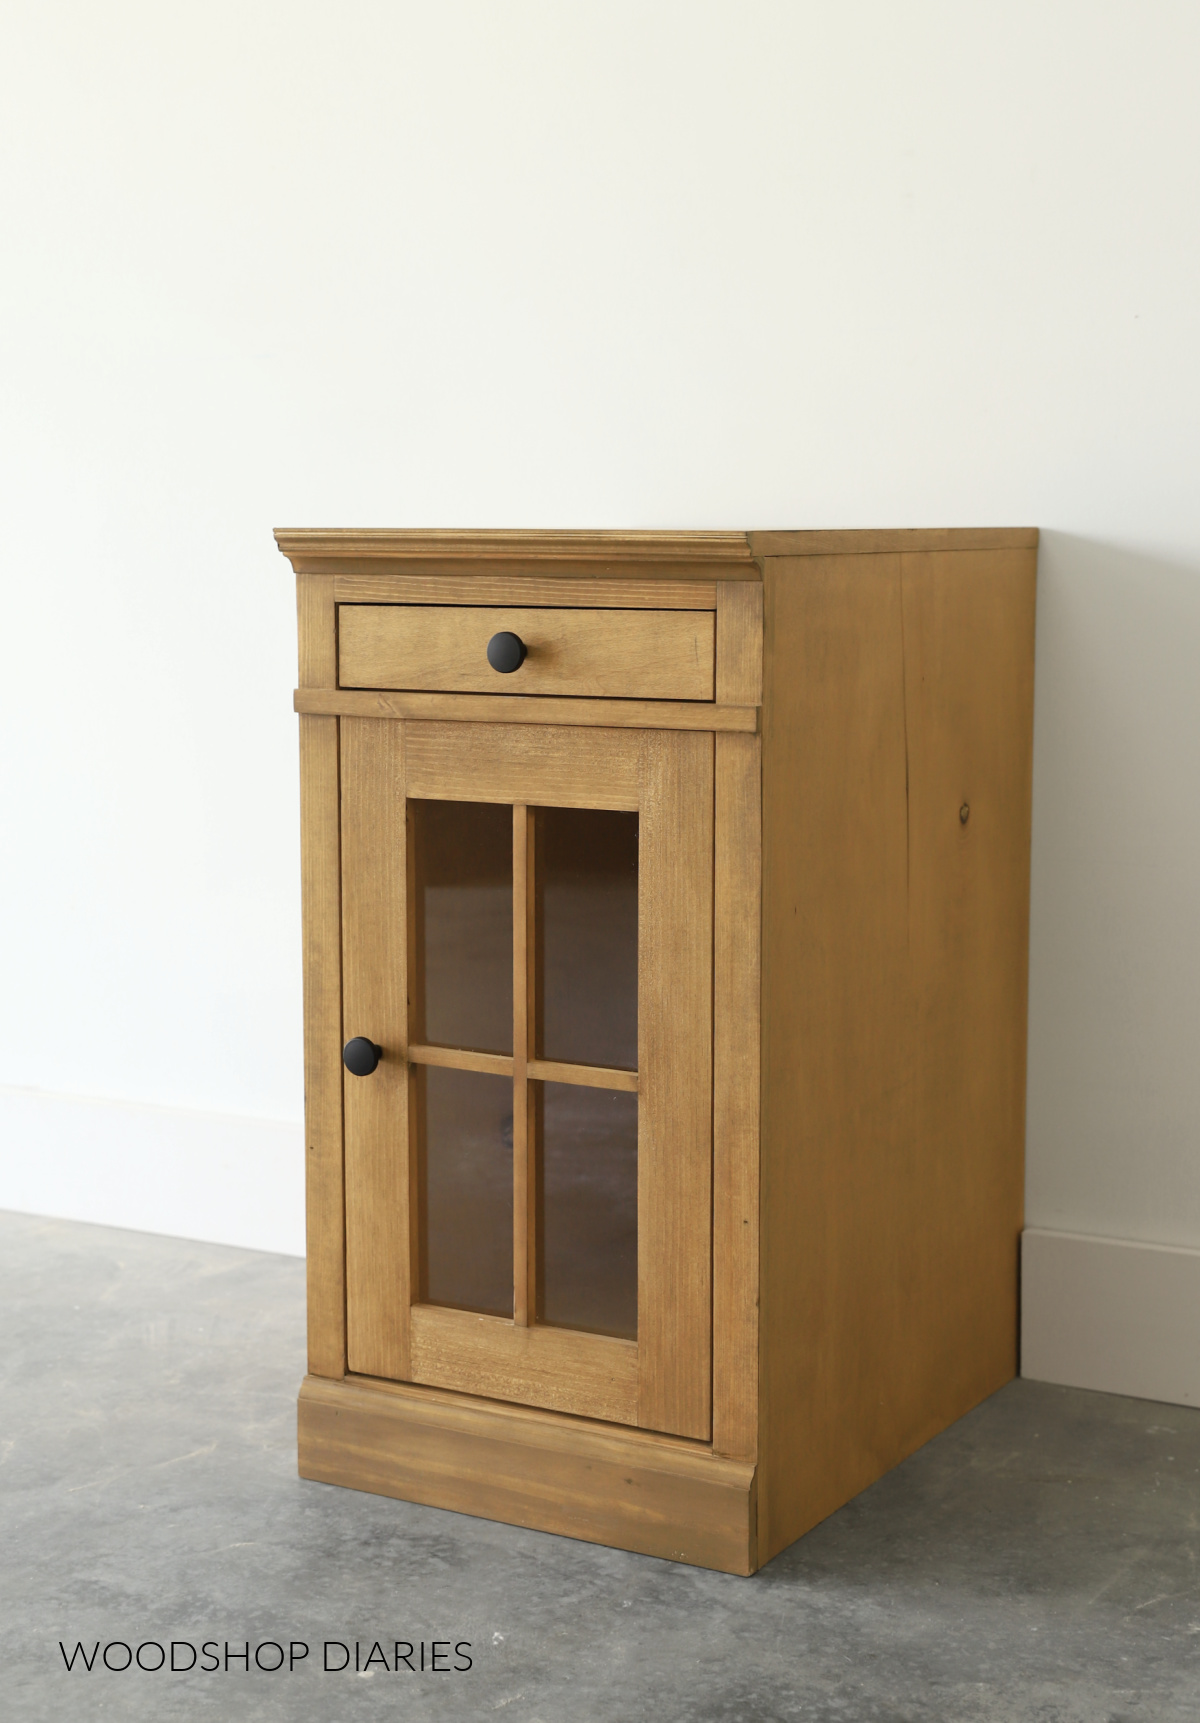
I made these in two sizes: a wider version with double doors and a narrower version with a single door. Both options have a shallow top drawer as well. I love a little shallow drawer for things like remotes, USB drives, cords, and other easy to lose accessories.
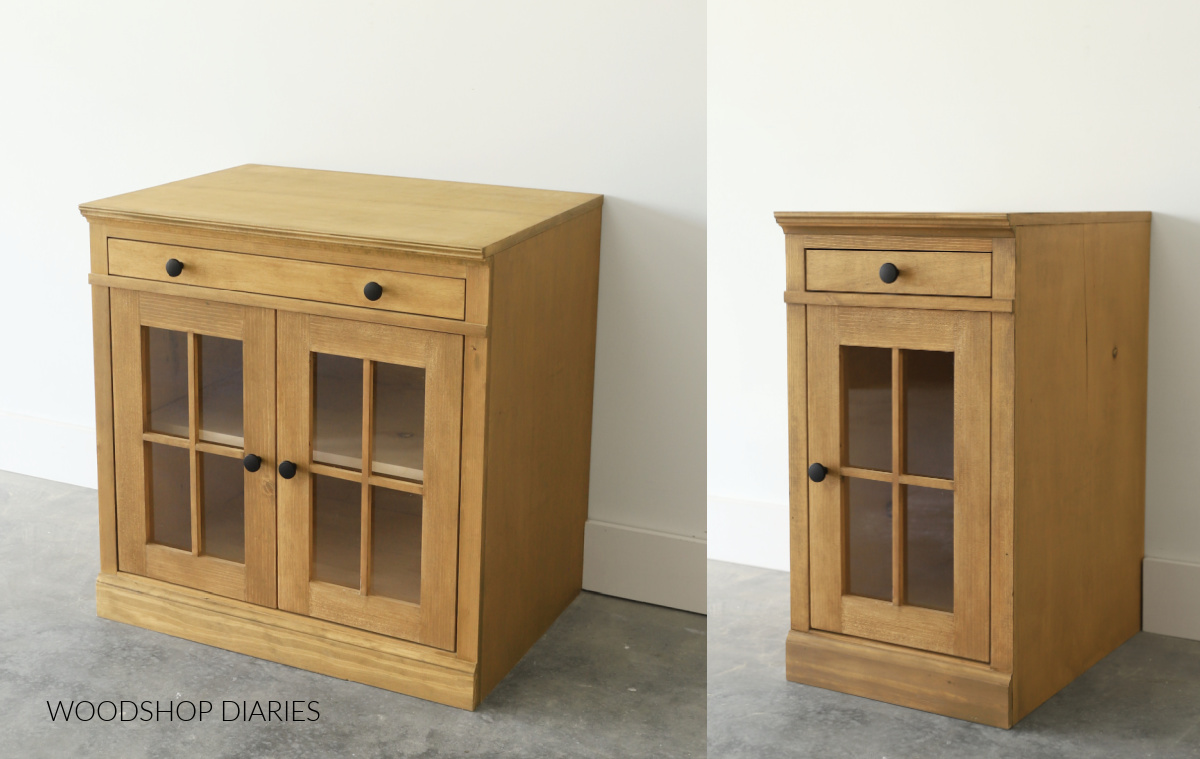
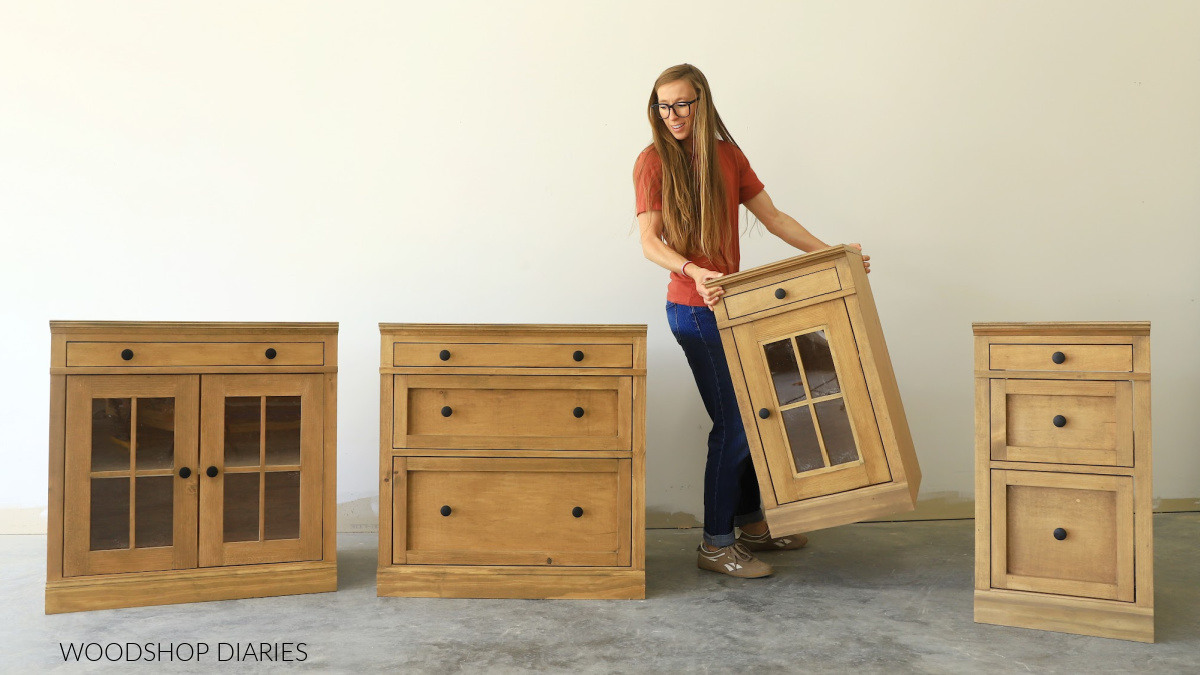
These pieces can absolutely work well on their own, but I designed them to be arranged with the matching armoire cabinet and/or 3 drawer base cabinets in a variety of different layouts. Here’s just one idea:
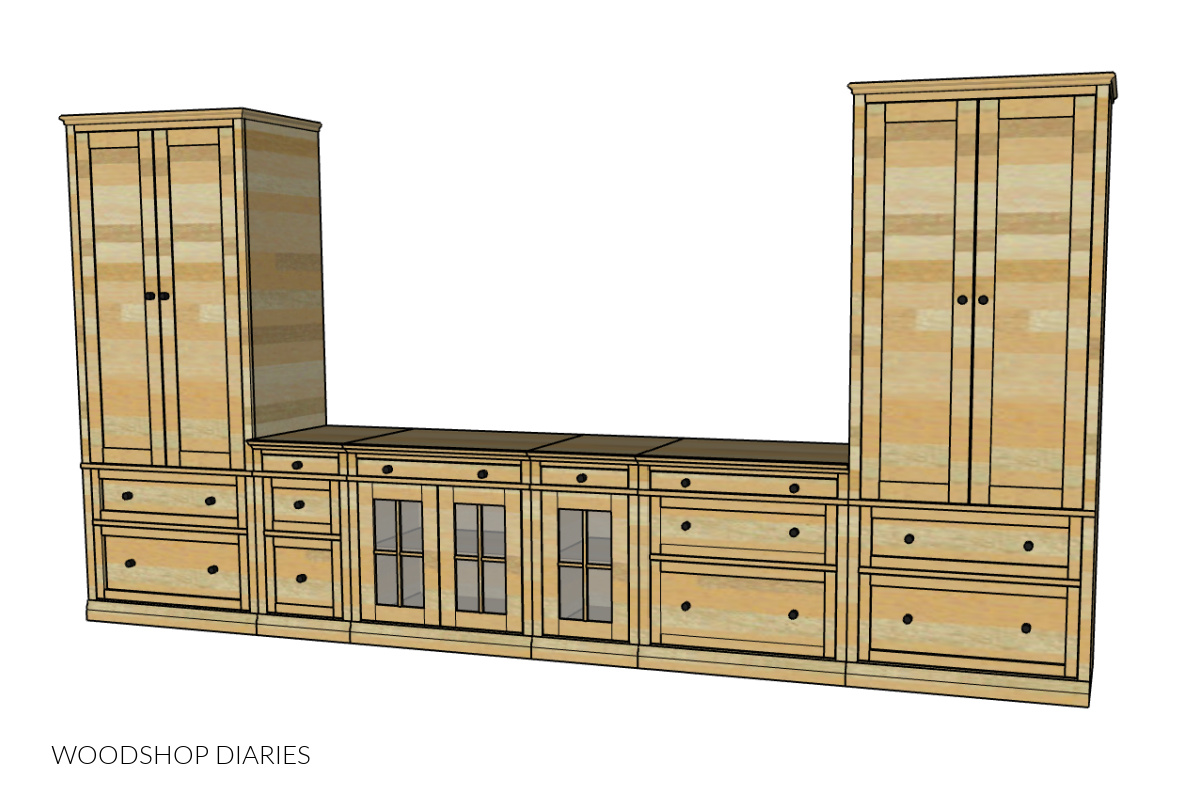
You can build just one piece or several to create your own custom masterpiece!
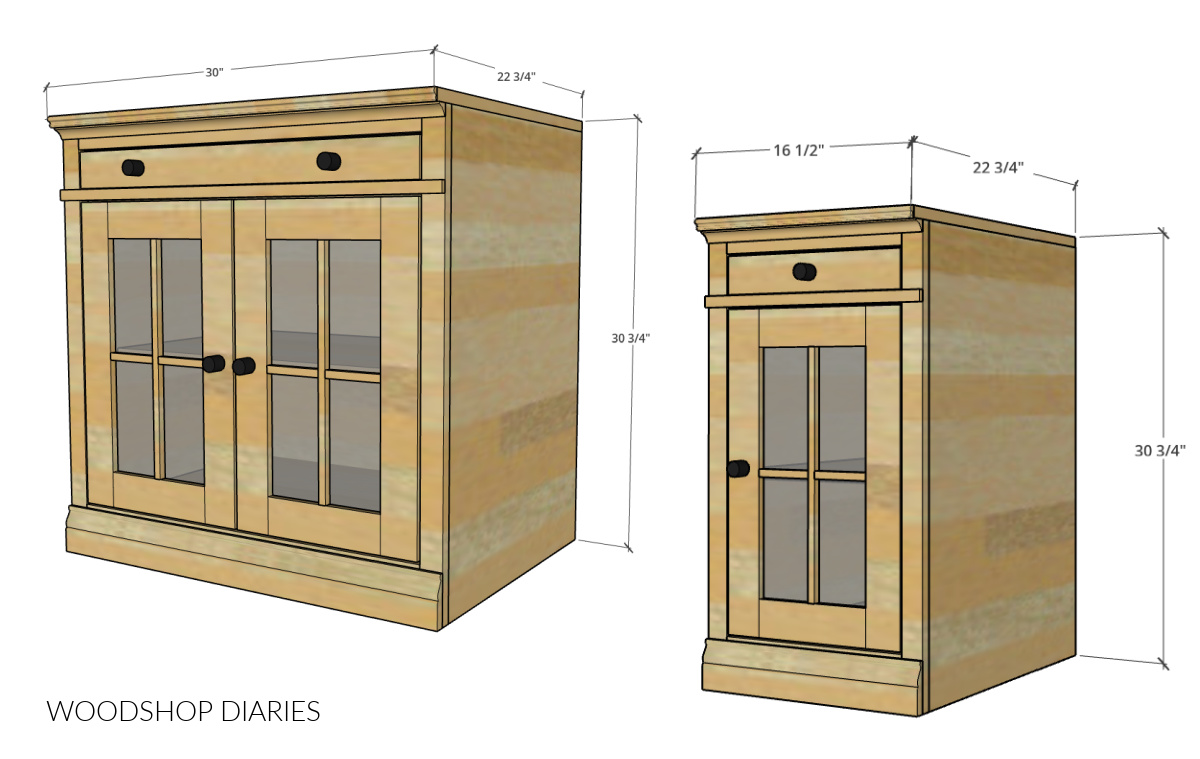
OVERALL DIMENSIONS
The overall dimensions of these glass door cabinets are approximately 22 ¾″″ deep x 30 ¾″ tall. The wider one is 30″ wide and the narrow one is 16 ½″ wide. (These sizes were intentionally chosen so that the door size for each cabinet is the same haha.)
You may find these posts helpful throughout the project:
Enjoy DIY projects and woodworking plans? Sign up for priority access for the latest posts on Woodshop Diaries!
How to Build a 3 drawer base cabinet
If you prefer to watch, I’ve shared the full build video with tons of tips, behind the scenes, and additional details on my YouTube Channel here.
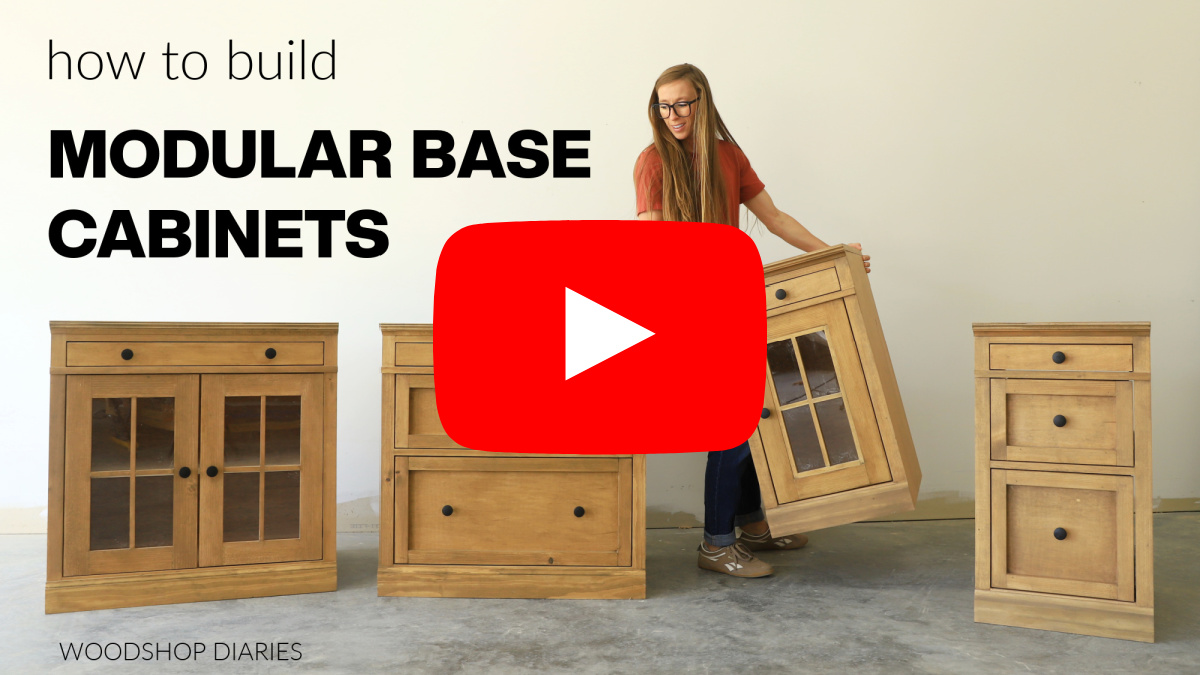
Love watching how-to videos? Subscribe to my YouTube channel for plenty more where that came from!
Prefer to print? Grab the printable glass door base cabinet building plans available here:
Tools & Materials
Tools:
- Drill/Driver
- Circular Saw and plywood cutting guides–Kreg Rip Cut & Kreg AccuCut (optional)
- Miter Saw
- Pocket Hole Jig
- Brad nailer
- Dowel Jig (¼″ and/or ⅜″)
- Router with ⅜″ rabbeting bit
- Chisel
- Shelf Pin Jig
- Concealed Hinge Jig
Materials:
- (1) 4’x8′ sheet ¾″ plywood
- ¼″ plywood
- 1x2x8′ board
- 1x3x8′ board
- 1x4x4′ board
- ½″ square dowel
- ¾″ square dowel
- ¾″ base cap molding (optional)
- Cove molding (optional)
- Base board molding (optional)
- ⅜″ x ¾″ lattice trim (optional)
- Wood Glue & Clear Glue for Acrylic Door Panel
- 1 ¼” brad nails
- ¼″ and/or ⅜″ x 1 ½″ dowel pins
- 1 ¼” pocket hole screws (100 count box)
- 1 lb box 1 ¼” wood screws
- Edge banding (optional, but recommended)
- ⅛″ thick acrylic (for door panels)
- Drawer pulls, knobs
- Shelf Pins
- (1) pair 18″ drawer slides
- Concealed inset frameless hinges
NOTE: Exact qualities/lengths of materials will vary based on the size cabinet you’re building (wide vs narrow). The exact materials and cut lists can be found in the plans.
Not sure what type of wood to use for this project?
1x LUMBER: If painting, preprimed pine, spruce, or poplar are great budget friendly options. And if staining, usually, you want to use the same wood type as your plywood or something that will stain similarly so that they match. Check out this post to learn how to shop for and purchase lumber for your project.
PLYWOOD: I recommend using cabinet grade hardwood plywood (like birch, maple, oak, etc). Check out this post to learn how to choose the right plywood for your project.
This project was built with maple plywood and pine/spruce for the 1x material and moldings.
Step 1: Assemble Main Cabinet Box
Like most cabinet assemblies, this one started with cutting down the plywood to assemble the main box.
I built the cabinet body using ¾″ plywood, so I cut down two sides, a bottom panel, and three plywood strips. All the dimensions and cut diagrams can be found in the printable plans.
RELATED: How to cut plywood sheets
Then, I drilled pocket holes into the ends of the strips and bottom panel to assemble the cabinet box like shown below using pocket hole screws.
RELATED: How to use a pocket hole jig
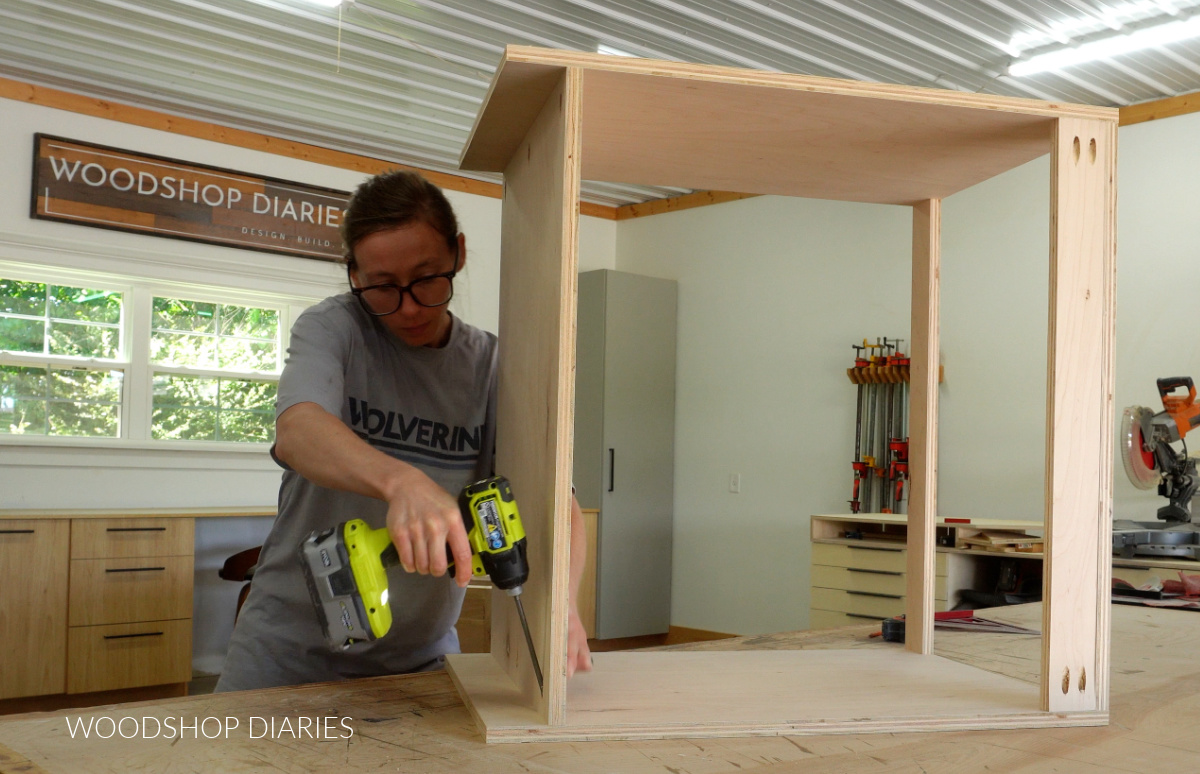
FYI: The three strips go toward the top of the cabinet. Two go flush to the top edge (one at the front and one at the back) and are used to secure the top panel later. The other goes flush to the back edge and is used to secure the cabinet to the wall if you want to use them as built ins.
Next, I routed a rabbet around the back of the cabinet to install a ¼″ plywood back panel into.
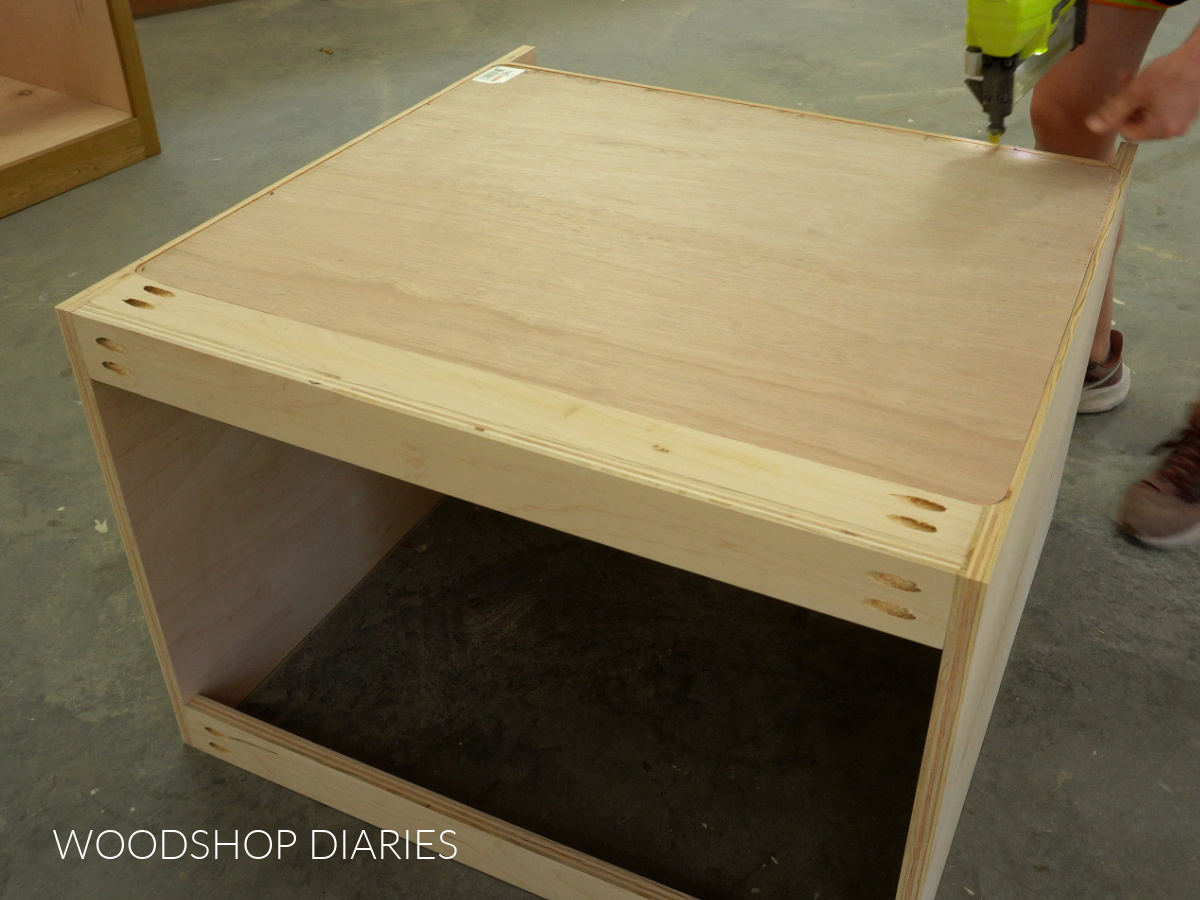
TIP: You could definitely skip routing and just staple (or nail) the back directly to the cabinet, but recessing the panel hides the edges from being seen on the sides.
Next, I assembled a simple face frame using pocket holes and screws. I used 1x2s for the sides and top, a 1×4 for the bottom, and ¾″ square dowels for the drawer divider pieces in the middle.
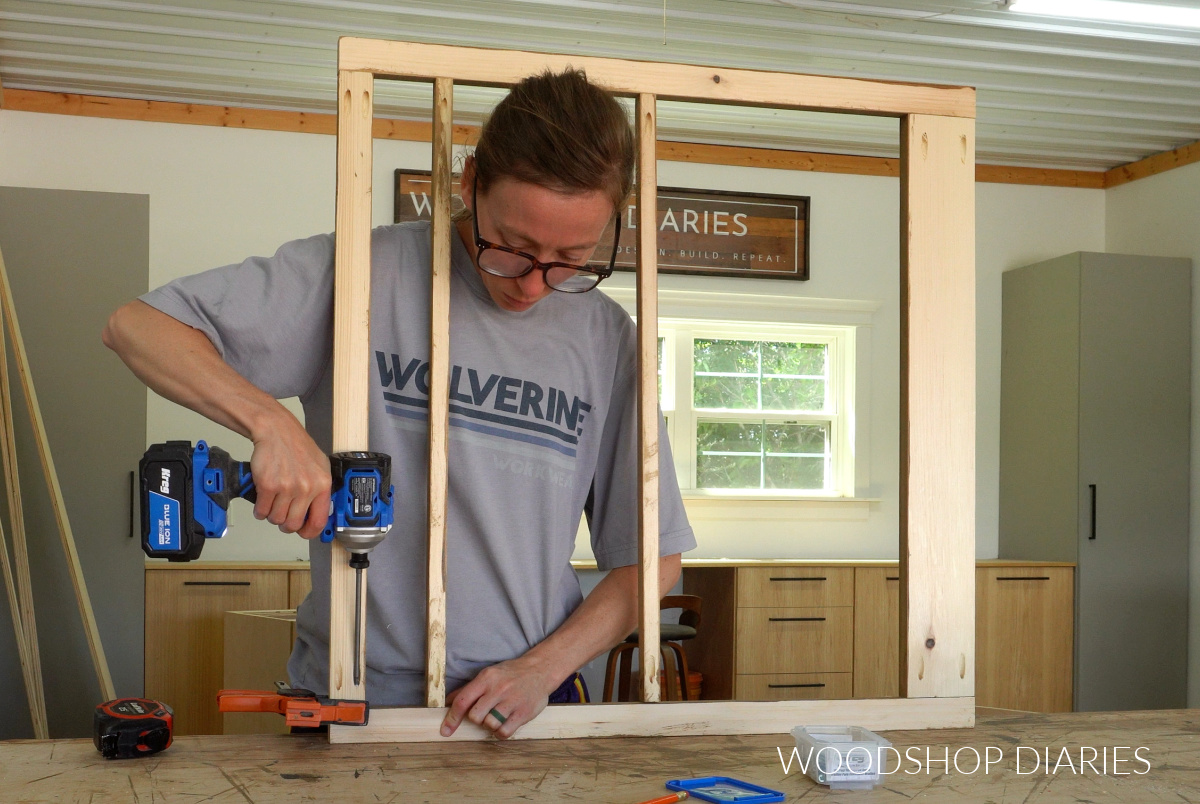
NOTE: You’ll see the face frame I’m assembling above has two drawer dividers. This frame was actually for the matching 3 drawer cabinet. The glass door face frame is identical except it only has a single drawer divider under the top drawer.
For the ¾″ dowel pieces, because they’re so small, they only fit one pocket hole on each end. So when I attached them on the face frame, I used wood glue on the ends to keep them from twisting.
TIP: A standard size pocket hole jig can work if you’re careful, but I recommend using a Kreg Micro Jig for these face frame pieces with pan head pocket hole screws. The smaller holes and screws are less likely to cause splits.
Learn how, when, and why to use the Kreg Micro Pocket Hole Jig here.
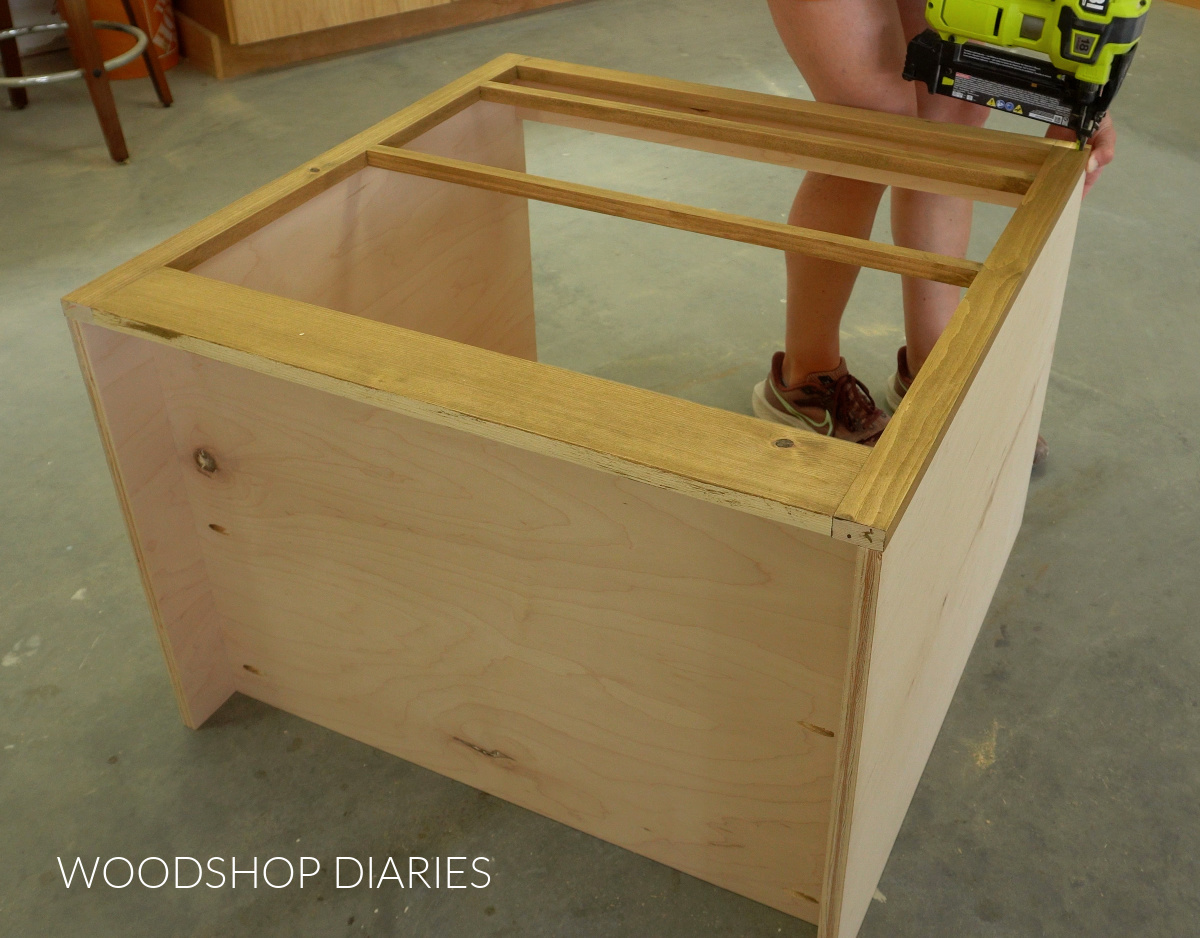
Then I glued and brad nailed the face frame onto the front of the cabinet box. Again, just ignore that extra divider piece on the face frame.
Prefer to print? Grab the printable building plans for this project here.
Step 2: Install Shallow Top Drawer
Once the main cabinet box was together, I wanted to go ahead and install the top drawer before moving on. It’s much easier to install this before the top is added.
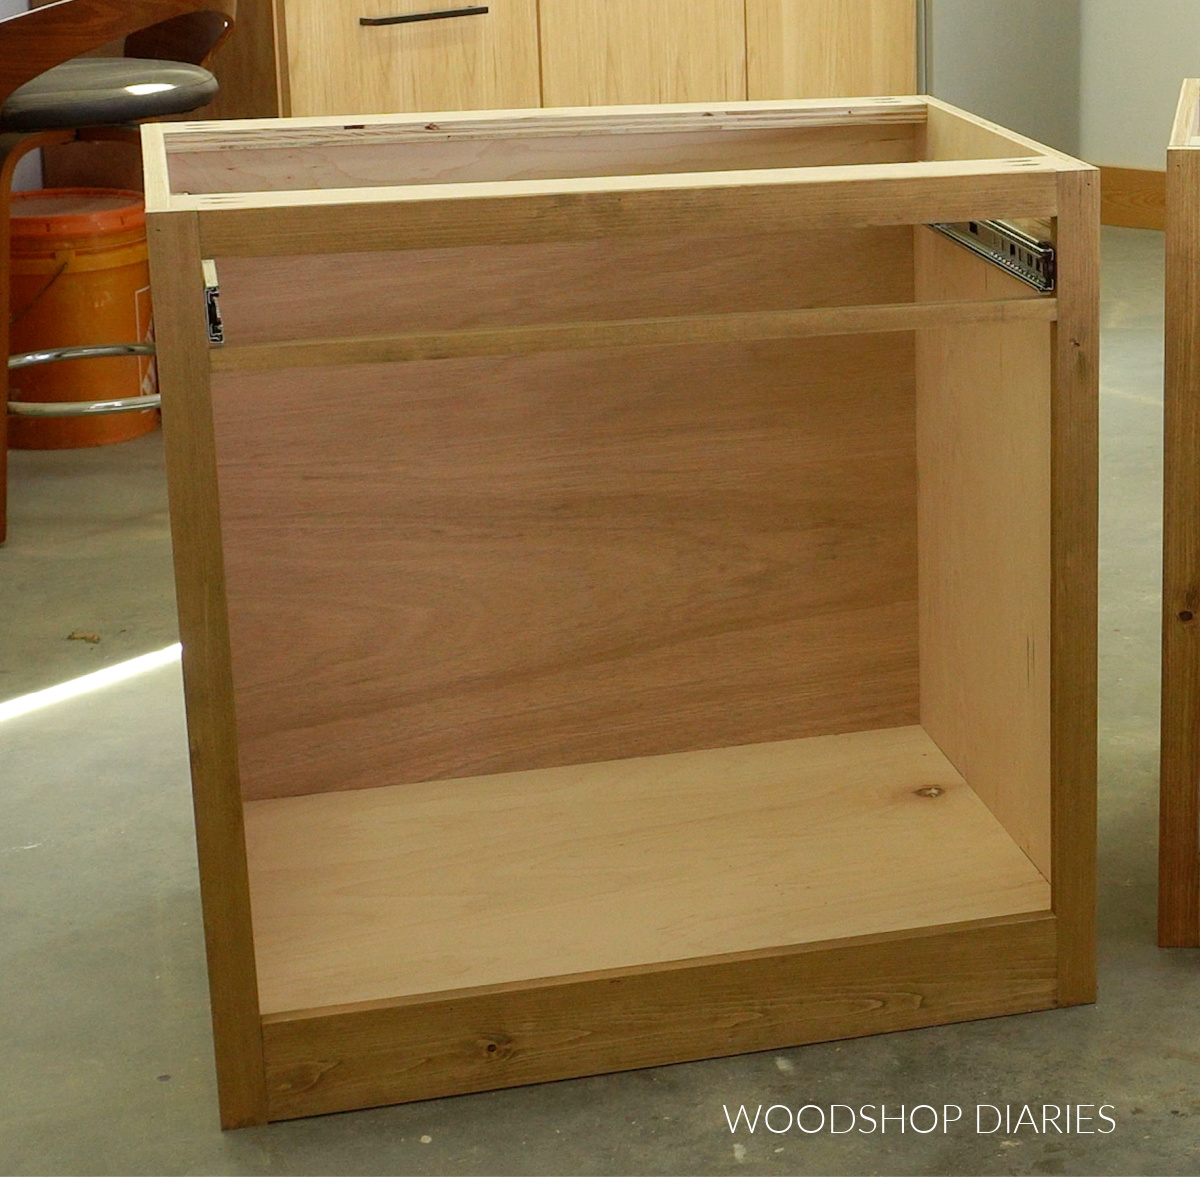
Because I installed a face frame, I first needed to screw some ¾″ plywood spacer strips behind where the slides will go. These will help “push” the slides out into the face frame opening.
Then I installed a pair of 18″ slides onto these spacers.
RELATED: Learn how to install drawer slides
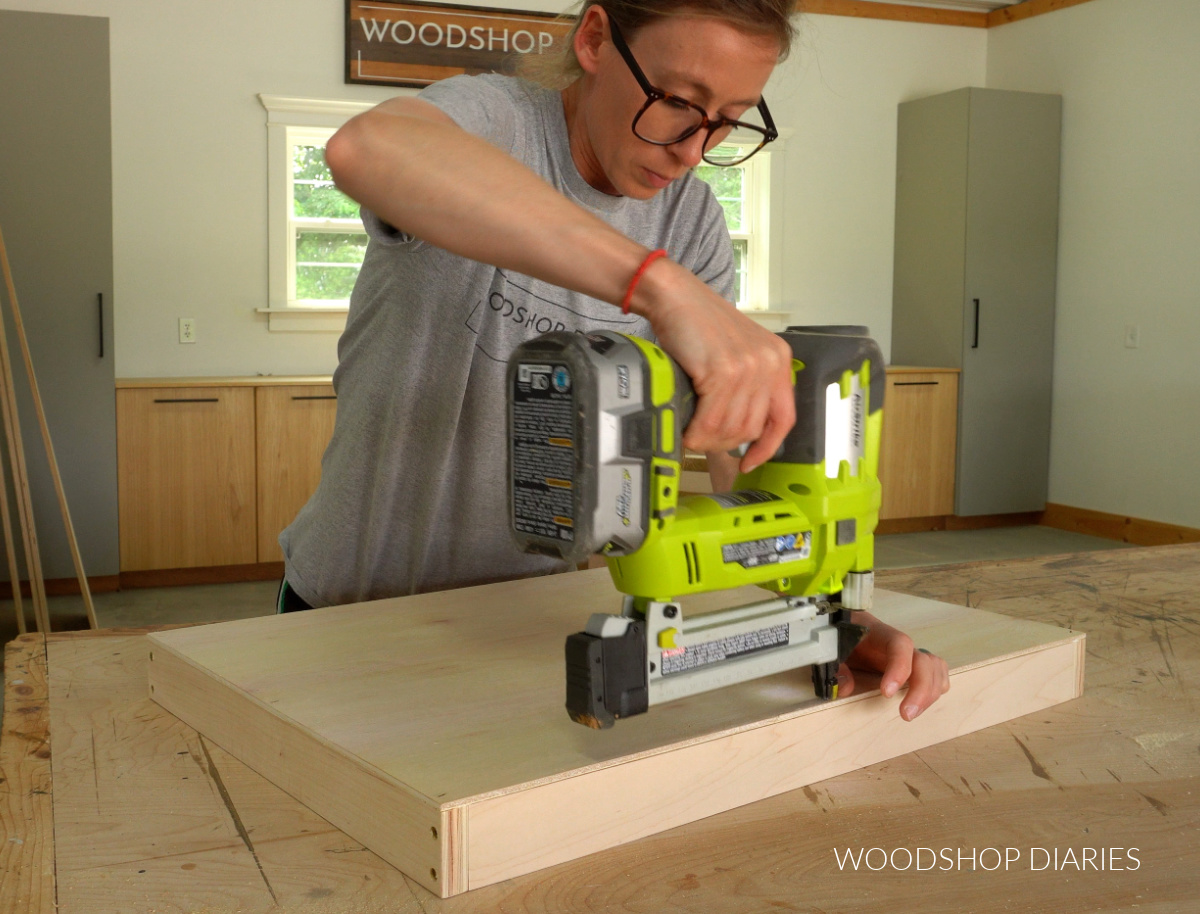
I built a very shallow drawer to fit into the top section of the cabinet, then glued and nailed a ¼″ plywood bottom panel onto it.
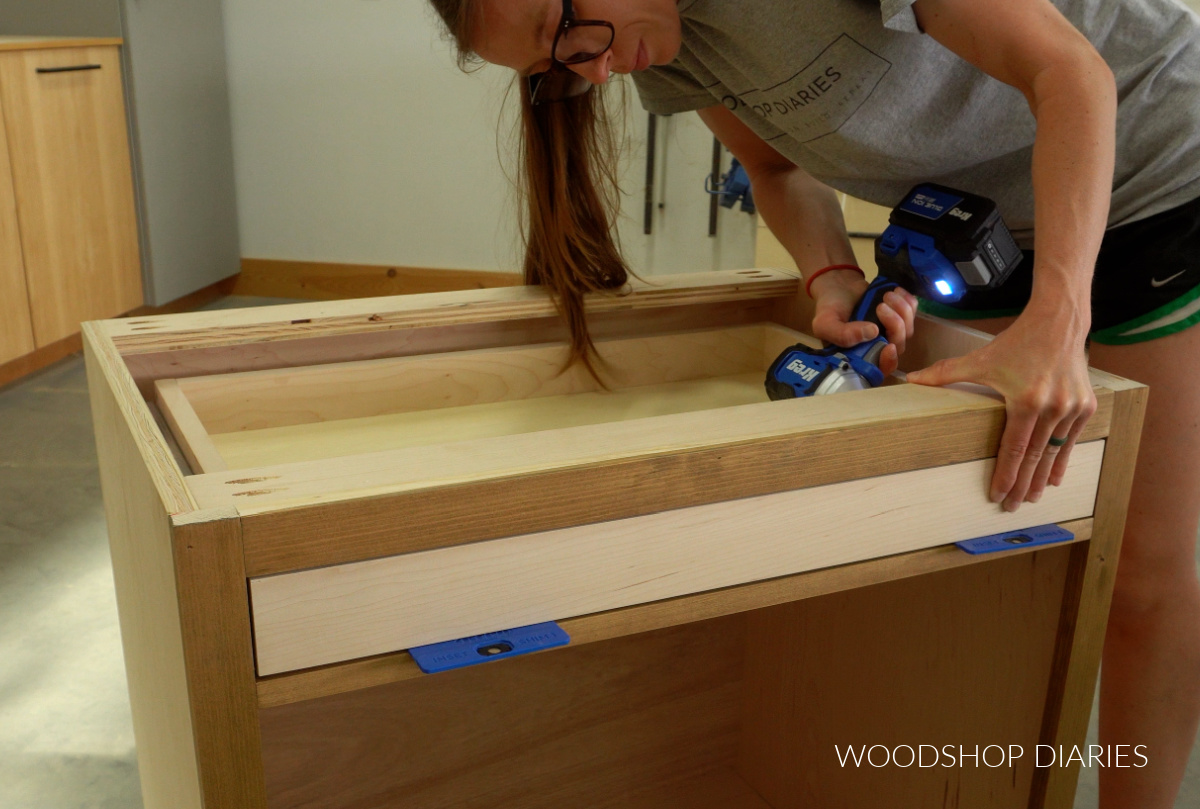
After the top drawer was built, I installed it into the top opening of the base cabinet, then cut a piece of ¾″ plywood to use as my drawer front.
I screwed this “slab style” drawer front onto the box using screws from the inside.
BY THE WAY: The images here show building the wider cabinet, but the narrower cabinet assembly is EXACTLY the same process…it’s just narrower in size. You can find the full cut list and dimensional diagrams for each size in the plans.
Step 3: Add Top & Trim Detail
Before adding the top, I removed the top drawer from the cabinet using the tabs on the slides so I could access the inside.
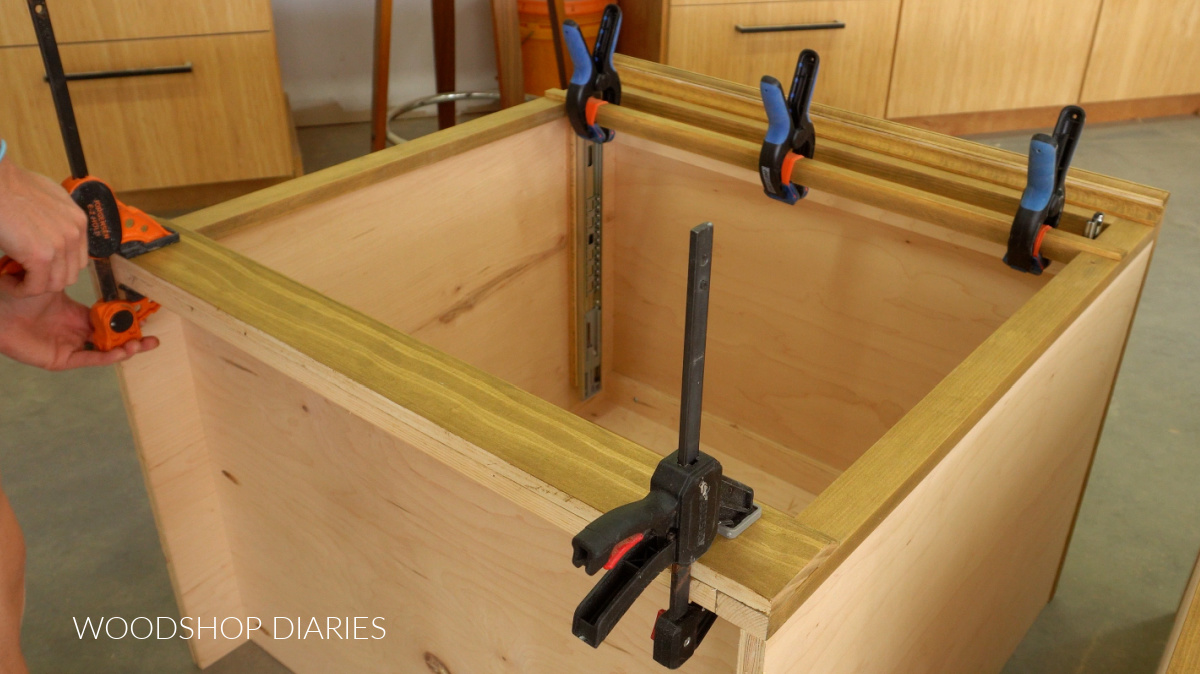
I cut a piece of ¾″ plywood for the top and edge banded the left and right sides. But for the front edge, I cut a piece of mini base cap molding and glued it on. This covers the plies and gives it some extra trim detail as you see below.
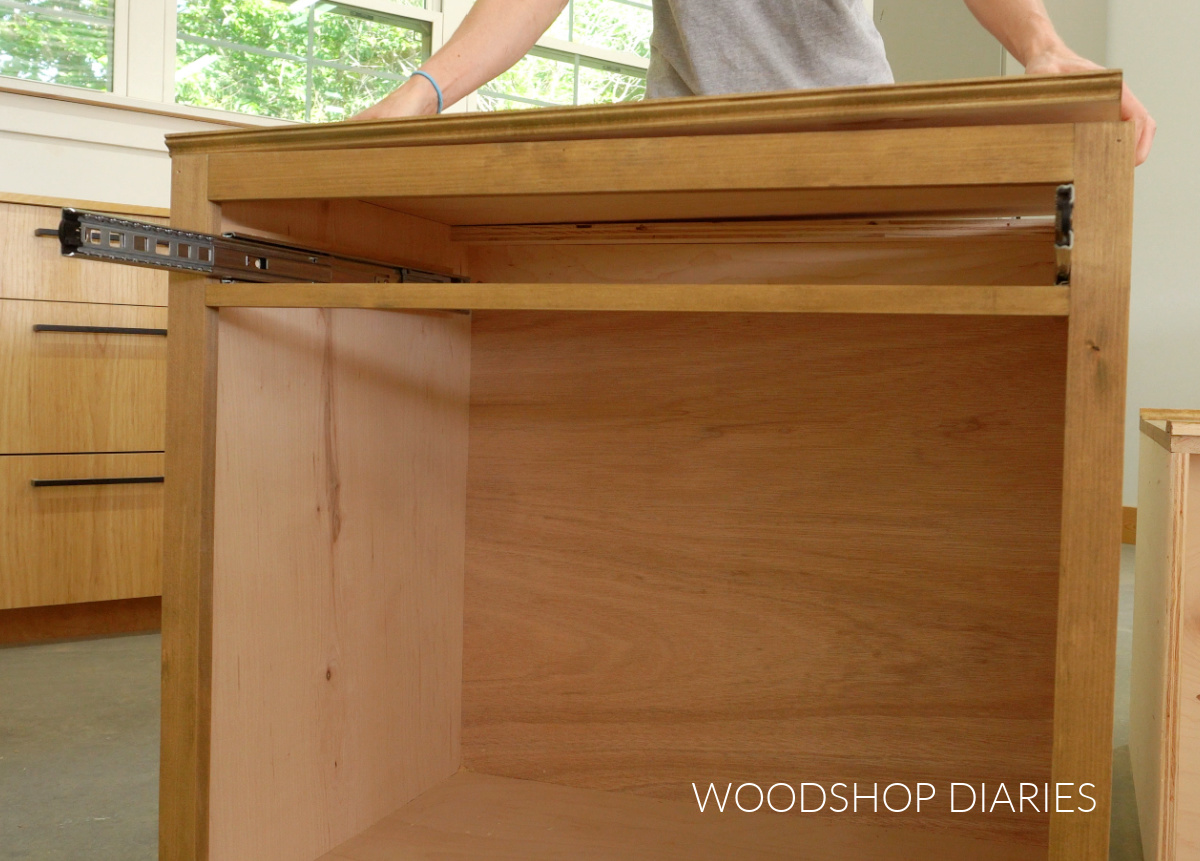
I secured this top panel through the top supports of the cabinet from the inside.
TIP: If you’re planning to put several of these modular cabinets together for your project, you may consider skipping adding individual top panels to each cabinet and cut one large top to cover all the base cabinets, instead. This reduces the chances for gaps and uneven joints along the top.
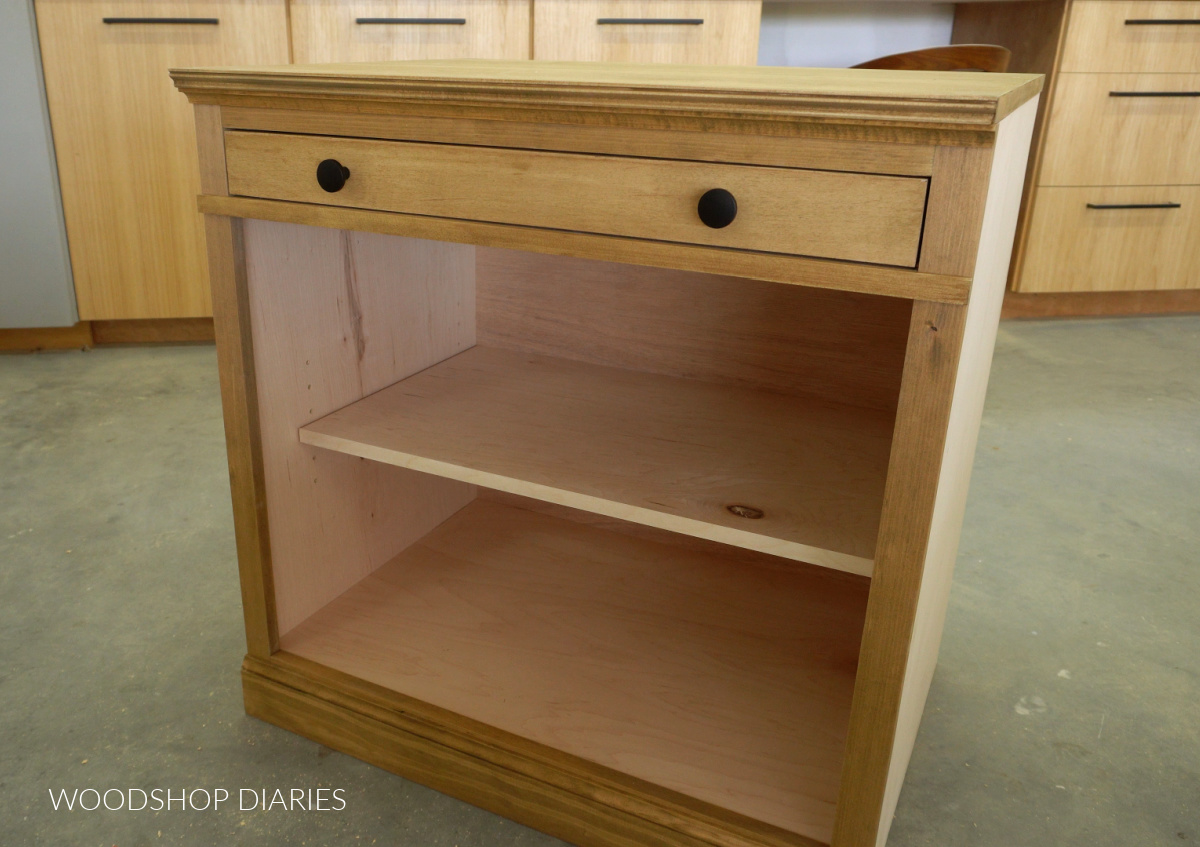
One of my favorite parts about this project is the trim detail. It’s not OVERLY trimmed out, but the subtle details make it look much more like furniture vs boring kitchen style cabinets.
The trim detail along the top panel already helps with this, but I also cut and glued some cove molding just below the top, some lattice trim across the drawer divider, and baseboard molding along the bottom.
Because this is designed to be modular and the pieces butt together, I cut the trim flush on the ends and only added it on the front. But if you weren’t butting cabinets onto the side, you can wrap the trim around the sides, too.
Step 4: Install adjustable Shelf
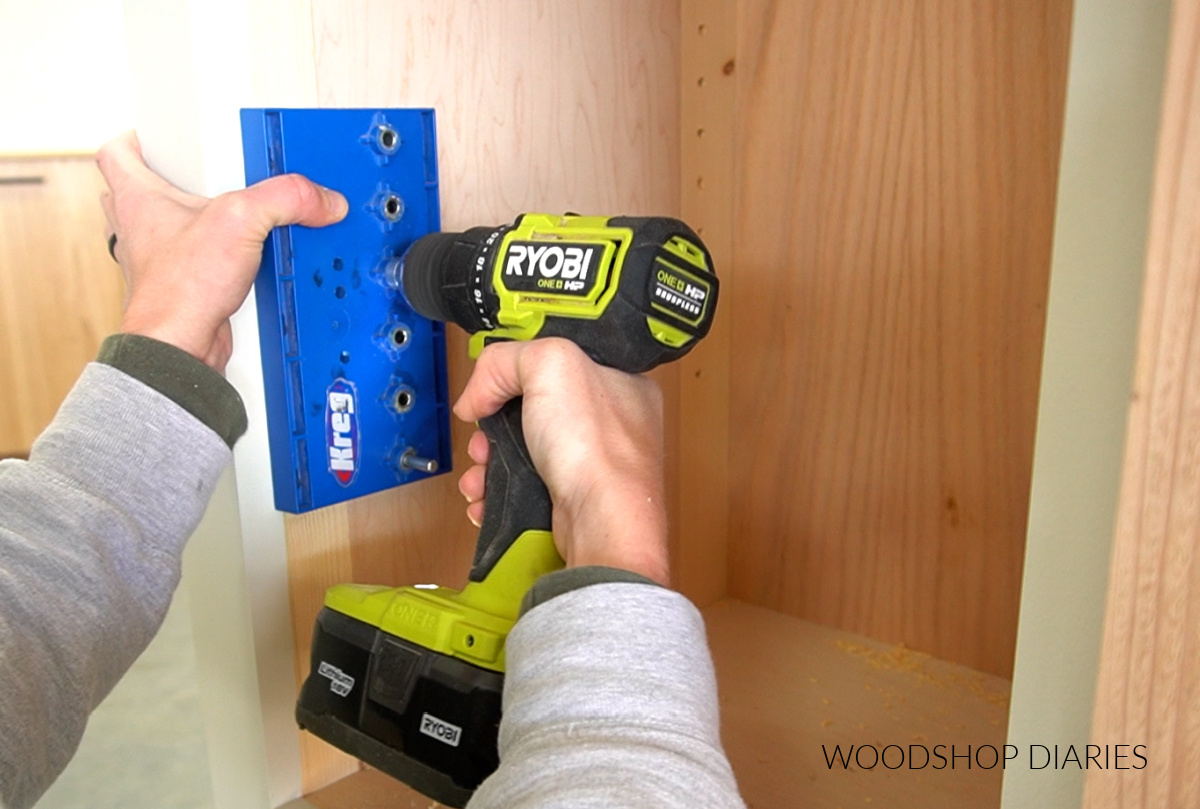
Next, I used a shelf pin jig to drill shelf pin holes along the sides of my cabinet. This allows me to add adjustable shelves into the space below the drawers.
RELATED: How to add adjustable shelves with a shelf pin jig
I cut a piece of ¾″ plywood to use as a shelf. I just cut one shelf, but you can add more if you wanted…that’s one of the things I love about using shelf pin holes to add shelves. You can arrange, add and readjust your shelves easily however you’d like.
Step 5: Build Glass Panel Doors
Normally, making cabinet doors is my least favorite part of any project, but these paned “glass” doors (it’s really acrylic, not glass) were SO much fun to make.
It’s a bit of a challenge simply because you have to pay careful attention to where and how you drill the dowel holes, but it ended up being a really great way to make these. You can check out a quick video on this method here, but here’s what I did:
First, I cut 1x3s to make my door frame(s) and assembled like you see below using dowels at each corner WITHOUT GLUE.
RELATED: How to use a dowel jig
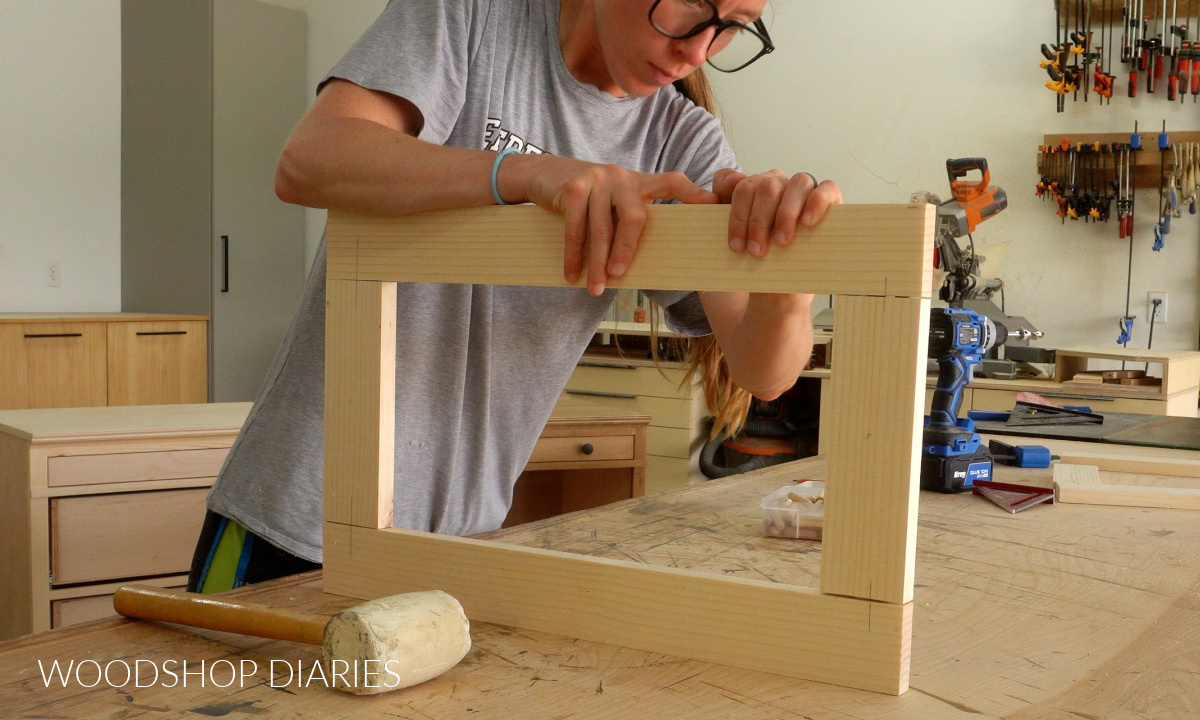
NOTE: I used ⅜″ diameter dowels on the corners of these door frames.
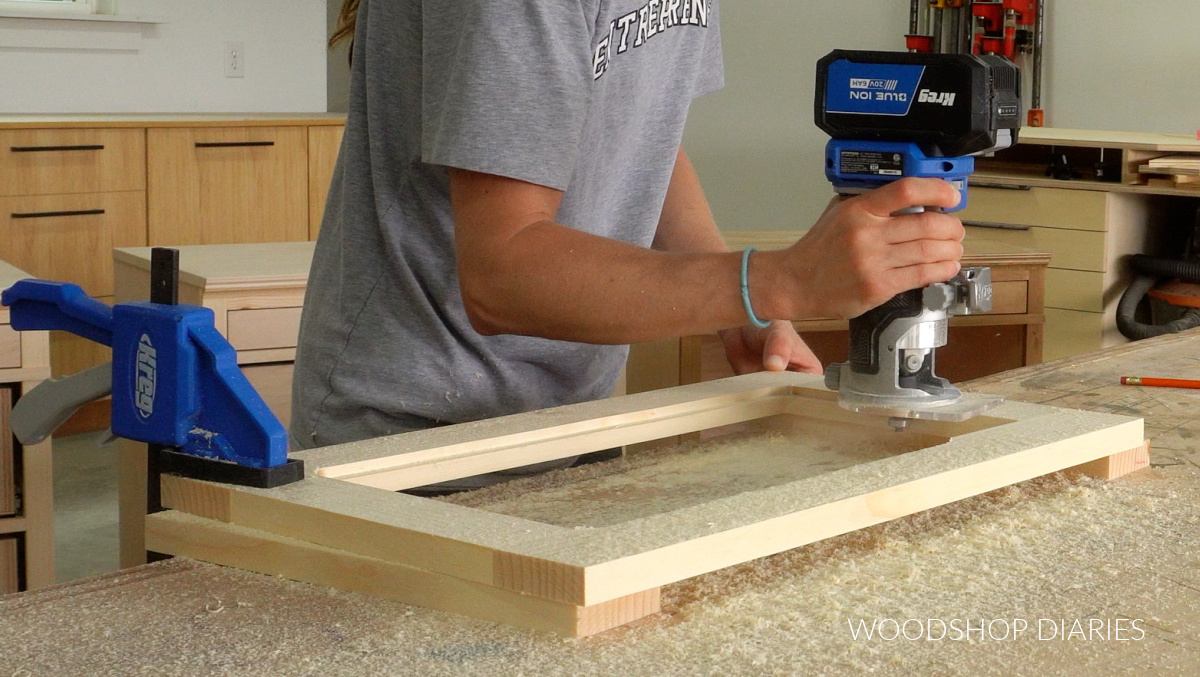
The dowels help hold the frame tight so that I can use a router with a rabbeting bit to route a rabbet ¼″ deep around the back side of the frame. This is where the acrylic will be installed later.
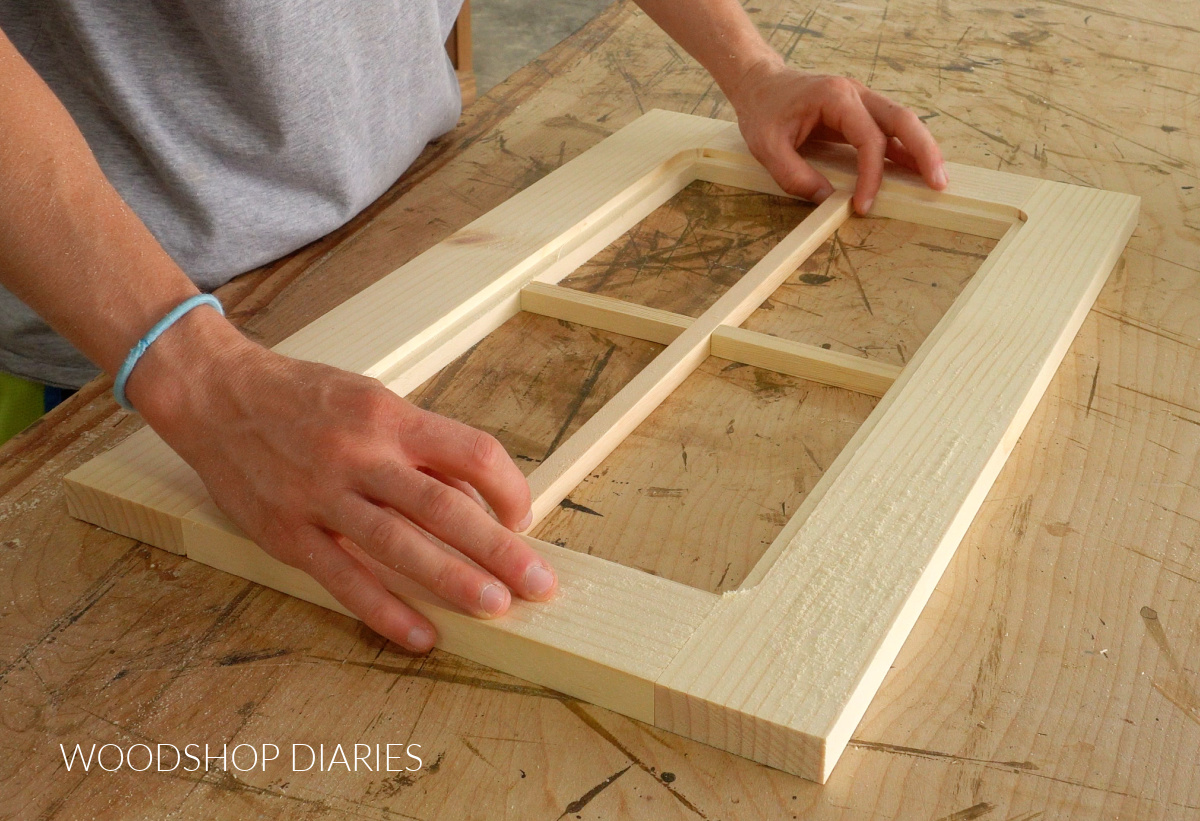
Then, I cut to fit ½″ square dowels to fit into the opening to divide it up.
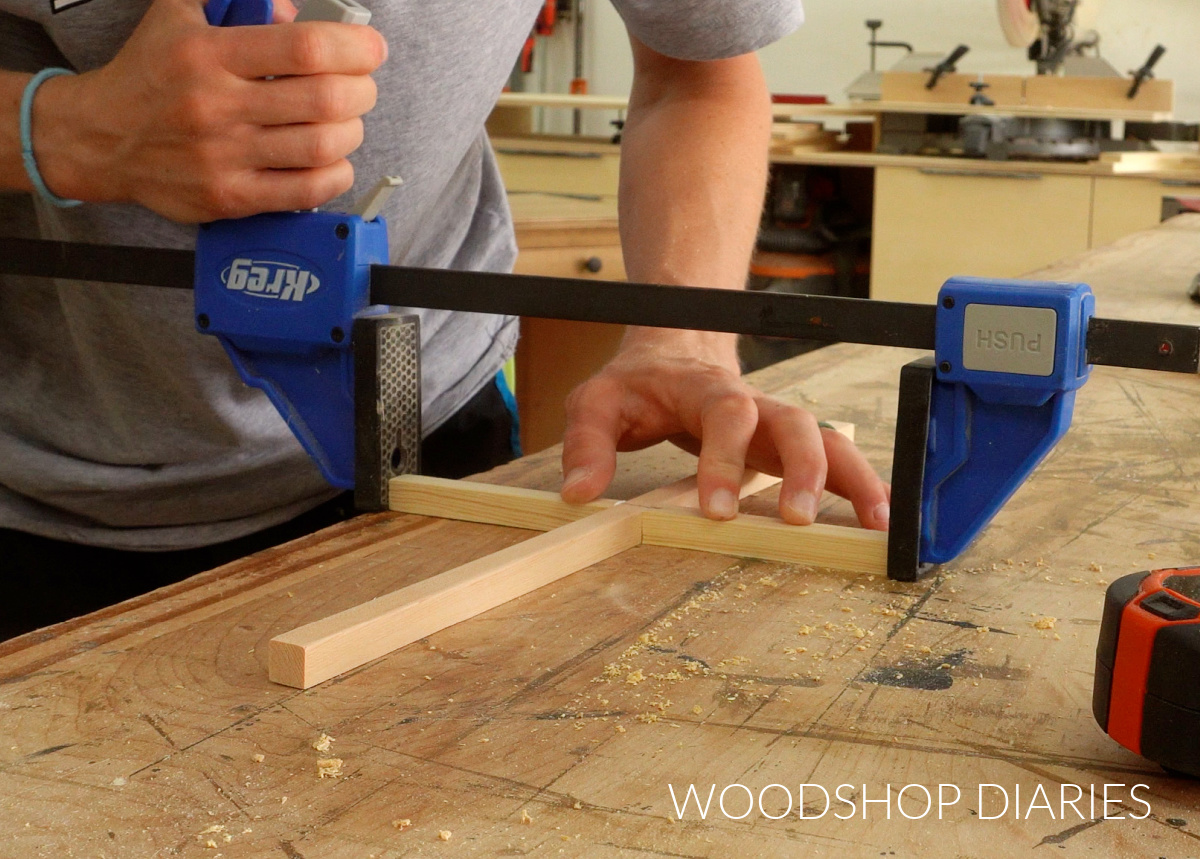
Once I knew they’d fit, I assembled these dowels into a “t” shape with wood glue and a single dowel ¼″ diameter dowel at the center.
After the glue dried, I drilled ¼″ dowel holes into each end of my “t” shaped piece and at the center of each side of my door frame.
Then, I could take the door frame apart and reassemble everything (using wood glue this time) with the “t” shape in the center.
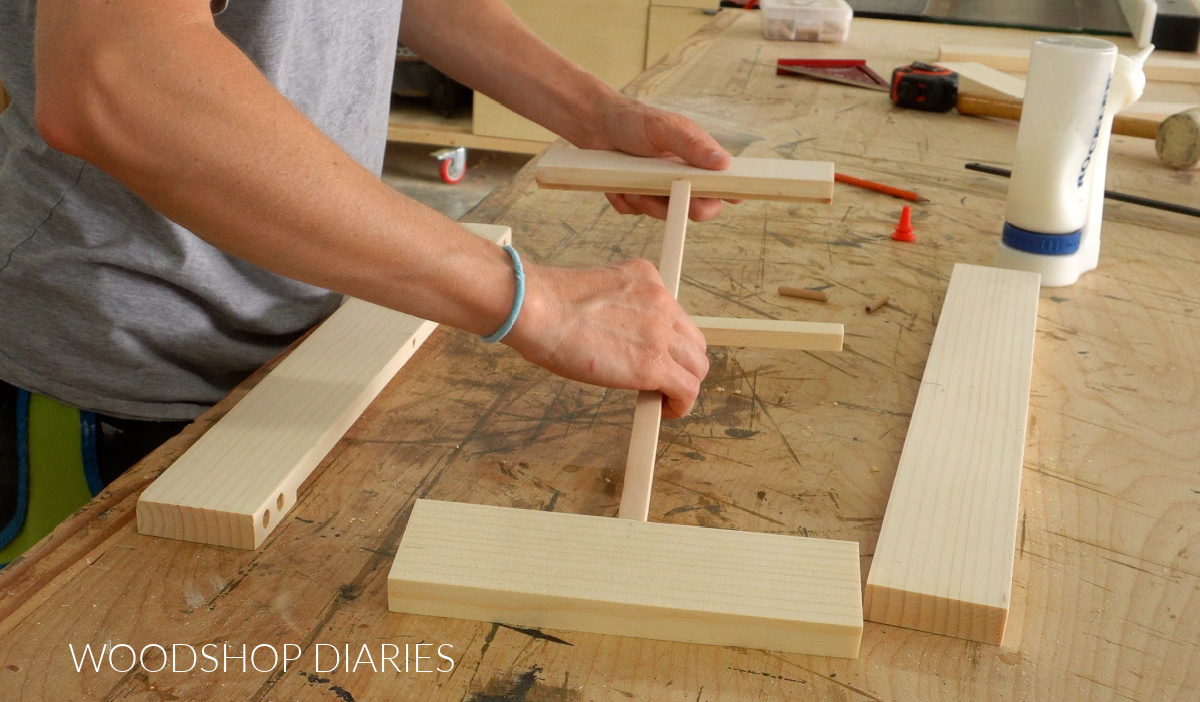
TIP: I used ⅜″ dowels for the door frame and ¼″ dowels for the divider pieces. But if you didn’t want to use both sizes ¼″ dowels can work for the entire assembly, just pay careful attention that you align everything properly when drilling.
Prefer to print? Grab the printable building plans for this project here.
Step 6: Finish, Mix & Match
Before installing the doors, I went ahead and stained the cabinet box and doors separately.
Quick backstory: I built several of these cabinets to complete this modular system. But I didn’t build them all at once. I built two to start and for those, I used Minwax Water Based Stain in Driftwood.
I LOVE the color, but with water based stains, you have to work in small sections. So it’s best to finish each piece before assembling (which is why you saw some photos with stained parts in the post above) and that makes everything take forever to build.
So when I came back to build the rest of the cabinets, I decided to switch to an oil based stain so I could finish everything once it was completely built. That said, the best color match I could find was a mixture of 5 parts Minwax Provincial and 1 part Minwax Simply White.
It’s not EXACTLY the same color, but it’s close
Once the stain was dry, I cut ⅛″ acrylic panels and glued them into the rabbets on the back side of each door. Gorilla Clear Grip Glue works well for this, but any glue that can be used with plastic and wood would work, too.
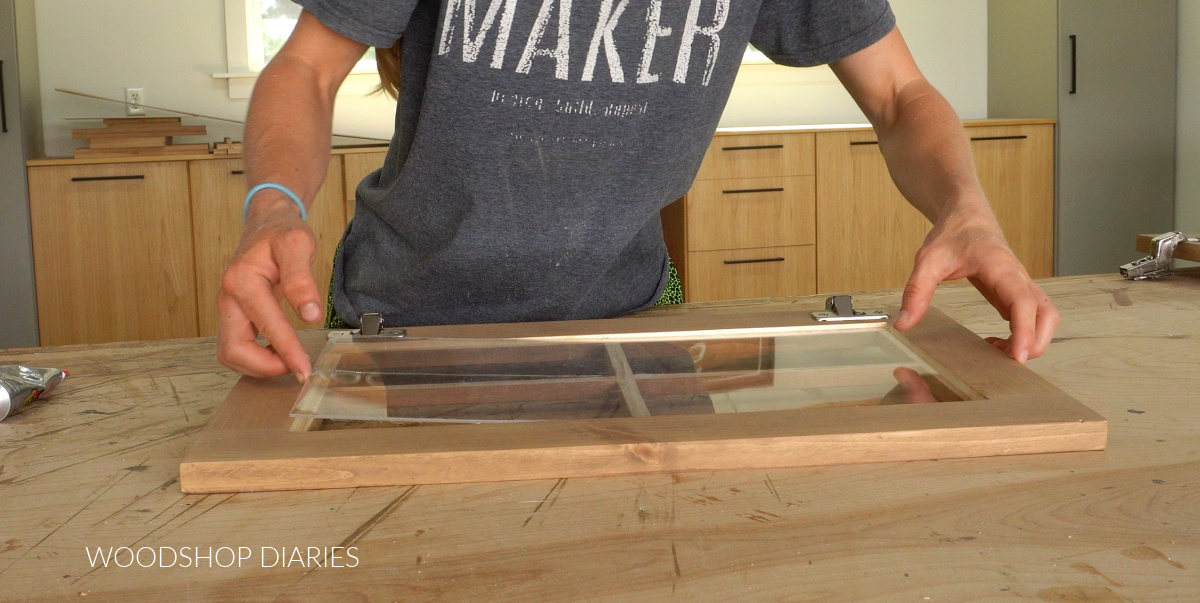
Then, I installed concealed hinges for frameless inset doors to hang these onto the cabinet. I’ve mentioned this in several previous projects, but inset face frame hinges (which is TECHNICALLY what should be used here) are expensive and a pain to install.
An easy work around is to use inset frameless hinges, and install them into some small ¾″ thick spacer blocks like you see below. This makes the cabinet “frameless” as far as the hinges are concerned.
RELATED: Learn more about installing concealed hinges here
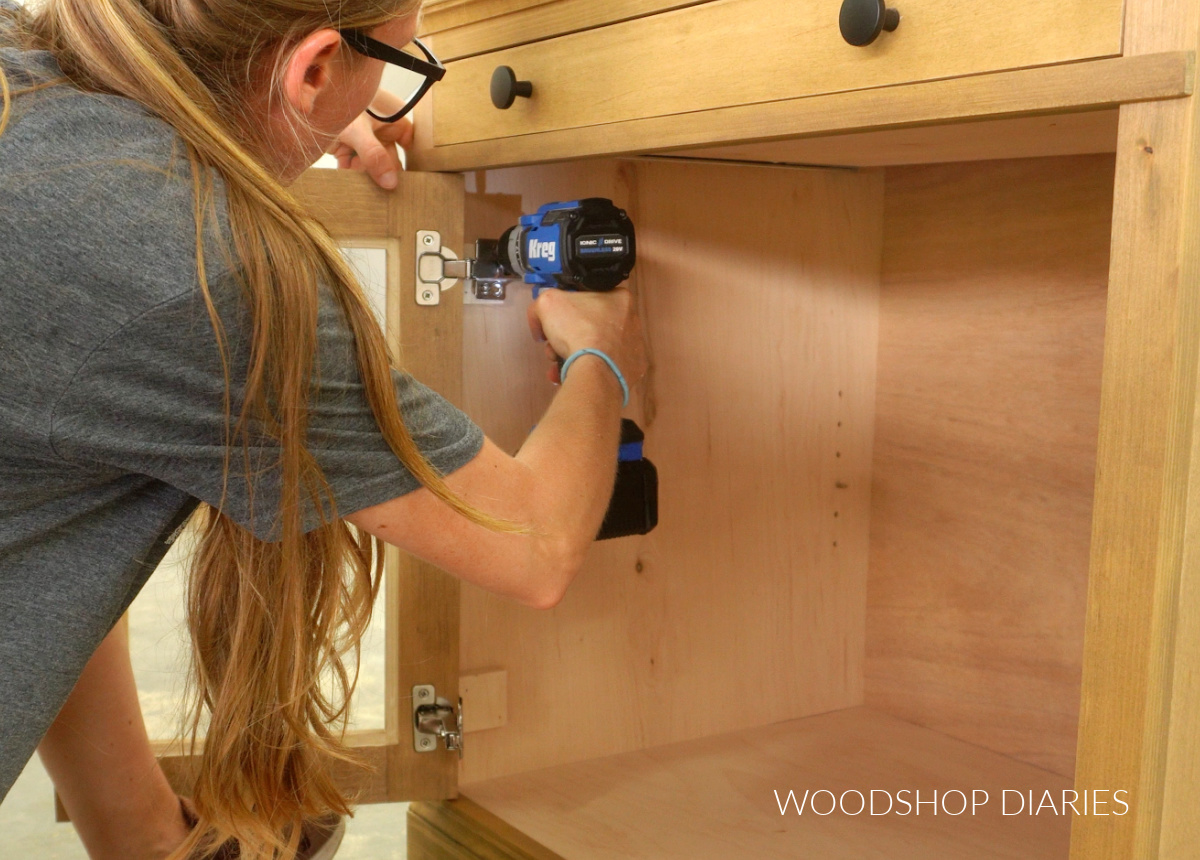
Once the doors were hung, I added some simple knobs and now these pieces are finished and ready to be mixed and matched with the others!
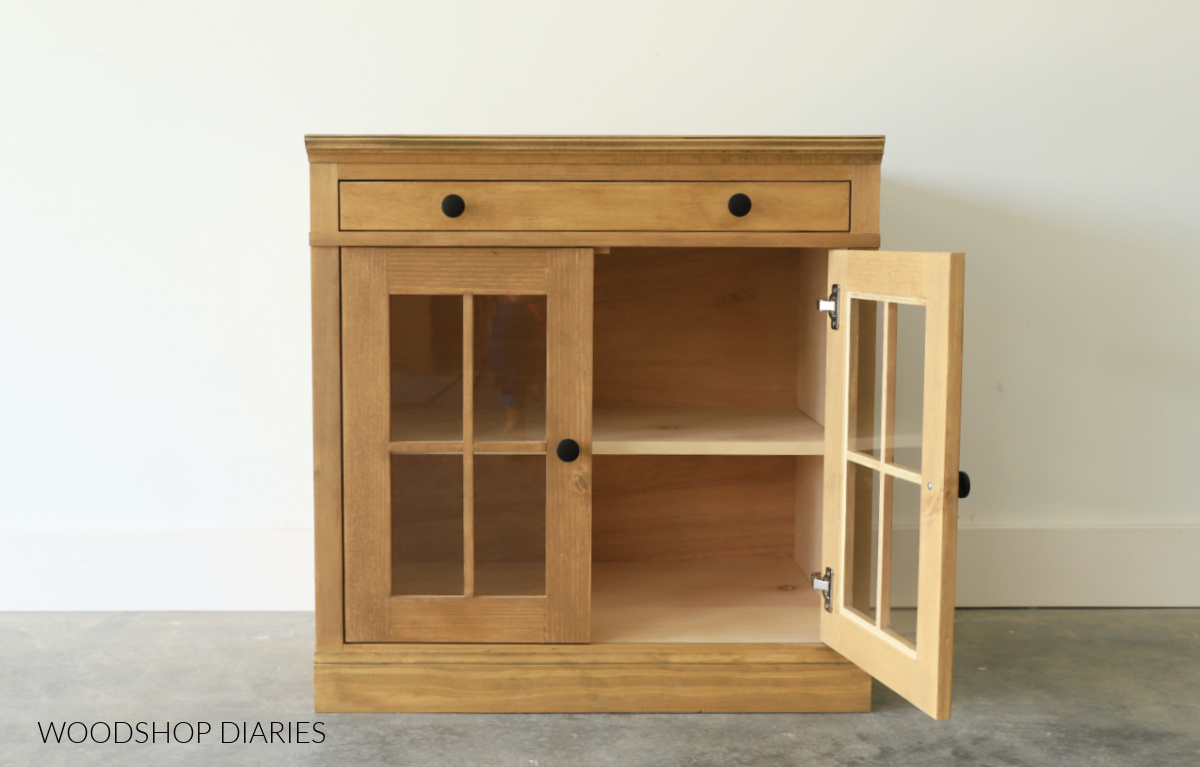
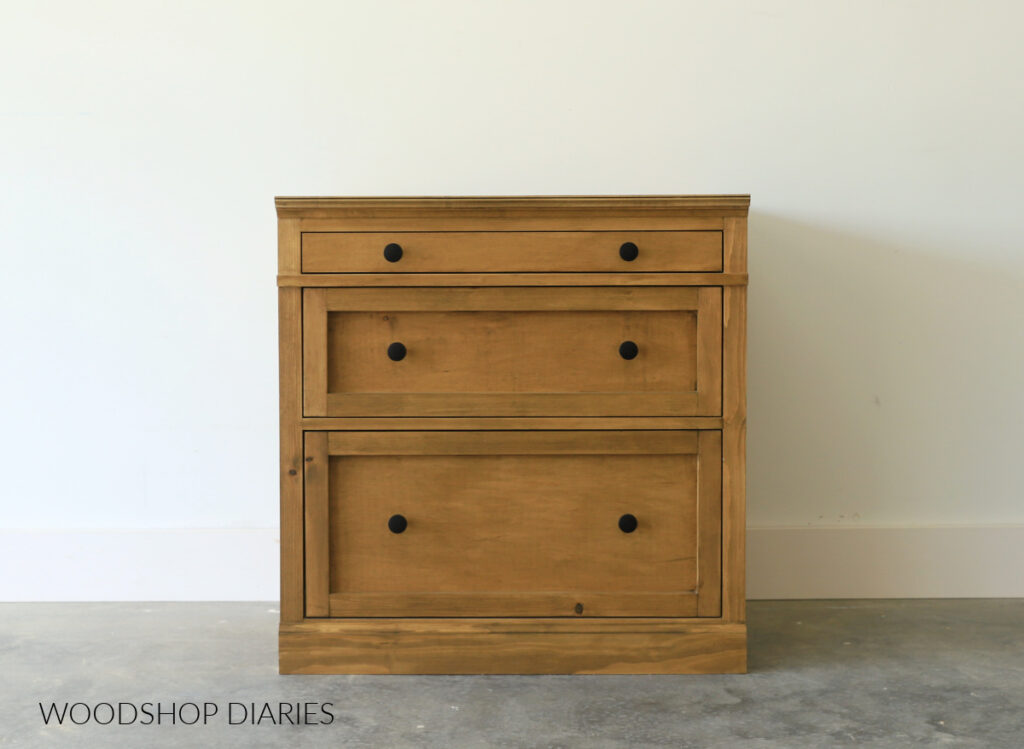
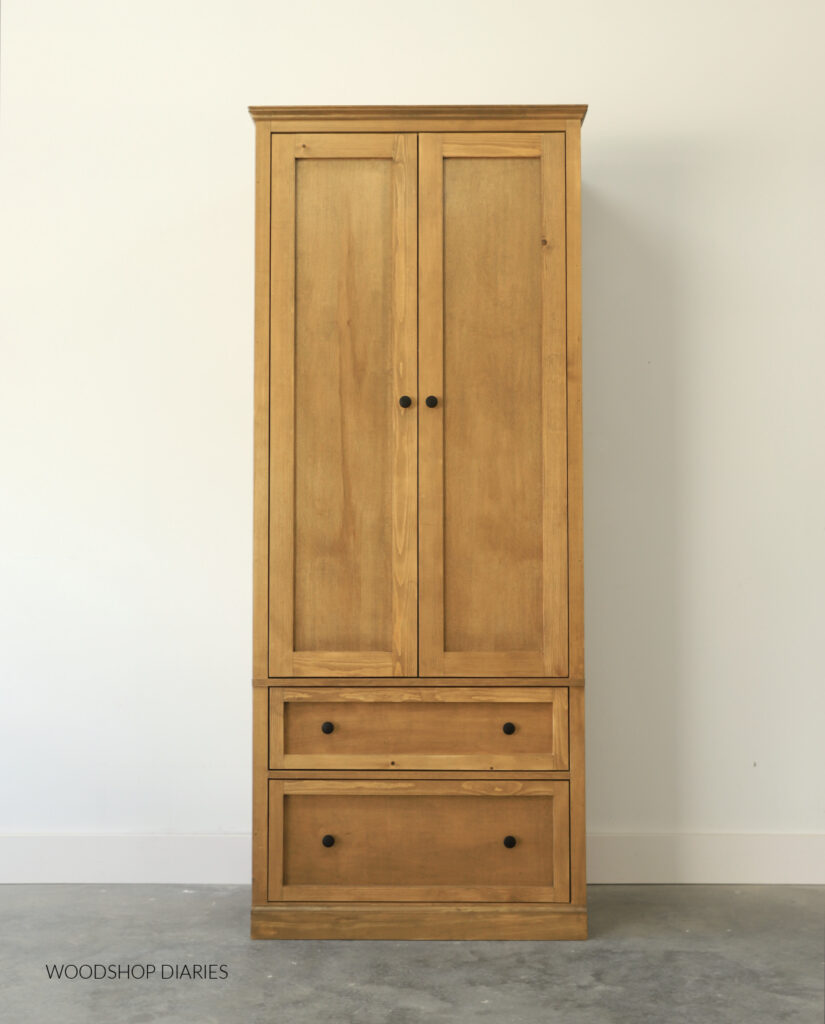
For the rest of the matching pieces, be sure to check out the armoire cabinet and the 3 drawer base cabinets as well.
I’m also planning to add some matching desks and upper shelving units to this set soon for even more mix and match possibilities!
If you’re ready to build your own, grab the printable building plans here!
Looking for more custom DIY cabinet ideas?
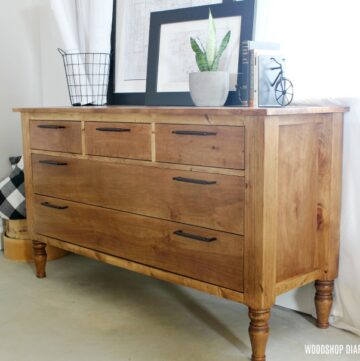
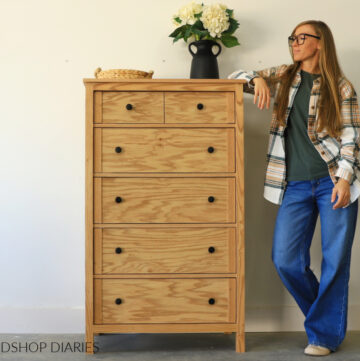
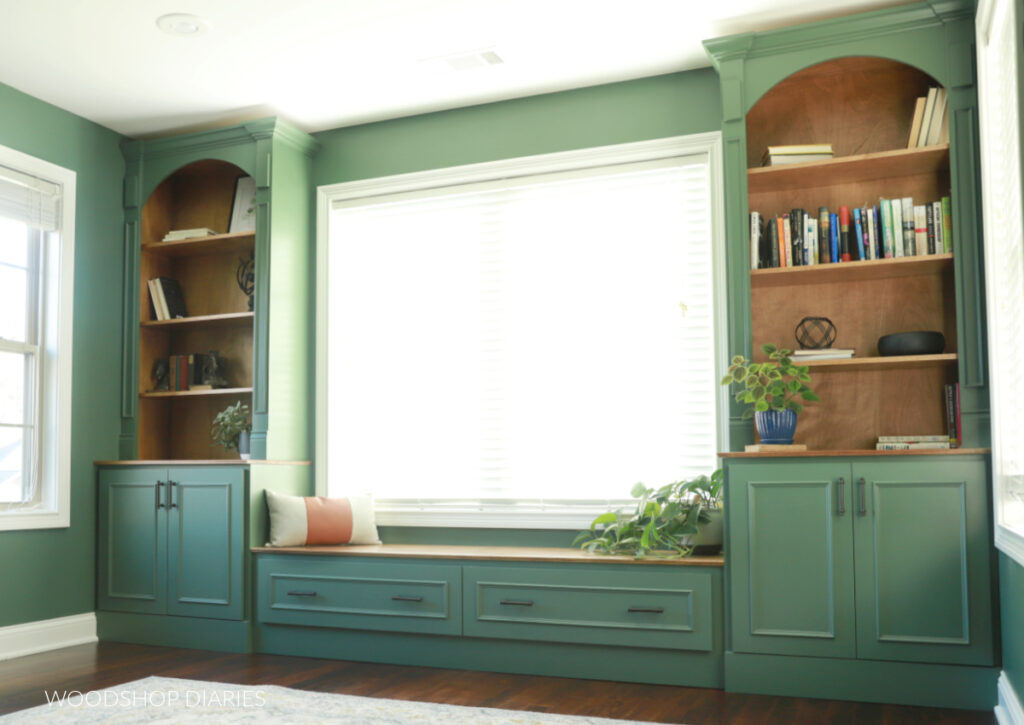
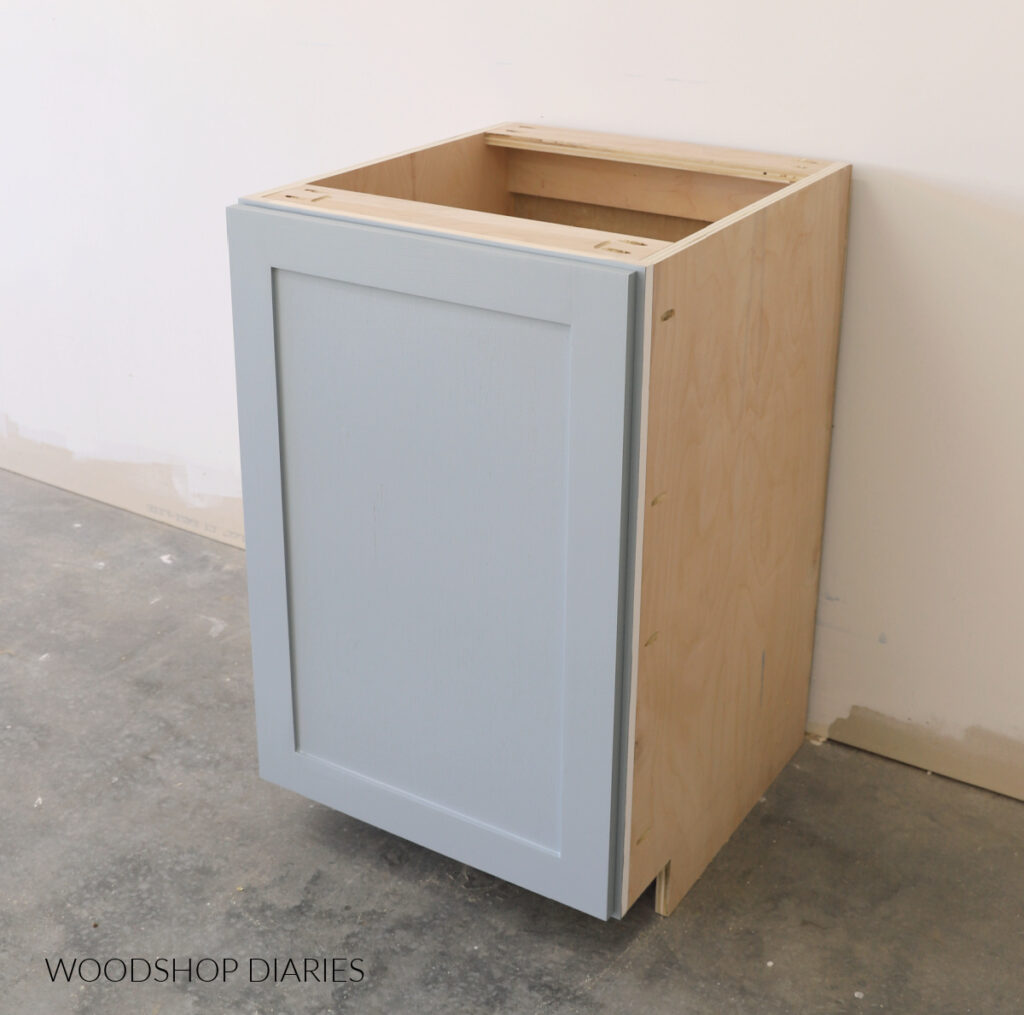
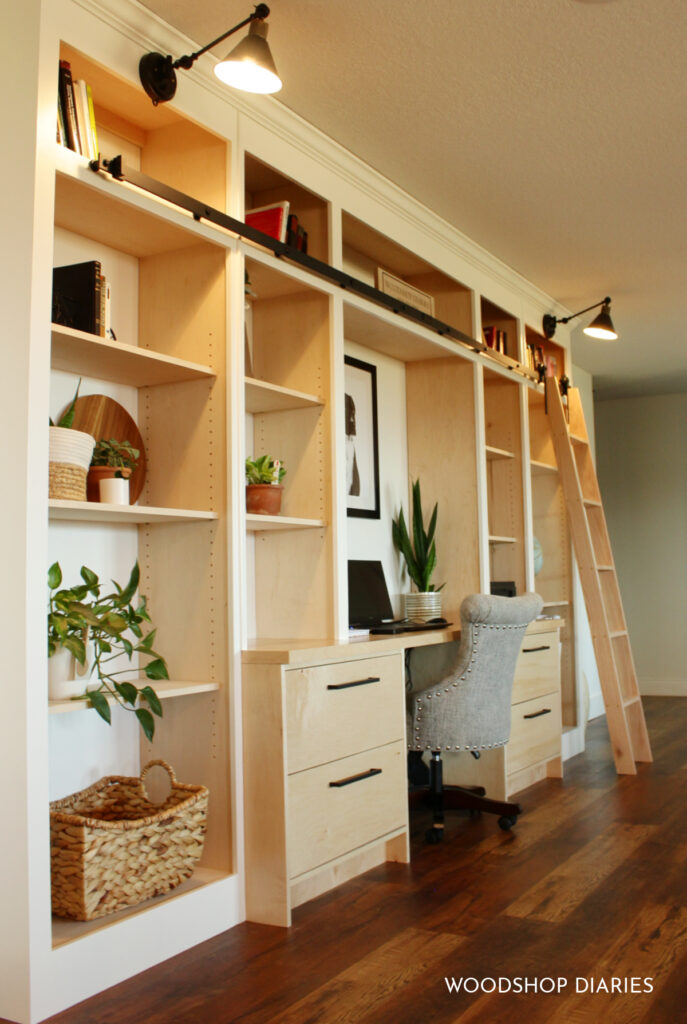
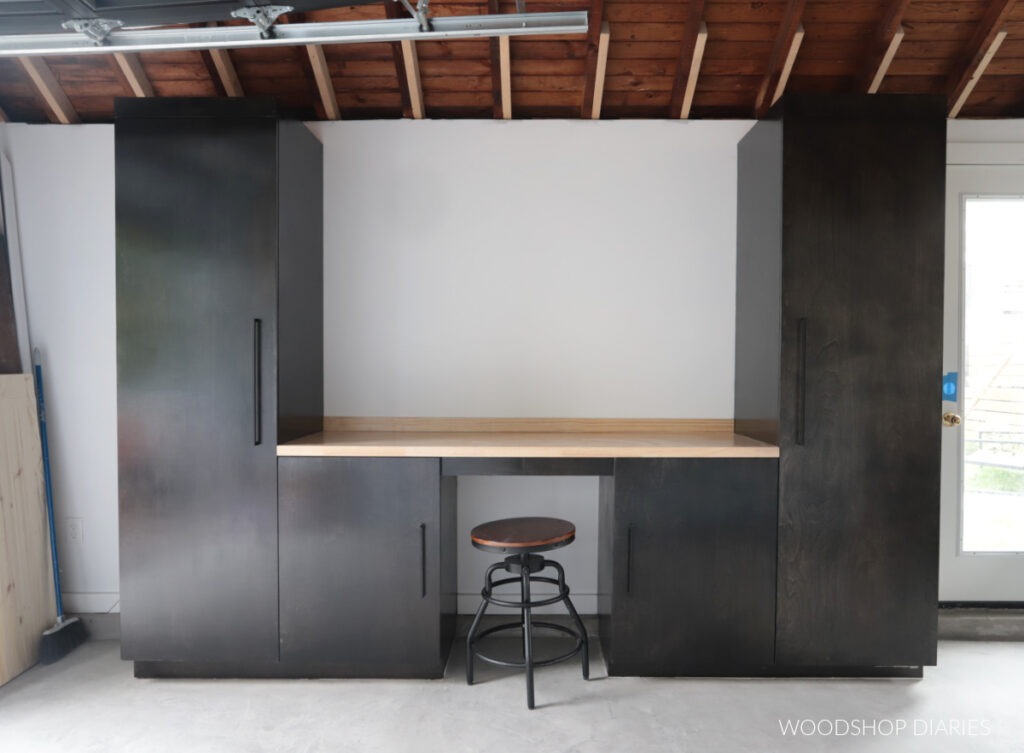
Enjoyed this project, but looking for more custom cabinet ideas? Here are a few of my favorites you might enjoy browsing. Click the image(s) below to see how to build each one:
If you enjoyed this post, be sure to save it for later by pinning or sharing to your favorite social channel!
Until next time, friend, happy building!