
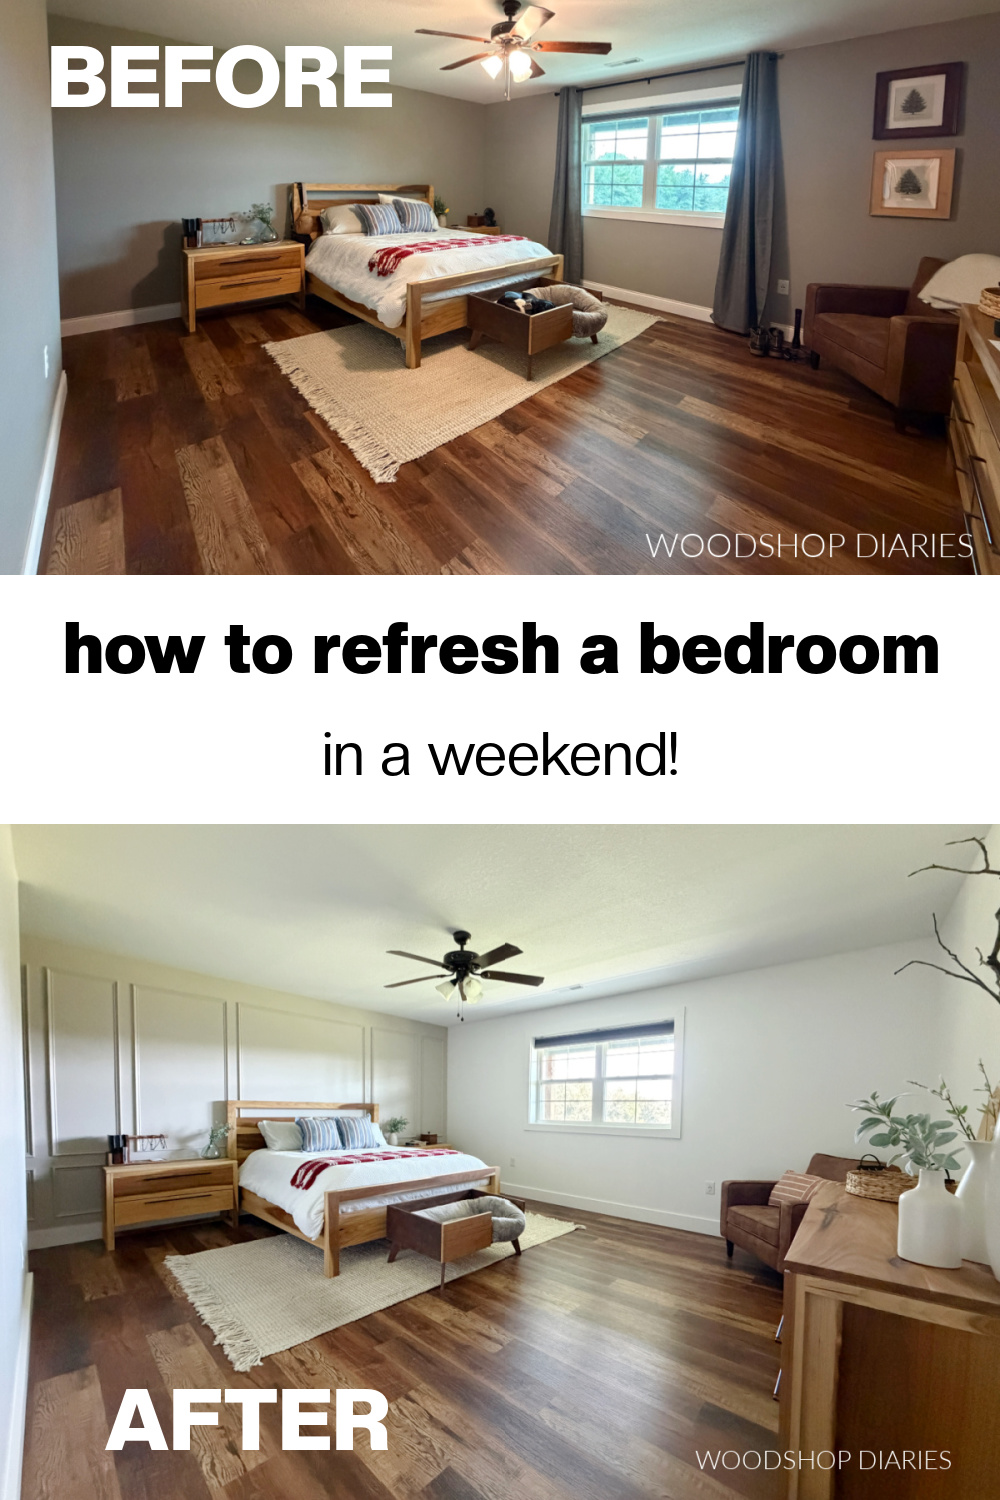
In this post, I’ll show you how I gave my dark and dreary bedroom a major refresh with a little trim and a little paint!
Plus, I’ll share a few tips for choosing the perfect shade of white paint for your space.
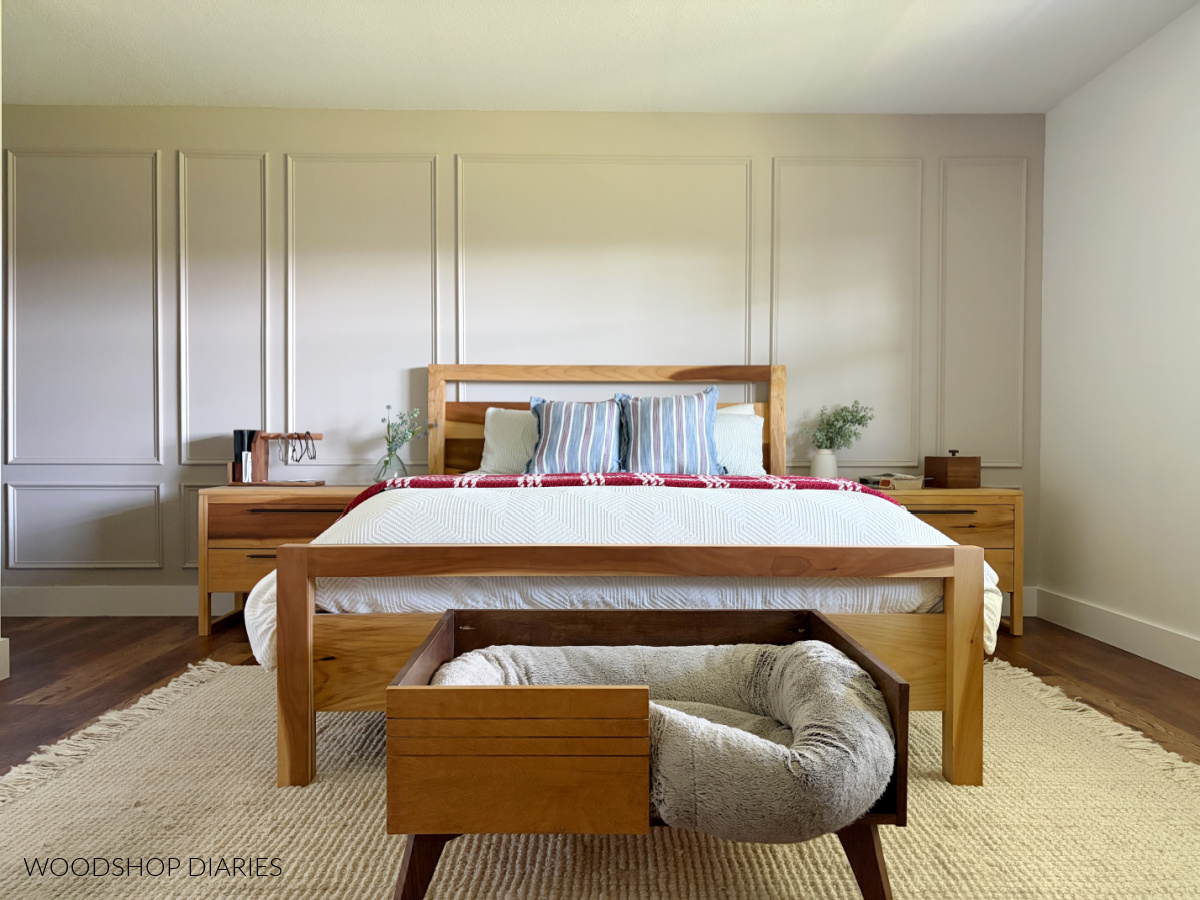
Our bedroom was the very last room in the house that I haven’t updated in one way or another in the five years that we’ve lived here.
It was painted a dark grey paint color by the previous owners and it has always felt a bit…sad. The room is a good size, but the small window and single light source (a sad little ceiling fan) made it feel a little like a dungeon (is that too dramatic?).
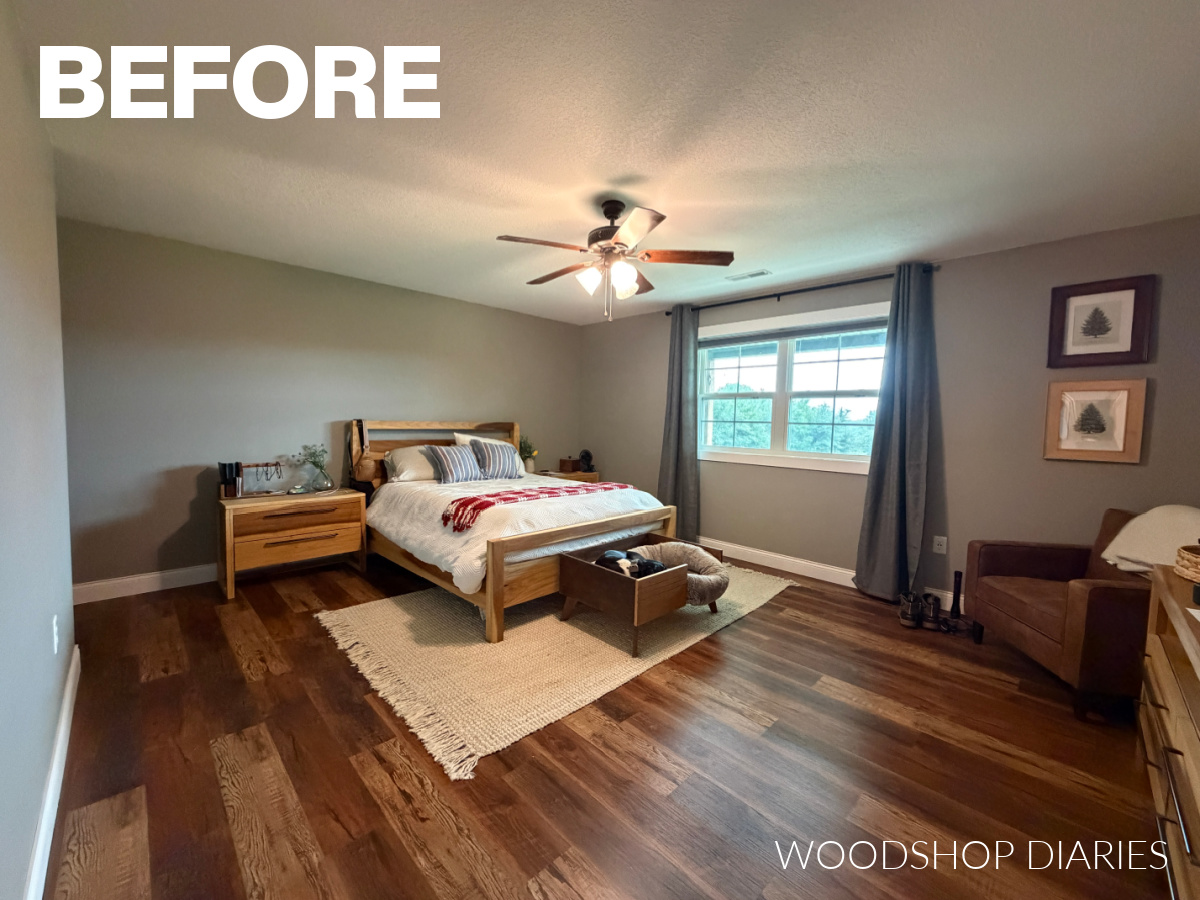
PS Peep Lucy (my shop dog) in her DIY dog bed. She refused to move for the photo, so she just got left in it. She’s always the star of the show.
So I decided it was finally time to give this bedroom a makeover…starting with a fresh coat of paint!
*This post was sponsored by BEHR and contains affiliate links. See website policies.
HOW TO CHOOSE A WHITE PAINT SHADE
I’ve painted so many walls in this home, and my previous homes in some shade of white (I’m a huge fan of white paint!). And along the way, I’ve learned a few things about picking a white paint color:
- There are A LOT of white paint color shades.
- There’s no ONE right or wrong color. (Don’t panic…It’s not a test!)
- It’s important to consider the lighting and undertones when choosing a white paint color.
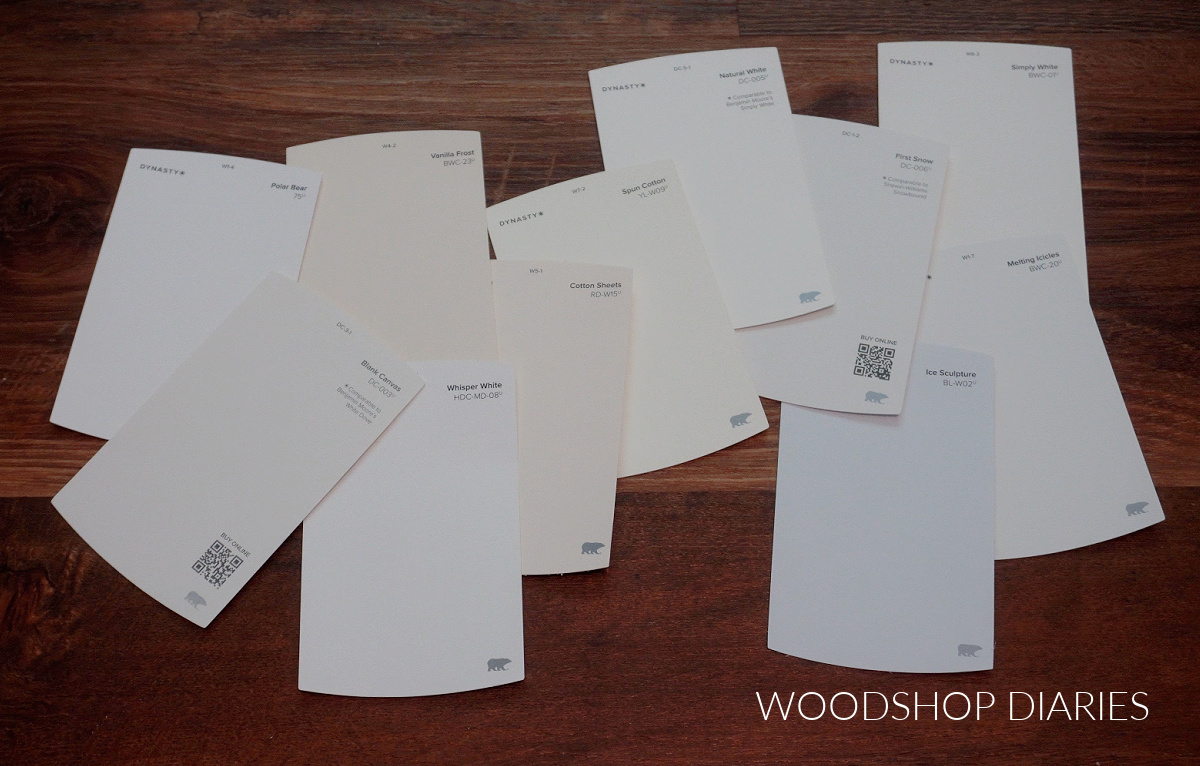
CONSIDER THE LRV
LRV (light reflective value) is the amount of light that is reflected off the paint color. A lower LRV means less light is reflected (so it absorbs more light). A higher LRV means more light is reflected (so it “multiplies” the light).
If you had a room with tons of natural light already, choosing a high LRV paint color may make it way too bright.
But in a case where you have little natural light, choosing a high LRV paint color can help maximize what light you do have.
Since our bedroom has very little natural or artificial lighting, I knew I wanted to choose a higher LRV paint shade to help really brighten it up.
TIP: You can find the LRV of a BEHR paint color by searching the color on their website.
CONSIDER THE LIGHTING DIRECTION
Lighting from north-facing windows will tend to make paint colors feel cooler. Lighting from south-facing windows will make paint colors feel warmer.
Lighting from east- and west-facing windows will change a bit throughout the day. East windows will make colors lean warmer in the morning and cooler in the afternoon. West-facing windows will do the opposite.
Why is this important? Because that seemingly perfect warm shade of white paint may look amazing when cooled a bit by that north-facing window. But it may look way too yellow or orange when warmed by a south-facing one.
So when comparing shades, make sure to compare it in the actual room you’re painting and on various walls at various times throughout the day.
CONSIDER THE UNDERTONES
Every shade of white paint is just a bit different. Some of them are a little more purple than others, some a little more yellow, etc. This is called the undertone.
White paint shades that lean a bit blue, green, or purple are cooler whites. Shades that lean a bit yellow or red are warmer.
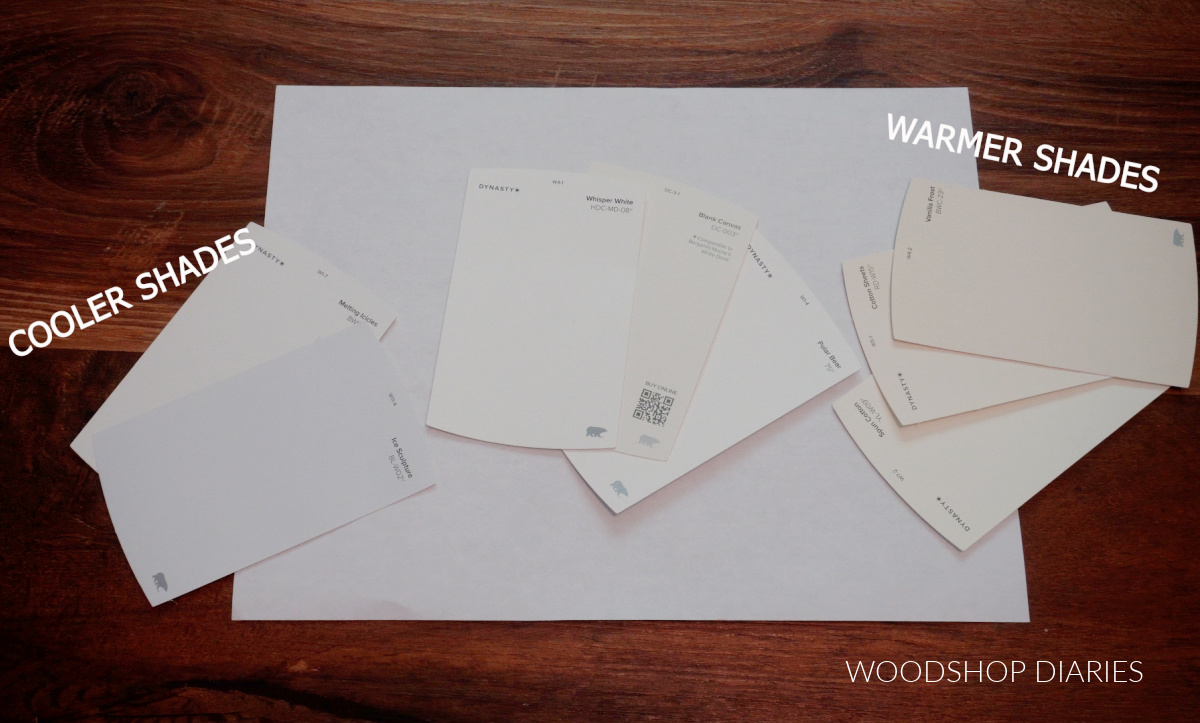
Cooler whites are great for kitchens and bathrooms. Warmer whites are great for bedrooms and living rooms where you want it to feel cozy, not clinical.
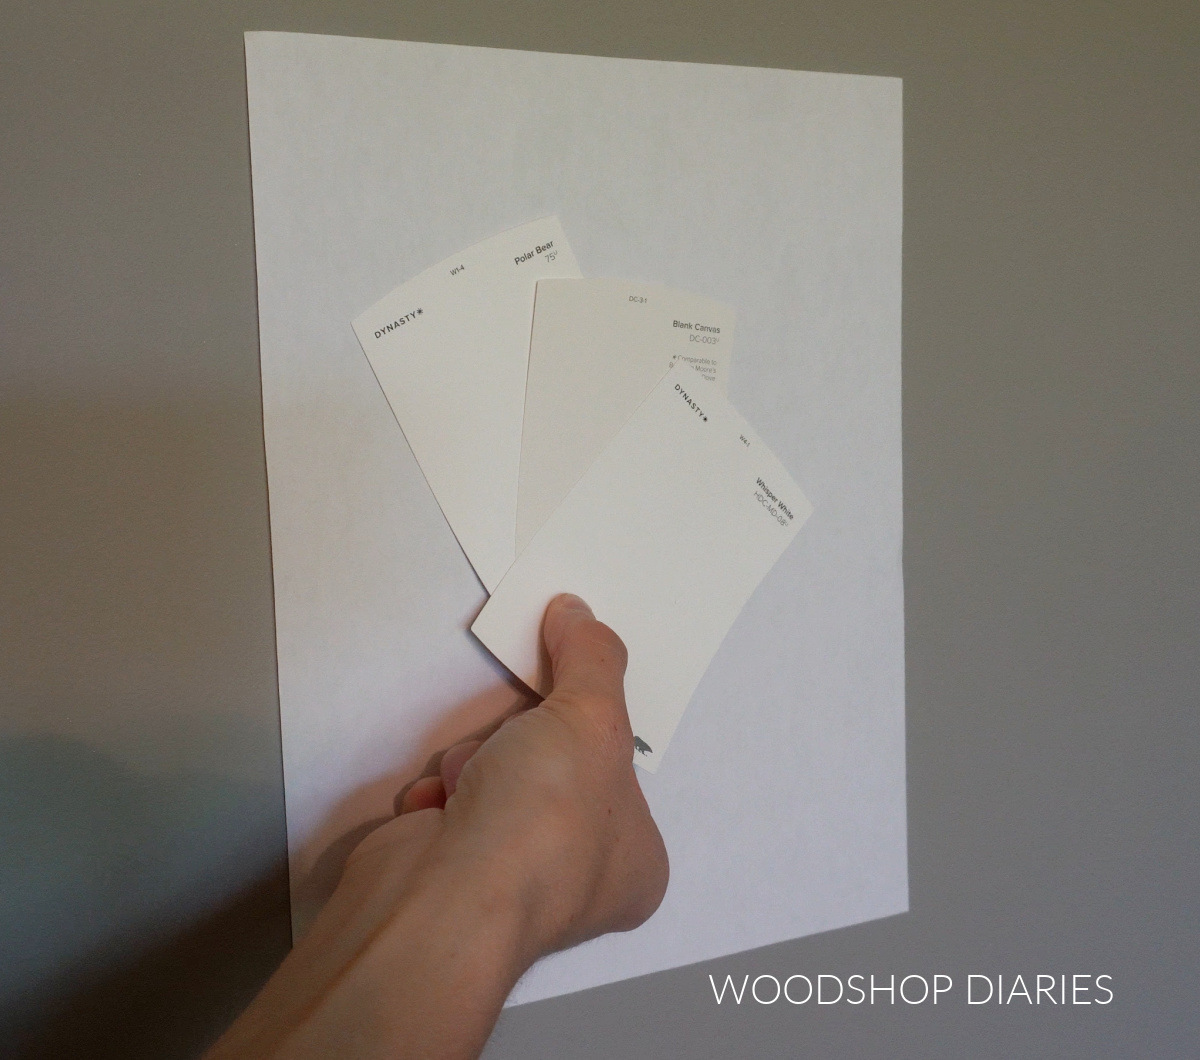
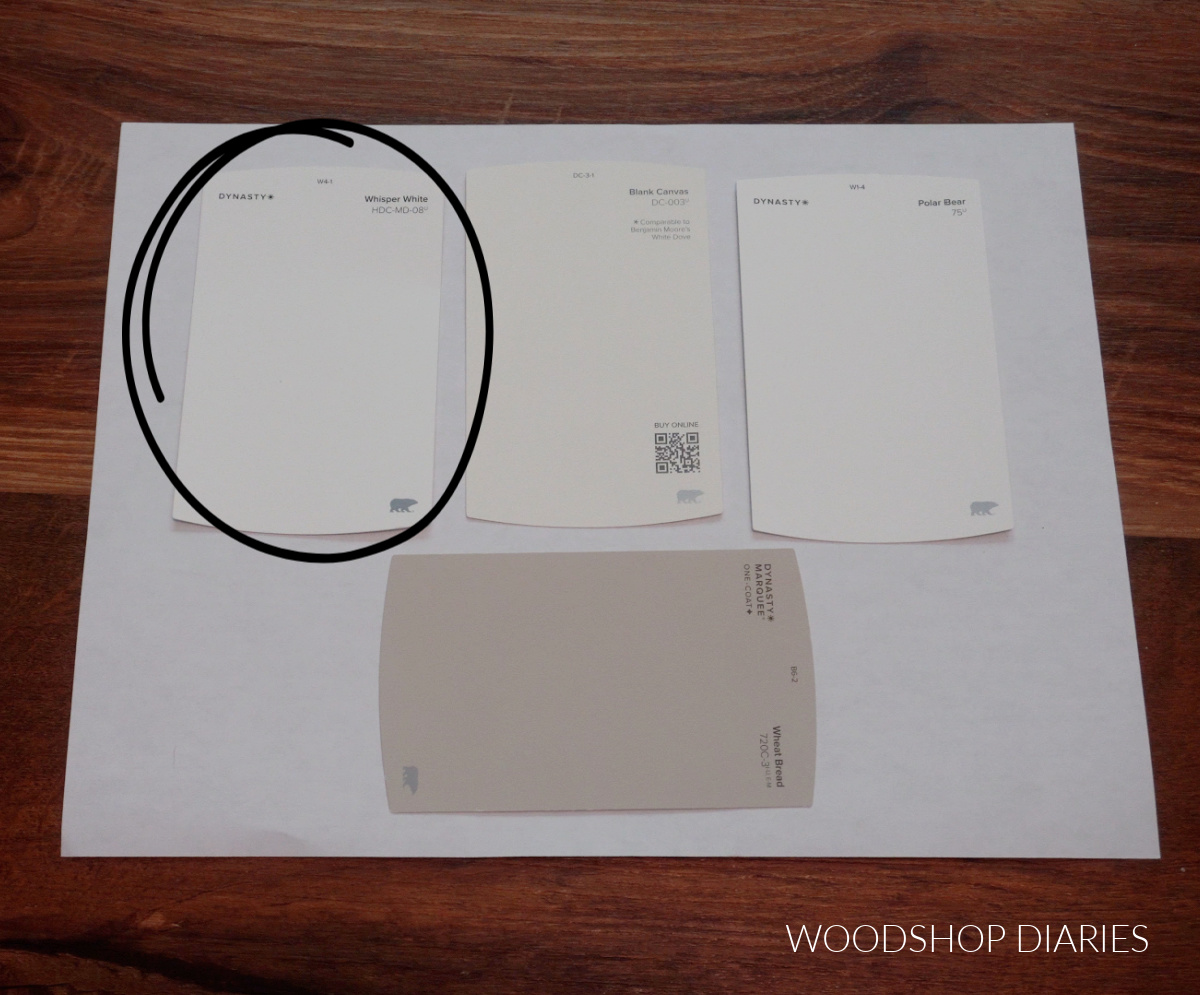
One of the best ways to see a paint color’s undertone is to place it on a sheet of plain paper on the wall of the room you’re painting. Some white paints will lean heavily into their undertones. Some will be more subtle, like the ones shown below.
CHOOSING MY BEDROOM COLORS
With all that considered, I knew I wanted a white paint shade that leaned just a tad warm, with a high LRV and had very subtle undertones.
I had narrowed it down to BEHR Polar Bear 75, BEHR Whisper White HDC-MD-08, and BEHR Blank Canvas DC-003. I thought all of these would be great options (remember, there is no ONE right or wrong choice!).
I ultimately decided on BEHR Whisper White because it had a high LRV value (89 out of 100) and it coordinated really well with BEHR Wheat Bread, which I had chosen for my accent wall.
Enjoy DIY projects and woodworking plans? Sign up for priority access for the latest posts on Woodshop Diaries!
REFRESHING THE BEDROOM
If you prefer to watch, I’ve shared the full build video with tons of tips, behind the scenes, and additional details on my YouTube Channel here.

Love watching how-to videos? Subscribe to my YouTube channel for plenty more where that came from!
PAINTING THE BEDROOM
I really wanted to make the wall behind the bed stand out a little, so I decided to accent it with BEHR Wheat Bread.
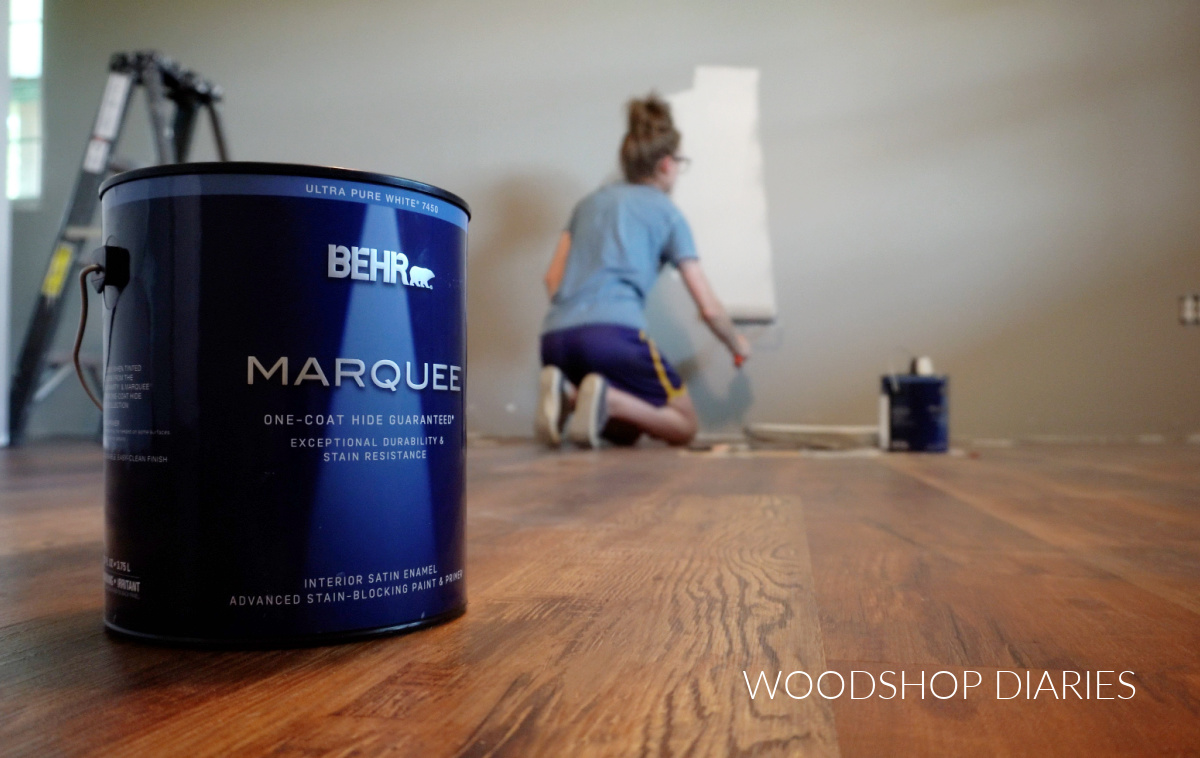
Then, I painted the rest of the walls and the trim with BEHR Whisper White.
I opted to use BEHR MARQUEE Interior Paint in a satin sheen for this room. I always love a satin sheen on walls because it’s not too shiny, but it’s still slick enough to easily clean.
You can find BEHR paint exclusively available at The Home Depot, and I highly recommend the MARQUEE line as the coverage is AMAZING.
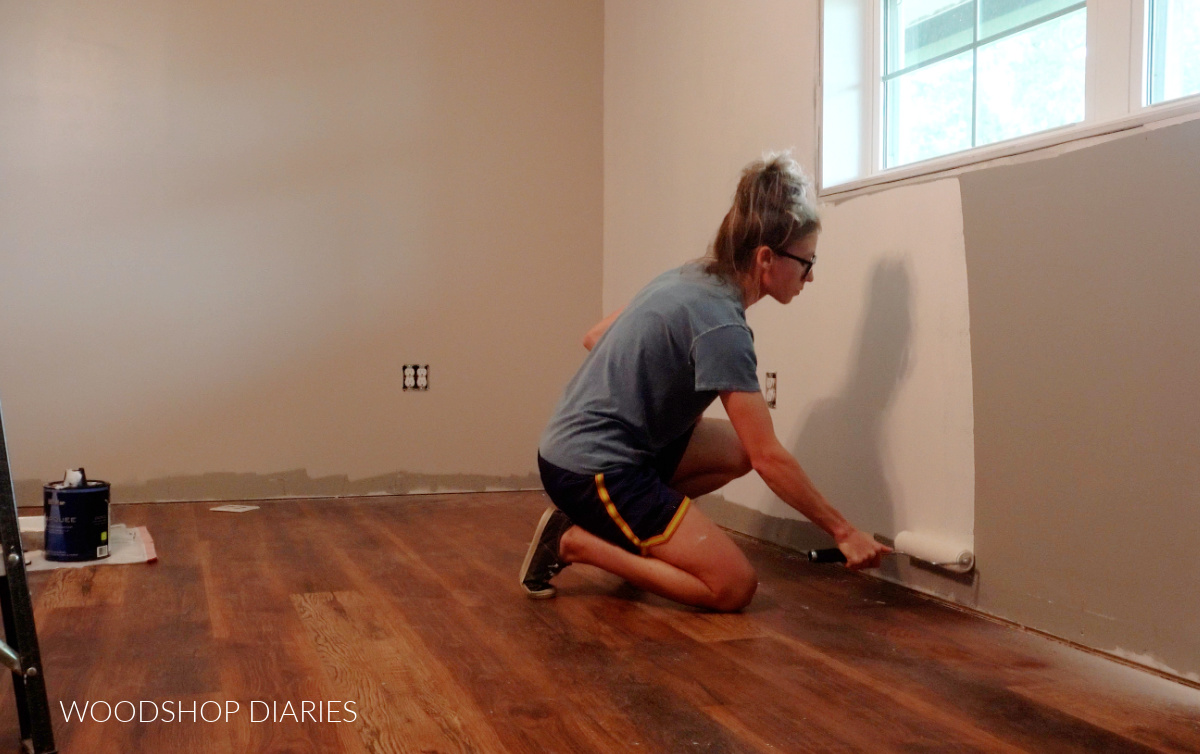
Once the paint was on, this room already felt so much cleaner and brighter. It’s truly amazing what paint can do…and I know that’s cliché, but I’m reminded it’s true time after time.
I could have totally stopped there.
ADDING PICTURE FRAME MOLDING
But, to give a little more detail to the accent wall, I wanted to add some extra molding to the accent wall.
For that, here’s what I needed:
Tools:
Materials:
- Base cap molding (or other trim as desired)
- Construction adhesive
- 1” long brad nails
- Caulk
- Scrap 1x4s for spacer blocks
Base cap molding is readily available at most big box stores and isn’t crazy expensive, so it was a great option to make these picture frame molding boxes with. But, of course, you could use other styles of molding instead.

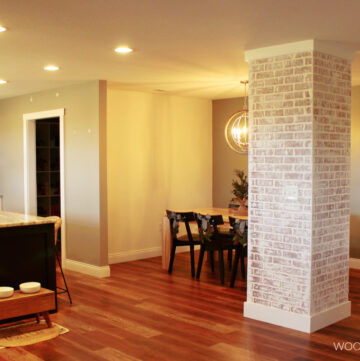
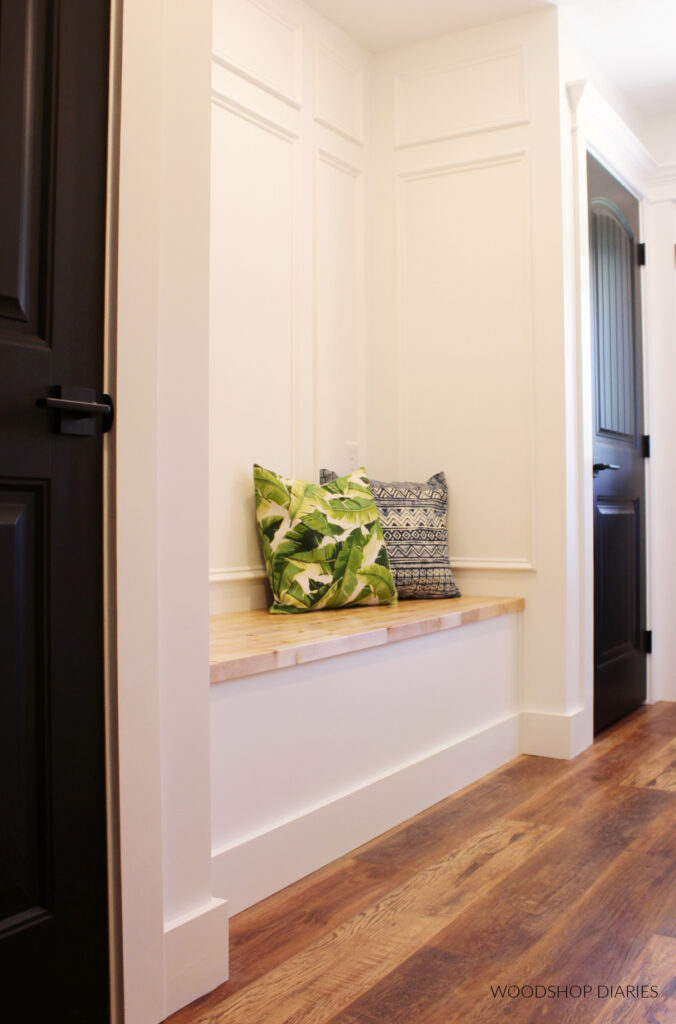
I’ve actually done this before in my hallway makeover a few years ago and LOVED IT. Wall trim just really adds so much character.
The hardest part of installing picture frame molding on an accent wall is figuring out the best layout.
You can make all of your boxes the same width, or make them varied. It really just depends on the look you want and the layout of your space. Just like with paint colors, there’s no one right or wrong way to go about it.
This wall behind the bed actually extended down a short hallway, so I had to work the molding around so that it was centered in the bedroom (because the bed would be centered, so it would look weird if the trim wasn’t). But it also needed to flow into the hallway where there was a window.
None of the spacing was even, so I had to get creative with my layout.
You can check out the YouTube video for more information about laying out and installing the molding. I cover all of the details there.
Essentially, once I figured out my molding layout and sizing, I cut the pieces in batches on my miter saw with the ends mitered 45 degrees. Then I could glue and brad nail them onto the wall to make short boxes on the bottom and tall boxes at the top.
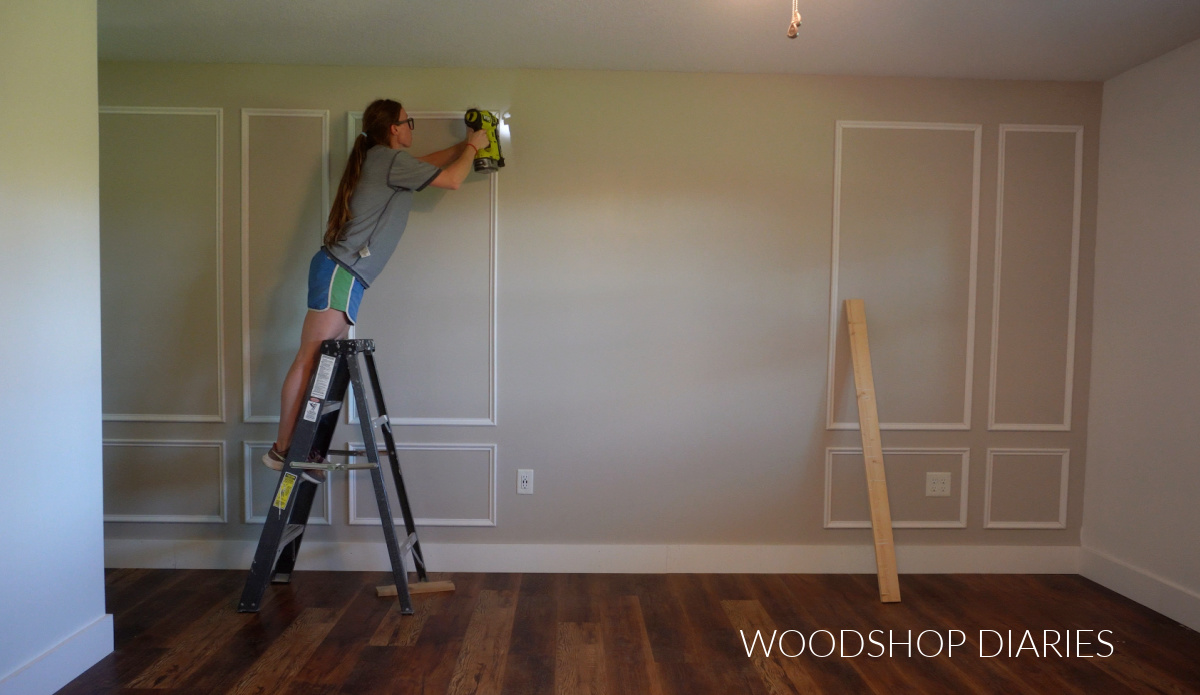
I sized my boxes so that there was 3 ½” between each one, so I used some scrap 1x4s to help me keep everything evenly spaced. I felt like that was much easier than using a laser level.
PS: Not sure why 1x4s are actually 3 ½″ wide? Learn more about understanding lumber sizing here.
Maybe it’s just in my own imagination, but I think having the taller boxes at the top makes my 8’ ceilings FEEL a little higher.
After I caulked all the seams, I painted this accent molding BEHR Wheat Bread to match the walls, and now this room looks so much brighter and fancier than before.
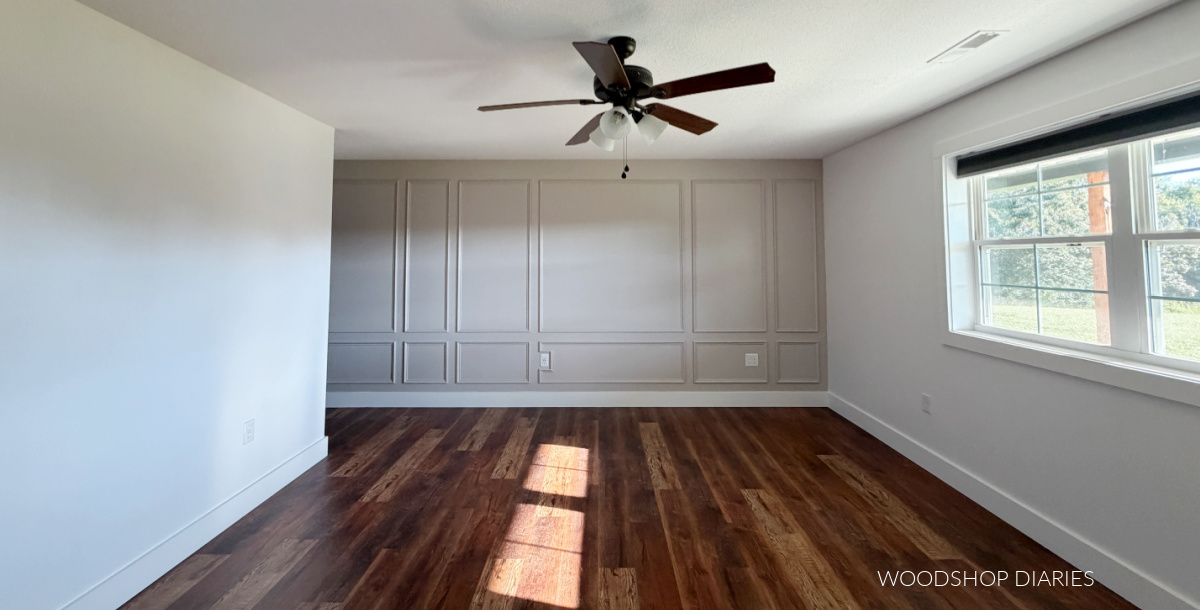
A little white paint and a little trim can make such a world of difference!
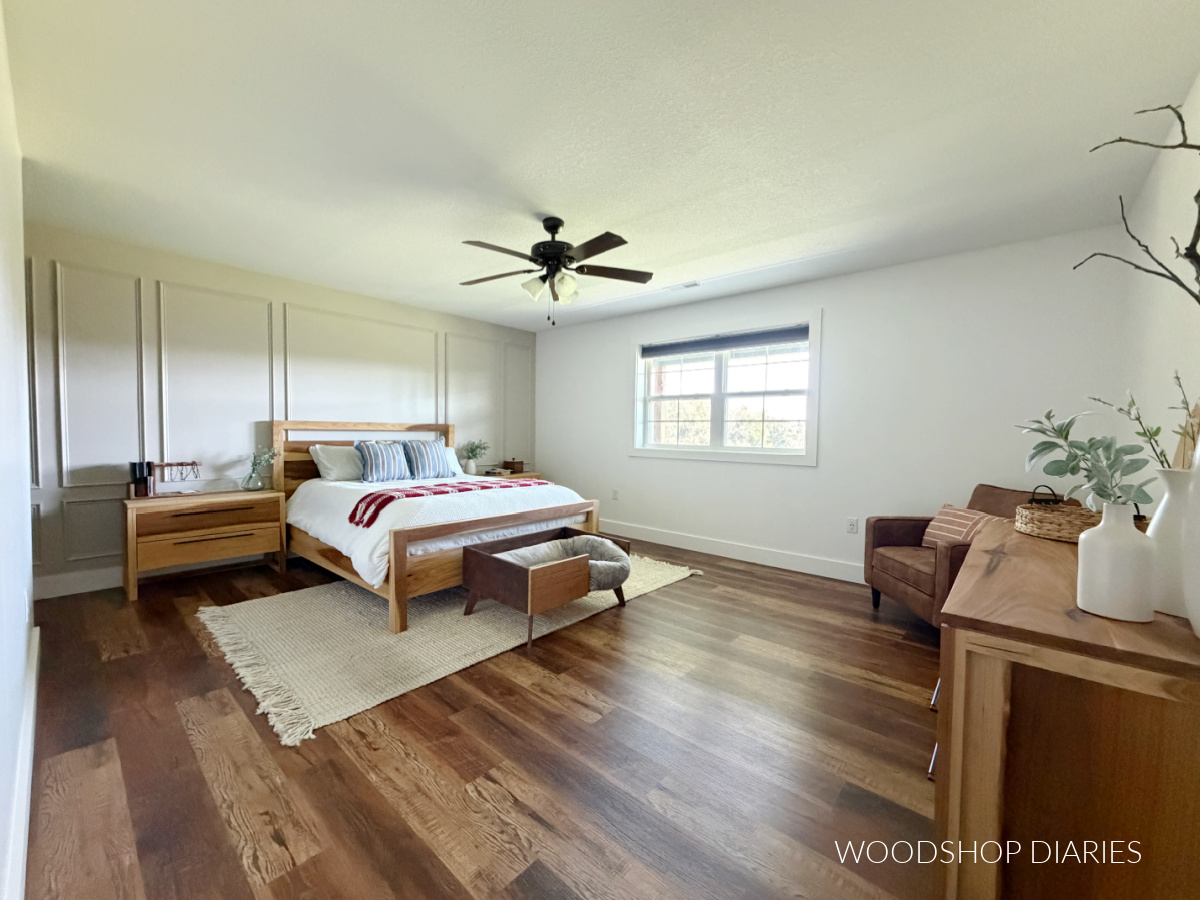
Interested in the bedroom furniture shown here? You can build it! Check out the printable plans for each piece in the matching set:
Or, check out the printable matching bedroom set bundle here.
Looking for more easy DIY room refresh ideas?
Enjoyed this post, but looking for more ways to refresh your space? I’ve got you covered! Click on the image(s) below to learn more about each project:
If you enjoyed this post, be sure to save it for later by pinning or sharing to your favorite social channel!
Until next time, friend, happy building!