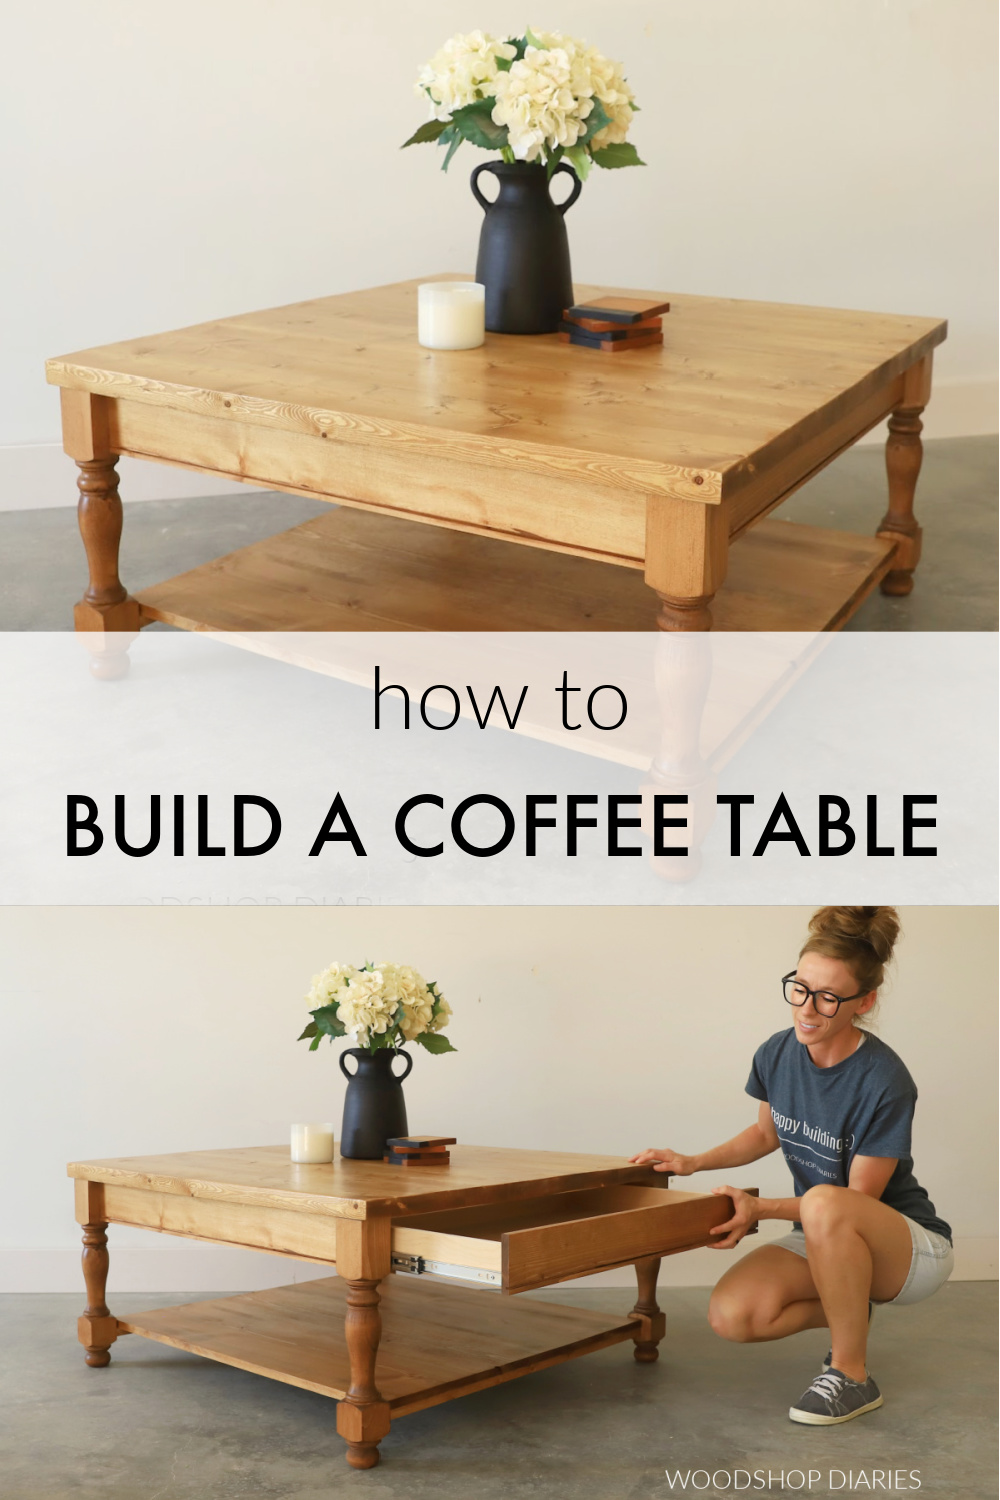
In this post, I’ll show you how to build a square coffee table with a “hidden” drawer!
The drawer is actually hidden in plain sight, so that’s why I put the quotations. It spans the entire length of the table, so the table apron is actually a drawer front. When it’s closed, you can’t even tell there’s a drawer there.
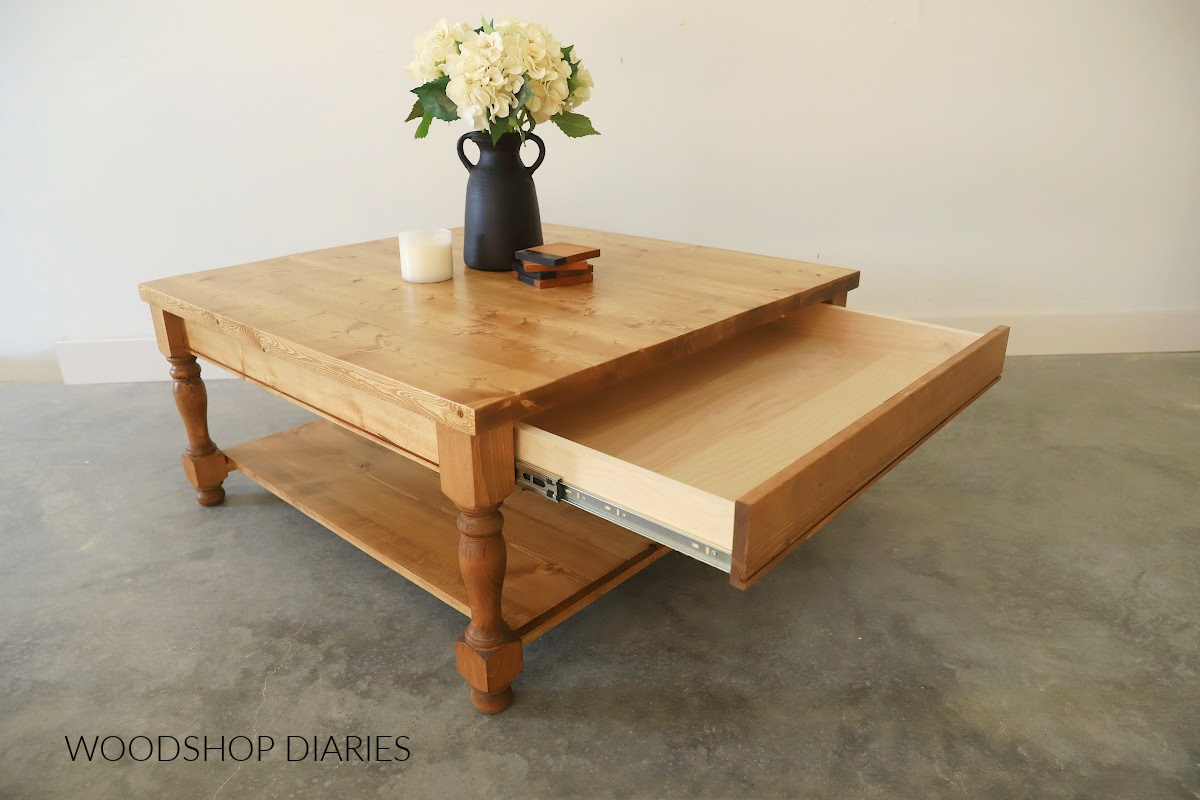
The large drawer size makes it great for puzzles or board games, but it’s also handy to toss remotes or books in, too. You can even hide your secret Oreo stash for late night snacking in there…I won’t tell anyone *wink wink*
This square coffee table is a classic with traditional style turned legs and a bottom shelf. So if you’re needing to upgrade the centerpiece of your living room, I’ll show you how to build the perfect coffee table below!
*This post contains affiliate links. See website policies.
What to consider before building
This table is a pretty basic build (no fancy joinery). But building it out of solid wood did make it a bit more challenging because the top and bottom shelves are glued up to make the larger panels.
If you’ve ever glued up a table top, you know how frustrating and stressful that can be if your boards aren’t perfect (and boards are rarely ever perfect).
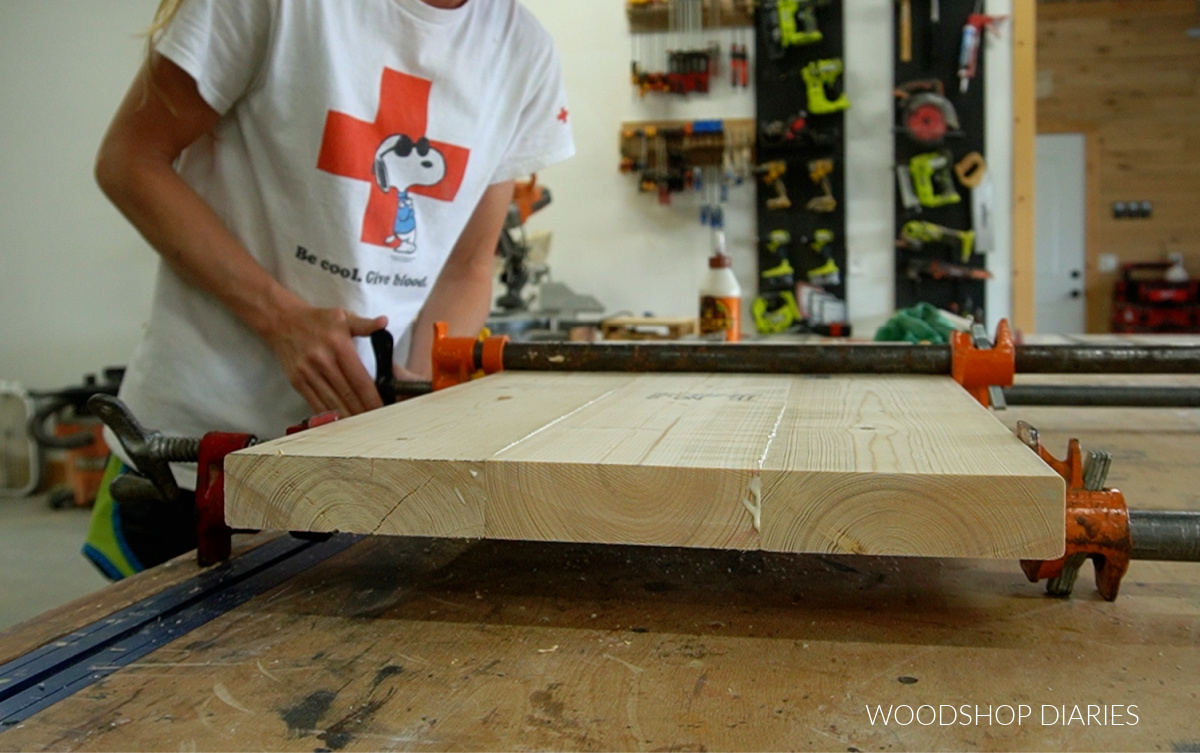
So if you’re up for the challenge, that’s great! But if you’re not, don’t worry. An alternative to using solid wood is using ¾″ plywood for the table top and the bottom shelf.
Plywood will work just as well (and be a lot easier and quicker), but it may be a bit pricier depending on the type of wood you’re using. Also, keep in mind that the table shown uses 2x lumber for the top, so swapping for plywood will make it thinner.
RELATED: How to choose the right plywood for cabinets and furniture
Speaking of the top, this plan calls for gluing up four 2x12s for the table top. But, any combination of 1 ½″ thick lumber (nominal 2x boards) can be substituted. You could glue up a mix of 2x4s, 2x6s, 2x8s, etc. to get the total table top width you want.
If using construction lumber for the top, I highly recommend squaring the rounded corners off each edge for a cleaner glue joint. Learn how to square off board edges here.
Table Legs
I purchased turned legs from Osborne Wood Products for this table. They were 2 ¾″ square x 18″ tall. I’ve used several table legs and feet from there in the past and they make really great stuff.
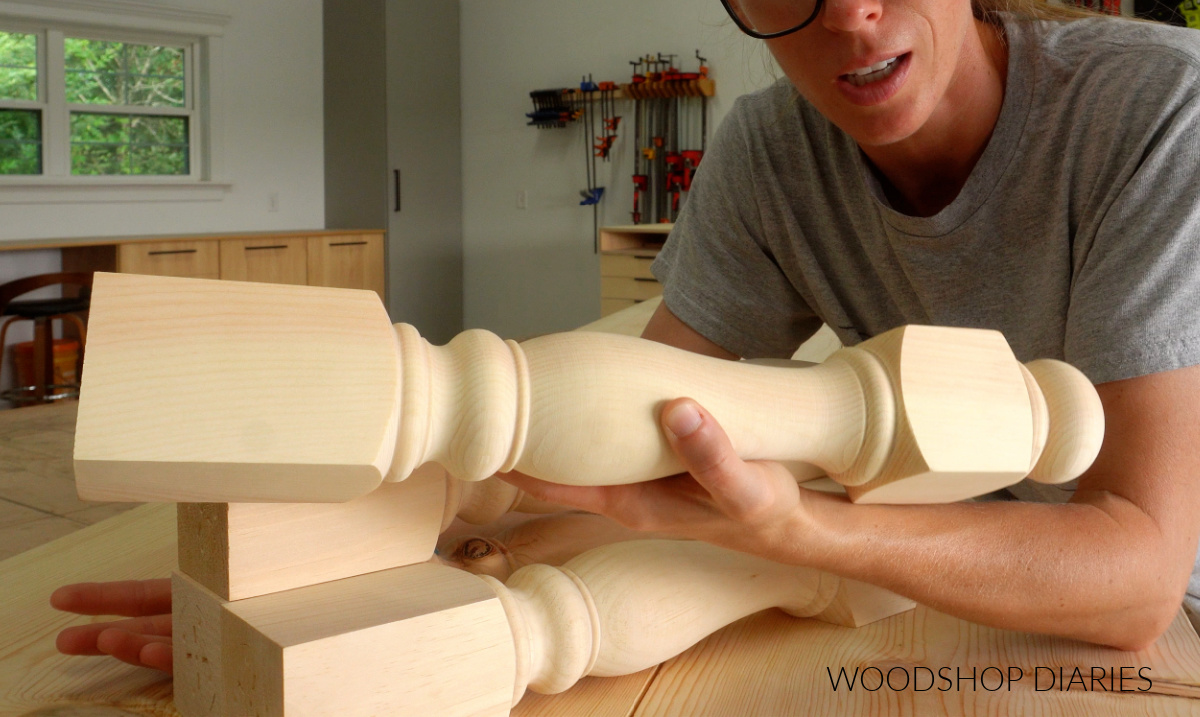
But…it is a bit pricey. So if you don’t want to splurge for turned legs, you can swap those out for 2x2s, 2x4s, or glue up 2x4s to make your own square posts.
Turned legs are NOT a requirement. Straight legs can work fine, too, just note that changing the legs may require a few changes in dimensions.
Overall dimensions
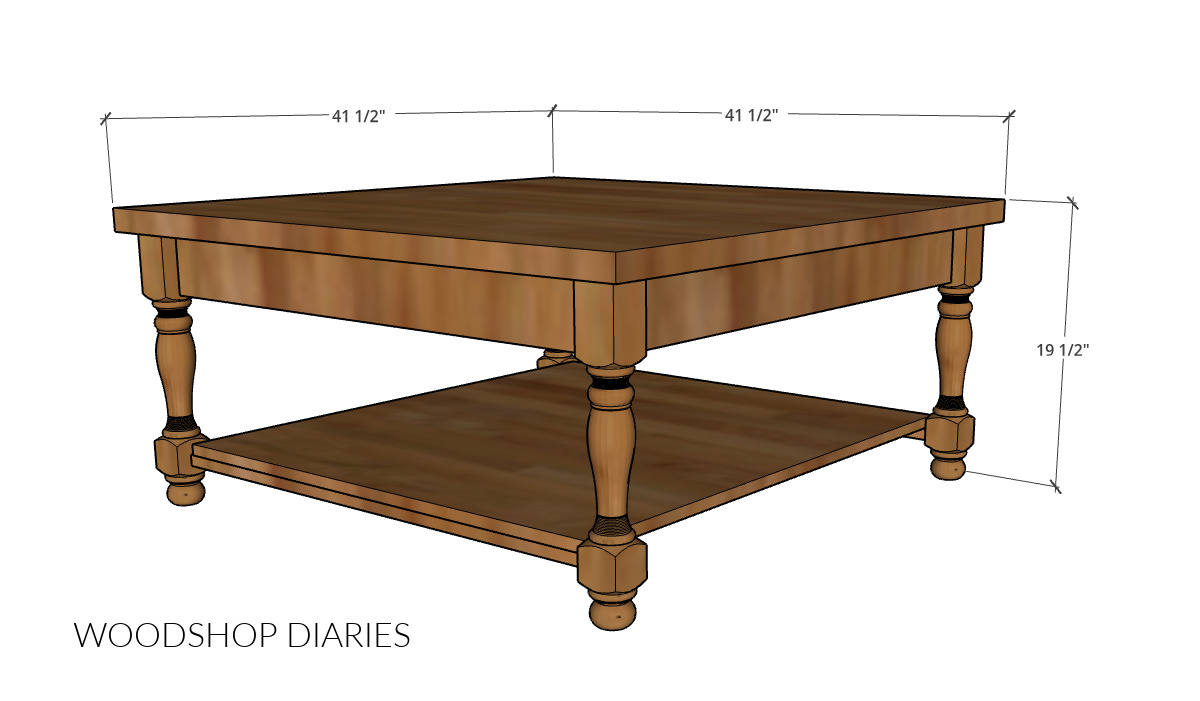
The overall dimensions of the table here are 19 ½″ tall x 41 ½″ square. But, these dimensions are easily modified if you need a smaller (or larger, but it’s already quite big) size.
You may find these additional resources helpful throughout the build:
Enjoy DIY projects and woodworking plans? Sign up for priority access for the latest posts on Woodshop Diaries!
How to build a square coffee table
If you prefer to watch, I’ve shared the full build video with tons of tips, behind the scenes, and additional details on my YouTube Channel here.
Love watching how-to videos? Subscribe to my YouTube channel for plenty more where that came from!
Prefer to print? Grab the printable square coffee table building plans available here:
Tools & Materials
Tools:
- Miter Saw
- Circular Saw
- Drill/Driver (and drilling bits)
- Table Saw
- Pocket Hole Jig
- Long Clamps (for table top)
- Sander(s)
Materials:
- (4) 2 ¾″ Square x 18″ table Legs (Osborne Wood Products Part 1326 used here)
- (2) 2x12x8′ boards
- (2) 1x10x8′ boards
- (2) 1x6x8′ boards
- (1) 1x2x8′ board
- (1) 2’x4′ sheet (¼ sheet) ¾″ plywood
- (1) 2’x4′ sheet (¼ sheet) ¼″ plywood
- (1) pair 20″ drawer slides
- 1 ¼″ pocket hole screws (50 count box)
- 1 lb box 1 ¼” wood screws
- Assorted Washers (see notes)
- Wood Glue
Not sure what type of wood to use for this project?
This table can be built using any wood type you’d like. If staining, choose table legs that are the same wood species as you use for the other parts of the build so they’ll match.
If painting, rubberwood or pine legs and pine 1x material is a great budget friendly option for the base.
For the top, pine 2x12s work great, but hardwood is a nice upgrade, if budget allows.
NOTE: This table was built using solid pine lumber. But if you wanted to substitute some of the 1x material for ¾″ plywood, you can. You can also use ¾″ plywood for the top instead of 2x lumber, but keep in mind this will change the thickness/overall look.
Step 1: Glue up Coffee Table Top
First, I wanted to go ahead and glue up the top. That way, the glue can be drying while I work on the rest of the table, but also because then I can build the base to fit the top.
I wanted to glue up the top with the least amount of boards as possible to avoid having a lot of glue joints (just makes things easier). So I wanted to use wider boards.
However, when I went to the store, they only had a couple of 2x12s and they looked really bad. Long story short, I ended up getting 2x6s for the table top (don’t recommend, but it was the best available option at the time).
Because 2x construction lumber comes with rounded edges, I squared them on the table saw first, before gluing up the top in sections.
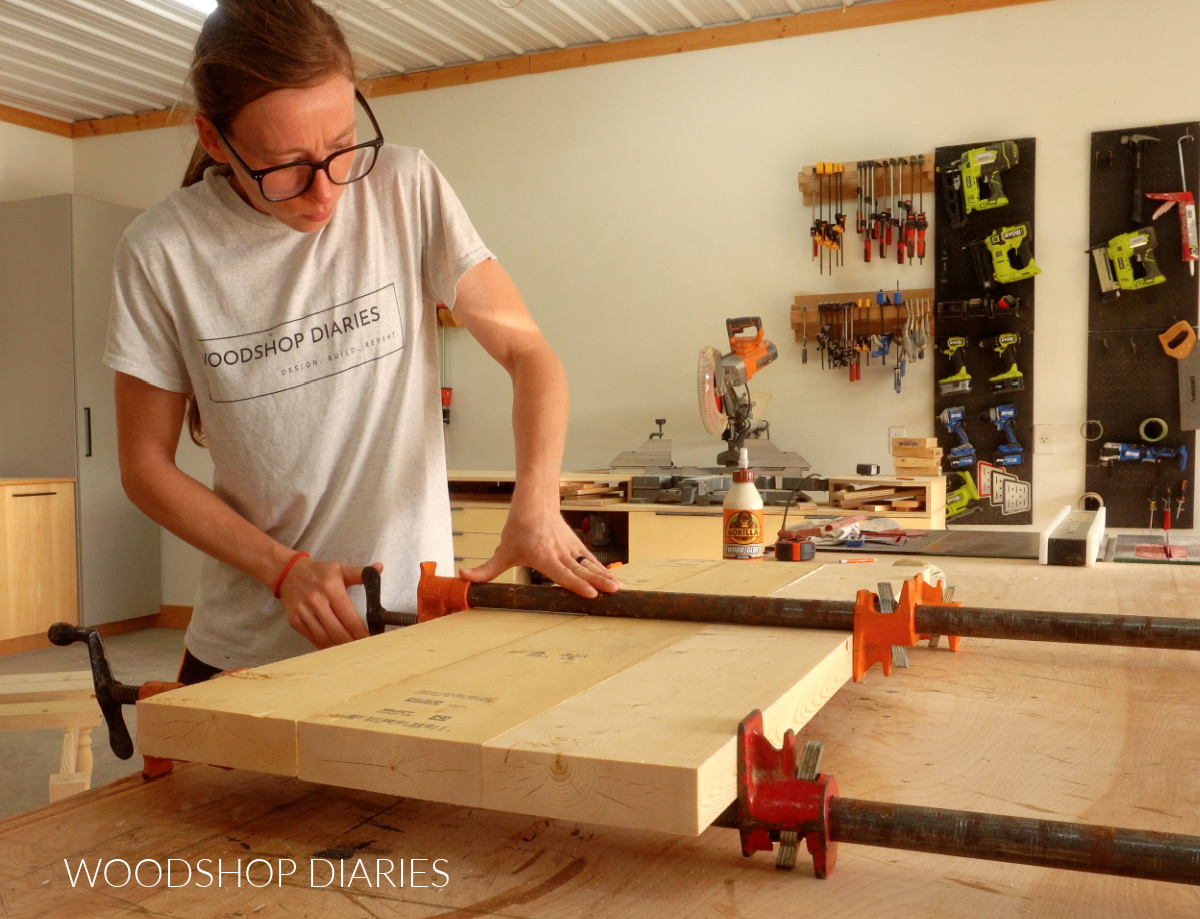
To get the table size I needed, I had to glue up eight 2x6s. That’s way too many glue joints to worry with at one time, so I glued up a few boards at a time until I had the whole top together.
RELATED: How to glue up a table top
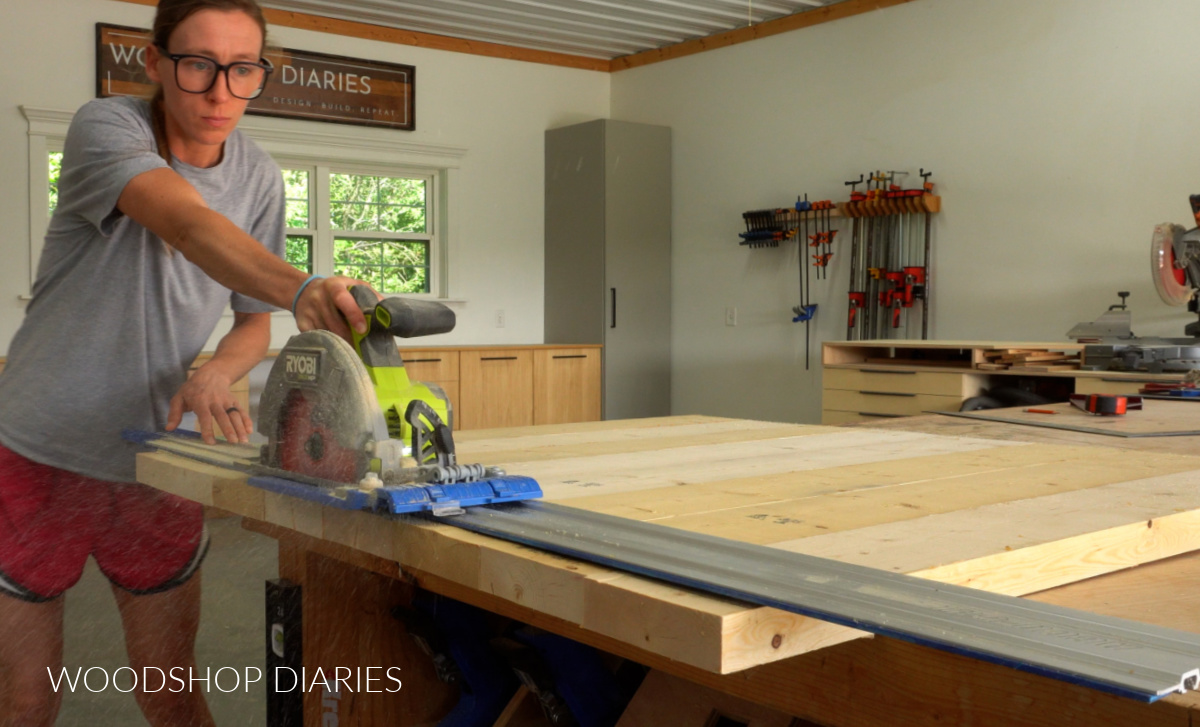
After the glue had dried, I trimmed the edges flush to give me my final table top size of 41 ½″ square.
Then, I sanded. Sanding a table top is a process haha. First, I used a belt sander to get it good and flat. Then, I sanded the top nice and smooth working my way from 80 grit up to 220 grit sandpaper.
It’s important to remove all the glue residue on the top, especially if you’re staining. Glue won’t take stain.
Prefer to print? Grab the printable coffee table plans here.
Step 2: Assemble Coffee Table Base
Next, I moved on to building the table base. The turned legs I was using allowed for the maximum height of the table apron (the pieces that connect the legs together around the top) to be about 4″ tall.
I wanted to maximize the height of the apron because I was adding a drawer. The taller the apron, the deeper I could make my drawer. So I ripped some 1×6 boards to 4″ wide to use for my aprons.
TIP: If you didn’t want to rip these, you could use 1x4s instead. A 1×4 is 3 ½″ wide, so that’s pretty close.
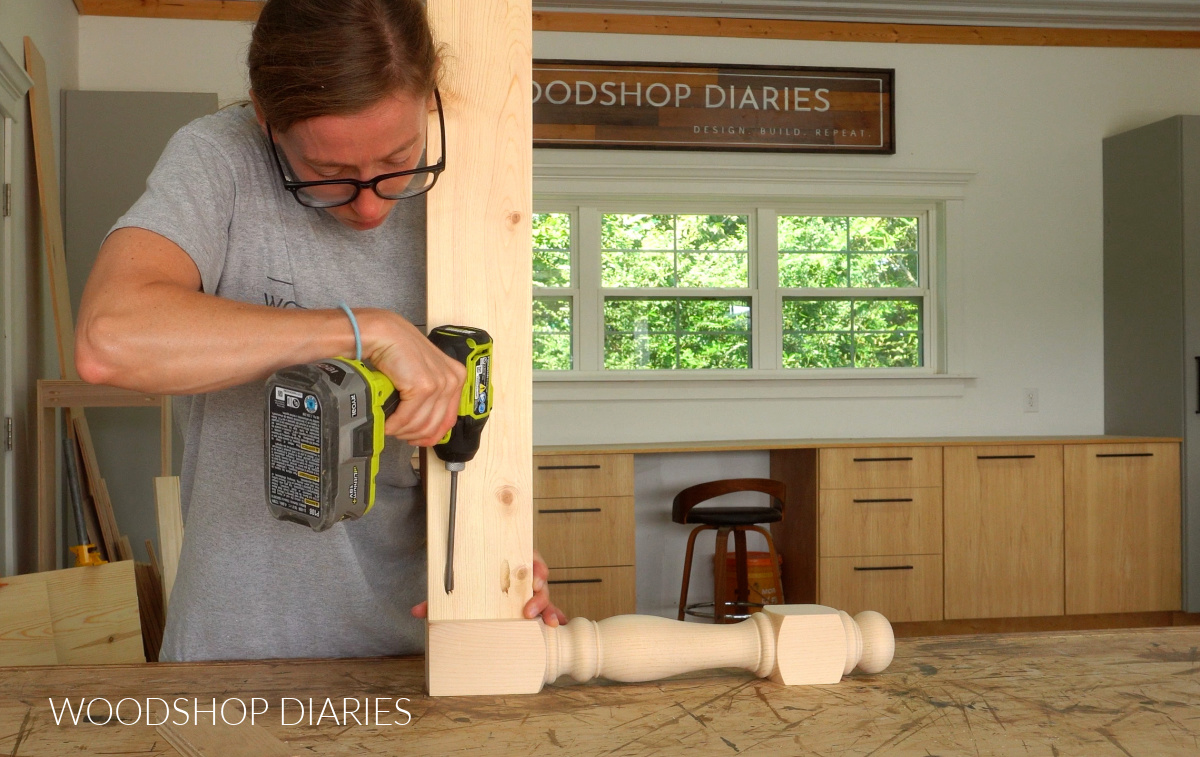
I cut three of these to length and installed them between my table legs using pocket holes and screws.
RELATED: How to use pocket holes in DIY projects
NOTE: This is completely optional, but on these 4″ wide pieces, I also ripped a kerf line about ¼″ deep about ½″ up from the bottom using the table saw. This just adds a tiny detail and is purely for looks.
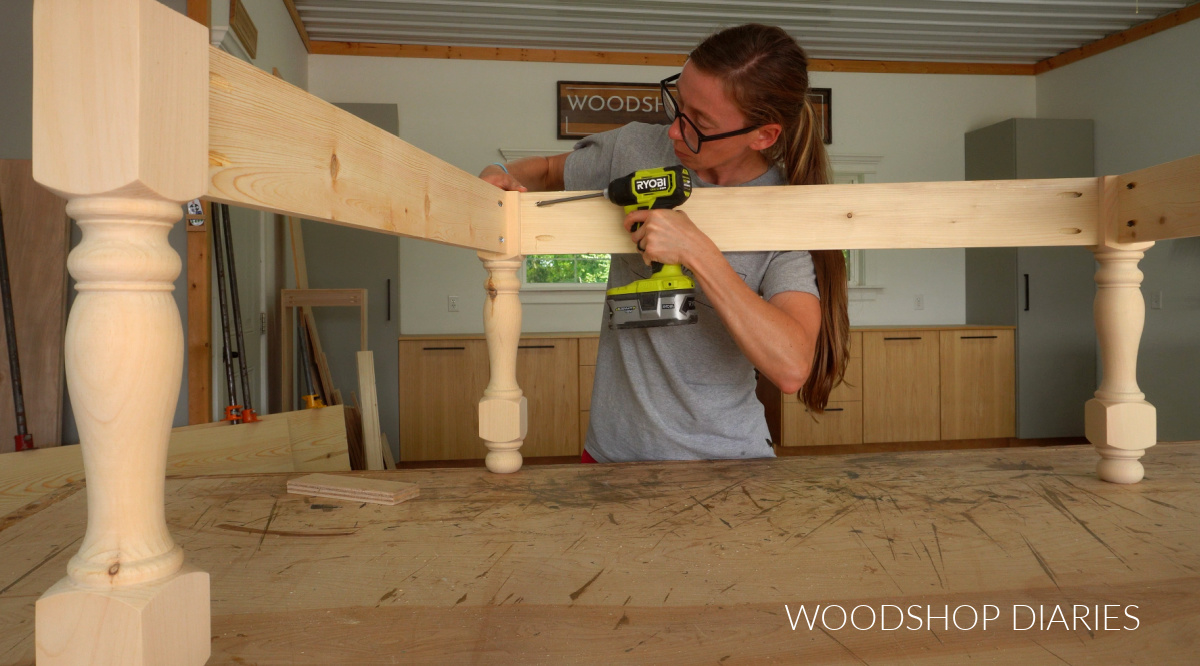
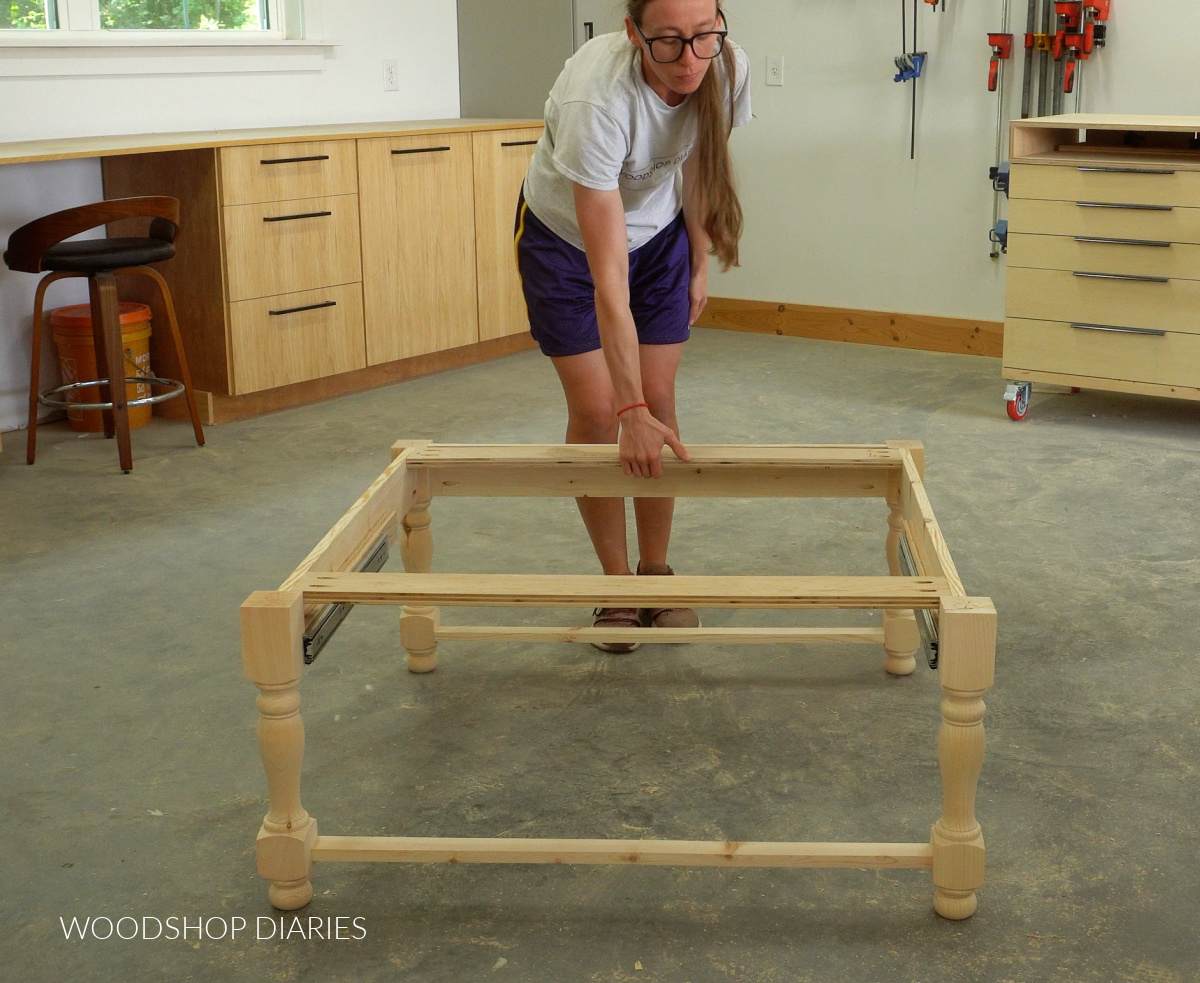
I only added three aprons because the fourth side will be a drawer (we will get there shortly).
Next, I cut some ¾″ plywood strips to use for the top supports and some 1x2s to use as the bottom shelf supports. I installed these into the base using pocket hole screws like you see below.
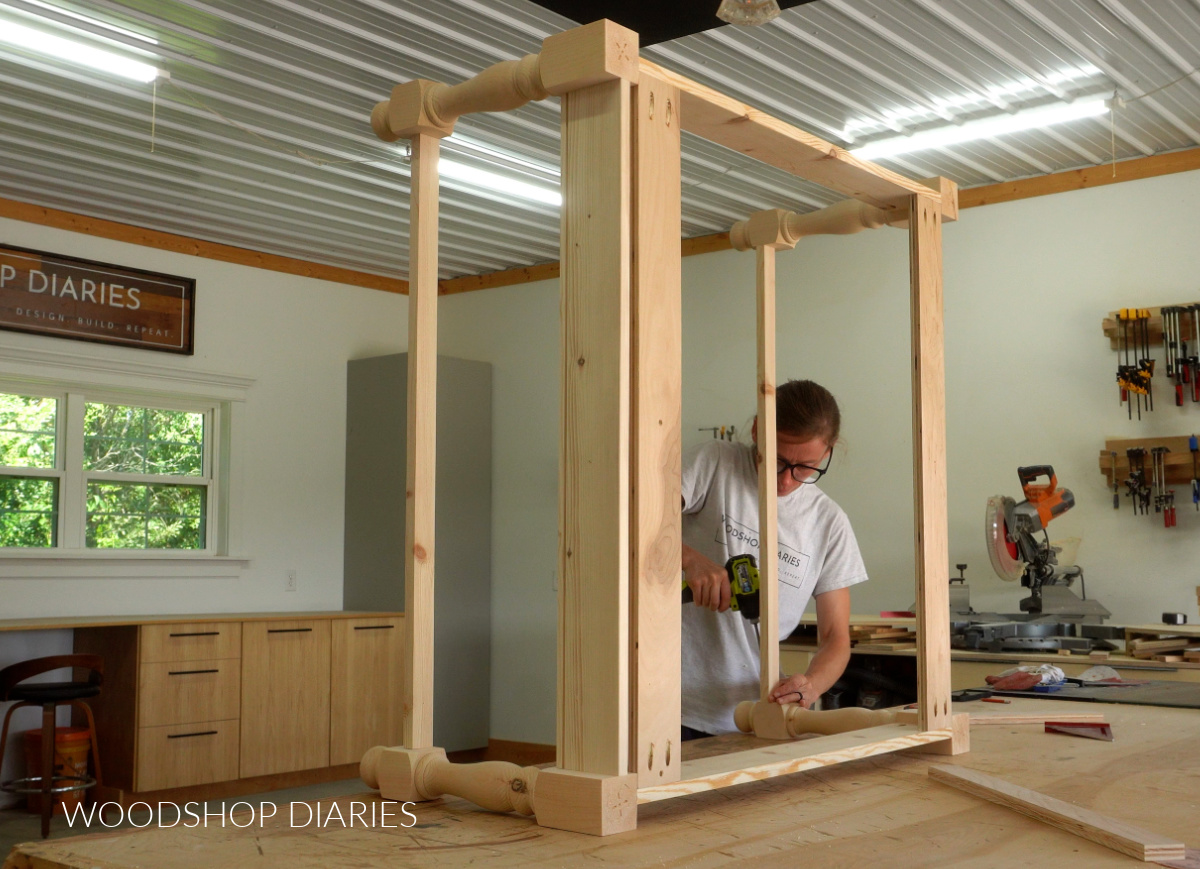
Then, on the open end (the side without an apron), I installed a pair of drawer slides.
RELATED: How to install side mount drawer slides
Step 3: Install Drawer into Coffee Table
Now I could switch gears to focus on the drawer (always my favorite part!). This drawer is wide, but shallow.
I usually like to build my drawers using plywood (less worry with wood movement over time), but solid wood would work okay, too. And I’ve almost always got some plywood scraps laying around that will work perfect for drawer boxes.
So I grabbed some narrow plywood strips, cut them to length and assembled a box with pocket holes and screws.
Then, I cut, glued and stapled a ¼″ plywood panel over the bottom of it to finish the drawer.
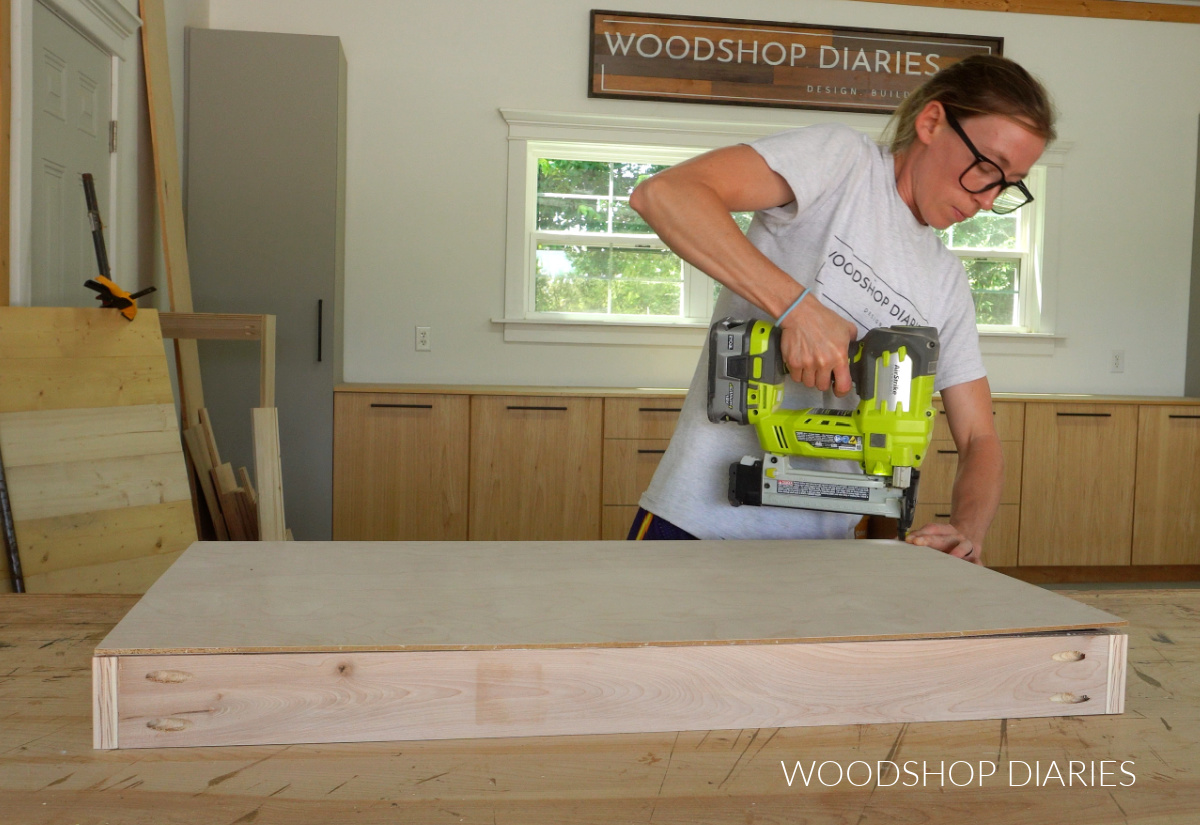
I installed this onto the slides in the table. Then, I cut a fourth “apron” piece just a bit narrower than the distance between the legs.
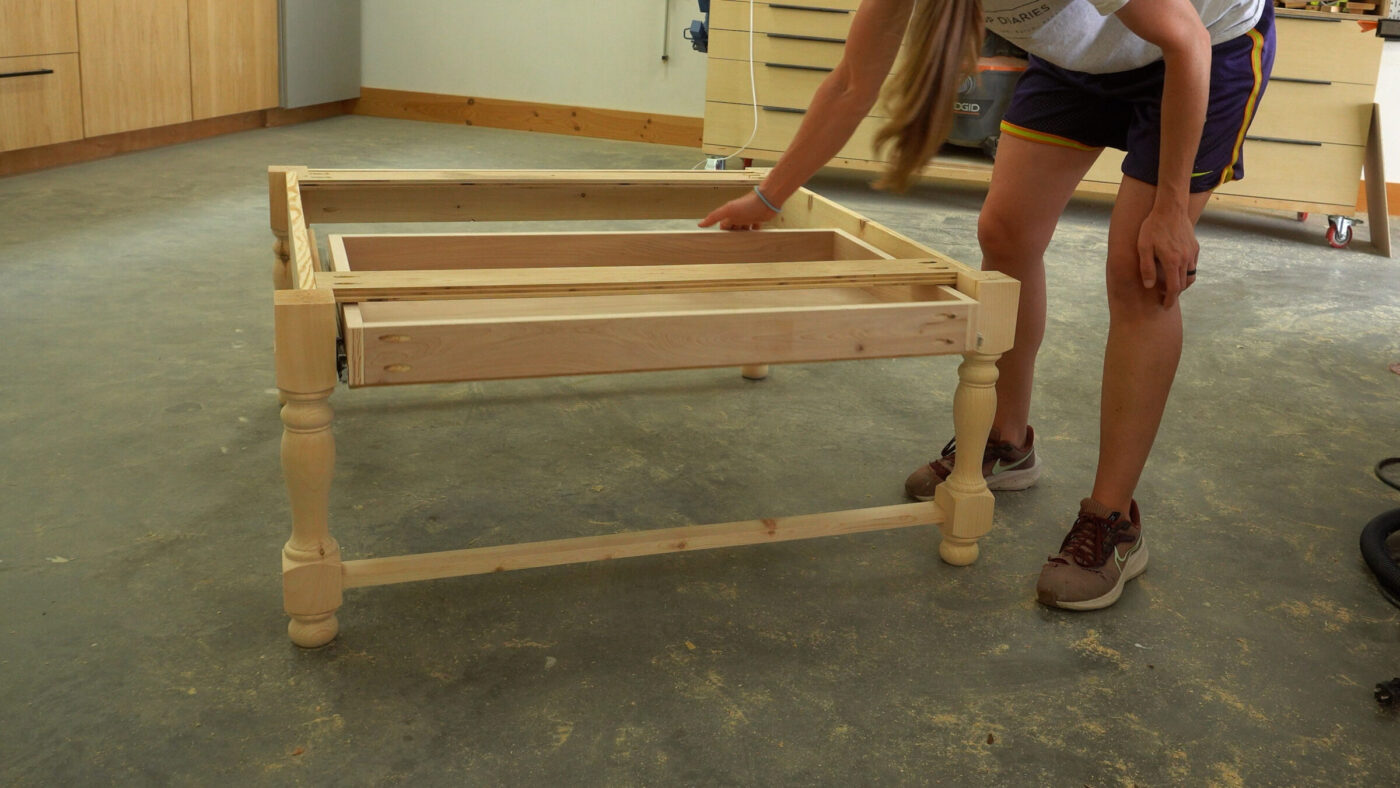
It needs to have clearance so it doesn’t rub on the legs when the drawer opens and closes, but not too big of a gap or it will be obvious it’s a drawer.
I clamped this onto the front of the drawer so it’s about ⅛″ below the top of the legs, then screwed it on from the inside.
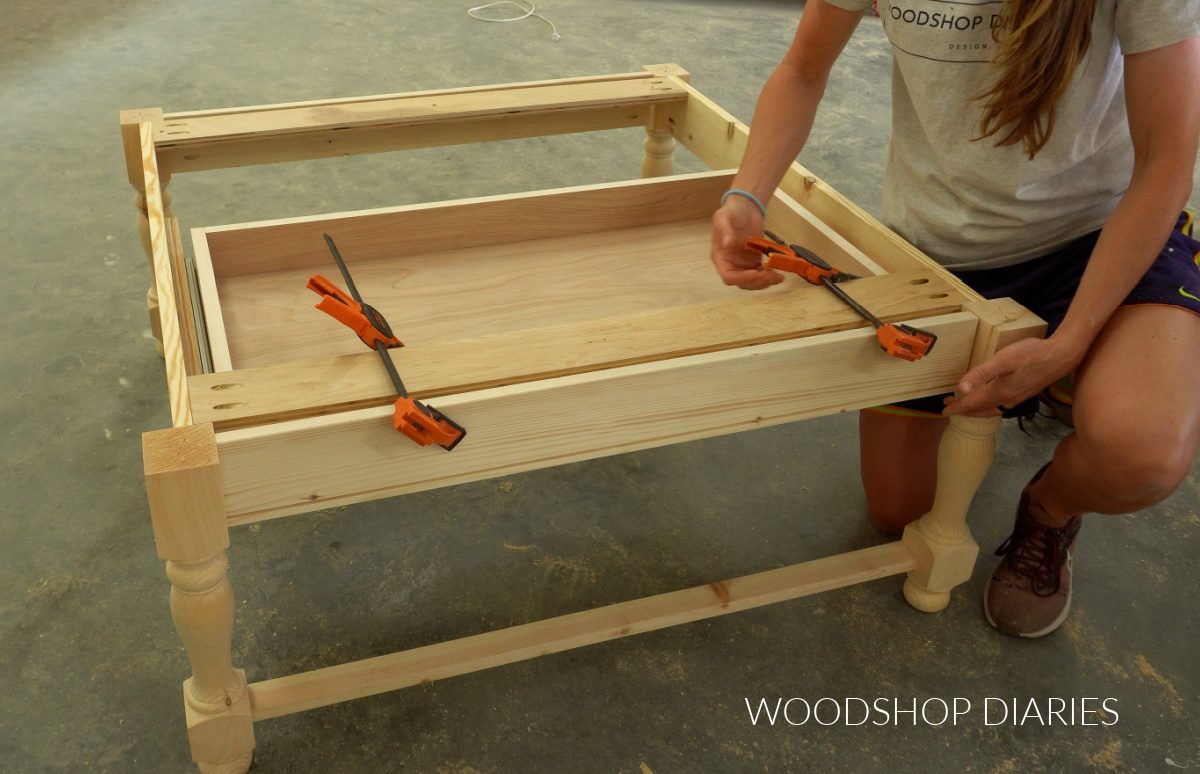
Now the table base is finished, the top is finished, and all that’s left is the bottom shelf.
Step 4: Cut Bottom Shelf
For the bottom shelf, I glued up 1x boards (just like the top in step 1, only with thinner material).
Once trimmed to length, I sanded it and test fit it into the table.
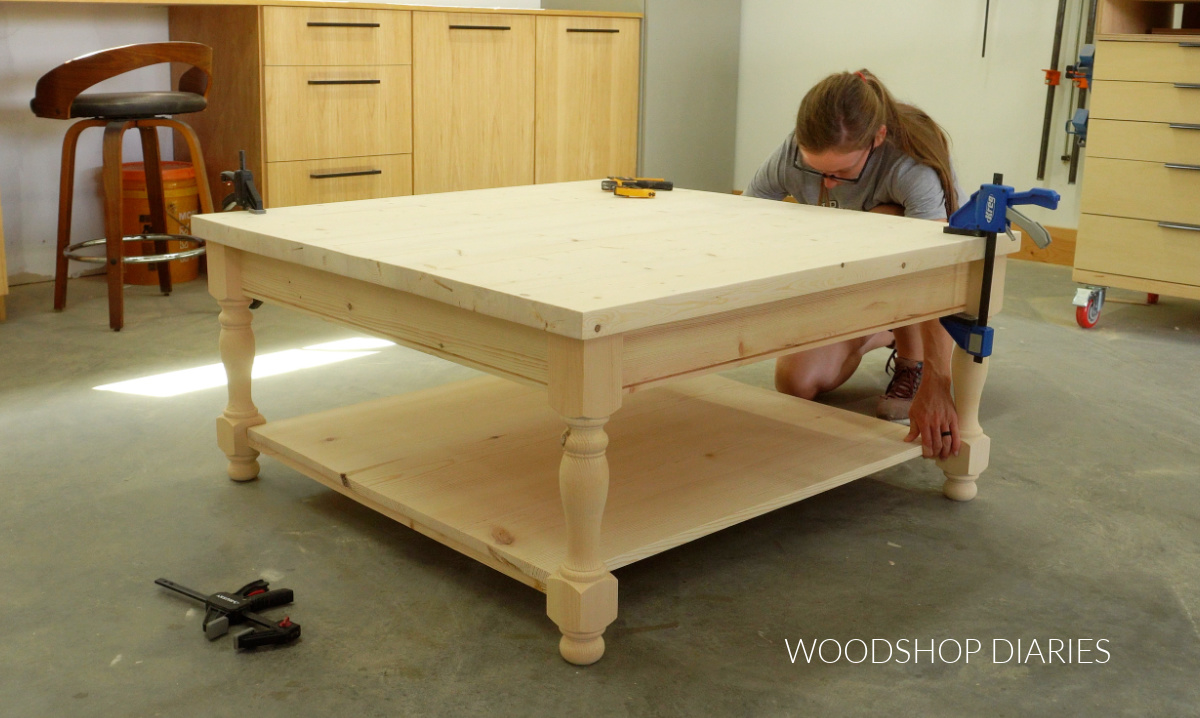
If you wanted to skip another glue up, you could cut this bottom shelf from ¾″ plywood instead. That would save quite a bit of time.
Prefer to print? Grab the printable coffee table plans here.
Step 5: Finish and Attach Top and Shelf
Before attaching the top and shelf, I went ahead and stained the top, shelf, base, and drawer front separately using Minwax Early American.
RELATED: How to stain wood
Then, I gave it a few coats of Minwax Polycrylic clear coat to seal it.
Once that was dry, I was ready to attach it all together. Because the top and bottom shelf are solid wood, they need to be able to move a little with seasonal changes.
So I drilled slotted holes (just drill two holes side by side and “wiggle” the drill back and forth to clean out the material in the middle) in the 1×2 bottom supports on each side.
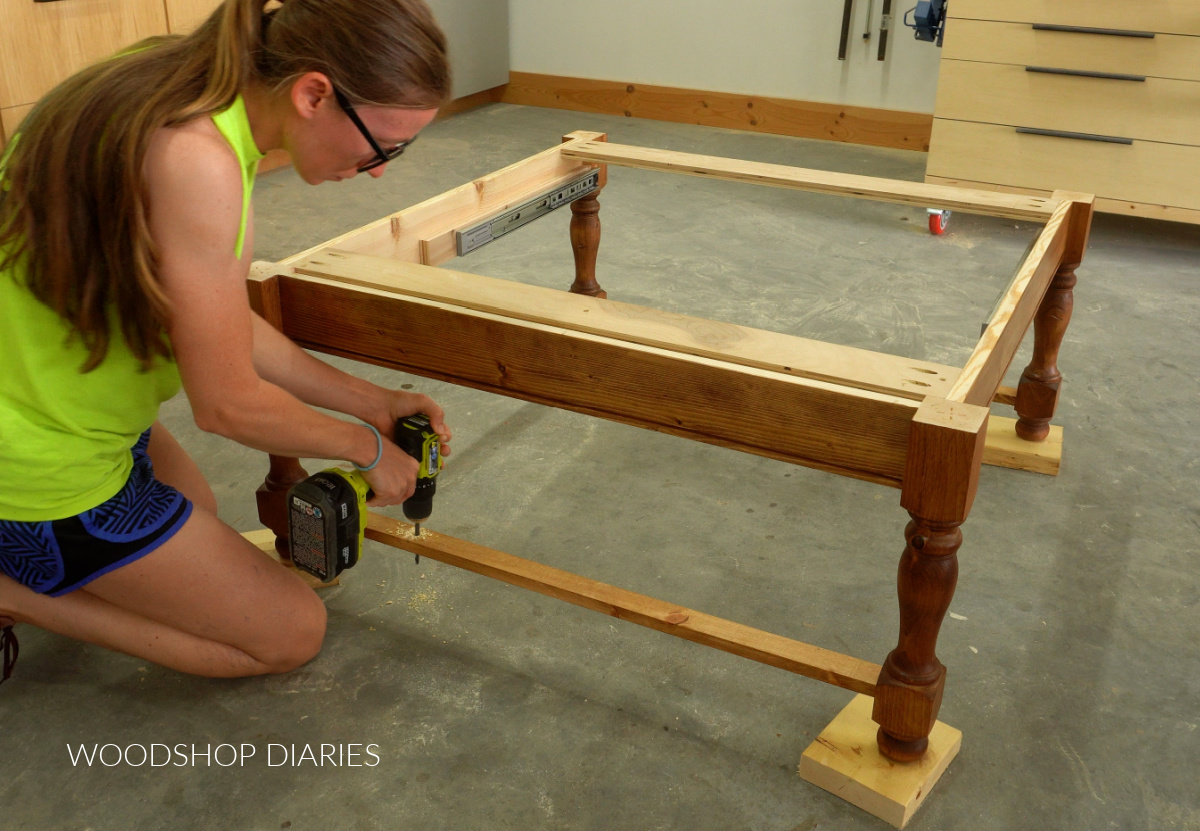
Then, I used screws with a washer to attach the shelf through those holes. The slots allow the screw to move inside the hole while the washer helps keeps the shelf pulled tight to the supports.
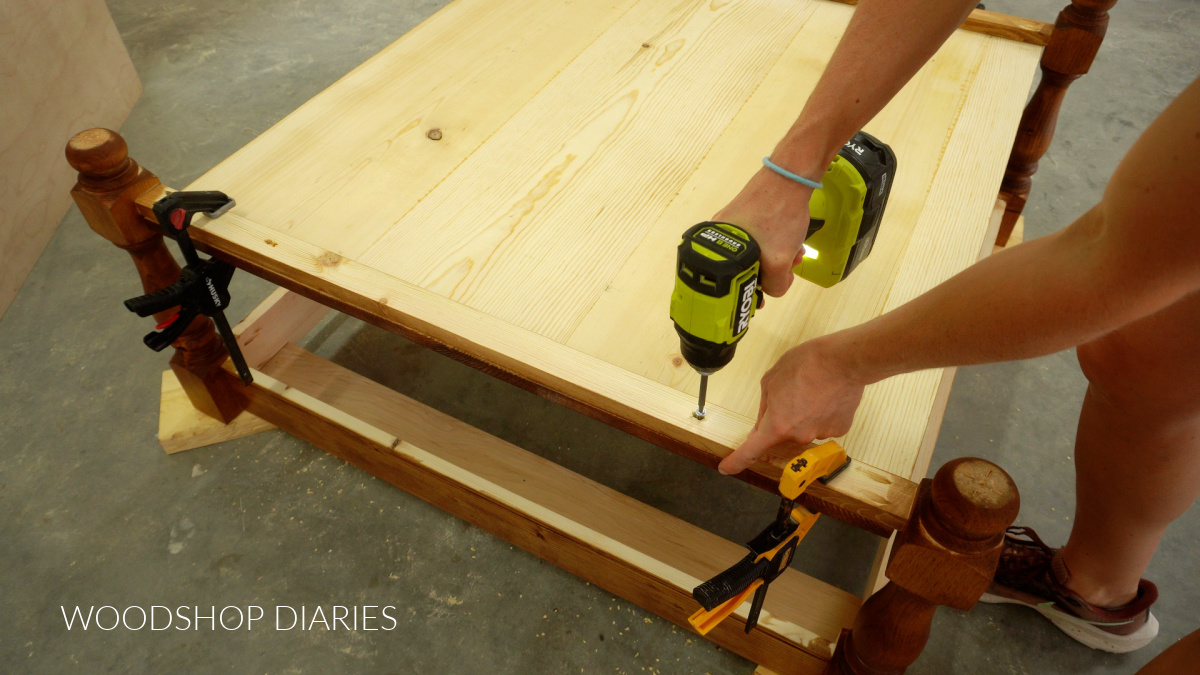
Once the bottom shelf was on, I repeated the same steps to attach the table top to the top supports.
And now this classic farmhouse style coffee table is finished and ready for my mom’s living room!
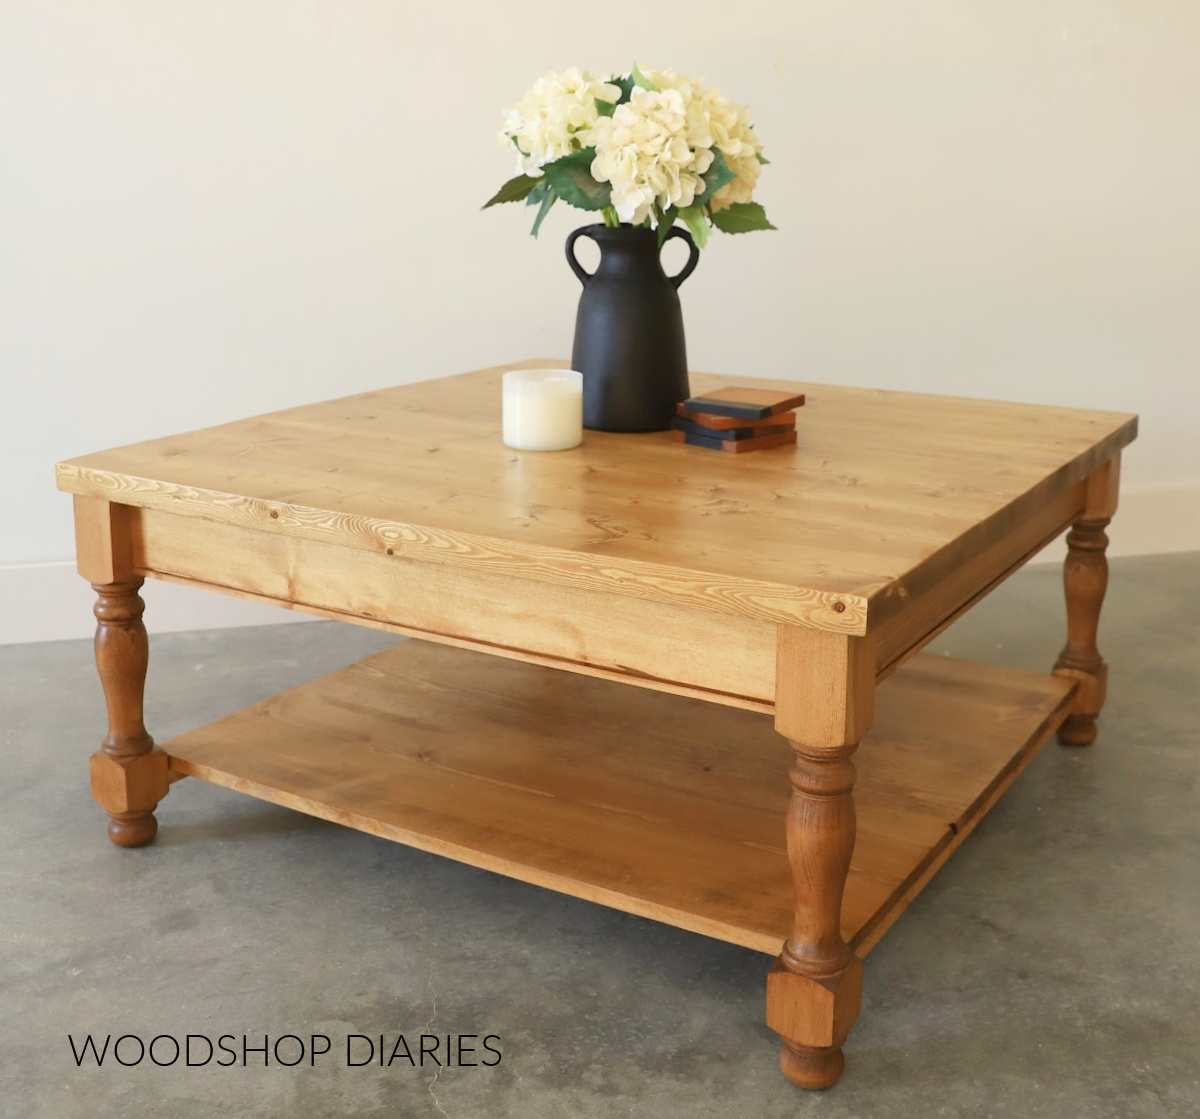
Ready to build your own? Grab the plans to build it here!
Looking for more DIY coffee table ideas?
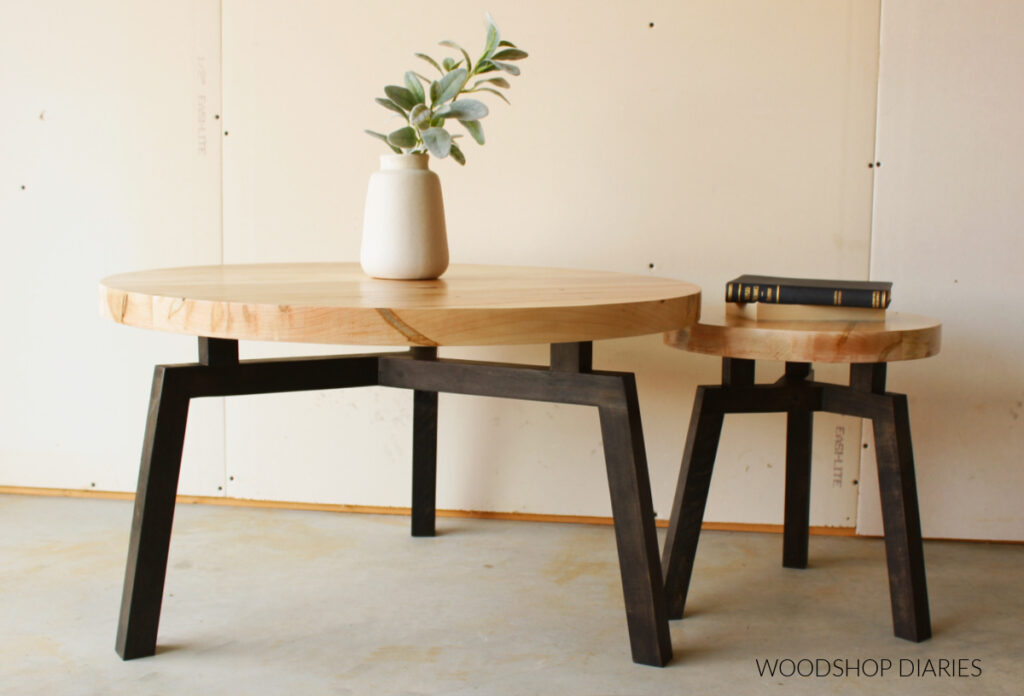
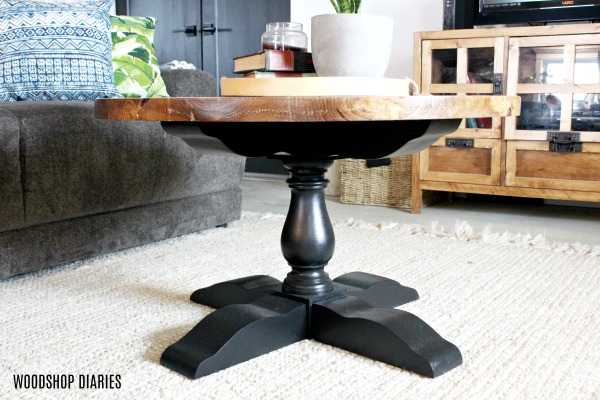
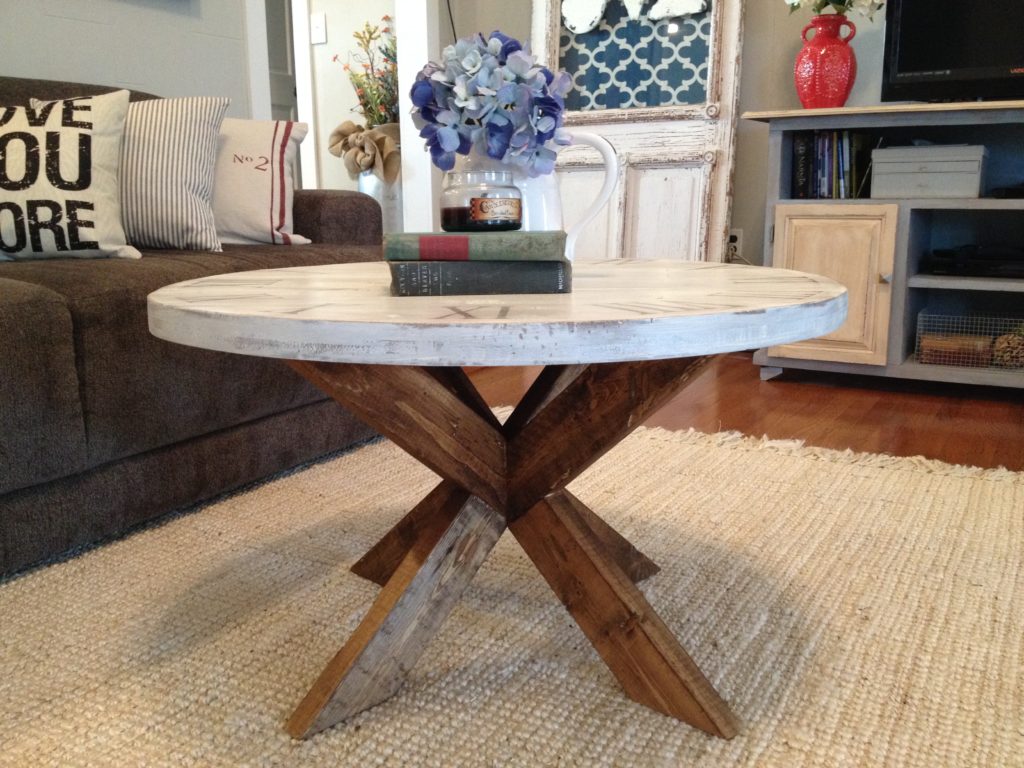
Enjoyed this build, but looking for more coffee table ideas? I’ve got you covered! Click on the image(s) below to learn how to build each project:
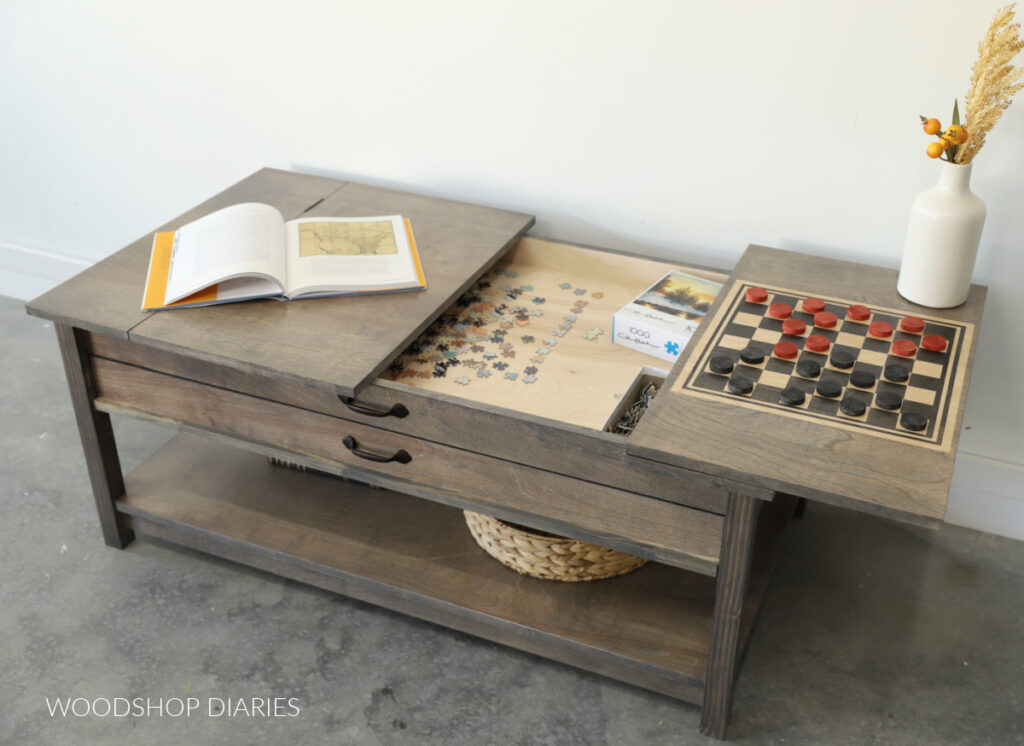
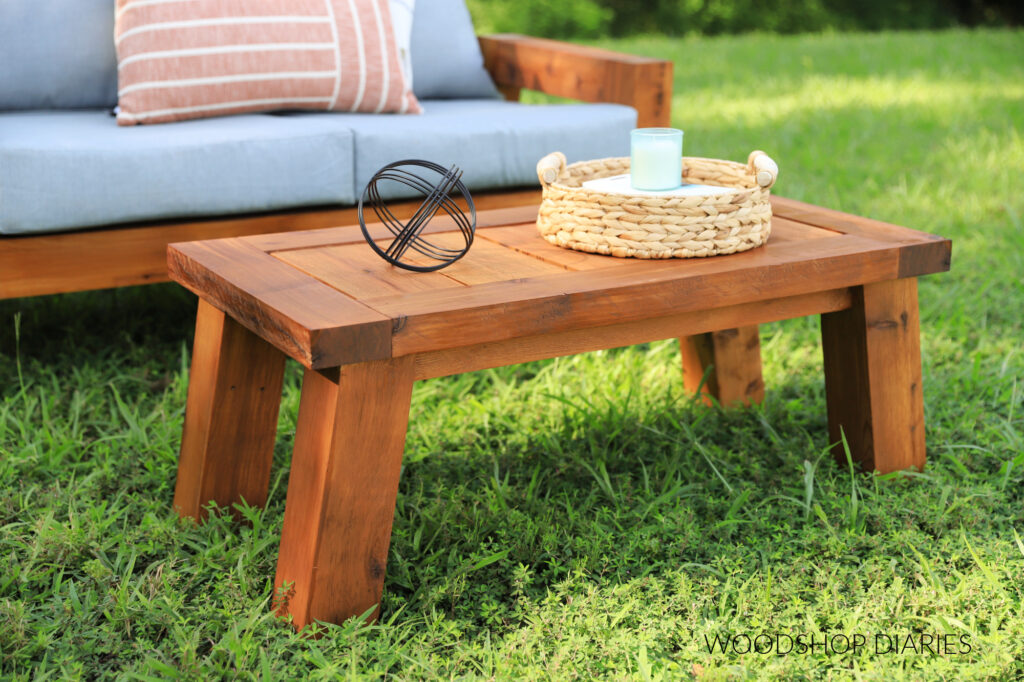
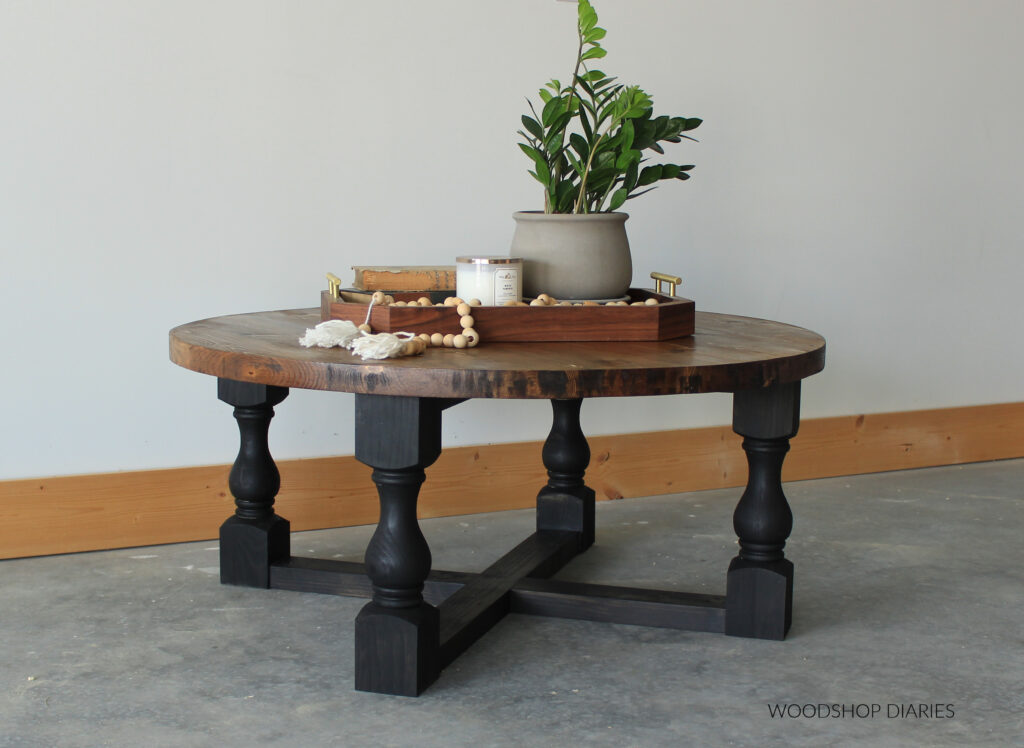
If you enjoyed this post, be sure to save it for later by pinning or sharing to your favorite social channel!
Until next time, friend, happy building!