
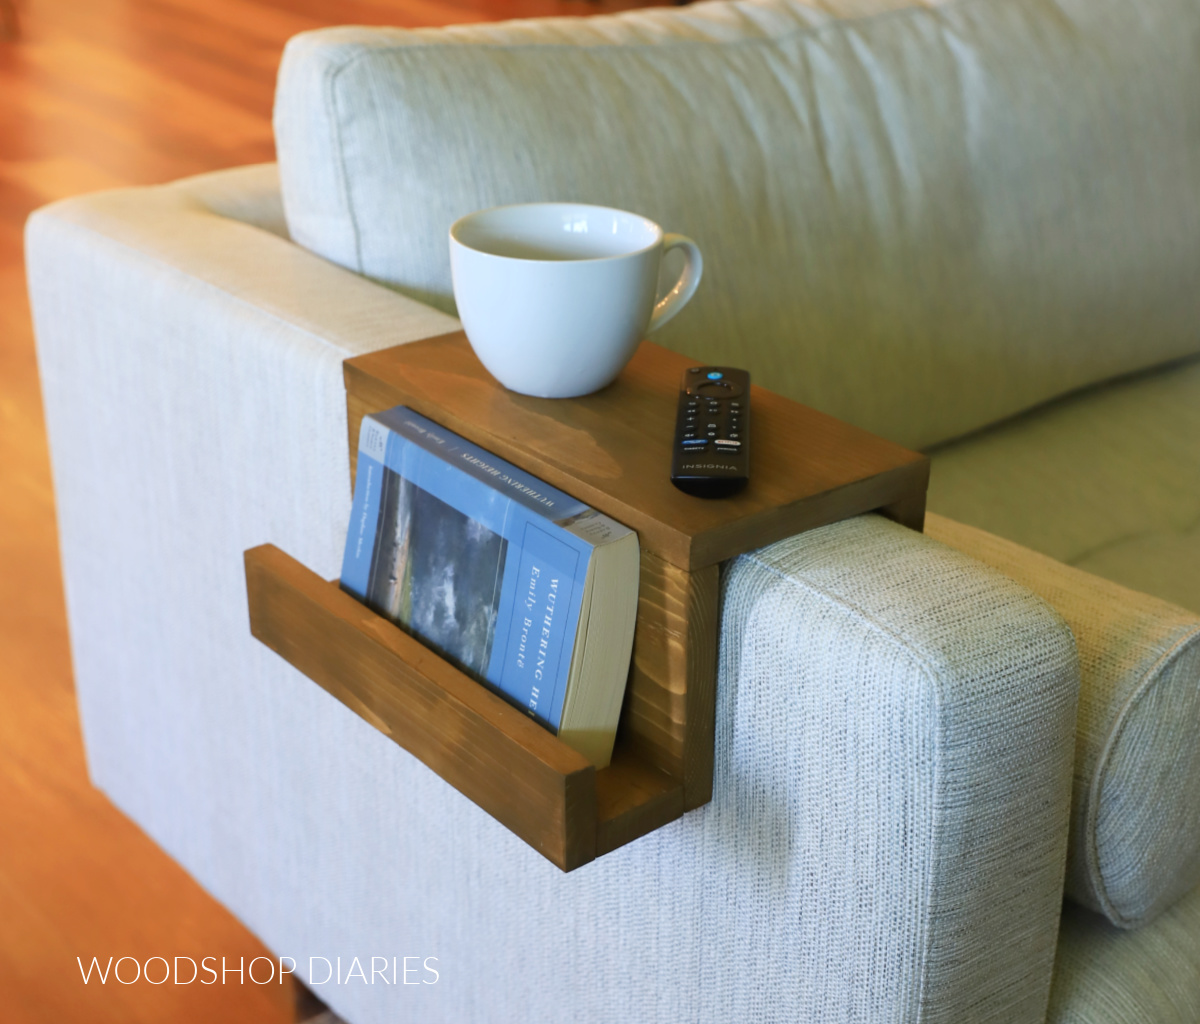
In this post, I’m sharing how to make a wooden tray to fit over your sofa or chair arm!
If you’re like me, you’re always looking for a place to set your drink. And while my sofa arm is somewhat flat, it’s also padded…which makes it not very solid.
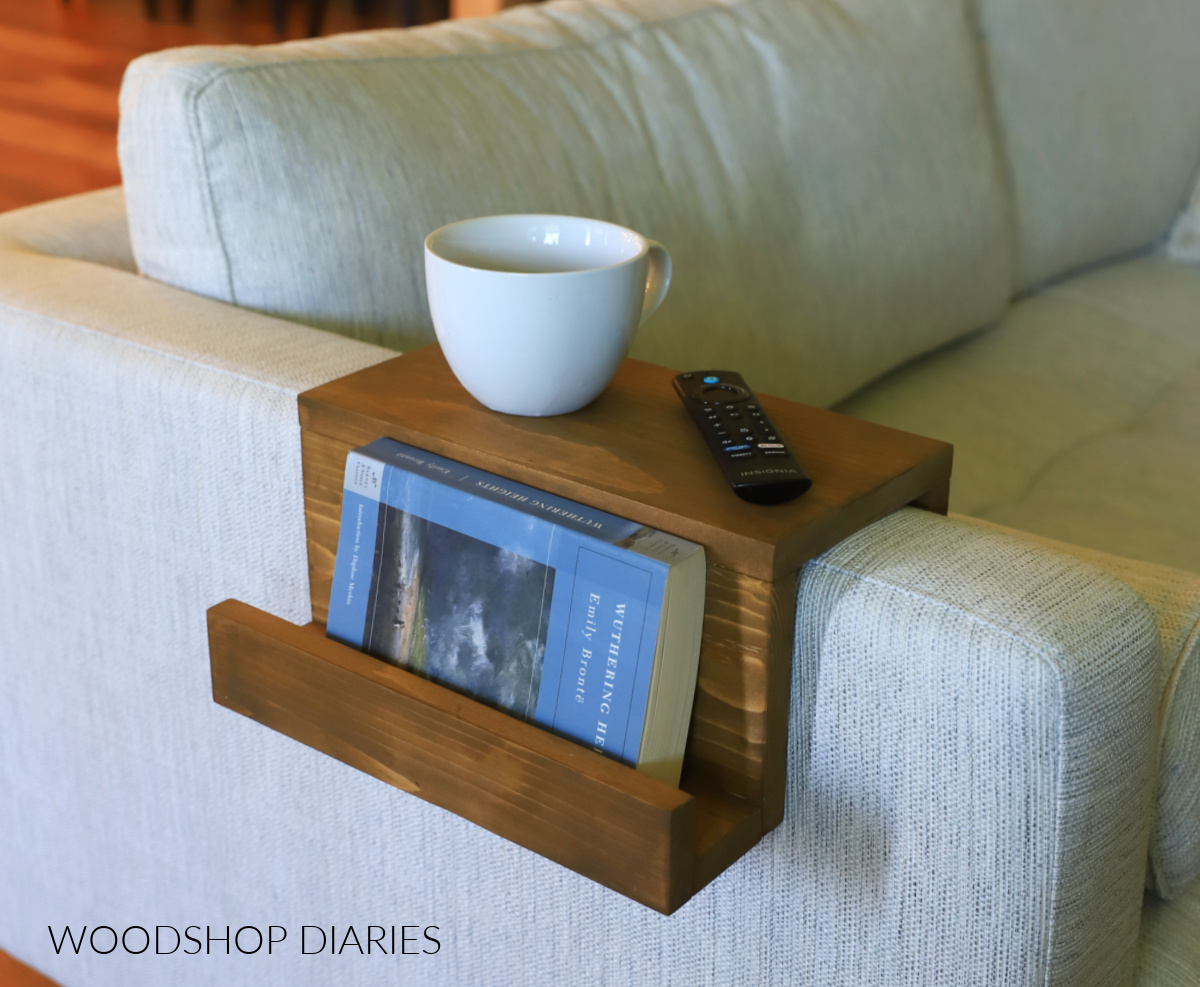
It’s quite the risk to set a full cup of tea or coffee on my white sofa arm and hope it doesn’t topple over.
But, this simple project is like having an extra set of hands to help hold all your stuff handy (books, magazines, remotes) when you’re lounging on the couch. PLUS it provides a large, solid, flat surface perfect for setting your drink!
If you could use one of these trays next to your favorite spot on the couch, I’ll show you how to build one below.
*This post contains affiliate links. See website policies.
What to know before building
This wooden tray can be made to fit over a sofa or chair arm. It can be built longer or shorter depending on the wood scraps you have available to build it with…and, of course, your needs.
You can even modify the top to overhang on the inside a bit to be able to use it as a little desk or a larger dinner tray while you’re sitting.
But, keep in mind that not all sofa and chair arms are the same size or shape. (Thank you, caption obvious…)
So that means that this project isn’t a one size fits all. It’ll need to me customized to fit tightly around your particular arm rest. (If it’s too wide, it’ll be loose and won’t sit flat.)
Luckily, it’s really easy to adjust and no matter what size you make it, this project is really quick to put together.
Are DIY projects your thing? Sign up for our newsletter for priority access to the latest projects and build plans!
How to build a sofa arm tray
If you prefer to watch, I’ve shared the build video with tons of tips, behind the scenes, and additional information here:
Love watching how-to videos? Subscribe to my YouTube channel for plenty more where that came from!
Tools & Materials
Tools:
- Miter saw (or any saw that can cut straight lines)
- Brad nailer OR Drill
- Sander
Materials:
- Scrap 1x lumber (sizes vary–see notes and step 2)
- Wood glue
- 1 ¼″ long brad nails OR screws
Not sure what kind of wood to use for this project? Good news: you can pick just about anything!
I used scrap pine/spruce wood (the cheap stuff you get from Lowe’s or Home Depot) for this, but if you had some oak or poplar, even walnut or maple, those would work well, too.
You could even use ¾″ plywood scraps! Feel free to pick what you like the look of best or what you already have on hand.
Step 1: Measure Sofa Arm
This is the most important step! First, I needed to know the width of my sofa/chair arm.
Keep in mind that often, these arms are padded, so it be be a bit challenging to get super accurate since there’s not a defined edge.
But try to get as close as possible to the overall width of the arm.
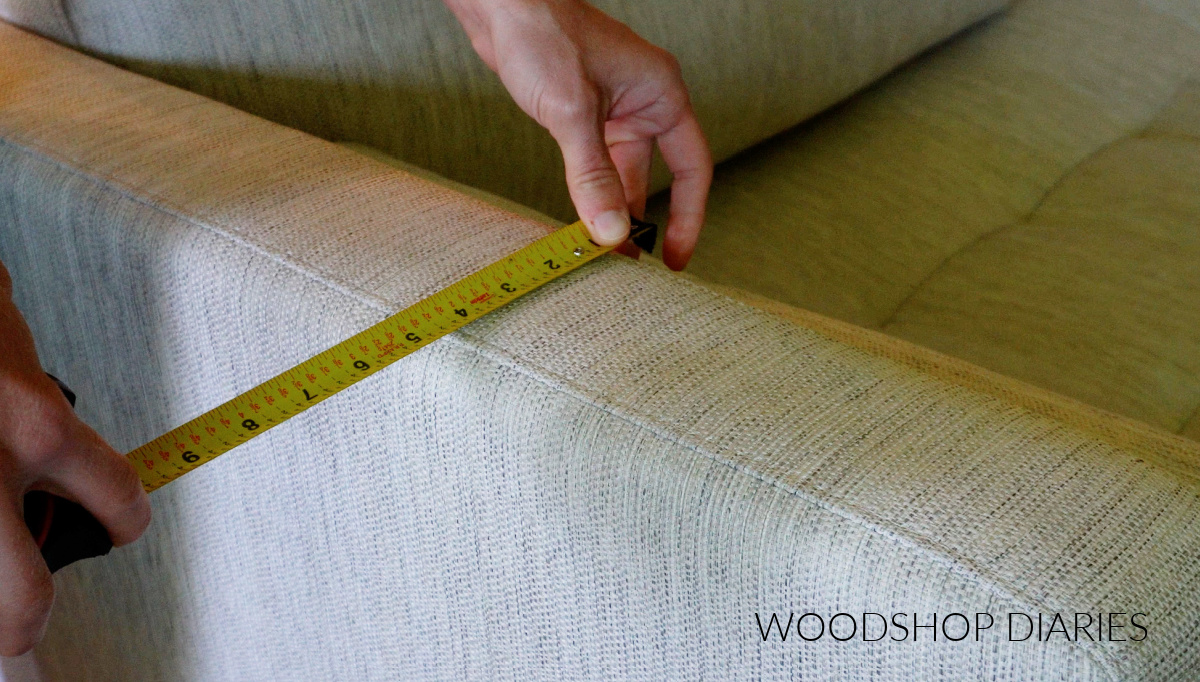
Mine was about 5″. So the INSIDE opening of my tray should be 5″…that way it will fit snuggly over the arm when finished.
Keep this width in mind for the next step.
Step 2: Gather Materials & Cut to Length
To build this tray, I grabbed some scrap 1×3, scrap 1×6, and a scrap 1×12.
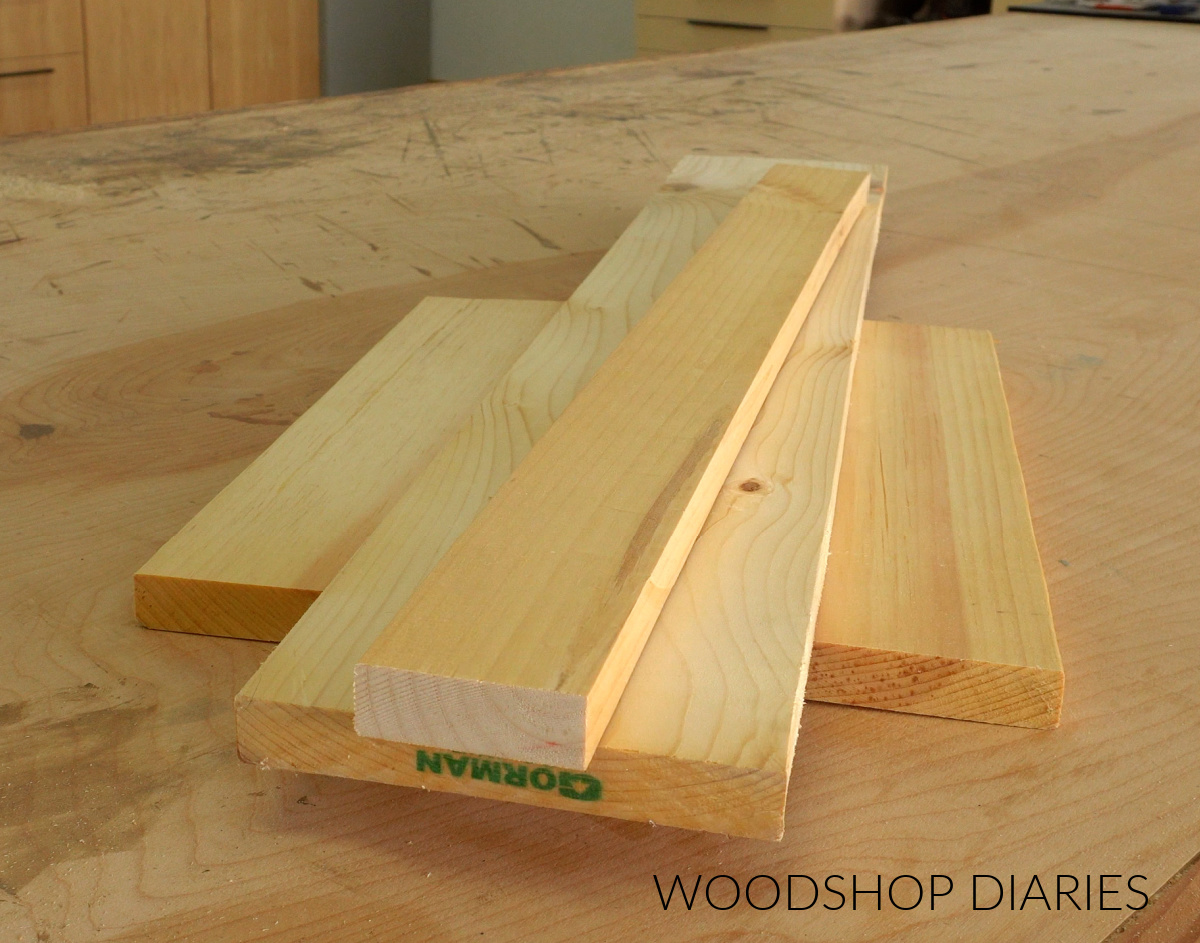
The 1×12 is used for the wider top board of the tray. Depending on how wide your sofa/chair arm is, you likely won’t need a full 1×12, so a narrower board (like a 1×8 or 1×10) may work fine.
I just happened to have the 1×12 in my scrap pile.
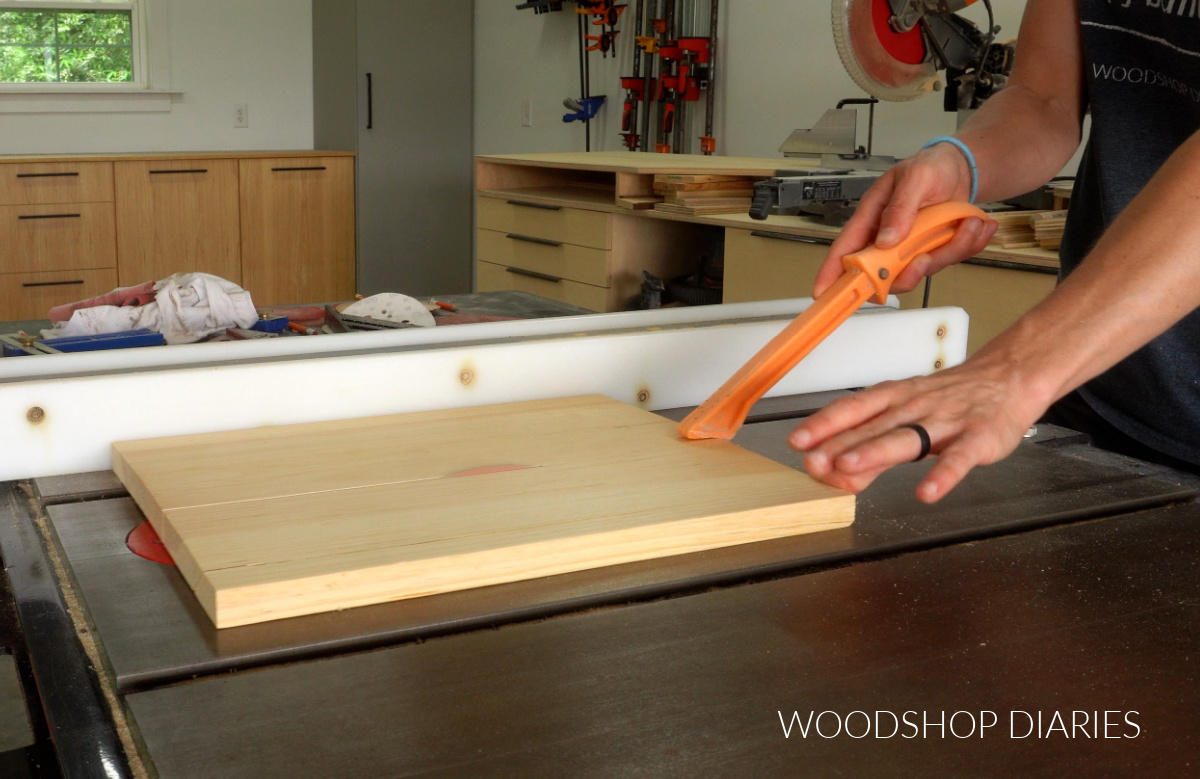
The top piece needs to be ripped to the width of the sofa arm PLUS 1 ½″…in my case, 5″ + 1 ½″ = 6 ½″ wide.
So I ripped my scrap 1×12 to 6 ½″ wide on the table saw. If you don’t have a table saw, a jig saw, circular saw, or miter saw (depending on the size) can work instead.
I mentioned earlier that this tray can be as long or as short as you’d like (as in the length of the arm it will cover). I chose to make mine about 12″ long.
So I cut the top piece to 12″ and I cut two 1x6s and two 1x3s to 12″ as well.
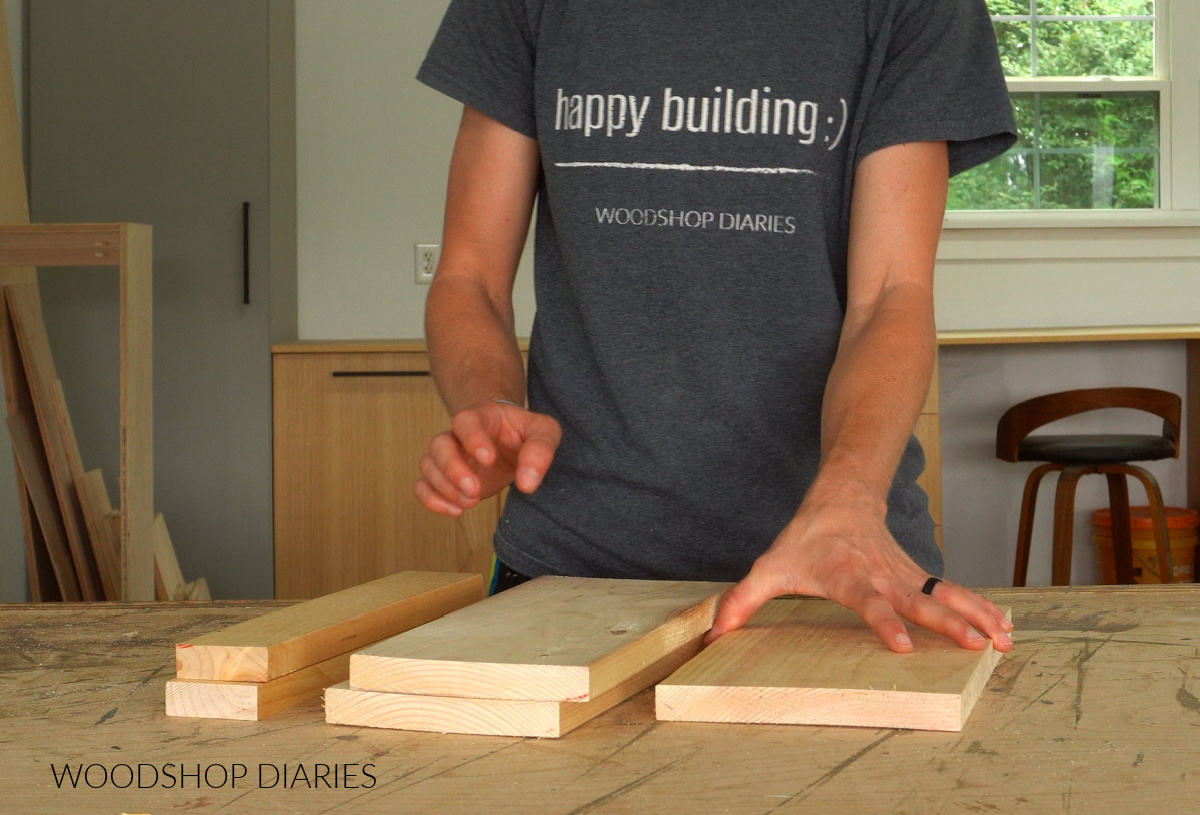
Once I had all five pieces cut, I sanded them well before assembling. Learn how to sand wood here.
Step 3: Assemble Sofa Arm Tray
Then, I glued and brad nailed this tray together. If you prefer screws, you can swap the nails for screws.
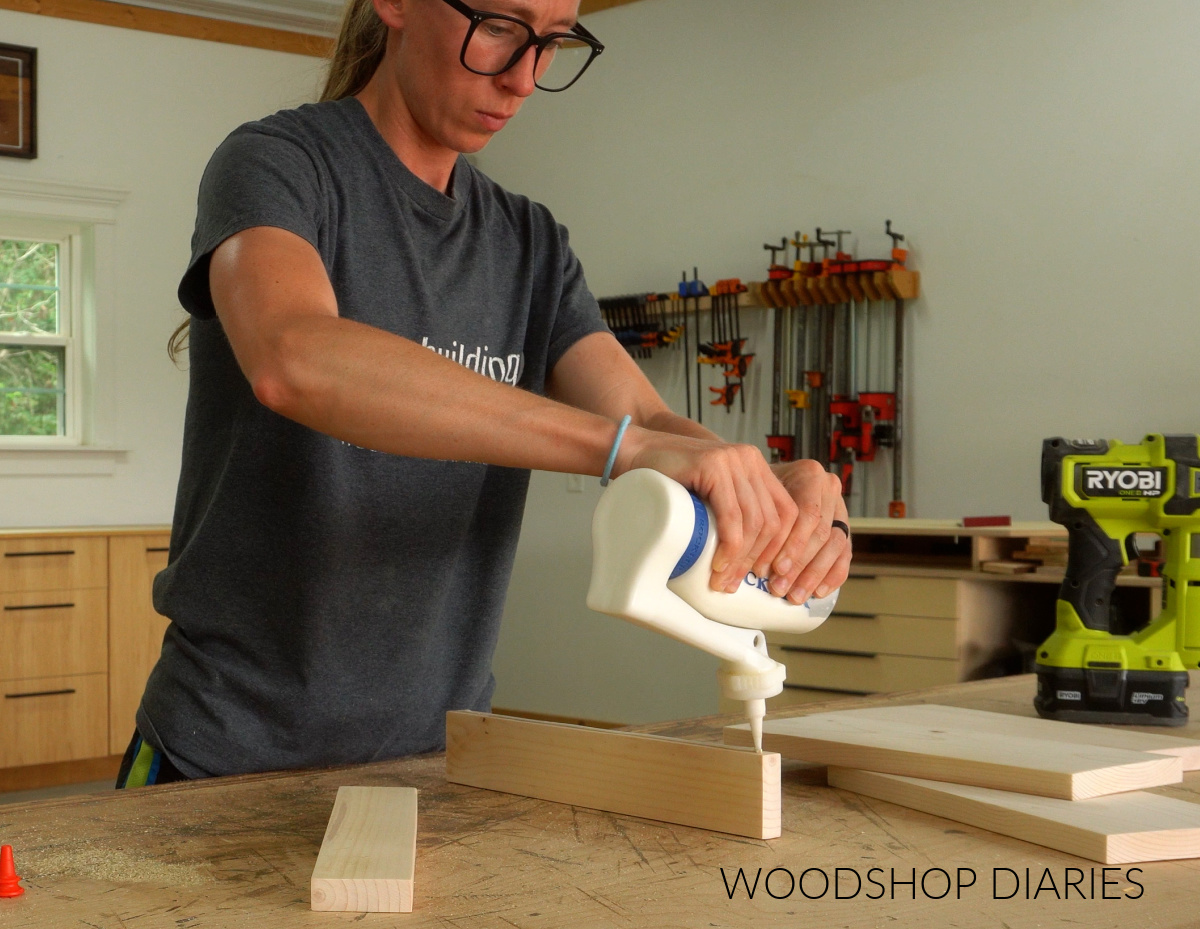
First, I glued and nailed one of the 1×6 boards along the edge of one of the 1×3 boards to make an “L shape.” Then I glued and nailed the other 1×3 along the other side. See image below.
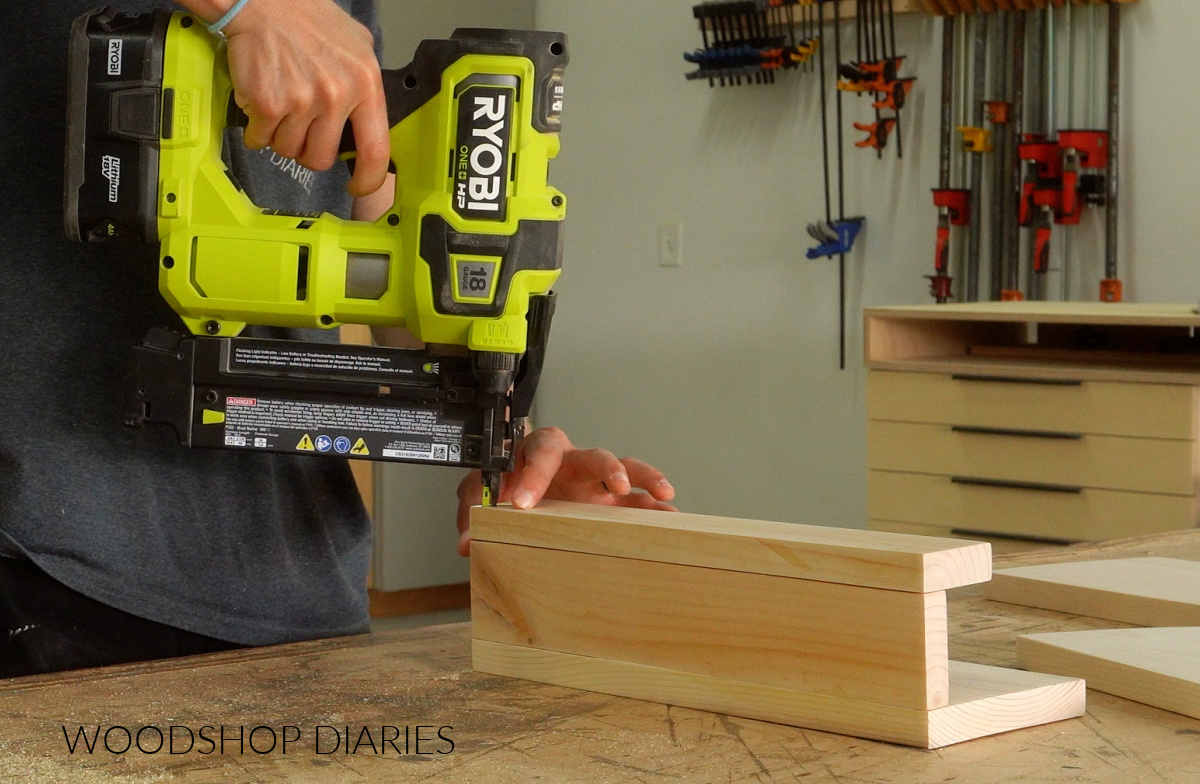
Then, I flipped this over and glued/nailed the top and the other 1×6 together like shown below.
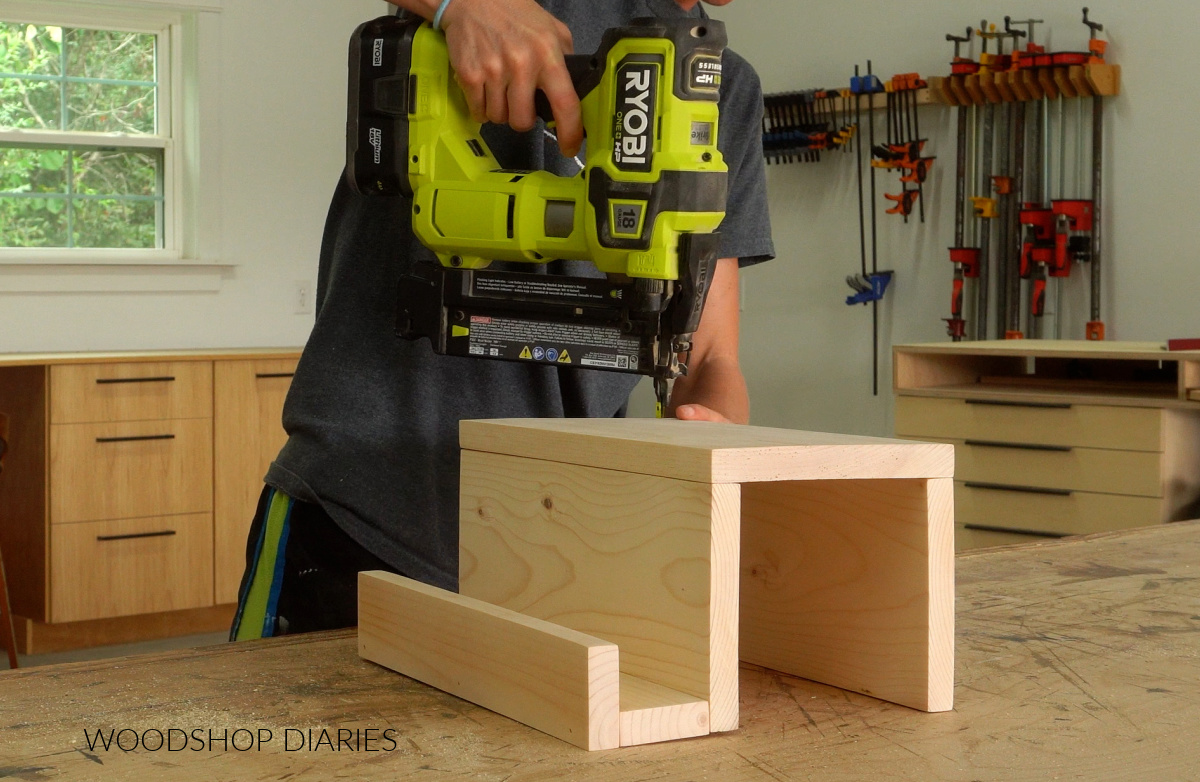
I’ll be honest, these scrap boards were not in the best shape and didn’t have the sharpest, smoothest edges. So the nails alone didn’t pull them as tight as I’d like at the joints.
So quickly, before the glue had time to set up, I clamped it tight so the joints weren’t loose while the glue dried.
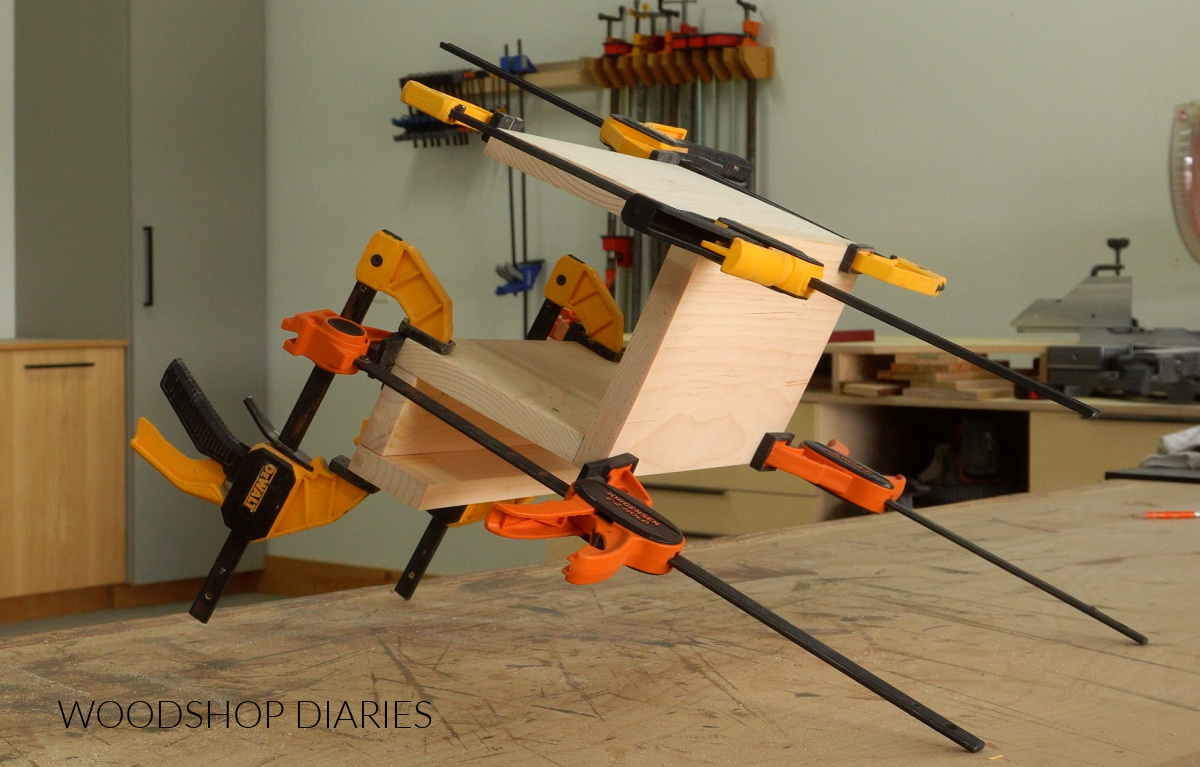
Once the glue was dry, the joints were good and solid. I sanded them a little to remove any glue squeeze out.
Then, I filled the visible nail holes with a little wood glue and sawdust mixed together. (Did you know that wood glue and sawdust make a great wood filler??)
Step 4: Finish & Use
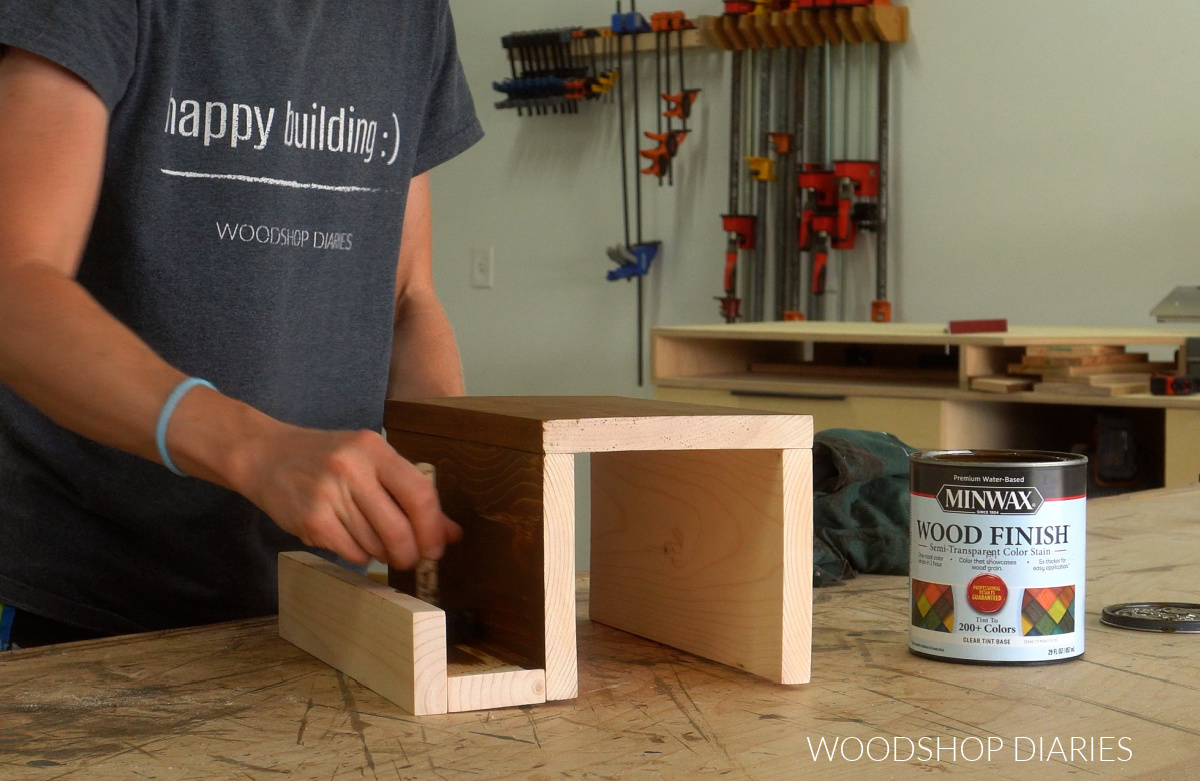
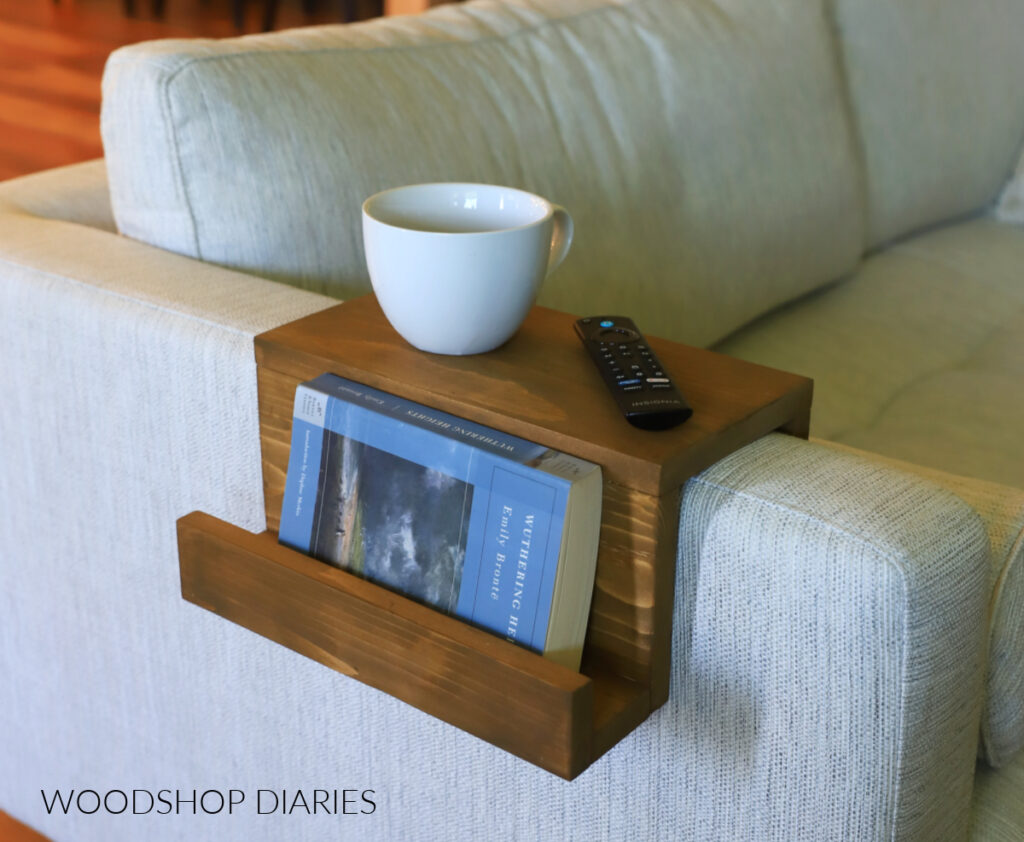
To finish up, I stained this in Minwax Water Based Wood Stain in Aged Oak. It was the perfect warm contrasting tone to go against my greyish-white sofa!
It slips right over the arm and rests securely in place.
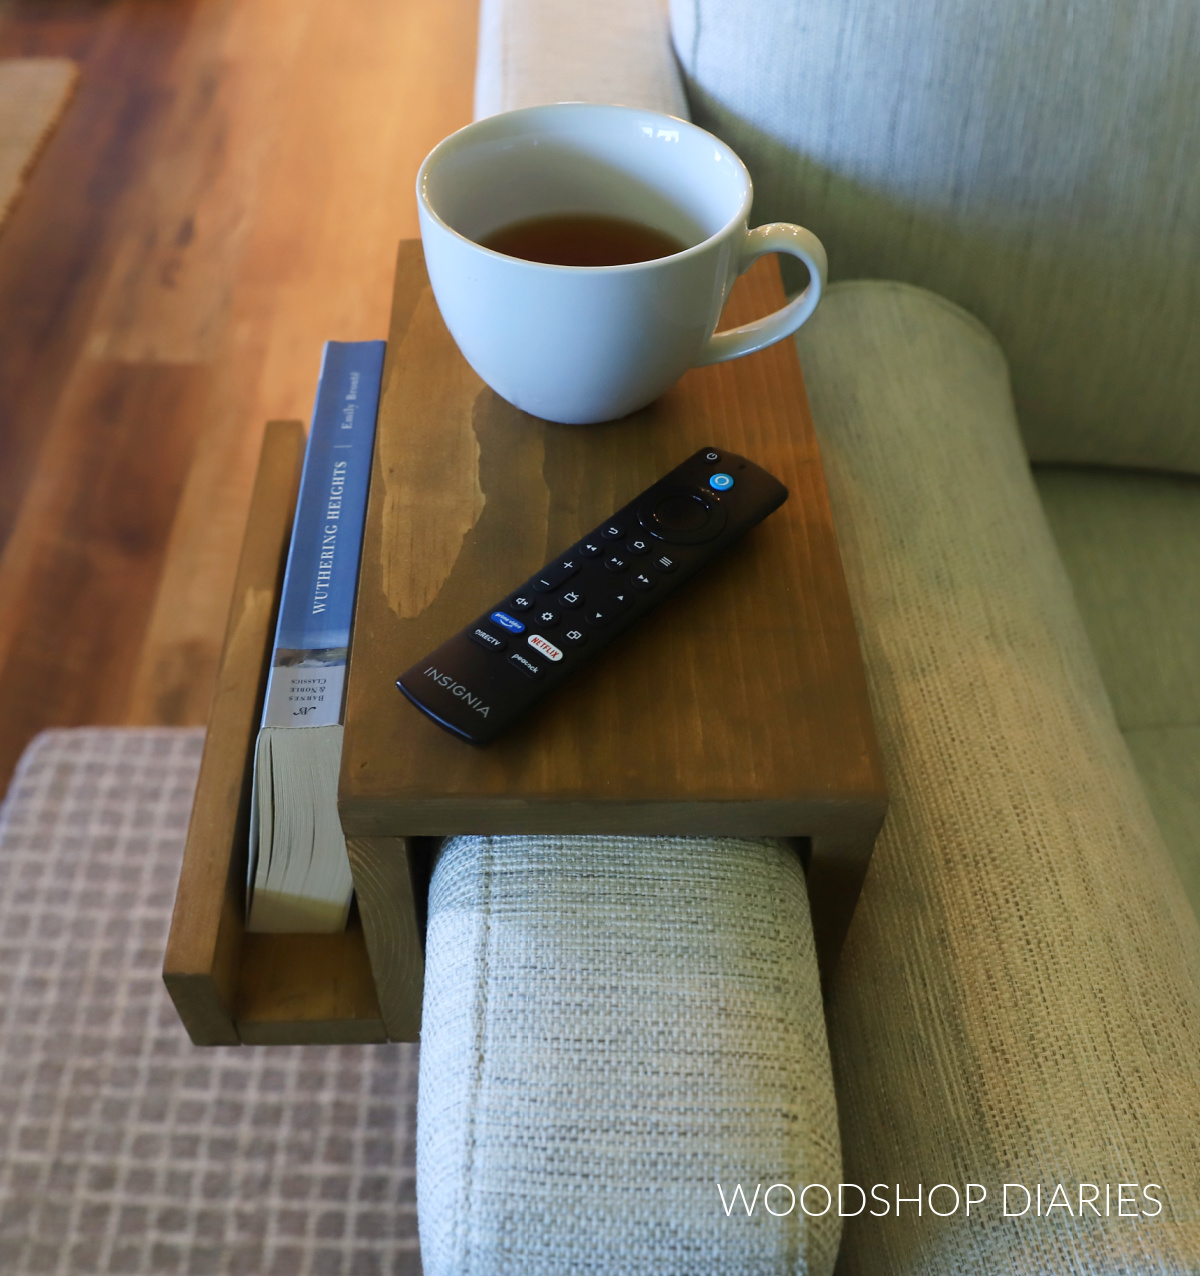
And there’s plenty of room for a cup of tea, the remote, and your favorite book.
Looking for More Scrap Wood DIYs?
Can’t get enough scrap wood projects?? I’m teaming up with my friend, Kati, from Houseful of Handmade all month long for “Scrap Wood Summer!”
Check out all the projects in the series below. Click on the images to learn how to make each one!
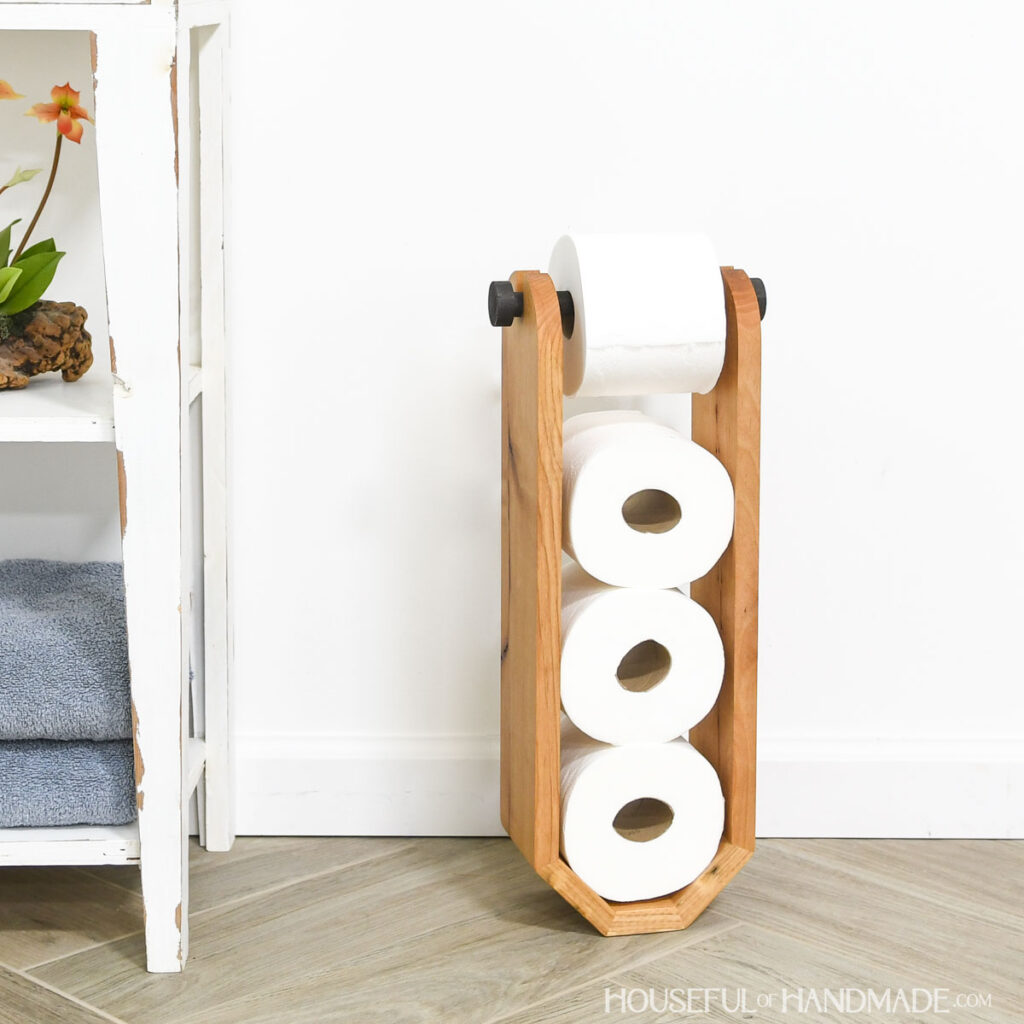
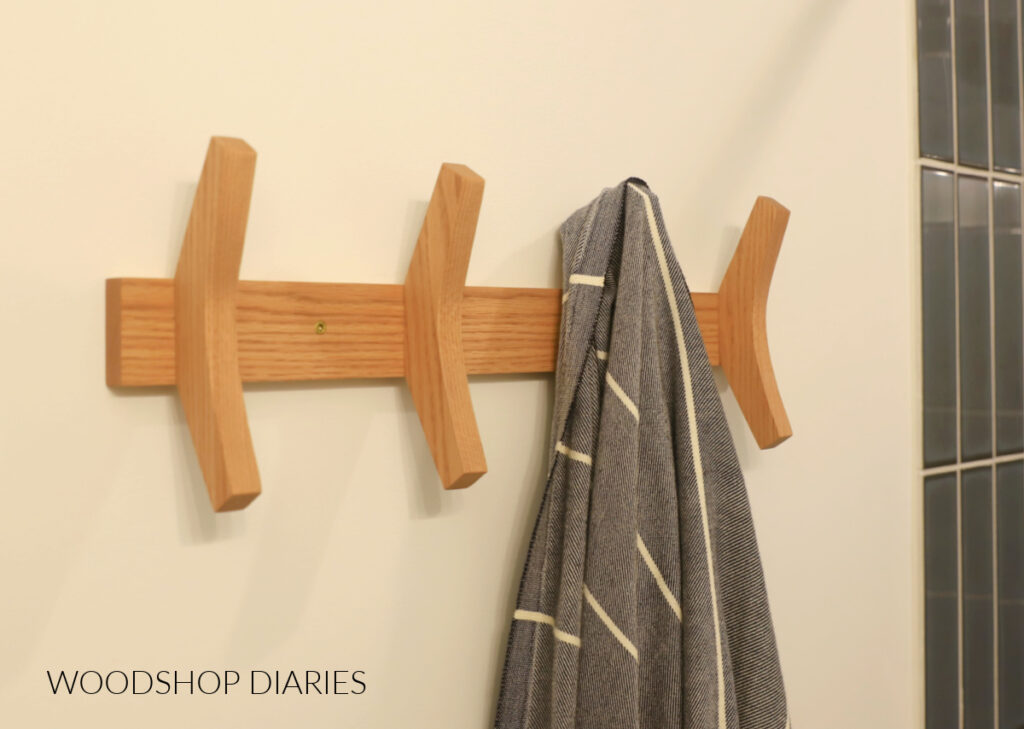
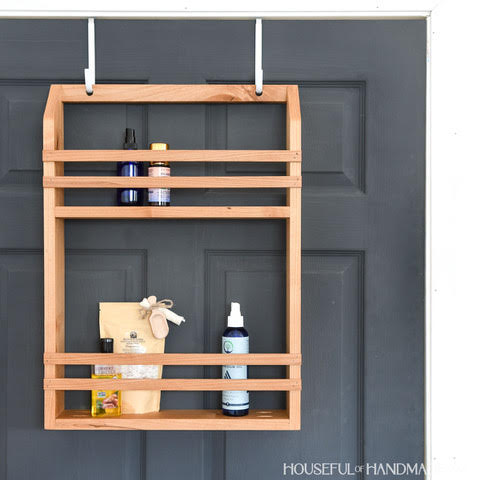
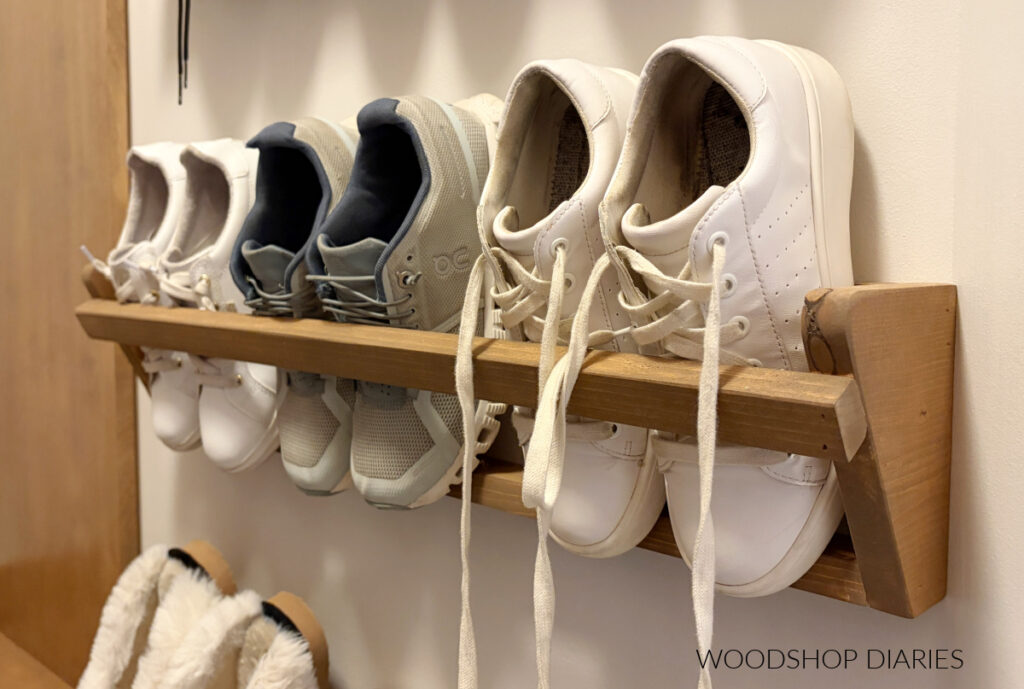
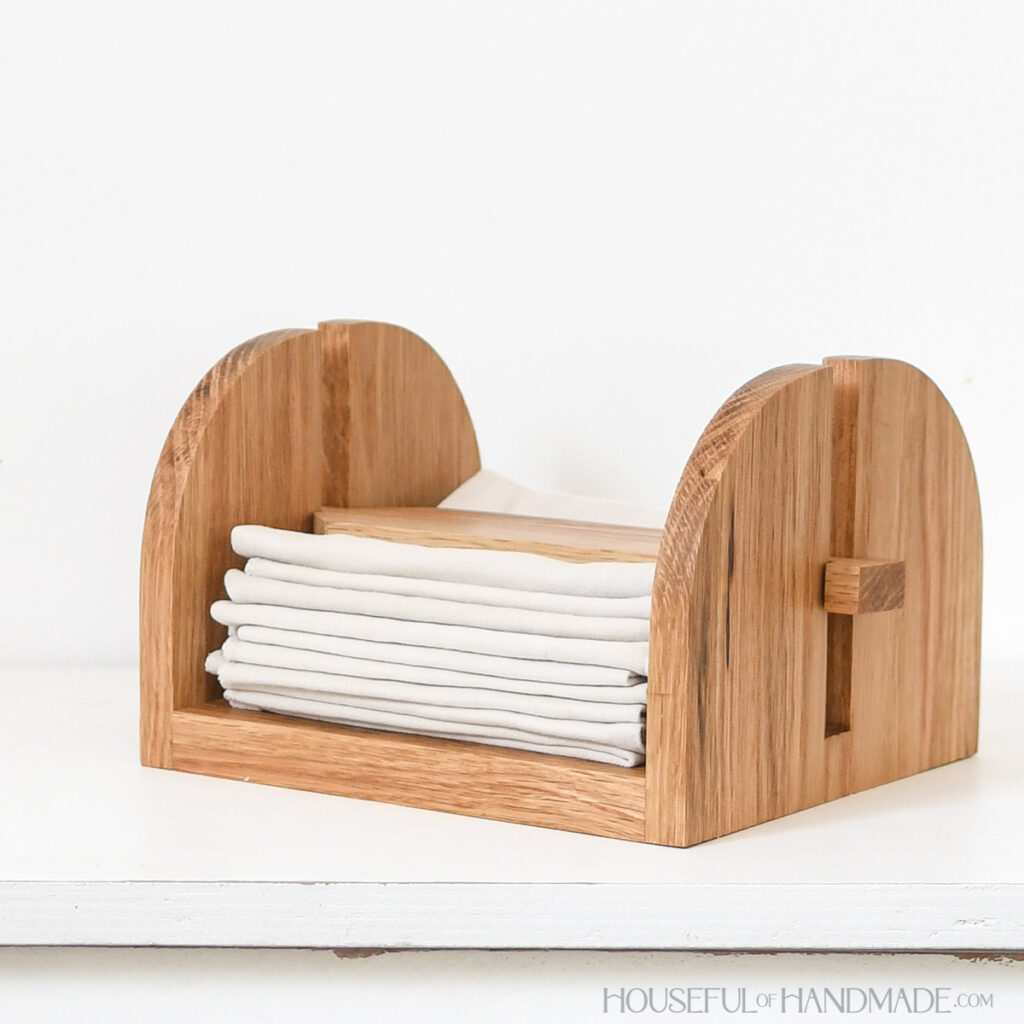
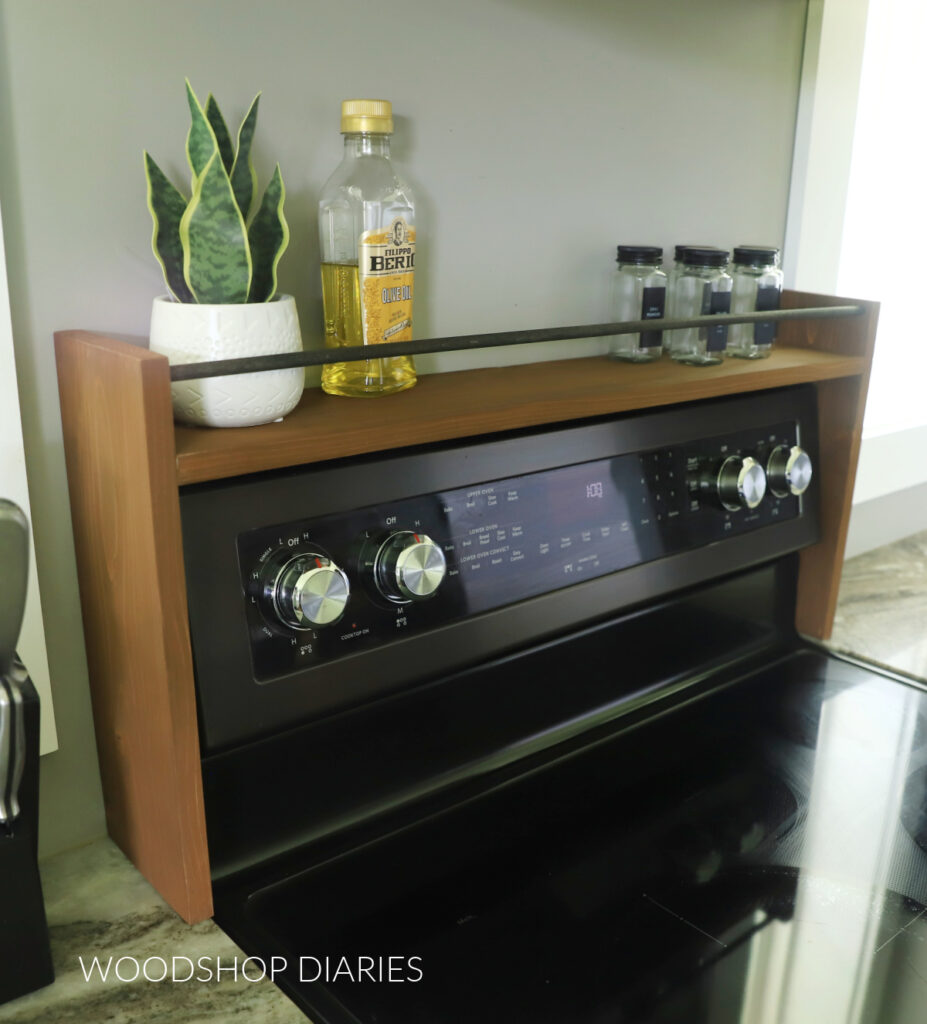
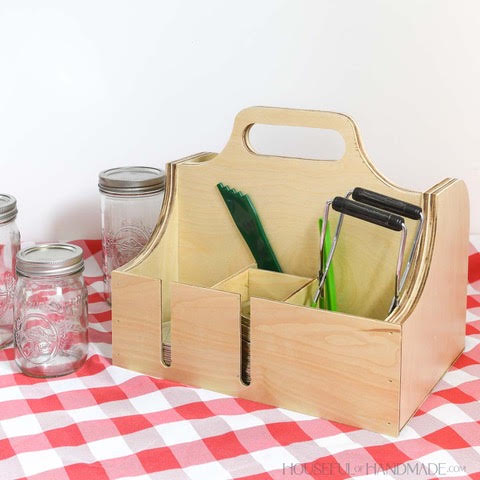
This is our fifth year hosting Scrap Wood Summer and I enjoy it a little more each time. But, if you’ve never heard of it before, that’s okay!
Essentially, we each share a new scrap wood project every Tuesday throughout the month of August. So by the end of the month, you’ve got 8 new project ideas to try.
So stay tuned to see all the other fun ideas we are so excited to share with you!
Can’t wait? Check out previous Scrap Wood Summer projects plus other scrap wood ideas here.
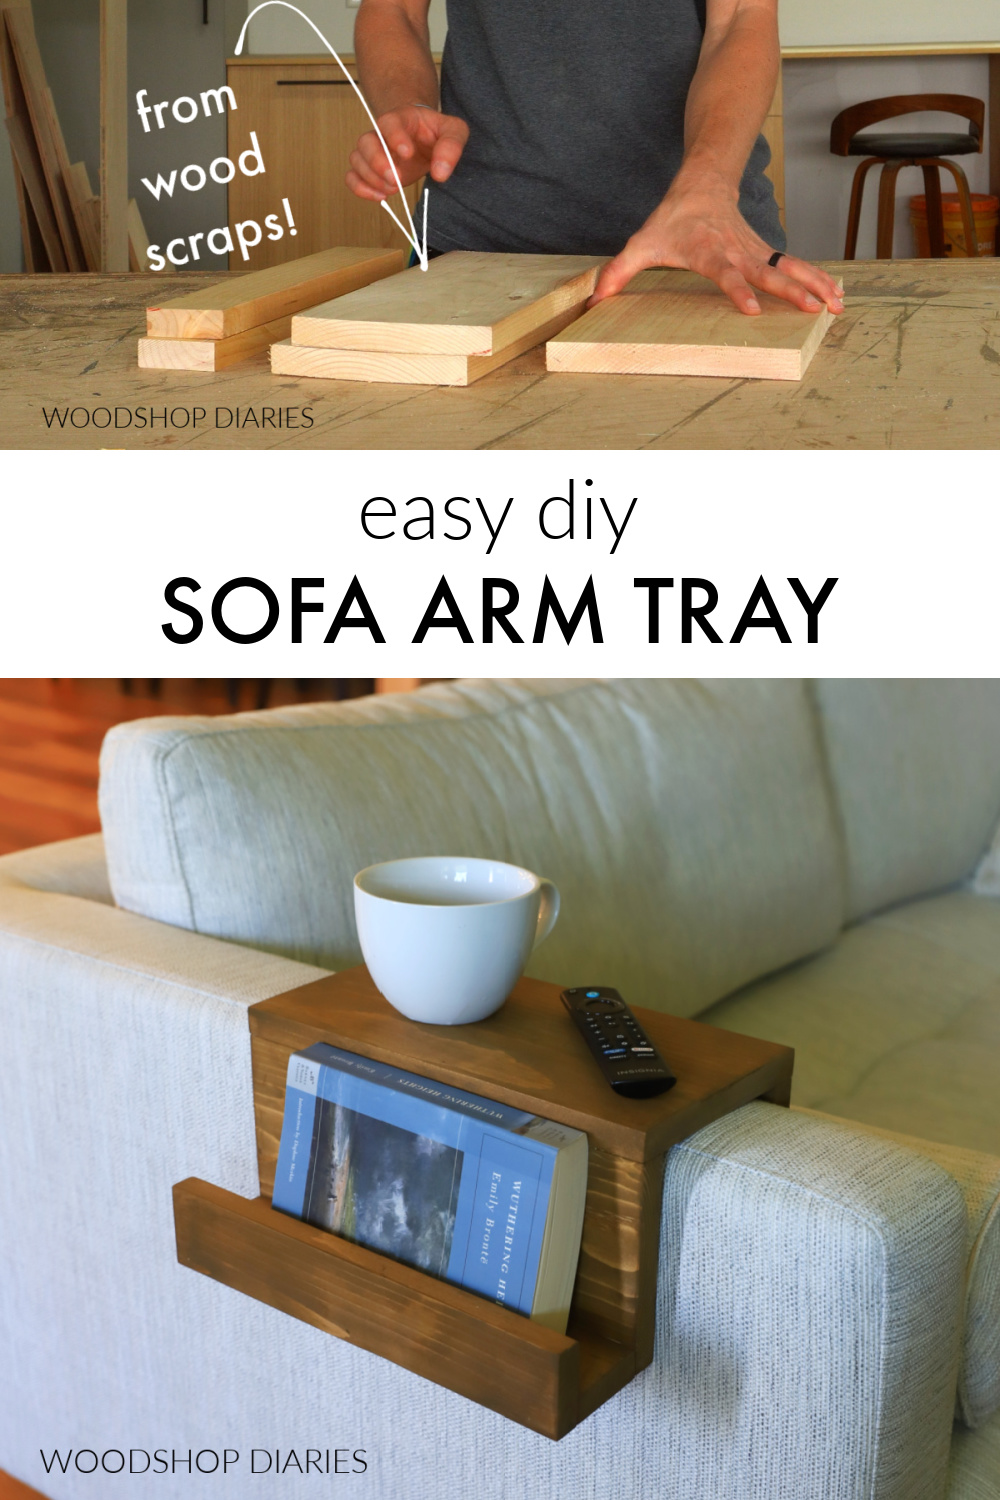
If you’d like to save this DIY sofa armrest tray for later, be sure to pin it or share to your favorite social channel!
Until next time, friends, happy building!