
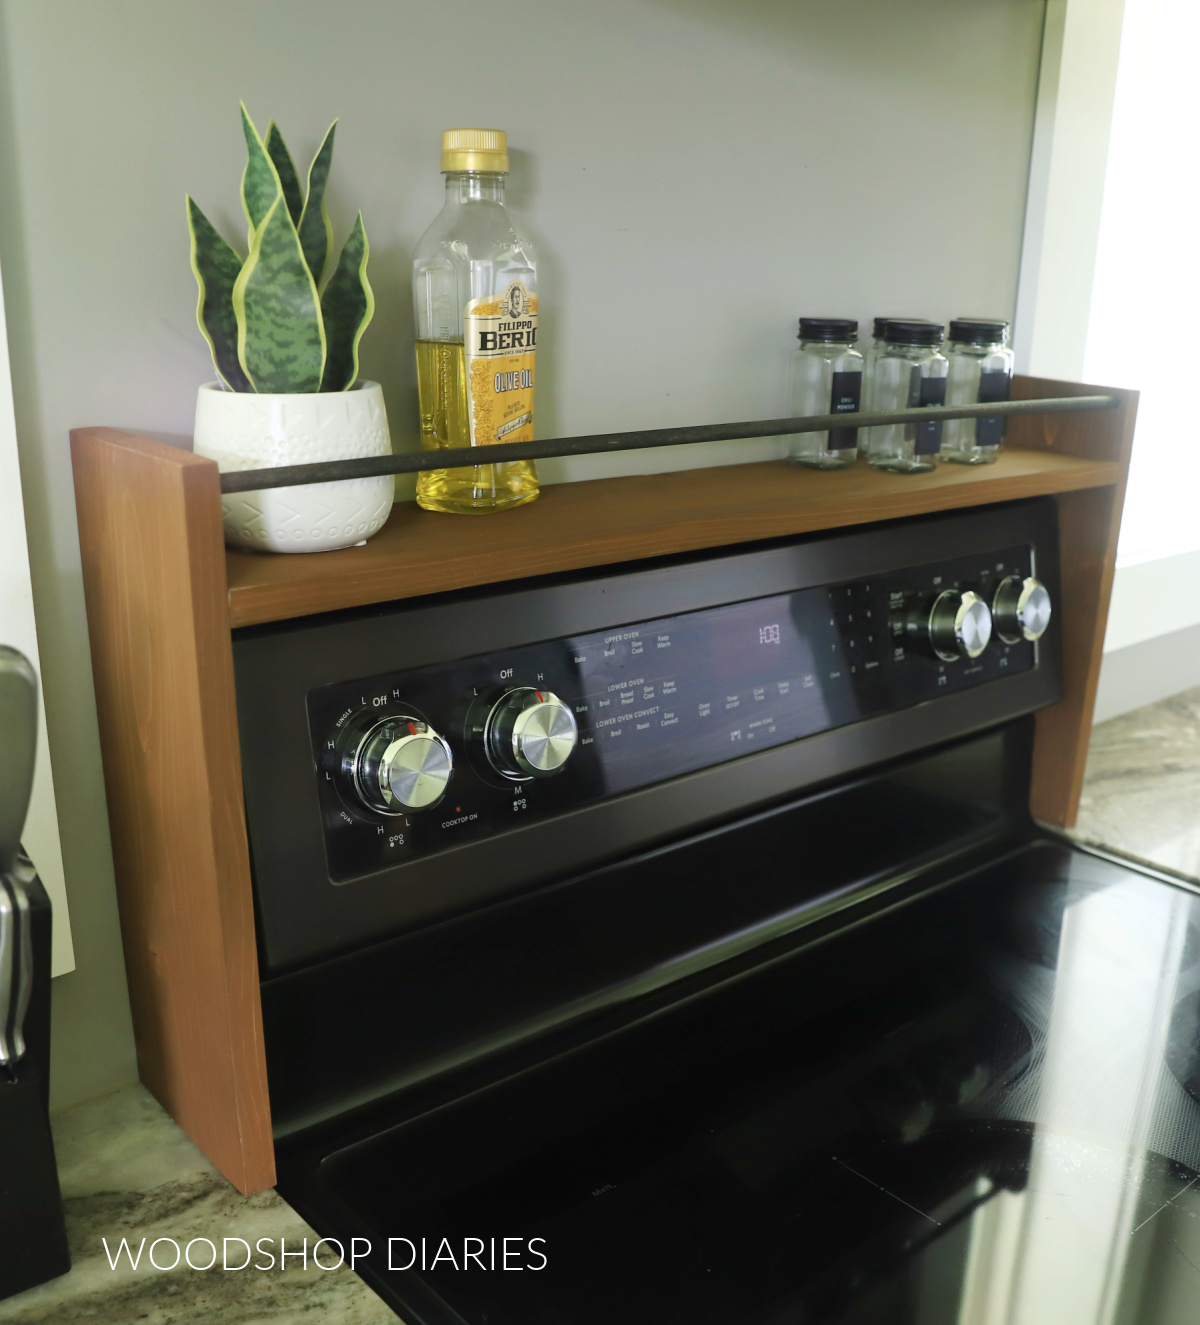
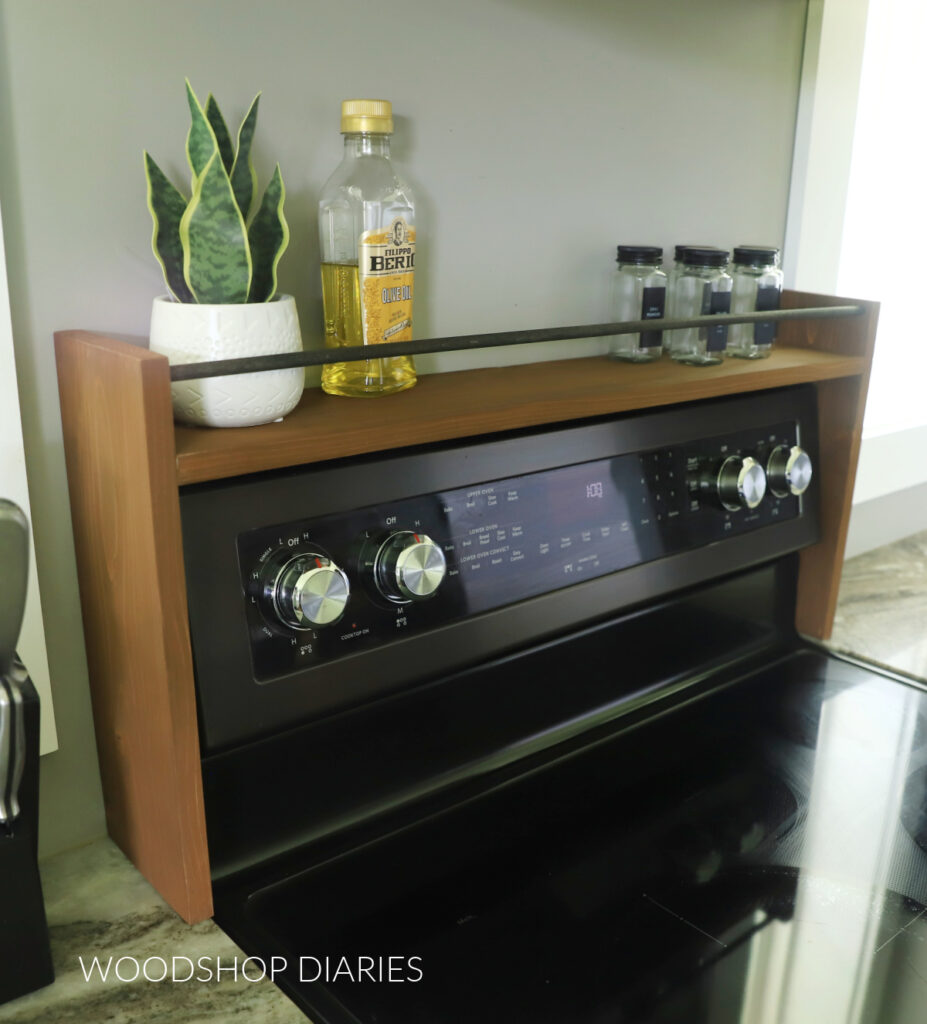
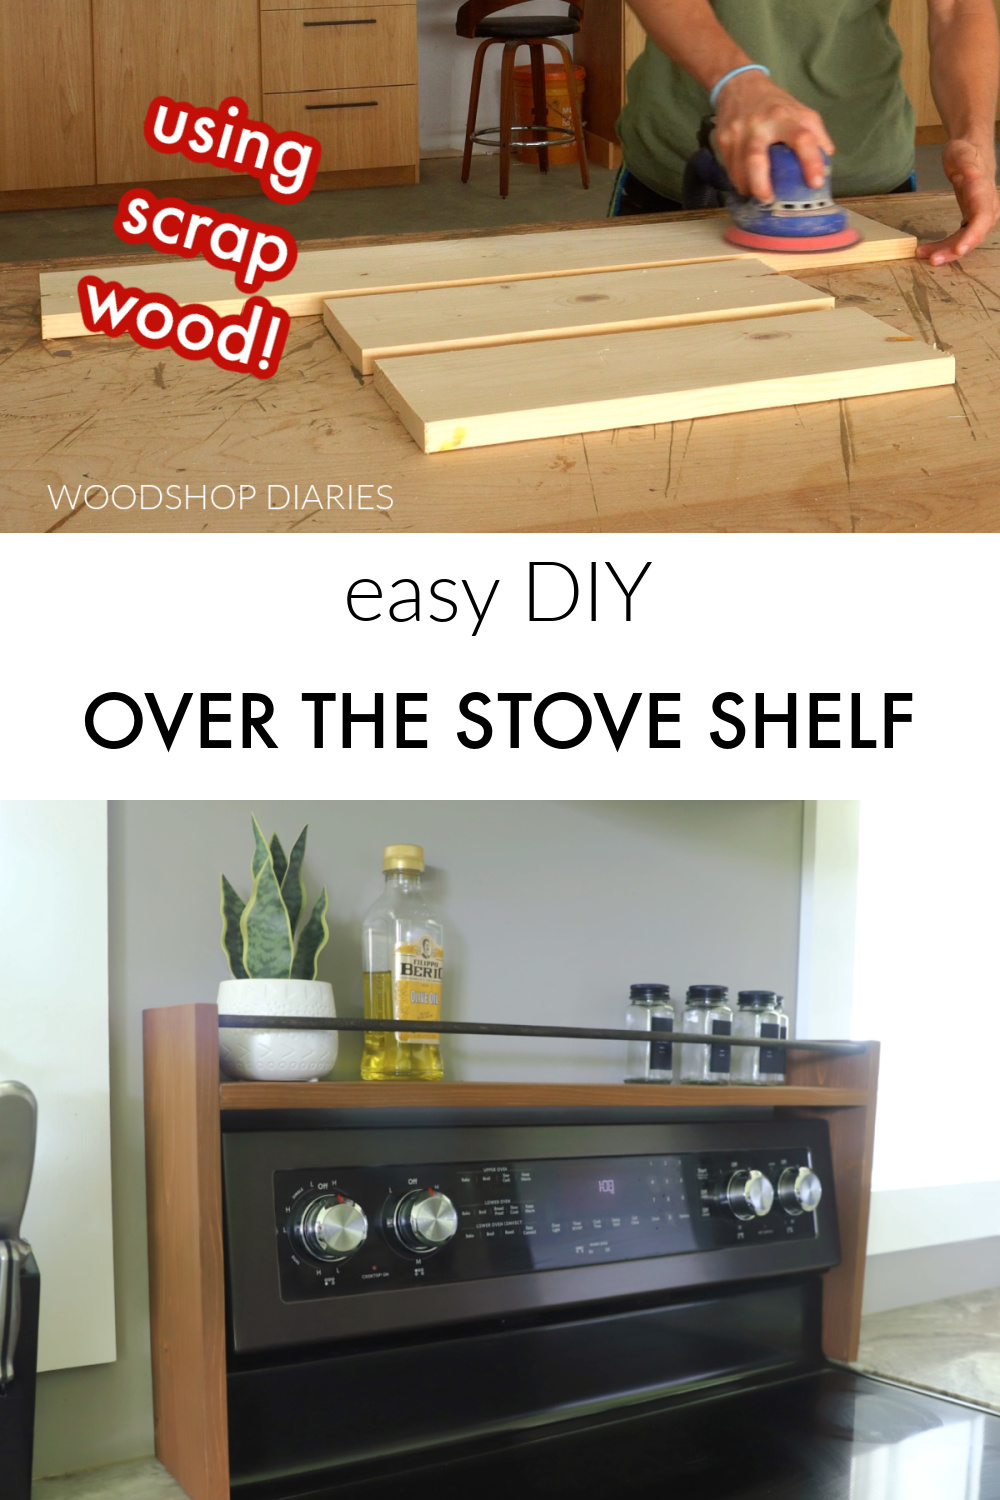
In this post, I’m sharing how to add a little extra storage in your kitchen with an EASY over the stove shelf.
Wall mounted shelves in the kitchen aren’t always feasible. For renters, holes in the wall are out of the question. But even if you’re not renting, if you already have a backsplash, it’s a bit unnerving to drill into it to hang a shelf.
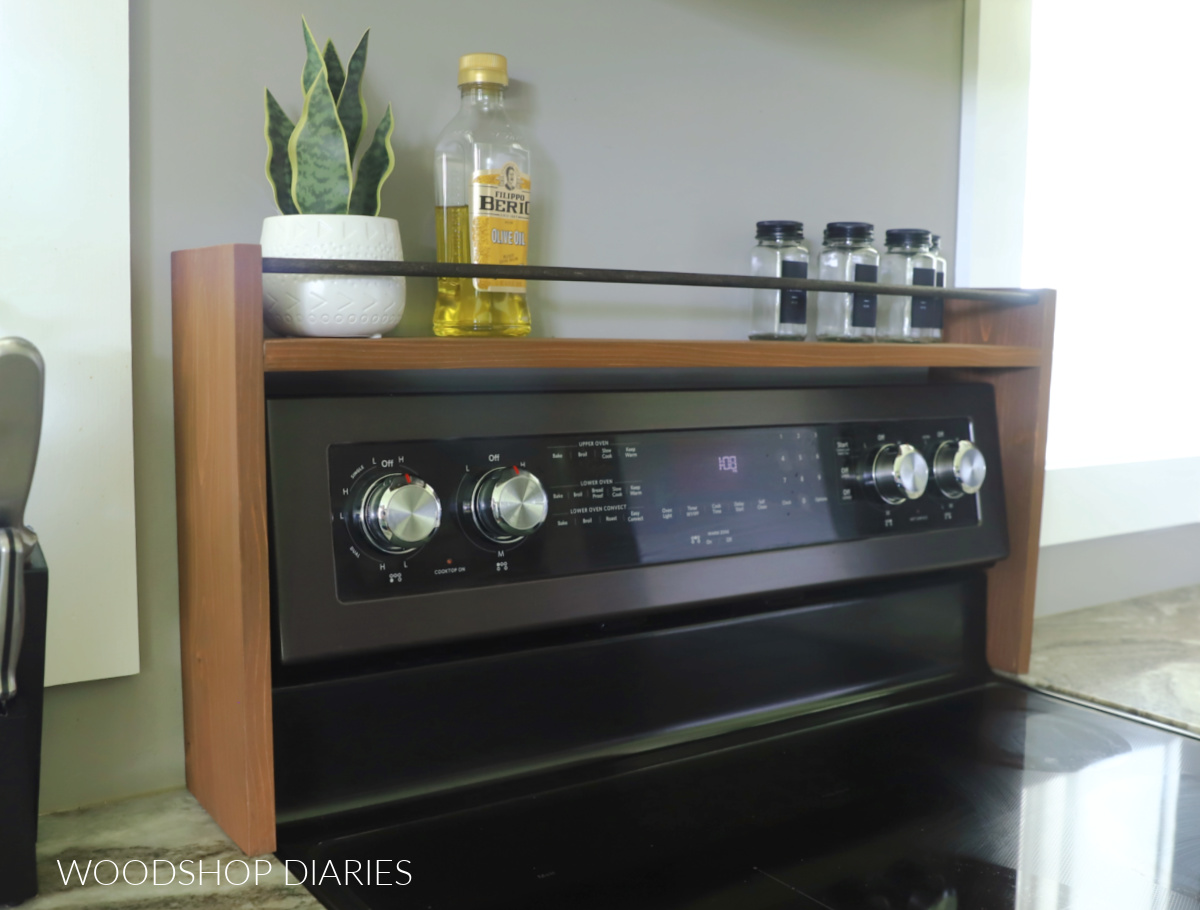
So a project like this that simply sets on the counter can add the same function, but without the stress of adding holes to the wall.
This easy, freestanding shelf is designed to fit around your range controls so it doesn’t take up your countertop space.
Instead, it utilizes that otherwise empty space above the stove…which is actually a really handy place to put your go-to seasonings and oils that you’re always reaching for while cooking.
If you’re ready to build one, all you need is a few basic tools, some scrap wood, and about 15 minutes. I’ll show you how below.
*This post contains affiliate links. See website policies.
What to know before building
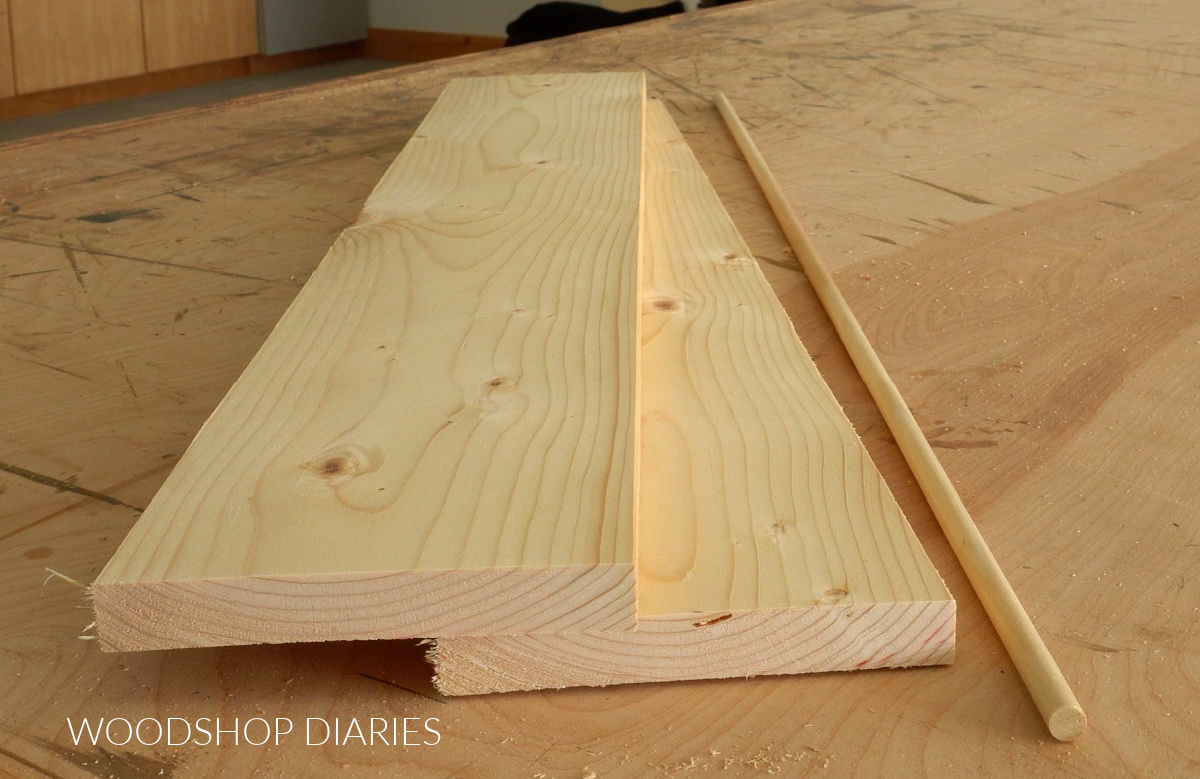
One of the best things about this project is that it’s a great scrap wood build. You just need a little 1×6 board to make it.
But, if you don’t have any 1×6, some scrap ¾″ plywood could also work. A 1×6 is actually ¾″ x 5 ½″ (learn more about lumber sizing here), so some 5″ to 6″ wide plywood strips is a great alternative.
The railing along the front is optional and for that, I used a ⅜″ dowel, but another dowel size or even some scrap trim or 1×2 could also work.
It just keeps items contained on the shelf so they don’t slip off the front edge.
Are DIY projects your thing? Sign up for our newsletter for priority access to the latest projects and build plans!
How to build an over the stove shelf
If you prefer to watch, I’ve shared the build video with tons of tips, behind the scenes, and additional information here:
Love watching how-to videos? Subscribe to my YouTube channel for plenty more where that came from!
Tools & Materials
Tools:
- Miter saw (or any saw that can cut a straight line)
- Drill/Driver
- Pocket Hole Jig (optional)
Materials:
- 1×6 scraps (see step 2 for lengths)
- ⅜″ dowel rod (about 32″ long)
- 1 ¼″ pocket hole screws (or regular wood screws)
Not sure what kind of wood to use for this project? Good news: you can pick just about anything!
I used scrap pine/spruce wood (the cheap stuff you get from Lowe’s or Home Depot) for this, but if you had some oak or poplar, even walnut or maple, those would work well, too.
You could even use ¾″ plywood scraps! Feel free to pick what you like the look of best or what you already have on hand.
Step 1: Measure Range
First, I measured my range so that I know how long to cut my shelf pieces to fit around it. The height of the controls were about 11 ½″ above the countertop. So, let’s say 12″ for a little wiggle room.
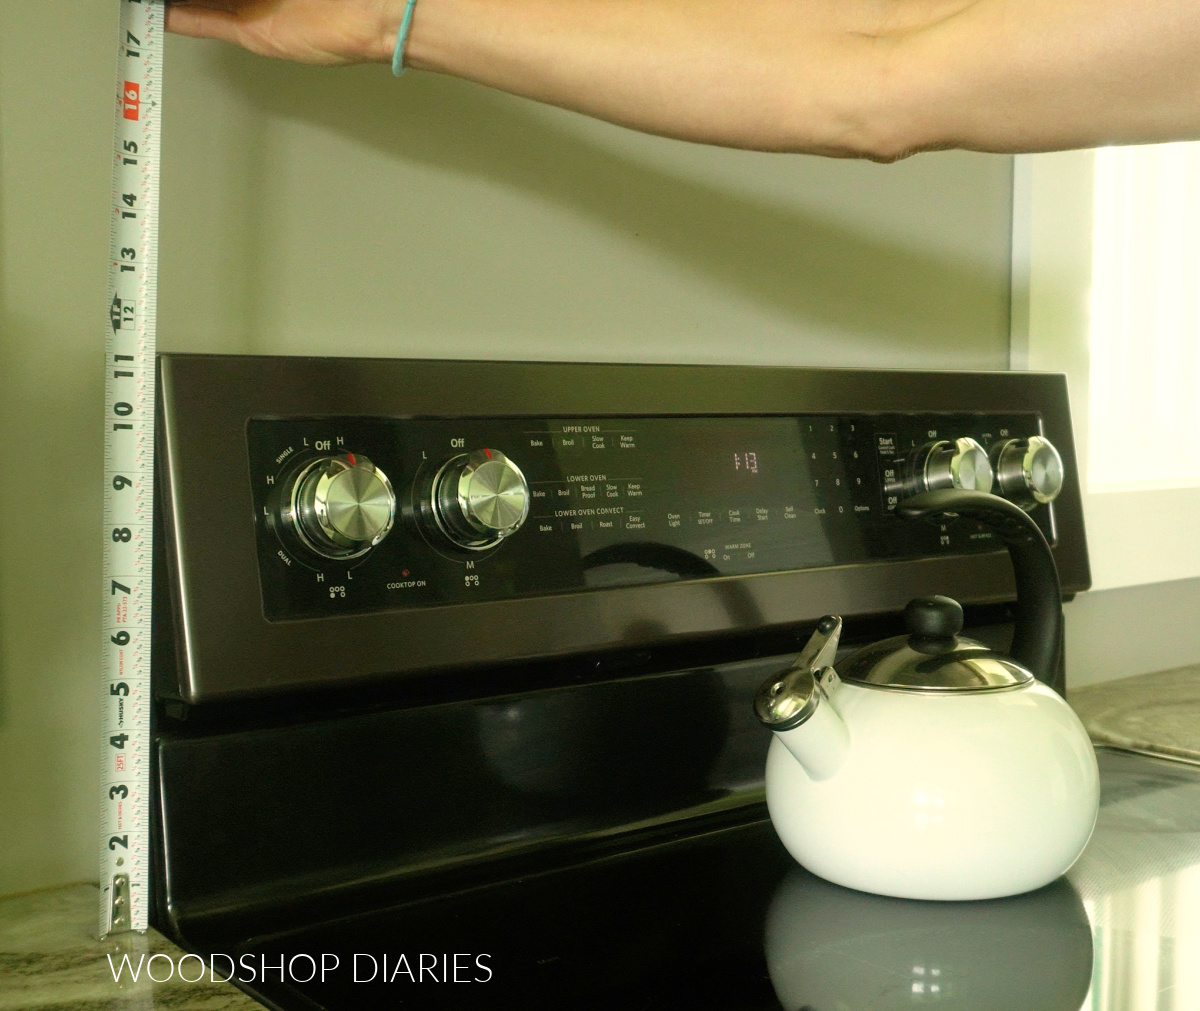
I also measured the distance between my countertops on each side of the stove (or the width of the opening between cabinets for the stove to fit into) and got about 30 ¼″ wide.
Step 2: Cut Scrap Wood For Shelf
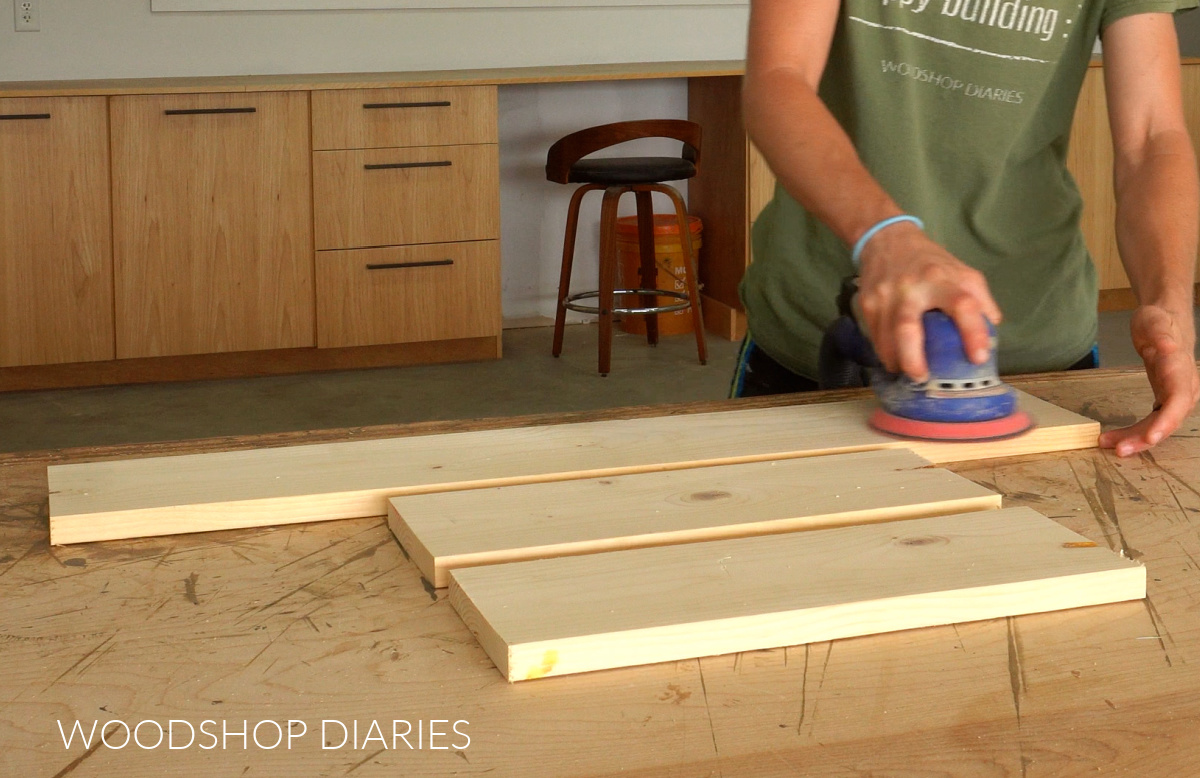
I used 1x6s for my shelf and needed to cut two sides and a top to make it.
The top of the shelf should be the distance between the countertops. So in my case, I cut my shelf top 30 ¼″ long.
The sides of the shelf should be the height of the range controls (in my case, 12″), plus a few inches. It’s up to you how tall you want your shelf sides to stick up, so you can adjust this as desired.
So I cut two pieces to 15″ long for my sides. Then I sanded these three pieces well. Learn how to sand wood here.
Step 3: Drill Rail Holes
I added a rail on the front of my shelf to help prevent items from tipping over or falling off the front edge.
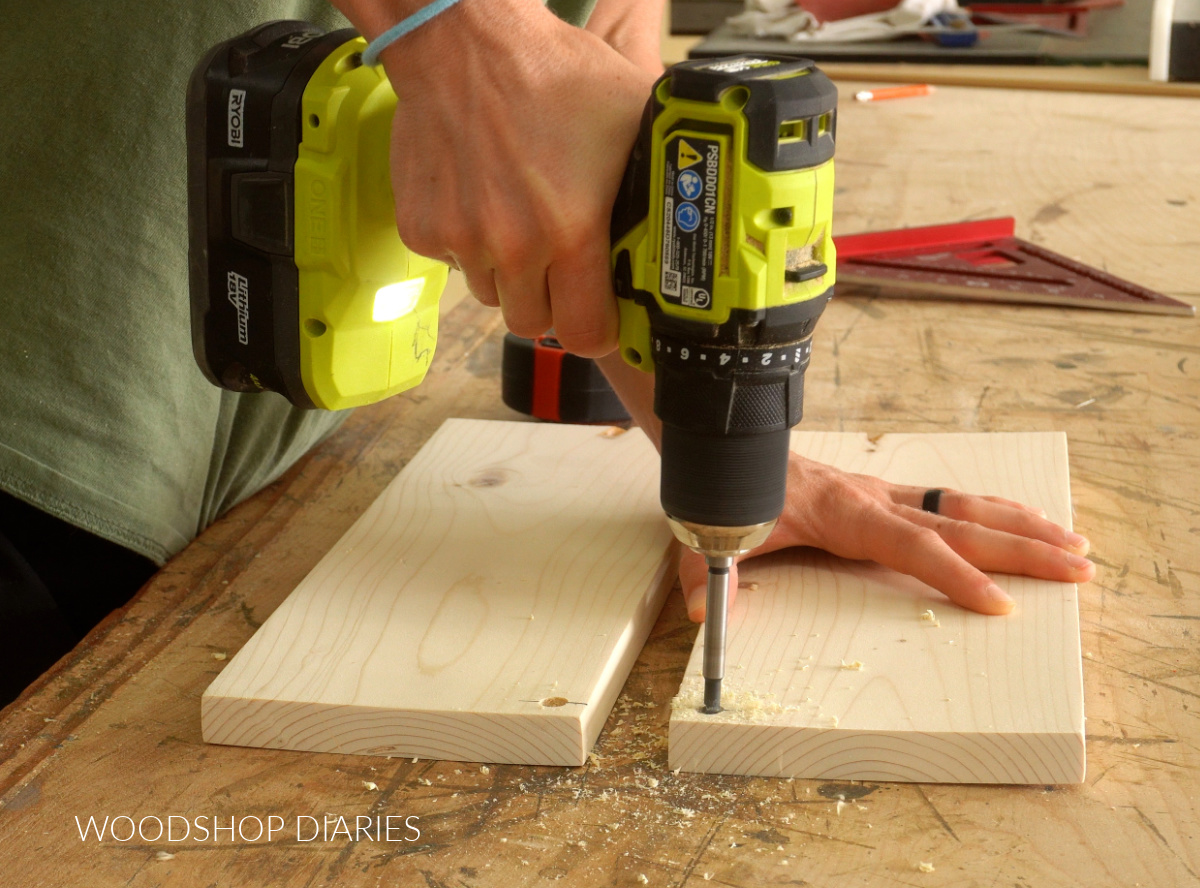
This is optional, but I used a scrap ⅜″ diameter dowel for my rail and needed to drill holes in my side pieces to insert this dowel.
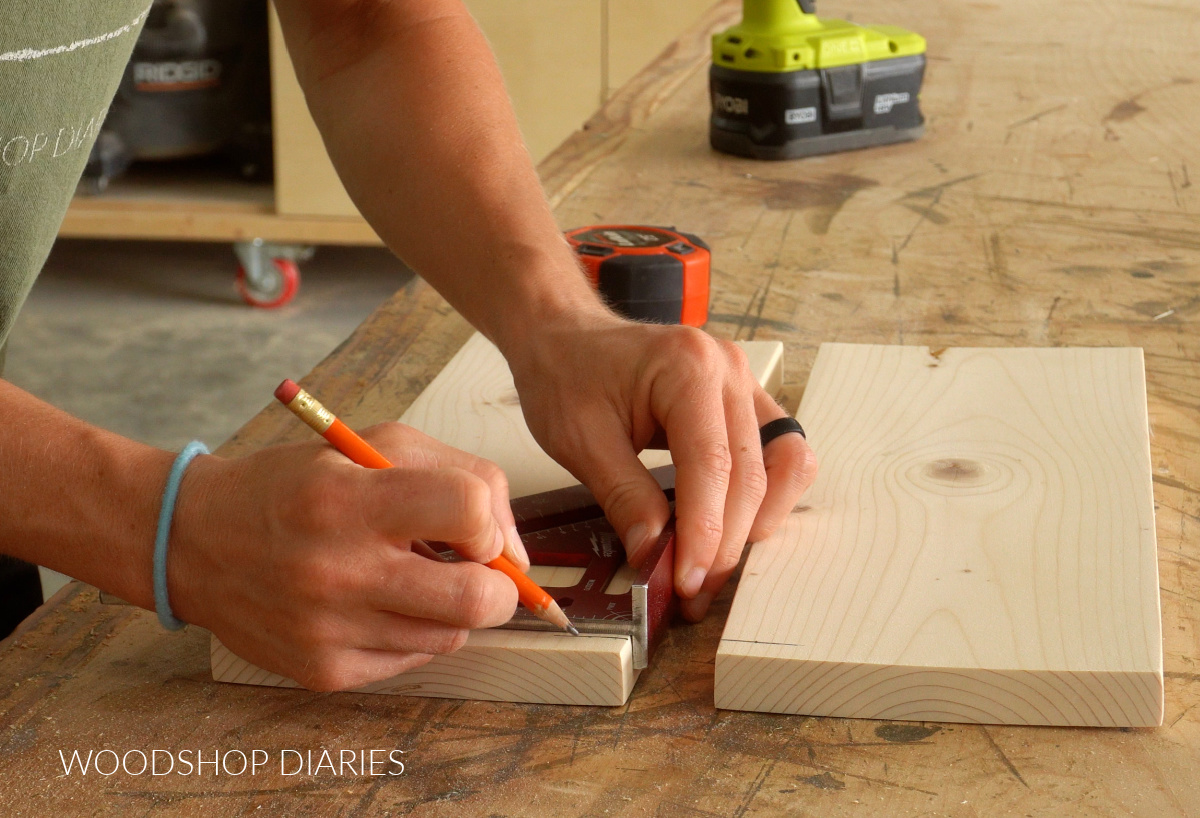
So I marked the two side pieces about ½″ from the top and front edges.
Then, I drilled ⅜″ diameter holes about ½″ deep at each mark.
Then I cut my ⅜″ dowel to the length of my shelf top (30 ¼″), PLUS ¾″.
NOTE: Since these holes for the dowel are ½″ deep, the dowel could technically be cut 1″ (½″ x 2 sides) longer, but I cut it ¾″ longer than my top shelf so there’s a little wiggle room.
Step 4: Stain
I wanted to stain my shelf and the rail different colors and it would be incredibly hard to do so once it was all together.
So before assembling, I stained my three shelf pieces with Minwax Water Based Wood Stain in Pecan.
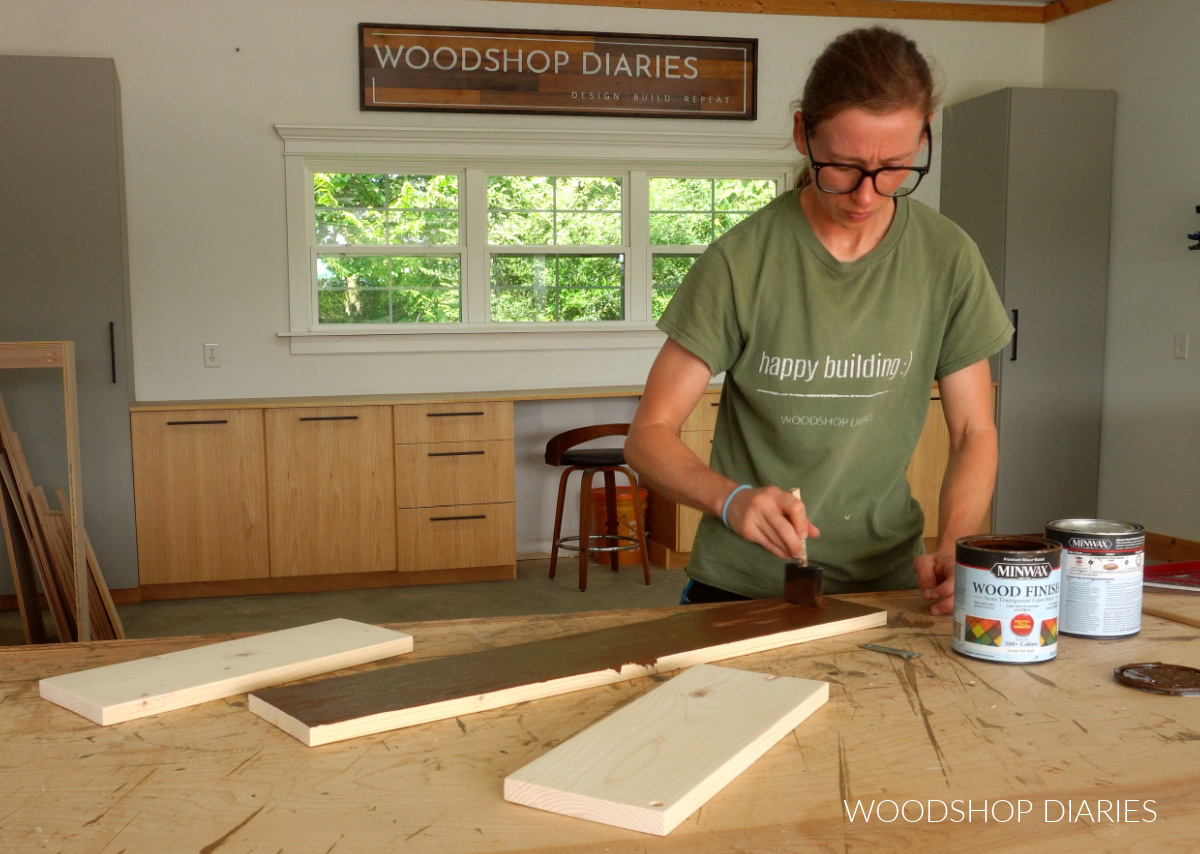
Then, I stained my rail (⅜″ dowel) with Minwax Water Based Wood Stain in True Black.
These water based stains dried really quickly, so I could move on to assembling immediately after stain.
TIP: Water based stains are great for small projects, but can be tricky on larger ones. Learn how to stain wood here.
Step 5: Assemble Over the Stove Shelf
Now I needed to connect the top to the two side pieces and for this, I opted to use pocket holes and screws.
RELATED: How to use a pocket hole jig
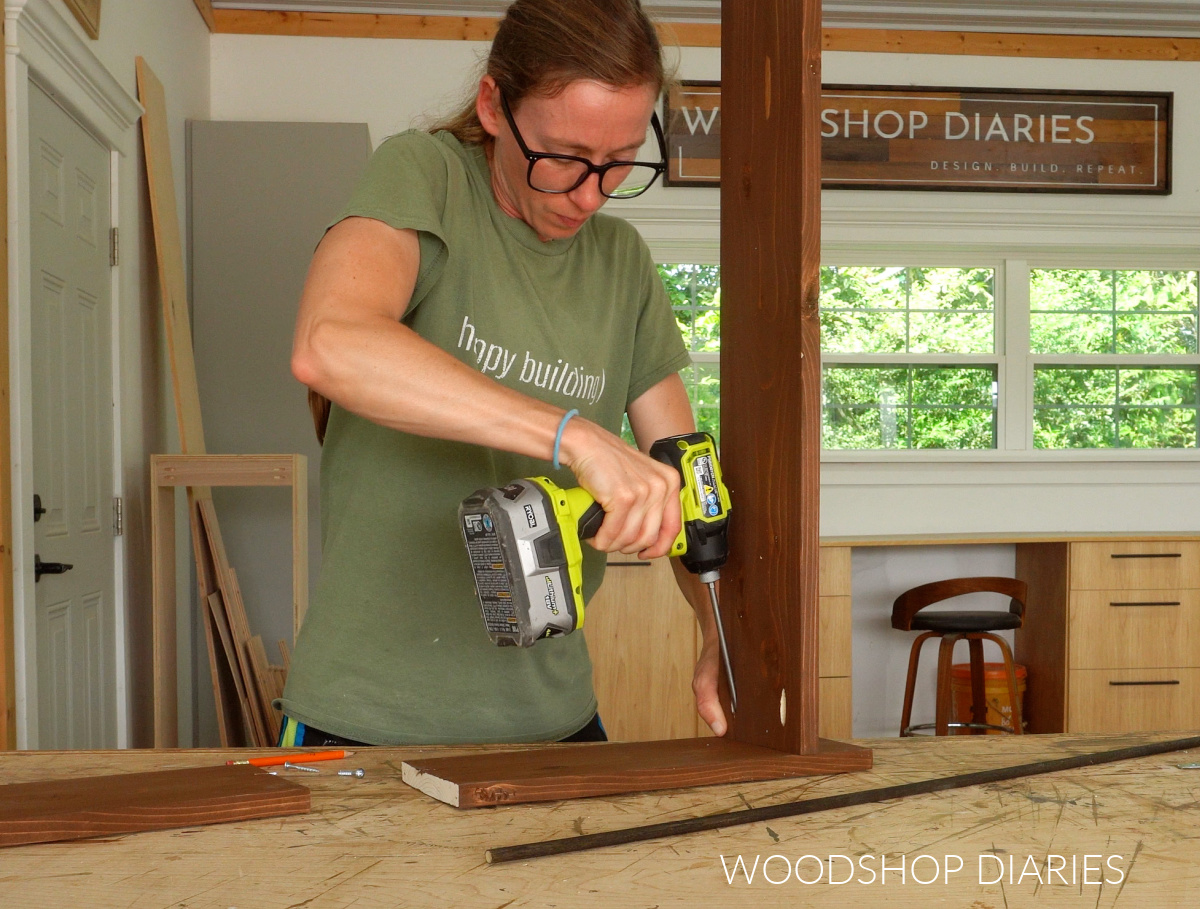
I drilled pocket holes into the ends of my shelf top and secured one end of the top to one of my side pieces so that it was 12″ up from the bottom (12″ because that’s the height of my range controls in step 1).
Then, I carefully placed the ⅜″ dowel into the holes I drilled on my side pieces from step 3 and secured the other end of my shelf top to the other side piece.
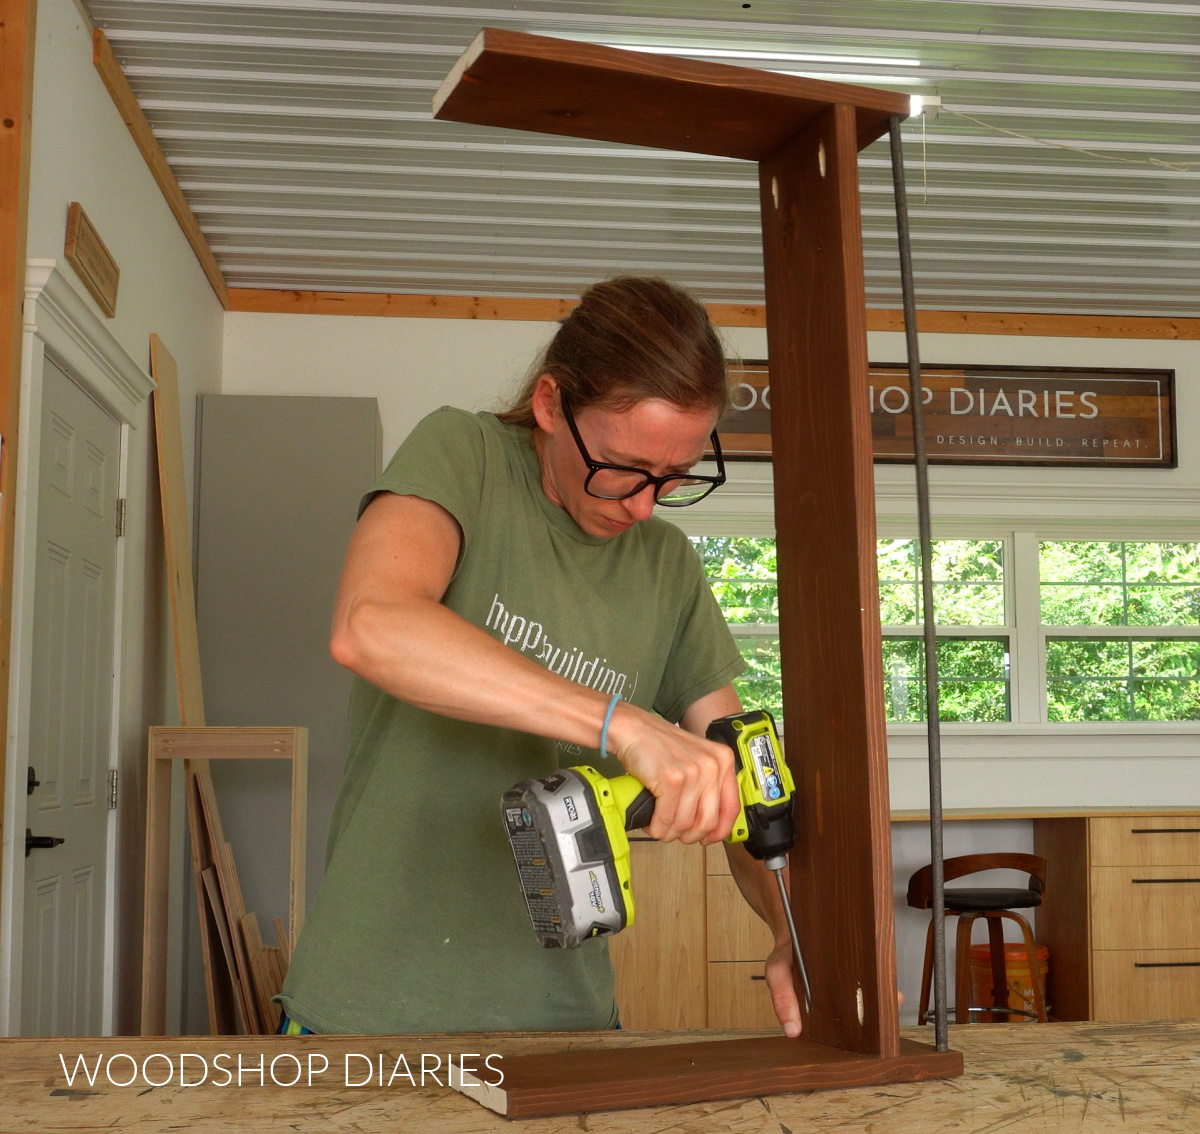
If you didn’t want to use pocket holes, you could swap them for wood glue and brad nails or just drive screws through the sides and into the top.
TIP: I used pocket holes because they would be hidden in the finished project…nails and screws would be visible on the sides.
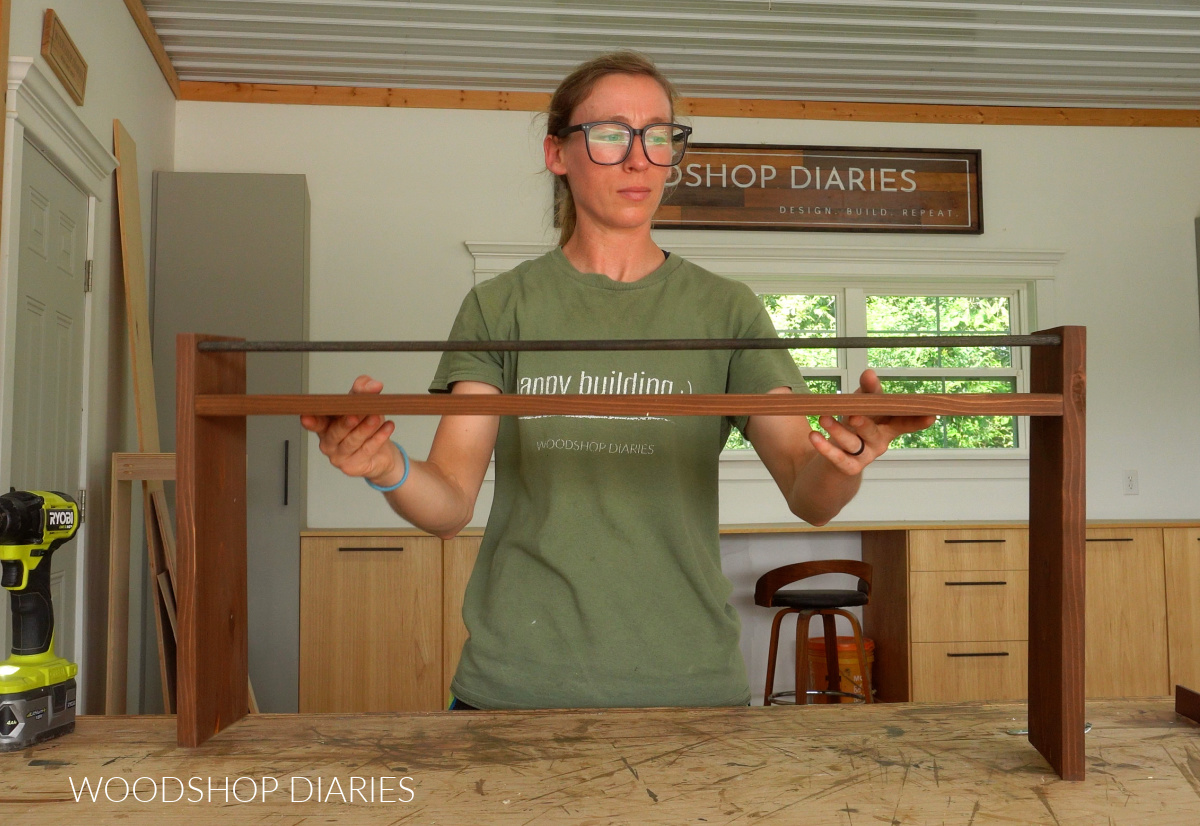
Once it was assembled, I gave it a clear coat to seal it (Minwax Polycrylic), and let it dry well.
Now I can slide this simple shelf over the range controls to give me some extra handy storage over the stove for frequently used items while cooking!
Looking for More Scrap Wood DIYs?
Can’t get enough scrap wood projects?? I’m teaming up with my friend, Kati, from Houseful of Handmade all month long for “Scrap Wood Summer!”
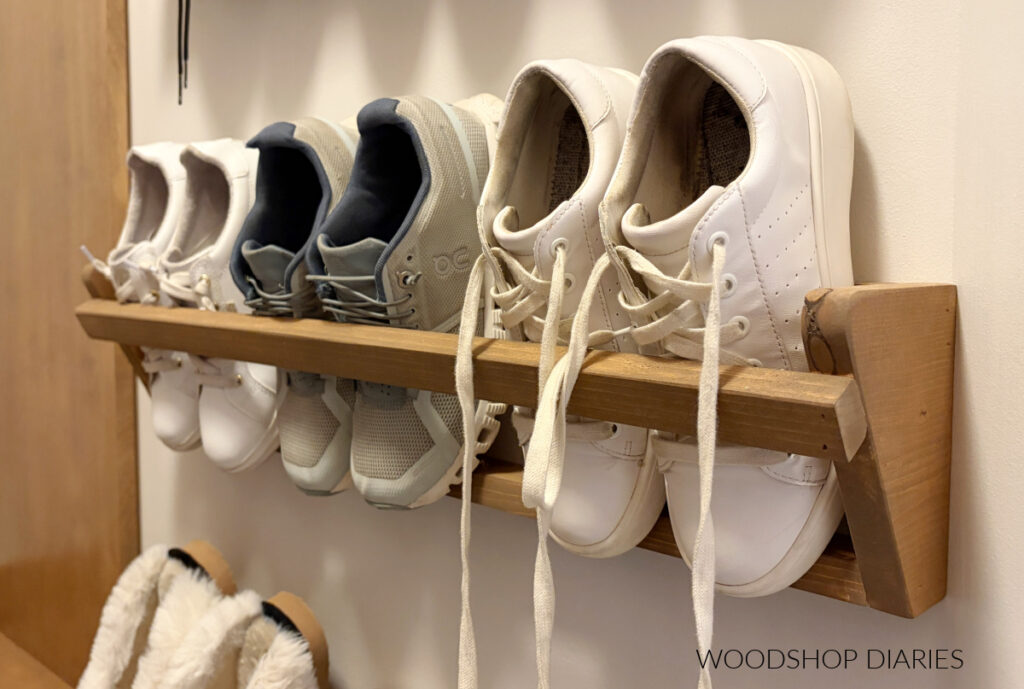
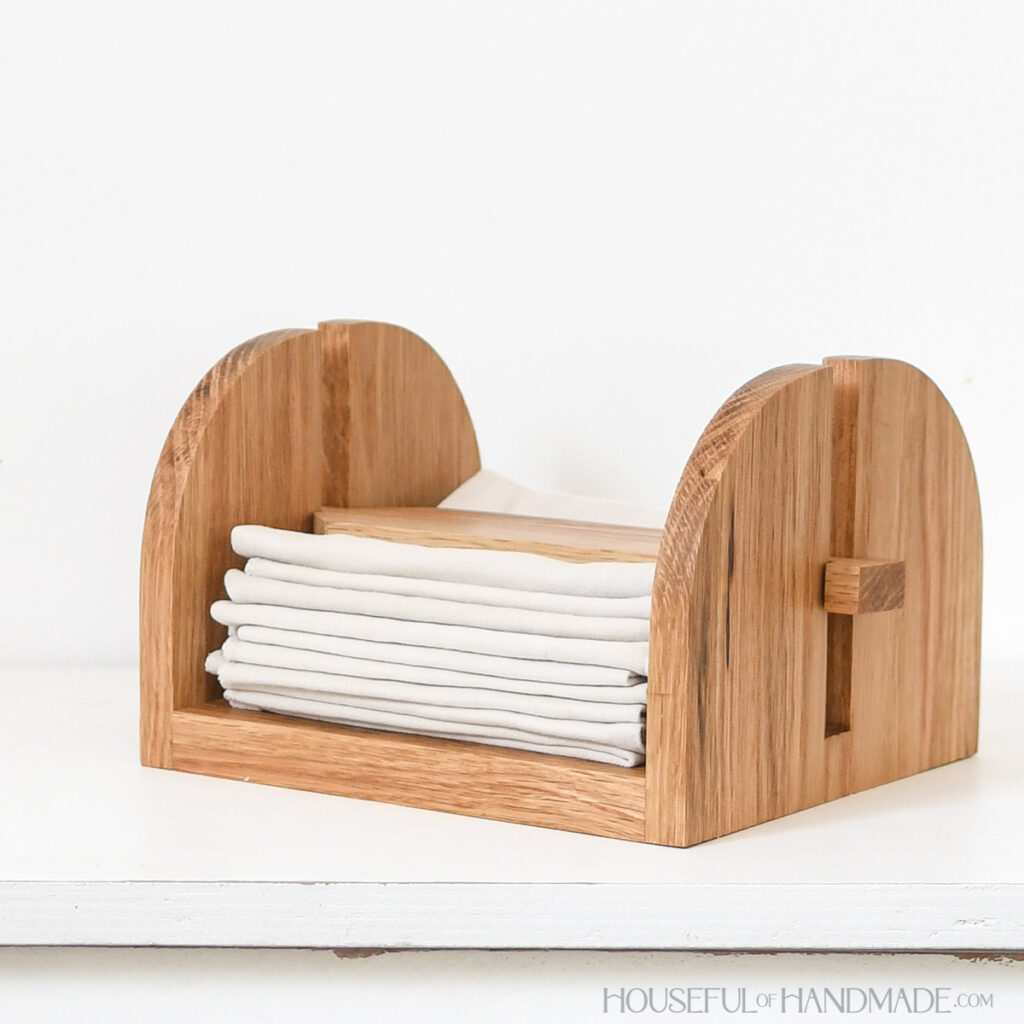
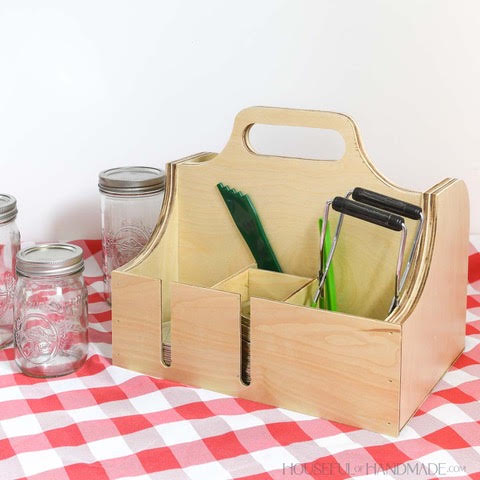
Check out all the projects in the series below. Click on the images to learn how to make each one!
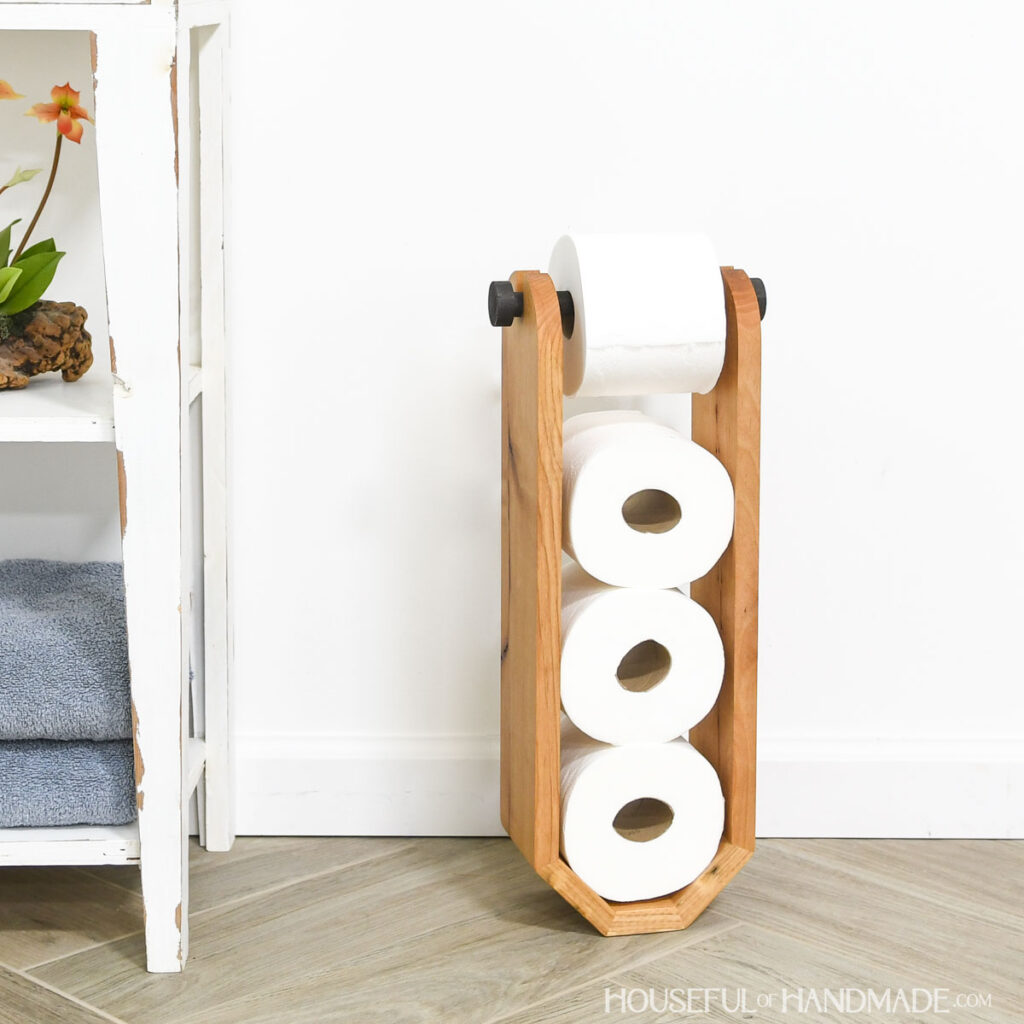
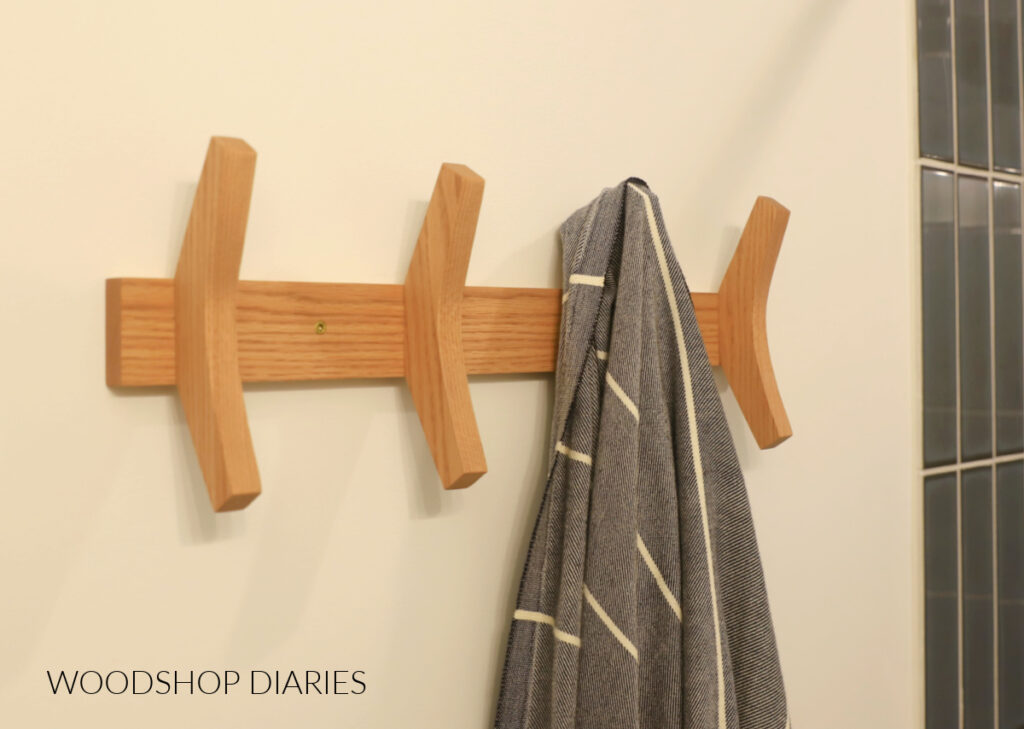
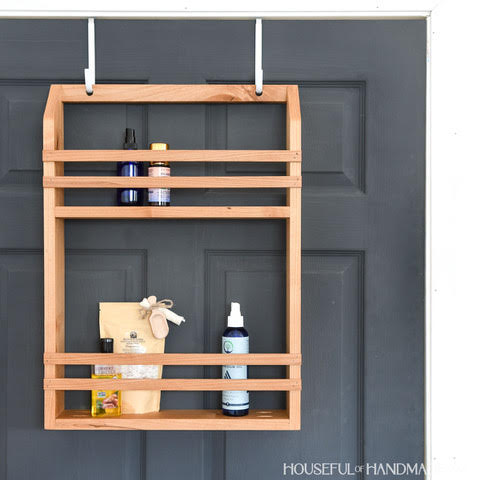
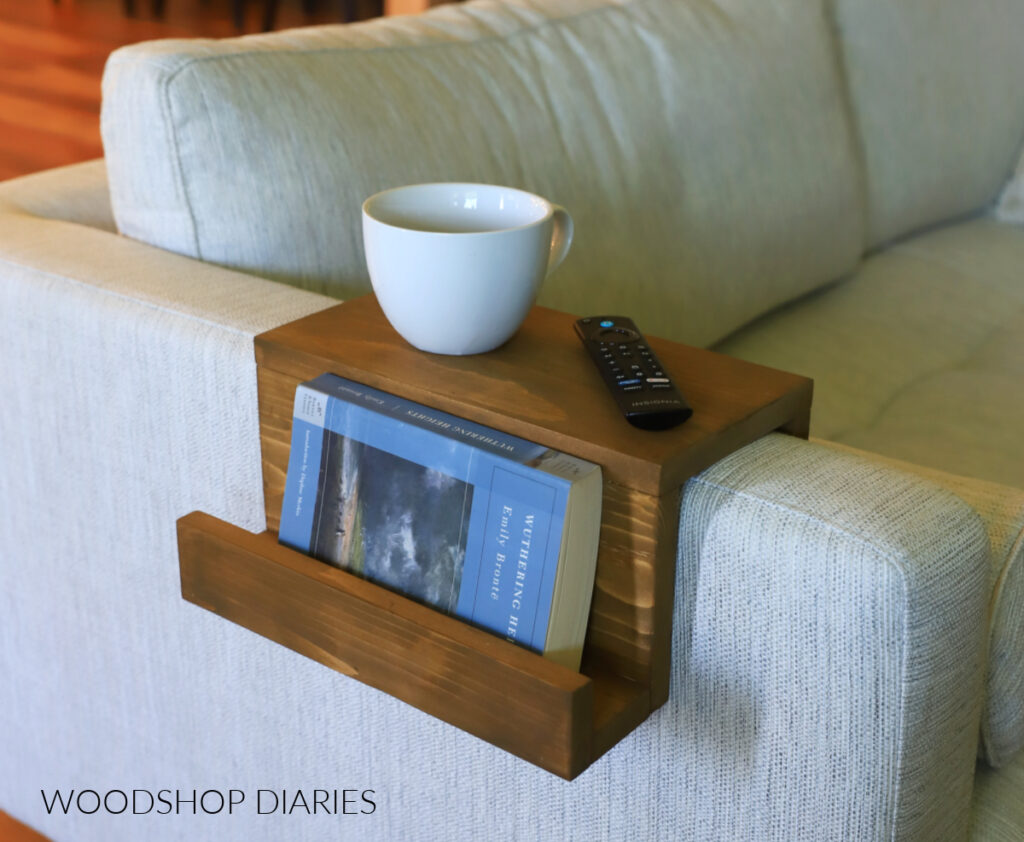
This is our fifth year hosting Scrap Wood Summer and I enjoy it a little more each time. But, if you’ve never heard of it before, that’s okay!
Essentially, we each share a new scrap wood project every Tuesday throughout the month of August. So by the end of the month, you’ve got 8 new project ideas to try.
So stay tuned to see all the other fun ideas we are so excited to share with you!
Can’t wait? Check out previous Scrap Wood Summer projects plus other scrap wood ideas here.
If you’d like to save this DIY scrap wood stove shelf for later, be sure to pin it or share to your favorite social channel!
Until next time, friends, happy building!