
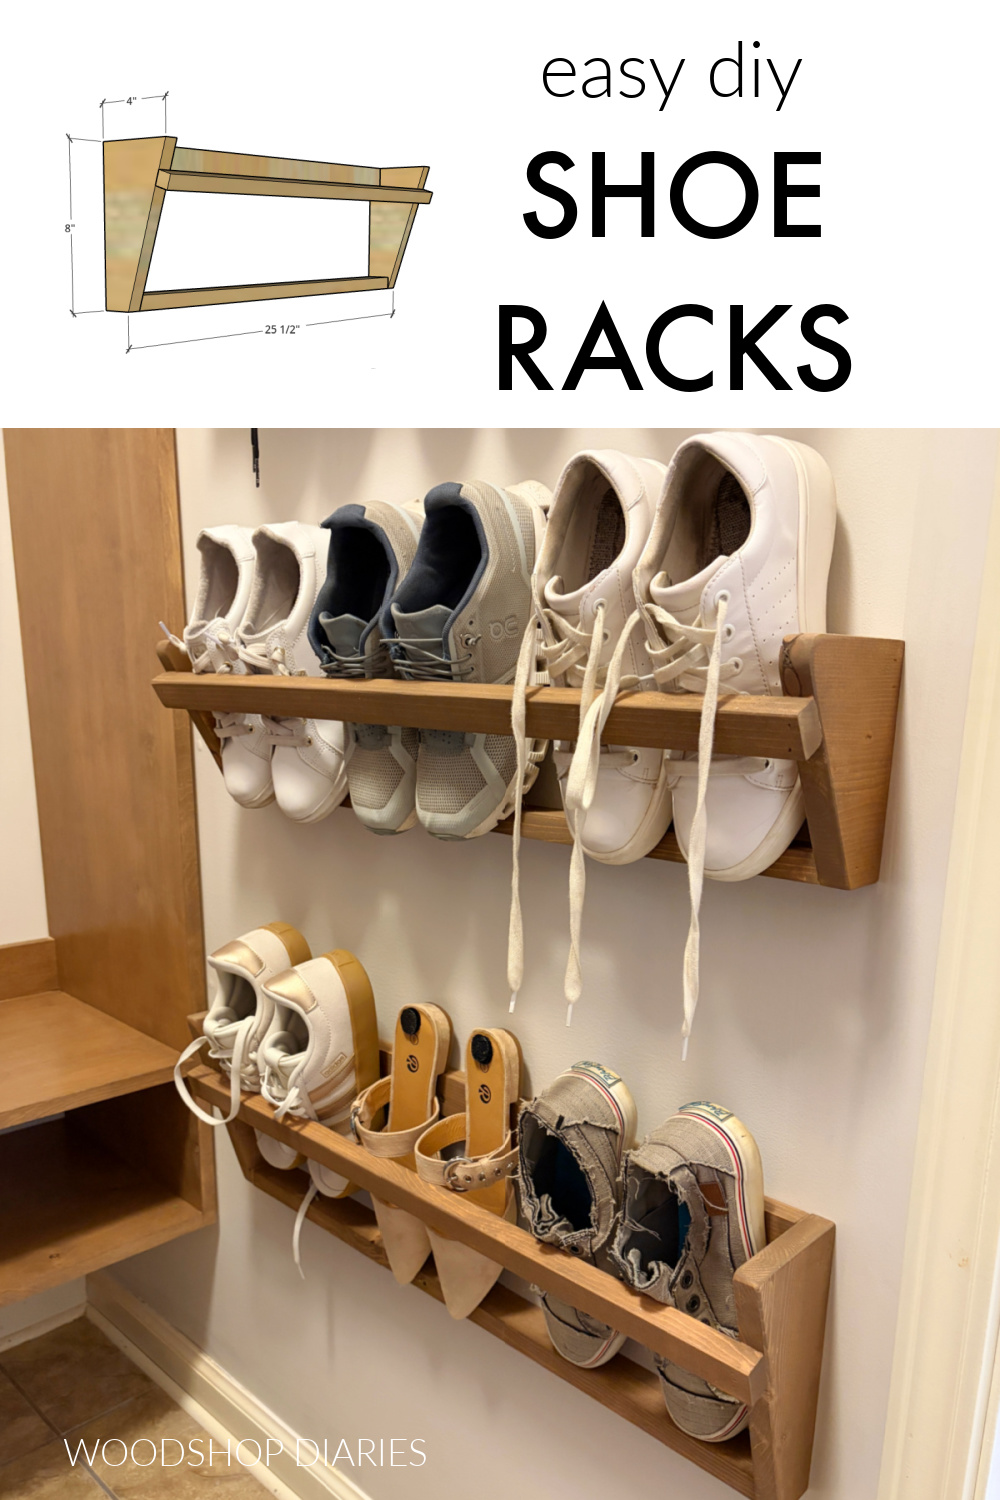
In this post, I’m showing you how to build a simple wall mounted shoe rack from a few pieces of scrap wood!
I recently built a few of these to add to my mom’s closet makeover to help utilize the open wall space for shoe storage.
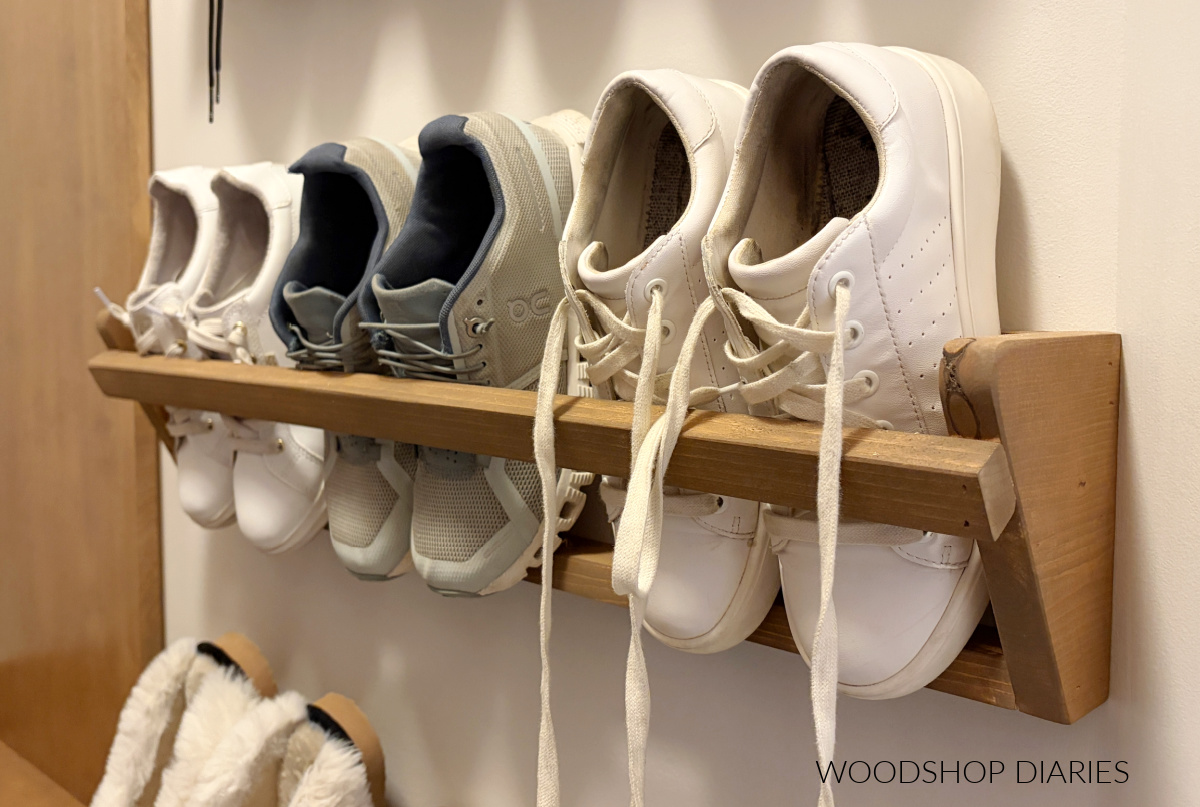
The great thing about these wall mounted shoe racks is that they mount right onto the wall and are really narrow (only a few inches deep), so they don’t take up any floor space and can be hung almost anywhere without being in the way.
Another great feature is that they only take about 5 minutes to build and they are easily modified to fit different types and sizes of shoes.
So if you need a practical way to store and organize your shoes on the wall vs on the floor, I’ll show you how to build them below.
*This post contains affiliate links. See website policies.
What to know before building
These shoe racks are designed to store shoes vertically (toe down) on the wall.
The problem is that not all shoes are the same shape or size (thank you, Captain Obvious ha!). So these racks are not necessarily “one size fits all.”

I built four of these these for my mom and I based the size and shape of the first one off a few of my casual sneakers. My shoes fit, so Mom’s shoes should, too, right?
Wrong. After testing some of hers, I realized a lot of her shoes were more of a wedge shape (vs flat like mine), so the racks actually needed to be deeper to fit most of her shoes.
Luckily, you can EASILY modify these shoe racks by simply adjusting the size and shape of the side pieces…which I will explain below.
So when building, I encourage you to grab a few of your own kicks and build these to fit YOUR shoes. I always say that the best part about DIY is that YOU can build exactly what YOU want or need!
I ended up building Mom a few slightly different size racks to accommodate her various shoe styles. This was actually pretty helpful in keeping them sorted and organized, too! Every shoe has a specific place.
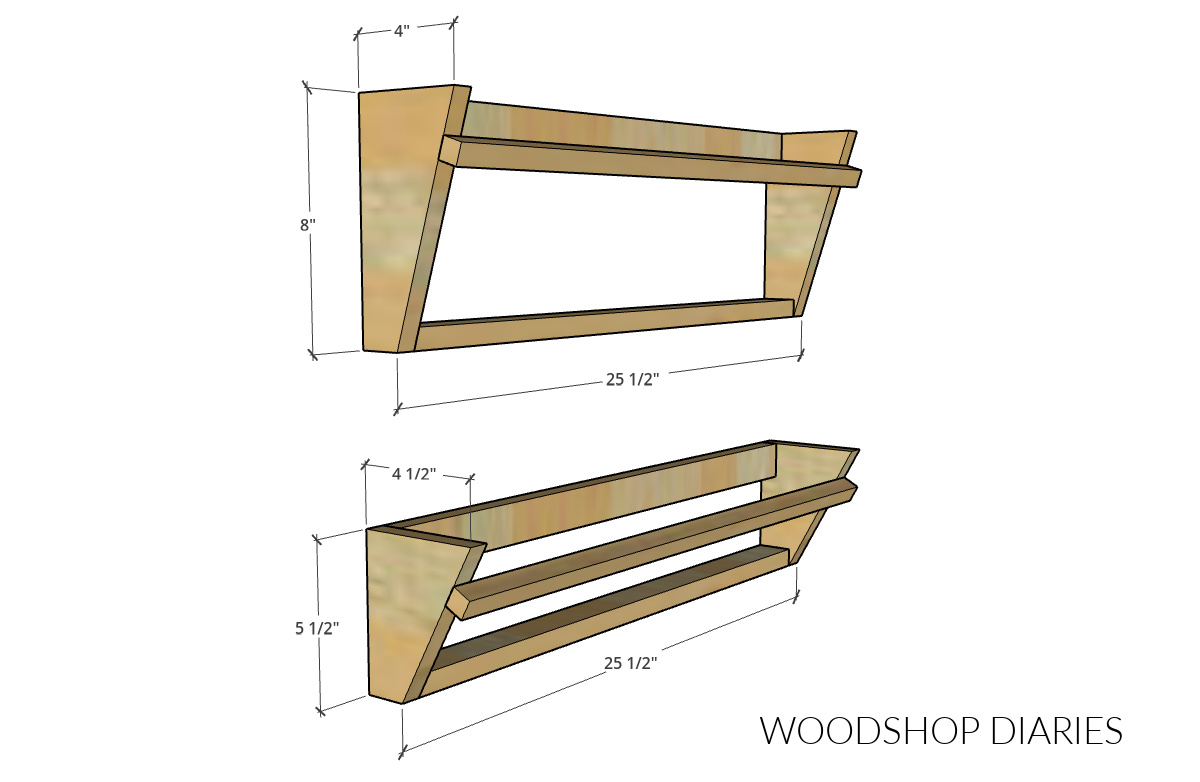
As far as the LENGTH of the racks, you can also adjust this based on your available wall space. Mom only had about 26″ of wall space to hang these on, so I made them 25 ½″ wide.
This fit three pair of her shoes. But if you have a wider wall, you can definitely make these wider to accommodate more per rack. Again, I encourage you to measure your own shoes and build to fit.
Are DIY projects your thing? Sign up for our newsletter for priority access to the latest projects and build plans!
How to build a scrap wood shoe rack
If you prefer to watch, I’ve shared the build video with tons of tips, behind the scenes, and additional information here:
Love watching how-to videos? Subscribe to my YouTube channel for plenty more where that came from!
Prefer to print? Grab the printable shoe rack building plans available here:
Tools & Materials
Tools:
- Jig Saw
- Miter Saw (optional)
- Brad Nailer
- Drill/Driver (to hang racks on wall)
Materials:
- Scrap 1×6 board
- Scrap 1×2
- Scrap ¾″ square dowel OR more 1×2
- Wood Glue
- 1 ¼″ brad nails
- 2 ½″ wood screws (to hang racks on wall)
Not sure what kind of wood to use for this project? Good news: you can pick just about anything!
I used scrap pine/spruce wood (the cheap stuff you get from Lowe’s or Home Depot) for these, but if you had some oak or poplar, even walnut or maple, those would work well, too.
You could even use ¾″ plywood scraps! Feel free to pick what you like the look of best or what you already have on hand.
Step 1: Cut Shoe Rack Sides
First, I cut a piece of my 1×6 scraps to make my shoe rack sides. As mentioned in the notes above, not all shoes are the same shape or size, so I made a couple different size racks to accommodate different styles of shoes.
To adjust the size, I just cut my 1×6 shorter or longer. For a shallower style shoe rack, cut the 1×6 longer (about 8″) and run the grain vertically.
For a deeper style shoe rack, cut the 1×6 shorter (about 6″) and run the grain horizontally. See plans for the complete list of dimensions and details.
I marked 1 ½″ in from two opposite corners on the 1×6.
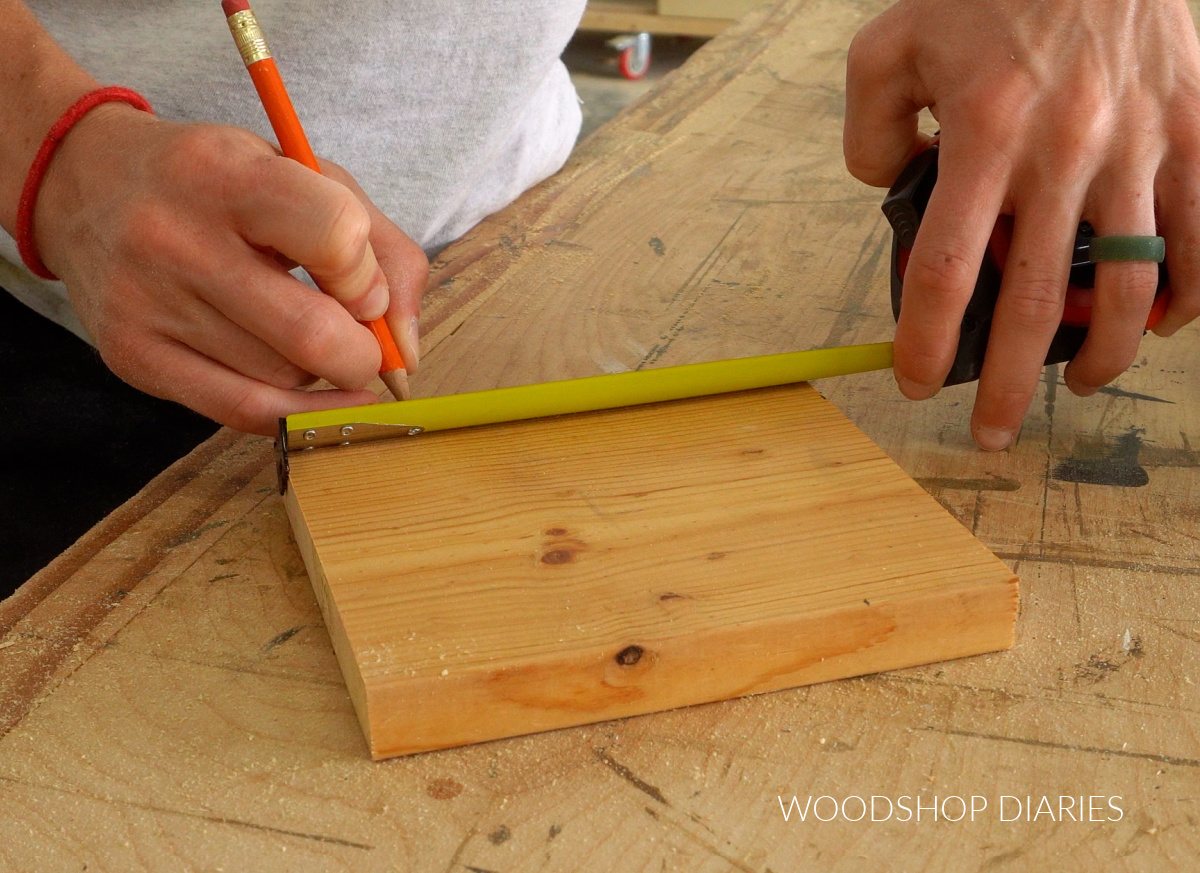
Then, I drew a line to connect my marks.
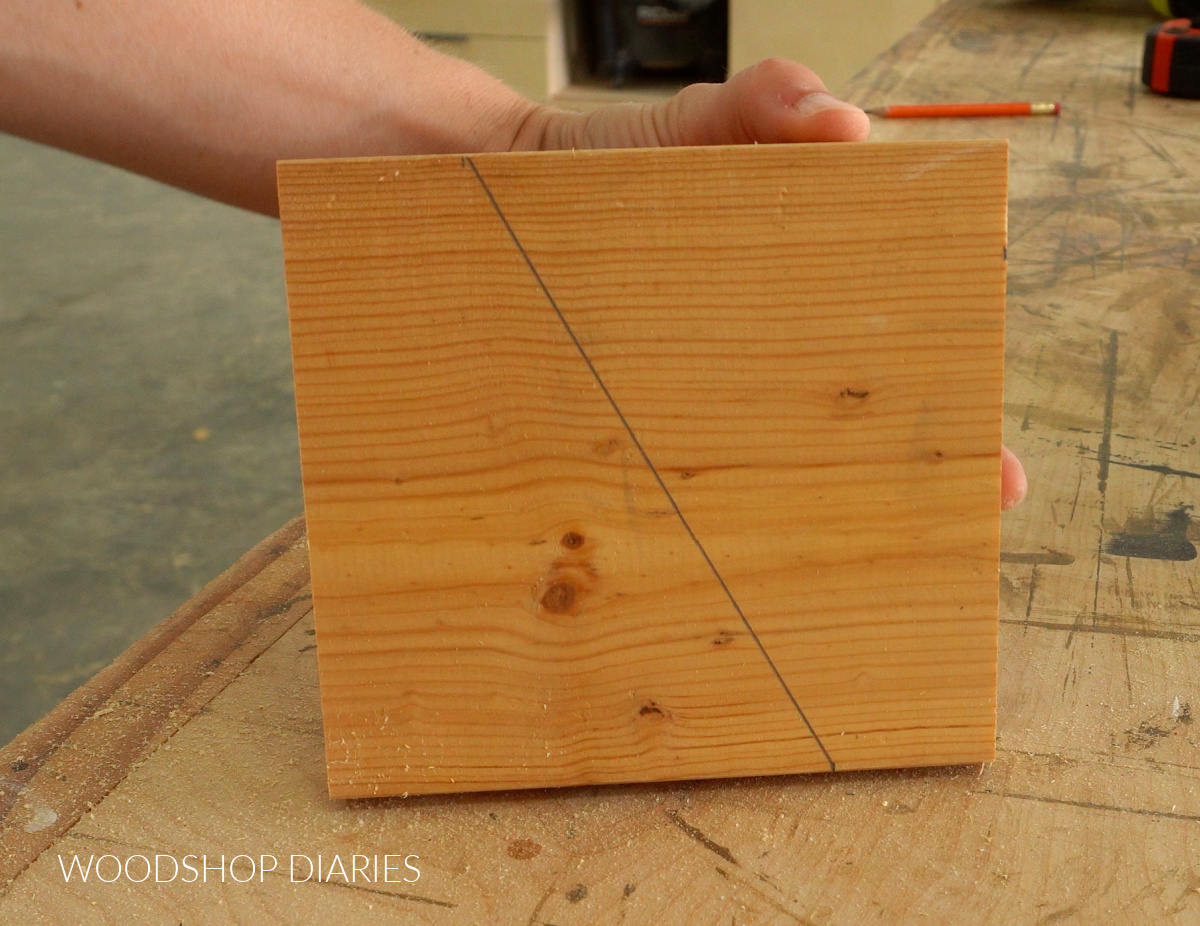
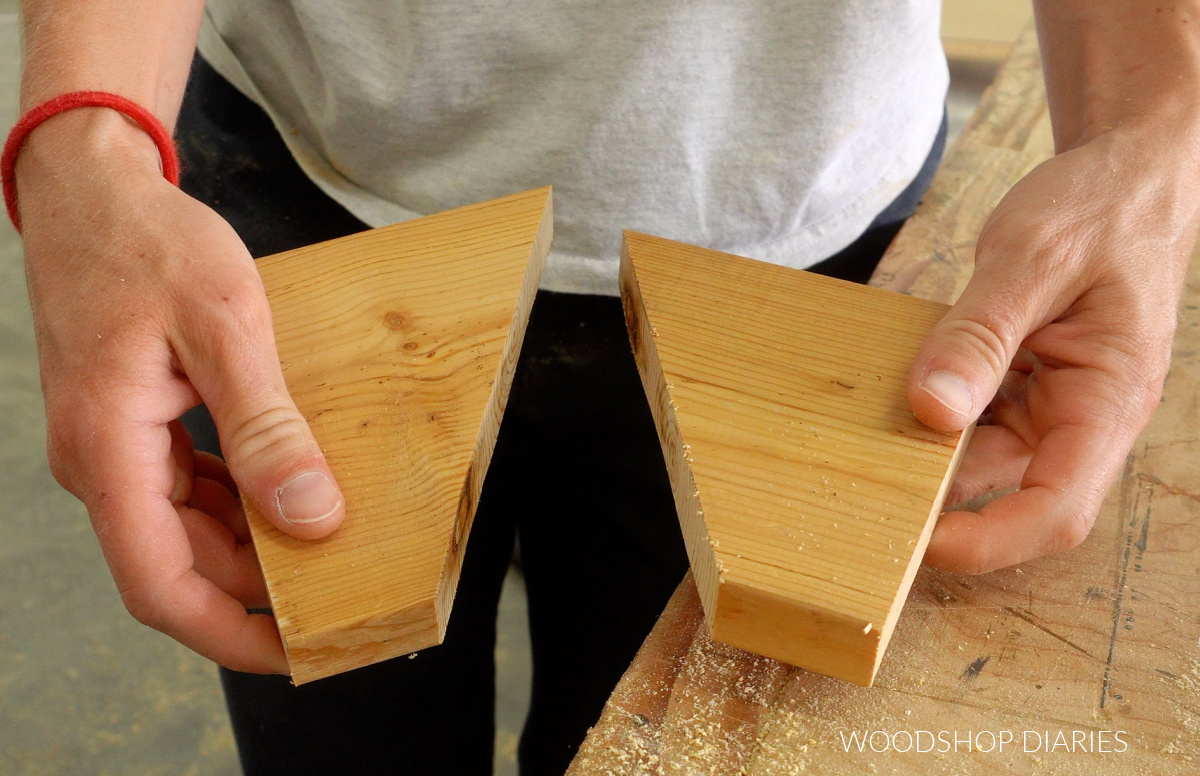
Next, I used a jig saw to cut along this diagonal line to give me two identical side pieces for my shoe rack.
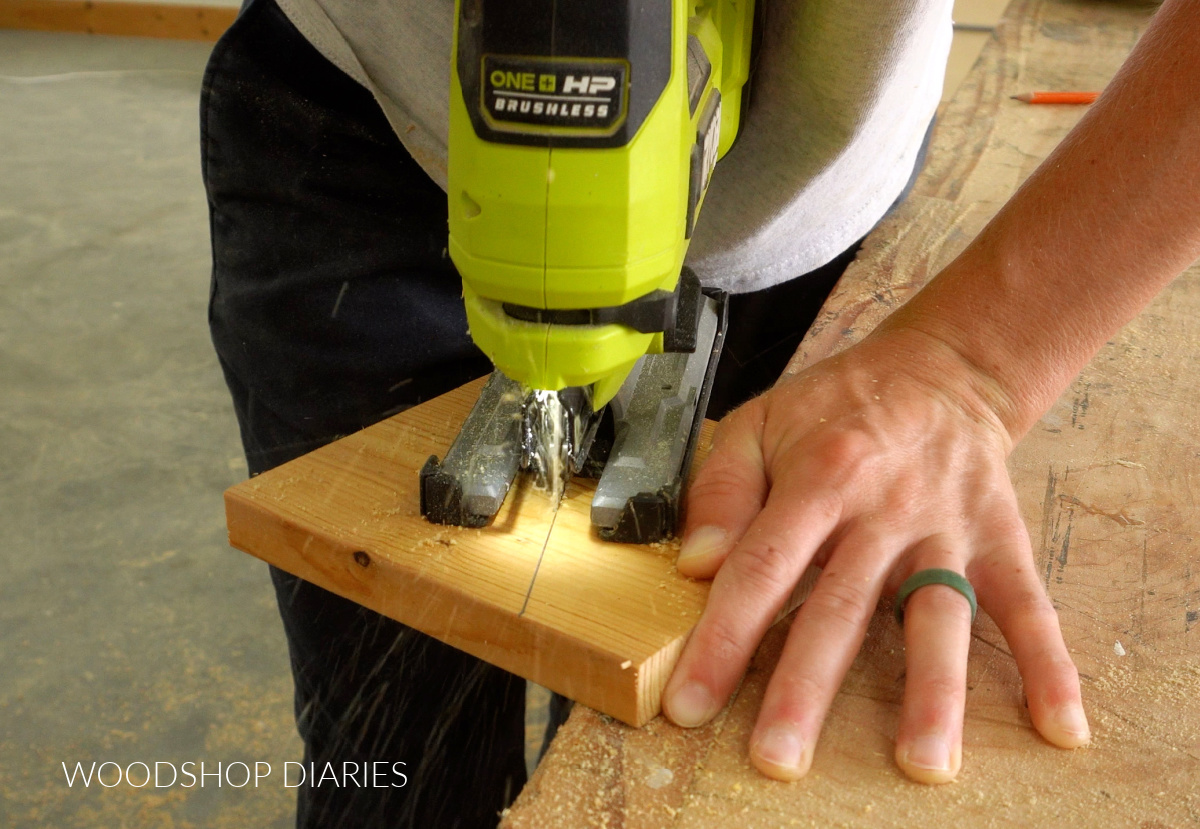
If you want, you can also use a jig saw to round the sharp corners at the top so they aren’t so pointy. Totally up to you!
Prefer to print? Grab the printable plans for both size shoe racks here.
Step 2: Assemble Shoe Rack
Next, I cut two pieces of 1×2 to about 24″ (but you can make this shorter or longer depending on how wide your shoes are and how many pair you want to be able to put inside).
Before assembling, I sanded everything really well (you don’t want rough wood or sharp edges scuffing up your shoes!). Learn how to sand wood here.
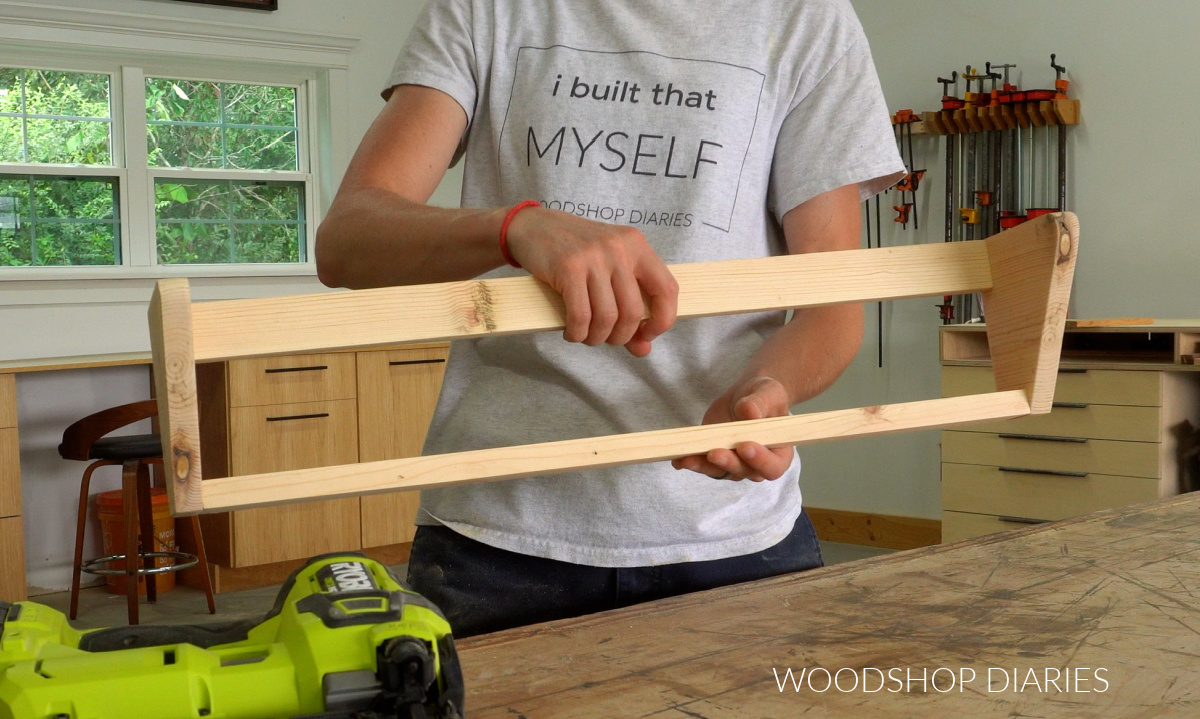
Then I glued and brad nailed the 1x2s between the two side pieces: one at the bottom and one at the top.
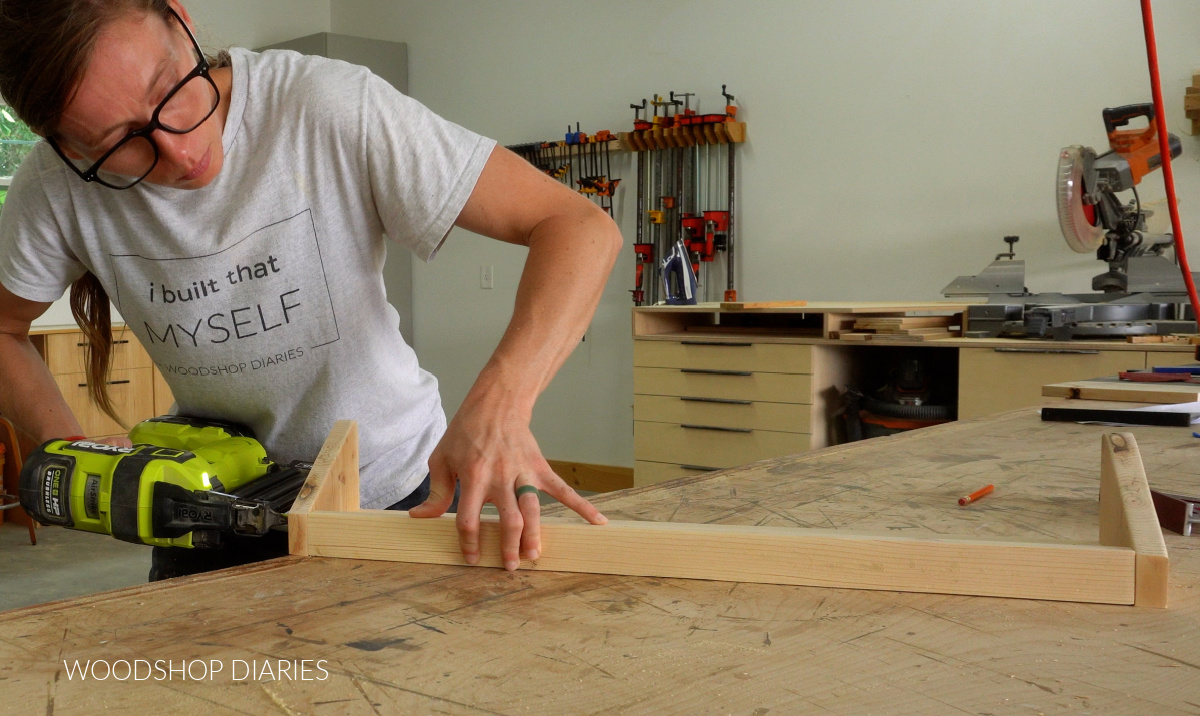
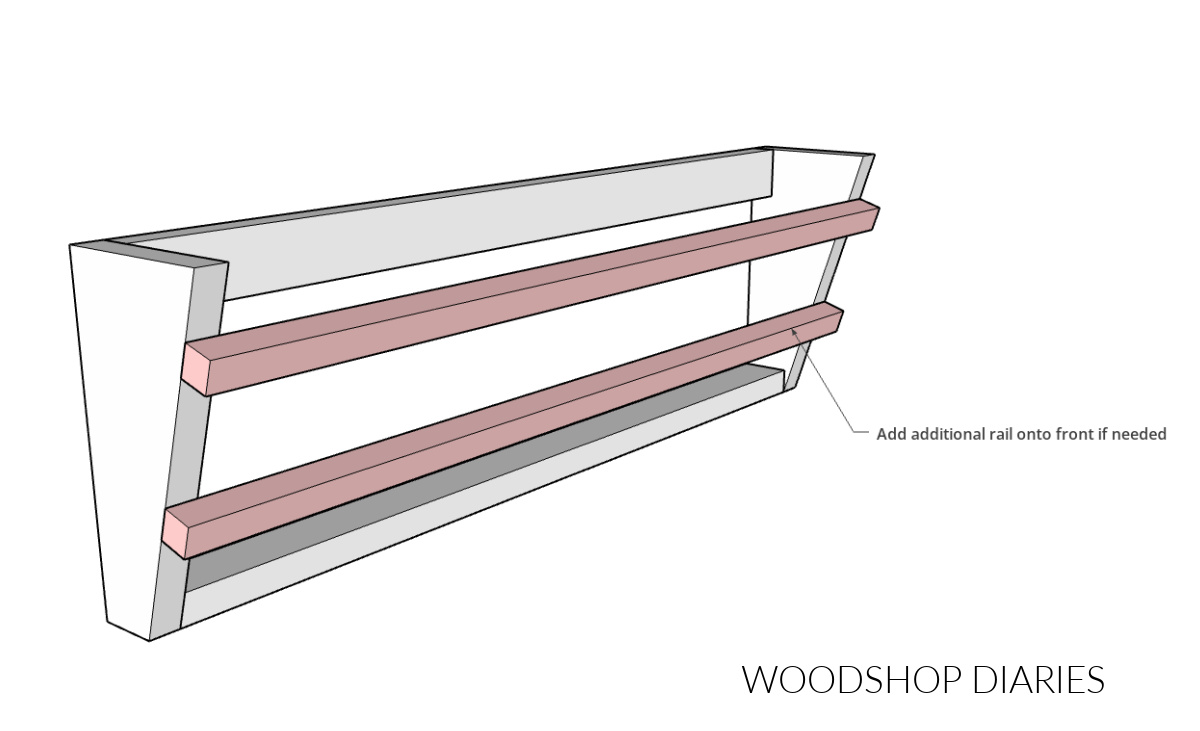
Assembly looks exactly the same no matter what size you cut your side pieces. Notice that the bottom 1×2 is turned flat and is flush to the bottom of the sides.
The top 1×2 is turned vertically and is flush to the top and back edges of the sides.
Step 3: Attach Front Rail(s)
Next, I cut a piece of small trim to run across the front. This will hold the shoes inside the rack.
I used a strip of leftover wood from ripping down some 1x material. It was actually more like ¾″ x 1″, but ¾″ square dowel or another 1×2 would also work great here.
I nailed this onto the front of my shoe rack on each side.
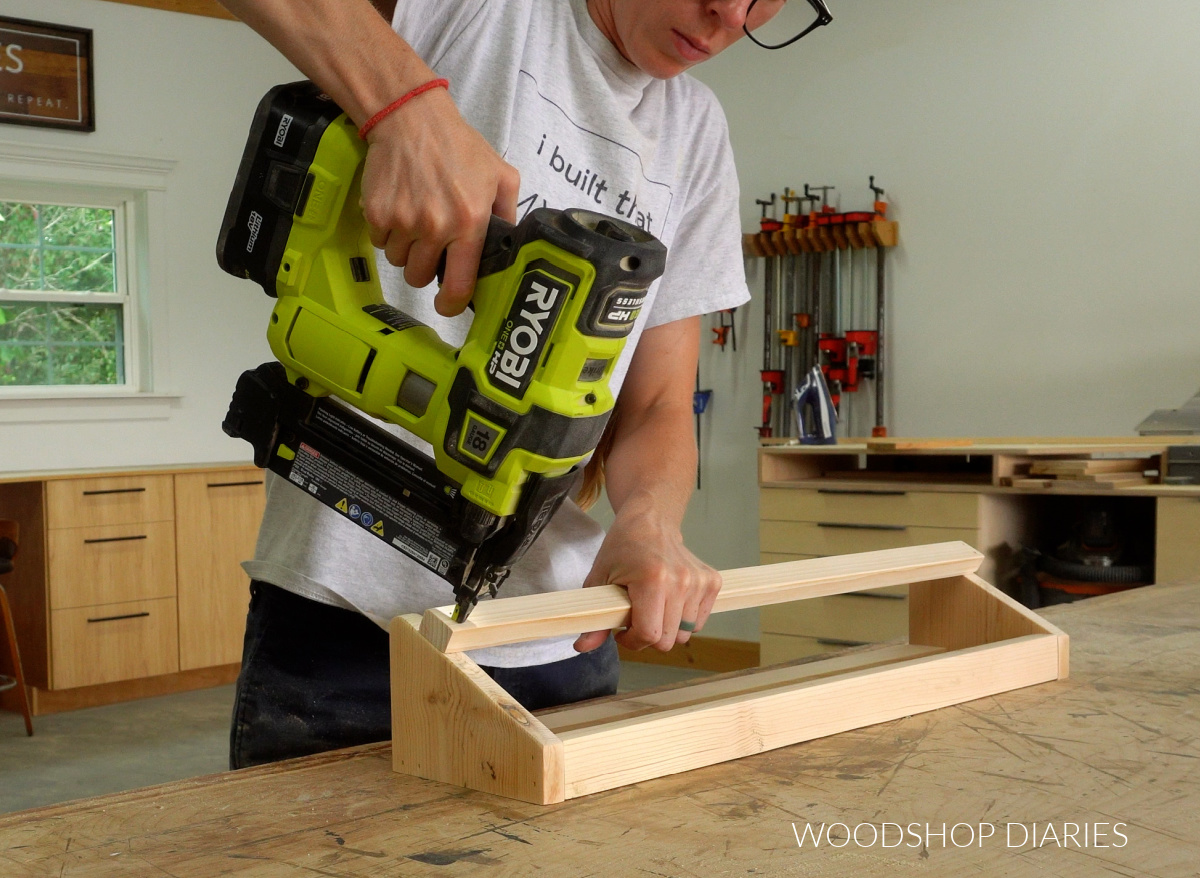
TIP: Grab a pair of your shoes to help you place this rail where best fits. For thinner or longer shoes, place it further from the top. For thicker, shorter shoes, place it closer to the top.
If your shoes tend to slip out of the rack between the rail and the bottom, you can add another rail along the front to help keep them inside.
Step 4: Hang Shoe Rack on Wall
After they were assembled, I stained these racks in a mixture of 1 part Minwax Simply White and 5 parts Minwax Provincial.
Then, I brought them to my parents’ house and installed them in Mom’s closet.
Ideally, you’d place these where they cross at least two wall studs, and use two 2 ½″ screws through the top piece and into each wall stud. MAKE SURE TO USE A LEVEL!
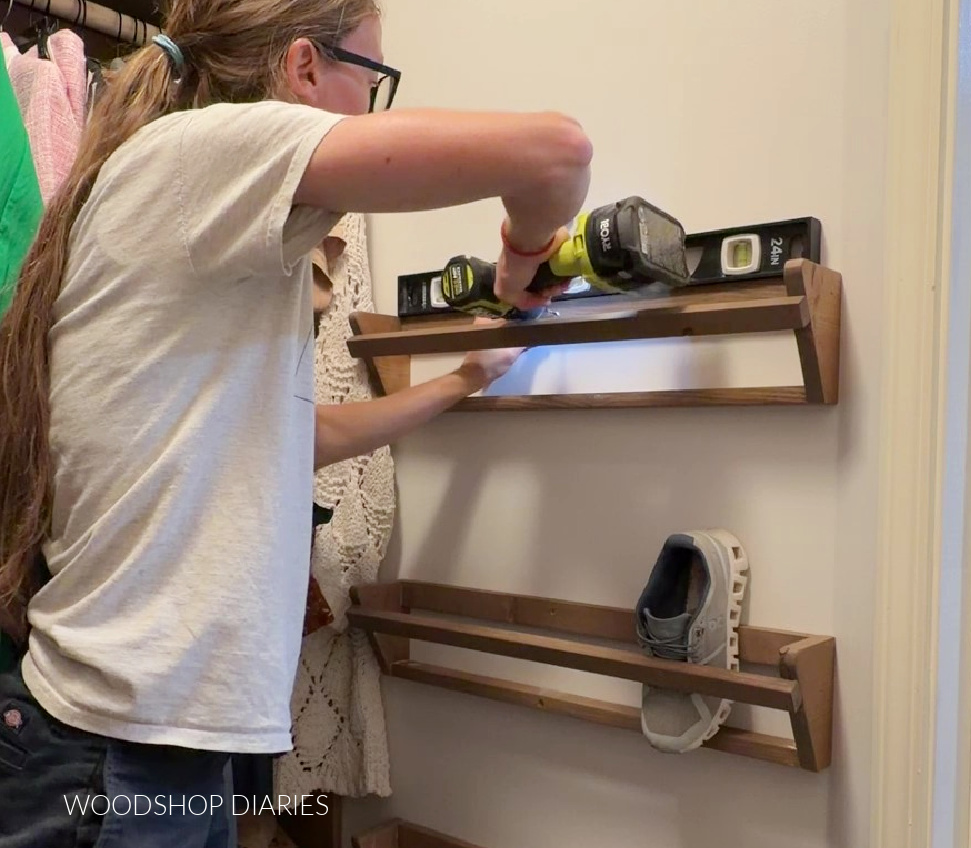
Unfortunately, where these were going, there was only one wall stud, so I used one screw in the top and one screw through the bottom. Not ideal, but it worked fine.
You need at least two screws, though, not necessarily for the weight, but so that it doesn’t twist or pivot and end up crooked.
I didn’t really measure between them, I just put a shoe in the one below it and placed the next one far enough up that you could easily get the shoes in and out of the rack below.
And once they were up, they were ready to fill…and Mom had PLENTY of shoes to fill them with haha.
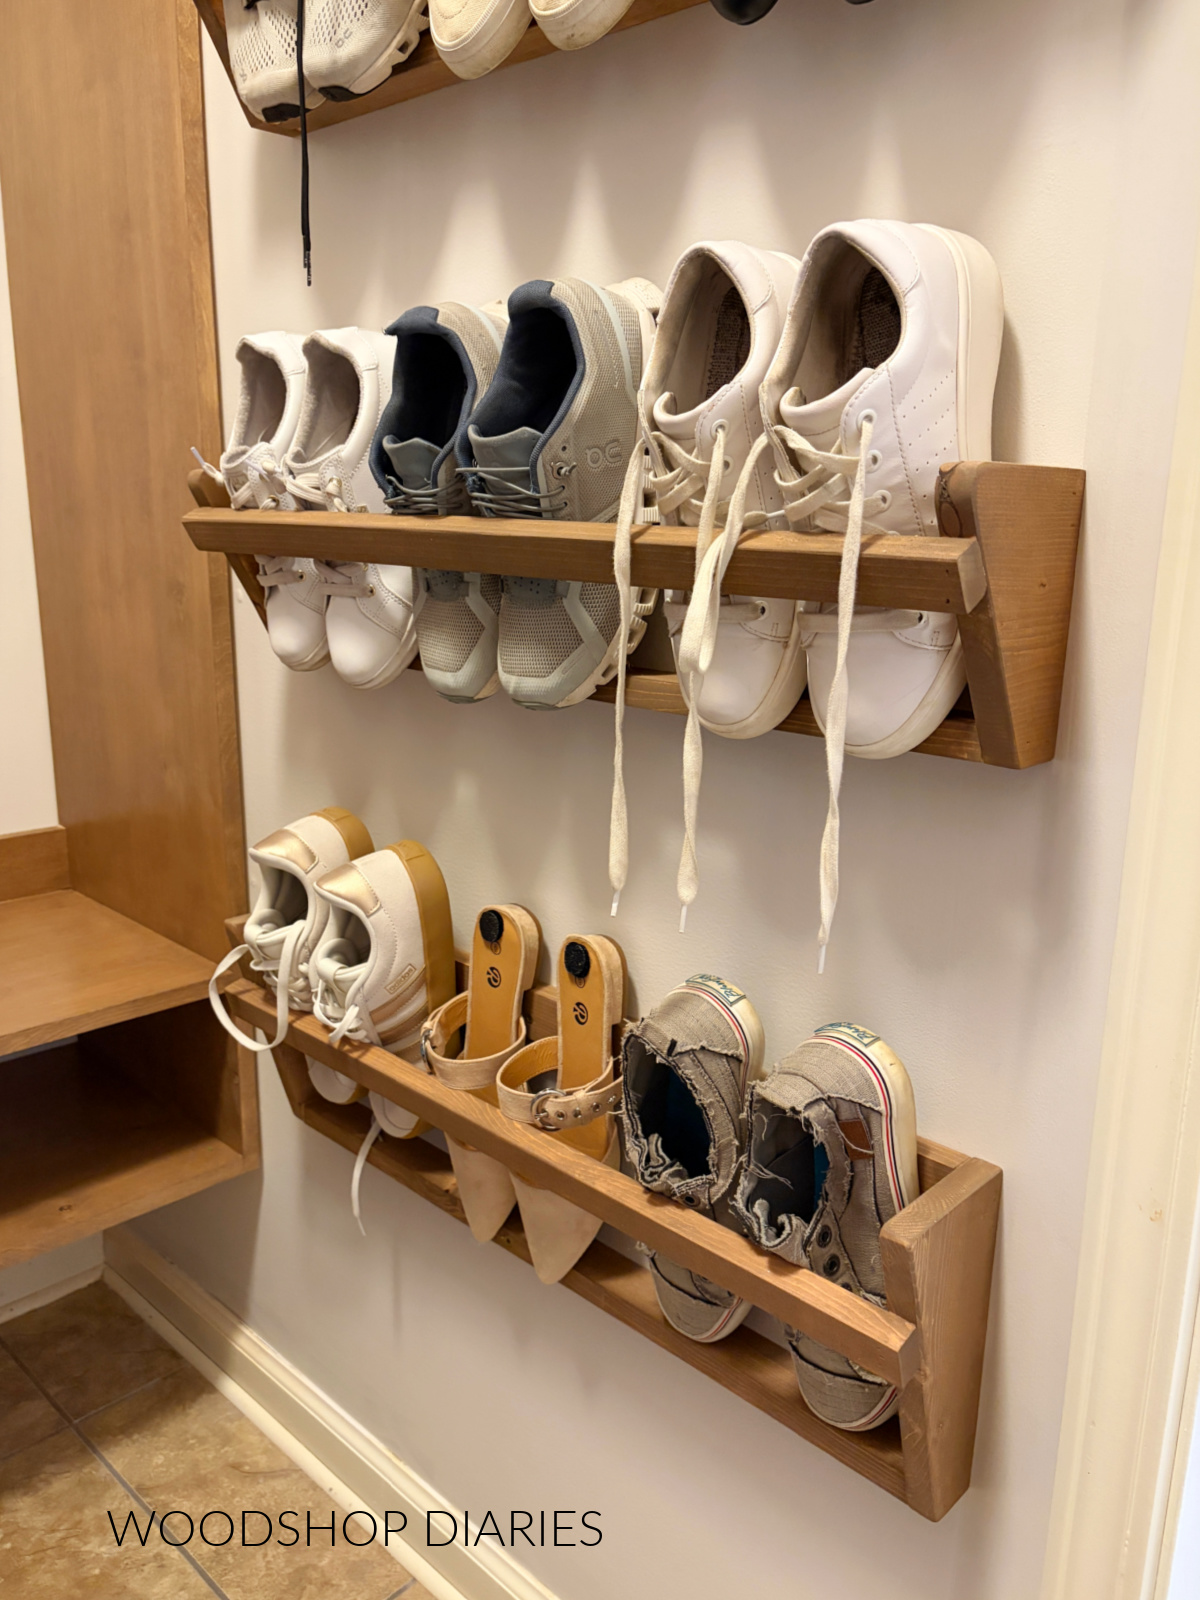
Ready to build one (or more!) shoe racks for your space? Grab the printable plans with the full cut list diagrams and dimensions here.
Looking for More Scrap Wood DIYs?
Can’t get enough scrap wood projects?? I’m teaming up with my friend, Kati, from Houseful of Handmade all month long for “Scrap Wood Summer!”
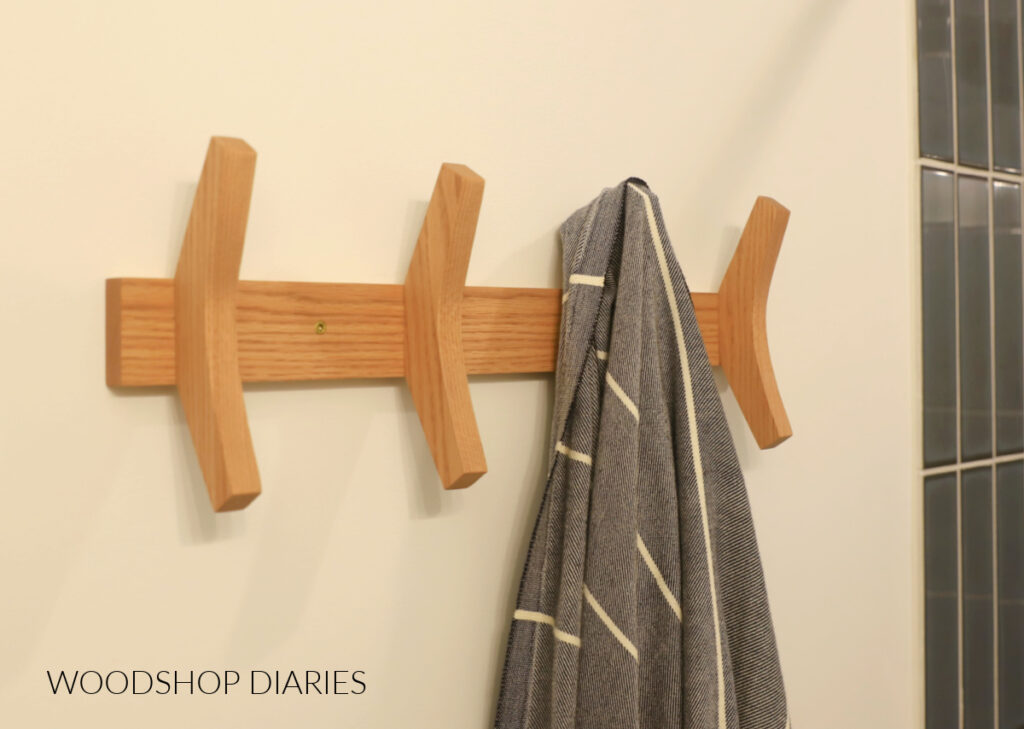
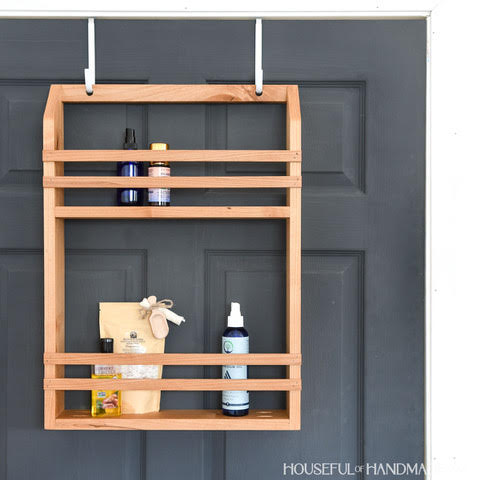
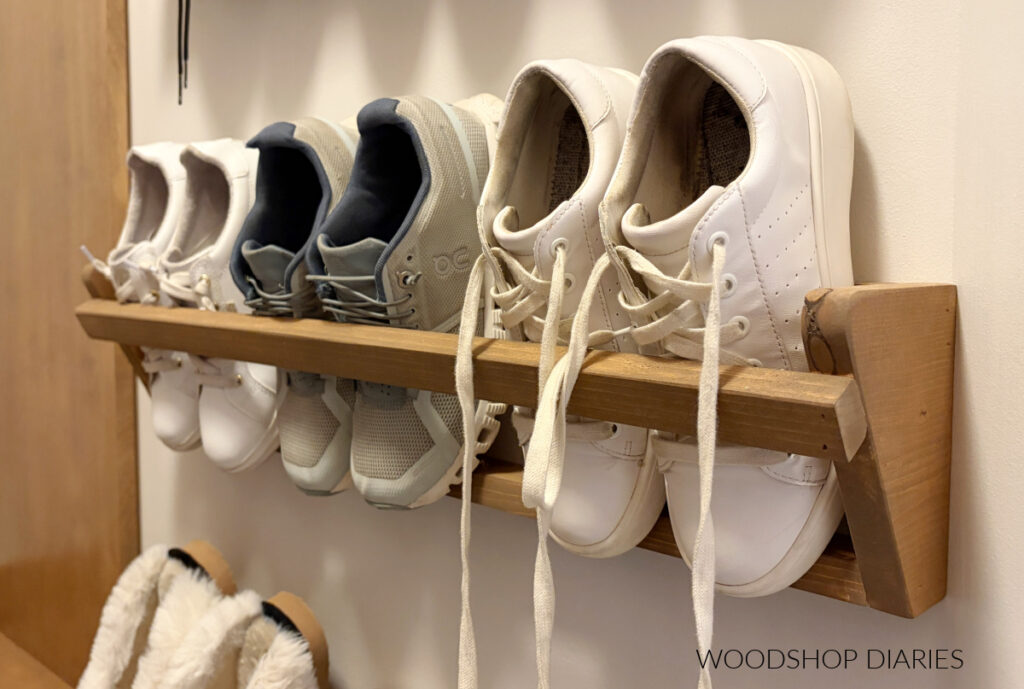
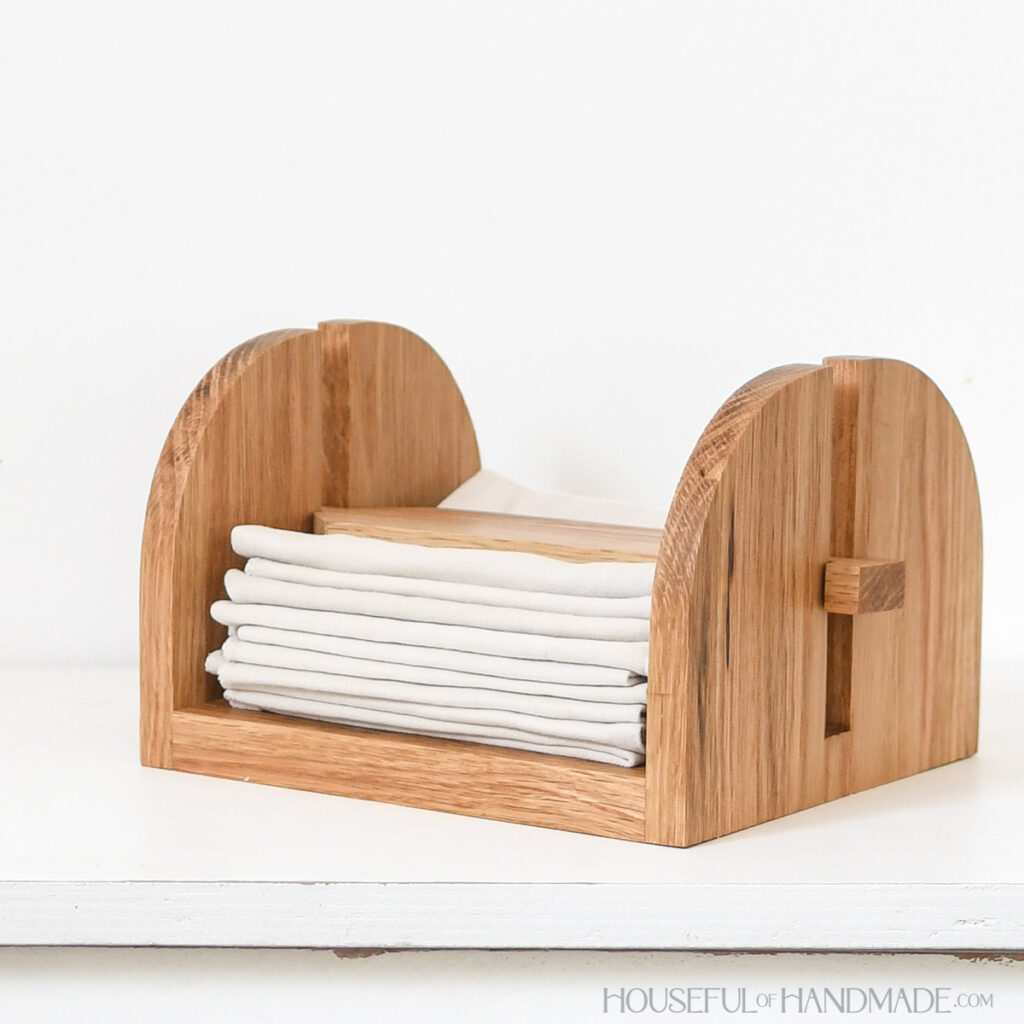
Check out all the projects in the series below. Click on the images to learn how to make each one!
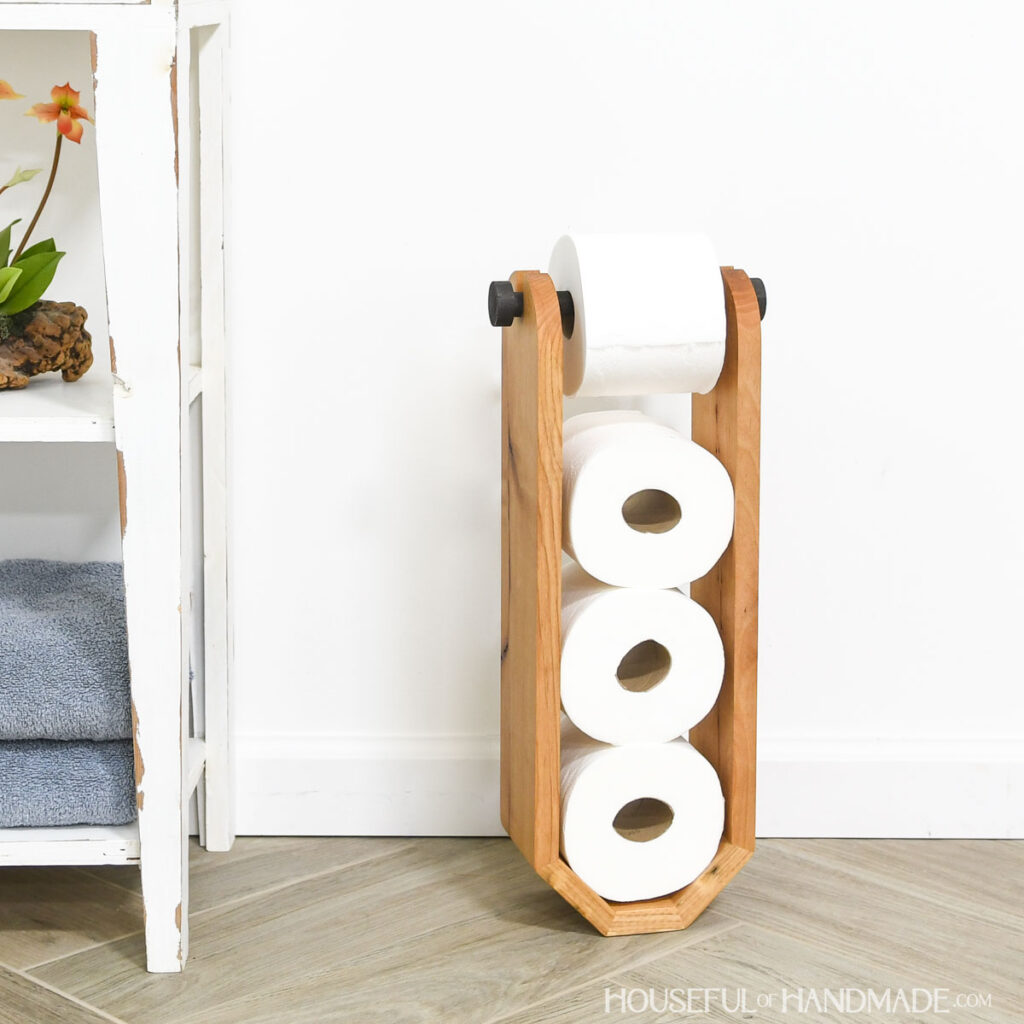
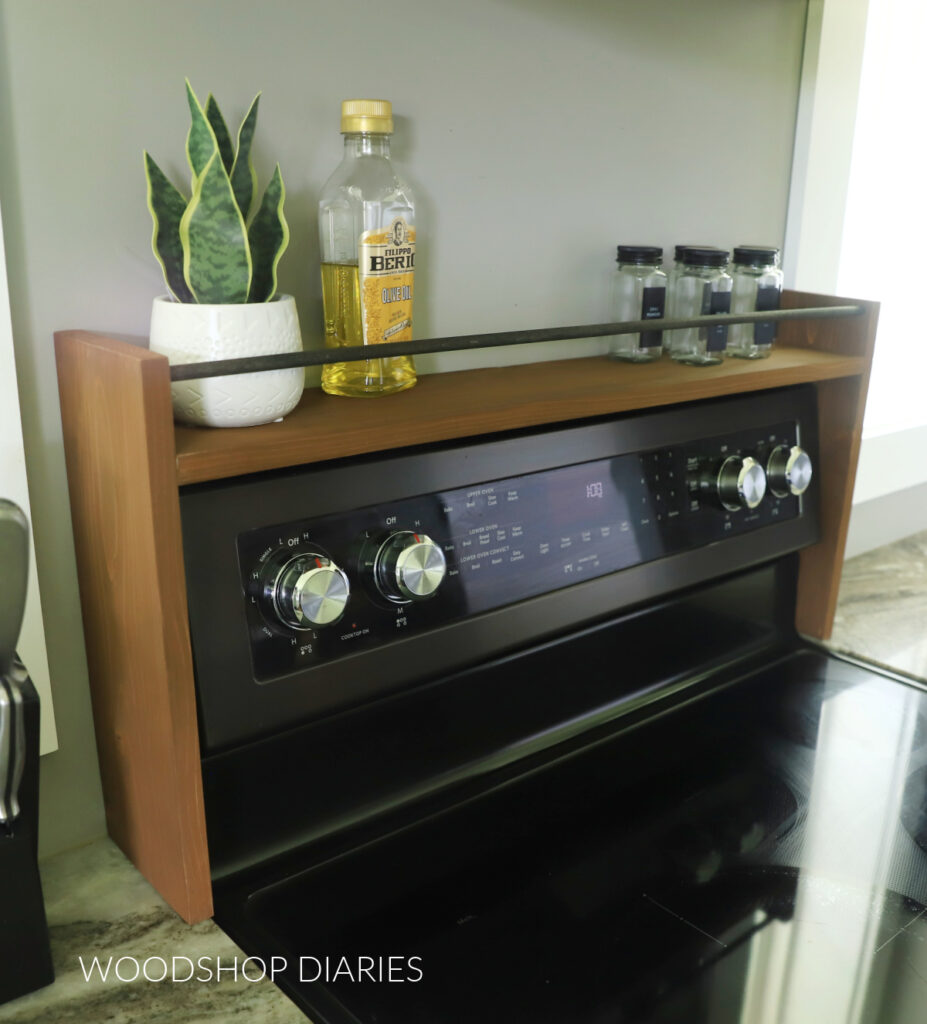
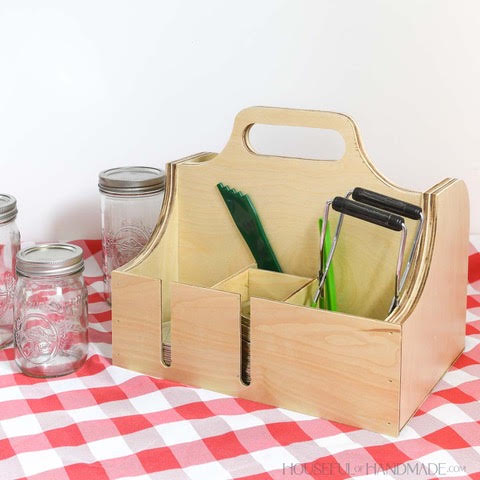

This is our fifth year hosting Scrap Wood Summer and I enjoy it a little more each time. But, if you’ve never heard of it before, that’s okay!
Essentially, we each share a new scrap wood project every Tuesday throughout the month of August. So by the end of the month, you’ve got 8 new project ideas to try.
So stay tuned to see all the other fun ideas we are so excited to share with you!
Can’t wait? Check out previous Scrap Wood Summer projects plus other scrap wood ideas here.
If you’d like to save this DIY scrap wood shoe rack for later, be sure to pin it or share to your favorite social channel!
Until next time, friends, happy building!