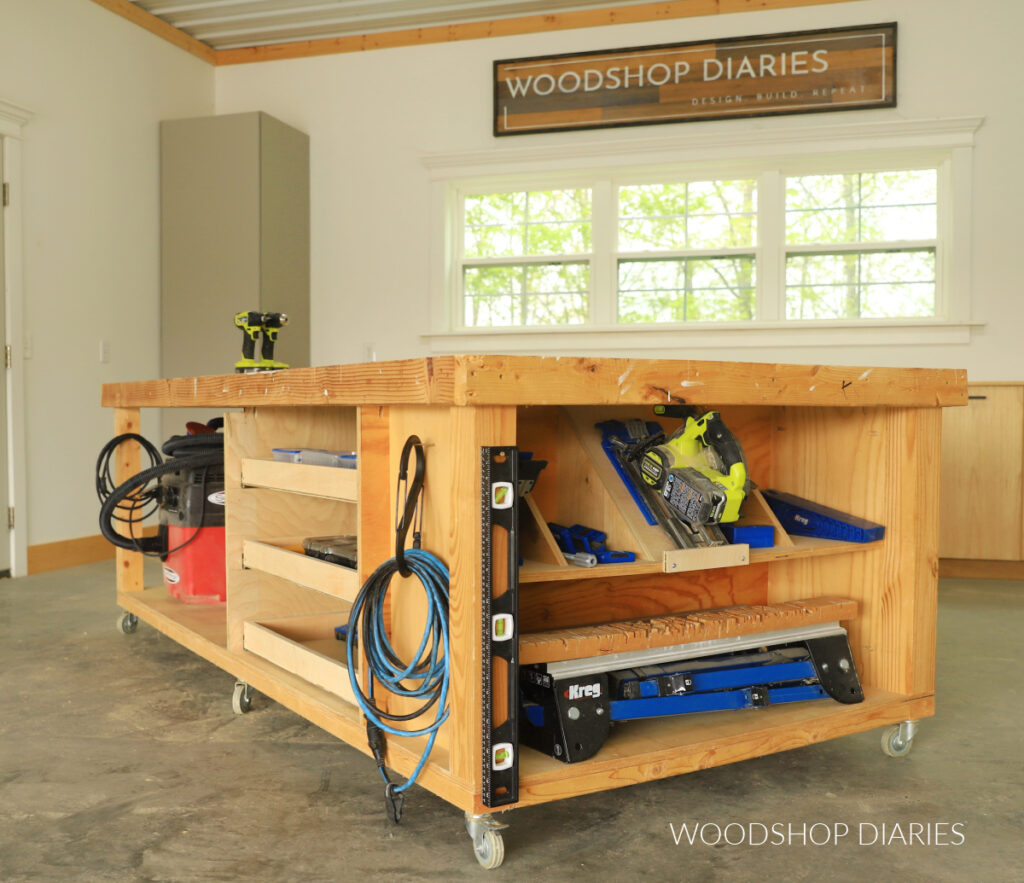
In this post, I’m sharing how to build a simple workbench with tote storage!
This would not only make a great workbench in your shop or garage, but could also be a handy addition to your craft room, laundry room, and more.
The main base is made using 2x4s, which makes this a super sturdy, but inexpensive build, and it’s customizable to fit just about any size tote you’d like to use.
The great thing about using storage totes in a workbench is that it’s a really easy and budget friendly alternative to drawers. You get the hidden storage, protection (from things like dust) and organization of a drawer, but without the time and the expense of building them and buying the slides.
So if you’re ready to build the easiest tote storage workbench, I’m excited to show you how below.
*This post contains affiliate links. See website policies.
What to know before building
This is a super quick and easy project that you should be able to complete in just an hour or two and with just a few basic tools.
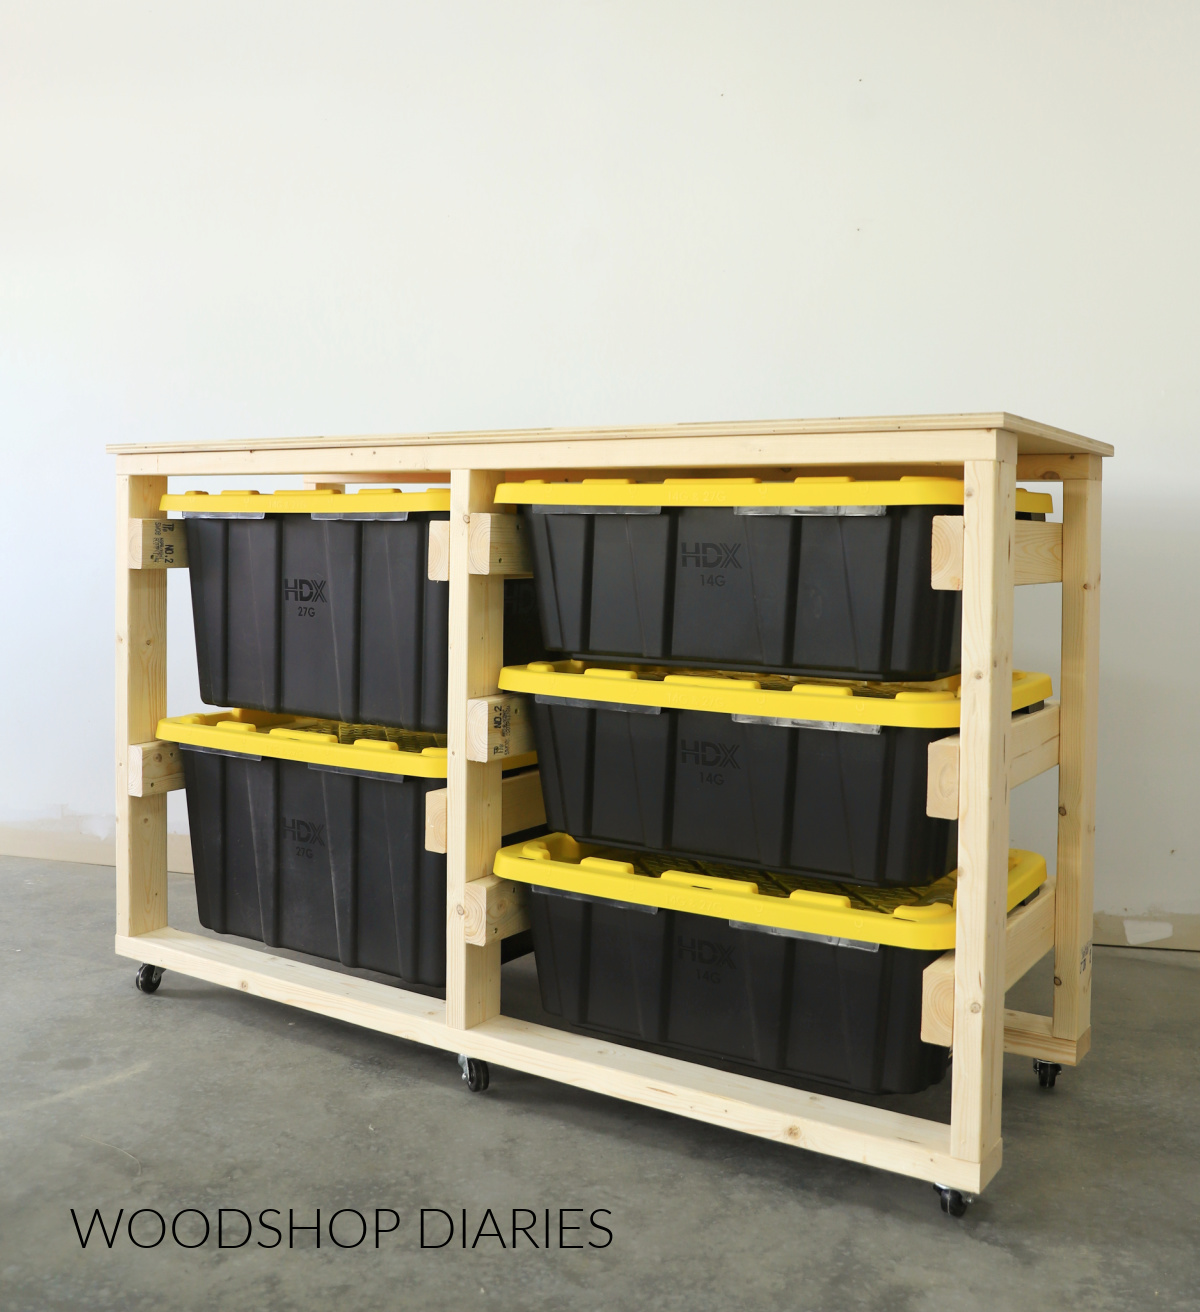
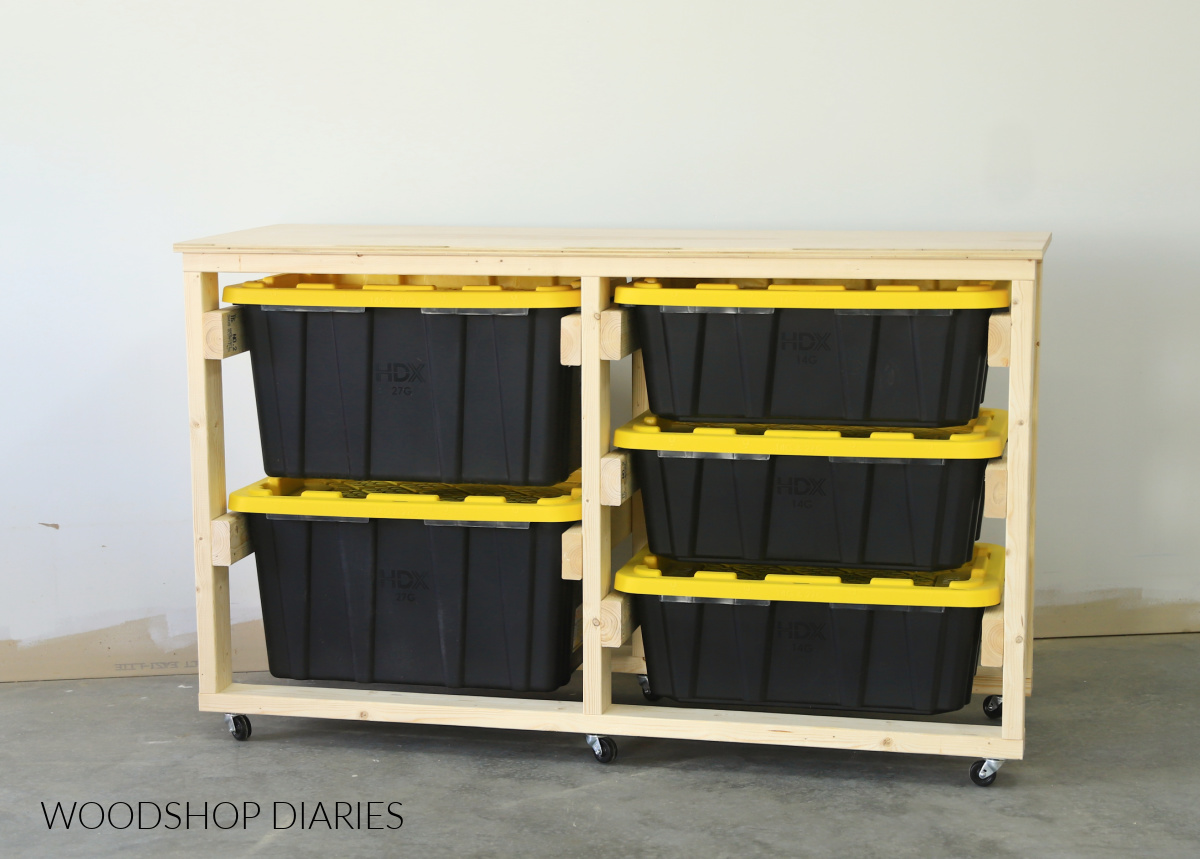
The overall dimensions of this tote storage workbench are approximately 23″ deep x 39″ tall x 64″ wide.
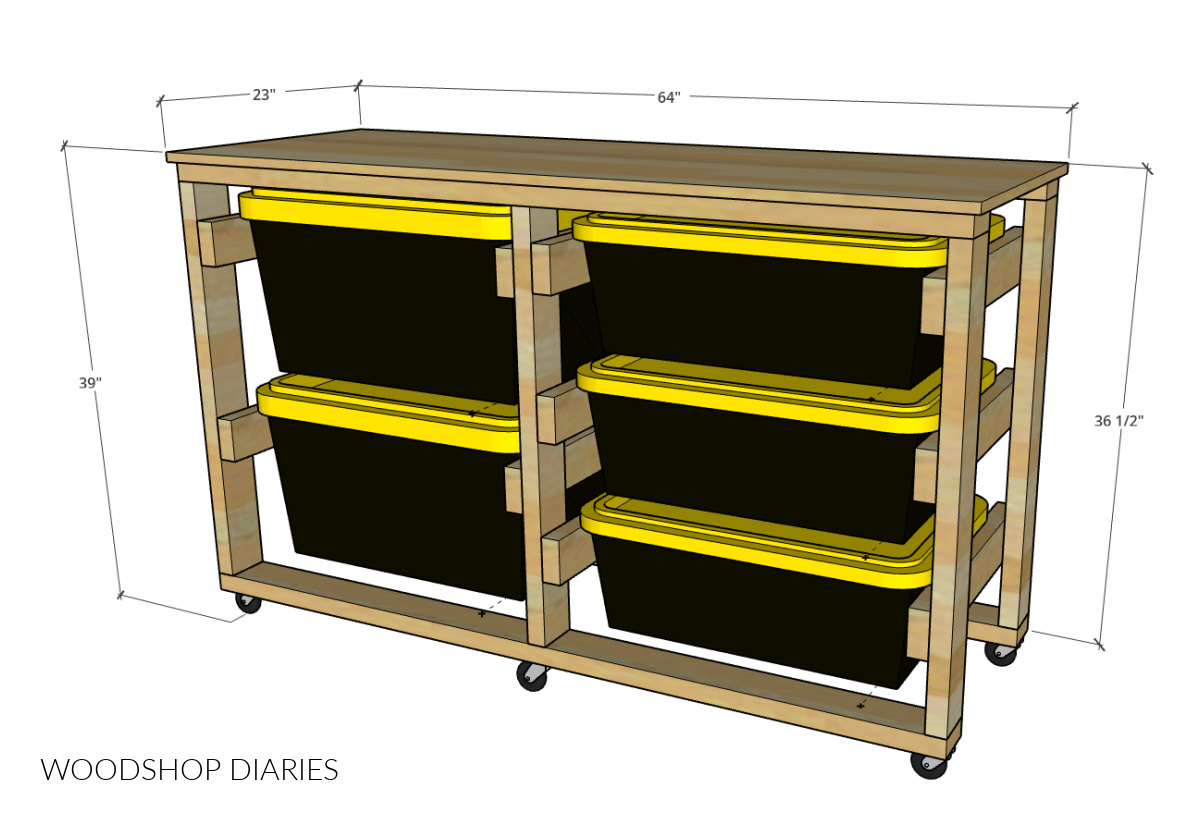
NOTE: Total height will vary based on the exact casters used. Workbench height without casters is 36 ½″.
Choosing Caster Wheels
I recommend using caster wheels with a plate vs caster wheels with a threaded bolt. You can use any size wheel you’d like, but I used 2″ caster wheels here–it doesn’t need anything huge.
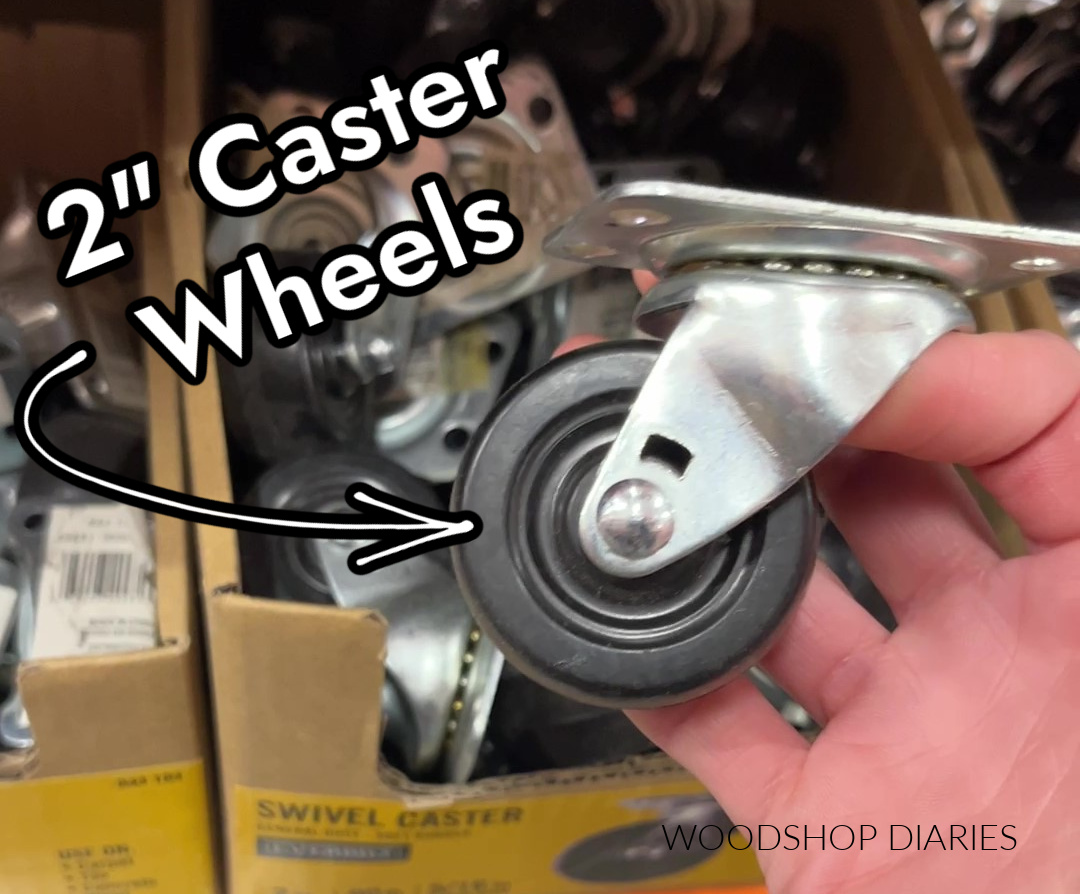
Note that overall height of workbench will vary based on the exact style and size wheels you install.
Choosing Storage Totes
Storage totes come in thousands of shapes and sizes. This workbench is designed to fit two HDX brand (found at The Home Depot) 27 gallon totes in one side and three HDX brand 14 gallon totes in the other side.
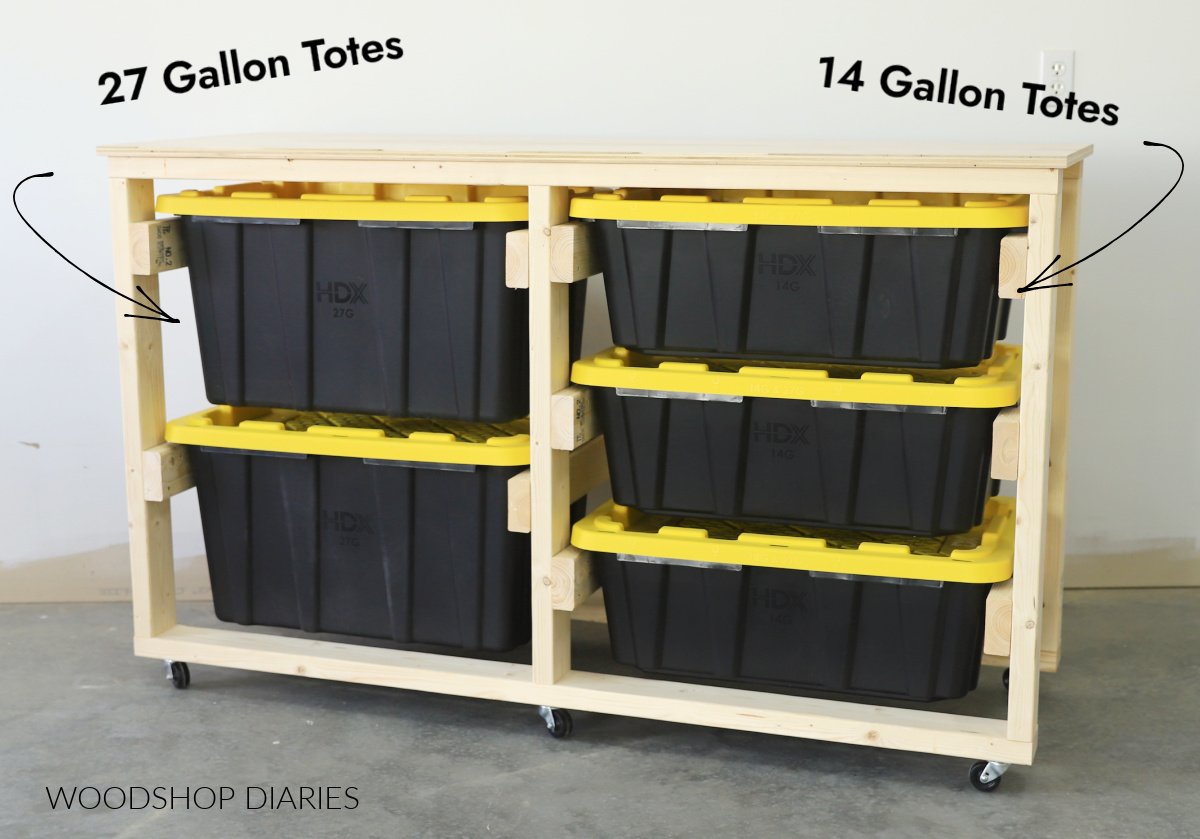
If you wanted to use two 27 gallon totes in both sides or three 14 gallon totes in both sides, that’s fine, too! Just adjust the number and location of tote supports as needed in step 2.
If you choose to use another size or brand of tote, you will need to modify these dimensions to fit.
Are DIY projects your thing? Sign up for our newsletter for priority access to the latest projects and build plans!
How to build a tote storage workbench
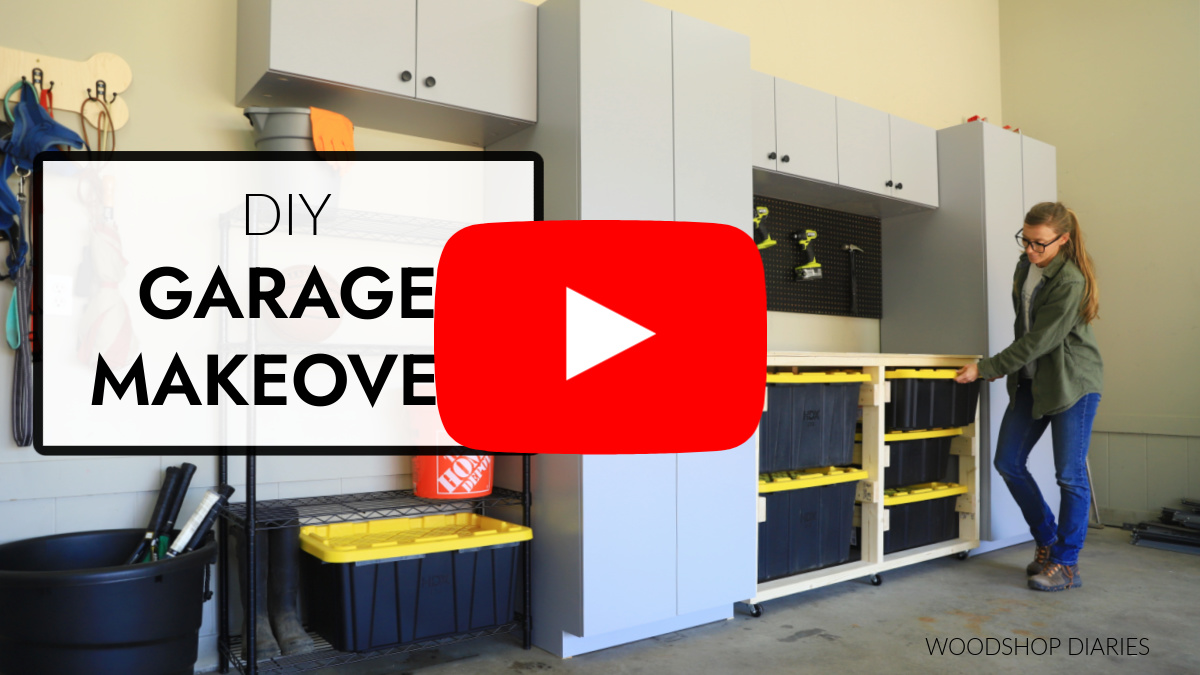
If you prefer to watch, I’ve shared the full build video with tons of tips, behind the scenes, and additional details on my YouTube Channel here.
Love watching how-to videos? Subscribe to my YouTube channel for plenty more where that came from!
Prefer to print? Grab the printable storage tote workbench building plans here:
Tools & Materials
Tools:
- Circular Saw
- Miter Saw (or any saw that can cut straight)
- Cutting Guides (Kreg Rip Cut and AccuCut)–optional
- Drill/Driver
- Clamps
Materials:
- (8) 2x4x8 boards
- (1) 4’x8′ sheet ¾″ plywood
- (1) 1 lb box 2 ½″ wood screws
- (6) 2″ wood screws
- (1) 1 lb box 1 ¼″ wood screws
- (6) 2″ caster wheels
- (2) HDX 27 Gallon Totes
- (3) HDX 14 Gallon Totes
Step 1: Assemble the Front and Back Frames
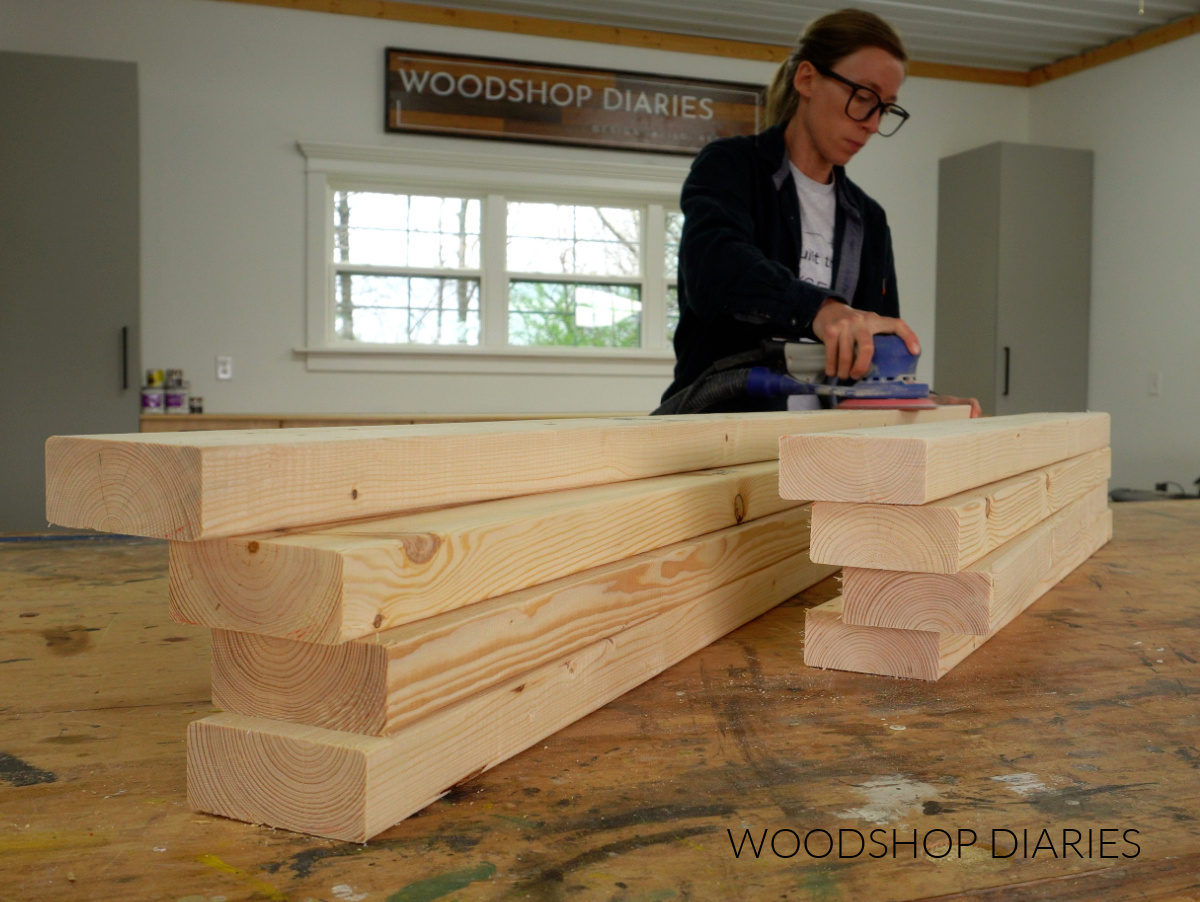
To keep things simple and budget friendly, I built the majority of this project with basic construction grade 2x4s.
So, first, I cut down my 2x4s into four pieces about 63″ long and 4 pieces 32 ¾″ long to make the front and back frames.
Before assembling, I gave them a quick sanding. I know it’s just a workshop project, but sanding is still a good idea! Learn how to sand your projects here.
Then, I assembled these pieces into two simple frames using 2 ½″ wood screws at each corner. TIP: Be sure to predrill pilot holes before driving the screws to prevent the wood from splitting!
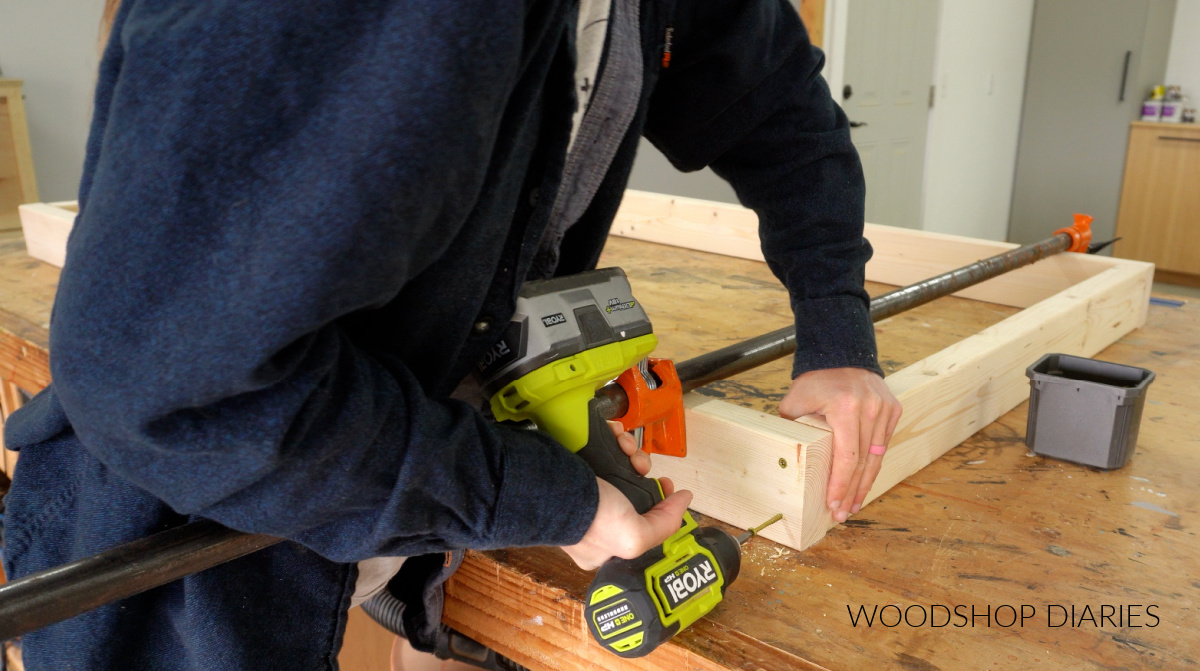
After I had the two front and back frames together, I added another 2×4 down the center of each one to divide the workbench into the left and right sections. Again, I just secured this piece using 2 ½″ wood screws to keep things simple.

Prefer to print? Grab the printable tote storage workbench building plans here.
Step 2: Install Tote Supports/Shelves
Next, I cut several pieces of 2×4 to run between these frames to complete the workbench base, but also to support the totes.
Because I wanted one section of the workbench to house 3 smaller totes, I screwed 3 pair of 2x4s into the right section between the front and back frames.
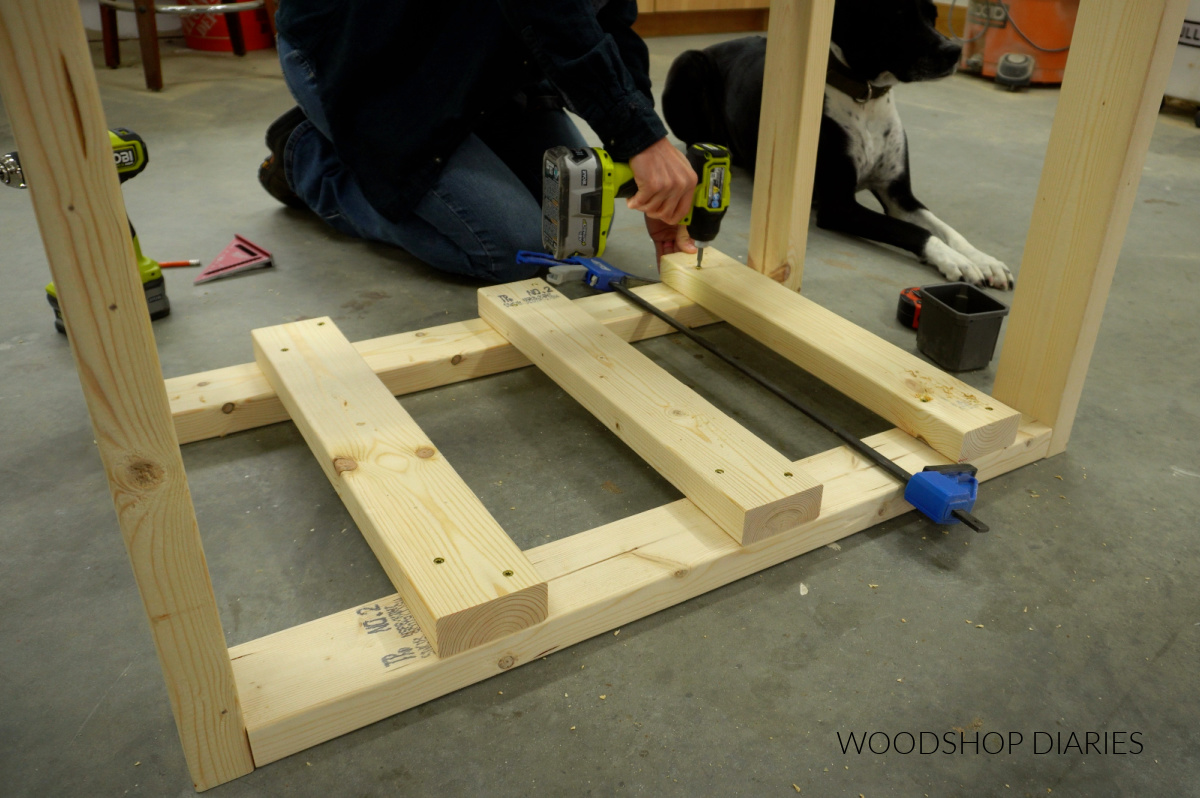
I installed 3 on the inside of the far right legs first. For proper spacing for my totes, I installed these so that the tops were 8 ¾″, 19 ½″ and 30 ¼″ up from the bottom.
Then I installed 3 more 2x4s at the same heights on the right side of the middle divider.
Once the right side supports were in, I did the same for the left side, only I installed 2 pair to house the two larger 27 gallon totes.
The tops of these pieces were 13 ¾″ and 29 ¾″ up from the bottom.
Feel free to mix and match the spacing and number of supports in each section if you’d rather have two larger totes or 3 smaller totes in both sides.
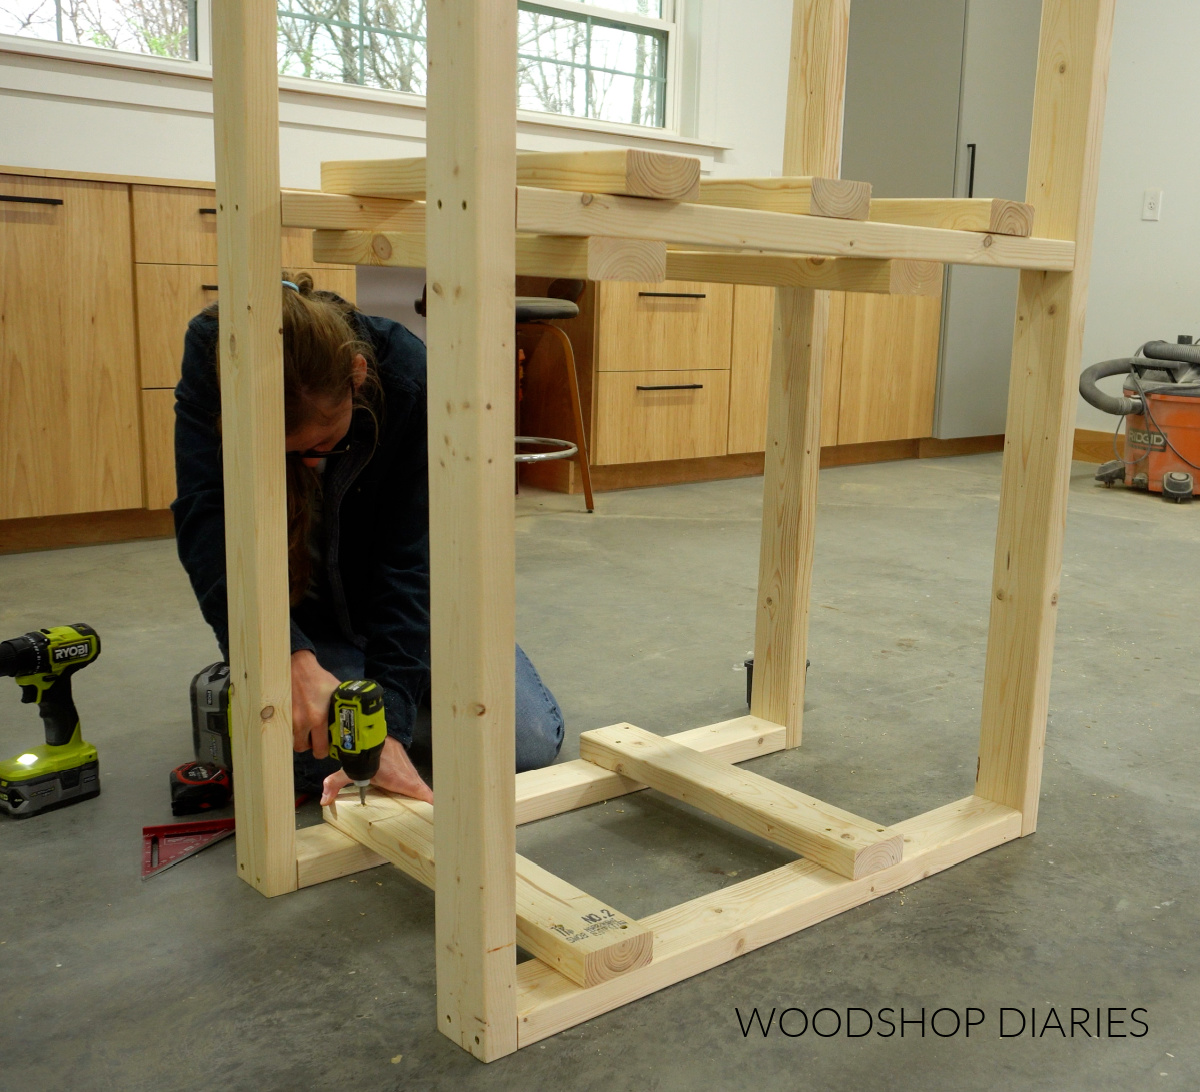
Step 3: Attach Casters
Once the tote supports were all installed, I flipped this workbench upside down to install 6 caster wheels–one at each corner and two in the middle.
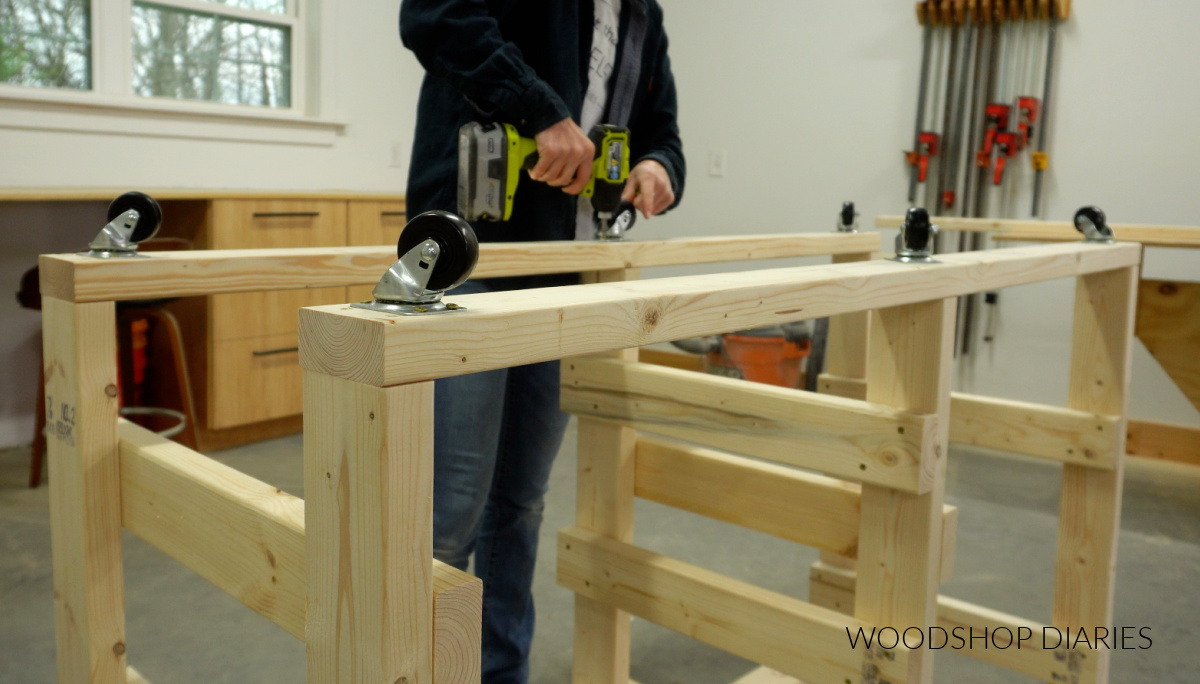
I simply drove screws through the holes in the caster wheel plates. If your screw heads are smaller than the holes in your caster wheel plates, you can use washers.
A NOTE ABOUT ROCKING:
Because 2x4s are not always perfectly flat, once assembled, when you flip this workbench over onto the casters, you may find that your workbench frame tends to rock a bit at the corners (this may not be the case–it’s just a potential issue with a 2×4 frame).
If you find your workbench rocking due to a warped frame (OR this could also be caused by uneven floors), you can fix this by loosening the screws in the caster wheels and adding a shim where needed between the wheel(s) and the frame.
I like to use small pieces of edge banding–this makes an excellent shim! Once you’ve shimmed so that the frame no longer rocks, retighten the screws in the caster wheels.
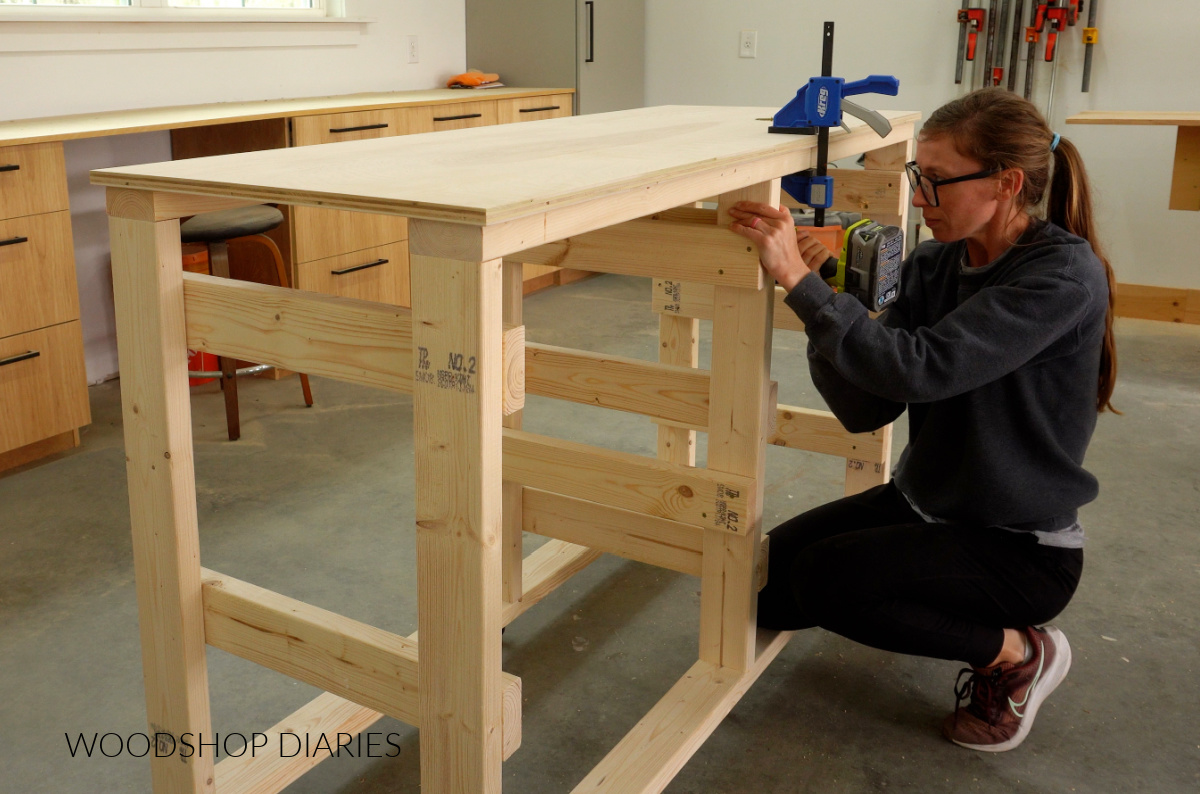
Step 4: Add Workbench Top
Next, I cut a piece of ¾″ plywood to about an inch larger in depth and length as my base frame.
RELATED: How to cut plywood sheets
This can be any type of ¾″ plywood, but cabinet grade plywood makes a nice looking and smooth worksurface, so I highly recommend it. I used birch plywood here.
RELATED: How to choose plywood for your project
I centered the plywood panel onto the frame and secured it using screws from the bottom side.
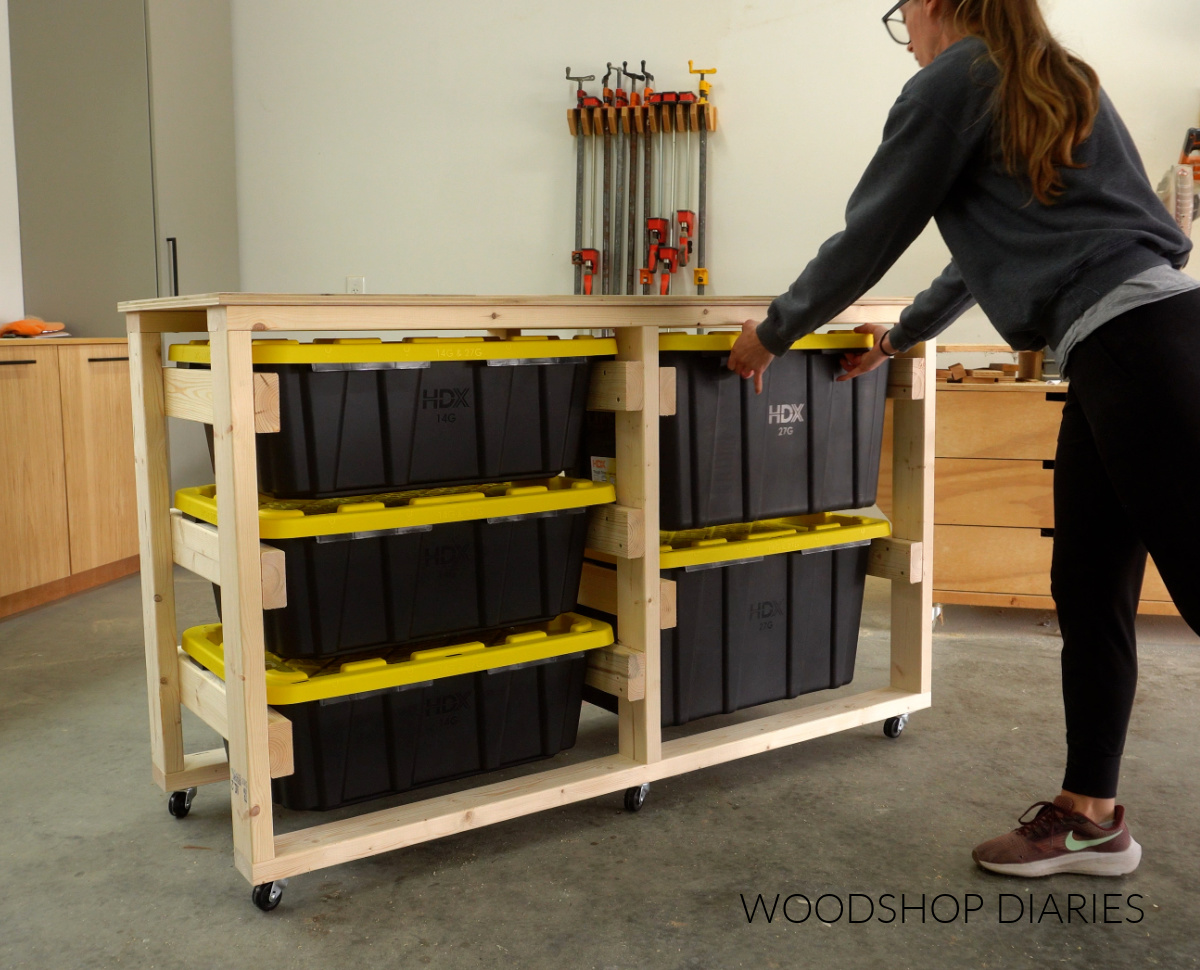
And with that, the workbench is complete and it’s time to add in the totes! These HDX totes fit perfectly, but you can absolutely use any size, brand, style you’d like. Just make sure to size your supports to fit them.
This could be an excellent addition for extra storage and worksurface in the garage, laundry room, craft room and more.
Using storage totes like this is a much cheaper and easier option to organize your stuff than adding drawers. And it keeps out the dust and hides everything much better than shelves. So it’s kind of like the best of both worlds!
If you’re ready to build one of your own, grab the printable building plans here!
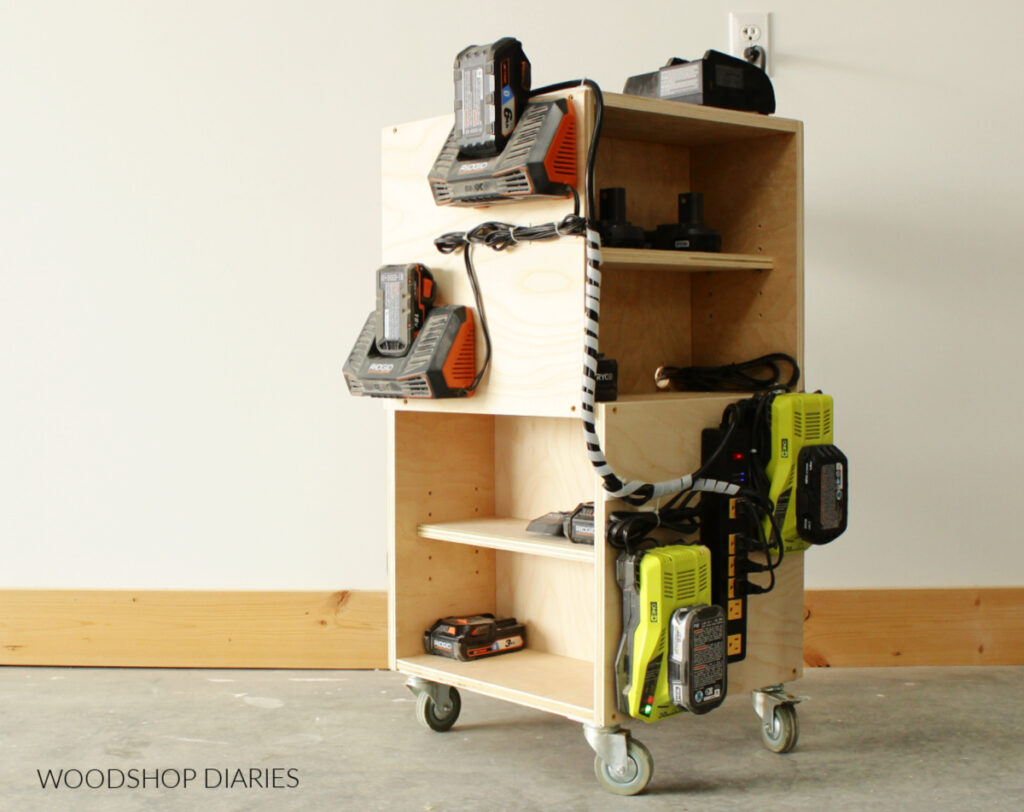
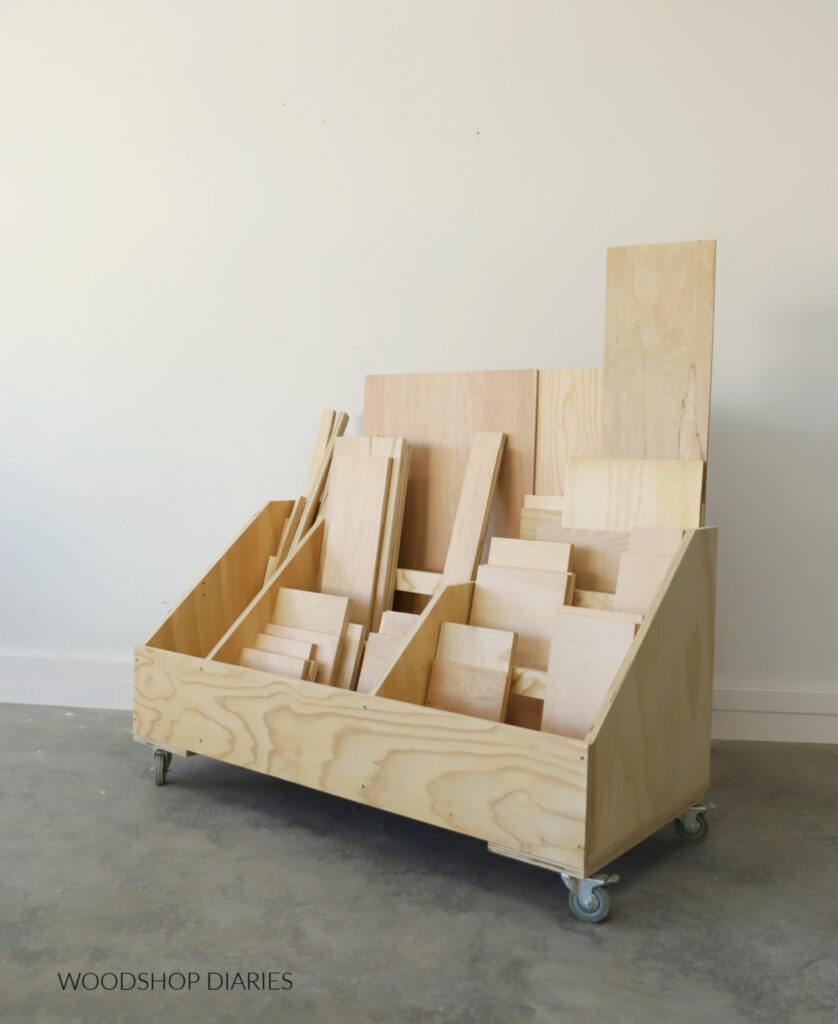
Looking for More Easy Workshop Ideas?
Enjoyed this project, but looking for more workbench and shop storage ideas? You’ll love these, too! Click on the image(s) below to see how to make each one.
If you enjoyed this project and want to save it for later, be sure to pin it or share to your favorite social channel!

Until next time, friend, happy building!