In this post, I’m sharing how to build your own budget friendly DIY closet system.
Store bought closet cabinet systems (even the ready to assemble kinds like IKEA) can be SO expensive. But they’re actually pretty simple to build with just a few basic tools and a few sheets of plywood.
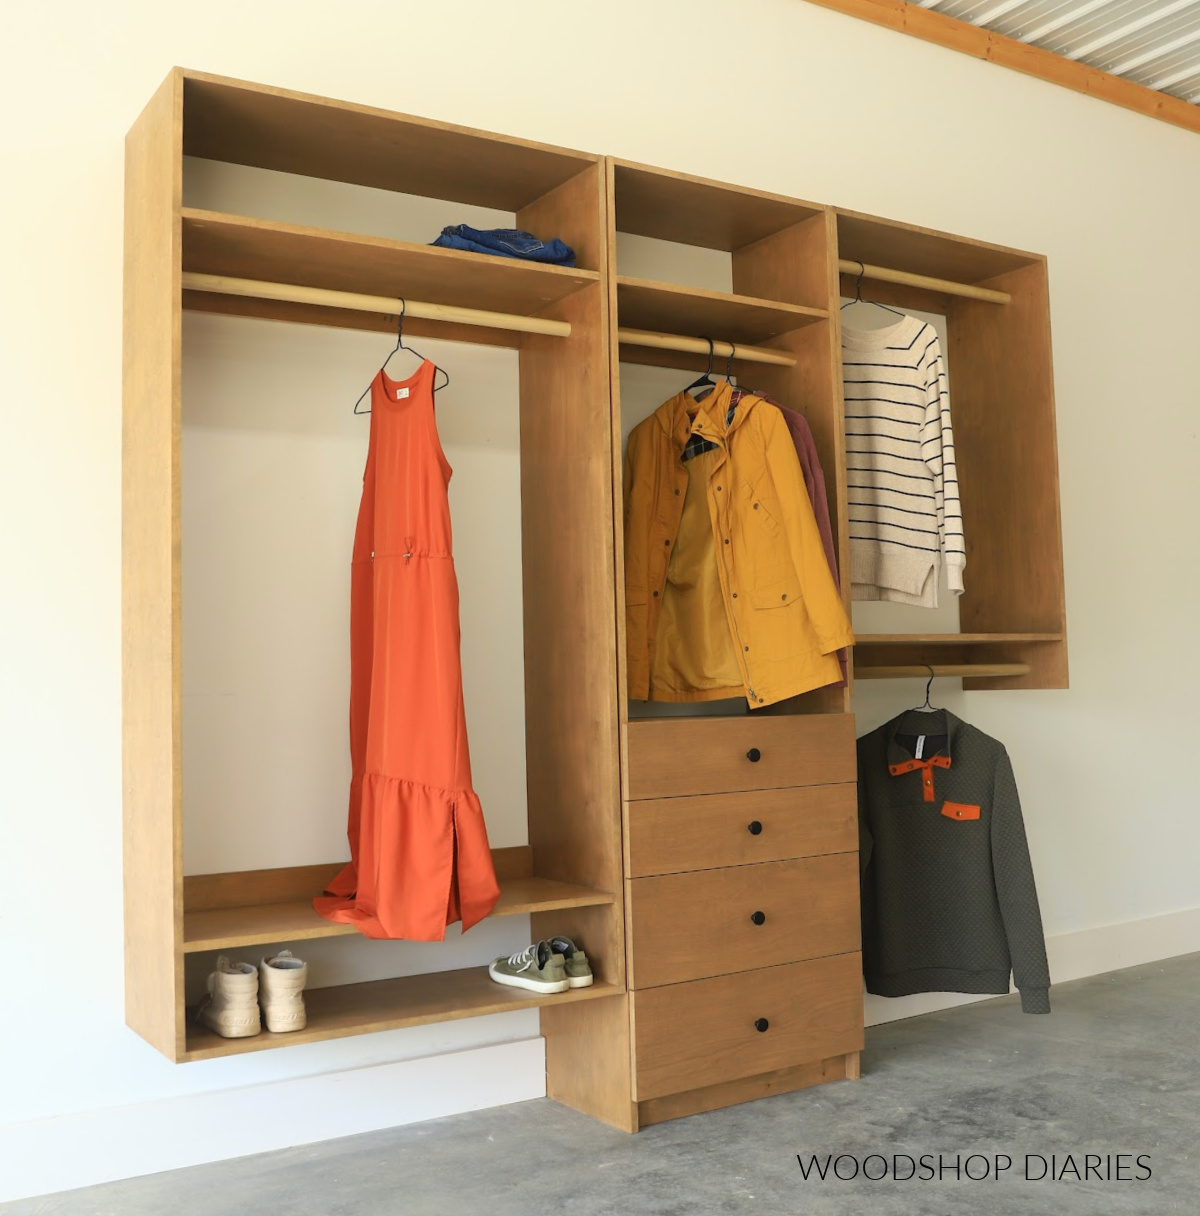
A bit of backstory: My parent’s have separate his and hers closets. A few months ago, I built my dad some cabinets for his small walk in closet.
So, now it’s time to build my mom some and, this time, I switched things up a bit. (Who says they have to match?)
The closet system I built Mom is a bit simpler in design than the one I built for Dad and was actually quite a bit cheaper to build. (Only about $350 in materials!)
Don’t tell Dad, but I actually like these better than the ones I made him ha! So if you could use a budget friendly system to majorly upgrade your closet, let’s dive in to the how to.
*This post contains affiliate links. See website policies.
What to know before building
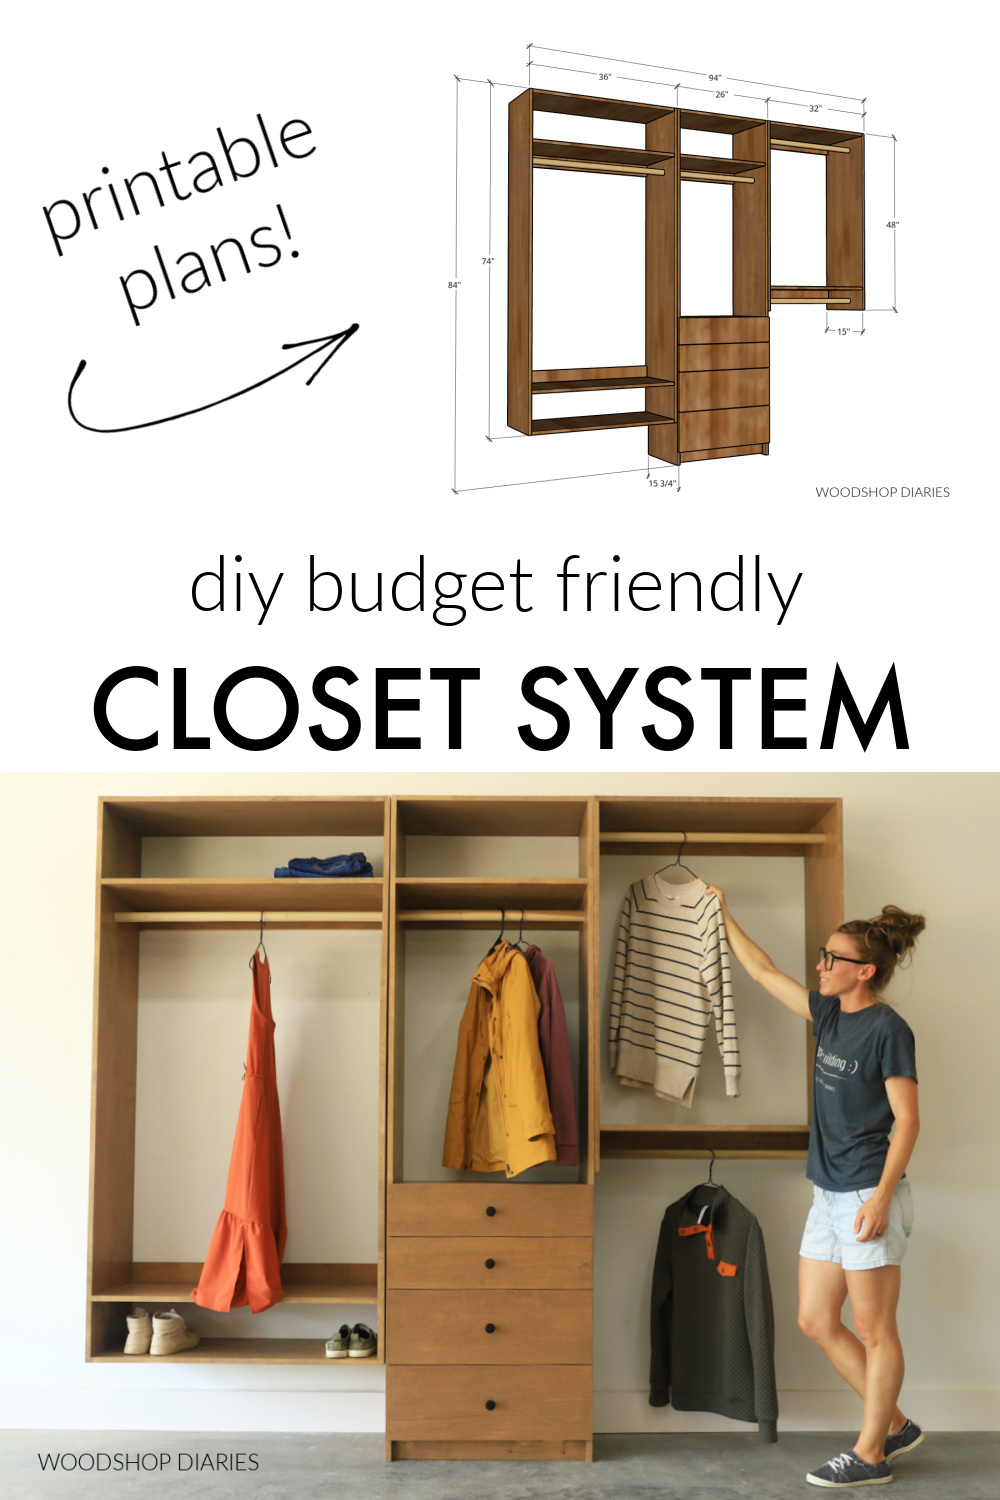
This closet system is essentially three separate cabinets:
- a wall mounted double rod hanging cabinet
- a wall mounted single rod hanging cabinet with shelves
- a floor mounted single rod hanging cabinet with drawers
Each of these can be used individually, or they can all three be mixed and matched to create a custom closet design. They’re also super easy to modify the size if you need to adjust to fit your space.
As is, the overall dimensions of all three cabinets side by side is 15 ¾″ deep x 84″ tall x 94″ wide.
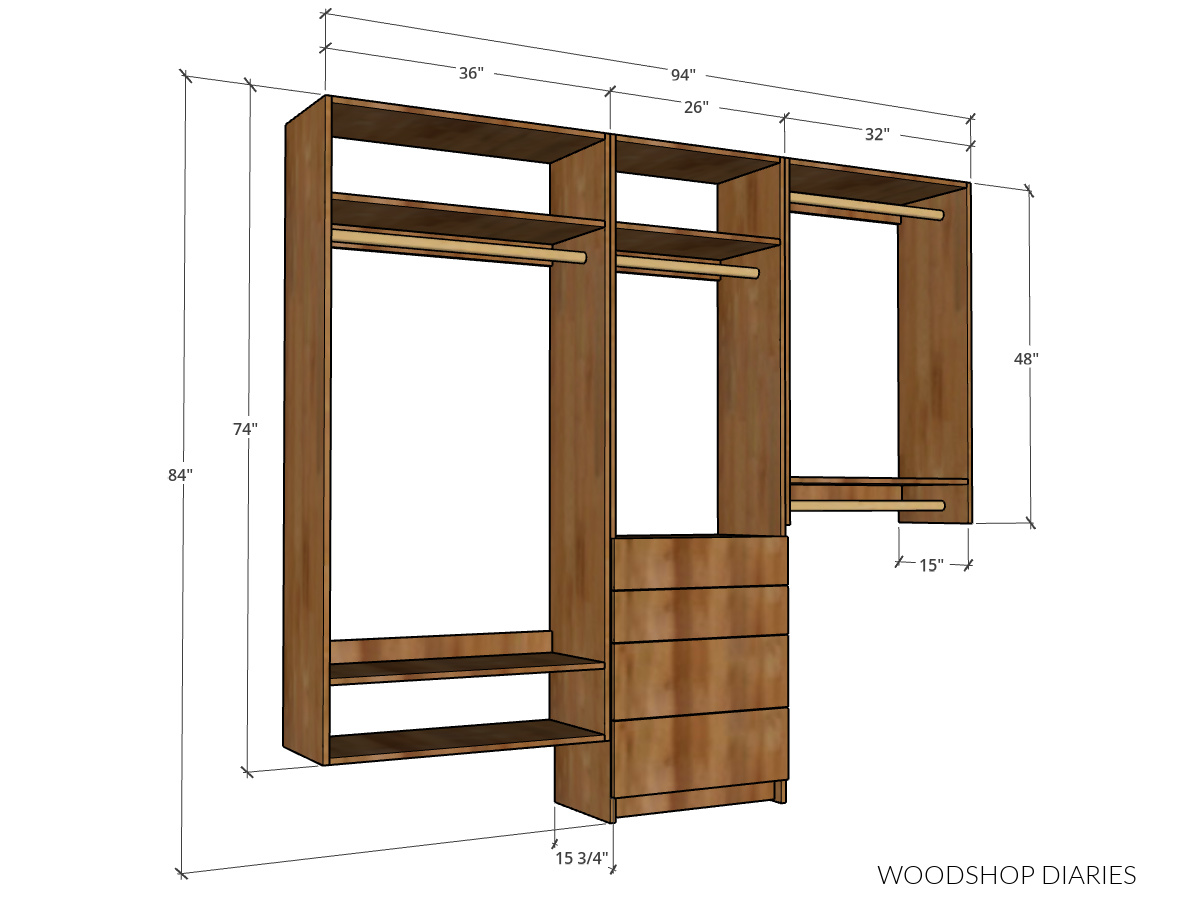
But each individual cabinet size can be seen in the diagram above.
Layout Considerations
I built this closet cabinet system for my mom’s small walk in closet and we didn’t have the space to place them all side by side.
Instead, we installed the double rod hanging cabinet and the drawer cabinet along one wall and added the single rod hanging cabinet along the adjacent wall. So these pieces can be arranged however makes sense for your space. They don’t have to all go side by side.
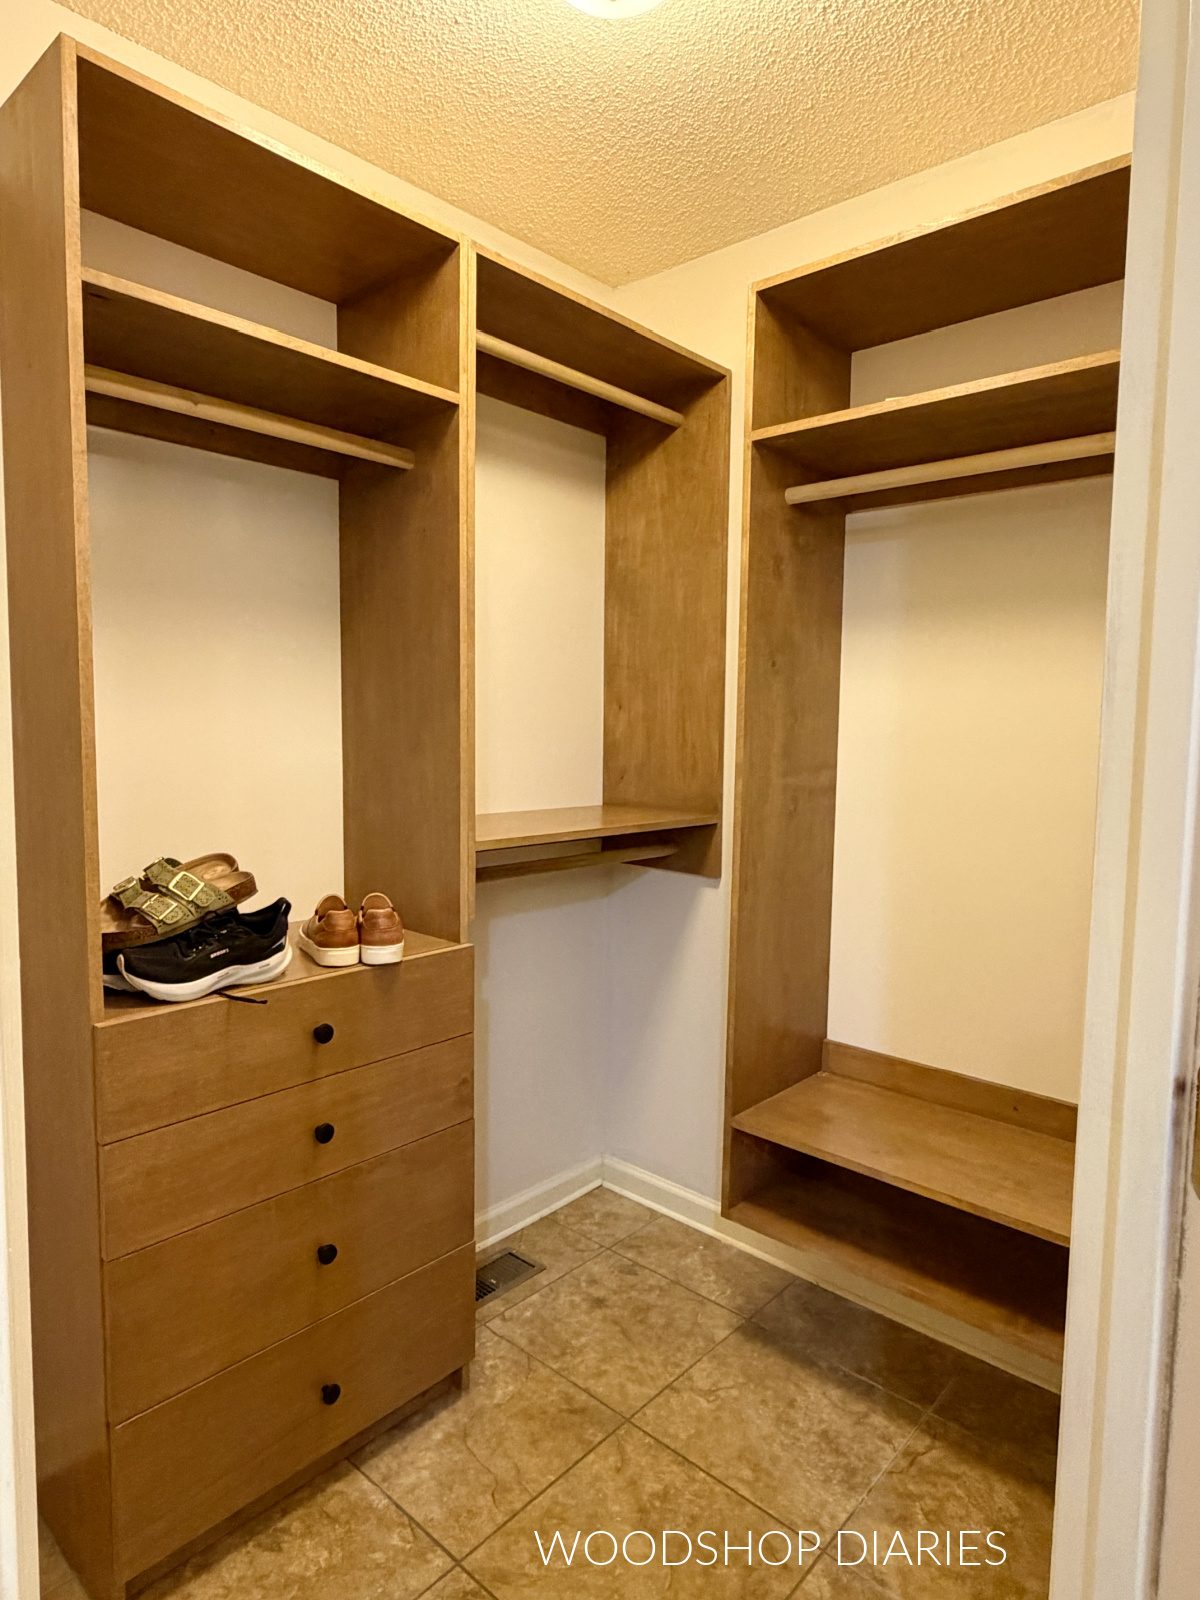
Most of the closet systems I’ve built previously have been cabinets that sit on the floor. But, with this system, two of the three cabinets are wall mounted (so they don’t sit on the floor).
One of the major benefits to using wall mounted closet cabinets is that you can avoid potential issues with floor vents. PLUS you don’t have to cut away baseboards to install them. It also saves on material, so they’re cheaper to build.
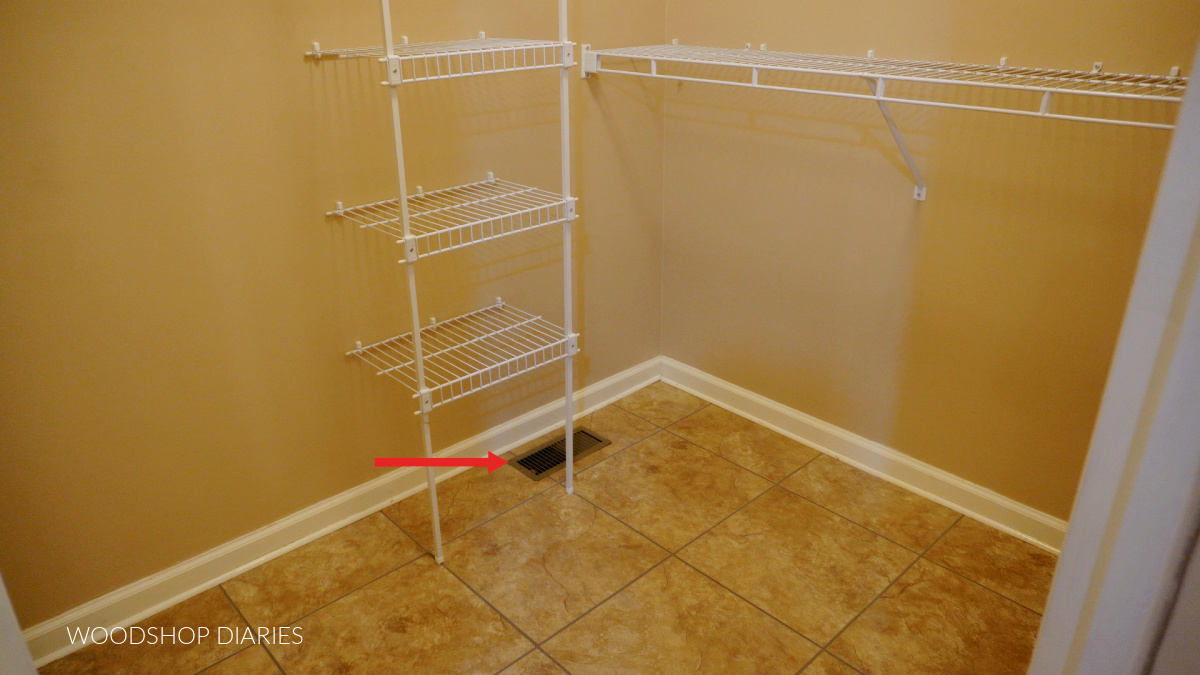
Because of the extra weight of the drawer boxes, I did build the drawer cabinet so that it rests on the floor. But since mom’s closet had a floor vent in it, I made sure that I didn’t place the drawer cabinet where it would cover the vent.
So when laying out your closet cabinets, consider any floor vents, baseboards, outlets, and other obstacles you’ll need to work around.
Helpful DIY Resources
If you’re new to building drawers, don’t worry! I’ll walk you through the entire drawer building process from start to finish in this drawer building series (with videos!). I’ve broken it down into four parts:
- How to measure for and size drawer boxes
- How to assemble a drawer box
- How to install drawer slides
- How to install drawer fronts
Prefer to print the whole series? Grab the Ultimate Drawer Building Guide which includes all four parts in a printable e-book you can take to the shop with you.
You may find these additional resources helpful throughout the build:
Enjoy DIY projects and woodworking plans? Sign up for priority access for the latest posts on Woodshop Diaries!
How to build an EASY DIY Closet System
If you prefer to watch, I’ve shared the full build video with tons of tips, behind the scenes, and additional details on my YouTube Channel here.
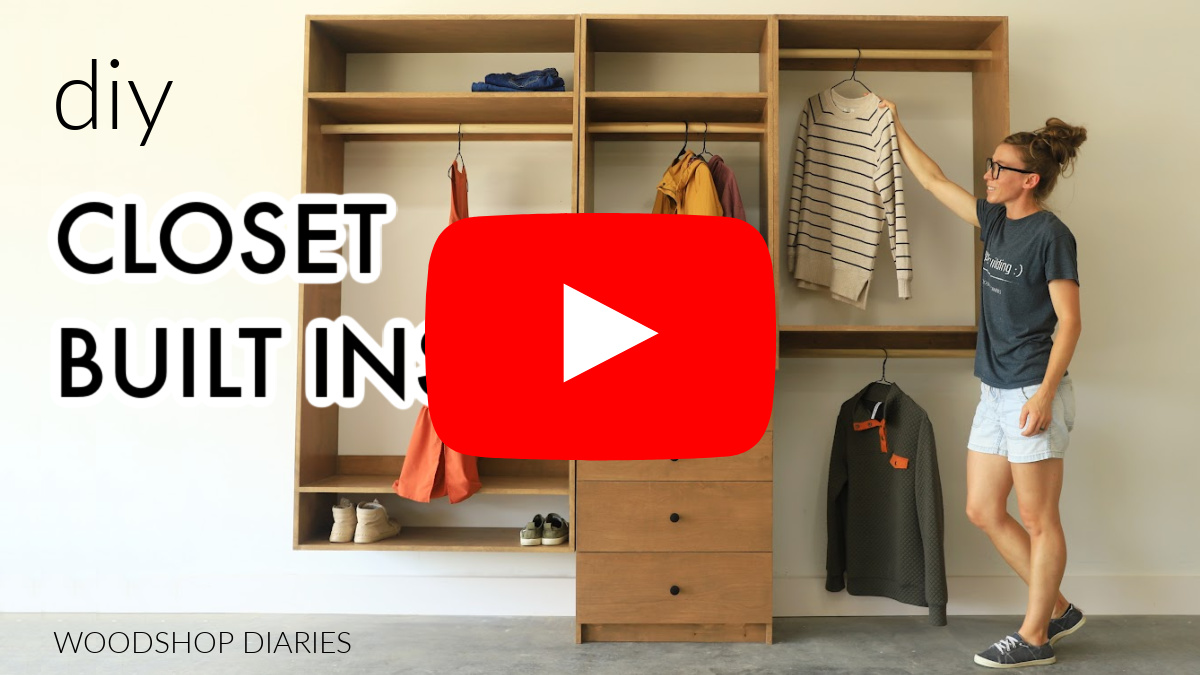
Love watching how-to videos? Subscribe to my YouTube channel for plenty more where that came from!
Prefer to print? Grab the printable closet system building plans available here:
Tools & Materials
Tools:
- Drill/Driver
- Circular Saw and Rip Cut Guide
- Miter Saw
- Pocket Hole Jig
- Brad nailer or Stapler (optional)
- Stud Finder
Materials:
- (4) 4’x8′ sheets ¾″ plywood
- (1) 4’x8′ sheet ¼″ plywood
- (4) pair 14″ drawer slides
- (2) 1 ⅜″ (or 1 ¼″) diameter x 72″ dowel rods
- Wood Glue
- 1 ¼” brad nails or crown staples (optional)
- 1 ¼” pocket hole screws (250 count box)
- 1 lb box 1 ¼” wood screws
- (15) #8 x 2 ½” long screws (to secure to wall studs)
- Edge banding (optional, but recommended)
- Drawer pulls, knobs
Not sure what type of wood to use for this project?
PLYWOOD: I recommend using cabinet grade hardwood plywood (like birch, maple, oak, etc). Check out this post to learn how to choose the right plywood for your project.
This project was built using birch plywood.
Step 1: Assemble Double Hanging Rod Closet Cabinet
Let’s start with the simplest part of the system: the double hanging rod cabinet.
All three cabinets were all built using ¾″ plywood (except for the drawer bottoms, which are ¼″ plywood…but we will get to that later).
So first, I cut down my plywood sheet into two sides, two shelves and two support strips to build this box.
RELATED: How to cut plywood sheets
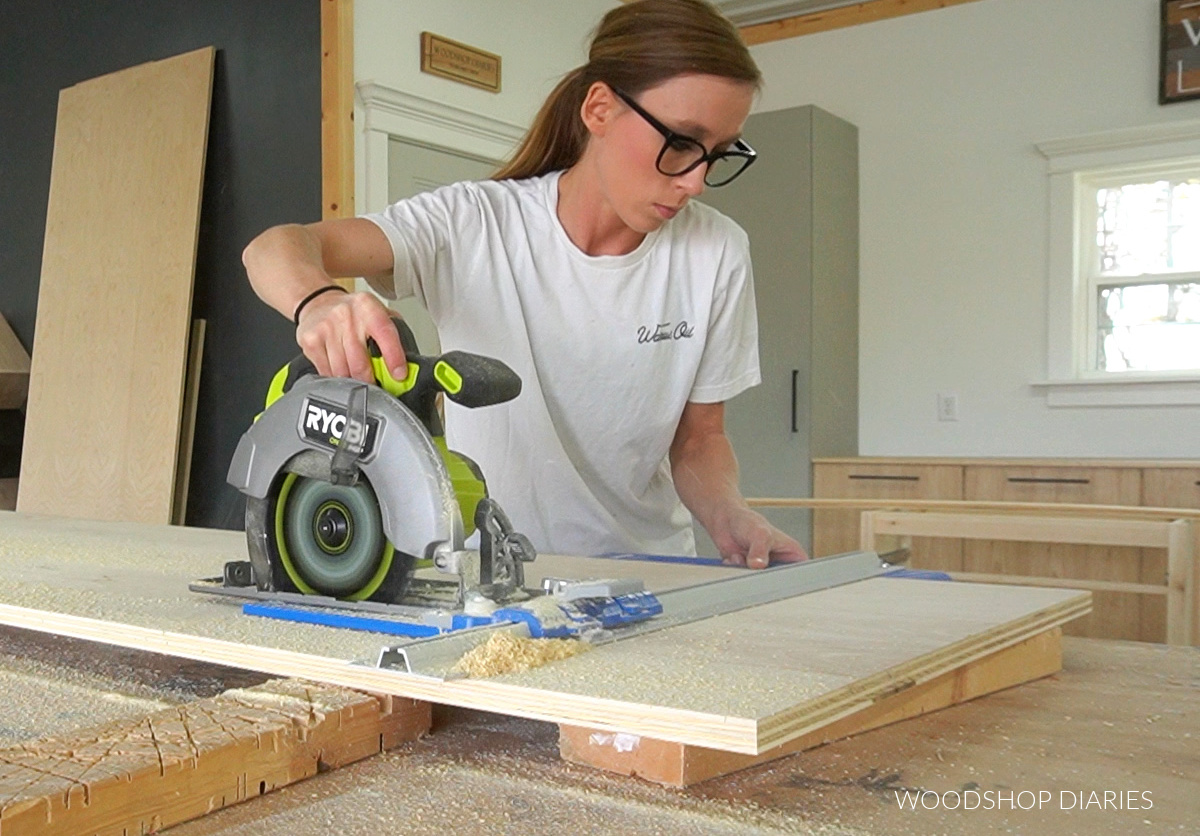
You can find the full cut list and plywood sheet cut diagrams in the printable plans here.
Because I wasn’t adding a face frame on the front of these cabinets (which saved a lot on material!), I edge banded the front edges of the sides and shelves. Edge banding definitely makes the finished project look seamless and smooth, but isn’t NECESSARY.
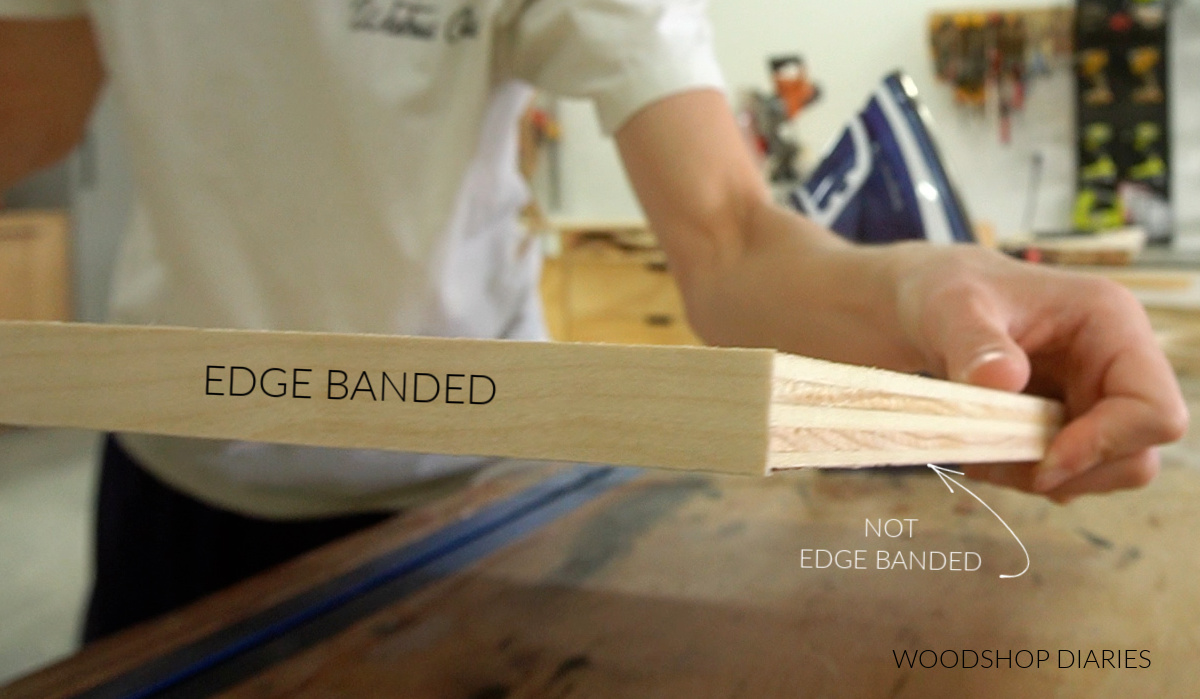
RELATED: How to cover plywood edges
Then, I assembled a cabinet like shown below using pocket holes and screws. Notice that the top shelf goes between the sides flush to the top edge and the bottom shelf is installed a few inches up. This allows room to add the hanging rod.
RELATED: How to use pocket holes
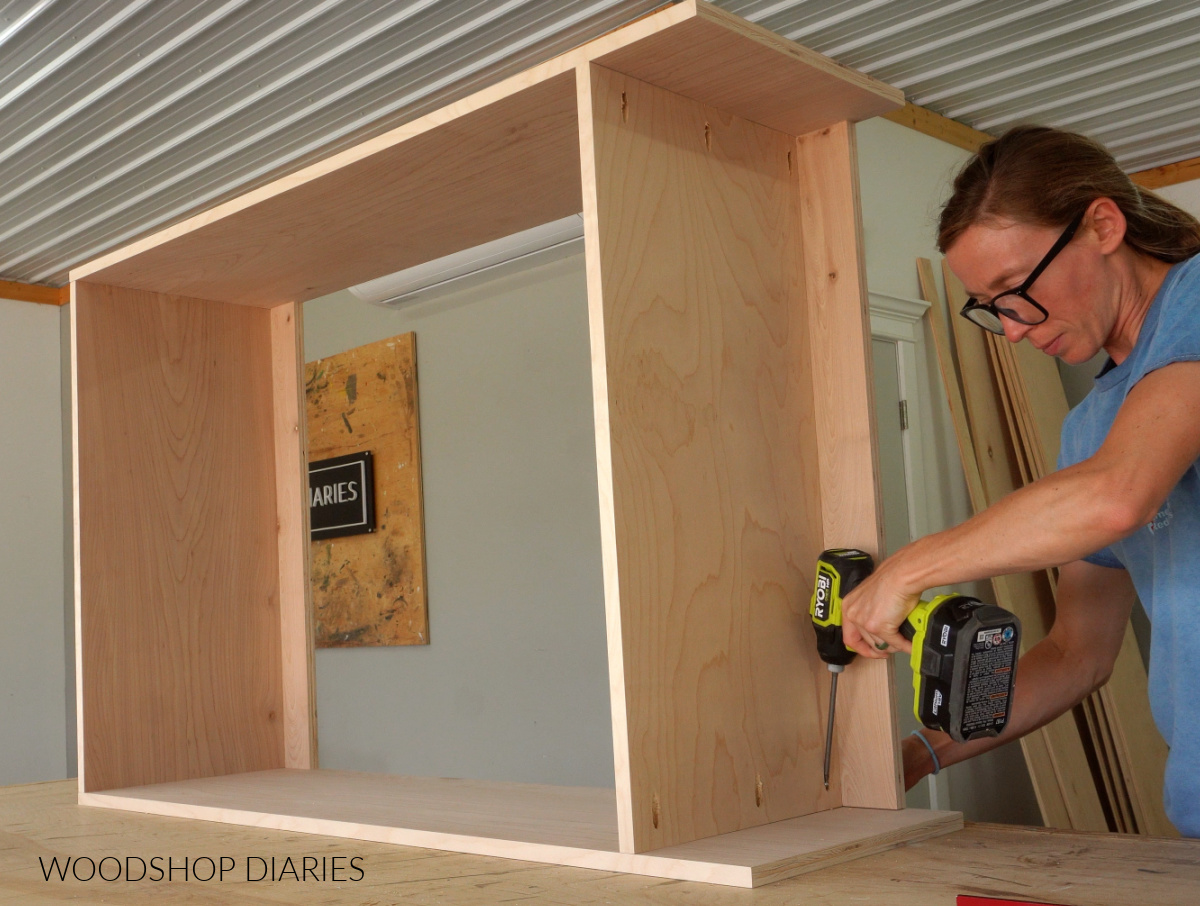
The back support strips are how the cabinet is installed onto the wall, so I added two: one below each shelf.
After the cabinet was assembled, I stained it (I used a custom blend of 1 part Minwax Simply White and 5 Parts Minwax Provincial).
Then, I cut two 1 ¼″ diameter dowel rods to install for the hanging rods. One rod goes below the top shelf and the other goes below the bottom shelf to give two sections for hanging clothes.
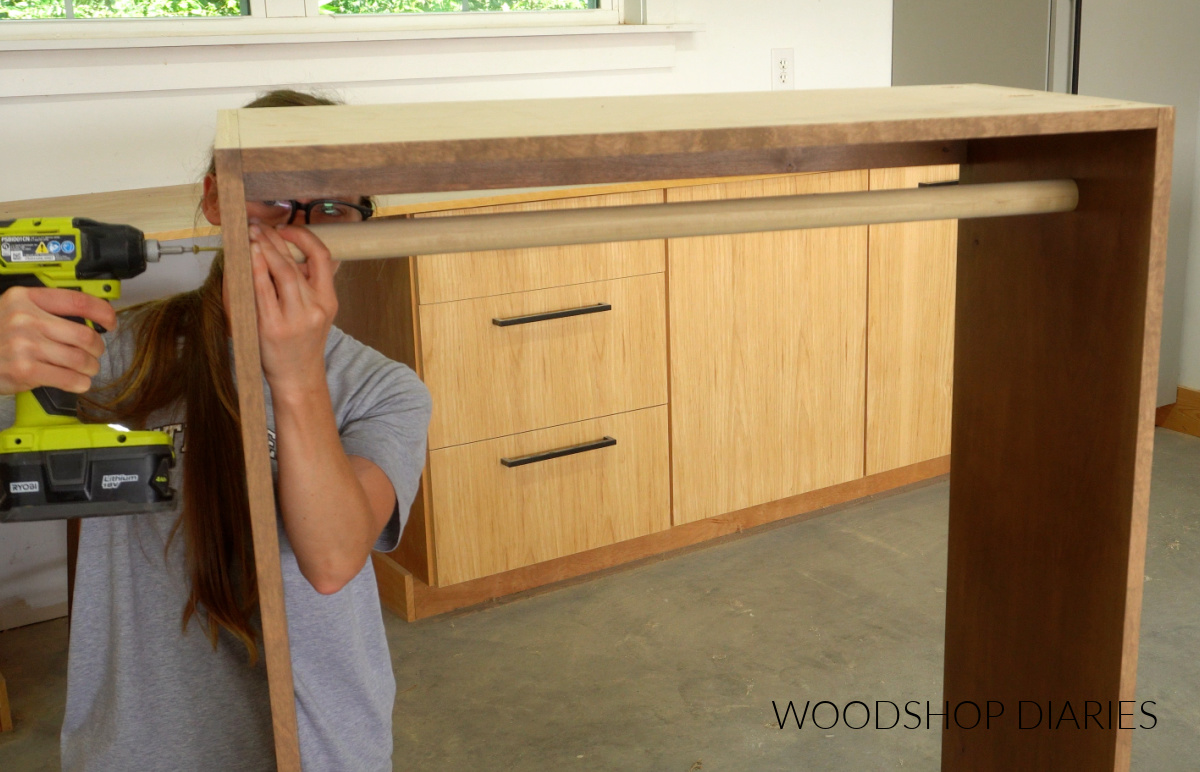
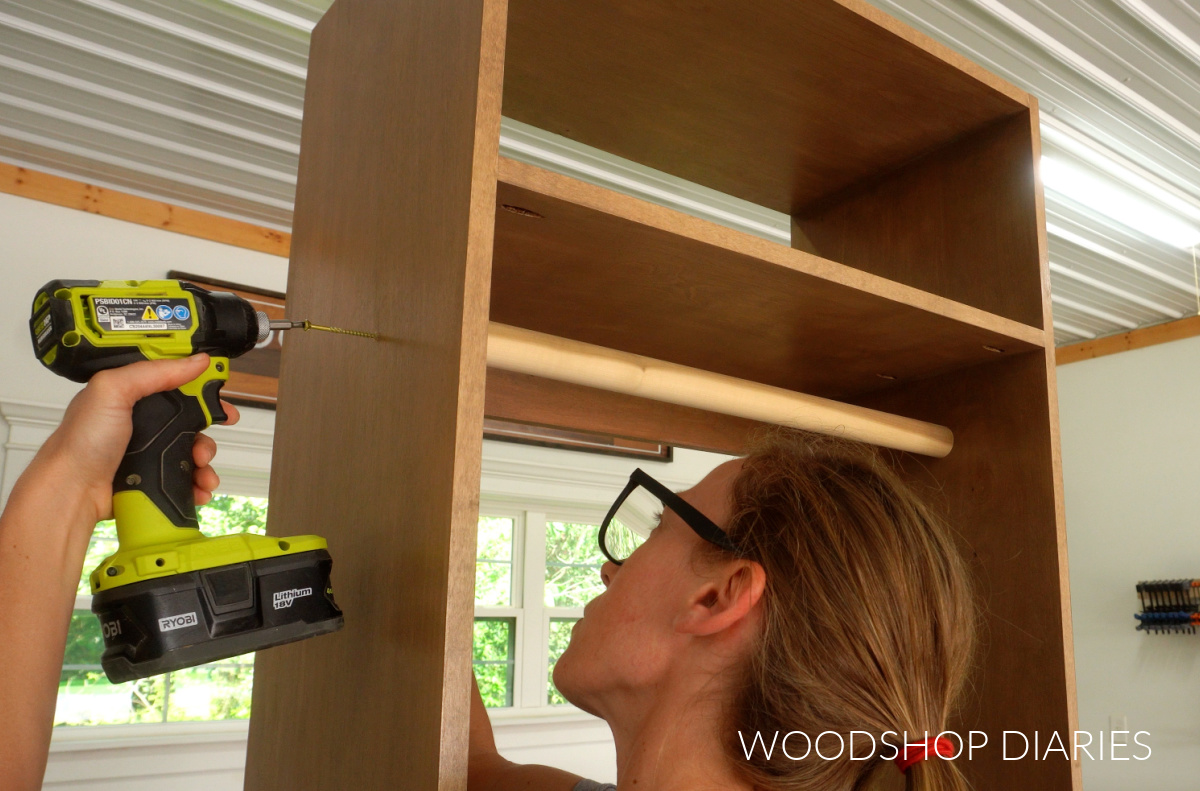
I secured the dowels using 2 ½″ screws through the sides of the cabinet. I’ll come back and install it in step 5, but for now, let’s build the other parts of the system.
Prefer to print? Grab the printable plans for this EASY DIY closet system here.
Step 2: Assemble Tall Closet Tower with Drawers
Next, I built the hardest cabinet of the system (it’s not difficult, it’s just more complex since it’s got drawers). I’m really not sure why I built this one next, but…why not?!
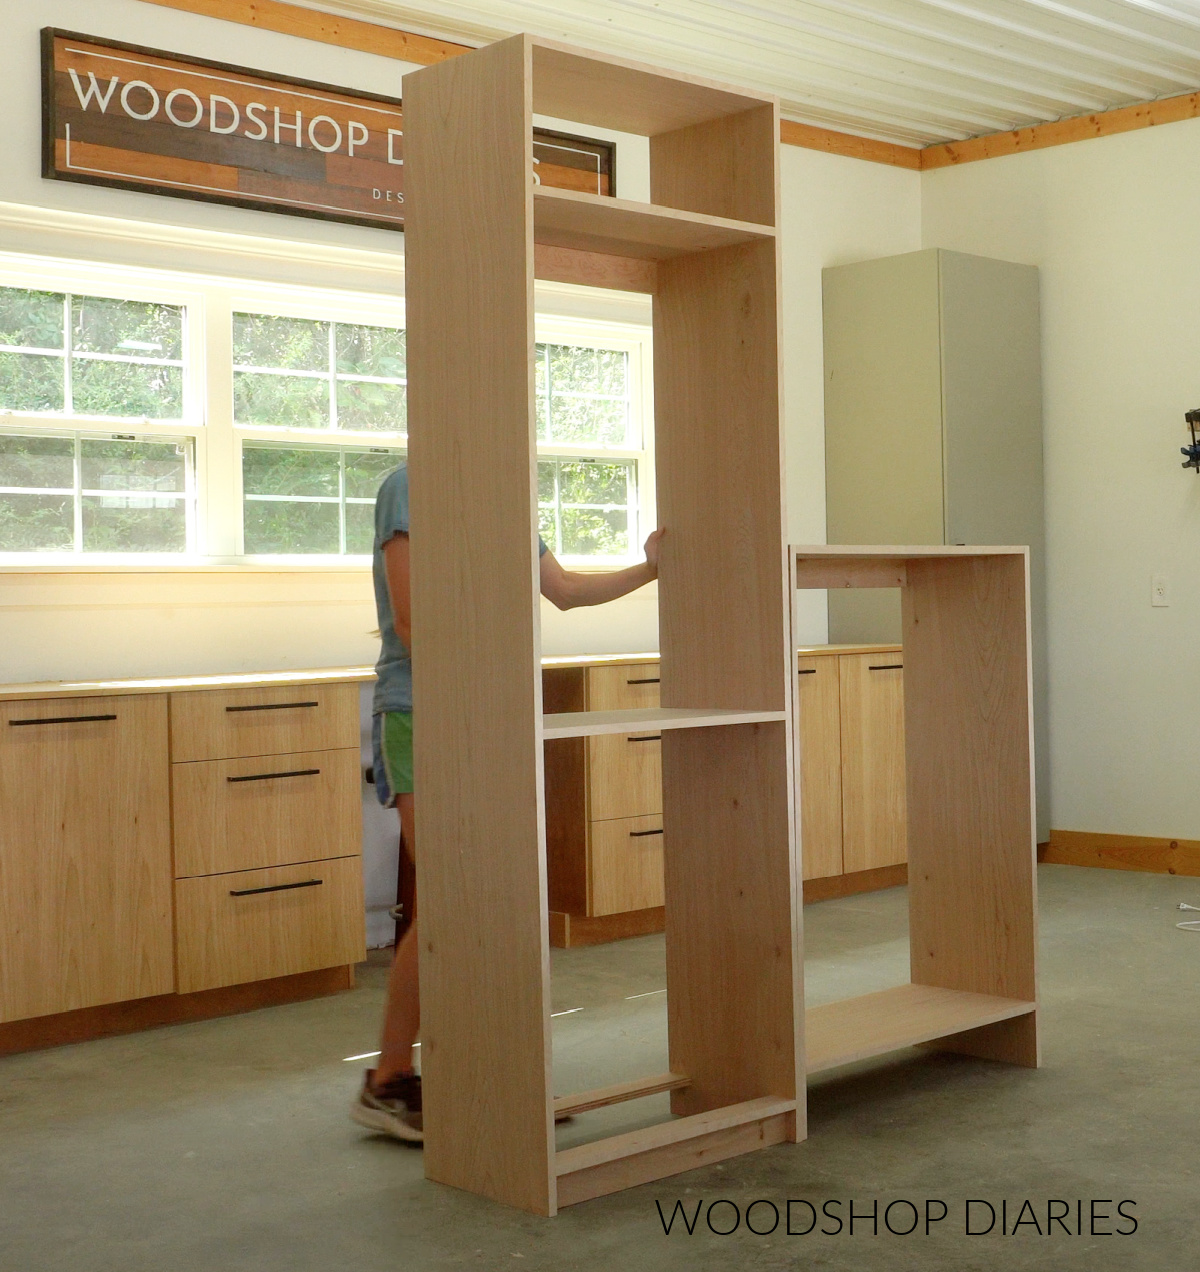
This cabinet has a section in the bottom for drawers, a section in the middle for hanging and a cubby-style shelf at the top for sweaters, jeans, etc.
So I cut ¾″ plywood into 2 tall sides (I made them 84″ [or 7′] tall so that I could get them inside the 8′ tall closet and turned upright), three shelves, and four plywood strips.
One plywood strip will be used for the back support, two for the bottom supports and one for the toe kick.
Then, after edge banding the front edges, I assembled this cabinet just like the last one, using pocket holes and screws.
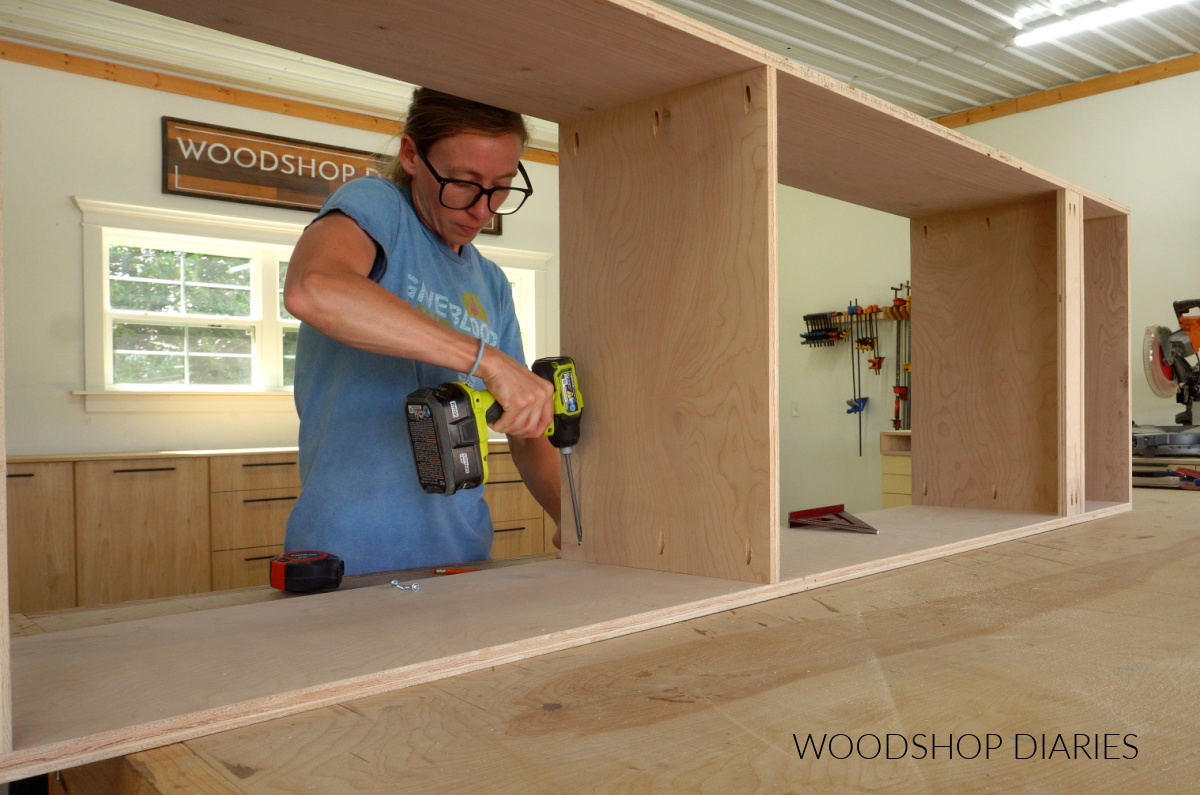
You can find the full cut list, diagrams and dimensions to build it in the printable plans here.
Next, I installed four pair of 14″ drawer slides into the bottom section of this cabinet. I decided to have two deeper drawers in the bottom and two shallower drawers in the top, so I spaced the slides accordingly.
Deeper drawers work well for bulkier items like hoodies or sweaters. Shallower drawers work well for accessories like scarves, jewelry, socks. So it’s nice to have some variety in a closet.
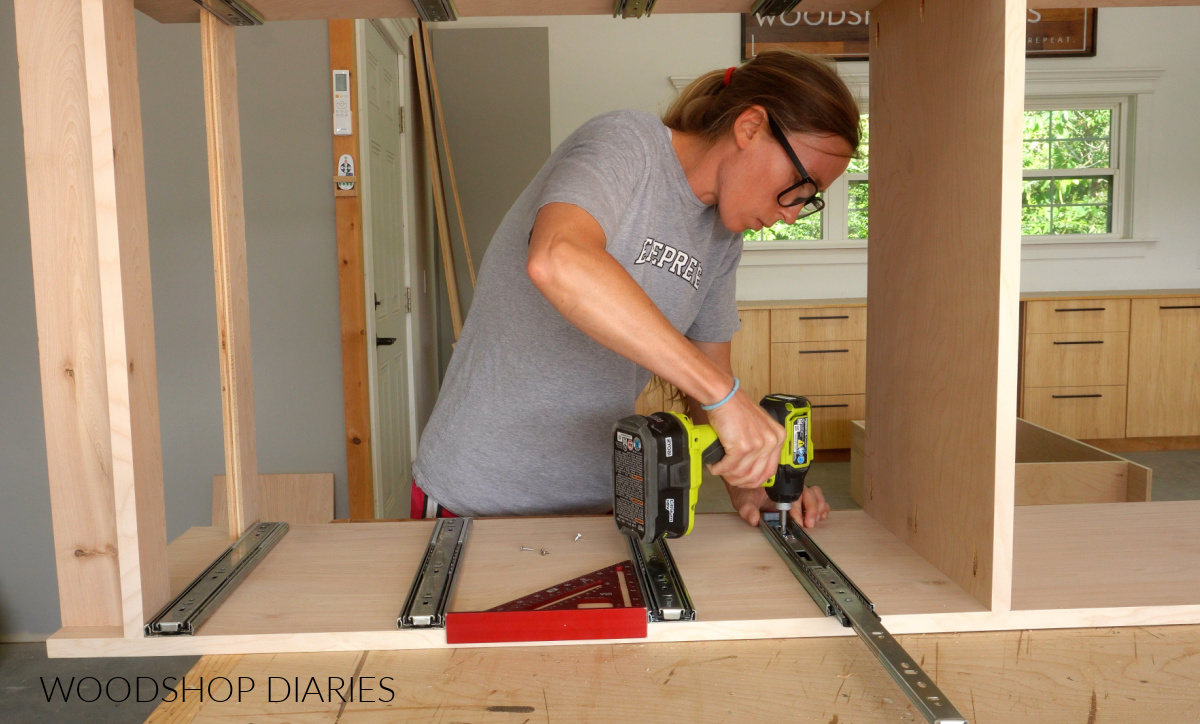
RELATED: How to install drawer slides
Step 3: Install Drawers and Hanging Rod into Cabinet
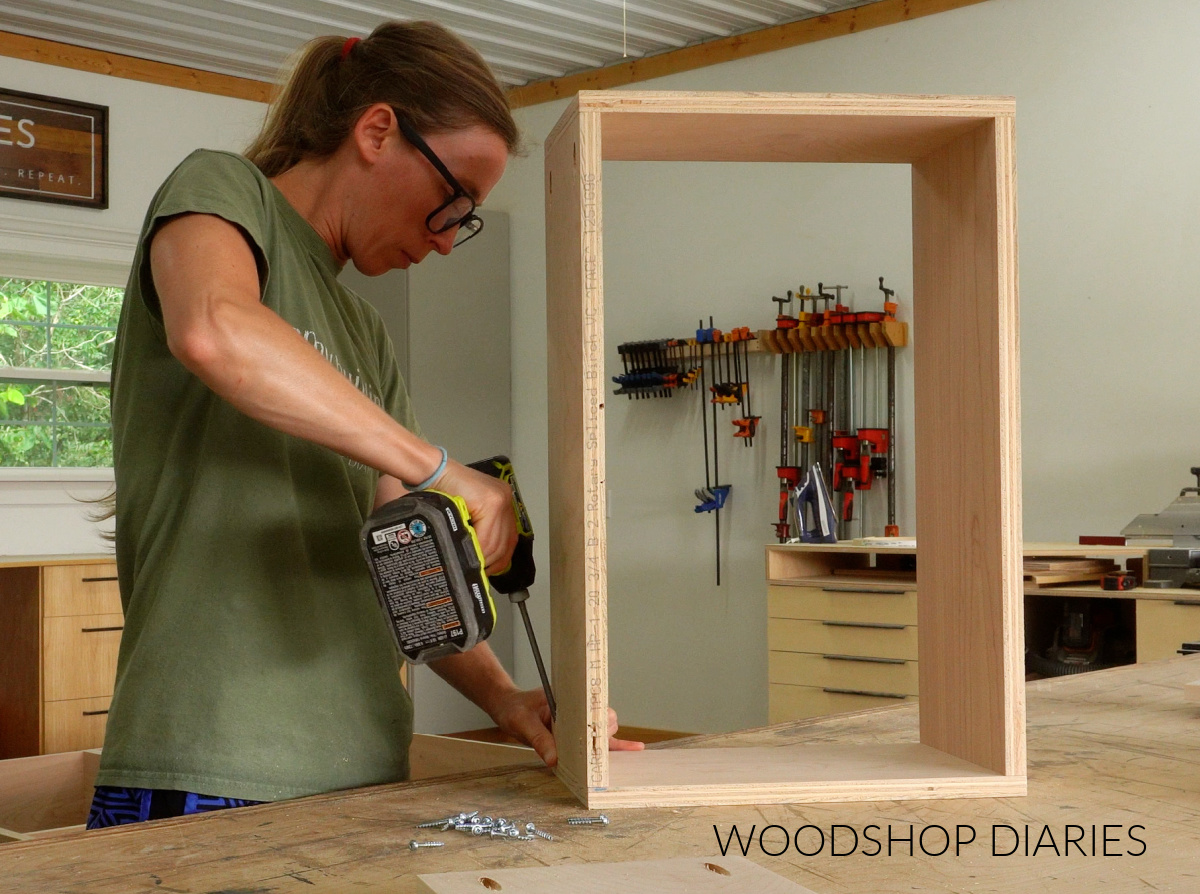
Next, I assembled the four drawer boxes: two deep and two shallow.
If you’ve seen me build drawers much, you know I usually cut dadoes to install my ¼″ plywood drawer bottoms, but in this case, I skipped the dadoes.
Instead, I just screwed the four ¾″ plywood sides of each drawer box together using pocket holes and screws.
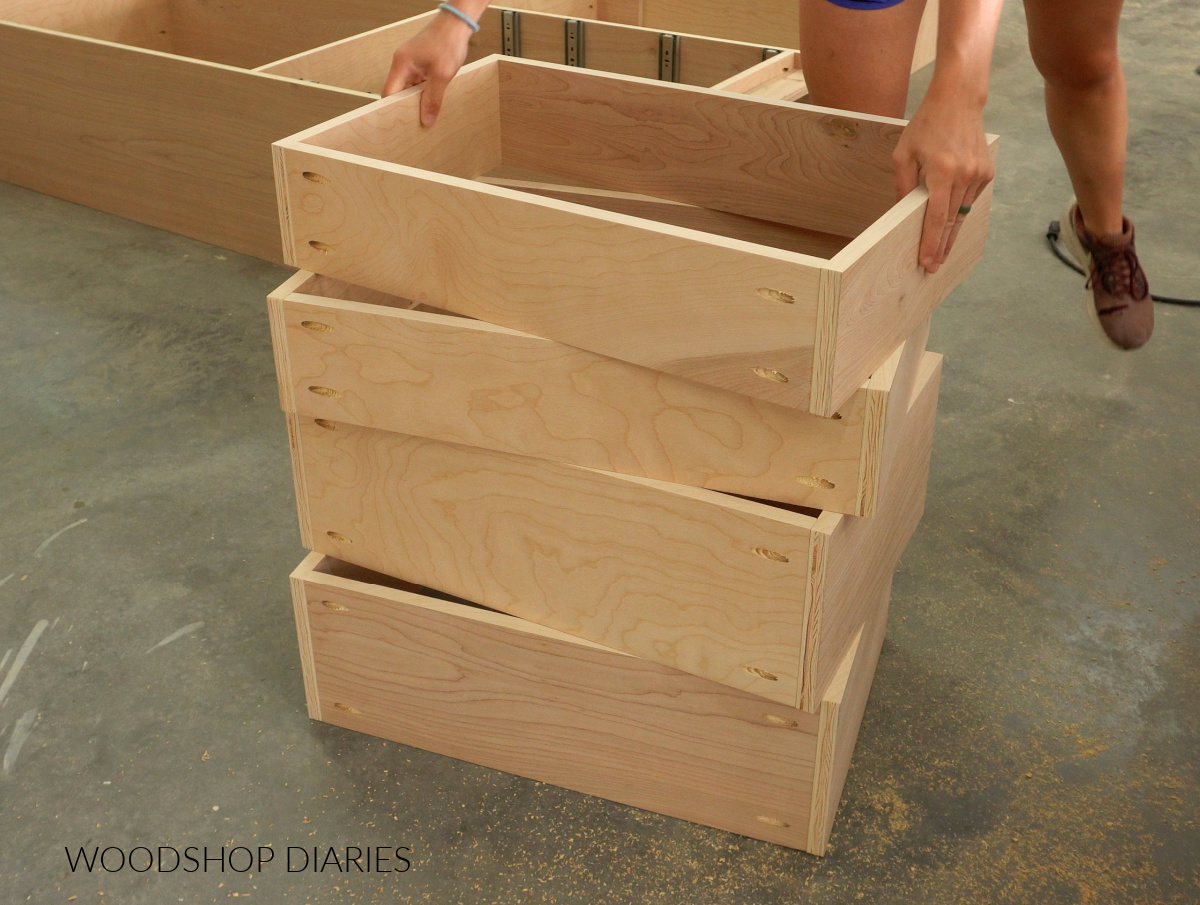
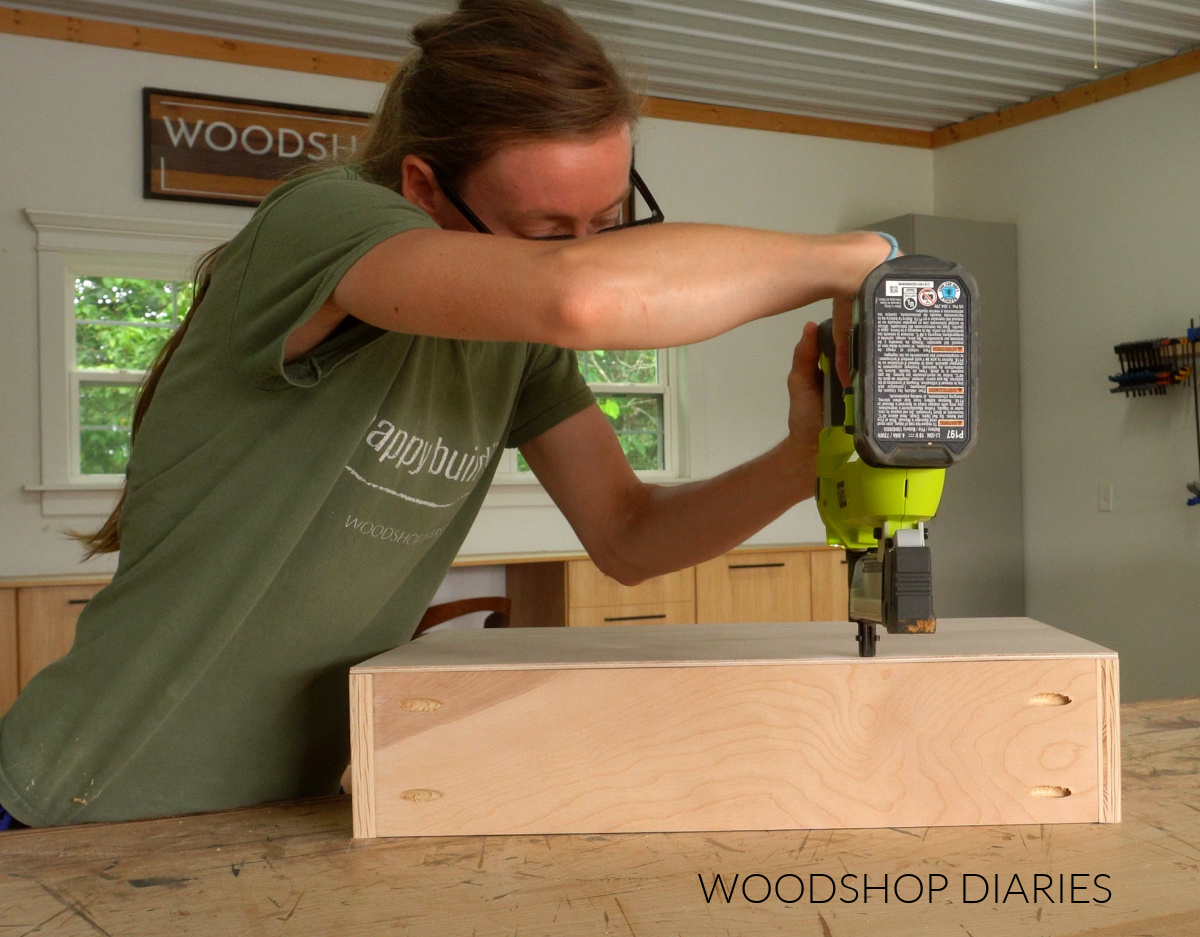
Then I cut four pieces of ¼″ plywood to fit over the bottom and glued and stapled these onto each box.
Why? Cutting dadoes causes you to lose a bit of storage height inside the box and in this case, I wanted to maximize that space.
But if you wanted to cut dadoes, that would absolutely work fine, too!
Once the drawers were assembled, I installed them onto the slides in the cabinet and added some ¾″ plywood (slab style) drawer fronts using screws from inside each drawer box.
RELATED: How to install drawer fronts
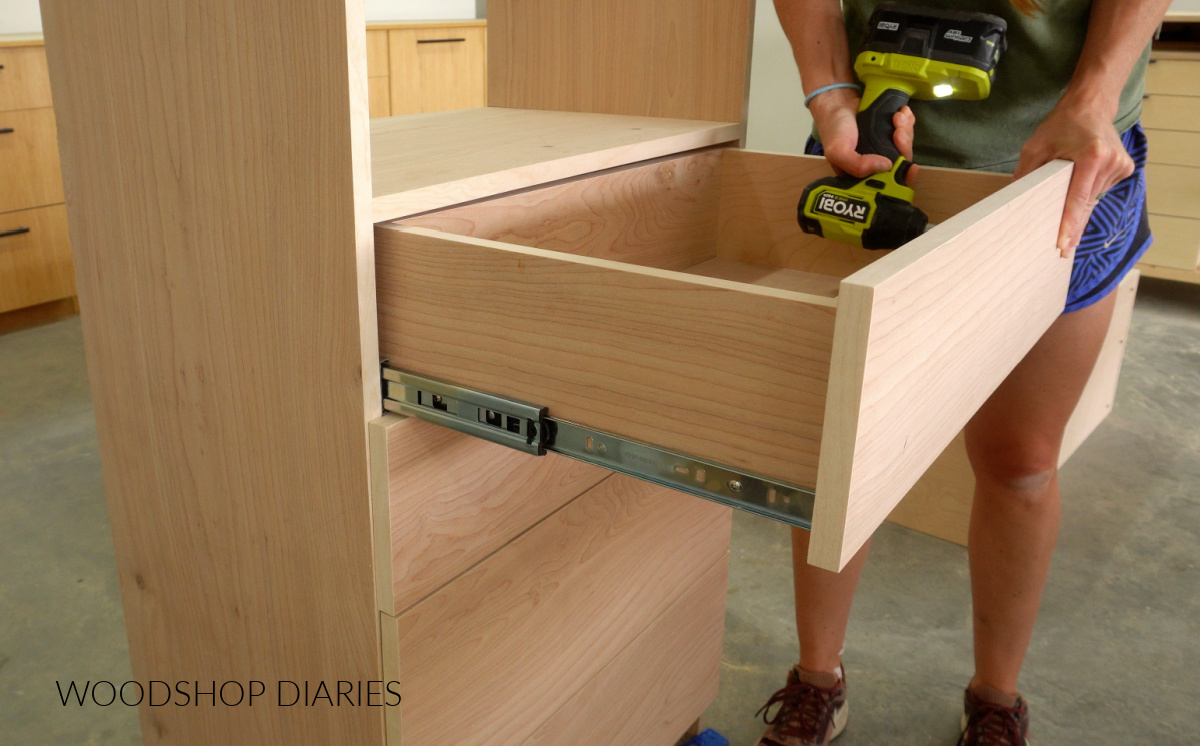
Slab style solid drawer fronts are a great choice for a closet because they’re smooth and don’t collect dust and lint.
Prefer to print? Grab the printable plans for this closet system here.
Before adding the hanging rod, I went ahead and stained the cabinet and the drawer fronts (using the same stain as in step 1).
Then, I cut and installed a 1 ¼″ dowel rod for hanging clothes in the middle section of the cabinet.
Now the drawer cabinet is complete and I just needed to build the last piece!
Step 4: Assemble Single Hanging Rod Closet Cabinet
For the third cabinet in this system, I built another box from ¾″ plywood, this time, with two tall sides, four shelves, and two back support strips.
I edge banded the front edges and assembled it using pocket holes and screws.
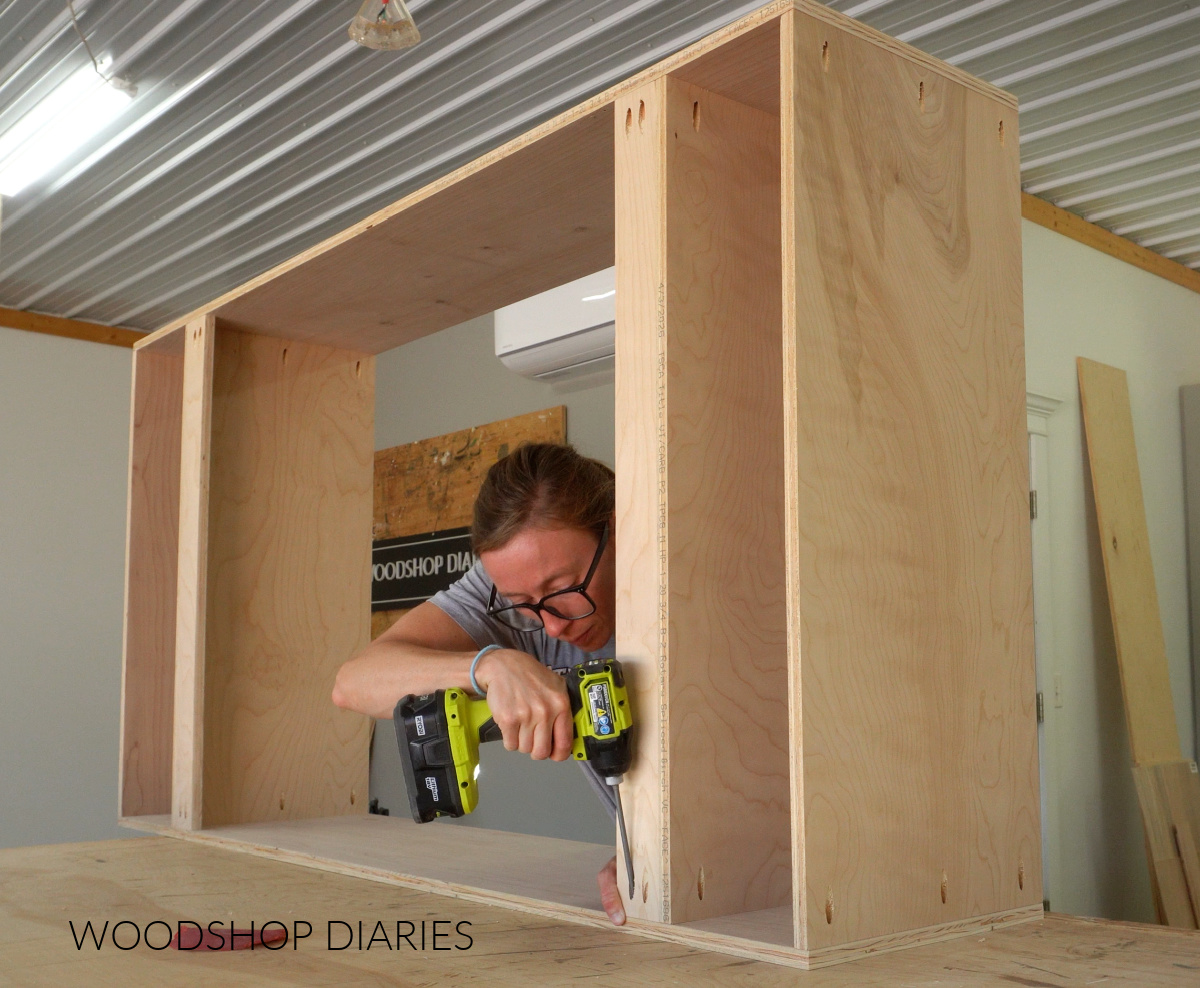
I used the four shelves to divide the cabinet into three sections: a smaller top and bottom section for shelving, and a tall middle section for hanging.
With the previous two cabinets, there was plenty of hanging space for things like pants and blouses. But, Mom also needed some longer hanging room for dresses and skirts, so this hanging section was several inches taller.
Of course, if you didn’t need taller hanging room, you could add more shelving and make the hanging space shorter like the other cabinets.
The great thing about building your own closet system is that you can customize it as needed to fit YOUR needs.
Once this cabinet was built, I stained it and added a 1 ¼″ diameter dowel hanging rod in the center section (just like the previous two cabinets).
Step 5: Install Closet System
With all three cabinets built, all that was left was installing them…which was pretty easy!
The two wall mounted cabinets simply screw straight into the wall studs, so once we located the wall studs in the closet, I secured them using 2 ½″ wood screws through the back supports.
As you can see below, I added the double hanging rod cabinet in the back corner and the single hanging rod cabinet in the adjacent corner to the right. Both cabinets were installed so that the top was 84″ off the ground.
Prefer to print? Grab the printable building plans for these closet cabinets here!
Conveniently, the wall mounted cabinets don’t require cutting away the baseboards. However, for the drawer cabinet, since it sits on the floor, I did have to cut away the baseboard where it was going so it could butt directly against the wall.
I secured it to the wall studs as well using screws through the back support and now this closet is ready to fill up and organize!
Check out the video to see additional finished touches we added to this closet.
The great thing about systems like this is that you can mix and match and arrange them so many different ways.
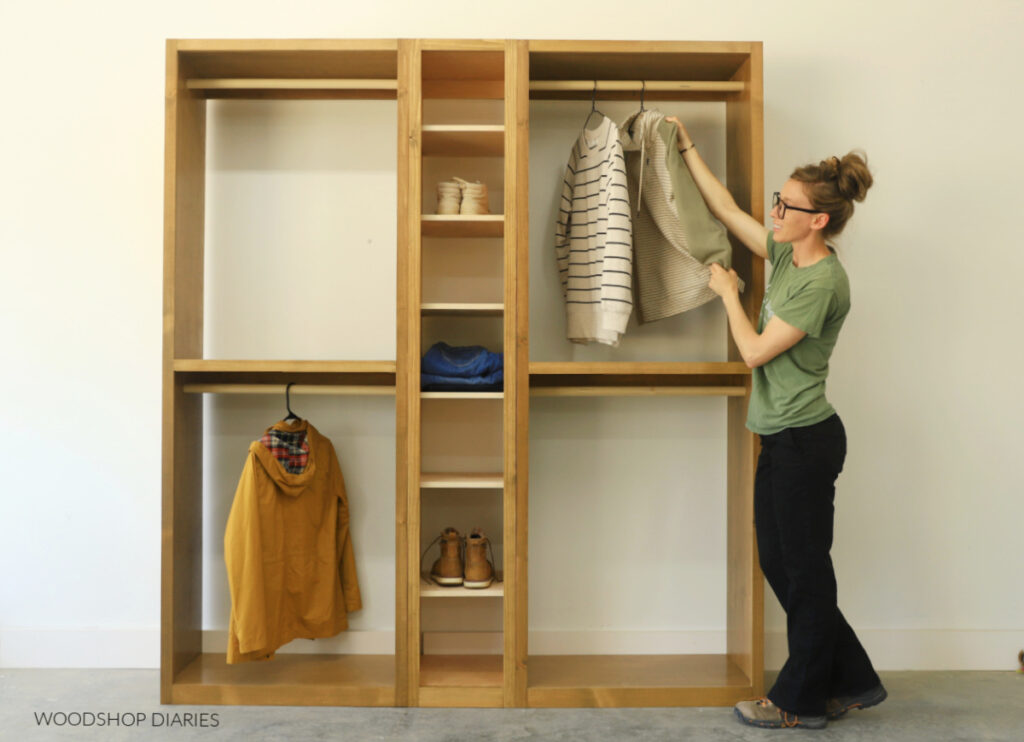
I did install them on my shop wall to take photos of them all side by side so you can get a better visual of what they look like. It’s hard to take good photos of the inside of a small closet ha!
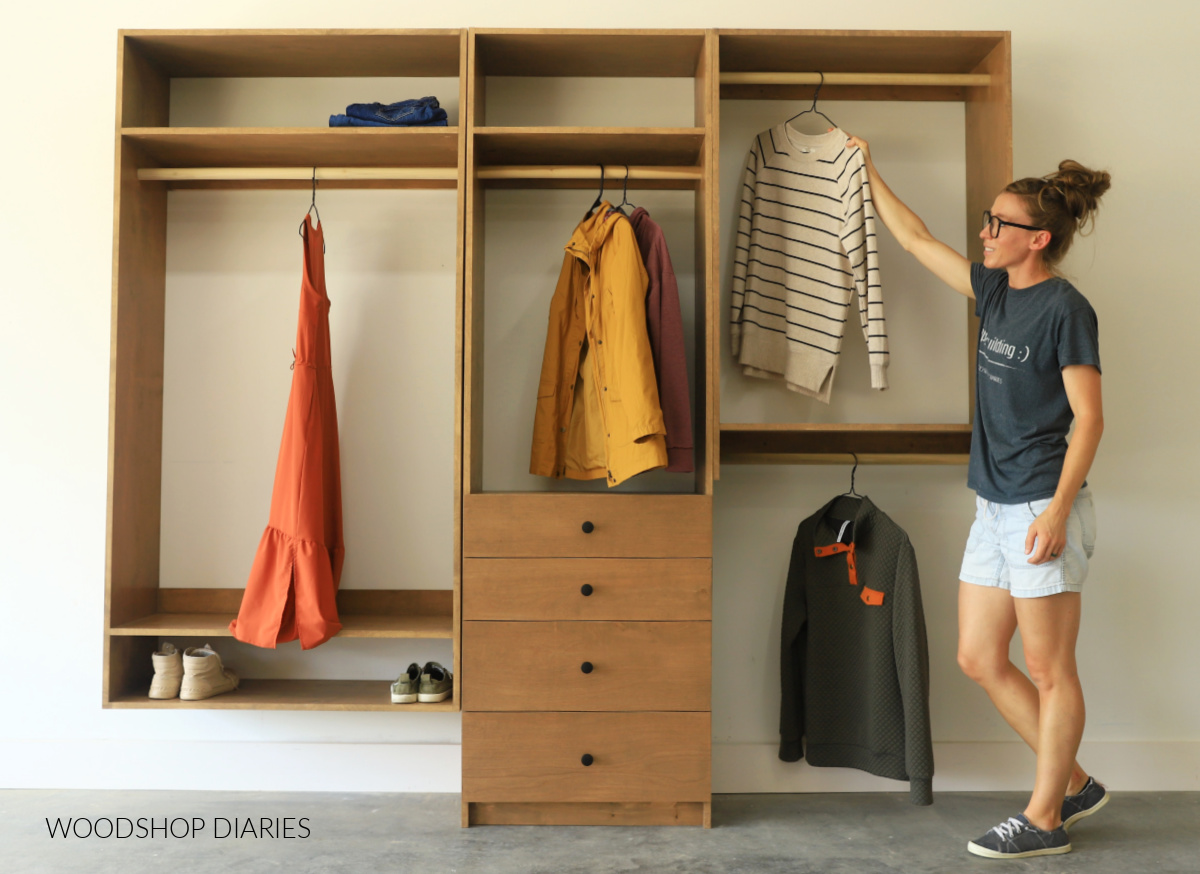
I LOVE the look of classy wood cabinets in a closet. They really elevate the look (and function!), but don’t have to cost a fortune.
Looking for more closet cabinet ideas?
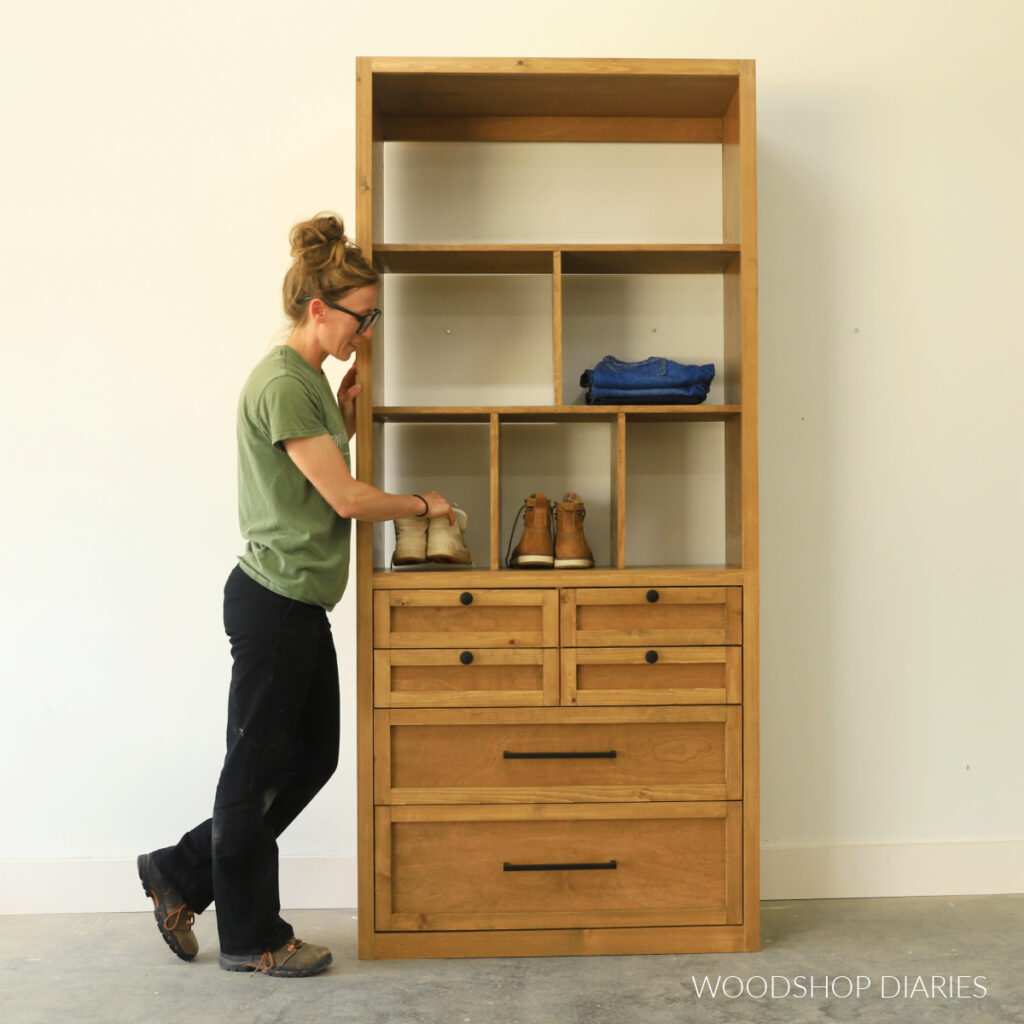
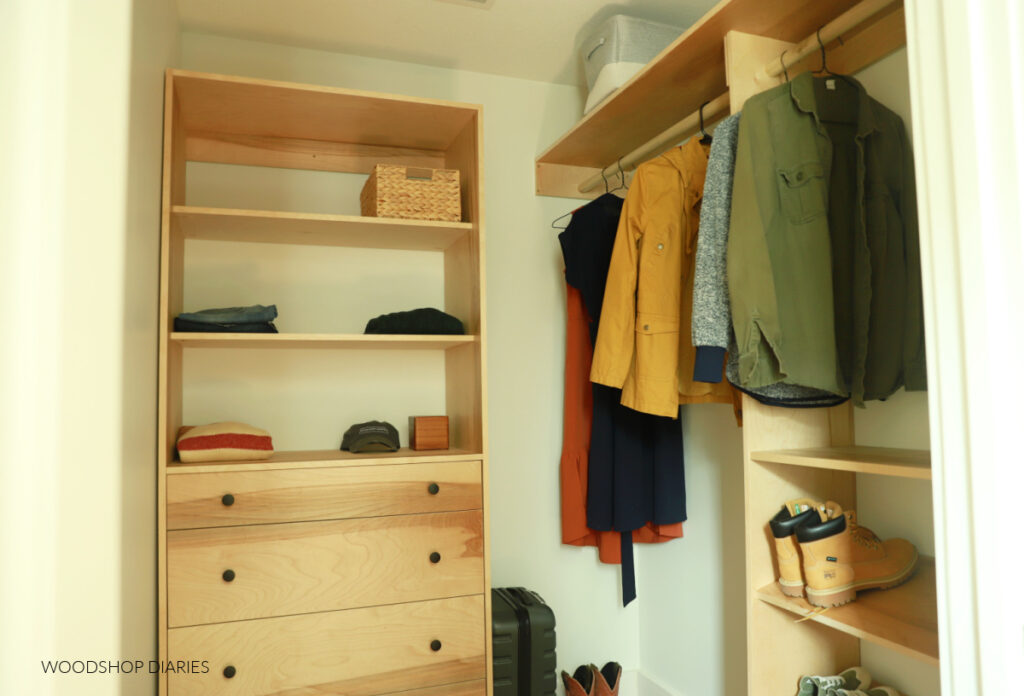
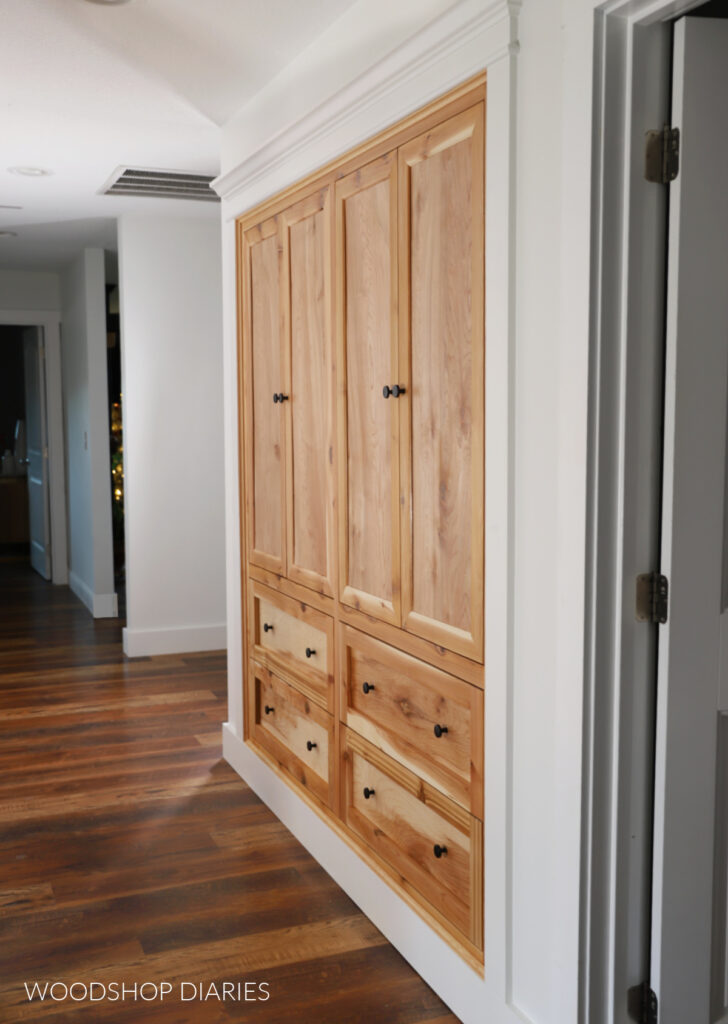
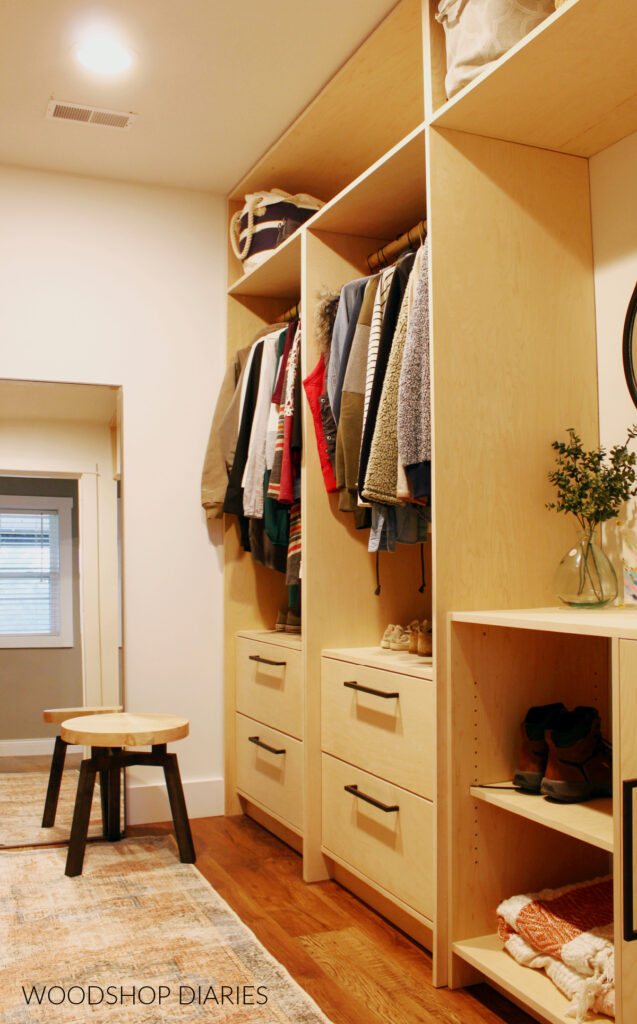
Enjoyed this build, but looking for more custom closet ideas? I’ve got you covered! Click on the image(s) below to learn how to build each project:
If you enjoyed this post, be sure to save it for later by pinning or sharing to your favorite social channel!
Until next time, friend, happy building!