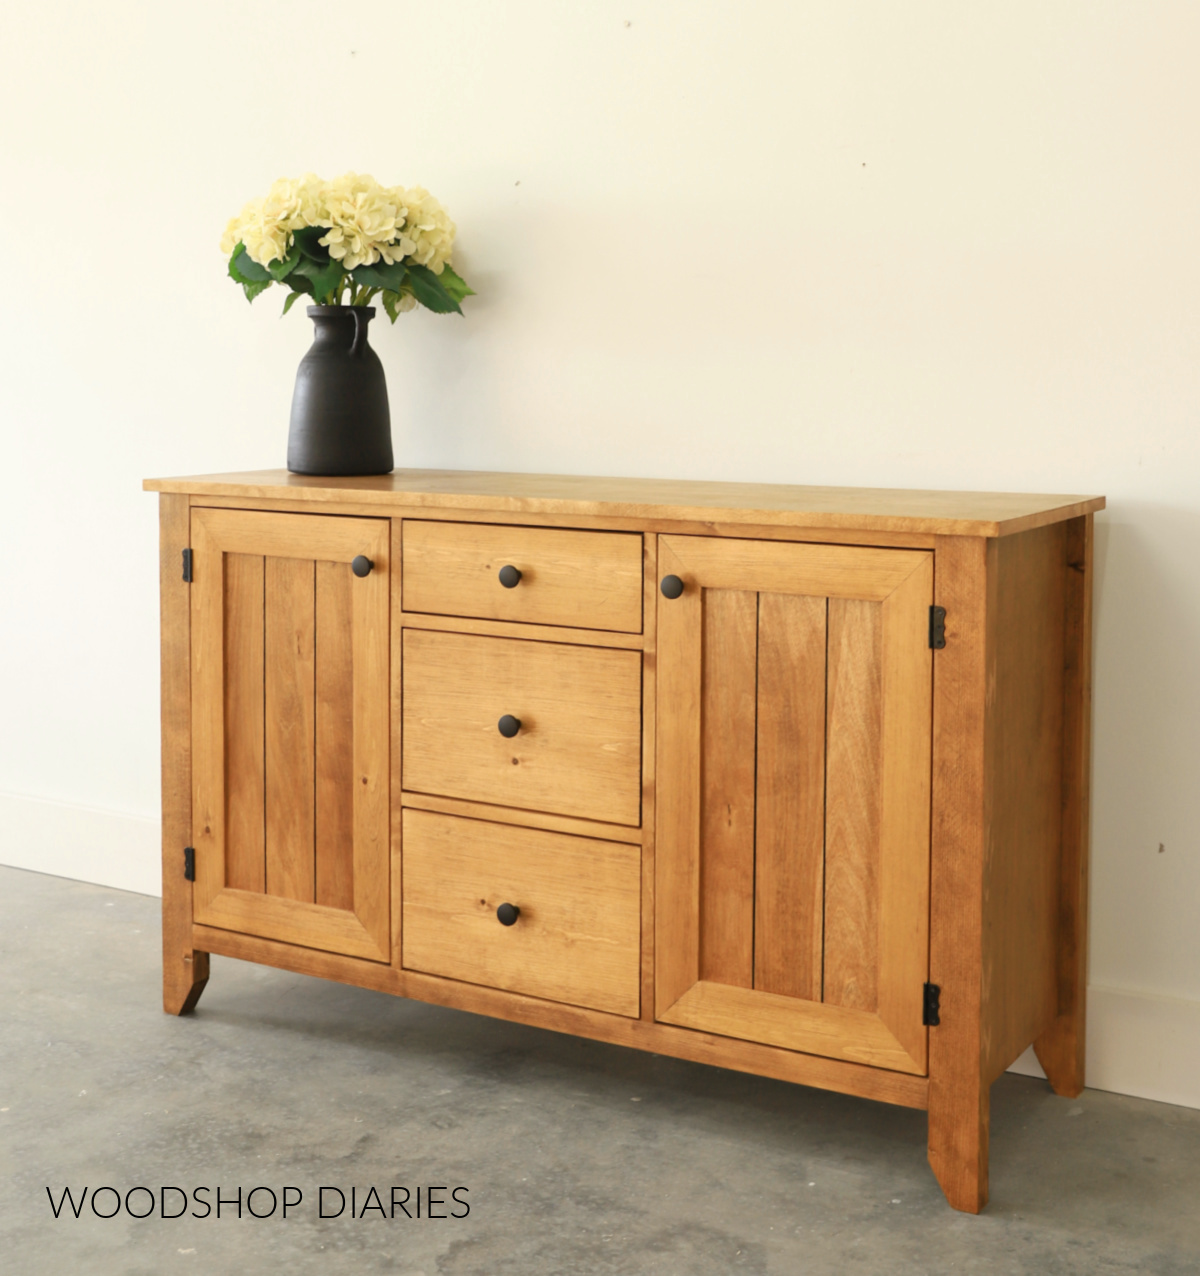
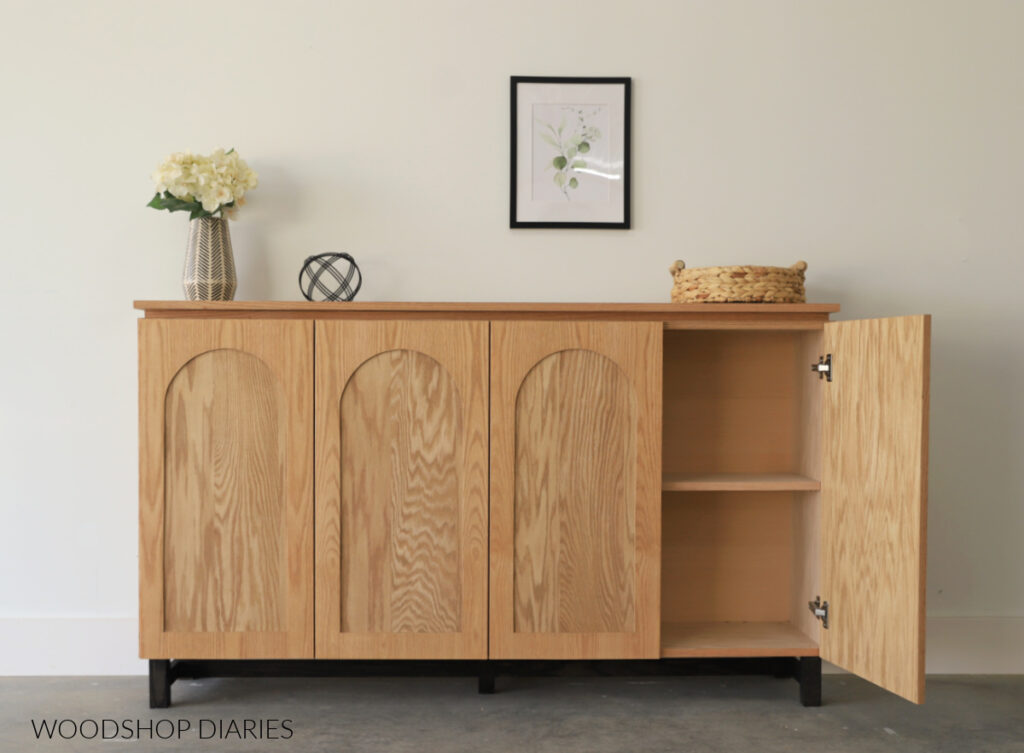
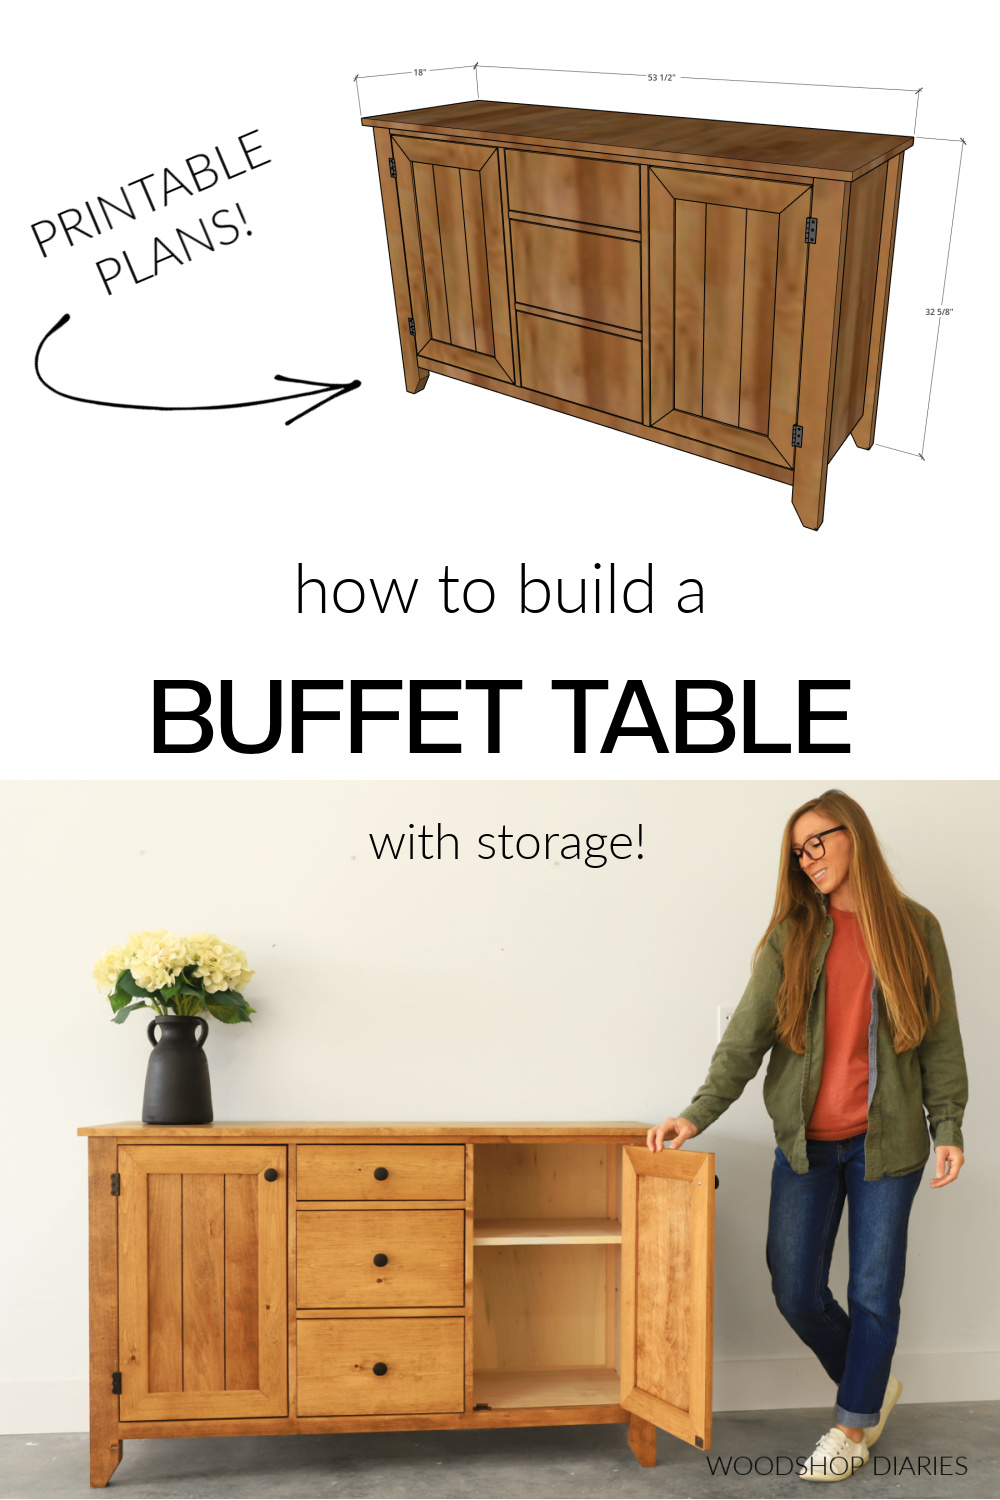
In this post, I’m sharing how to build a DIY buffet table with storage!
I know this seems silly, but it’s often hard to give these projects a name because a buffet table is also just a console. It could sometimes even be considered a dresser of sorts.
So it seems unfair to just give it a single title when it’s such a versatile piece!
Traditionally, a buffet table is a piece of furniture often used in dining rooms to store tableware and also provide a surface to serve food from (hence the term “buffet”).
And although this piece is perfect for that, it could also make a great entryway table, office console, or addition to the closet for clothing storage.
No matter how you choose to use it, it’s a great weekend build that will help you sharpen your door and drawer building skills. So, let’s dive in below and see how to build it!
*This post contains affiliate links. See website policies.
What to know before building
This project includes both drawers and doors, so while it’s not a difficult DIY, I’d consider it an intermediate project. However, assembly is fairly quick and the joinery methods are basic.
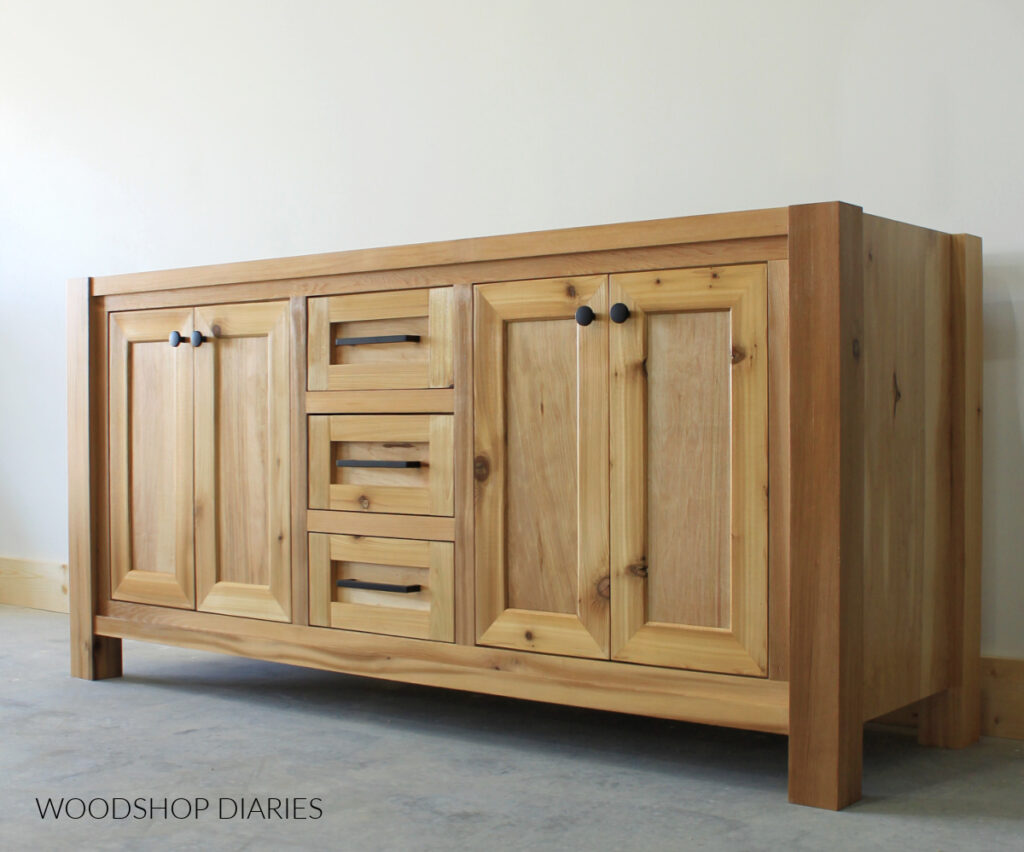
I actually mentioned this a few times throughout the video tutorial below, but the main body of this build is very similar to several other projects I’ve shared before. (It is a lot like this double sink vanity and this 9 drawer dresser.)
This kind of solidifies by belief that many projects are essentially the same thing, just with slight variations. Speaking of variations, this design is pretty easy to modify.
So feel free to swamp the drawers for open shelves, or swap one of the doors for more drawers, etc. It includes stationary shelves behind each door, but these could also be made as adjustable shelves using a shelf pin jig.
RELATED: How to add adjustable shelves
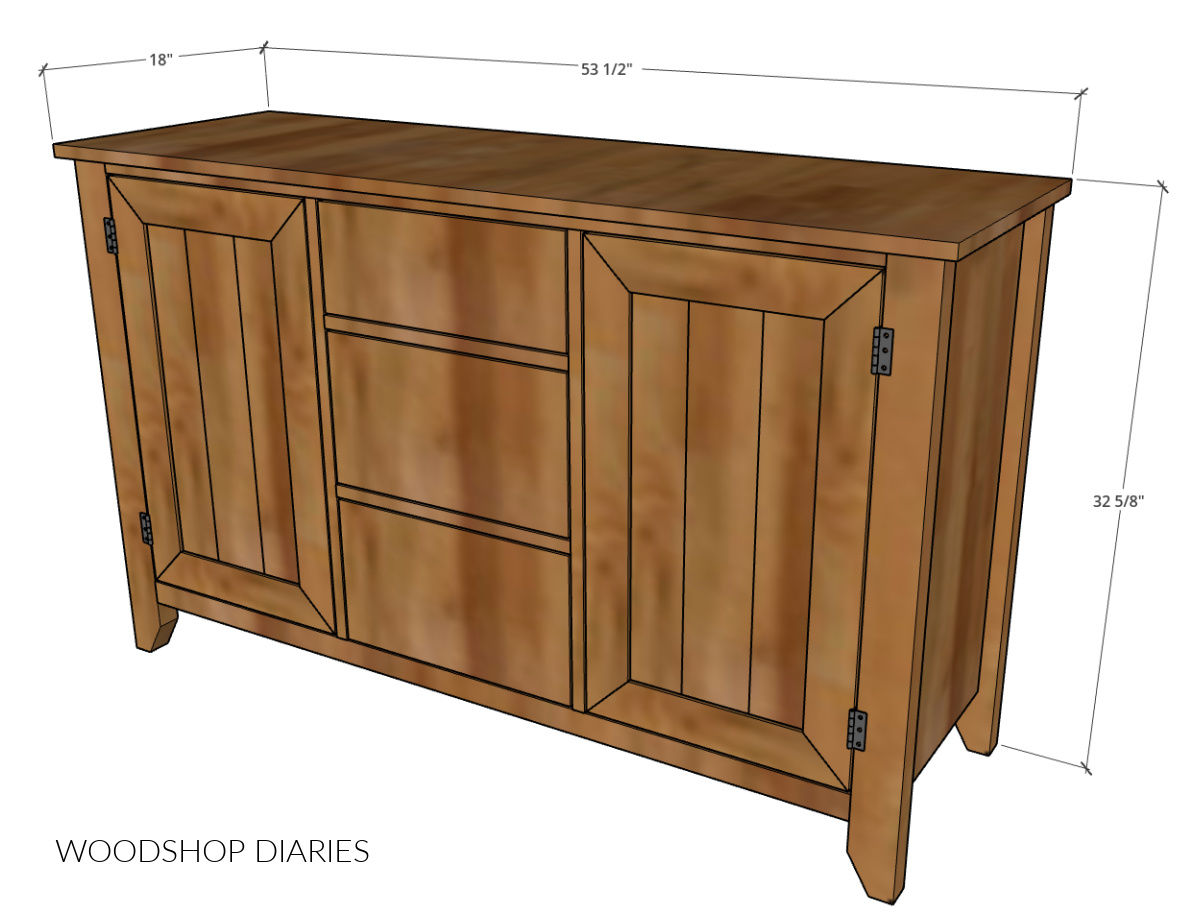
Overall dimensions
The overall dimensions of this buffet table are approximately 18″ deep x 32 ⅝″ tall x 53 ½″ wide.
You may find these resources helpful throughout the build:
Enjoy DIY projects and woodworking plans? Sign up for priority access for the latest posts on Woodshop Diaries!
How to Build a Buffet Table with Storage
If you prefer to watch, I’ve shared the full build video with tons of tips, behind the scenes, and additional details on my YouTube Channel here.
Love watching how-to videos? Subscribe to my YouTube channel for plenty more where that came from!
Prefer to print? Grab the printable buffet table building plans available here:
Tools & Materials
Tools:
Materials:
- (2) 4’x8′ sheets ¾″ plywood*
- (1) 4’x8′ sheet ¼″ plywood*
- (2) 2x4x8 boards*
- (1) 1x2x8′ board*
- (3) 1x3x8′ boards*
- (100) 1 ¼” pocket hole screws
- (4) 2 ½″ pocket hole screws
- ⅜″ x 1 ½″ Dowel pins
- (25) 1 ¼″ wood screws
- Wood glue
- (3) pair 16″ drawer slides
- (2) pair 1 ½″ x 2 or 2 ½″ cabinet butt hinges
- (2) magnetic catches
- Edge banding (optional, but recommended)
- Drawer/door pulls/knobs
*I used birch plywood and spruce/pine lumber for this project. Learn how to choose the right plywood for your project here. And learn how to shop for lumber here.
Step 1: Assemble Buffet Table Frame
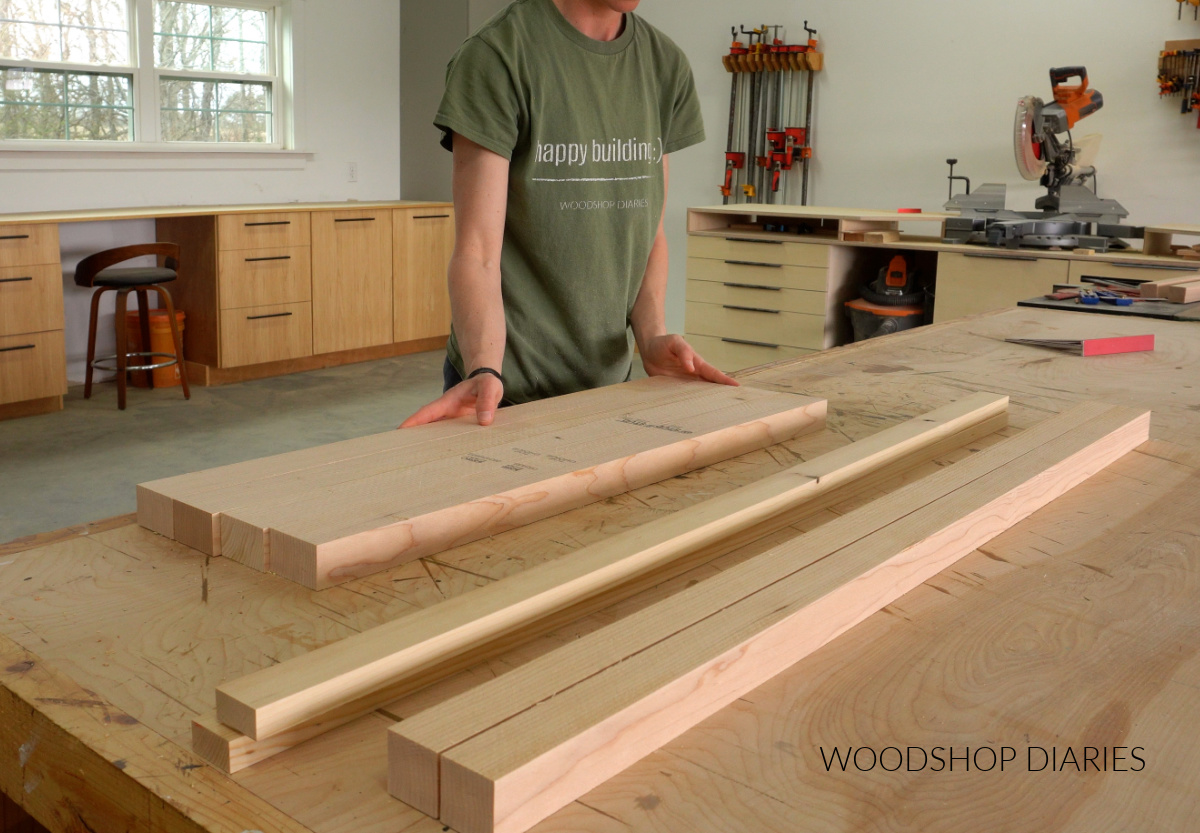
First, I cut down the pieces to assemble the front and back frames of the buffet table.
I cut four pieces of 2×4 for the legs, but I ripped them to 2 ½″ wide (which makes them 2x3s). And I cut two pieces of 1×2 for the top supports and two pieces of 2×2 for the bottom supports.
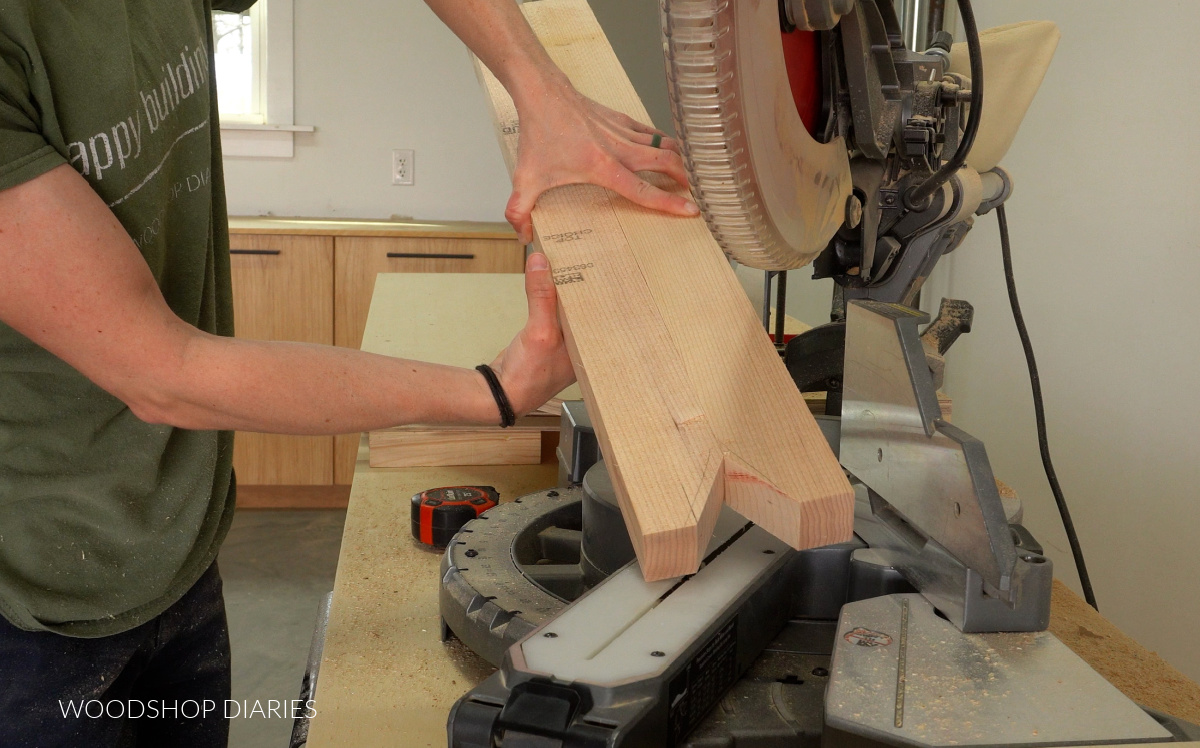
To add a little extra detail, I tapered the inside bottom corners of each leg 60 degrees. This is totally optional, but is a quick and easy way to dress them up.
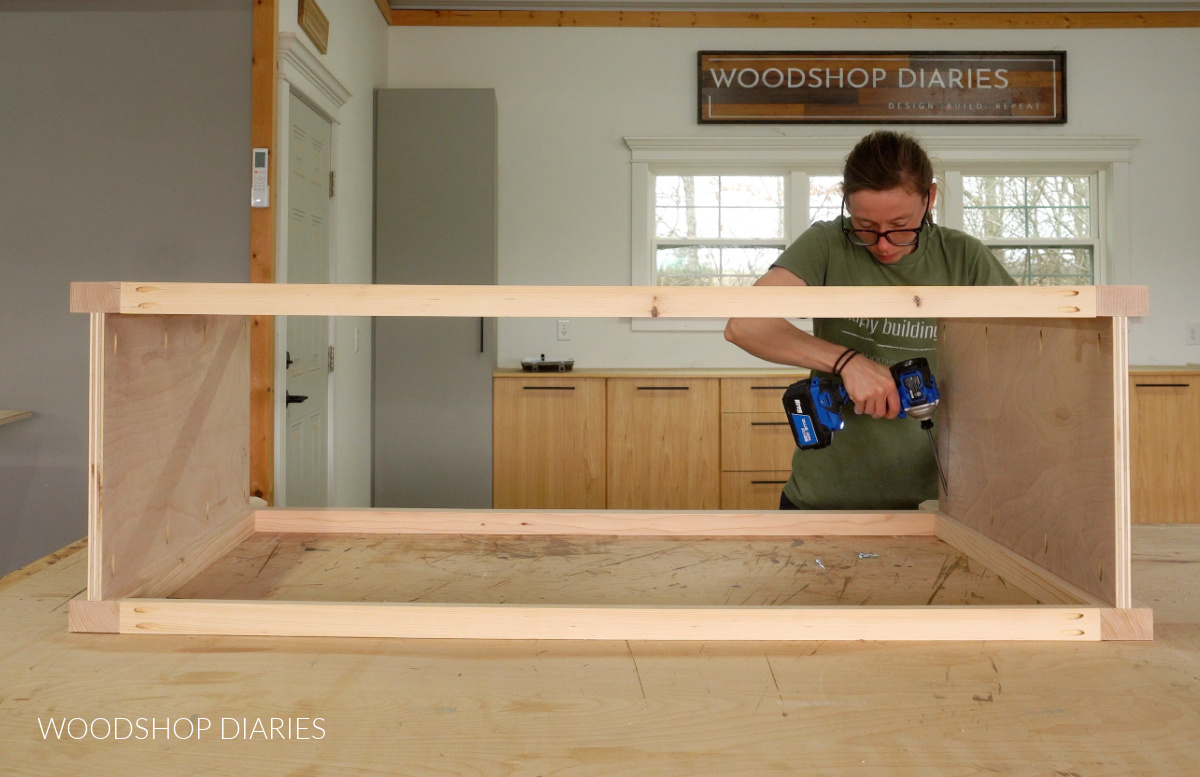
After sanding, I attached one 1×2 and one 2×2 between two legs using pocket holes and screws to make two identical frames. One will be for the front and one will be for the back of the table.
RELATED: How to use pocket holes
Then, I cut two pieces of ¾″ plywood to go between the frames to make the main body. I installed these using pocket holes and screws, but if you feel adventurous, you could also use wood glue and dowels, instead.
RELATED: How to cut plywood sheets
Prefer to print? You can find all the dimensions, cut lists, and step by step diagrams in the printable plans here.
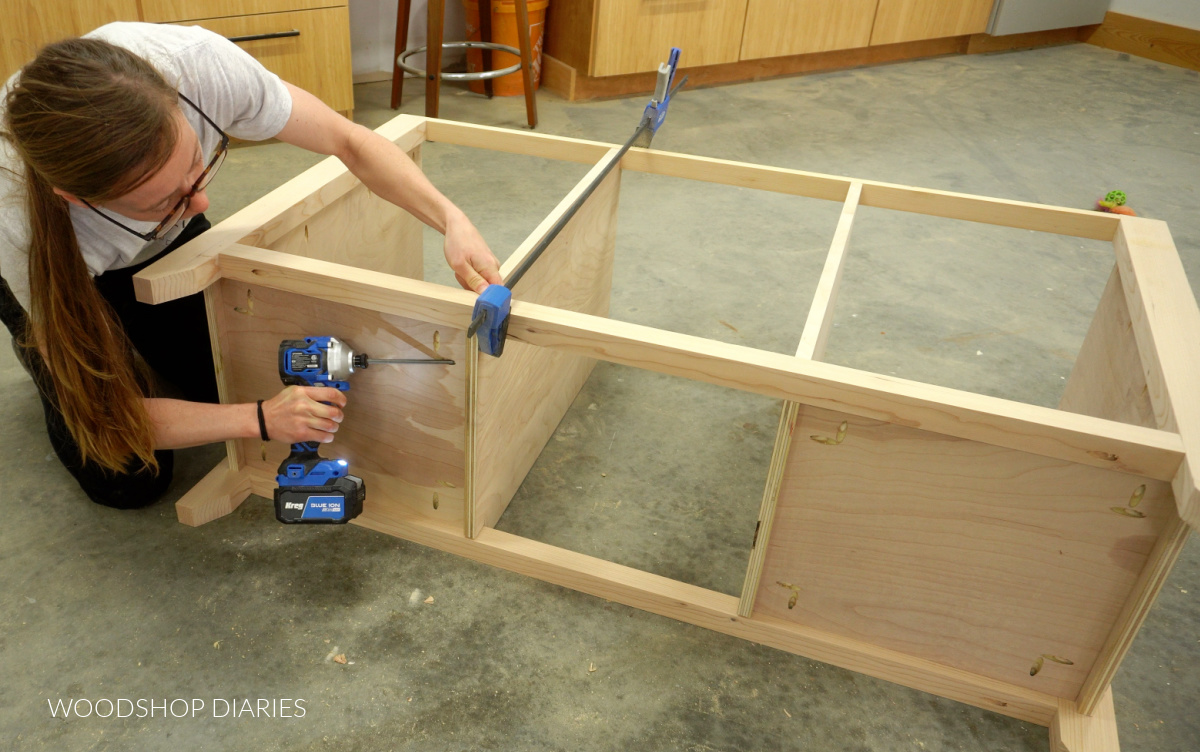
Step 2: Install Dividers
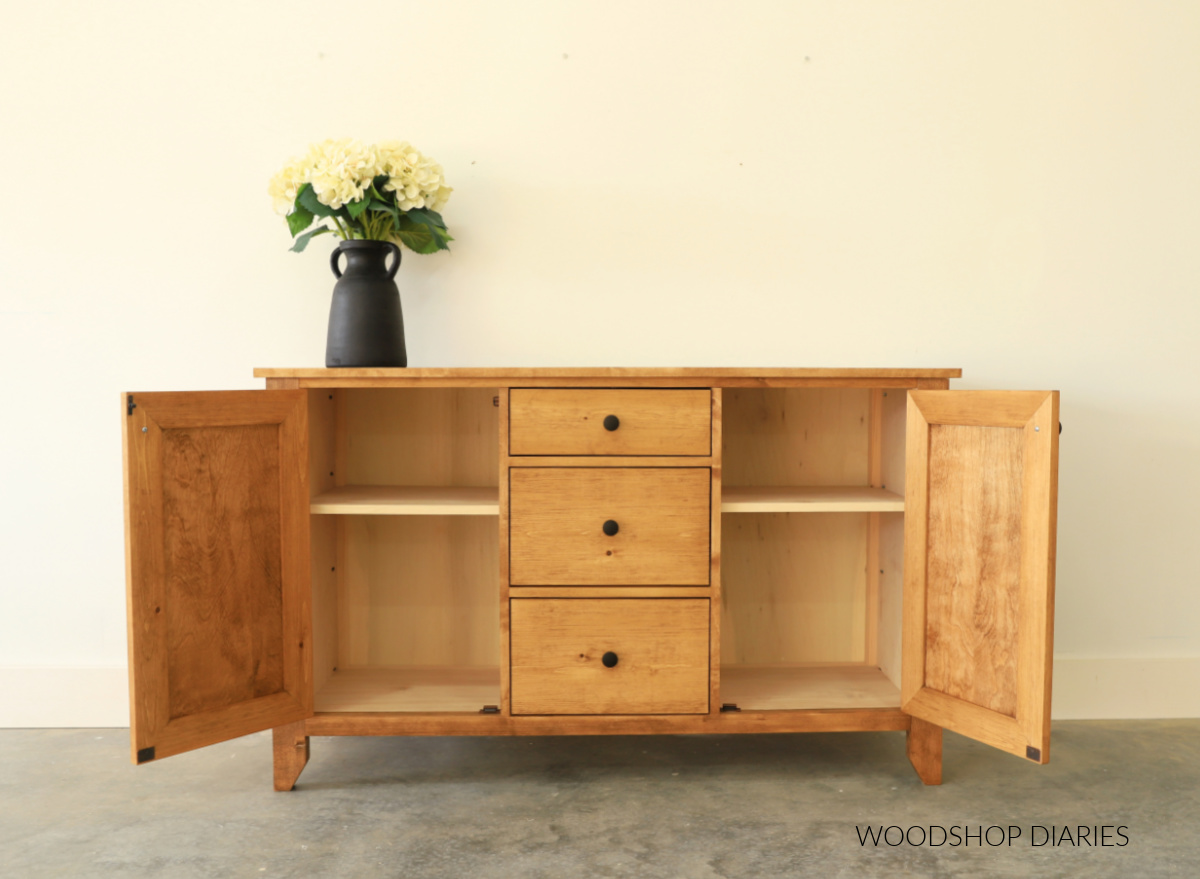
Next, I needed to divide this “box” into three sections. The left and right sections will have a door and shelves, but the middle section will have drawers.
So I cut two pieces of ¾″ plywood for the bottom panels and two for the dividers.
The divider panels are a bit tricky because all four corners need to be carefully notched out with a jig saw to fit around the framing. This is detailed in the printable plans.
After cutting the notches, I test fit the divider panels into the buffet table frame before appying edge banding to the front edges (since they will be exposed in the finished project).
RELATED: How to apply iron on edge banding
Then, I secured the bottom panels and the dividers into the frame using pocket holes and screws.
And I secure the dividers at the top using a few screws through the top supports.
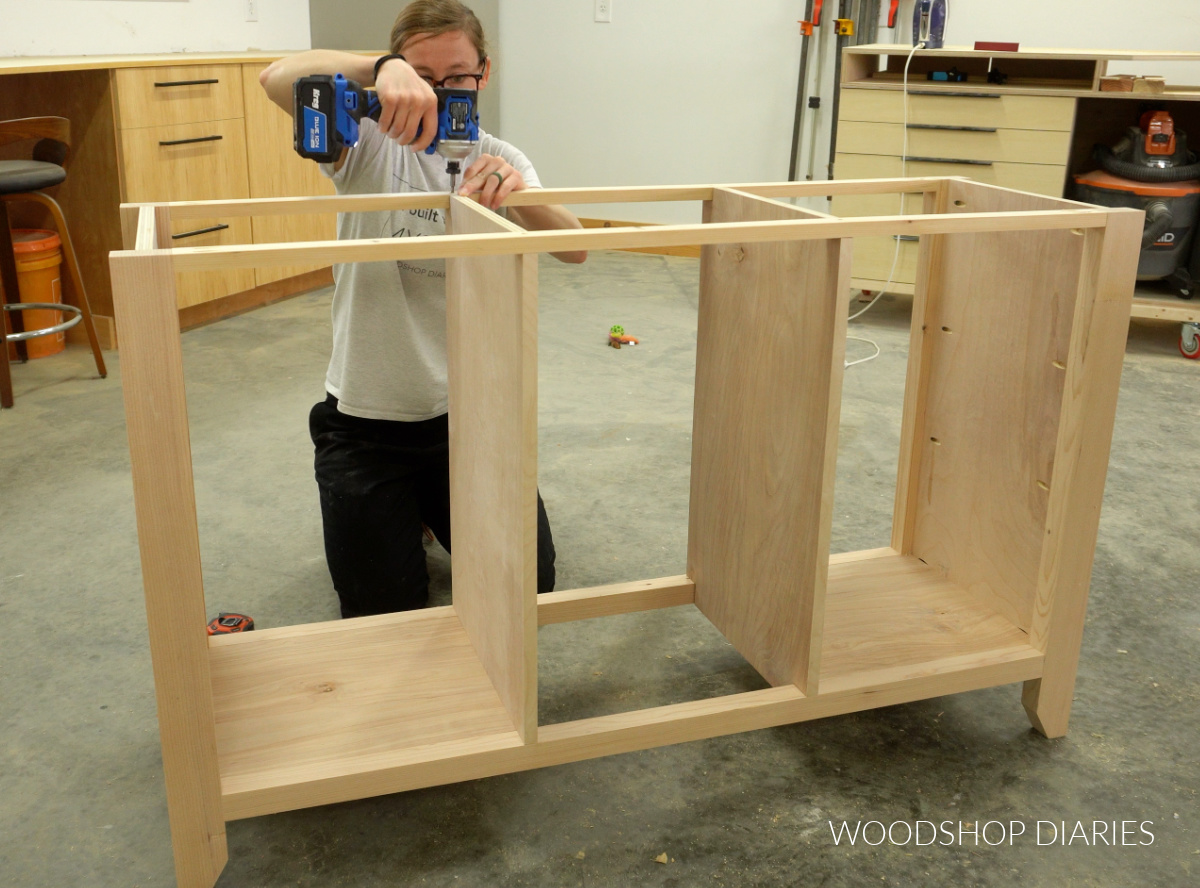
TIP: It’s important to make sure the dividers stay parallel to the legs. They should be the same distance from the legs at the top AND the bottom.
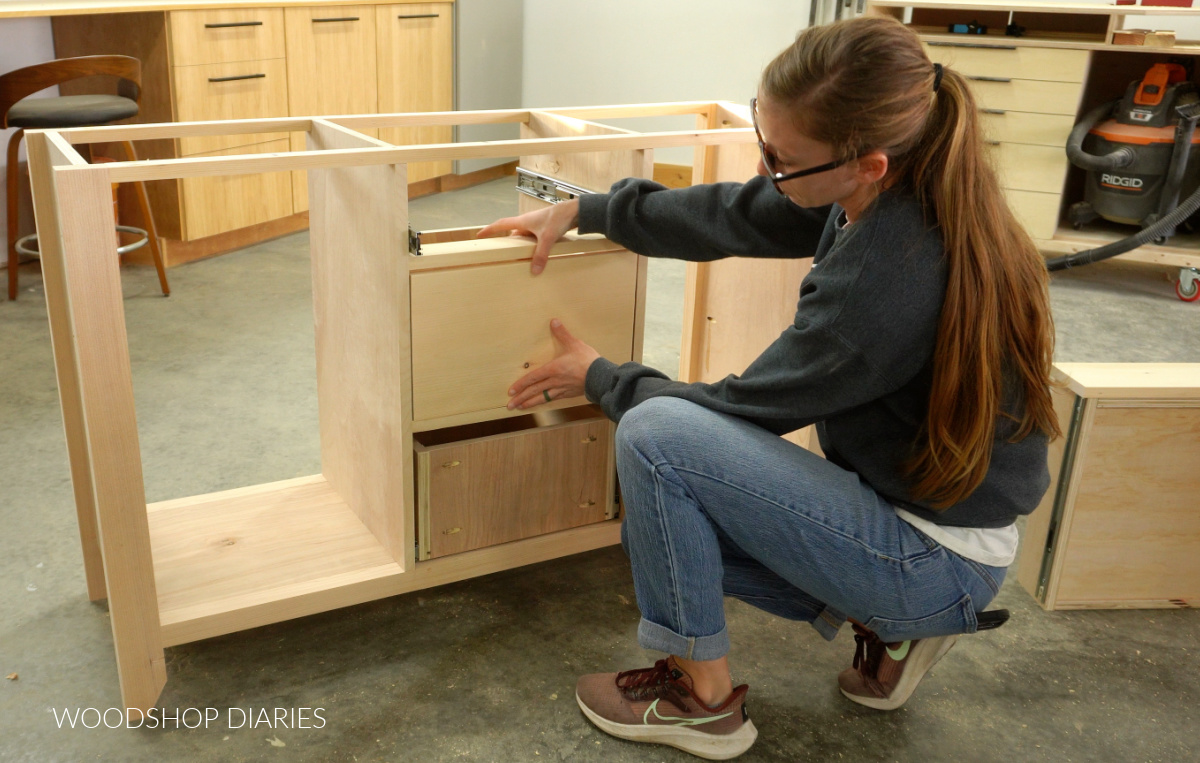
Step 3: Add Drawers
Next, I cut a couple 1x3s to add into the middle section of this buffet table frame to divide my drawers. You can space these equally if you wanted, but I opted for two deeper bottom drawers and one shallow top drawer.
I installed these dividers using pocket holes and screws, then added three pair of 16″ drawer slides just above each one.
RELATED: How to install drawer slides
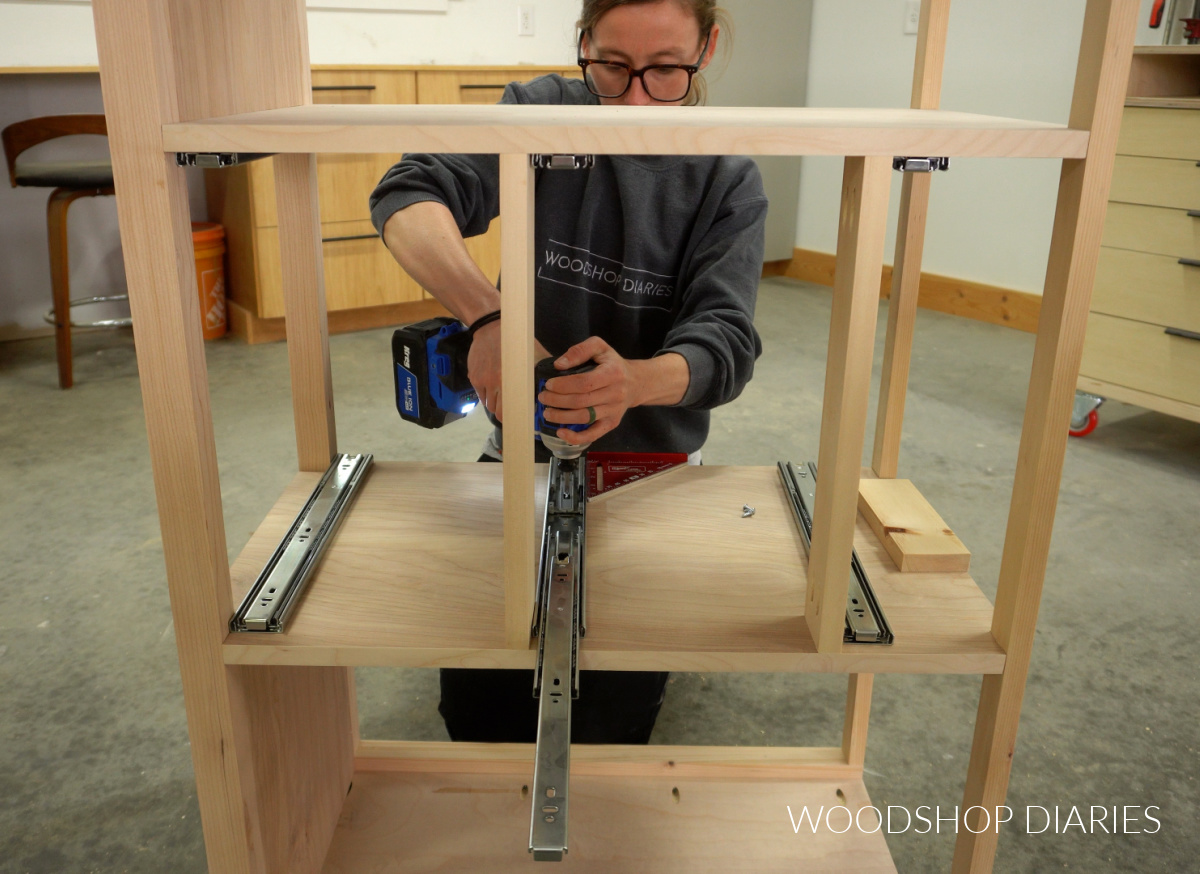
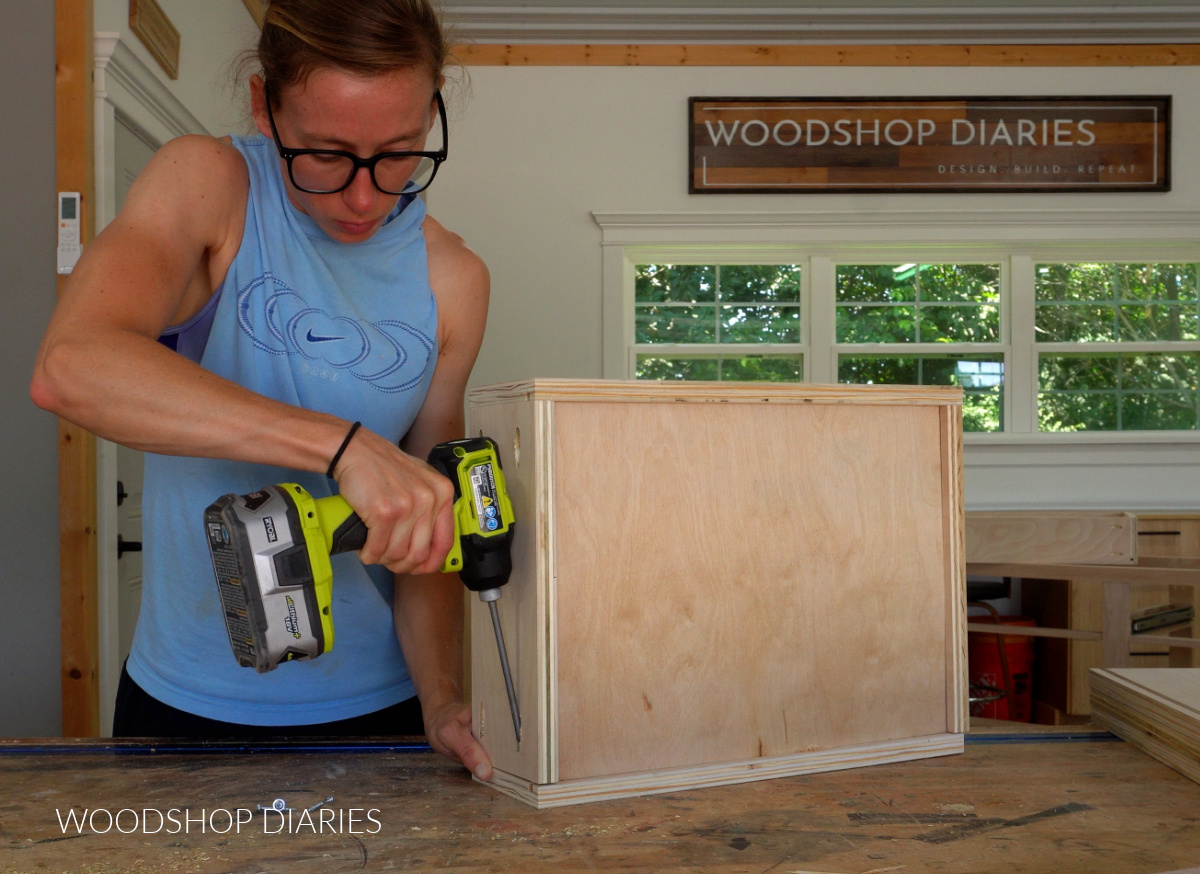
Then, I assembled the three drawer boxes to fit into these openings.
You can find all the dimensions and detailed diagrams in the printable plans for this project.
RELATED: Learn how to build a basic drawer box here
And I installed these drawer boxes onto the slides. Learn more about how to install drawer boxes here.

The last part of the drawers is adding the fronts. I cut these drawer fronts from solid 1x pine boards, but in hindsight, I wish I’d used ¾″ plywood because I think it would have matched better once finished.
Either 1x lumber or ¾″ plywood would work fine for drawer fronts, so I cut three fronts to fit the openings and secured them with screws from inside each drawer box.
RELATED: How to install drawer fronts
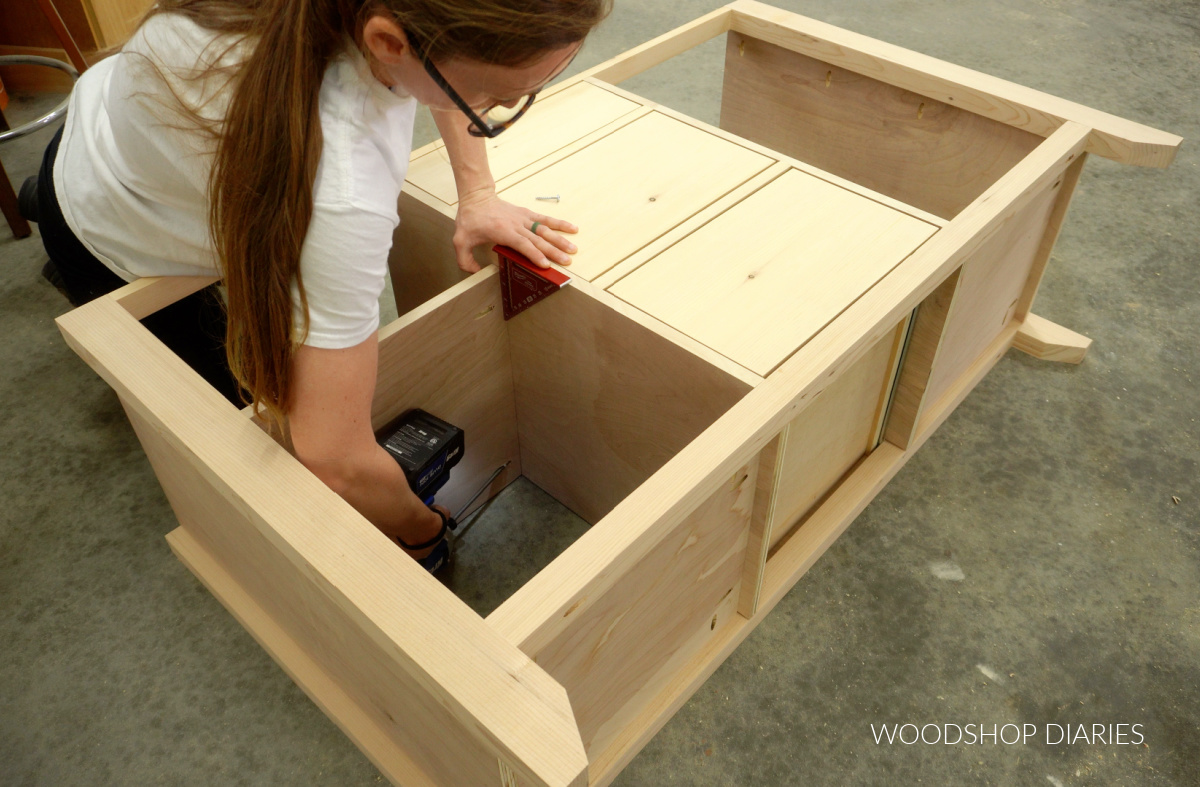
Step 4: Attach Shelves, Top & Back
I really debated on whether to add adjustable shelves to this project or stationary shelves. Either one is doable, but I ultimately decided on adding one stationary shelf into the left and right sections.
Similar to the dividers, these shelves need the back outside corners notched out to fit around the back legs.
So after carefully cutting them to fit, I applied edge banding to the front edge and installed these into the cabinet with pocket holes and screws.
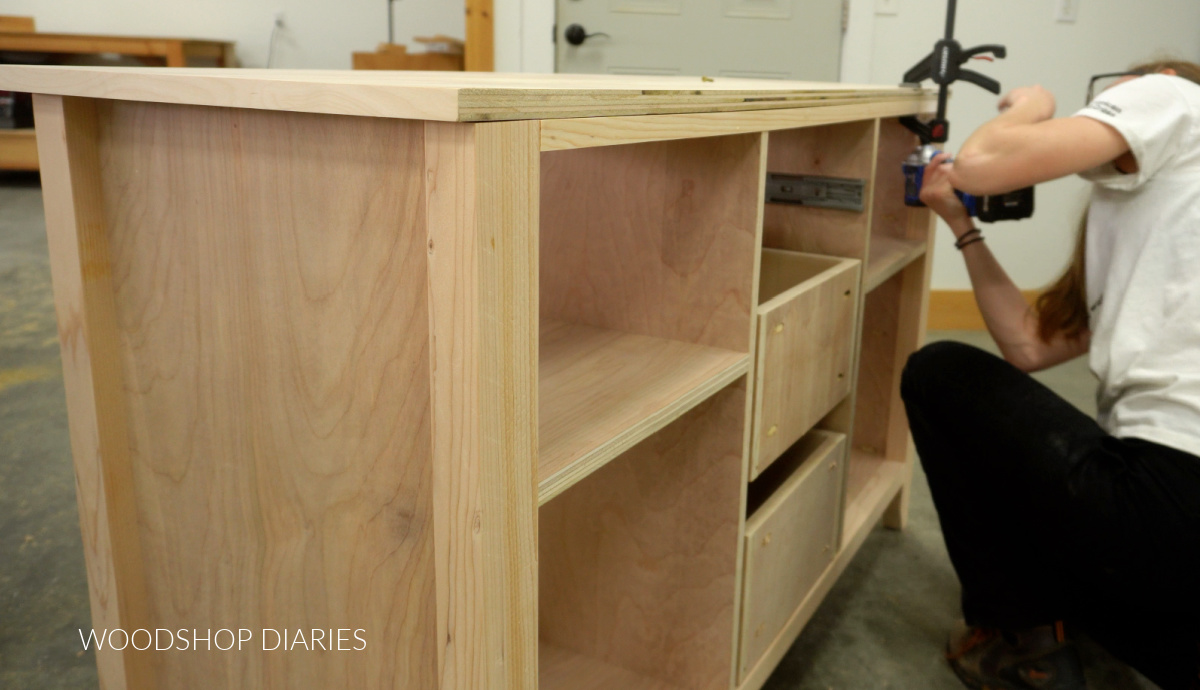
Then I cut a piece of ¾″ plywood to use for the top. I cut this so that it would overhang the front and both sides ¾″ and I edge banded the front and sides so it looked a little more finished.
If you wanted to glue up solid 1x boards to make a solid wood (vs a plywood) top, you totally can!
I secured this top panel to the base using some wood screws through the top supports.
Then, I cut a ¼″ plywood panel to fit over the back and stapled it on for the back.
Prefer to print? Grab the printable buffet table plans here.
Step 5: Build Buffet Table Doors
Now the last part is the doors…which also happens to be my favorite part!
What makes these doors unique is that I cut the ¼″ plywood center panels for the doors from ¼″ plywood, but then, I cut some shallow grooves in them (like shown below) to kind of “fake” a shiplap pattern.
This is totally optional, but it’s my favorite detail about this project.

I’ve actually used this method to “fake” shiplap several times in the past and I’ve found that a lot of times the stain will kind of camouflage the cuts, so I stained the grooves with Minwax water based wood stain in true black to give them some contrast.
TIP: Use painters tape on each edge of the cut so you can contain the stain to ONLY going into the grooves.
Then, I cut 1×3 pieces to make the frame to go around this center panel. There are a lot of ways to make door frames, so this isn’t the ONLY method.
But I cut dadoes into the edges of my door frame pieces for the center panel and mitered the corners 45 degrees.
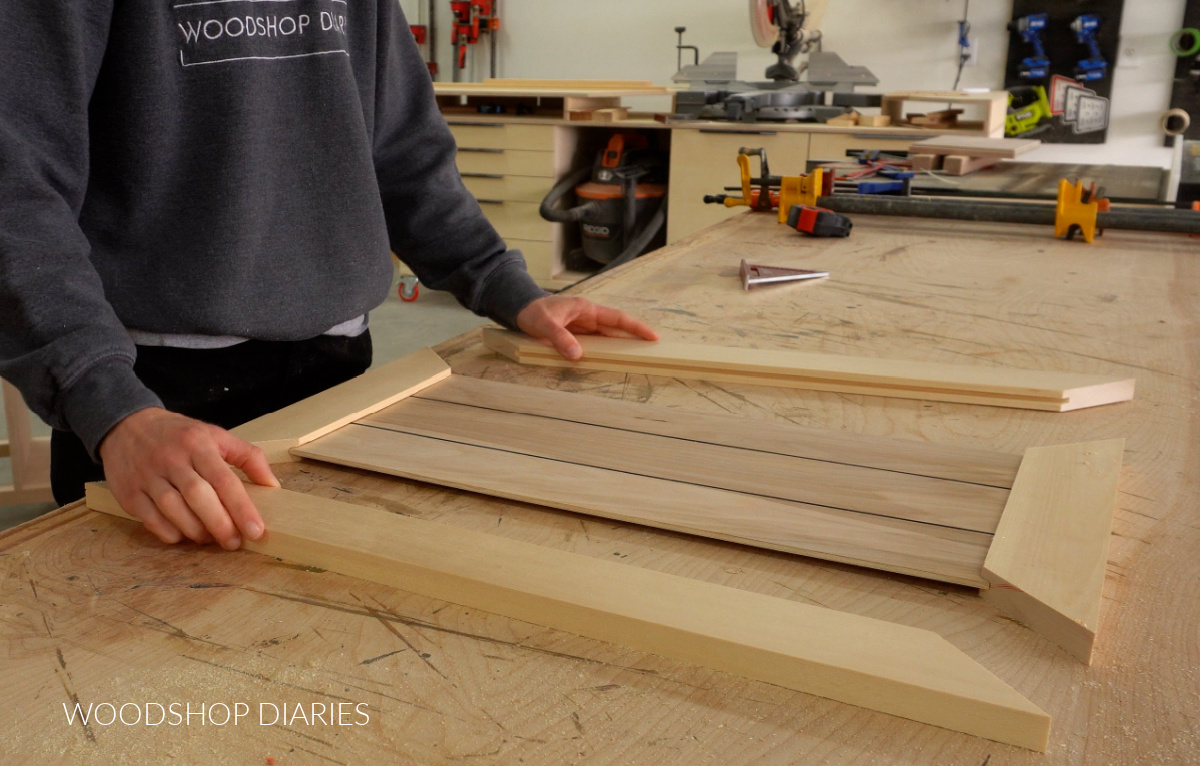
I made sure everything fit together well, then assembled the door using wood glue and dowels.
RELATED: How to use a dowel jig
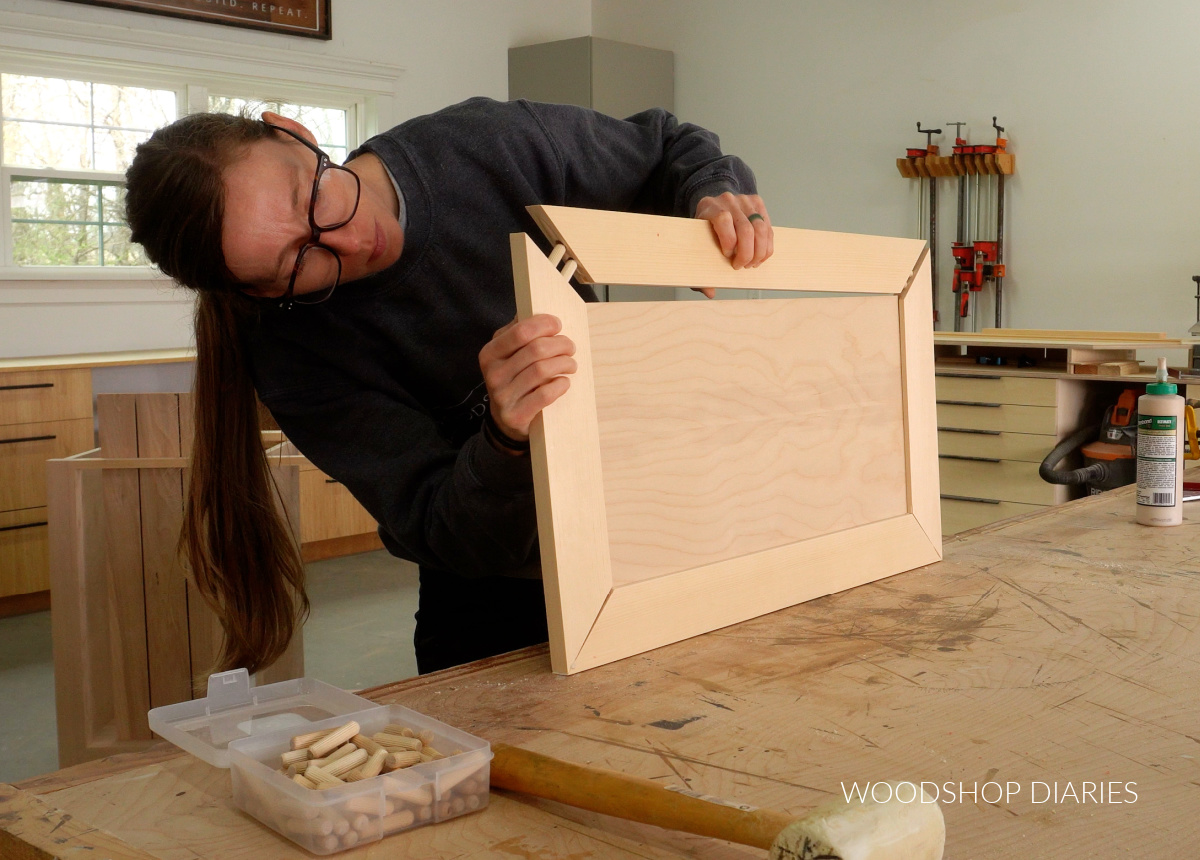
I clamped the frames and allowed to dry, then sanded away all the squeeze out at the joints.
Step 6: Finish Buffet Table
Then, I stained the doors and the cabinet separately in Minwax Early American and sealed it in three coats of Minwax Polycrylic.
RELATED: How to stain wood
Once the finish was dry, I installed the doors to the buffet table with simple cabinet butt hinges. I opted for visible hinges here because it seemed to fit the rustic vibe of this piece. But if you wanted to use concealed hinges, instead, you could.
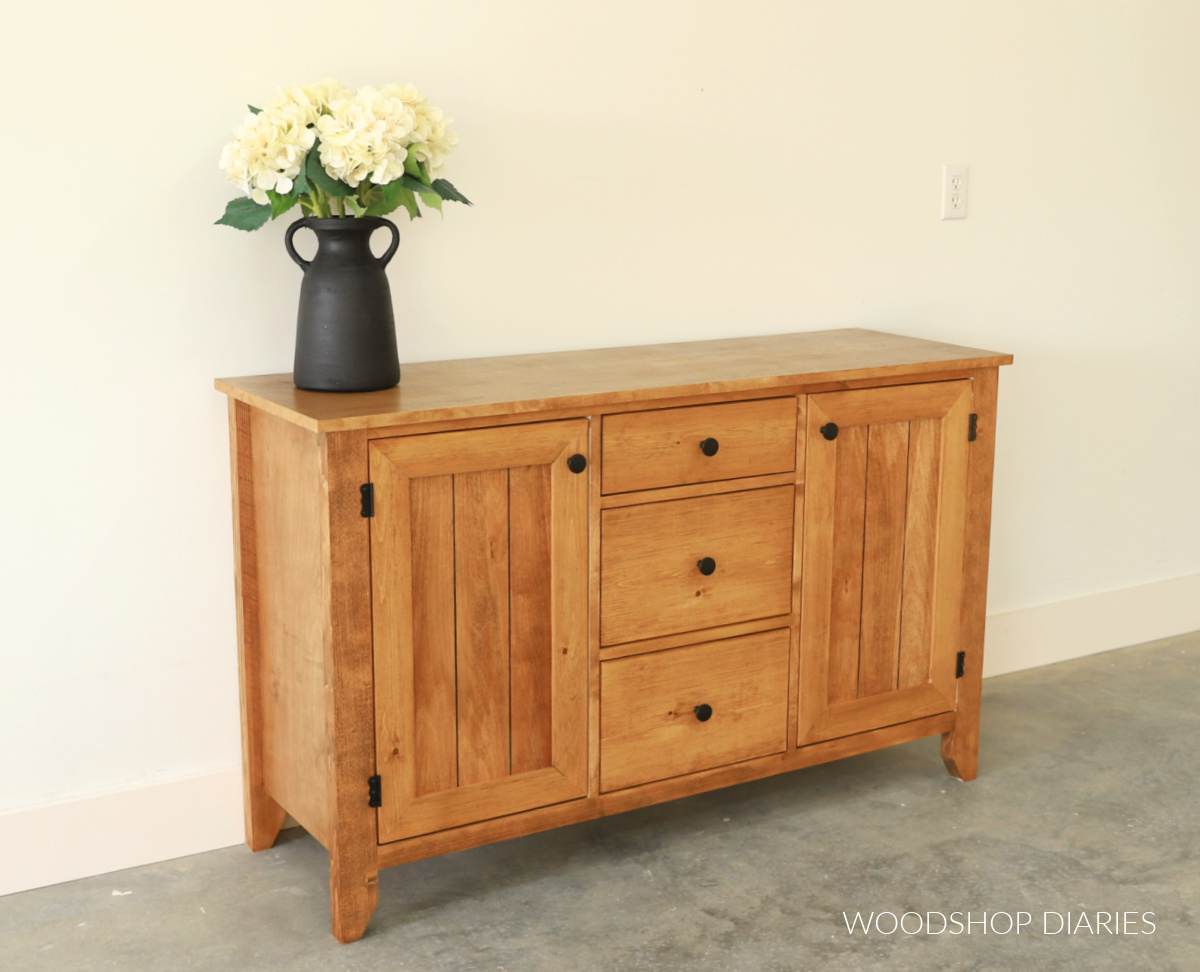
And to finish this up, I added some simple black knobs to the doors and drawers. What a lovely piece to add to your dining room, home office, or just about anywhere you need some extra storage!
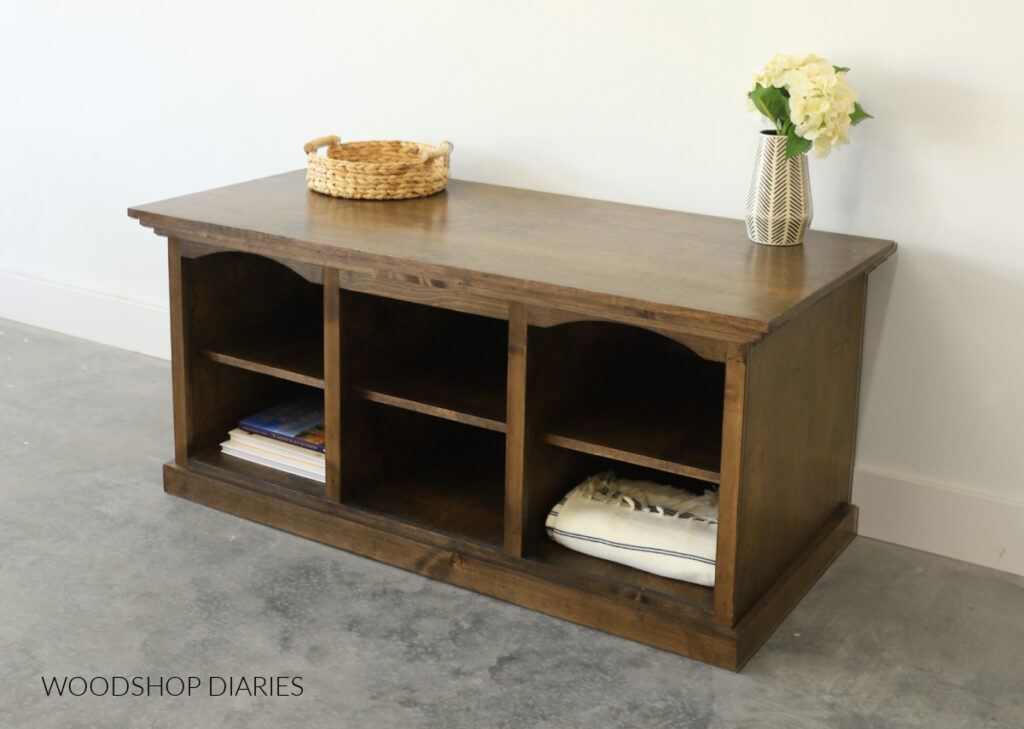
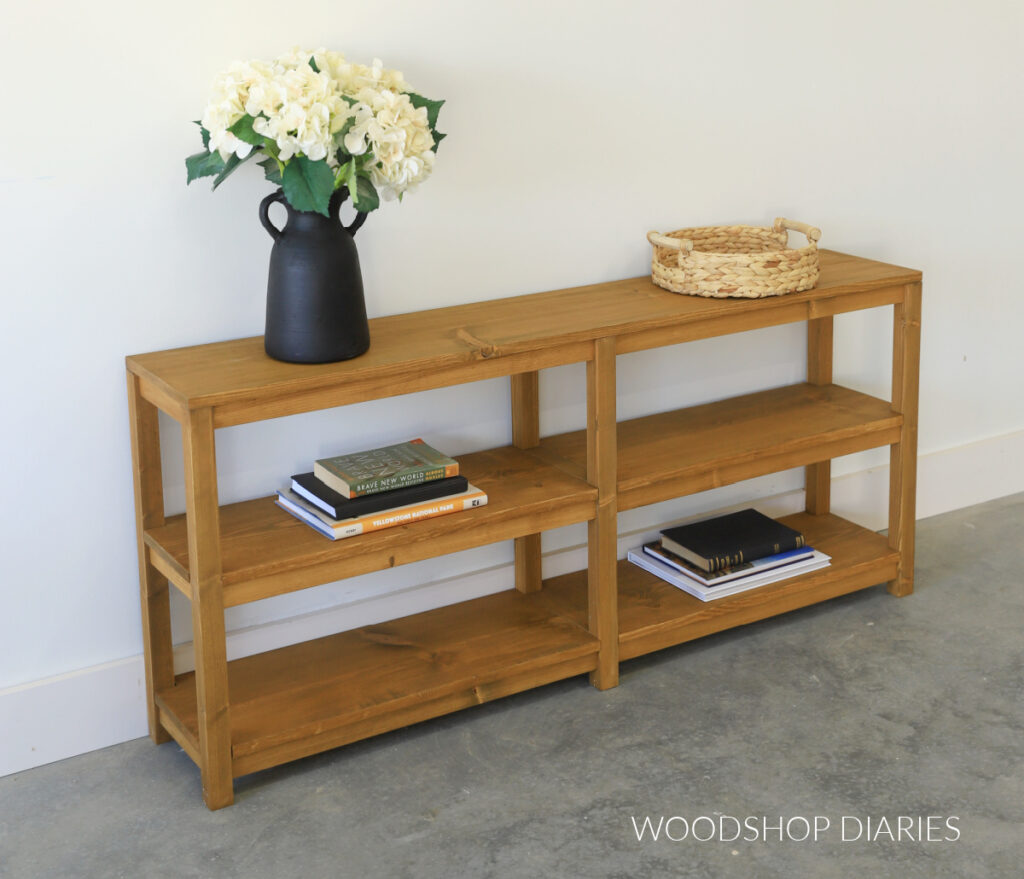
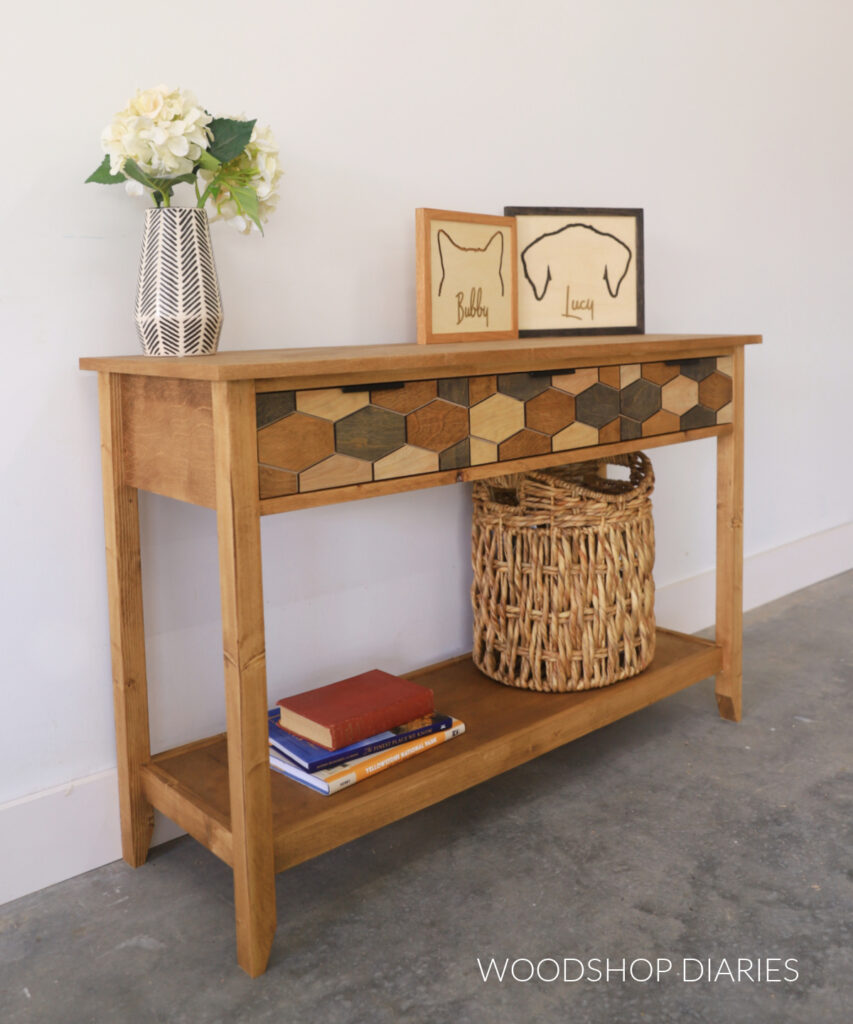
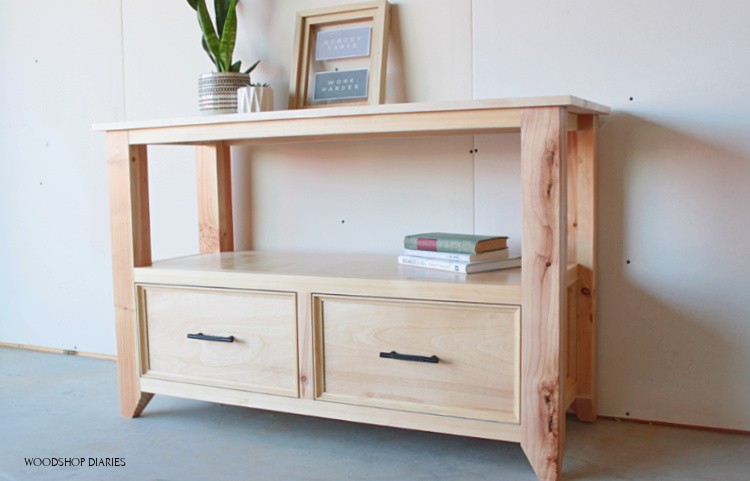
Looking for more DIY Console Table Ideas?
Enjoyed this build, but looking for more ideas? I’ve got you covered! Click on the image(s) below to learn how to build each one:
If you enjoyed this post, be sure to save it for later by pinning or sharing to your favorite social channel!
Until next time, friend, happy building!