In this post, I’m sharing how to build a blessing box for your local community.
Not familiar with the term “blessing box?” These simple outdoor storage boxes are also called free little pantries or community pantries.
And sometimes, you even see them used for books (instead of food) and called free little libraries, too.
Basically, they’re an outdoor storage box that can be filled with items to help those in need (think…food, diapers, and other essentials).
This is such a great project if you’re looking for tangible way to engage with and give back to your local neighborhood.
I’m showing you how to build your own in the post below, so let’s dive in and get building.
*This post contains affiliate links. See website policies.
What to consider before building a free little pantry
Free little pantries are an excellent project to do as a team or group! I encourage you to build one with a friend, a club, a classmate or a neighbor. Together, you can find a place to put it and help keep it stocked.
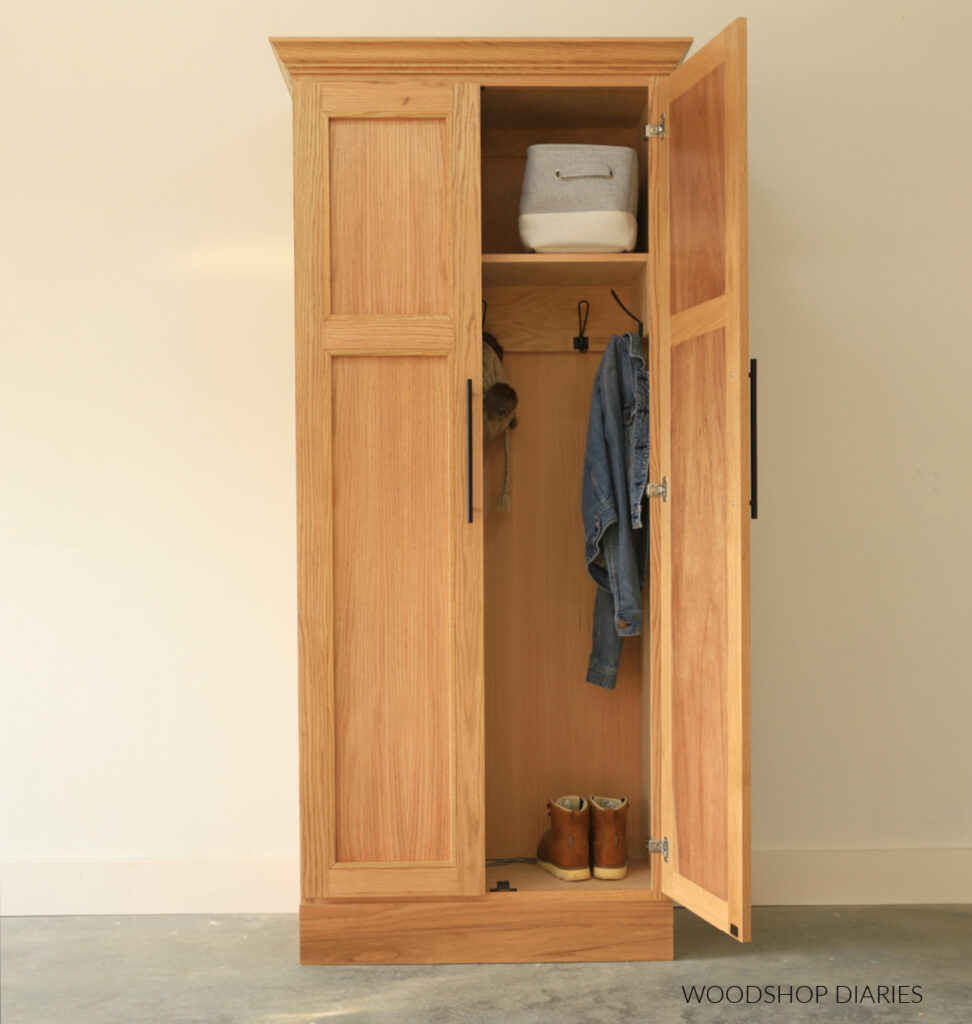
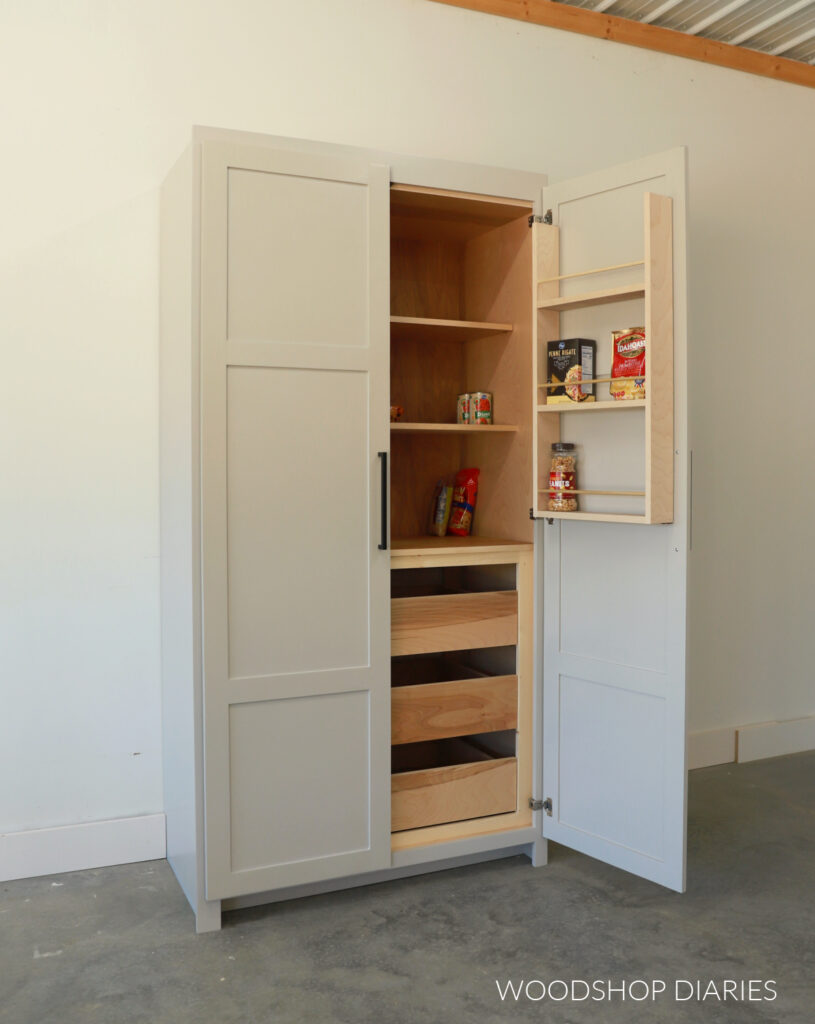
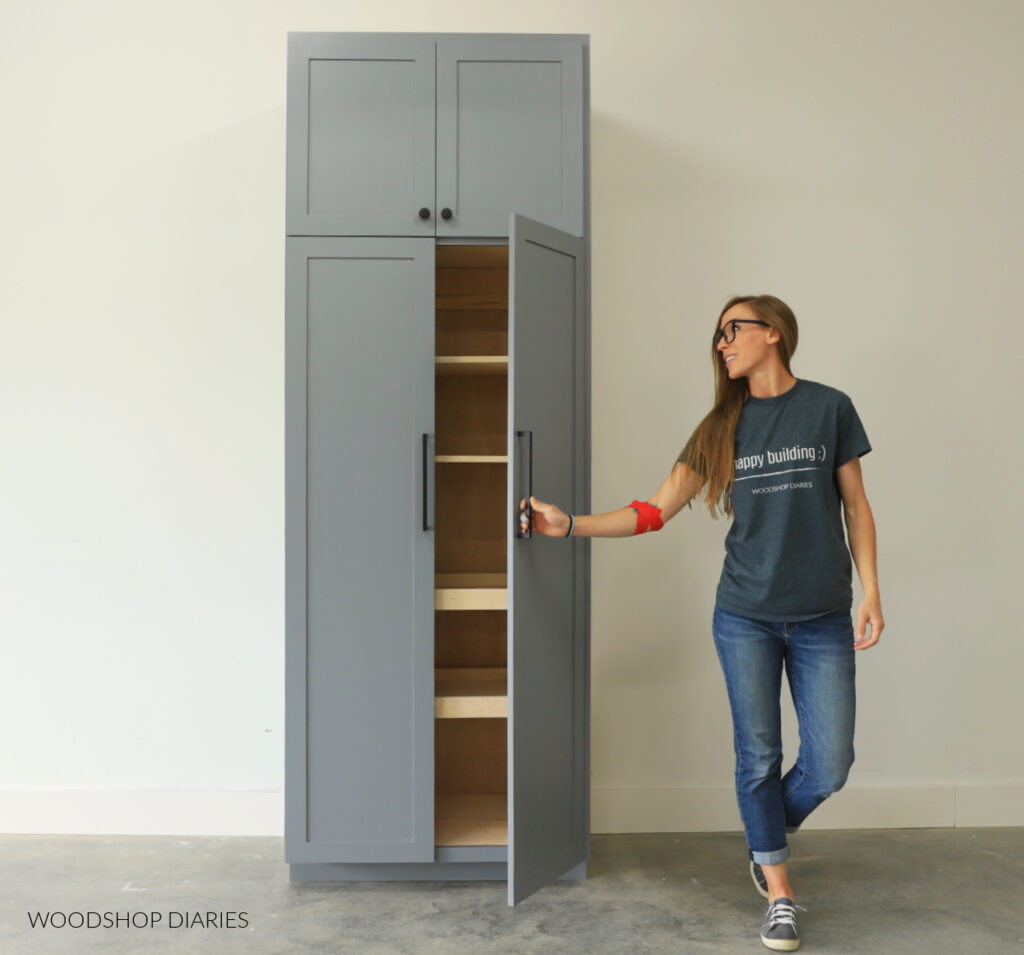
If you’re looking for other free little pantry designs, I’ve also shared two previous ones here:
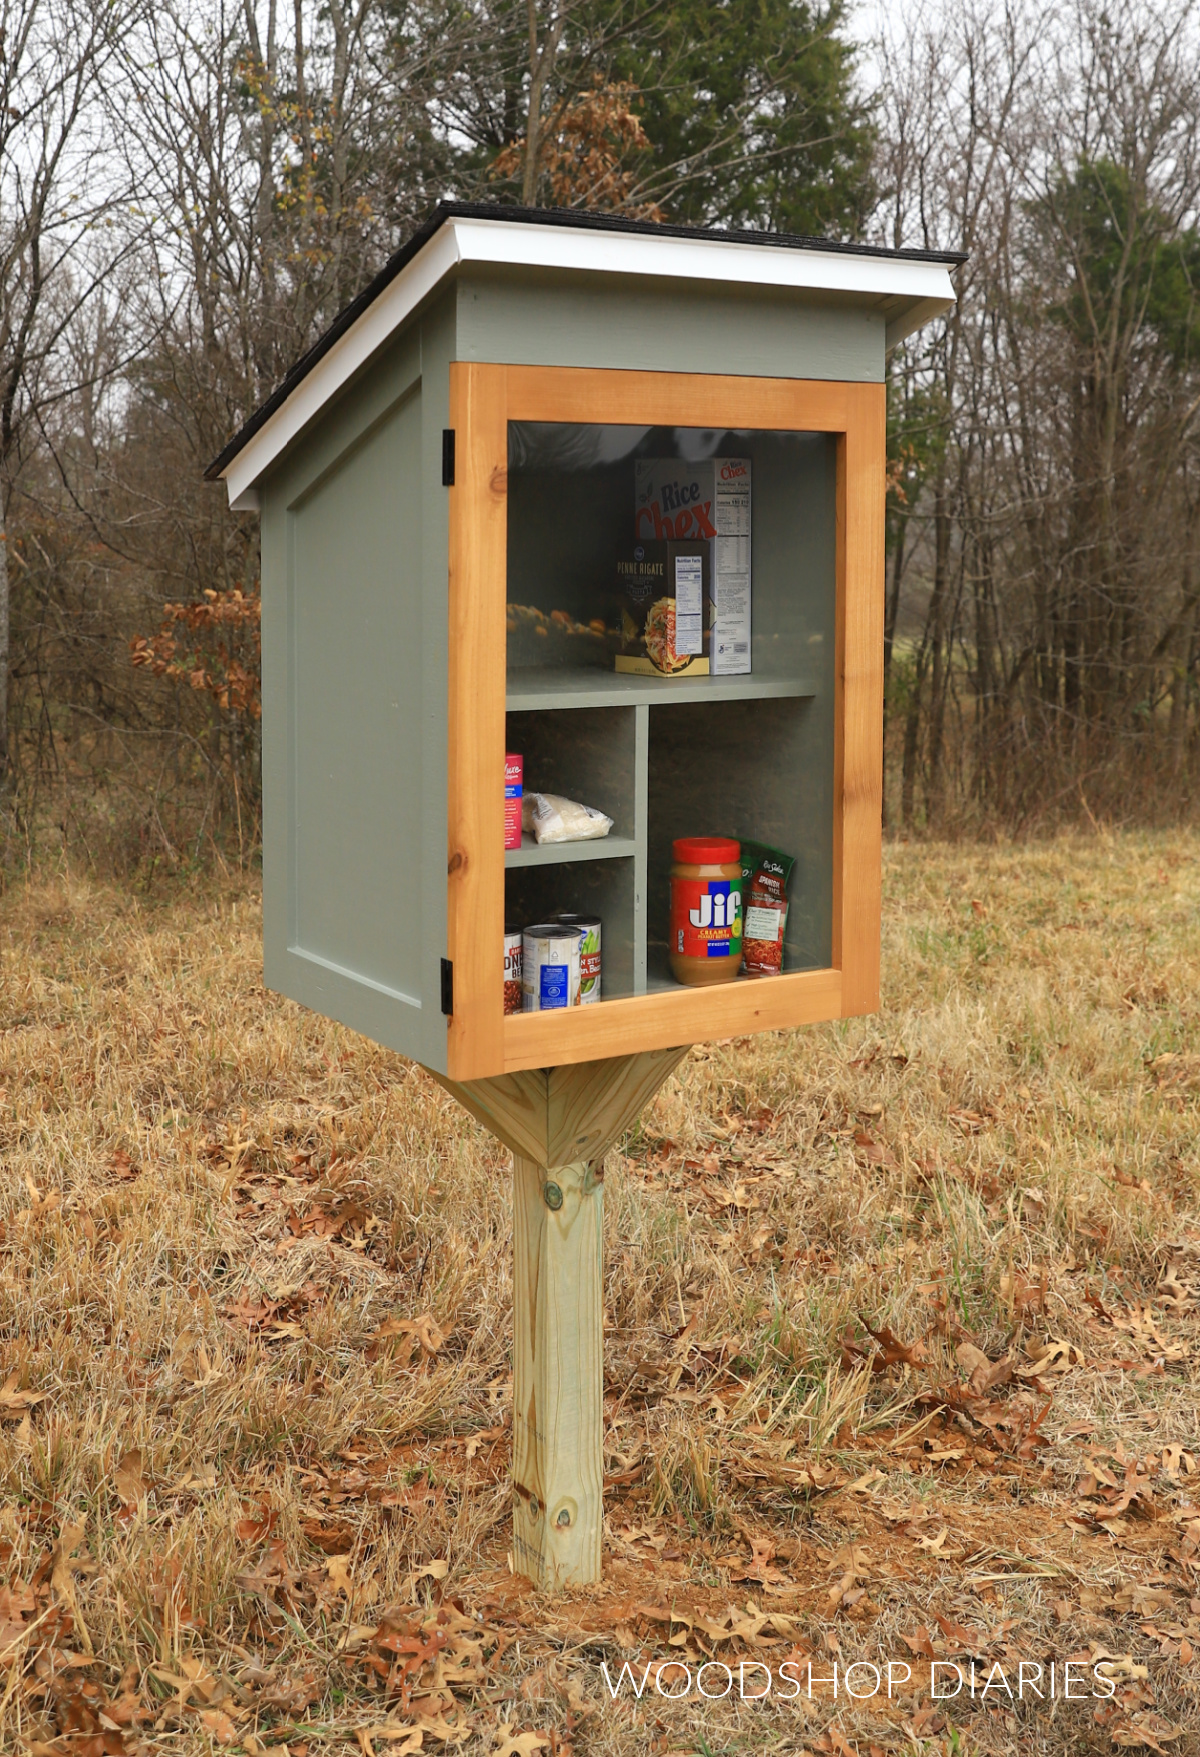
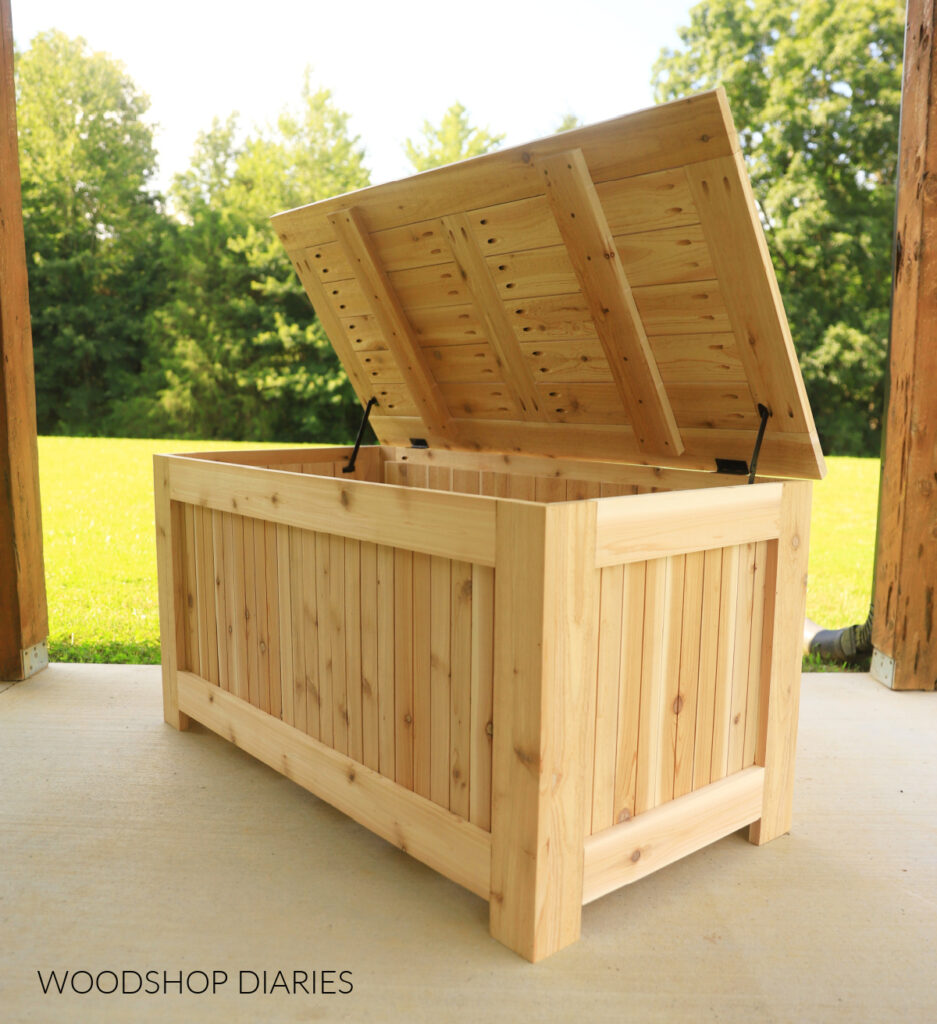
Overall Dimensions
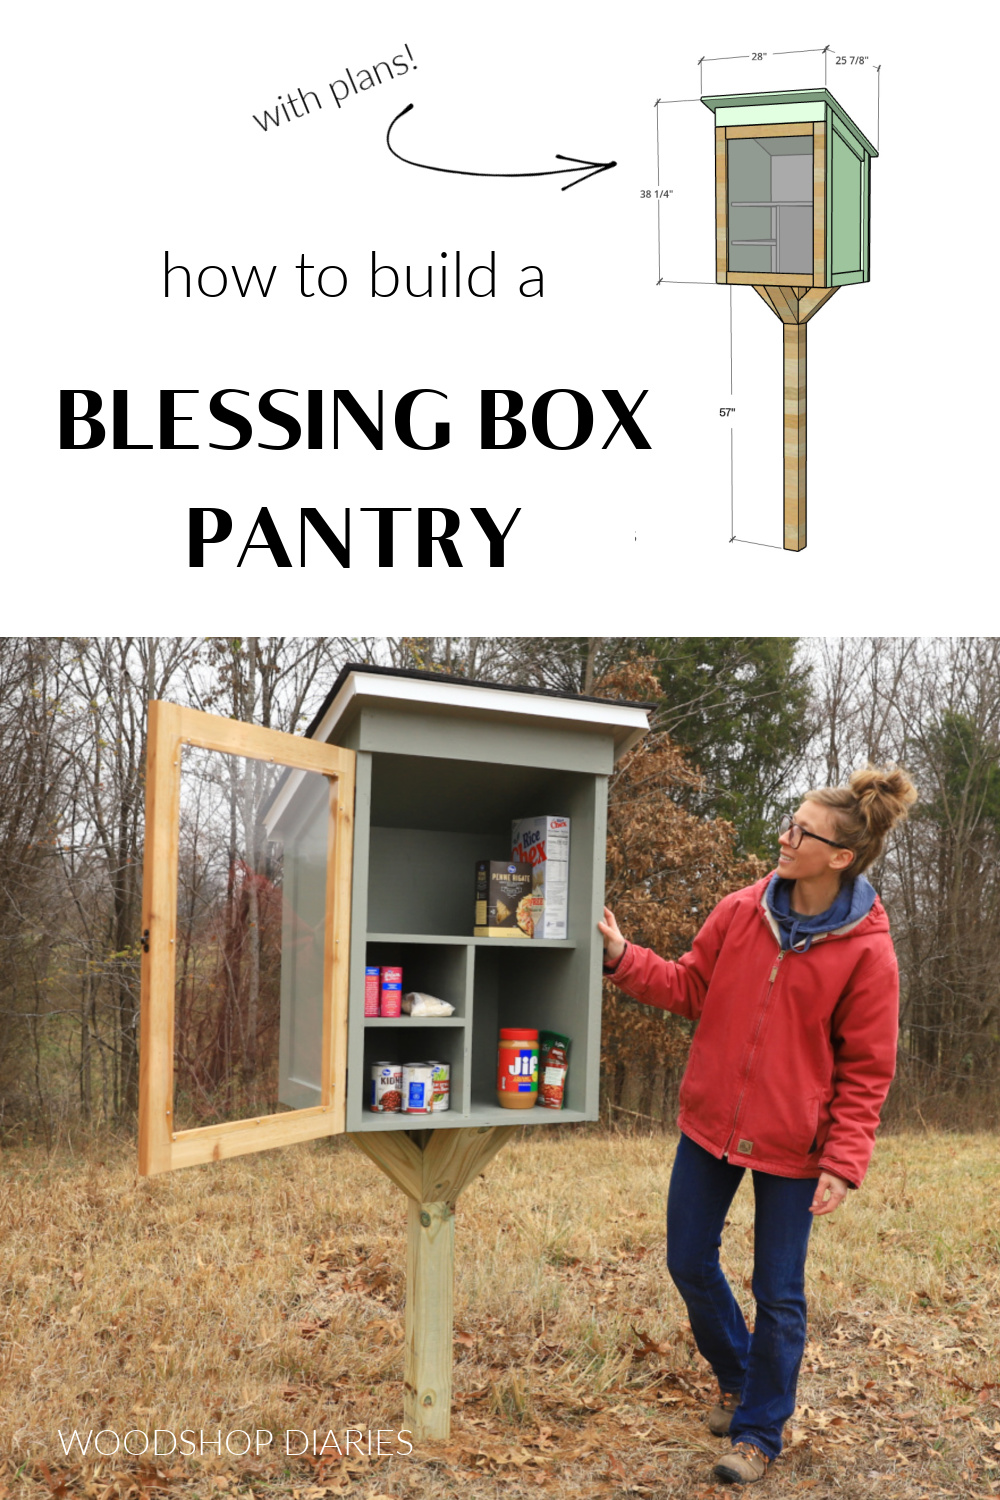
Of the free little pantries that I’ve built in the past, this one is the largest. You can modify it to be smaller if you’d like, but as is, the box (including roof) is approximately 28″ wide x 25 ⅞″ deep x 38 ¼″ tall.
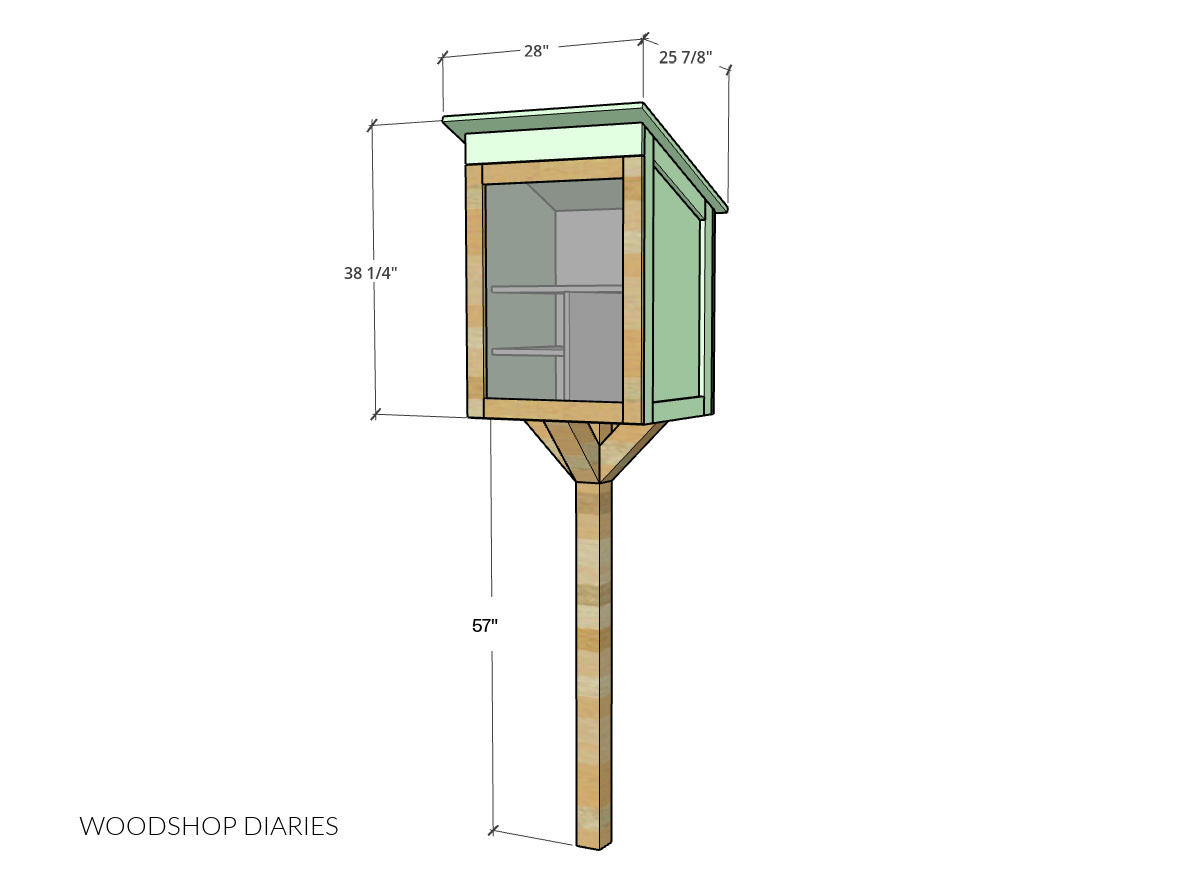
The post is about 57″ tall, so once placed in the ground, the pantry will be roughly 33″ off the ground.
Choosing your materials
Since this is an exterior project, it’s best to use materials that are rated for exterior use. For longest life, choose a lumber option that will hold up to the elements–like treated wood, cedar, red wood, etc.
You can use untreated wood for this project, but keep in mind it should be completely sealed (painted) and may not last as long.
This project calls for “¾″ plywood”, but often treated plywood and/or exterior sheathing will come in undersized options. I recommend going no thinner than 23/32″ thickness.
Make sure to use exterior rated screws & hardware, and exterior rated wood glue.
Are DIY projects your thing? Sign up for our newsletter for priority access to the latest projects and build plans!
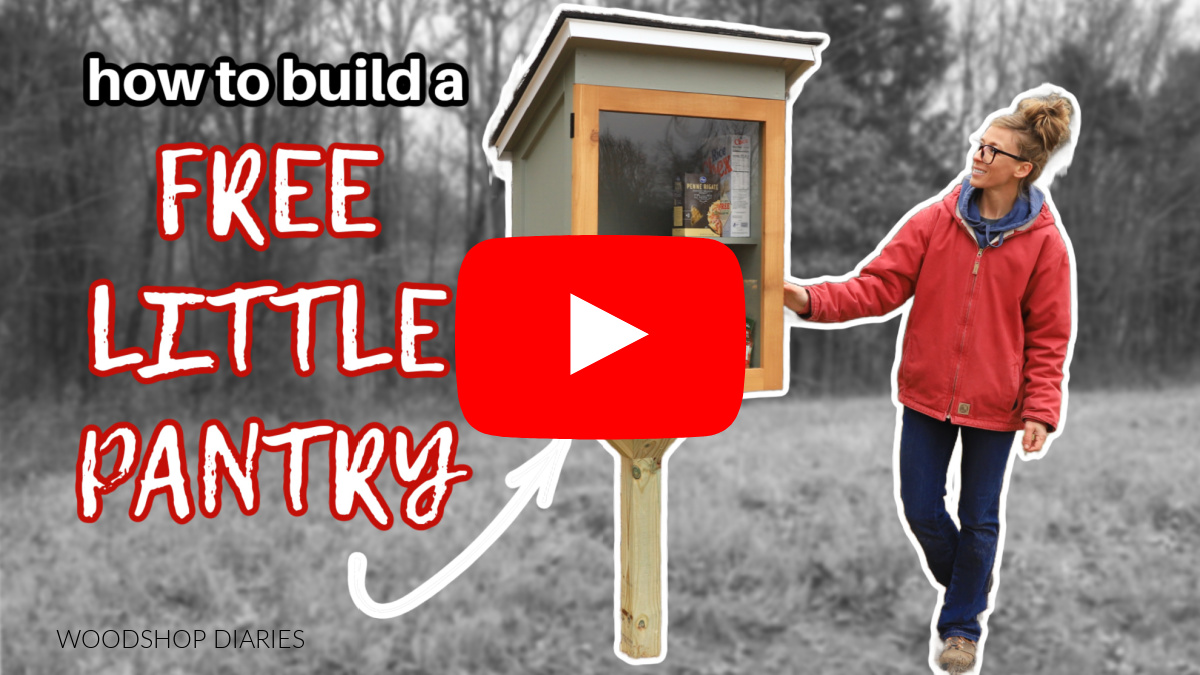
How to Build a Community Blessing Box
I’ve included the step by step building instructions below along with printable building plans. But, if you prefer to watch, I’ve also included a build video as well.
Check out the video for tips, visuals, and some extra clips from behind the scenes!
Love watching how-to videos? Subscribe to my YouTube channel for plenty more where that came from!
Prefer to print? Grab the printable community pantry building plans here:
**100% of proceeds raised from this plan go directly to restocking our local community pantry to help those in need.
Tools & Materials
Tools:
- Circular Saw
- Miter Saw
- Cutting Guides (Kreg Rip Cut and AccuCut)–optional
- Table Saw
- Drill/Driver
- Brad Nailer
- Dowel Jig
- Clamps
Materials:
- (1) 4’x8′ sheet ¾″ or 23/32″ treated or exterior rated plywood/sheathing
- (1) 4x4x8′ treated post
- (3) 1x6x6′ treated fence pickets (for trim)
- (2) 1x3x8′ treated OR cedar boards (for door)
- Wood Glue (exterior rated)
- 1″ brad nails
- 1 ¼″, 2″, 2 ½″ & 3″ exterior wood screws
- (2) 1 ½″ x 3″ butt hinges
- (1) Chest Door Latch
- (1) 24″ x 30″ sheet ⅛″ thick acrylic or plexiglass
- Exterior rated caulk/silicone
- (20) ½″ stainless steel screws
- Roofing material (optional)
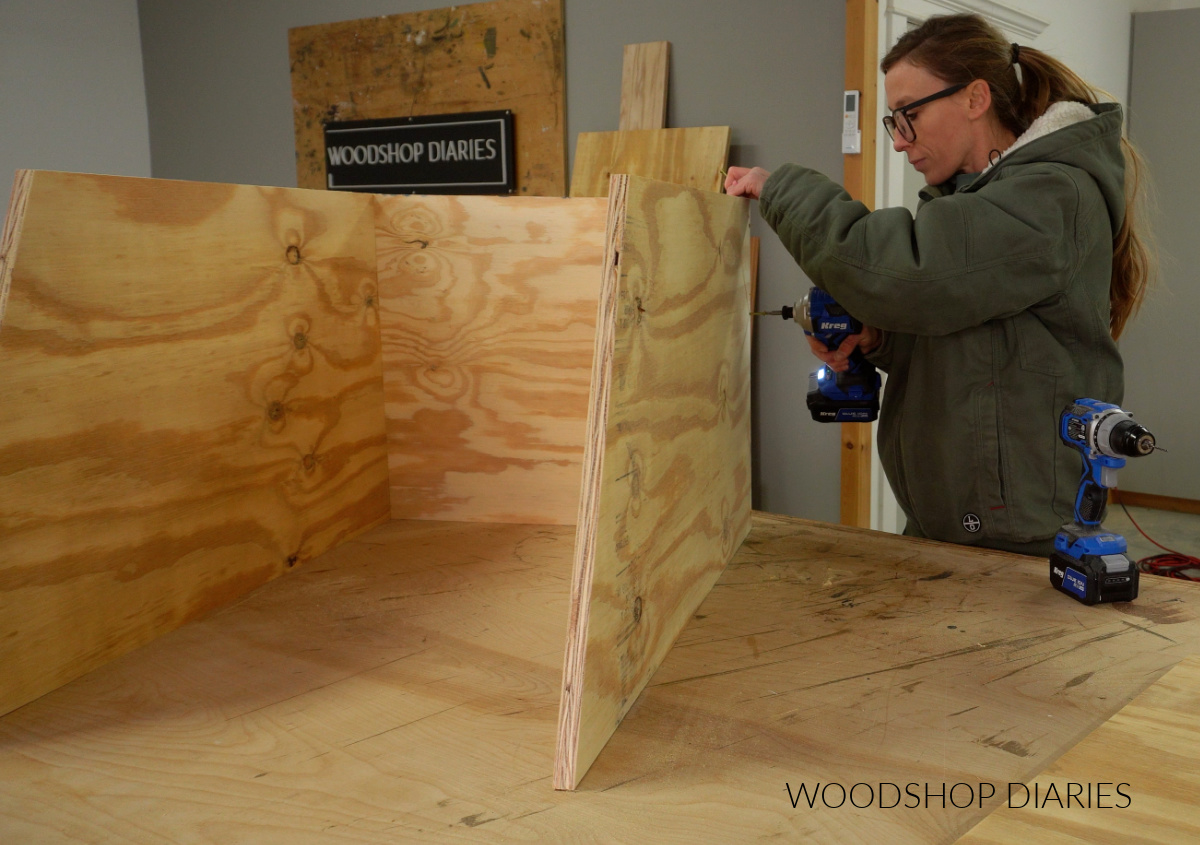
Step 1: Assemble the Box
The main box of this pantry is built from ¾″ (or 23/32″) plywood. So I cut two side panels and a bottom panel from my sheet.
I cut the side panels so that they had a 22.5 degree slope from the front to the back. That way, the roof will slope to shed rain.
I assembled these pieces together using wood glue and 2″ wood screws.
Then, I cut another piece of plywood to cover the back side of the box. The top edge should be beveled 22.5 degrees to match the sides.
I secured this piece using wood glue and 2″ wood screws as well.

You can find all the dimensions, cut diagrams, and full cut list in the printable plans here.
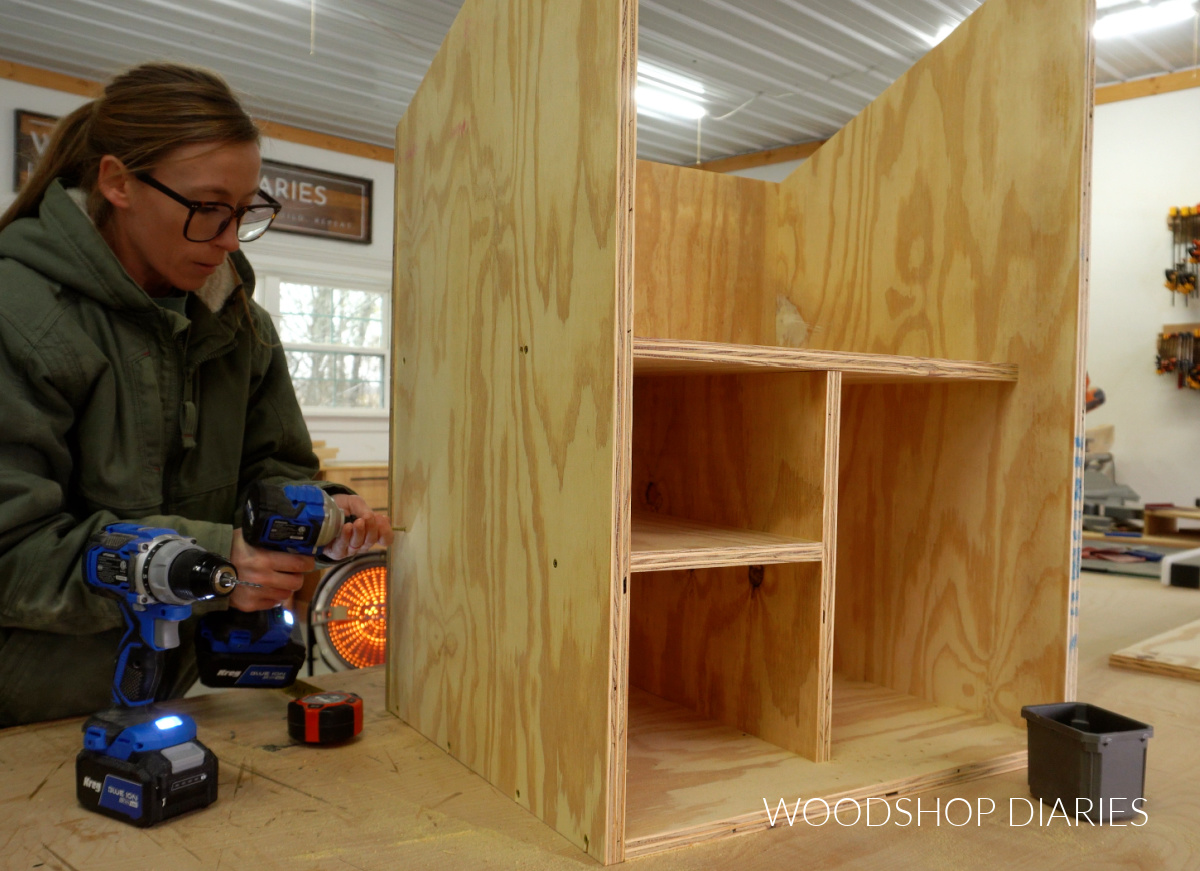
Step 2: Add Shelves & Roof
Next, I added the shelves to the inside of the box. You can customize the shelves here however you’d like, but I cut one larger top shelf, a divider, and a smaller bottom shelf like you see below.
This allows for larger packages at the top and smaller items like canned goods at the bottom. I’m hoping this helps utilize the inside space most efficiently.
I secured each shelf using 2″ wood screws. If you wanted, you could use pocket holes and screws here, instead.
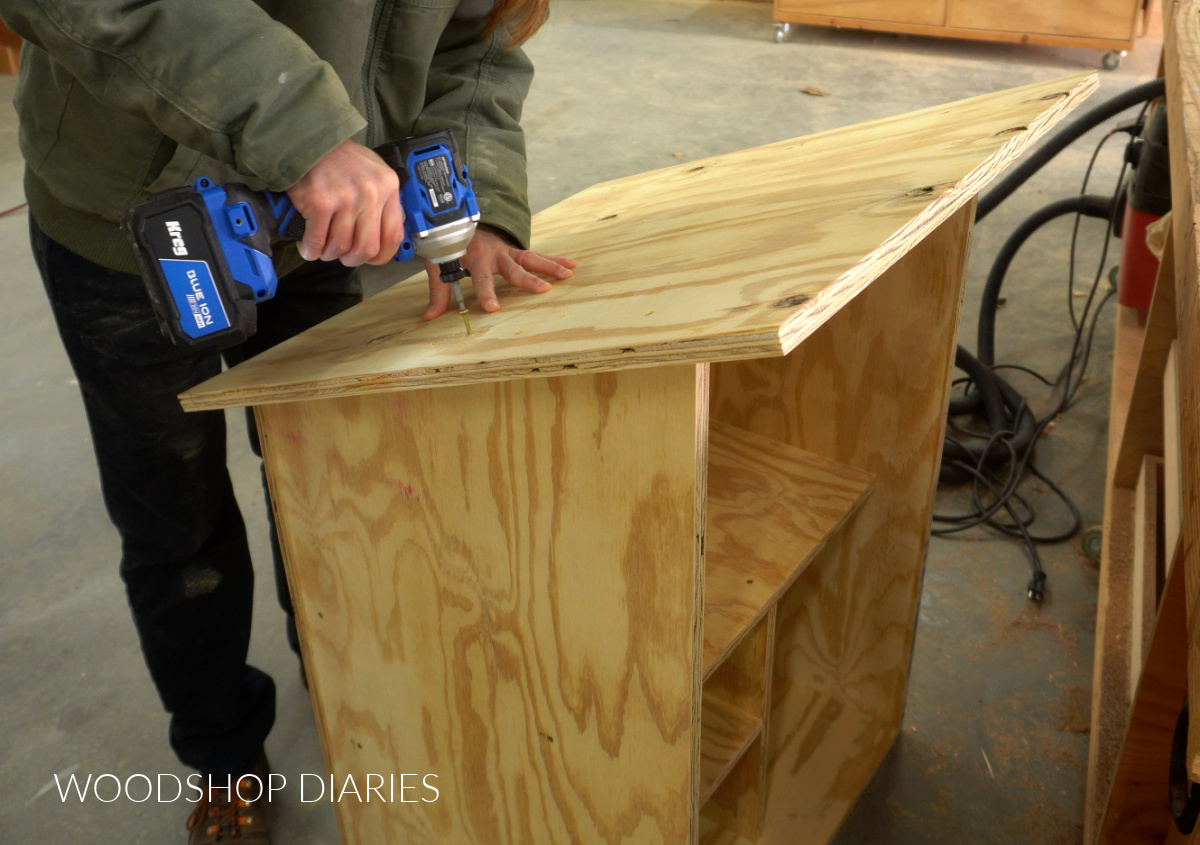
Once the shelves were installed, I cut and installed the roof on top. I cut this roof rather large so that it would overhang each side to shield it from rain.
I carefully screwed this roof panel into the side and back panels through the top.
Prefer to print? Grab the printable building plans for this community pantry here.
Step 3: Trim Sides & Paint
Now it was time to add the trim. This trim helps dress up the box a little, but will also help cover the seams to hopefully protect it from moisture/weather.
You can use 1×2 or 1×3 boards for the trim, but I found 1×6 treated fence pickets to be a significant savings (those things are cheap!).
So I ripped a few fence pickets into 2 ½″ wide strips on the table saw (which is the same width as a regular 1×3), then cut these to fit around the sides and back of the box.
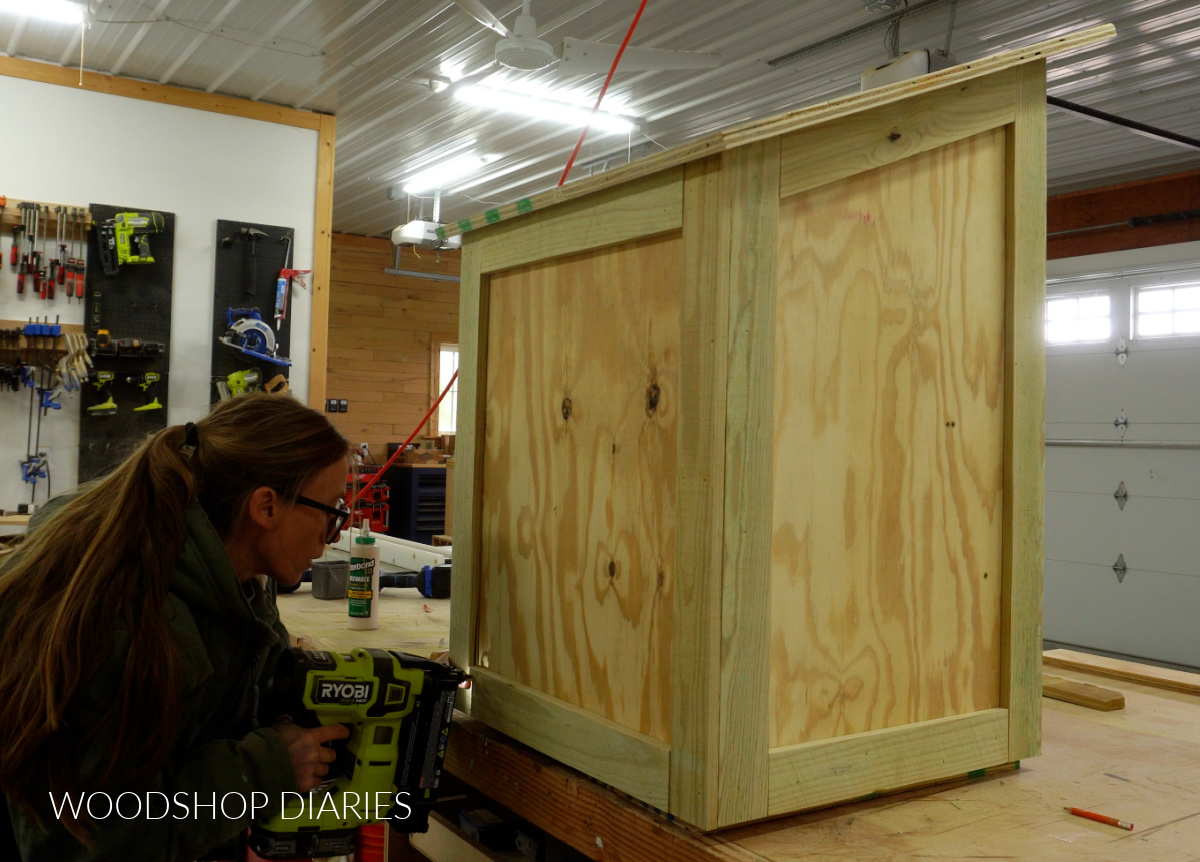
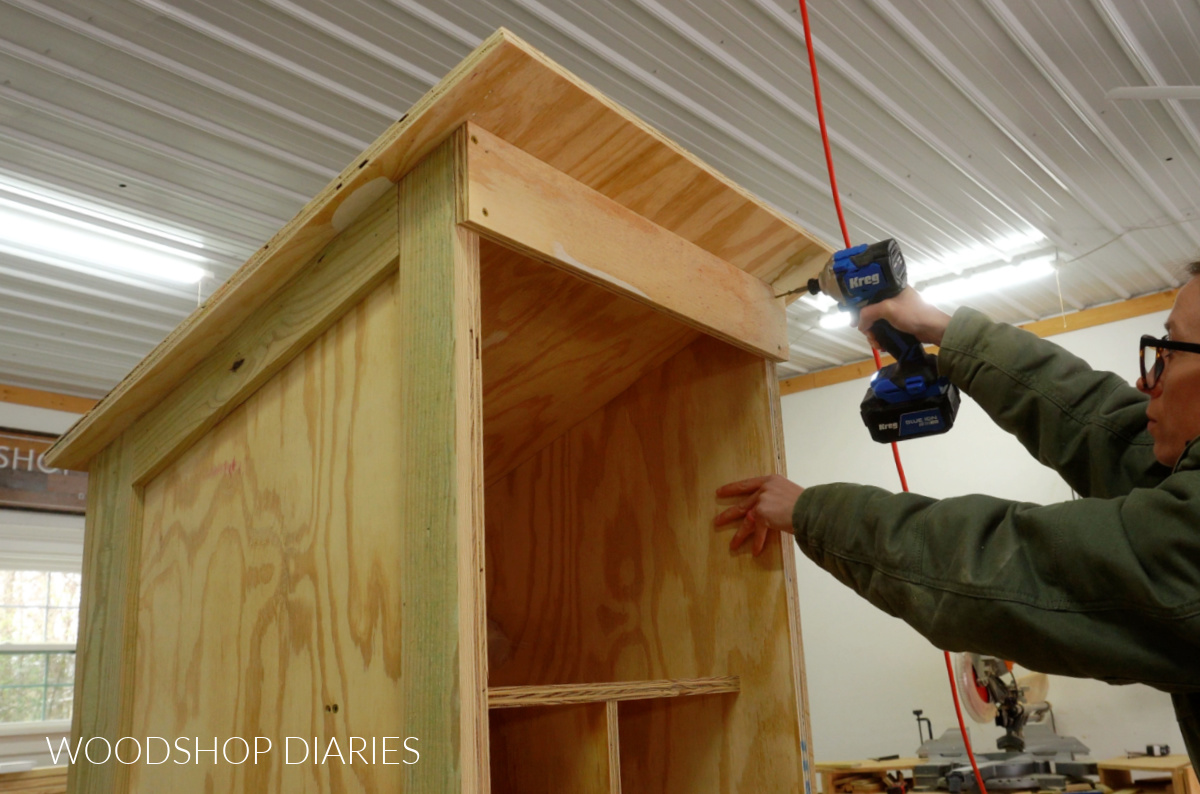
I glued and brad nailed these pieces in place. But for the front side, I cut a piece of scrap ¾″ plywood with the top edge beveled 22.5 degrees (to match the roofline).
I glued and screwed this piece across the front at the top.
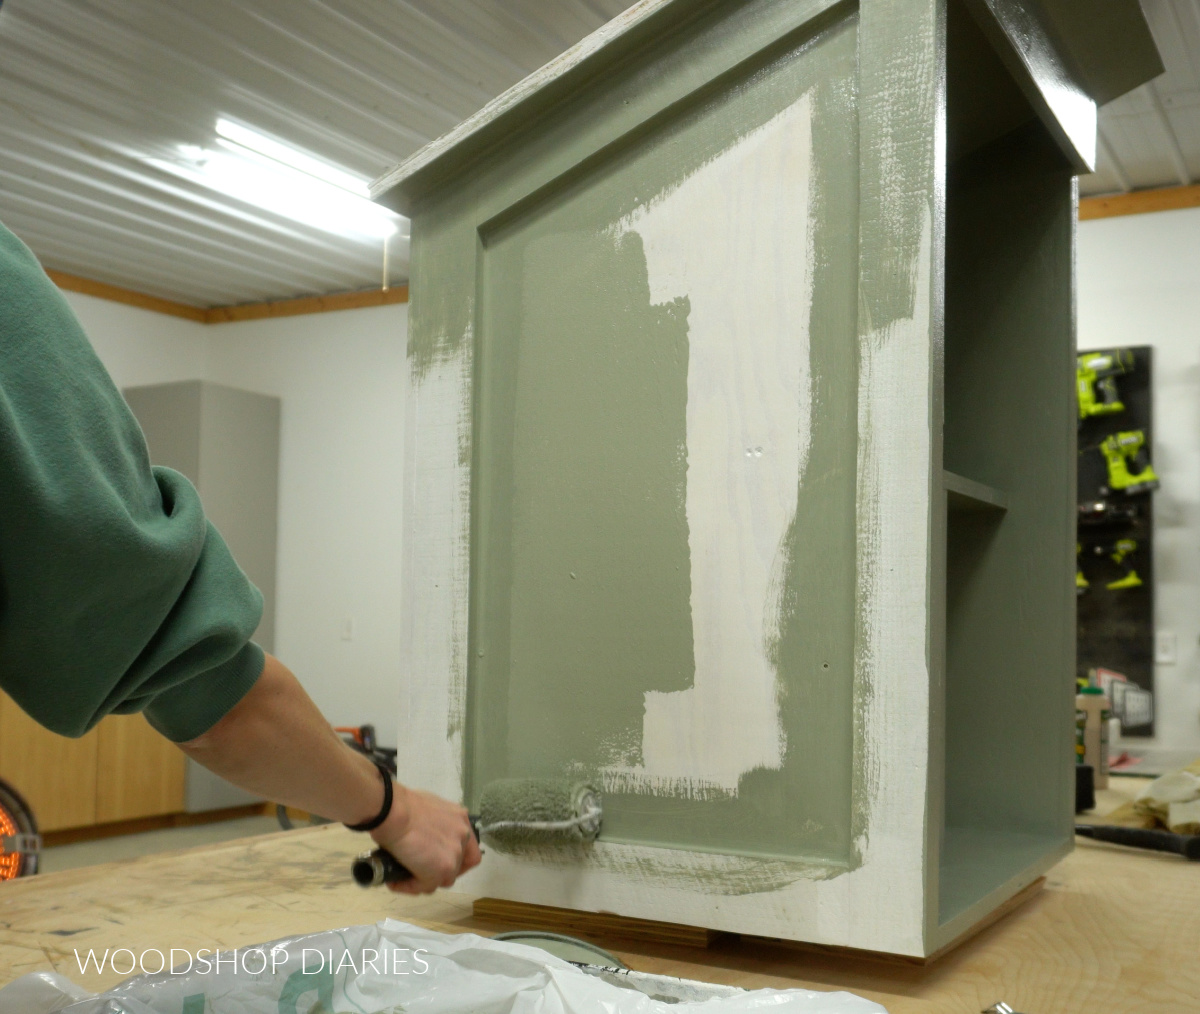
After the trim was installed, the pantry box was ready to paint. So I carefully caulked all the joints, seams, and over all exposed screw head to seal everything well.
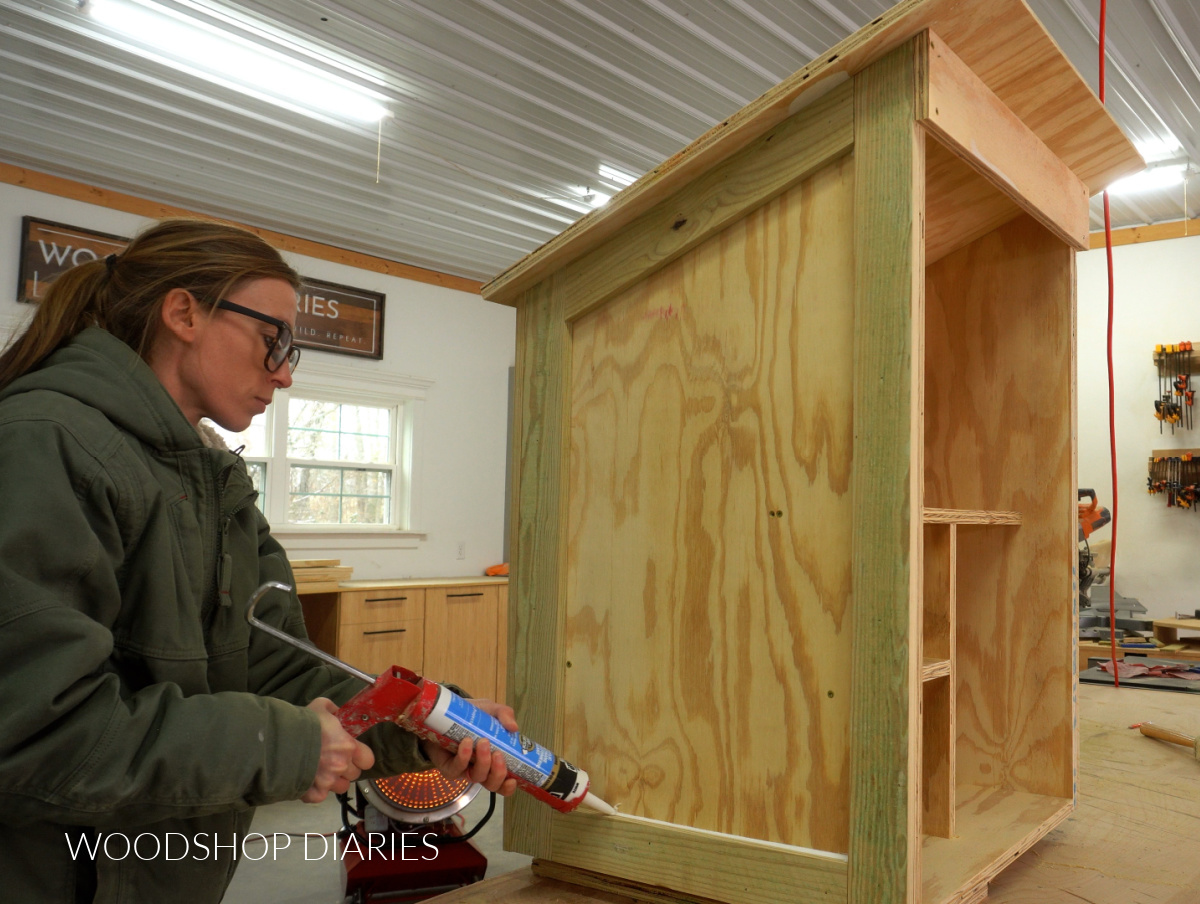
Then, I primed and painted the entire box (inside, outside, top, and bottom) with a high quality outdoor primer and paint. Make sure the paint you use is for use outdoors. If not, it can quickly start to peel when exposed to the elements.
I used Sherwin Williams Latitude Paint in Evergreen Fog.
ROOF COVERING: Once painted, if you’d like, you can add an additional roof covering. Sheet metal, corrugated plastic, or shingles are all great options. This isn’t NECESSARY, but it can help protect the roof from the weather.
Because this is such a small roof, I recommend checking with friends, family or neighbors to see if anyone has some small scraps you could use. We ended up using some shingles from a local friend who had just built a shed and had some roofing material leftover.
Step 4: Assemble the Door
While the paint dried on the cabinet, I moved on to assembling the door. For the door frame, I opted for some cedar 1×3 boards.
I cut four pieces to build a door that would cover the front of the pantry cabinet completely. Then, I assembled this frame using wood glue and dowels.
RELATED: How to use a dowel jig
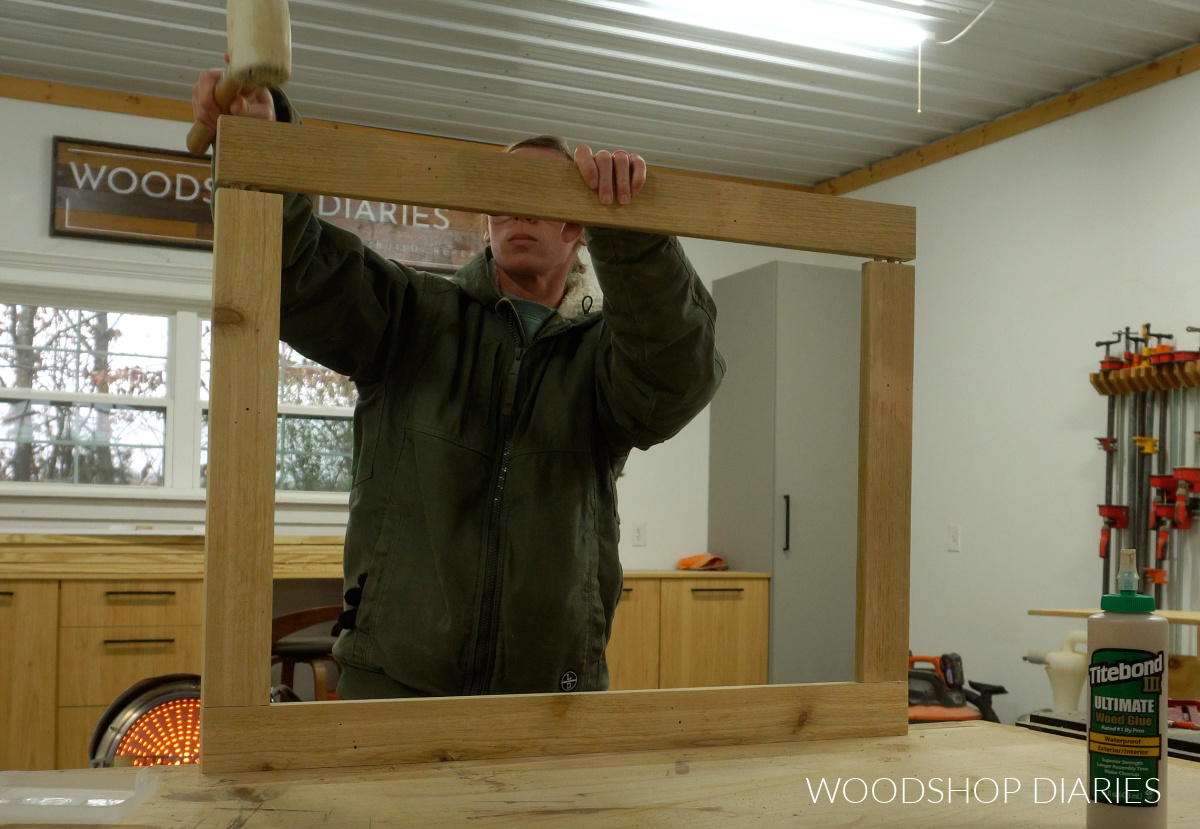
I clamped the frame together while the glue dried. Then, I carefully cut a piece of ⅛″ acrylic to fit over the opening.
You can cut acrylic sheets using a fine finish blade on your circular saw. Just be careful to support the piece while cutting as it can crack easily.
To seal between the acrylic and the door frame, I applied a bead of clear silicone before securing the acrylic to the back side of the door frame using stainless steel screws.
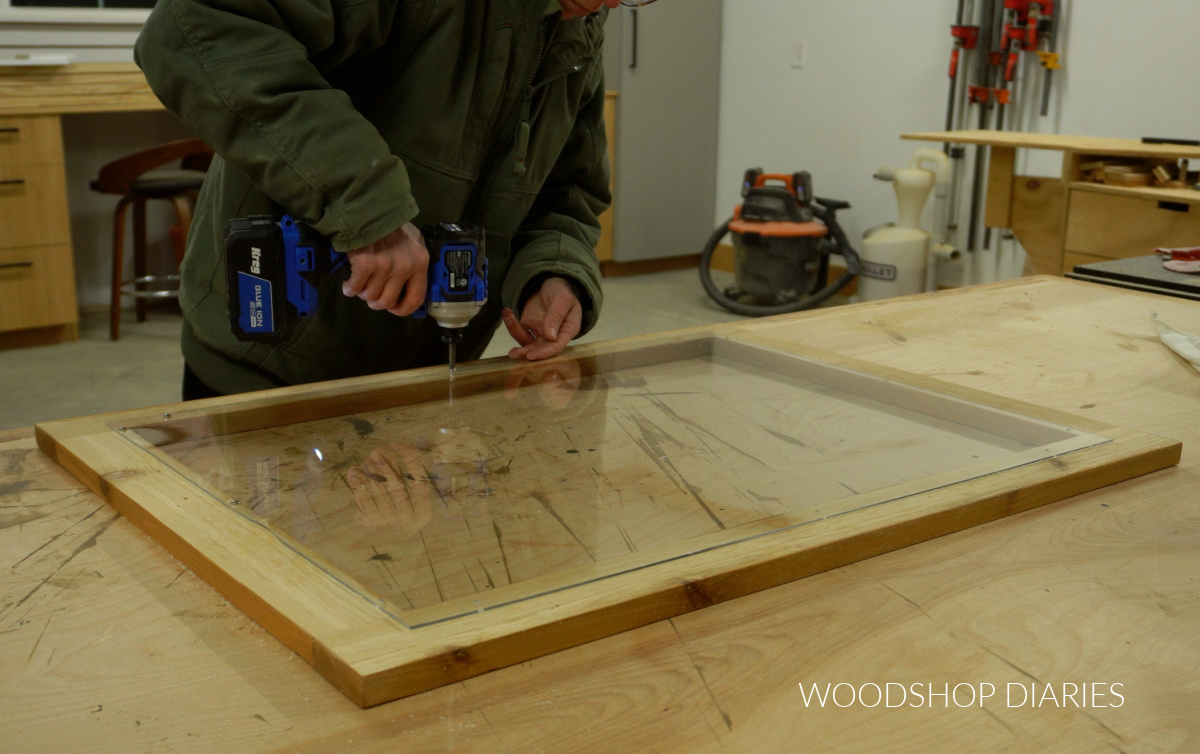
TIP: I predrilled pilot holes through the acrylic along all four sides to be able to screw this on. Just like with cutting, make sure the piece is properly supported underneath (a scrap piece of wood under where you’re drilling works well) when drilling to prevent cracks.
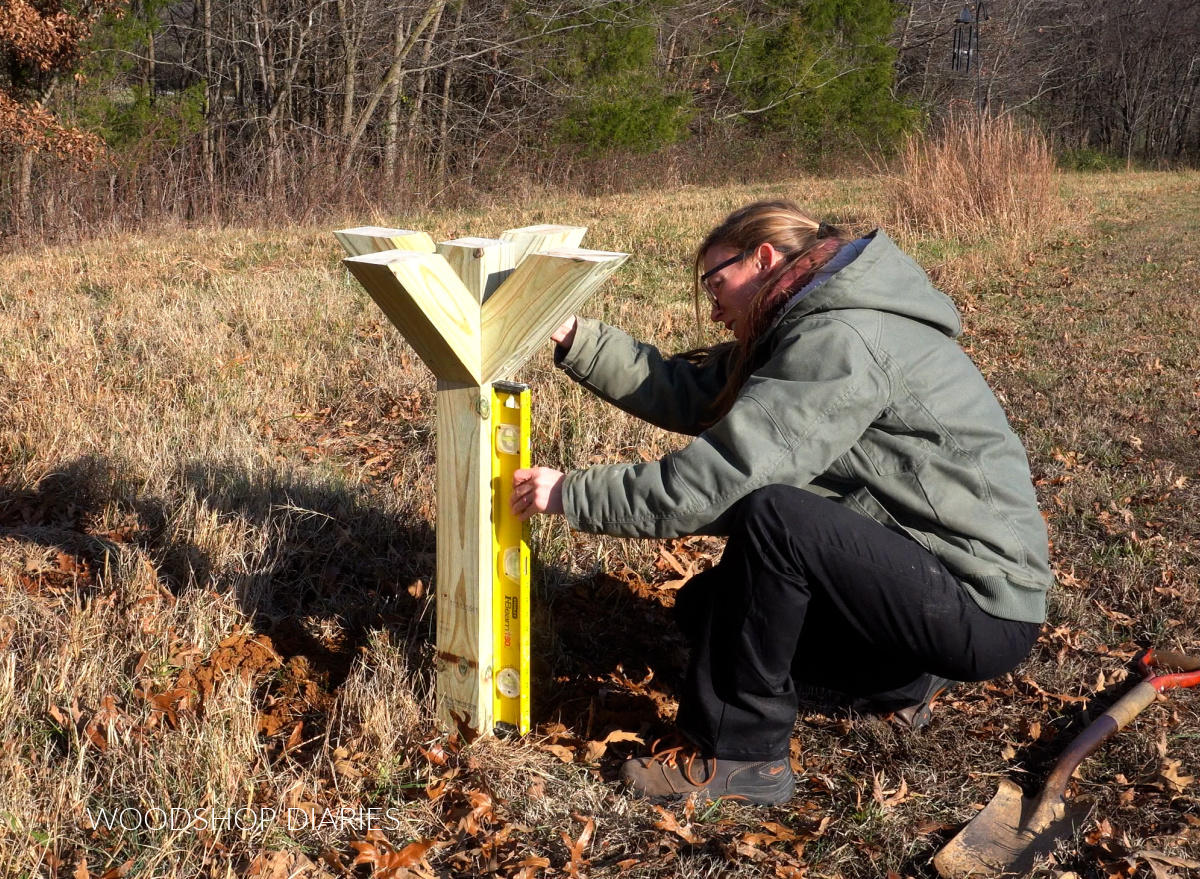
Step 5: Build the Post & Supports
This free little pantry build will set on top of a post in the ground, so next, I assembled the post and supports.
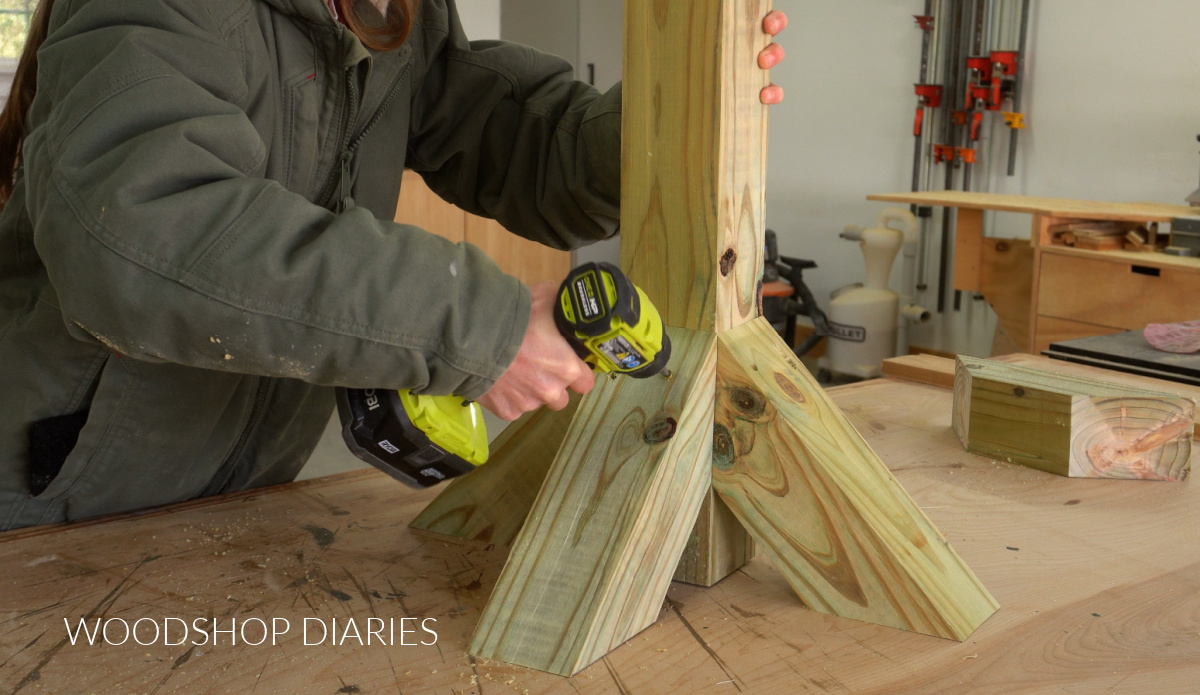
Because this box is rather large and heavy, I wanted to add supports on each side of the post to distribute the weight.
So from my 4×4 treated post, I cut four pieces about 12 ¼″ long with ends mitered 45 degrees. I screwed one on each side of the post so that they were all flush across the top.
Then, I dug a post hole about 24″ deep where I wanted my pantry to go. Make sure to have all utilities marked before digging!
I set my post with concrete, making sure it was level. I didn’t want a lopsided pantry post ha!
I set my posts using dry concrete mix. The moisture from the ground and any upcoming rains will cause it to set up. However, you could use wet concrete mix, post foam, or other methods as desired to set your post.
I allowed a few days for the concrete to set up well so the post was sturdy before moving on.
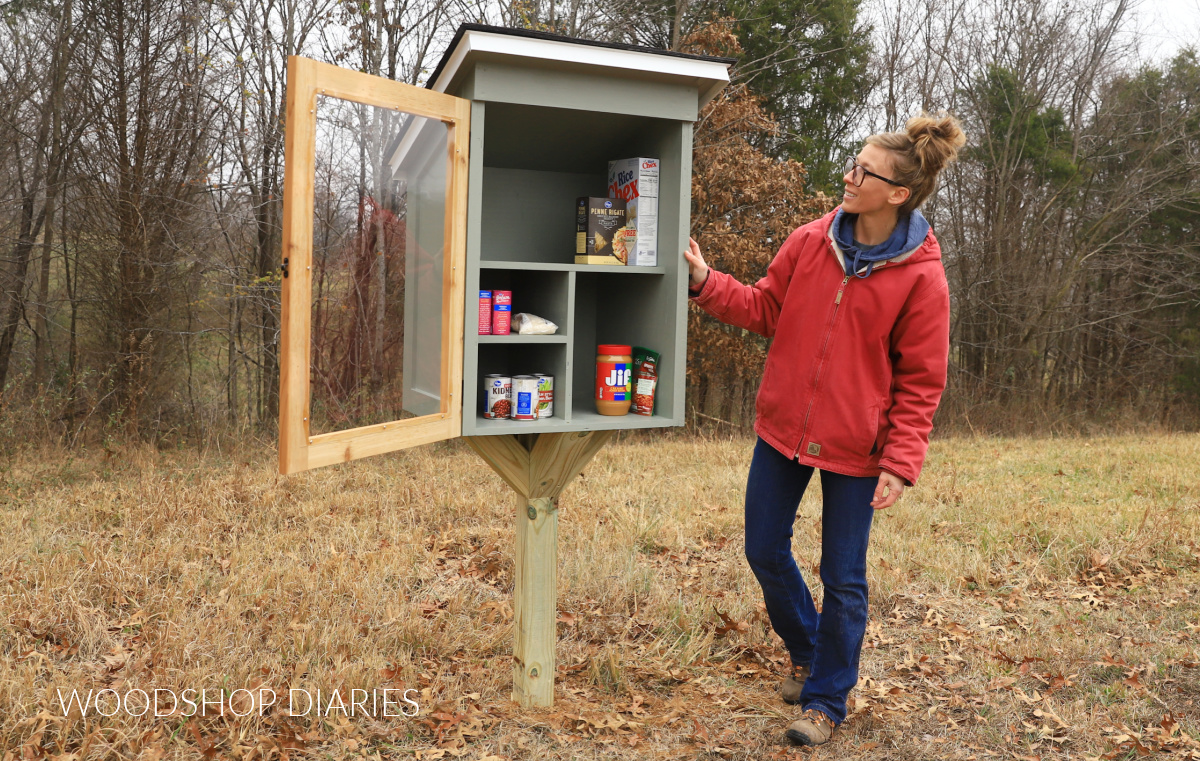
Step 6: Install Free Little Pantry
One the post was set, centered the pantry box on top and secured it through the bottom panel and into each support and the center post with 2 ½″ wood screws.
And finally, I added the door with a pair of small butt hinges.
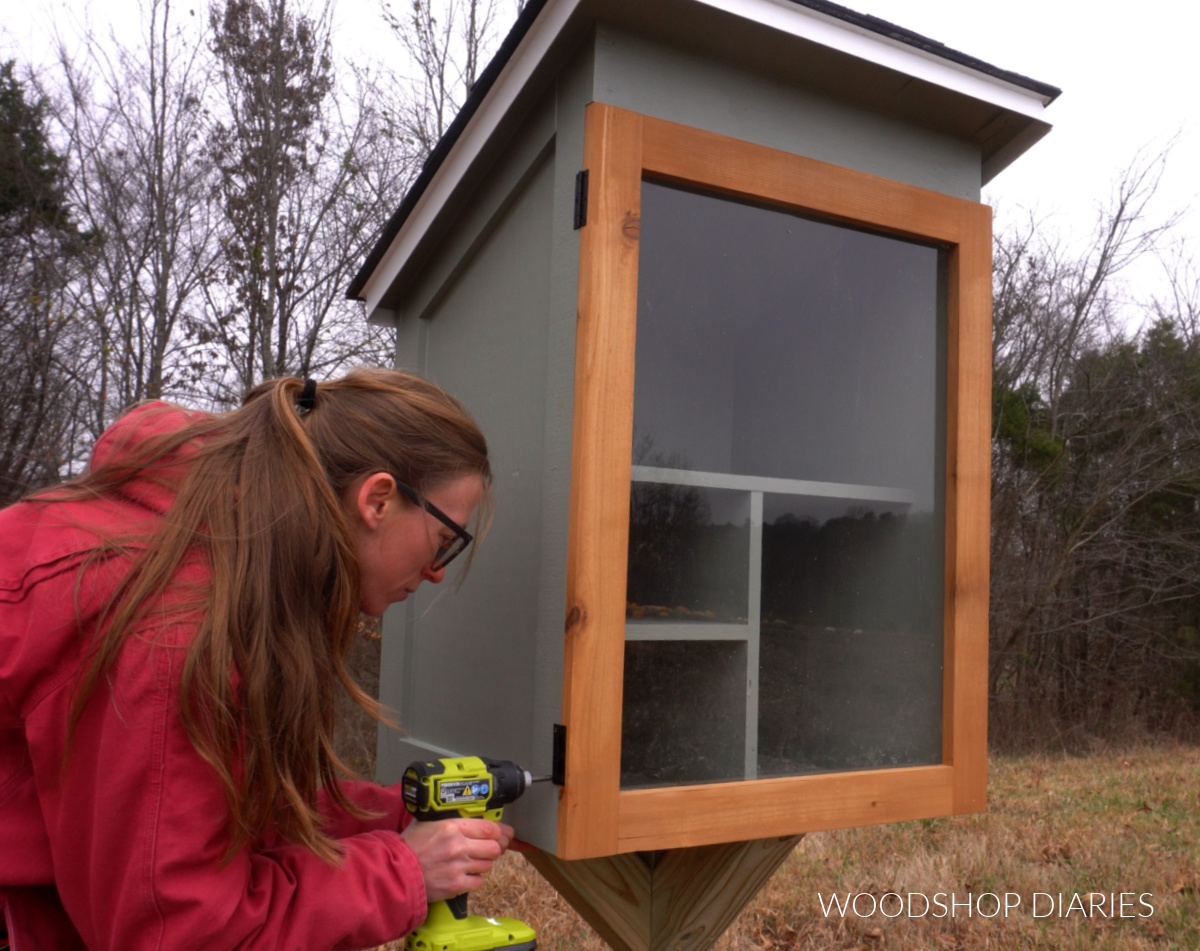
It’s important that the door stay securely closed when not in use to prevent wind, weather, and critters from getting inside. So I added a chest door latch on the opposite side of the door as the hinges.
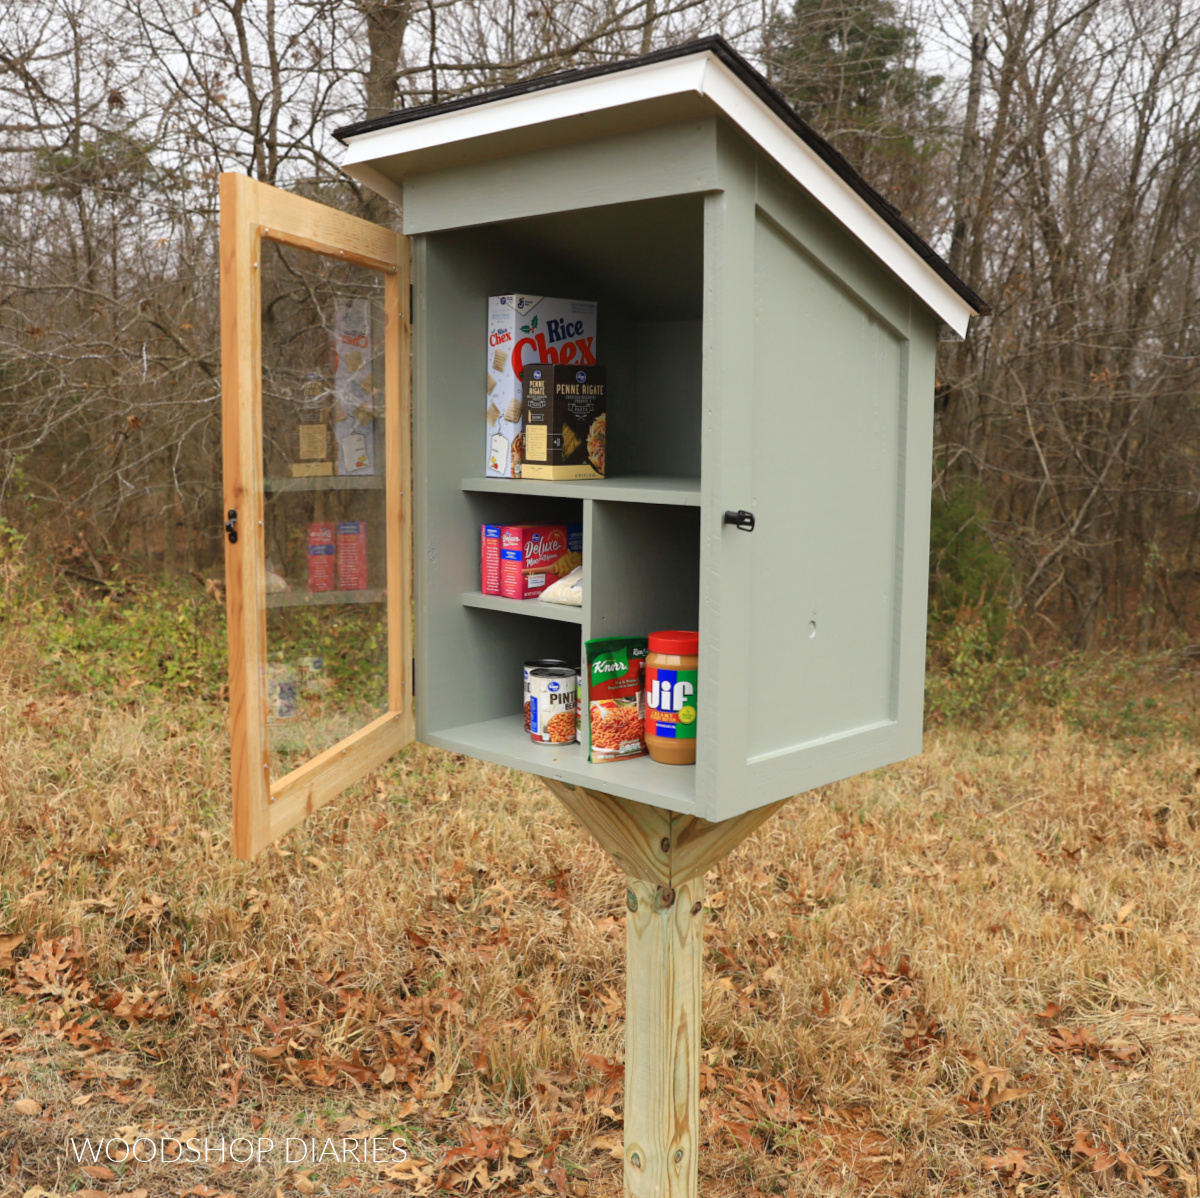
And with that, this free little pantry is ready to fill up and open to the neighborhood.
I’ve seen several of these have written on the side “leave what you can, take what you need.” And that’s truly what I hope this project can be about–a community project where people help when they can and get help when they need it.
If you’d like to build your own, you can find the printable building plans for this project here. All proceeds from the purchase of this plan go directly toward restocking this local community pantry.
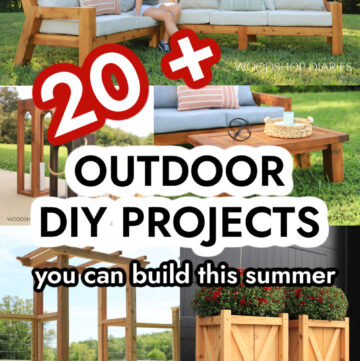
Looking for more DIY Project Ideas?
Enjoyed this project, but looking for more ideas? Here are a few more DIY projects you will enjoy browsing:

If you enjoyed this project and want to save it for later, be sure to pin it or share to your favorite social channel!
Until next time, friend, happy building!