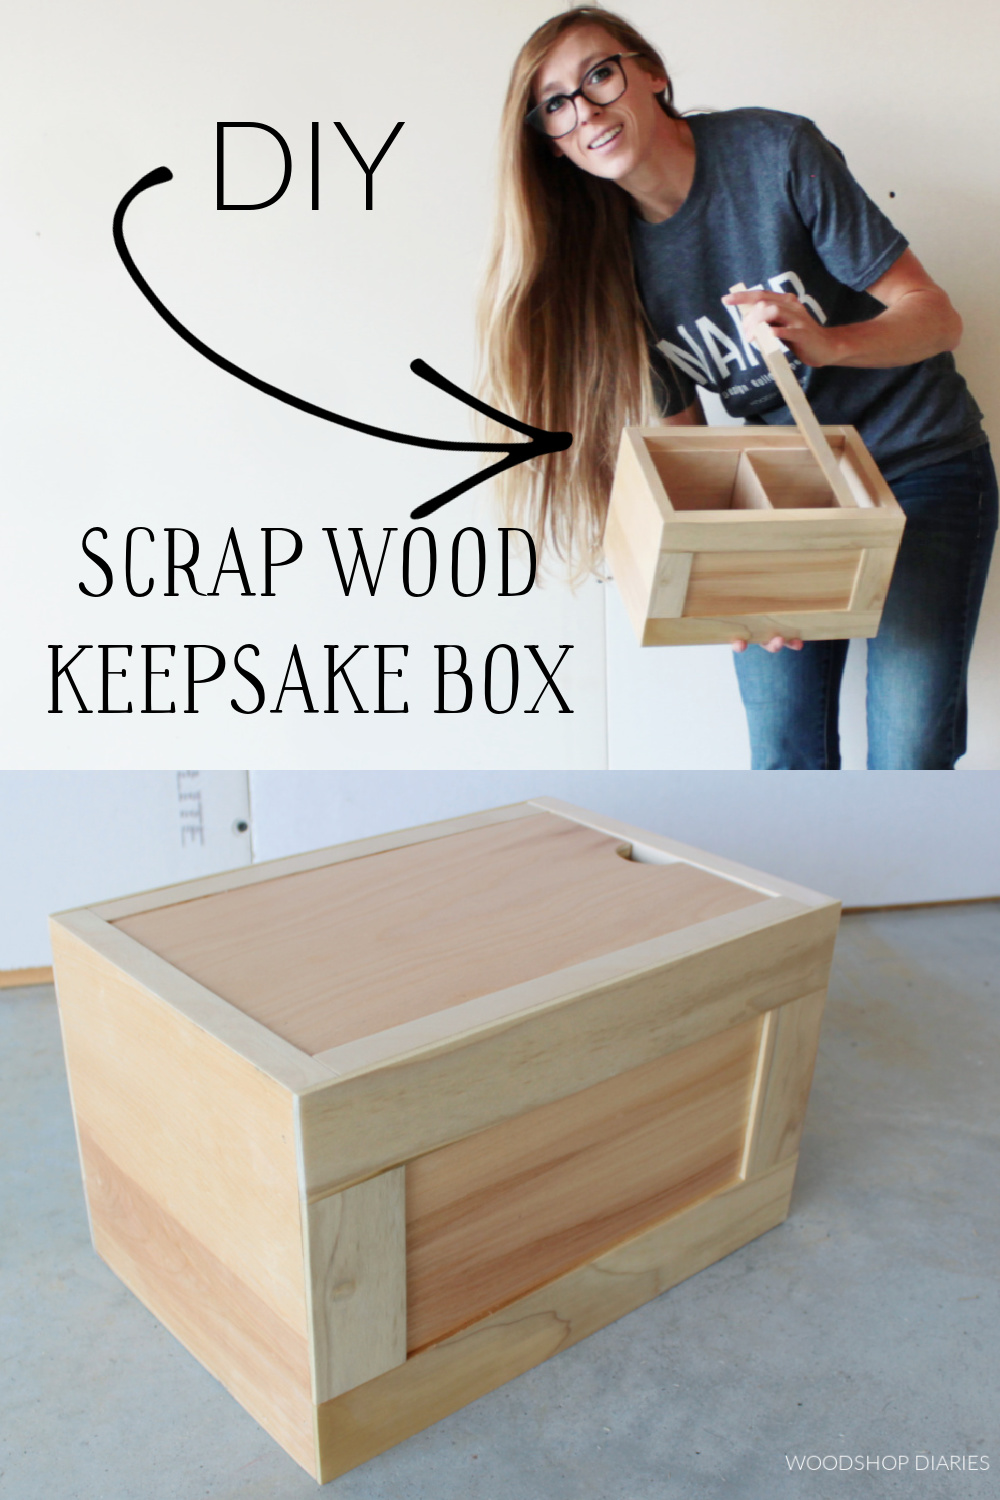
If you’re looking for a great DIY gift idea or a simple weekend scrap wood project, this one’s for you! In this post, I’ll show you how to build this scrap wood keepsake box with a divider and lift off lid!
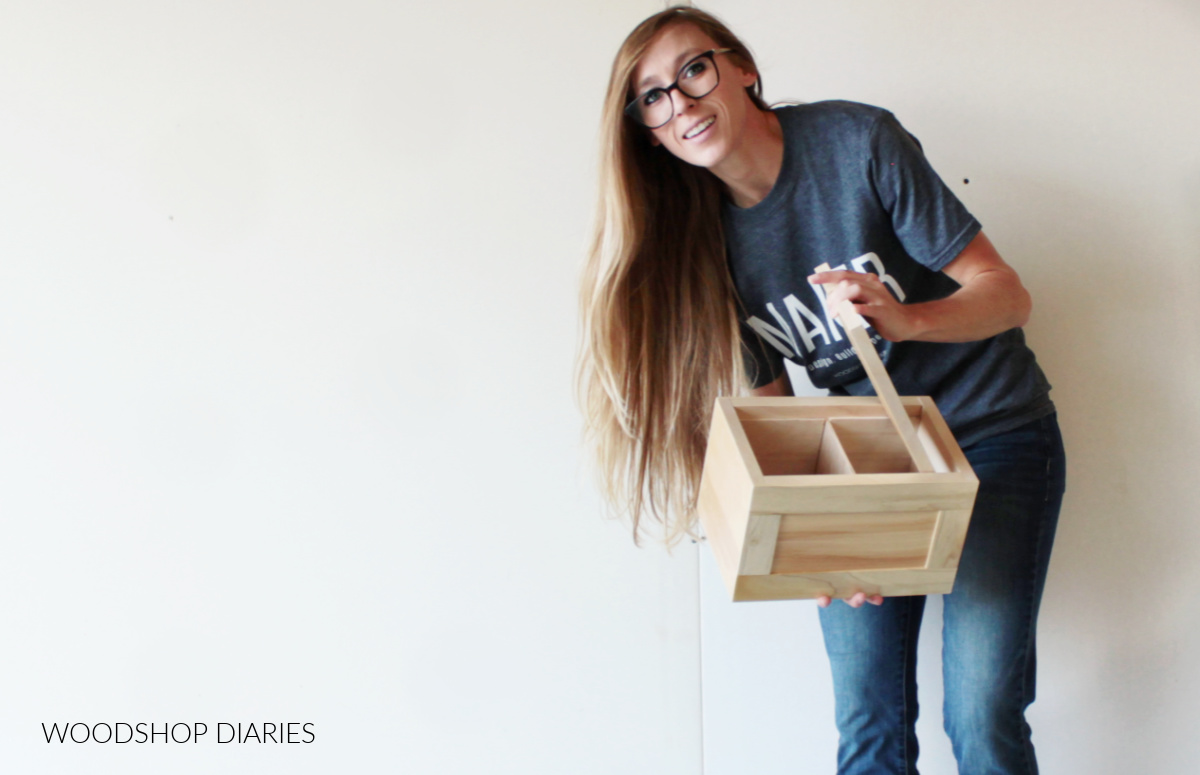
There are so many ways to make a simple keepsake box, but here’s one that’s super easy to customize the size and looks really nice!
.
No fancy tools required and you can use a combination of whatever scrap wood you have on hand!
.
If you’re looking for more keepsake box ideas, here’s a few favorites!

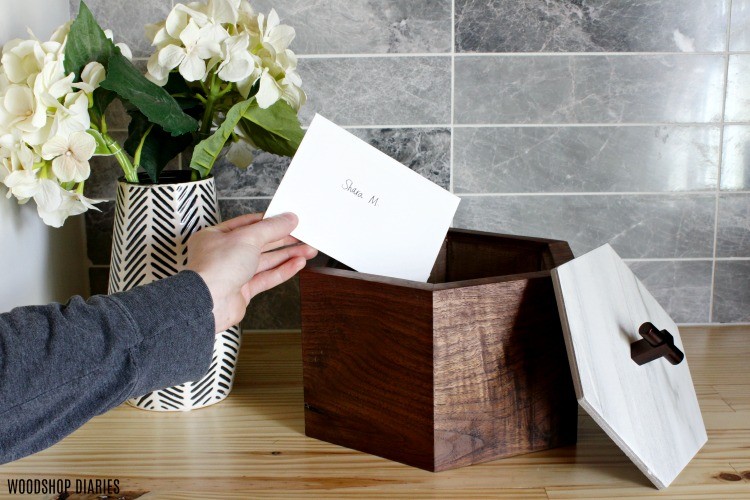
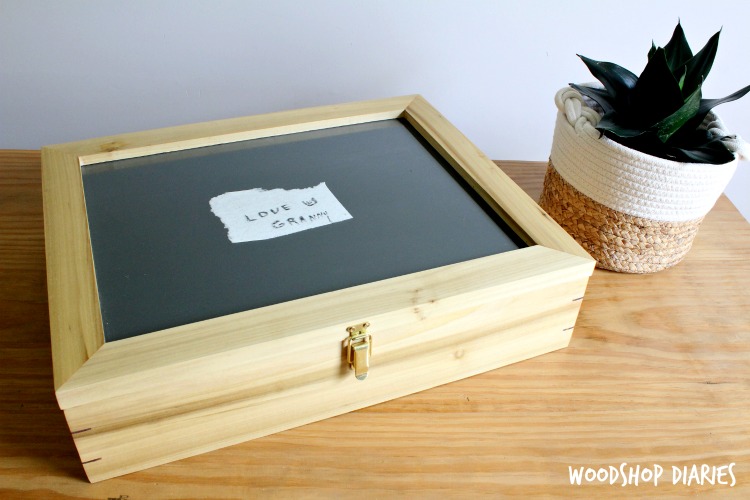
Scrap Wood Keepsake Box DIY Picture Frame Keepsake Box 
Customized Keepsake Box
I’m sharing a fun video showing 3 easy scrap wood project ideas and how to complete them (including this keepsake box!) here. And I’ve got the complete step by step tutorial below:
Check out the other two project tutorials here:
This post contains affiliate links. See website policies.
Tools & Materials:
Tools:
- Saw (whatever you prefer to use to cut straight lines)
- Drill
- Nail gun (optional…if you don’t have a nail gun, you can use a hammer and finish nails OR screws)
Materials:
- Scrap 1x or ¾″ plywood
- Scrap ¼″ plywood
- Scrap lattice, shims, or 1x to frame out the sides
- Wood Glue
- Finish or brad nails (for nail gun or for use with a hammer)
- Edge banding (optional…for use to cover plywood edges)
Notes about this Scrap Wood Keepsake Box Project:
This box was made using ¾″ plywood for the sides, bottom and top, ¼″ plywood for the inside divider and some thin scrap lattice trim for trimming out the sides.
.
However, you can use whatever size scrap wood pieces you have for this and adjust your sizing as needed.
.
I used a forstener bit in my drill to make a “hole” to remove the lid, but if you don’t have a forstener bit, you could also use a hole saw, spade bit, or simply add a knob or handle to the top to remove it instead.
Step 1: Cut Main Box Pieces
First, I visited my scrap wood pile to find pieces to make the sides and bottom of the box. For this, I used some scrap ¾″ plywood and cut the following using my miter saw.
- (2) 6 ¾″ x 7″ pieces for the sides
- (2) 6 ¾″ x 10 ¼″ pieces for the front/back
- (1) 5 ½″ x 10 ¼″ piece for the bottom
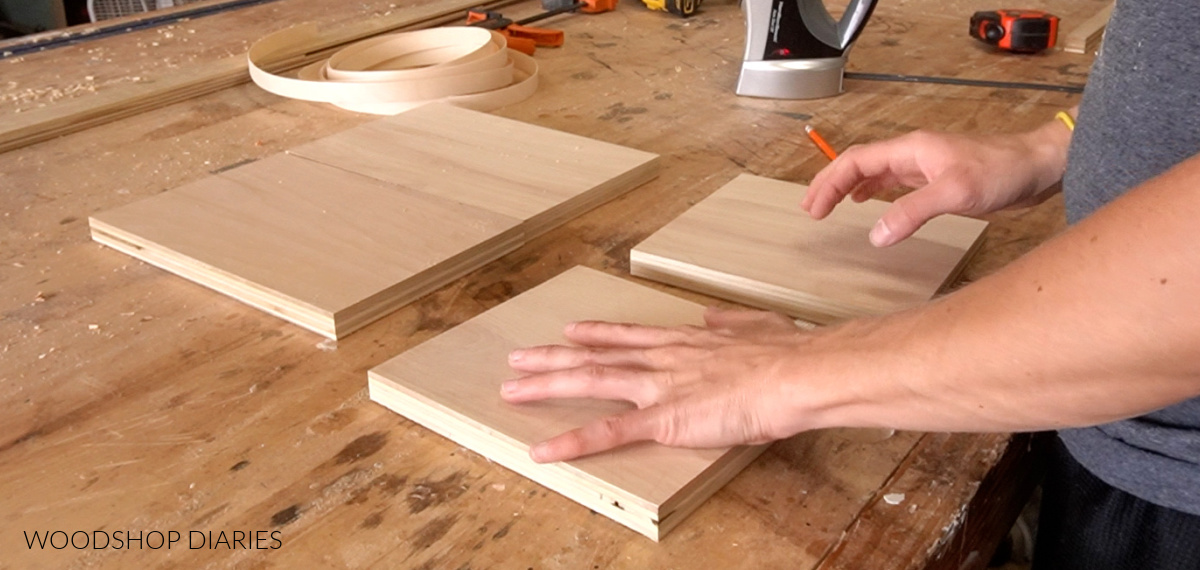
But, you can customize your sizing however you wish 🙂
.
Then, I edge banded the top edges of the sides and front/back pieces to hide the plywood. This is totally optional and it’s not necessary if you’re not using plywood.
RELATED: How to cover plywood edges
Step 2: Assemble Keepsake Box
I used wood glue and 1 ¼″ long brad nails with my nail gun to assemble this box.
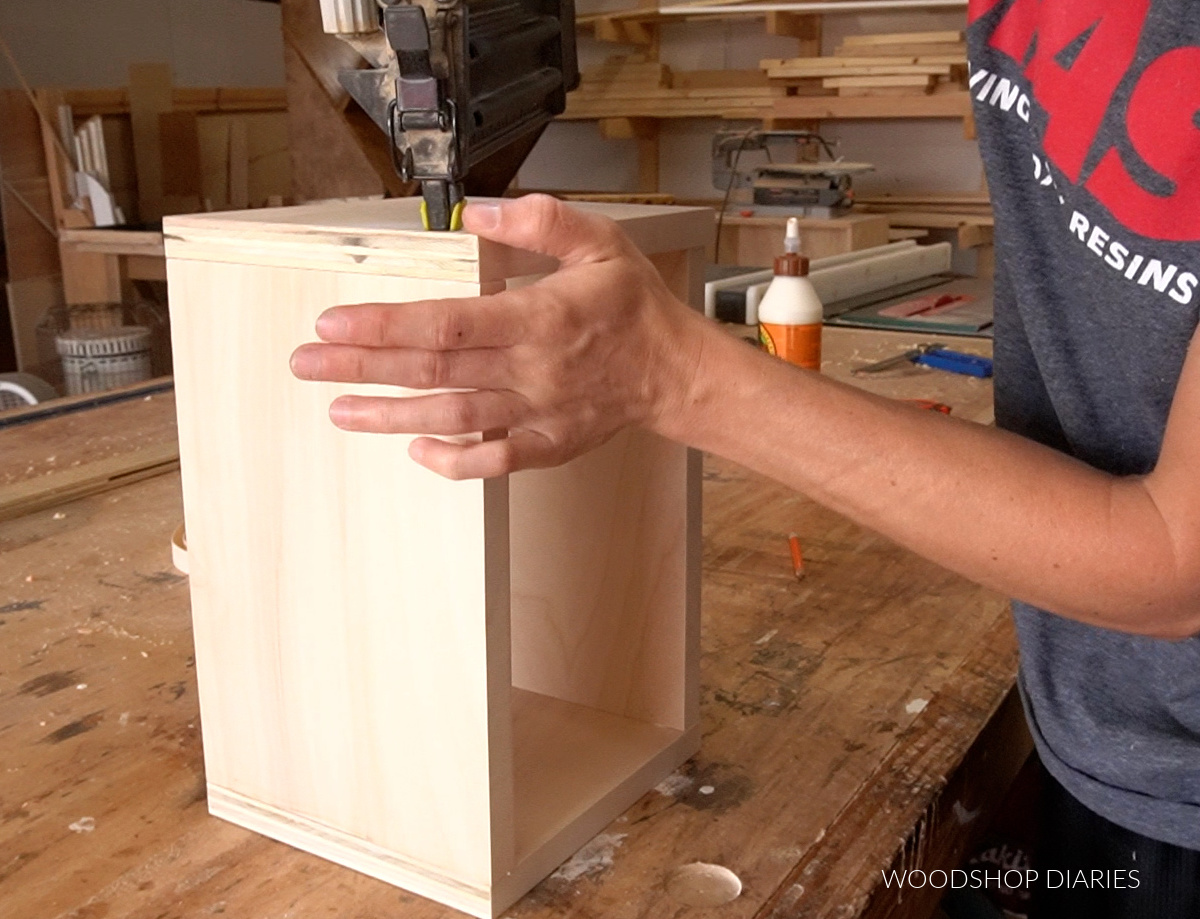
However, if you don’t have a nail gun, a hammer and finish nails would work or you can also use wood screws.
.
I glued all the joints for a strong bond. I actually had planned to install the bottom panel a different way, but changed my mind.
.
It would be easiest to assemble 3 sides of the box, then install the bottom, and finally the last side. But I had already assembled all four sides when I changed my mind on how I wanted to install the bottom, so I just applied wood glue on the edges and tapped it in place.
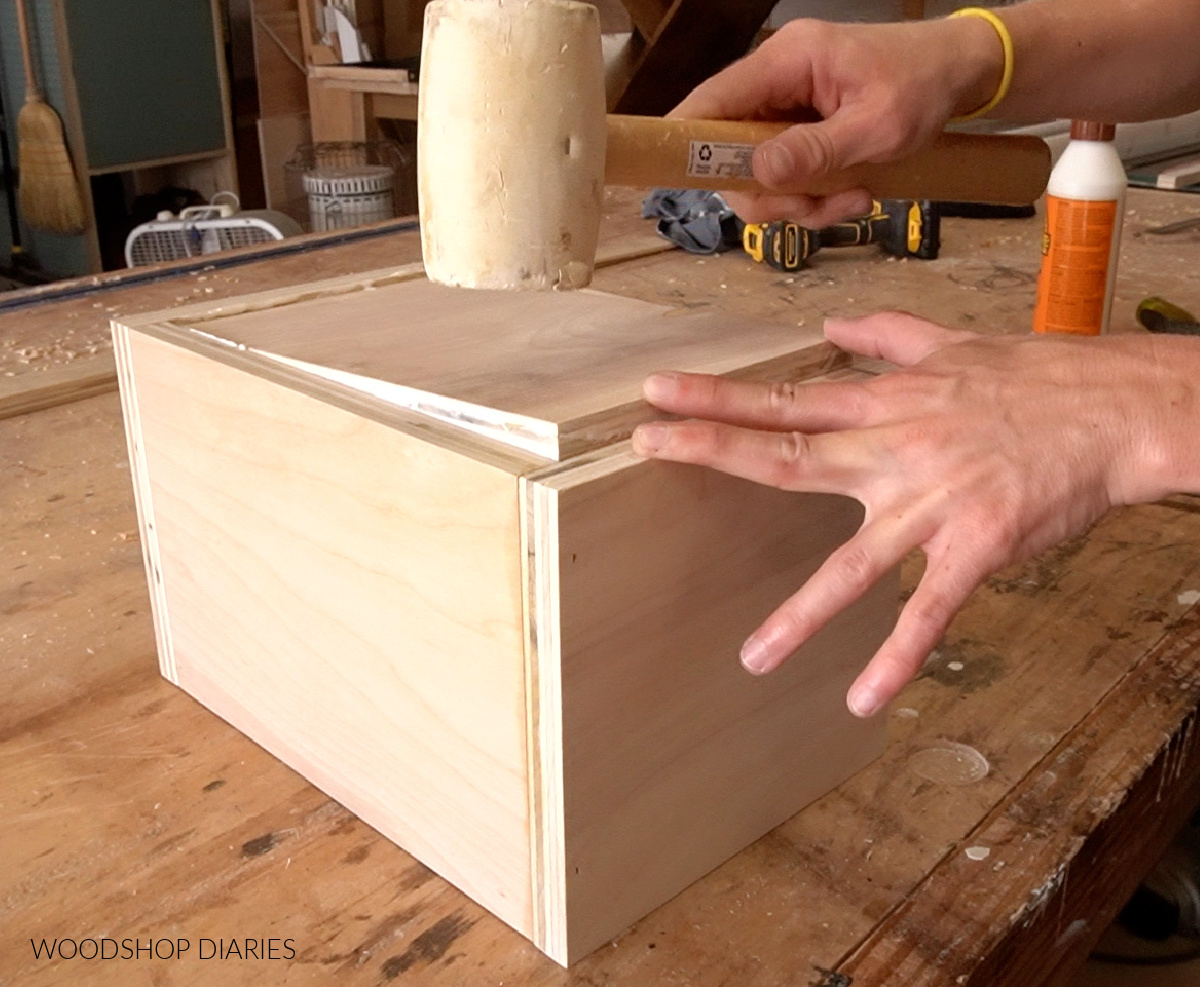
I used brad nails through the box sides to secure it.
.
This box was intended to store keepsake cards and letters, so it won’t be holding a lot of weight on the bottom. If you plan to weigh yours down, you may consider using screws to secure the bottom.
Step 3: Line Inside and Add Divider
I added a divider into this box and there are a million ways to do that. You could use a table saw or rabbet to cut dadoes, or simply nail a piece in place here.
.
However, I wanted this divider to be removeable and didn’t want to introduce another tool into the mix.
.
So, I ventured back over to my scrap wood pile and pulled out some small ¼″ plywood scraps.
.
I cut four 5″ square pieces to line the inside of the box with. Since the inside of the box was 10 ¼″, I could add two of these squares on each side and leave ¼″ gap between them in the middle.
.
Then, I could cut a divider piece to slide into this gap. It would be easily removable, and extremely easy to do.
Note that I made these 1″ shorter than the inside opening of the box. The ¾″ thick lid will rest down into the box on top of these pieces later leaving a small ¼″ “lip” around the top. You can customize this sizing as needed for your application.
.
I simply glued and clamped these pieces into the insides of the box and double checked that I could, in fact, fit a divider between them before I let the glue dry.
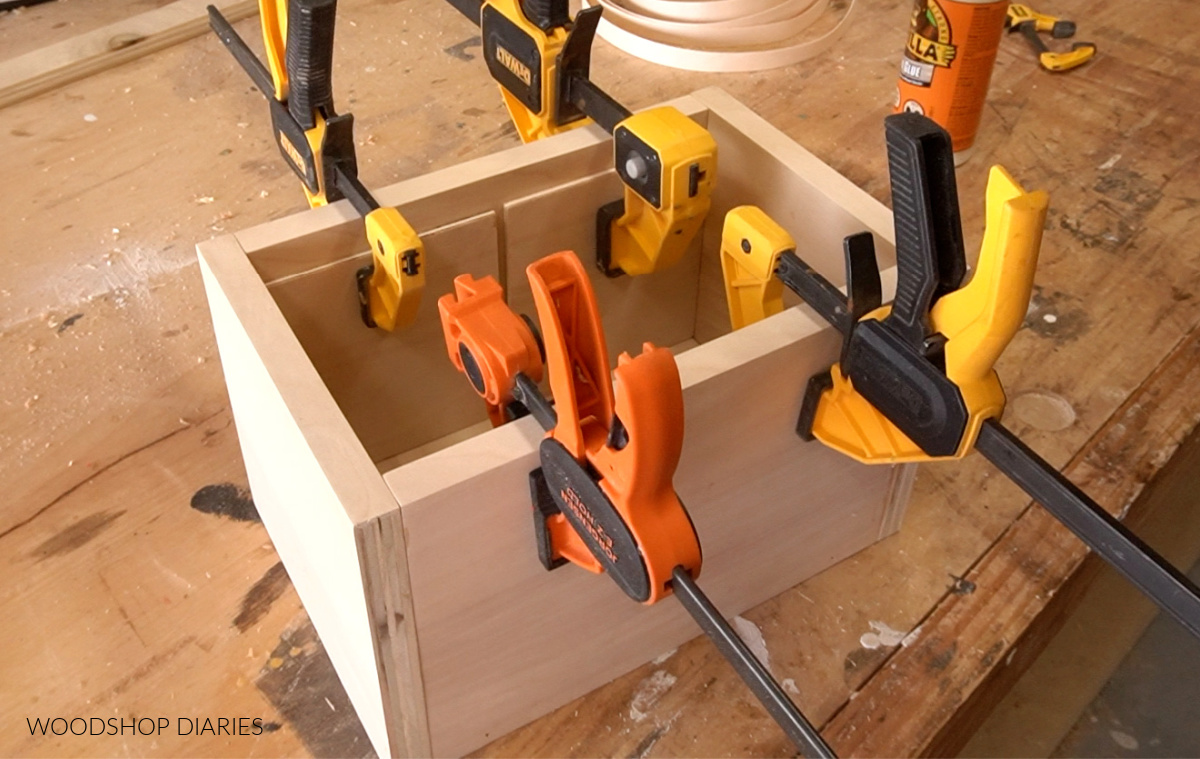
NOTE: DOUBLE CHECK IT WILL FIT before the glue dries and adjust/trim as needed. Once the glue dries, it’s too late to change it.
.
Then, I cut a ¼″ plywood divider piece 5″ tall x 6 ⅛″ to go inside. Basically, I cut it the same height as the pieces I glued in and about ⅛″ smaller than the width of the box to give it a little wiggle room to slide in.
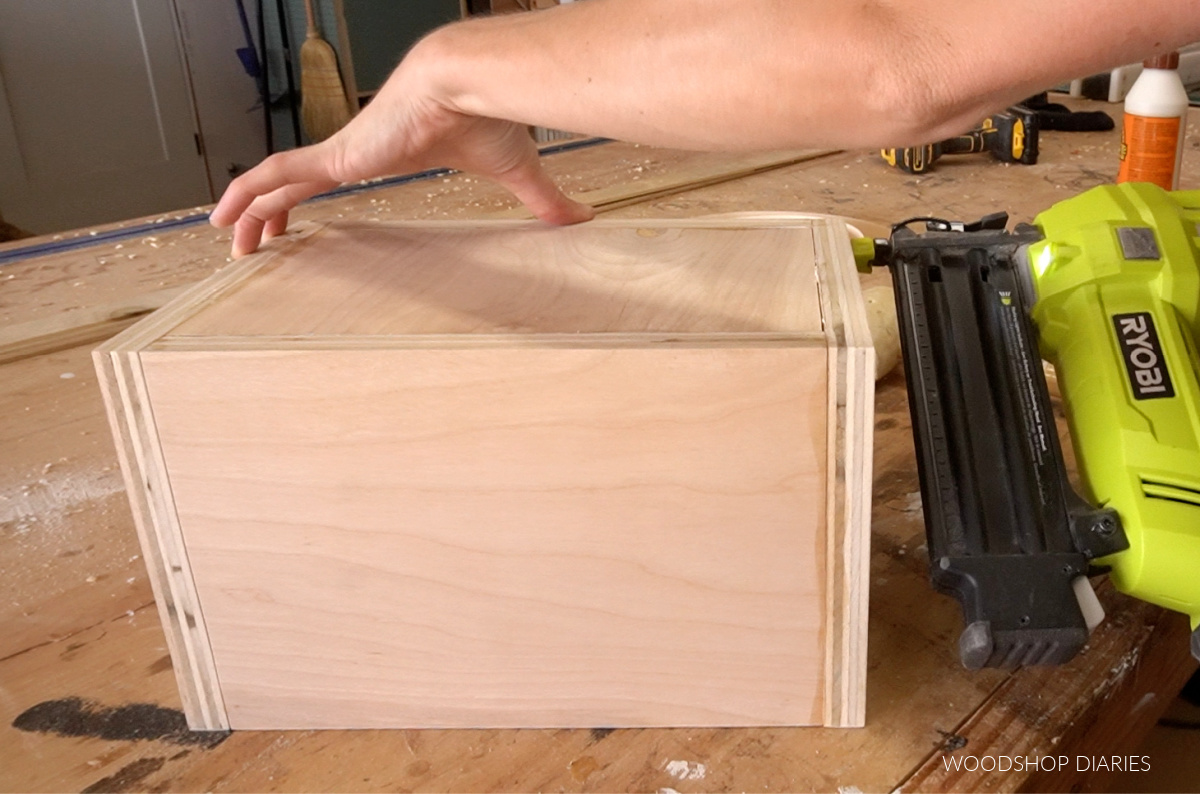
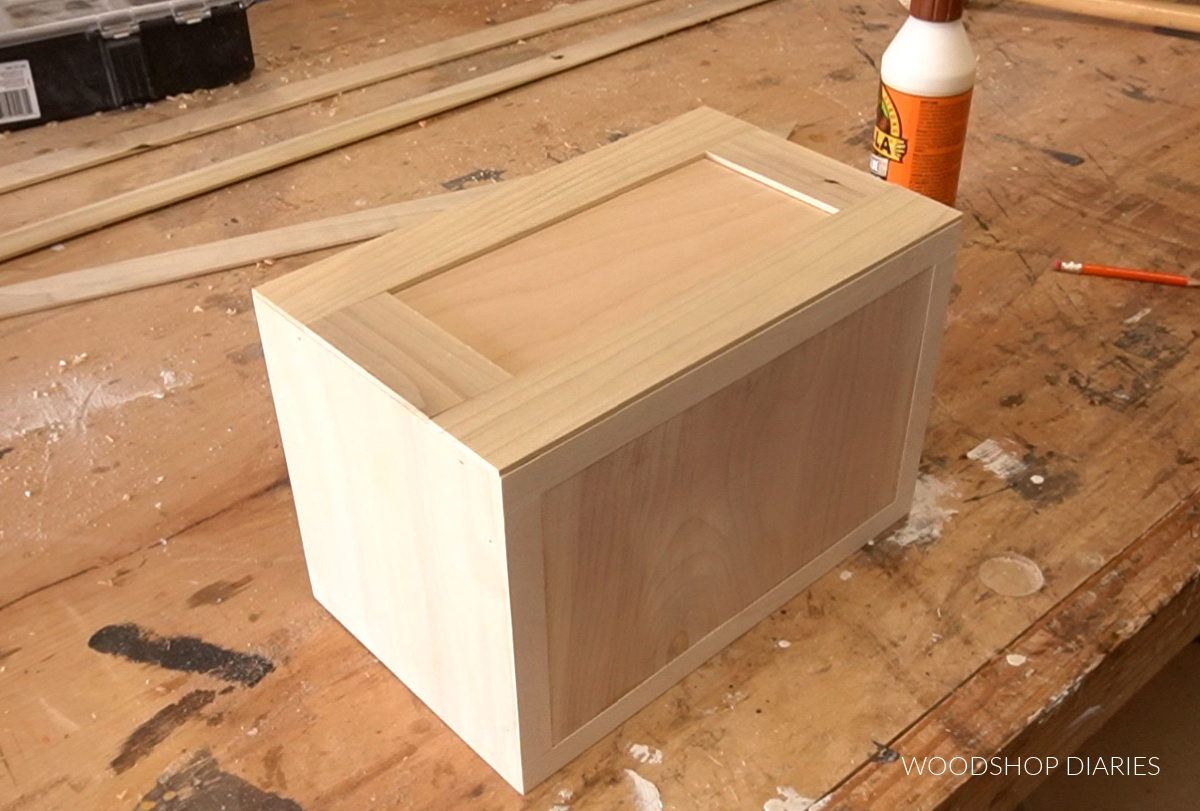
Step 4: Trim Out Keepsake Box (Optional)
Since I had left the exposed edges of my plywood sides showing on my box, I decided to use some scrap trim pieces to frame out the front and back sides to hide these edges.
.
Now, you can use iron on edge banding, if you want, but this extra “framing” gives it some detail and dimension.
.
I had some thin poplar strips leftover from cutting down legs for a previous project, but you could also use lattice trim, any thin strips or shims you may have around the shop, or even go thicker and use some 1x scraps as well.
You are free to get as creative here as you wish 🙂
.
I just cut these pieces to fit around the front edge and glued them in place. You can use clamps or painters tape to hold it while it dries. Then, I flipped it over and repeated on the opposite side.
.
You could trim out all four sides if you wanted, but I just did the front and back sides.
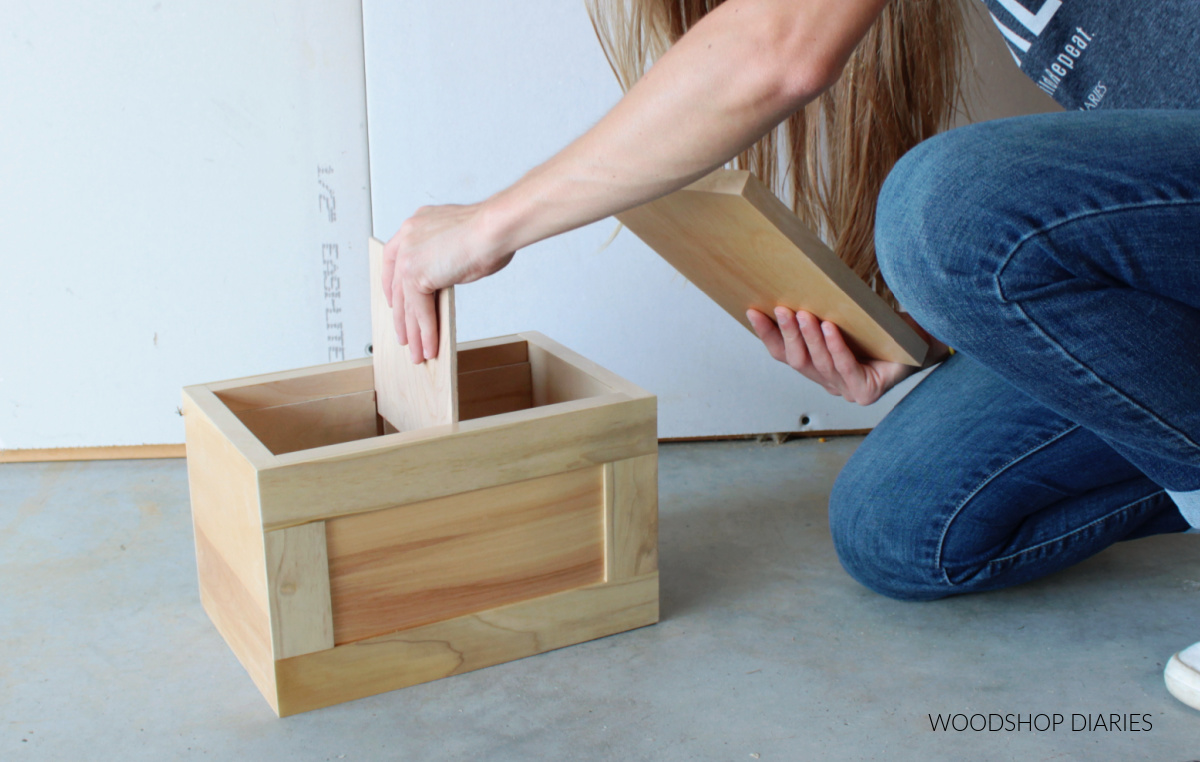
Step 5: Make a Lid
I measured the inside opening of my box and subtracted ¼″ from each dimension. That would allow for ⅛″ gap around all sides.
.
I cut a piece of ¾″ plywood to that size and edge banded it.
.
I used a forstener bit to drill about half of a 1″ diameter hole into the edge of the top in order to be able to remove it. However, you could just add a knob or handle if you preferred.

This lid will rest on the liner pieces from step 3 and be about ¼″ inset into the box. I liked that extra dimension and it also allows you to add some more thin lattice trim around the top as well if you wanted to frame it out, too.

Again, there are a million ways to make a basic keepsake box, so I hope this project just gets your creative juices flowing to find a fun way to customize your own!
.
You can finish as desired, but I simply applied some Polycrylic clear coat to seal mine and it was complete.
.
I really hope you enjoyed this scrap wood keepsake box project and I hope you check out some more fun scrap wood projects here:

DIY Blanket Ladder 
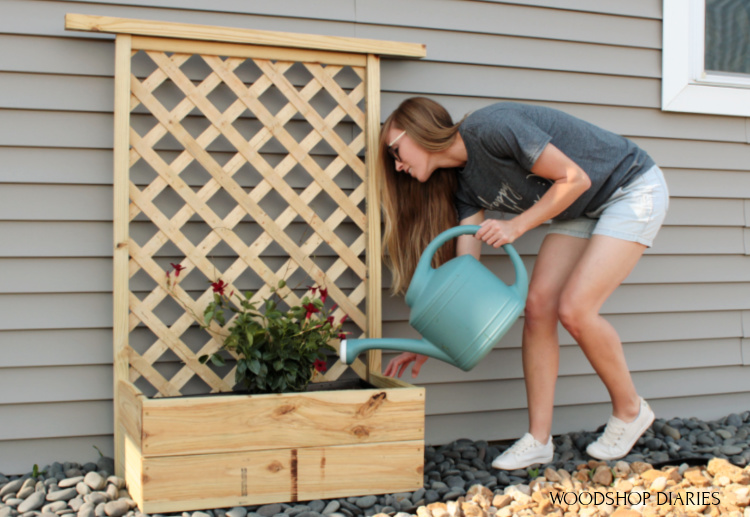
Scrap Wood Planter with Trellis 
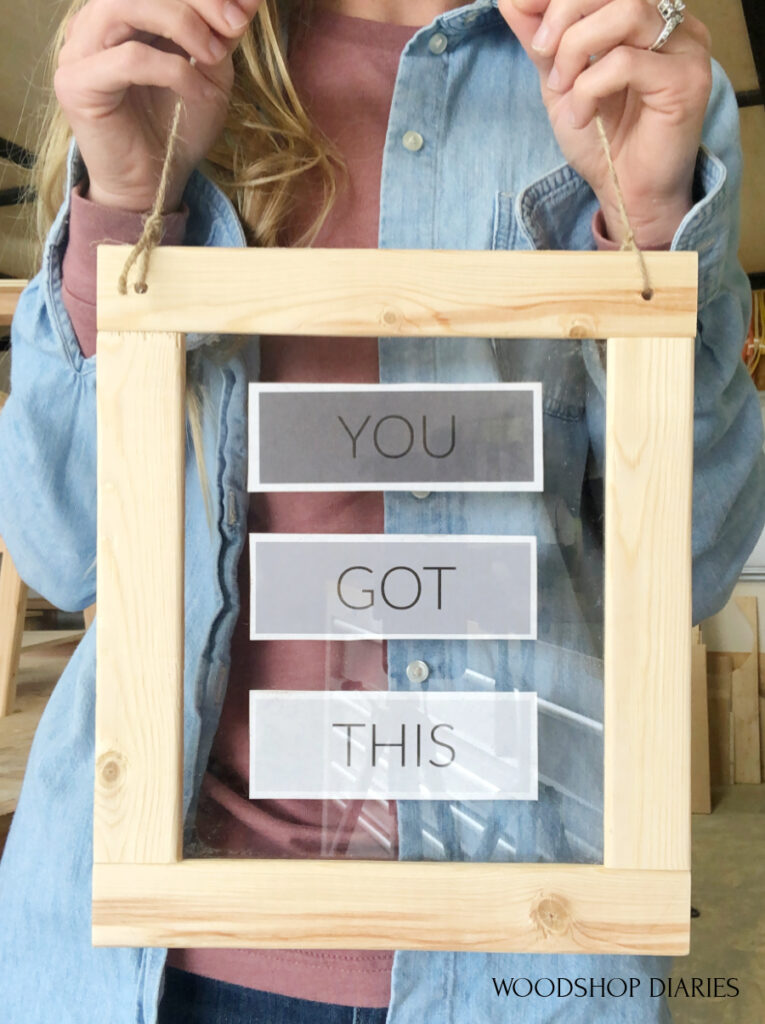
Easiest Picture Frame EVER 
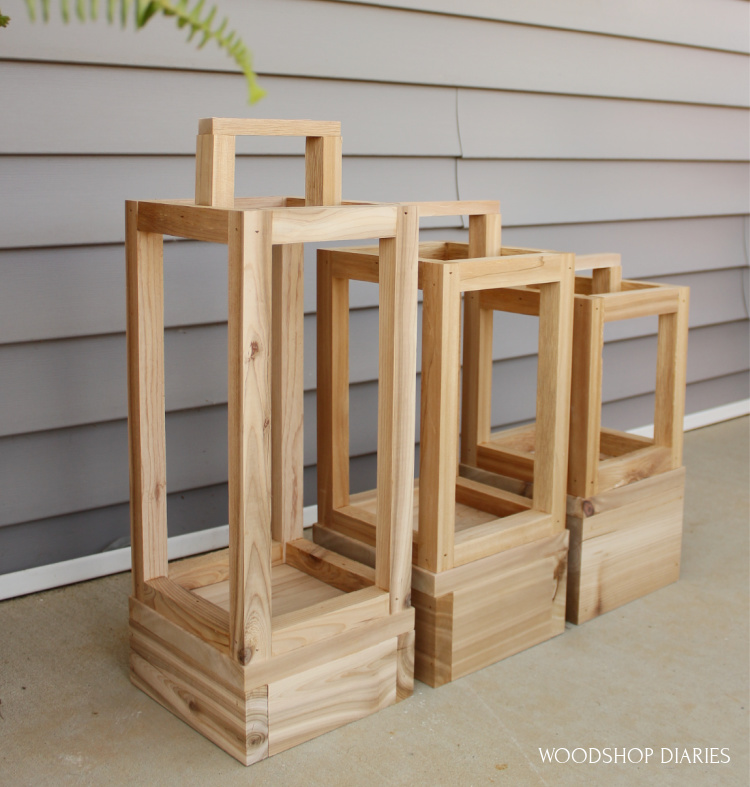
Scrap Wood Lanterns 
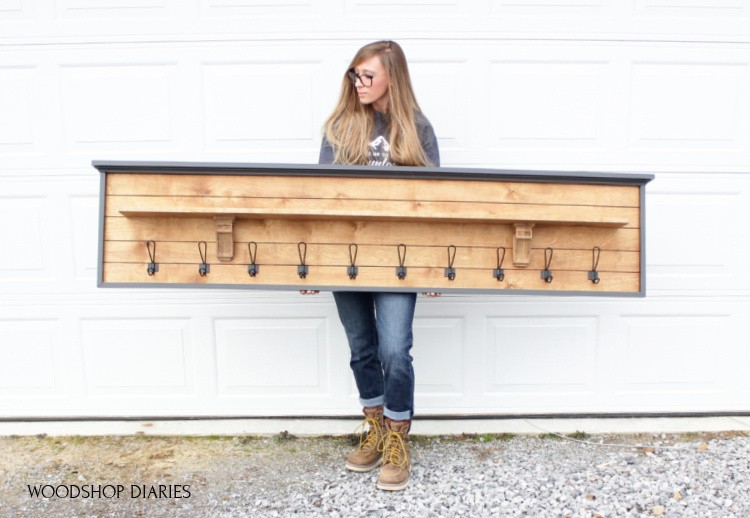
Scrap Plywood Coat Rack
If you want to be the first to learn about new projects and plans on Woodshop Diaries, be sure to subscribe to our newsletter below!
And if you enjoyed this project and want to save it for later, be sure to pin it or share it to your favorite social channel!
Until next time, friends, happy building! 🙂