• Skip to primary navigation
  • Skip to main content
  • Skip to primary sidebar
Woodshop Diaries
  • About
    • Work With Me
  • DIY Projects
    • DIY Furniture Plans
      • DIY Bed Plans
      • DIY Dresser Plans
      • DIY Nightstand Plans
      • DIY Desk Plans
      • DIY TV Stand Plans
      • Coffee and Side Table Plans
      • Tables
      • Shelves and Bookcase Plans
      • DIY Storage Trunk Plans
      • DIY Bench Plans
      • DIY Storage Cabinet Plans
      • DIY Bathroom Vanity Plans
      • Kids Projects and Furniture
    • DIY Scrap Wood Projects
    • DIY Workshop Projects
    • DIY Home Decor Projects
  • Shop
  • DIY Basics–Tips & Tools
    • Cabinet Building
    • Woodworking Basics
    • Furniture Finishing Tips
    • Tool Guides & Reviews
  • Blog
    • Facebook
    • Instagram
    • Pinterest
    • YouTube
menu icon
go to homepage
search icon
Homepage link
  • DIY Furniture Projects
  • Easy DIY Projects
  • Shop
  • Browse Projects by Category
  • Woodworking Tips
  • About
    • Facebook
    • Instagram
    • Pinterest
    • YouTube
  • ×

    Home » Christmas

    DIY Light Up Christmas Scene

    December 9, 2019 by Shara, Woodshop Diaries

    Want to build a super simple DIY light up Christmas art piece? I’ve got the project for you!

    This post is sponsored by Build Something and contains affiliate links. See policies.

    DIY Light Up Christmas Art display next to Christmas tree

    A couple years ago I saw a kind of wall art Christmas light up village thing at a store and thought it would be cool to make something similar.  It had a ton of little intricate cut out details, but I’m too impatient for that, so I went with a more simple design with just a couple of trees. 

    .

    Snowmen would have been cute for this as well.  But, if you’re into scroll sawing or intricate details, feel free to explore the possibilities.  I’ll be over here with my super simple trees haha.

    Free template to make your own DIY light up Christmas Art

    I’m sharing the free plans and a template for my trees over on BuildSomething.com if you’d like to build your own. And I’ve got a fun video showing how it came together here:

    To get started I dug around in my scrap wood cart for a few pieces of ¾” plywood about the size I wanted my piece to be.  I ended up finding a piece about 16 ½” wide and 14” tall that I used for the backdrop piece, and two more pieces similar in size for the two tree cut out pieces.

    Besides some scrap plywood, you only need a few other things to complete this project:

    1x4x8 board

    Drill

    Miter Saw

    Kreg Pocket Hole Jig

    1 ¼″ pocket hole screws

    Jig Saw

    (2) sets battery powered Christmas lights

    .

    And of course, you might want to play around with some paint 🙂 I had a really hard time deciding on my color scheme for this project. I originally painted the back drop piece black, but changed my mind later…you’ll see in the video haha.  I ended up assembling the piece then hating the black *face palm*

    So I actually took the whole thing apart and painted the trees white and the back with a navy ombre effect. Basically, I painted the top half white and then started at the other half with navy paint and blended it in with the white as I worked my way up. Much better. It looks a little more like an ACTUAL night sky now haha.

    DIY Light Up Christmas Art with battery powered lights and snow trees

    For the scene, I made the middle tree cut out a little larger than the front cut out piece so that it wouldn’t be hidden behind the front tree. And to keep things simple, I just cut everything out with my jig saw. 

    I freehanded the design (I’m not the best artist haha), and I traced my cut out onto a piece of paper and provided a template for it in the build plans linked here.  But obviously you can customize this part a thousand different ways. I think snowmen or a cool house design would be cute, too.

    DIY Light Up Christmas Art with night sky and snow trees

    Also, I personally like this piece sitting on a console table, but you can definitely hang this on the wall as well. There’s a little cut out cubby on the back side to slide the battery packs for the lights into.

    Sawtooth hanger on DIY light up Christmas Art Piece

    So you can put a little sawtooth hanger on the back side to easily remove it from the wall, flip the battery packs on, and set it back in place. PS don’t judge my painter’s tape haha. You can use staples to keep it a little classier in the back with all the wires if you’d rather.

    .

    I show how easy this is to switch on and off in the video linked here (and shown above) if you want to check it out.

    .

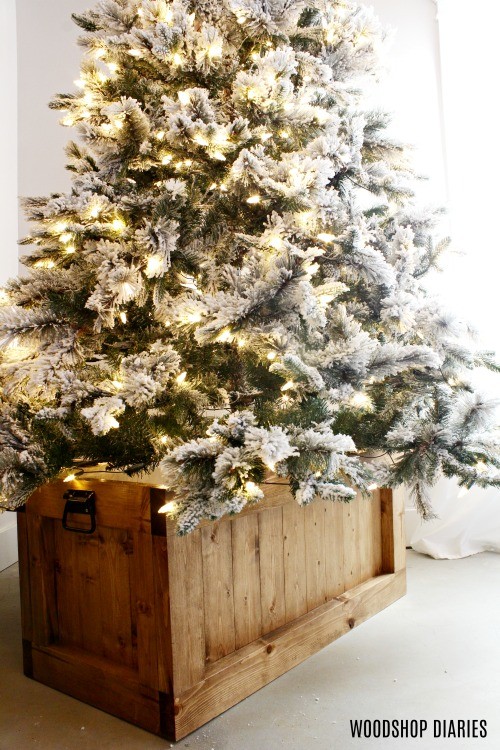
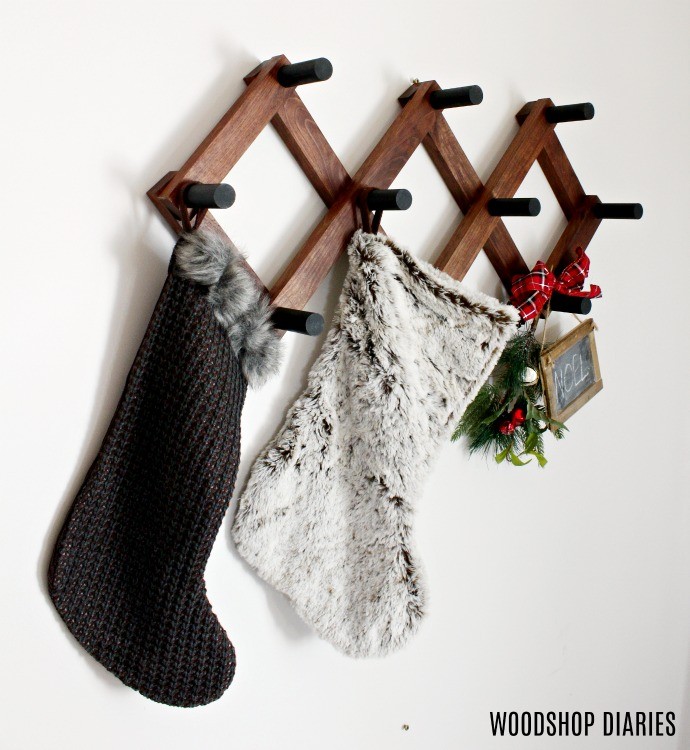
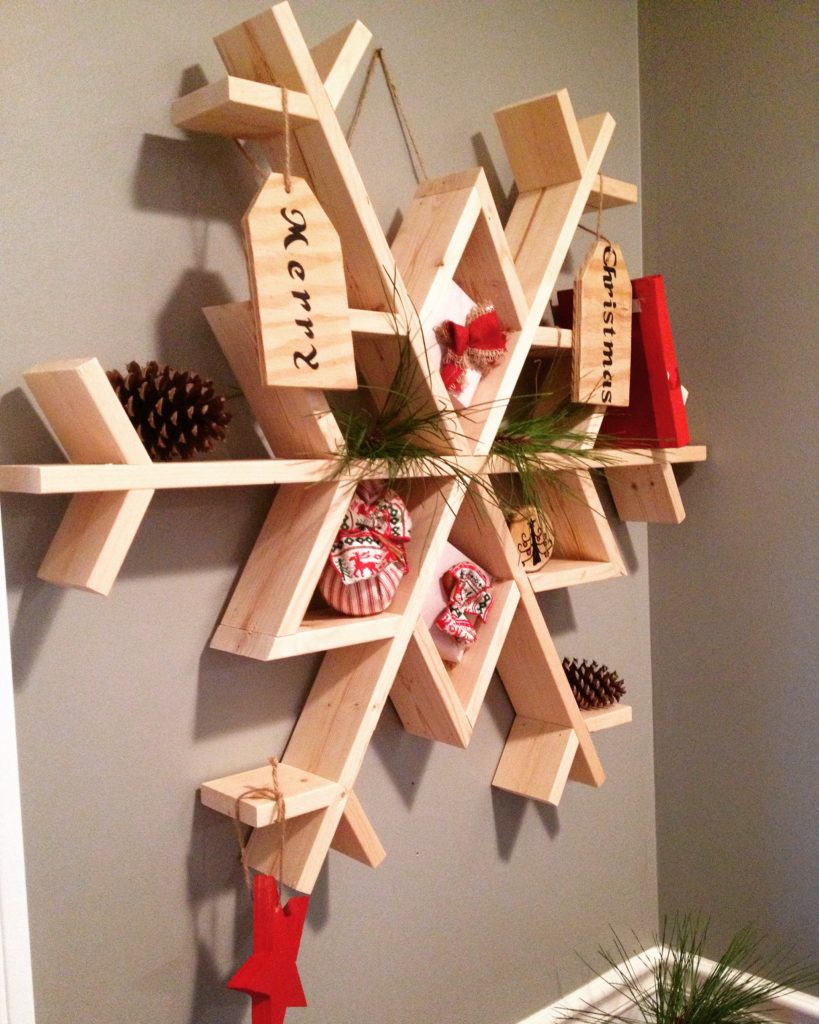
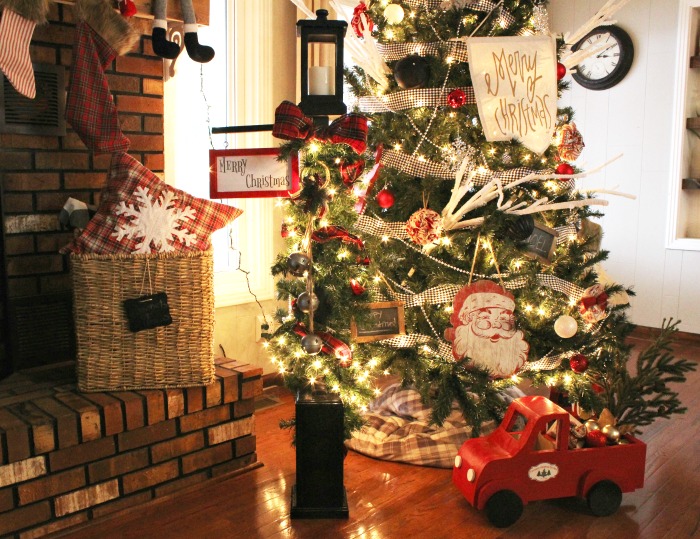
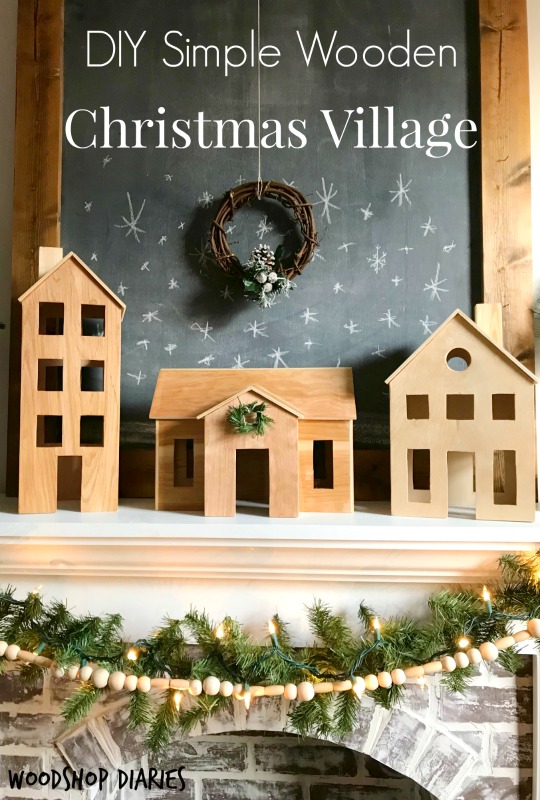
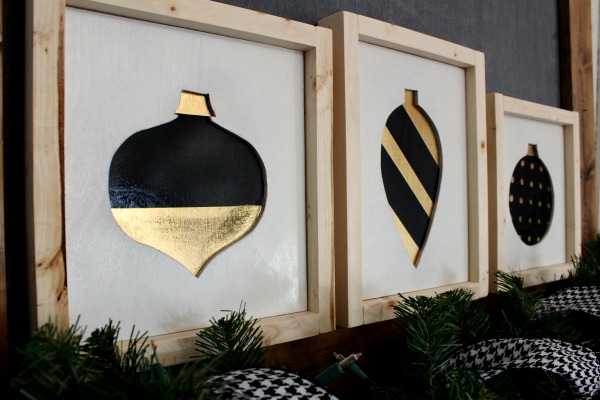
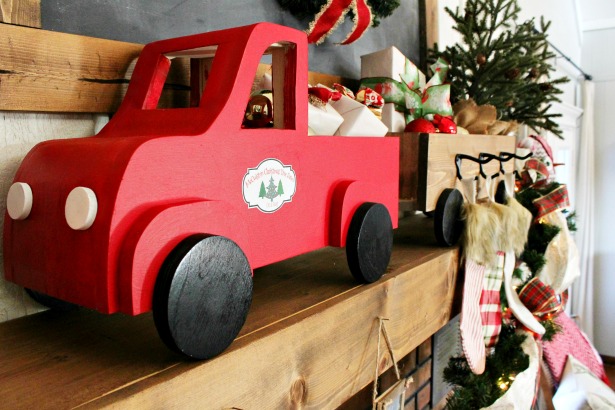
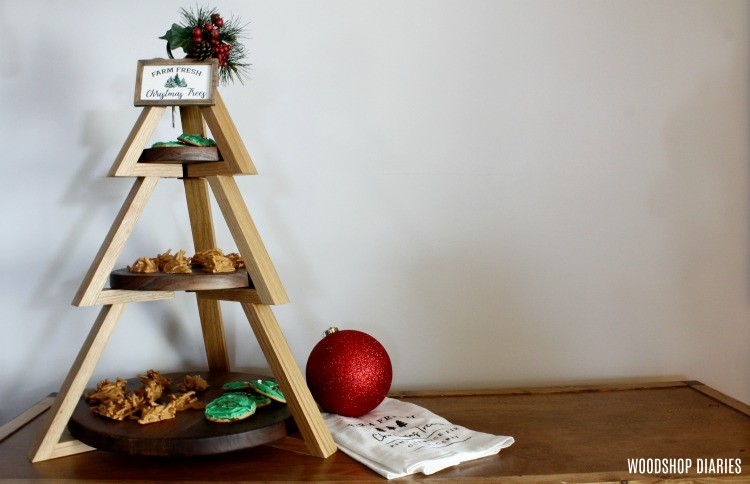
    And if you’d like some more Christmas project inspiration, here’s a few more of my favorites:

    • DIY Christmas Lantern Post from Wood Scraps and an Old Spindle--great way to repurpose an old spindle
    • How to make your own DIY wooden Christmas village perfect for Scandinavian Christmas decor. Easy and free project tutorial
    • Check out this awesome Grinch Pillow--a Pottery Barn Knock Off!

    You’ve still got time to whip up a fun Christmas project, so if you like light up decor, be sure to head over to Build Something to grab the plans for this one. You can easily have one built in an afternoon!

    .

    I’d love if you’d pin this project for later or share it on one of your favorite social channels 🙂

    How to Make a DIY Light Up Christmas Art Display

    Until next time, happy building AND Merry Christmas 🙂

    « DIY Tiered Plate Candy Stand + 3 Ingredient Christmas Candy
    DIY Mobile Lathe Stand with Drawers »

    Related Posts

    Easy DIY Stocking Hanger Rack
    Give Your Doors Some Swag with This Five Minute Decoration!
    5 Minute Christmas Swags–Because Every Room Could Use Some Swag
    DIY Wooden Wagon

    Reader Interactions

    Comments

    1. Sheila Igne

      December 09, 2019 at 12:21 pm

      Another great idea! Thanks, Shara for sharing. Maybe you could back up the start of your Christmas ideas in September!

      • Shara, Woodshop Diaries

        January 30, 2020 at 6:38 am

        Every year I think that and every year things get crazy and I end up not having time until last minute haha.

    2. Bill Sung

      December 09, 2019 at 10:16 am

      So creative!!!

      • Shara, Woodshop Diaries

        January 30, 2020 at 6:37 am

        Thank you!

    Primary Sidebar

    Hi! I'm Shara, the designer, maker, and videographer behind Woodshop Diaries. Let's get building, friends :)

    Learn more →

    Woodworking Tips & Guides

    • DIY Simple Shaker Cabinet Doors
    • 5 Tools To Get Started Woodworking
    • DIY Kitchen Cabinets–From Only Plywood
    • How to Square Board Edges and Make Your Own 2x2s

    Footer

    ↑ back to top

    Tips to Take Your Projects to the Next Level

    --5 Secrets to Professional Looking DIY Furniture

    --How to Properly Finish Raw Wood Furniture {Without a Sprayer!}

    --How to EASILY Cover Plywood Edges

    --4 Ways to Fill a Pocket Hole

    --10 Must Have Tools for Furniture and Cabinet Building

    Printable Building Plans

    Check out our shop to browse printable PDF building plans!

    Website Policies

    This website is for entertainment purposes. Using any information provided is to be at your own risk.

    This site uses cookies to provide you with a better experience.

    All images and text on this site are property of Woodshop Diaries, LLC. Please be respectful and don't steal this content.

    See policies page on this site for more information.

    Want to get in touch? Contact Us Here

    Copyright © 2022