
I know the feeling. It’s Christmas already?! One part of you is excited because, you know, it’s the most wonderful time of the year, right? But then the other part of you is like, oh no, I’ve got to drag out the decorations and make the lists and cook the food and buy the presents!
.
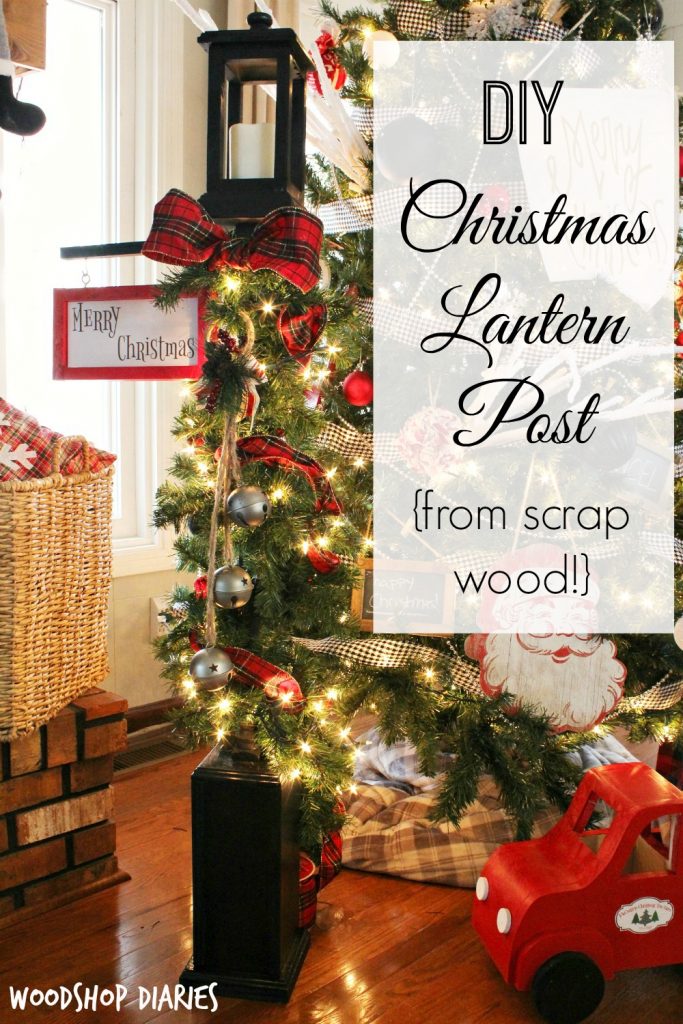
With all the hustle and bustle of the season, though, I know you don’t have a whole lot of shop time. Luckily, this DIY Christmas Lantern Post won’t take much time to build and can also help you clean up that scrap pile!

I’m teaming up with 11 other talented builder bloggers to bring you one fun Christmas themed project each day and we are calling it the 12 Days of a DIY Christmas. You can find the other 11 projects linked below 🙂
.
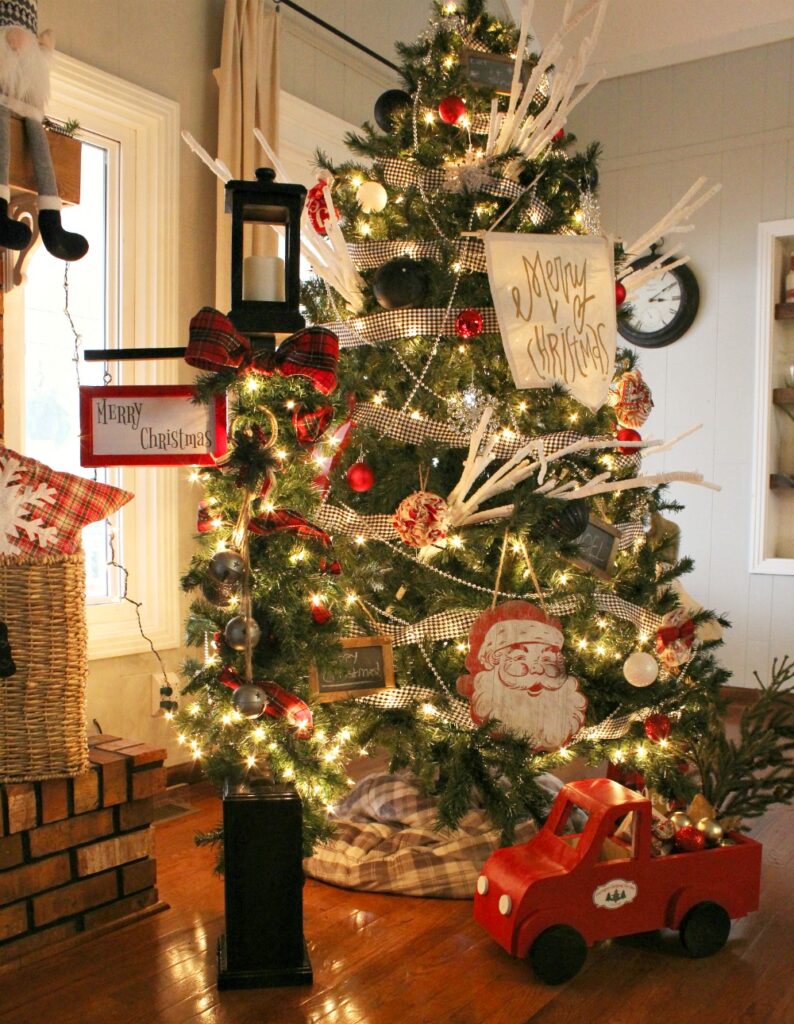
I’m seriously so excited about this little lantern post! Isn’t it so cute wrapped in garland and lights?? It’s actually really cute without the garland and lights, too, so once the holidays are over, you can still keep it around 😉
.
So let’s get started on the how to, shall we??
.
This post contains affiliate links. If you purchase from these links, I may receive a small commission at no extra cost to you. This helps support this site to keep the content free. Please see disclosure policy for details.
.
Tools and Materials:
Wood scraps (for sizes, see tutorial)
Wood Spindle
Router (optional)
Measuring Tape
2 ½” wood screws
.
Step 1: Cut DIY Christmas Lantern Pieces
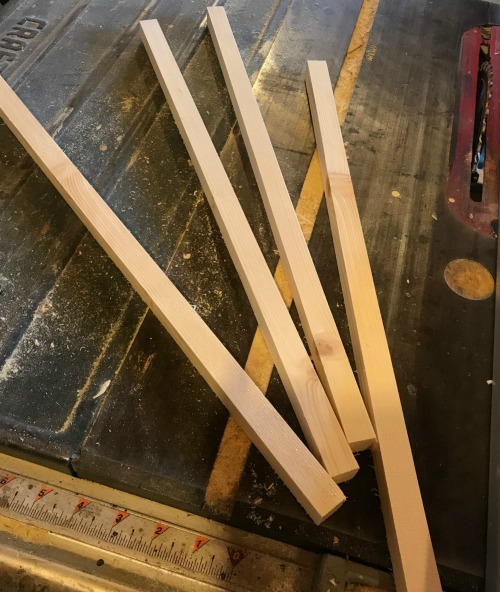
Using a table saw, I ripped down a scrap 1×6 board to pieces a few pieces ¾” wide. This gave me several square pieces to use to make the lantern. If you don’t have a table saw, you can use wider boards as well. There are no “rules” to this.
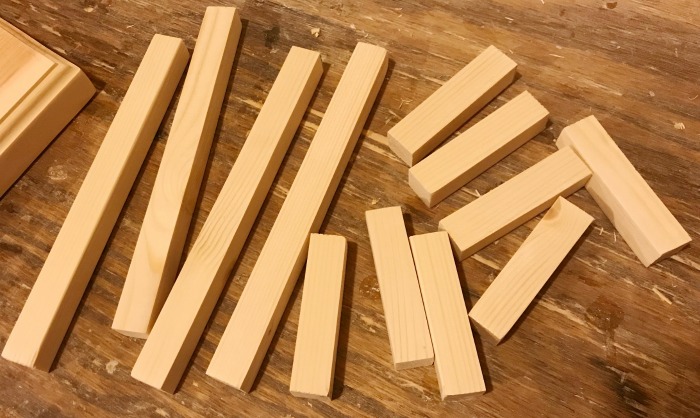
Then, using a miter saw, I trimmed down these ¾” square pieces to four 8” long pieces and eight 3” long pieces. If you don’t have enough, rip down some more ¾” wide strips.
Step 2: Assemble the Lantern
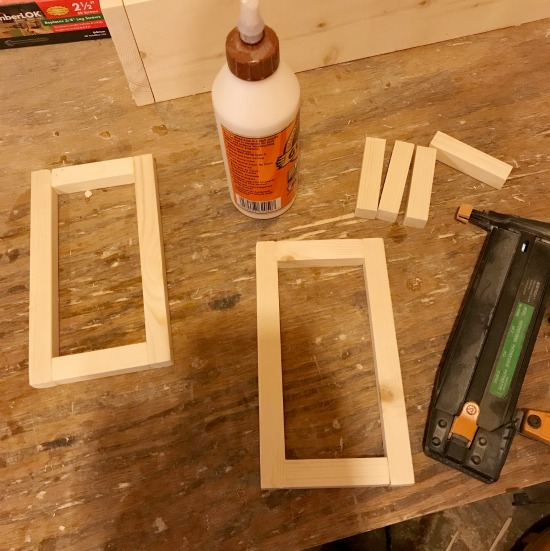
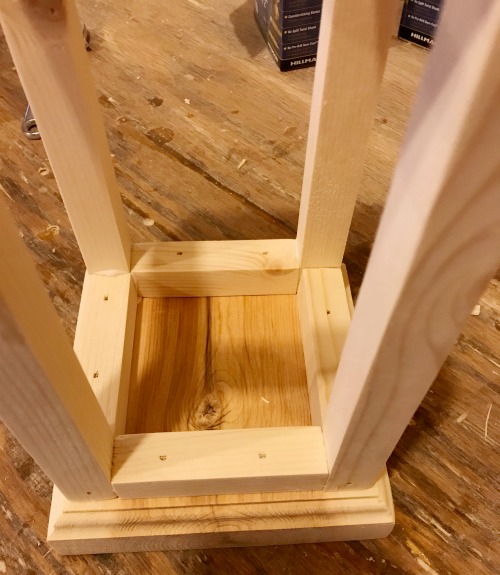
Using wood glue and a nail gun, I assembled two rectangle frames like shown.
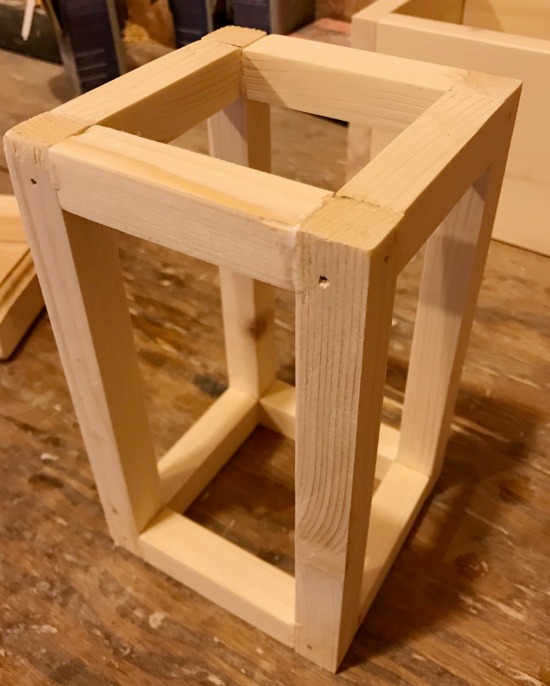
Then, I used wood glue and a nail gun to attach the remaining 3″ pieces between them to make a lantern.
For the top and bottom, I used scrap 1×6 and 2×6 boards. In hindsight, I should probably have used both 1x6s instead of the 2x on the bottom. But whatever works is fine. I just cut squares. So, since 1x6s and 2x6s are 5 ½″ wide, I cut my pieces 5 ½″ long to make 5 ½″ squares.
.
For some added detail, I used a Roman Ogee router bit from my new kit to go around the edges. Then just glued and nailed them on the top and bottom.
Oh, and I cut a piece off an old scrap spindle for the top as you can see below.
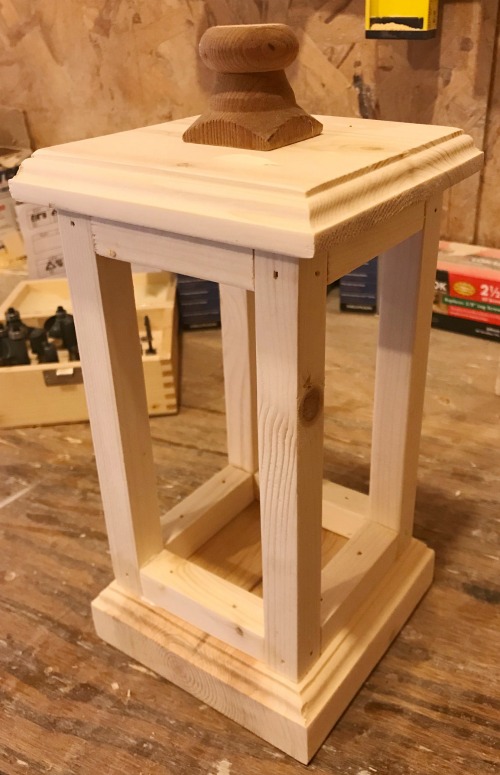
Now you have a lantern!!!
Step 3: Build the DIY Christmas Lantern Base
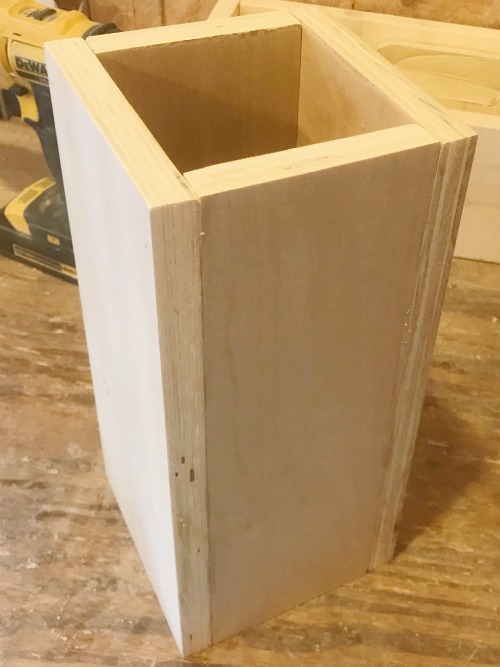
For the base, I used some scrap ¾″ plywood, but you could also use some 1x6s again. Basically, I just built a box like shown below that was 12″ tall and 5 ½″ square. So, cut 2 pieces 5 ½″ wide x 12″ tall and 2 pieces 4″ wide x 12″ tall and glue and nail together 🙂
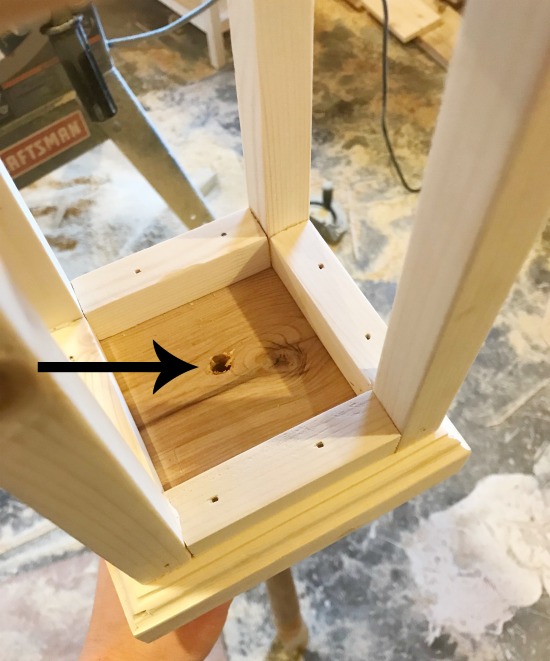
Then, I cut a scrap piece of 2×8 square. So it was 7 ¼″ x 7 ¼″. I also routed these edges, too. You don’t have to route anything, I just like the detail 🙂 Plus, I just got new router bits for my birthday so I want to use them on EVERYTHING!!! I just glued and screwed this base piece to the base box from the bottom side with 2 ½″ screws.
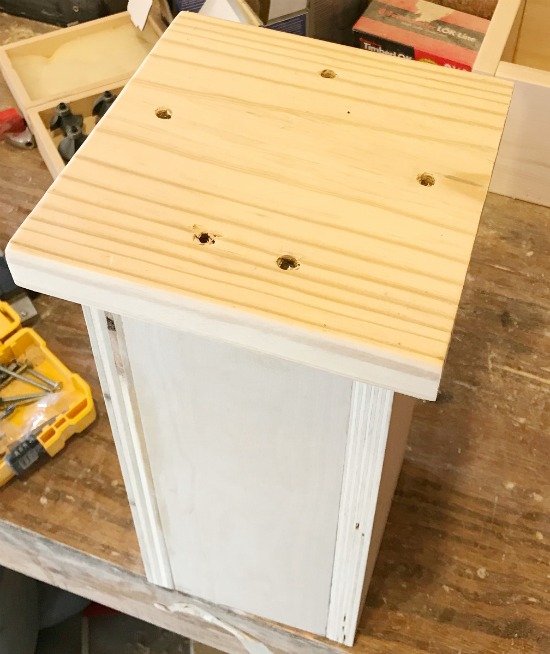
PS, ignore that extra hole…I missed the first time HA!
Step 4: Attach the DIY Christmas Lantern to the Base
My sister and brother in law just cleaned out their shed and found a bunch of random wood (and possibly some critters…but that’s neither here nor there…). They gave me some old spindles that worked PERFECT for this.
.
If you don’t have an old spindle lying around, they aren’t expensive at the big box store, or you could also check around some thrift or junk stores as people are re purposing them a lot lately! Either way, get yourself a spindle!
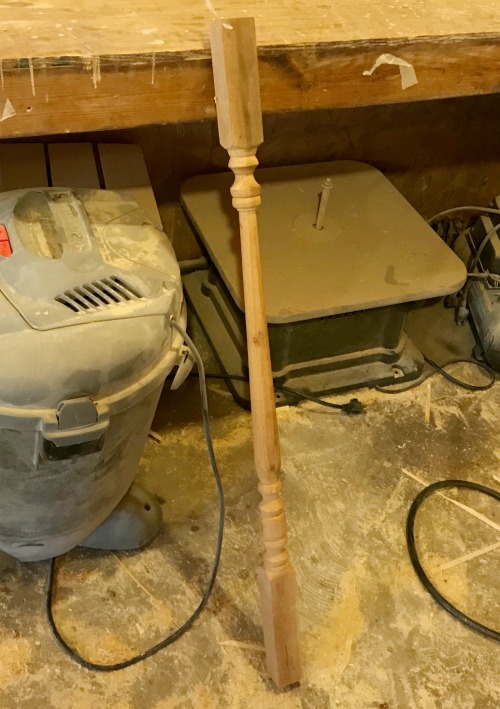
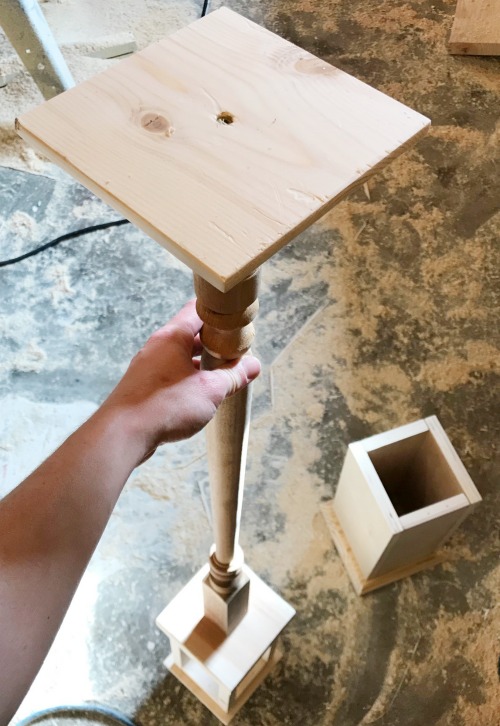
I trimmed off one flat end of mine (totally up to you). Then, I screwed my lantern into the top using a 2 ½″ wood screw.
For the bottom, I cut one more piece of 1×6 to make another 5 ½″ square and routed the edges. Then, I screwed this into the other end of the spindle.
Finally, I glued and nailed the spindle part to the base box like shown. (ps I know my terminology here is terrible!)
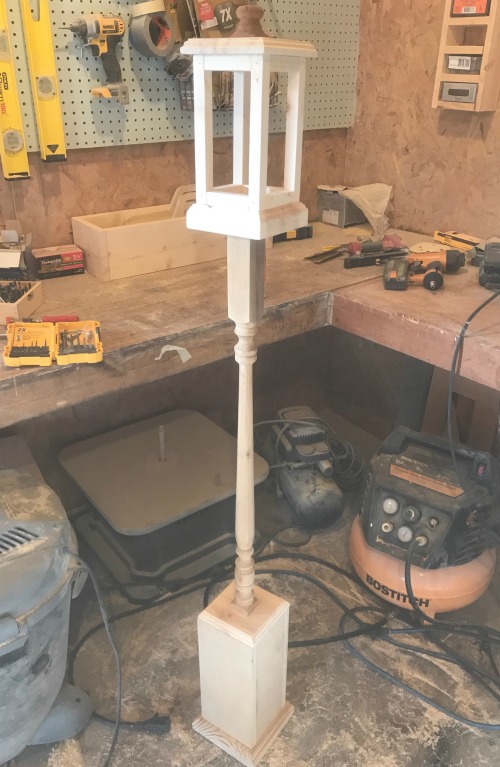
Step 5: Putty and Finish the DIY Christmas Lantern Post
Putty the nail holes and sand smooth. Then paint as desired. Also, if you wanted, you could add a little sign with your leftover ¾″ square pieces and some plywood.
.
I just screwed two ¾″ pieces together to make an L shape, then screwed it to the top of the spindle. Much like I did with my DIY Christmas Truck, I designed a picture in PicMonkey, printed it and modge podged it onto a piece of scrap plywood. I nailed on a 1×2 frame and used eye hooks and cup screws to attach it to the post.

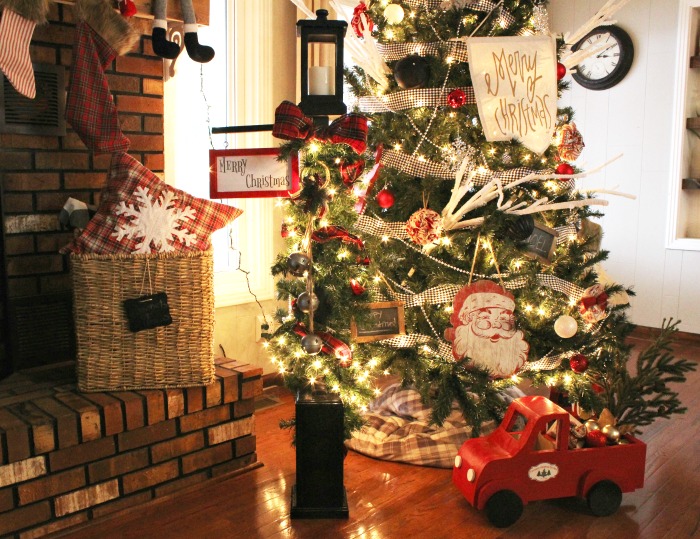
You can add a little battery powered candle and some garland and lights and look how festive you are!! 😉
If you like the little truck, you can find the tutorial for it here. And that snowflake pillow tutorial is here, too! If you like pillow covers, also check out my very popular DIY Grinch Pillow tutorial here.

If you want some more Christmas inspiration, check out my Paper Sack Christmas Decor, 5 minute Christmas wreath, easy swags, and Christmas home tour.
.
I’d also love it if you’d pin this for later!
Be sure to check out the other 12 Days of a DIY Christmas projects below:
Her Tool Belt Sleigh Rides Sign
The Kim Six Fix Scrap 2×4 Trees and Santas
Anika’s DIY Life Picture Frames
The Handyman’s Daughter Christmas Tree Yard Decoration
The Painted Key Christmas Moose
My Love 2 Create Wooden Reindeer Puzzle
Hazel & Gold Designs Decorative Ladder
Uncookie Cutter Modern Christmas Sign
Until next time, happy building!! 🙂


Maureen says
Shara,
Hey, how tall did this get when you were finished? You are amazing!
Maureen
Shara, Woodshop Diaries says
Thank you! It was pretty tall. These were gifts to my family, so I don’t have one to measure, but I THINK it was about 30″ tall at the end.
Shirley says
Shara Shara Shara……you have absolutely no idea how envious I am of you! Unfortunately, in a few weeks I will be 64 years old and believe me, life has taken its toll on me. I started woodworking when I was in my mid 40’s and I loved every stinking minute of being in my garage creating whatever my little heart desired. I am good at it just like you. I loved not only what I did but wanted to know everything I could about the different woods and I adore the smell of it as well. I was doing well and starting to get clients and things were going good. Then I got hit with 2 knee replacements, which I knew wouldn’t slow me down…but then I got fibromyalgia and my whole life changed. I wasn’t able to do the things I loved anymore and would promise someone I would build this or that and I would end up in tears just to get through each project. I finally had to quit. I’m not a quitter though! I found small projects to keep me busy but soon that too was becoming impossible. So I turned to sewing again, something I always had a love for too. Well needless to say, I had to completely stop everything I was doing, everything, including cooking, cleaning, grocery shopping and keeping up with everyday anything. I sort of became a recluse. I would only go out where I was invited but had to have the help of my husband to get me through it. Then one day I decided I was going to do something…anything at all that I could do to get me going again. I started with a senior exercise program…now let me tell you, I am no senior and I can conquer the world, I’m strong and fearless! I had to tell myself that, every single day, to get through the days. I would cry through whatever it was I was doing because believe me, it hurt and it hurt a lot. But I pushed and pushed and pushed until I started…well…getting better and better each day. I’ll never be the same as I was before but at least now I can get things done again! I am doing everything I did before. The only difference is that I have to take things at a much slower pace, much slower! Where a project for you might take an hour or two, it now takes me a day or two. I’m getting there though and that’s all that counts. One of the things that keeps me going is you..you totally inspire me with everything you do and I feel like it’s getting me back on track. So even though it is unbeknownst to you…I want to thank you from the bottom of my heart for all the inspiration
You have given me!
So thank you and
Merry Christmas!
Shirley
Shara, Woodshop Diaries says
Oh friend, you made my day when I read this 🙂 You are so sweet and I truly appreciate your sweet comments. You may think that I inspire you, but you have inspired me. What a testament to your determination and your strength that despite the pain and the trials, you still push forward to get back to doing what you love! You truly are a strong and fearless woman and I love that you have shared your story with me. I hope that I can continue to inspire you and that you will continue doing what you love! Hope you had a very Merry Christmas and a Happy New Year!
Kim says
This is adorable. Would look super cute on the front porch as well.. so many places I could use it!
Shara, Woodshop Diaries says
Thank you!! Next year I will make another one and put on each side of my front door!
April R - Uncookie Cutter says
I love it! What a beautiful way to really up your decor!
Shara, Woodshop Diaries says
Thank you so much!