I know this is crazy, but one of my favorite projects I’ve ever done was this super simple scrap wood leaf sign. So, for the upcoming Christmas season, I wanted to make something similar to decorate with…and to get rid of my scrap wood pile with. So, I made some of these cute, simple scrap wood DIY Christmas ornament signs.
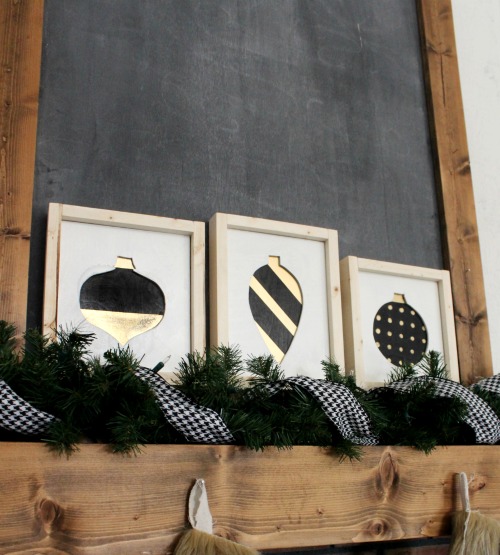
I am loving the black, white, and gold Christmas decor trend this year so that’s the color scheme I went with, but you could easily customize them by using different colors.
.
And, if you aren’t a big fan of the ornament shapes, you could do pretty much any shape you want. I actually started out doing a Christmas tree shape (as you will see), then changed my mind and decided on ornaments instead. PS…If you know me at all, you know I’m super indecisive haha.
.
So, grab your scraps, and a few simple tools and let’s get these signs made 🙂
.
This post contains affiliate links for your convenience. Please see disclosure policy for details.
.
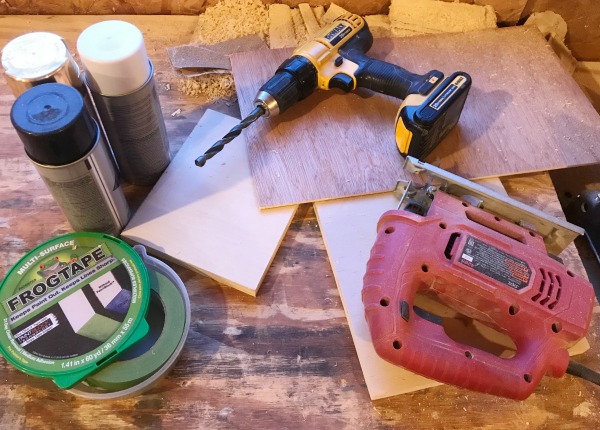
For these DIY Christmas Ornament Signs, you will need:
Scrap ¾″ plywood
Scrap ¼″ plywood
1×2 scraps (for frame)
Shape Templates (see step 1)
Drill and large bit
Nail Gun (optional, but helpful)
Spray paint
Clamps
Measuring Tape
Step 1: Find Templates for DIY Christmas Signs
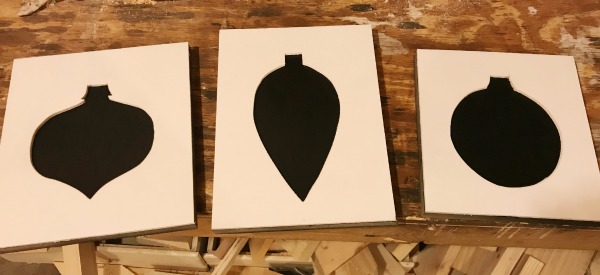
As I said before, you can choose whatever shape you want. I went with three different style ornaments. You can do a quick Google search and find some shapes you like. Copy and paste into a Word document to size however large you want, then print and cut them out.
.
As you can see, I started out with a Christmas tree, then changed my mind and went with modern shaped ornaments.
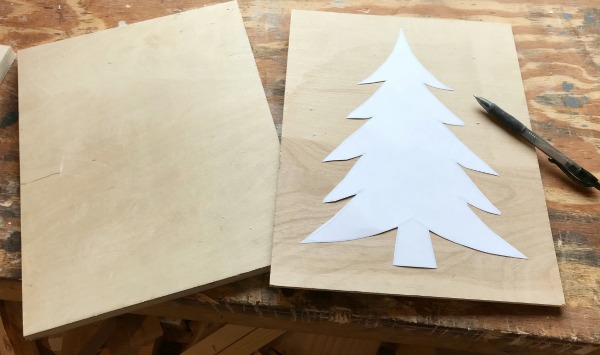
Step 2: Cut Scrap Plywood to size
Just like with my fall leaf sign, I grabbed a couple pieces of ¾″ plywood and ¼″ plywood. I made each sign a different size, but however large or small you make them, you will need one ¾″ piece and one ¼″ piece cut exactly the same size for EACH sign. See image above.
Step 3: Cut Out and Paint Ornament Shapes
Trace your template shape(s) onto your ¼″ plywood piece(s). Using a drill and large bit, drill a hole in the middle of your shape.
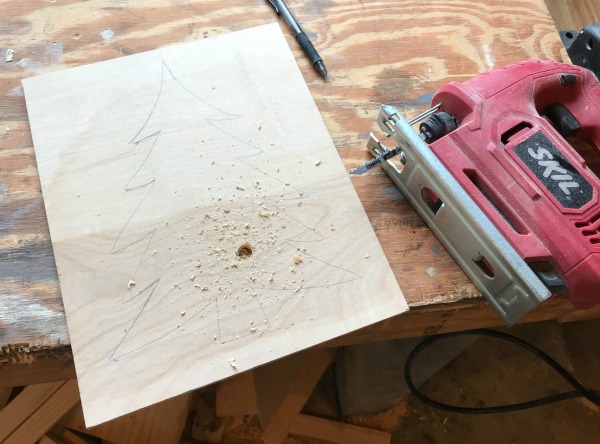
Then, use a jig saw and start your blade in this hole. Cut out your shape(s). I spray painted mine before I took the picture. I painted the ¾″ plywood pieces black and the cut outs white. You can make them whatever color you want 🙂
Step 4: Paint on Your Design
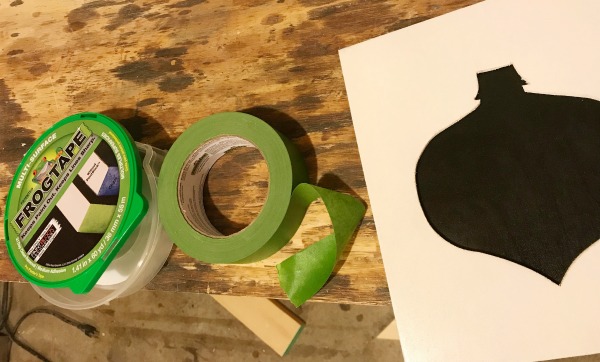
For this part, I used Frog Tape to add a little more detail to my signs. I wanted some gold touches, so I taped off where I wanted to leave black. I left my ornament cut out sitting on the background while I placed the tape, then removed it and stuck down the ends.
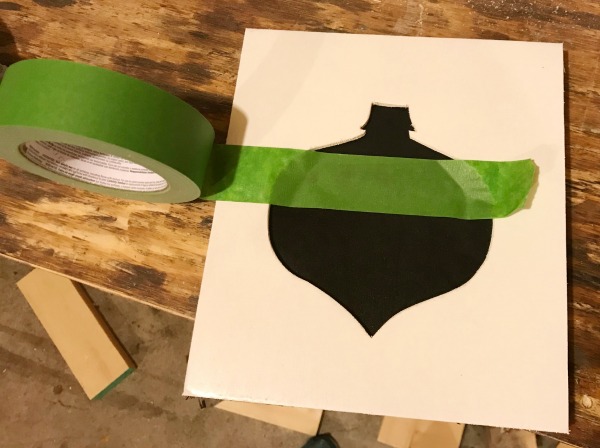
Place your cut out back on to make sure your tape is where you want it.
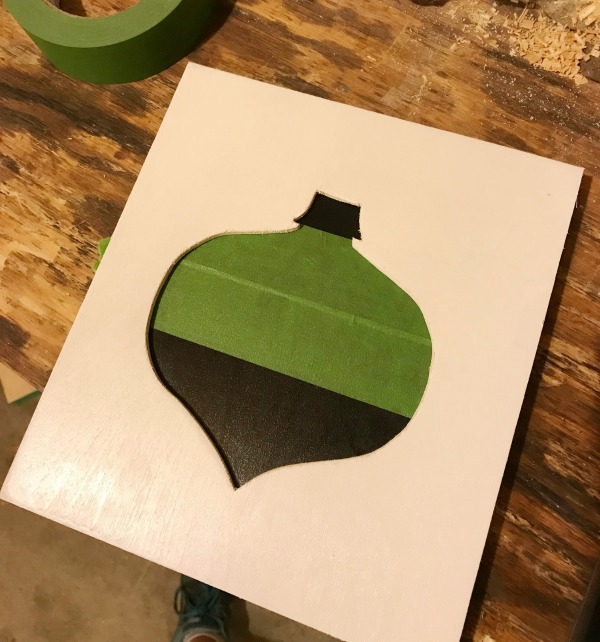
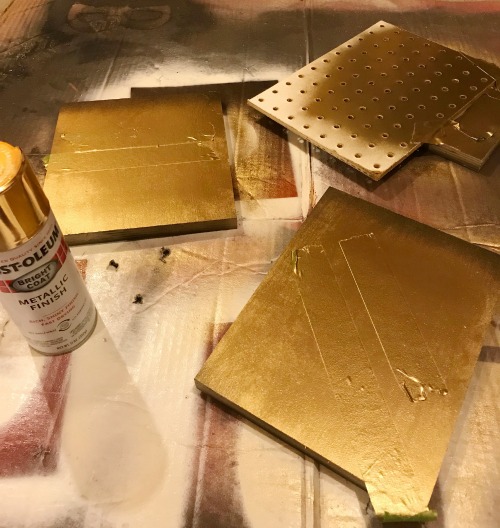
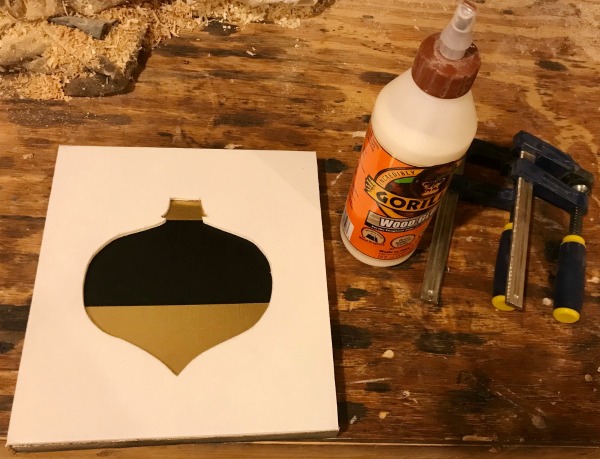
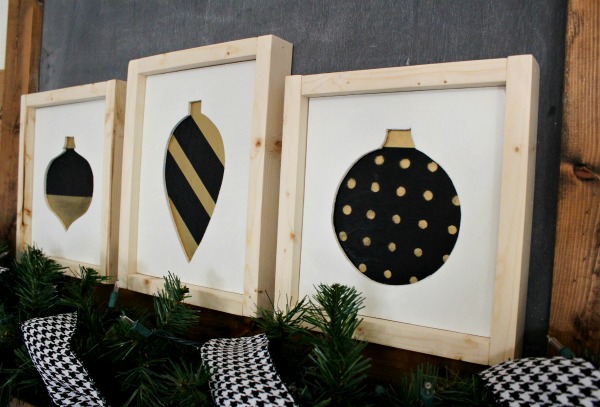
Then remove the cut out and spray paint the background piece(s) gold. For one of mine, I did diagonal stripes, one I did a “gold dipped” design, and the other, I did polka dots using a scrap piece of pegboard.

Step 5: Glue DIY Christmas Ornament Signs Together
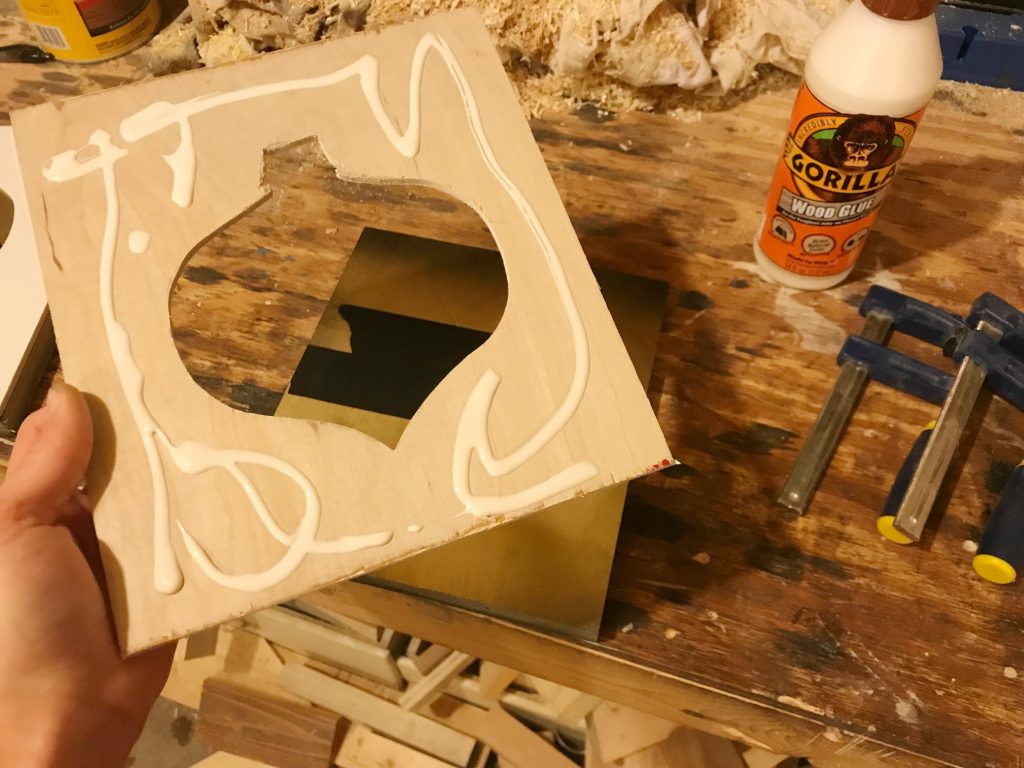
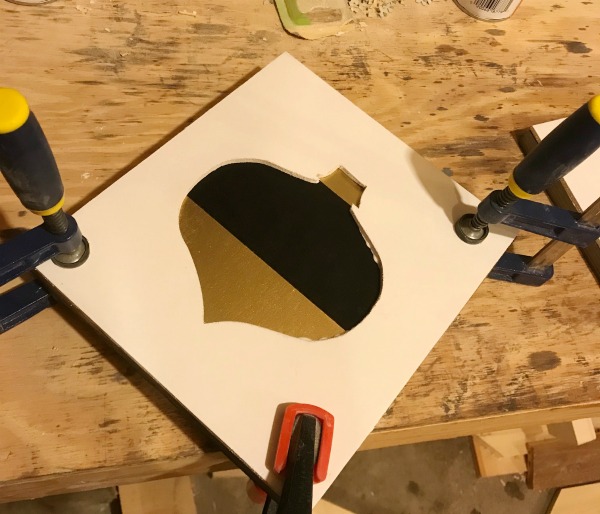
Remove the tape once the paint is dry, then glue the cut out pieces to the back pieces using wood glue. Clamp to hold in place.
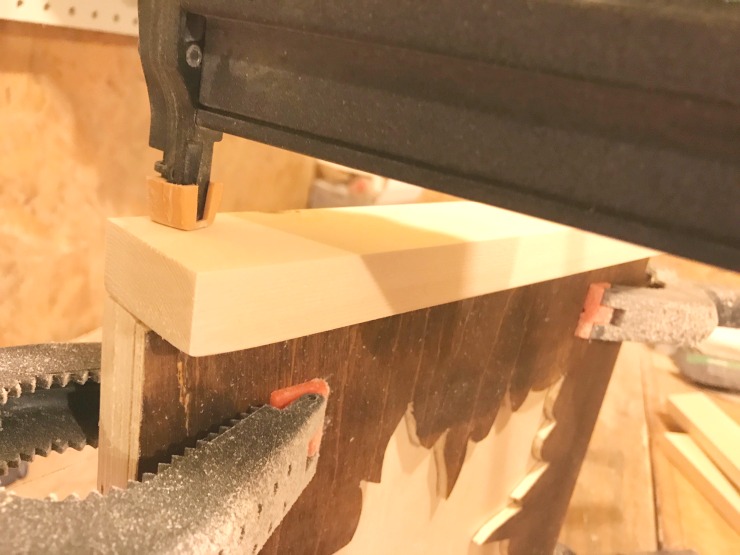
Step 6: Add a Frame
Cut pieces of 1×2 scraps to fit around the edges of the sign once the glue is dry. You can paint or stain, but I left mine natural. Use wood glue and clamps OR a nail gun to attach these pieces around the edge, just like with the leaf sign (shown below).
Now, you have some super cute, super easy modern Christmas ornament (or whatever shape you chose) signs!
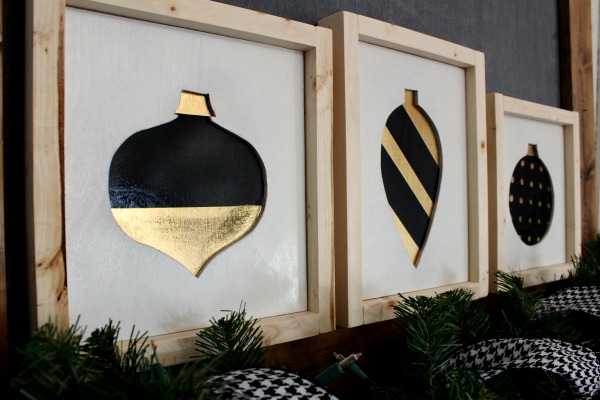
I love the Scandinavian Christmas feel this black, white, gold and natural wood gives. This year I was really feeling the more simple style 🙂
.
So, if you need something cute to do with your scrap wood pile, hurry up and get building before the season is over! Pin this for later so you don’t forget 😉

If you want some more Christmas inspiration, check these fun projects out!
DIY Wood Christmas Truck and Trailer Stocking Hanger Box
DIY Christmas Lantern Post (coming soon)
.
Until next time, happy building 🙂