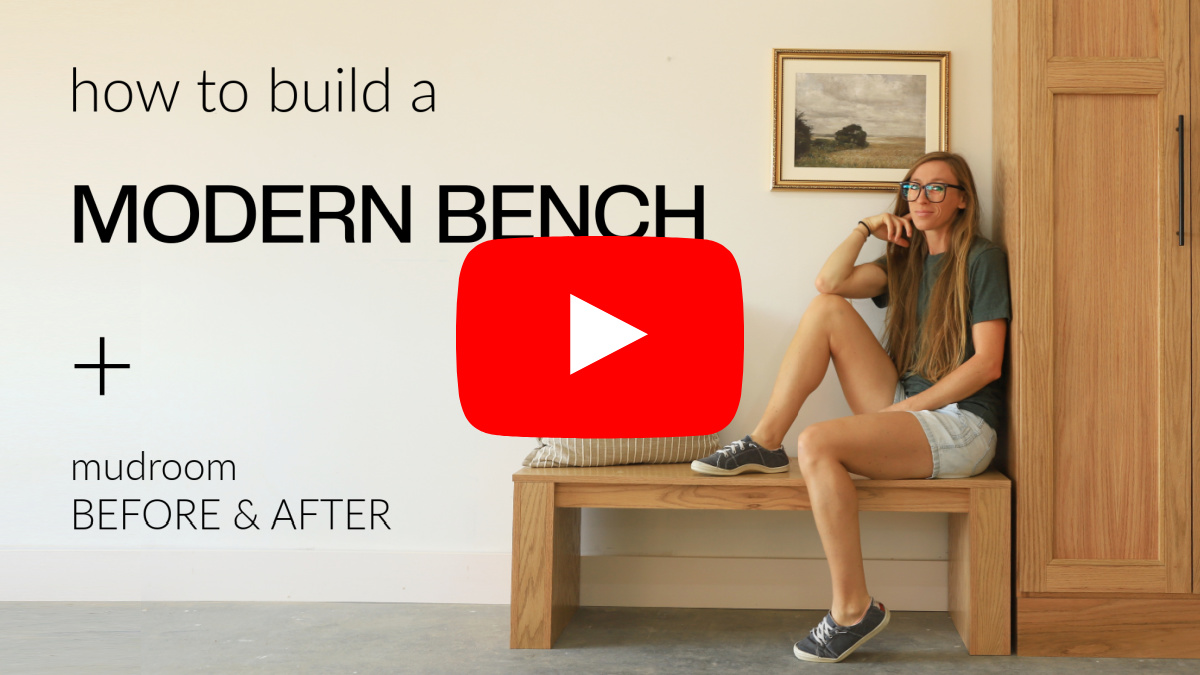
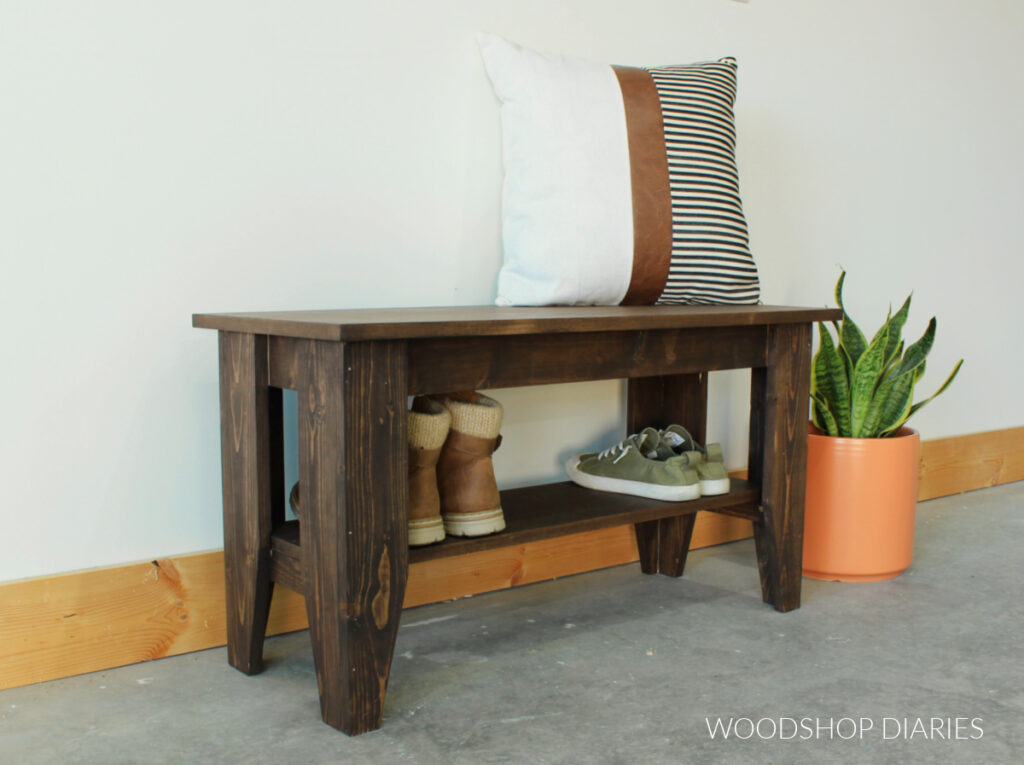
In this post, I’m sharing how to build a chunky style modern bench that’s perfect for the entryway!
This simple bench is easy to build with basic tools and materials and the thick ends give it character without being “too much.”

I added it to my new entryway, but it would also work great at the foot of the bed.
One thing I love about freestanding benches is that you can easily move them around and style them in different spaces.
I’ll show you how easy it is to build in the steps, plans, and video below.
*This post contains affiliate links. See website policies.
What to consider before building
This is a great beginner woodworking project as it doesn’t require a lot of tools or materials to build. Assembly is simple, quick, and straightforward.
It can be built in an afternoon from just a ½ sheet of plywood and a couple of boards.
Overall dimensions
The overall dimensions of this chunky bench are approximately 15 ⅞″ deep x 16 ⅝″ tall x 48″ wide.
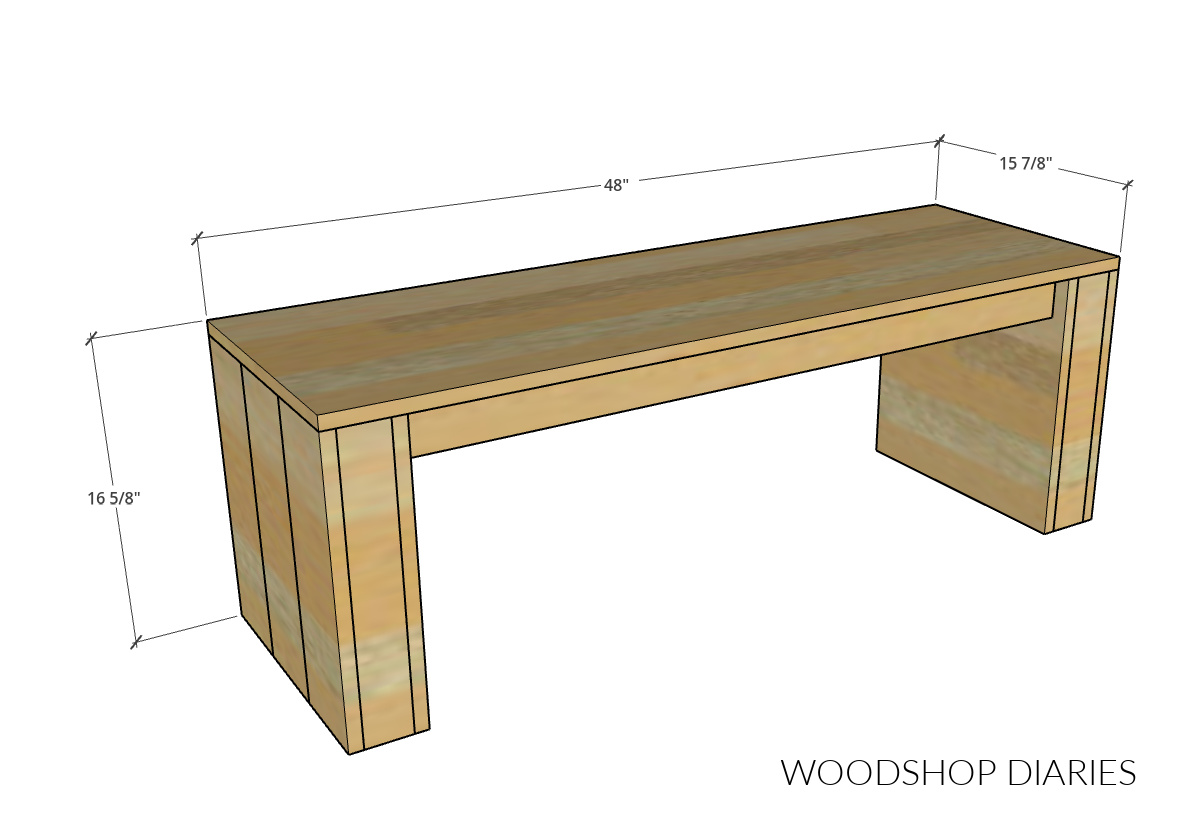
You can modify the size bigger or smaller to fit your space, but I wouldn’t recommend going too much wider without using thicker/wider piece (like a 2×4) for the seat support . OR adding an additional support in the middle to prevent sagging .
Alternative Assembly Options
The “chunky” ends of the bench are glued up hollow boxes.
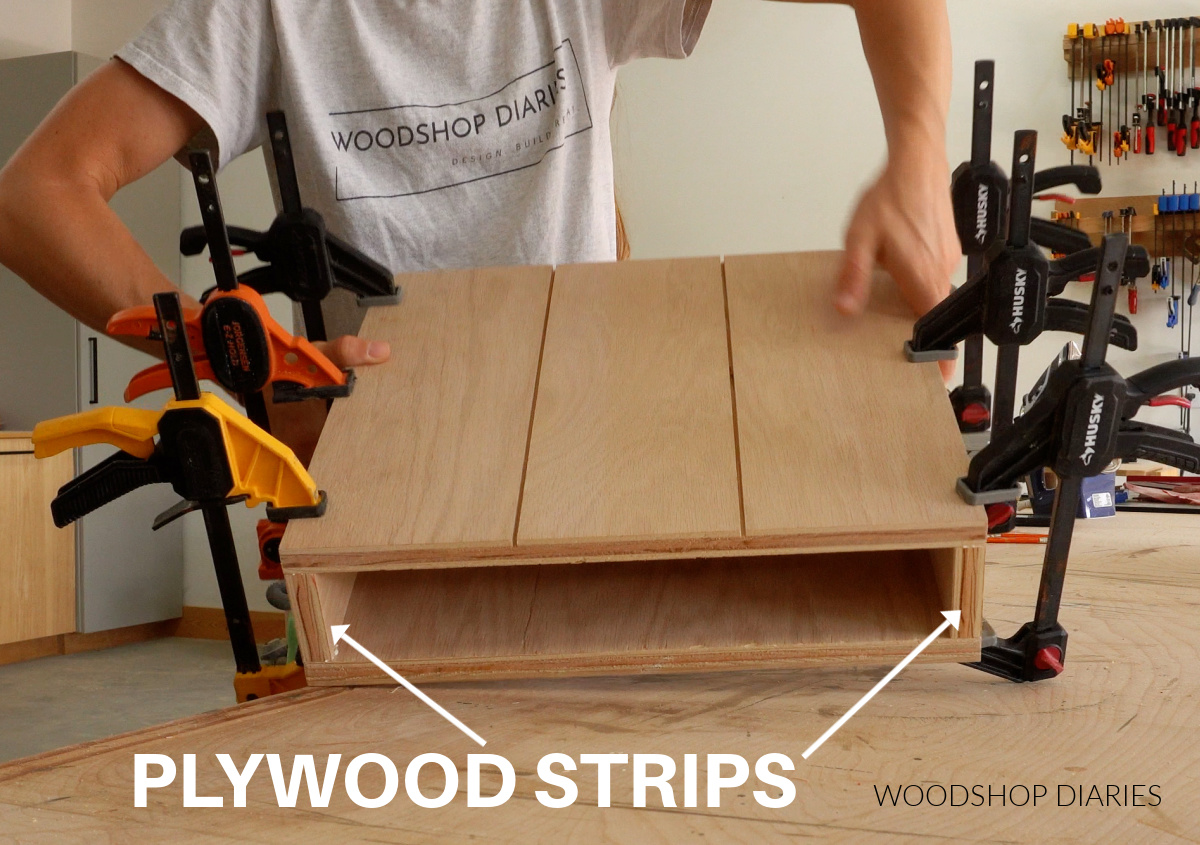
In the video linked below, I used ¾″ plywood strips for the front and back pieces of these boxes. In hindsight, I wish I’d chosen to use solid wood for these parts, instead. So that is what I’m showing in the plans.
I feel like the grain pattern of the solid pieces would match the edge banding a little better.
If you wanted, you could also cut these larger pieces slightly narrower and glue solid boards over the front and back instead of placing them between the panels. As long as the ends are hollow boxes, you can assemble them multiple ways that would work fine.
You may find these resources helpful throughout the build:
Want to be the first to know about new projects and plans? Subscribe to the newsletter for priority access!
How to Build a Modern Bench
If you prefer to watch, I’ve shared the full build video with tons of tips, behind the scenes, and additional details on my YouTube Channel here.
Love watching how-to videos? Subscribe to my YouTube channel for plenty more where that came from!
Prefer to print? Grab the printable modern bench building plans here:
Tools & Materials
Tools:
- Circular Saw
- Cutting Guides (Kreg Rip Cut and AccuCut–optional)
- Miter Saw
- Drill/Driver
- Pocket Hole Jig
Materials:
- (1) 4’x4′ sheet ¾” plywood (½ sheet)
- (2) 1x3x8 boards
- (1) 100 count box 1 ¼” Pocket Hole Screws
- Wood Glue
- Edge banding (optional, but recommended)
Not sure what type of lumber to use for this project?
1x LUMBER: If painting, preprimed pine, spruce, or poplar are great budget friendly options. And if staining, usually, you want to use the same wood type as your plywood so that they match once stained. Check out this post to learn how to shop for and purchase lumber for your project.
PLYWOOD: I recommend using cabinet grade hardwood plywood (like birch, maple, oak, etc). Check out this post to learn how to choose the right plywood for your project.
I used red oak lumber to build the bench shown.
Step 1: Cut Bench End Panels
This project is made mostly from ¾″ plywood, so first, I trimmed my half sheet into a top and four squares. You can find the full cut list and cut diagrams in the printable plans.
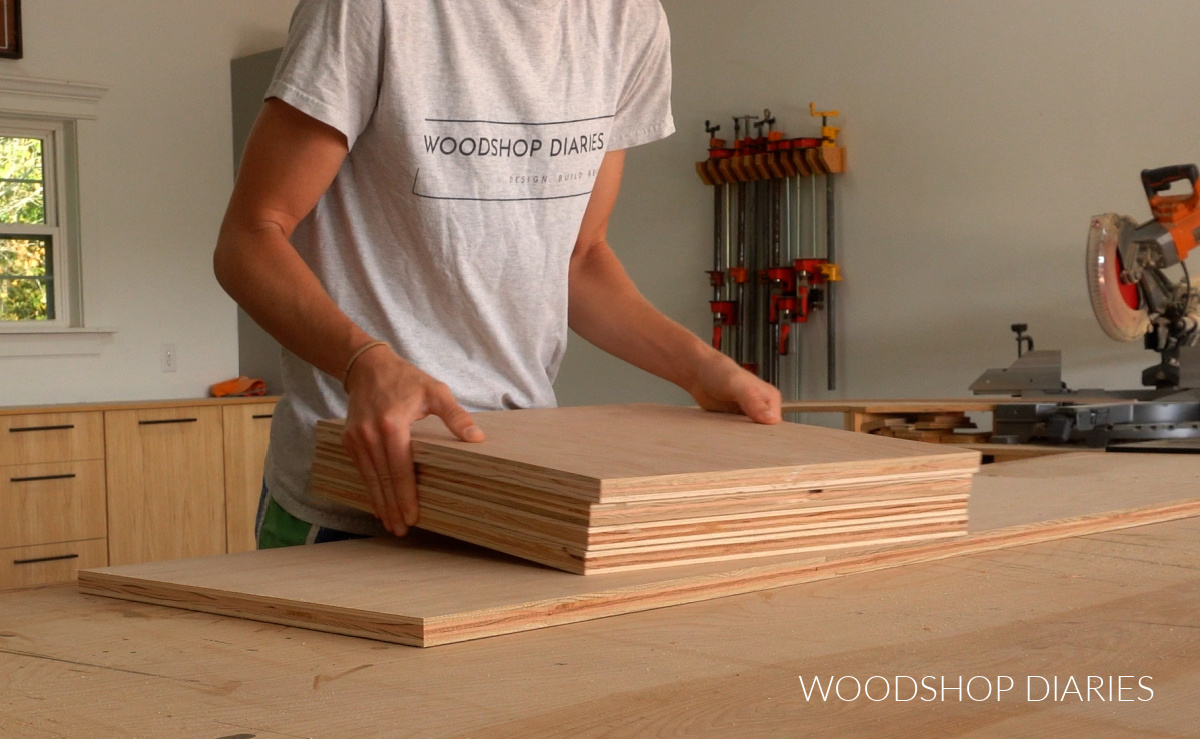
I set the top aside for now, but kept the squares on hand.
These plywood squares will make the “chunky” ends of the bench, and the front and back edges will be exposed in the finished project.
So I applied iron on edge banding to the two opposite edges running parallel to the wood grain on all four squares.
RELATED: How to apply iron on edge banding
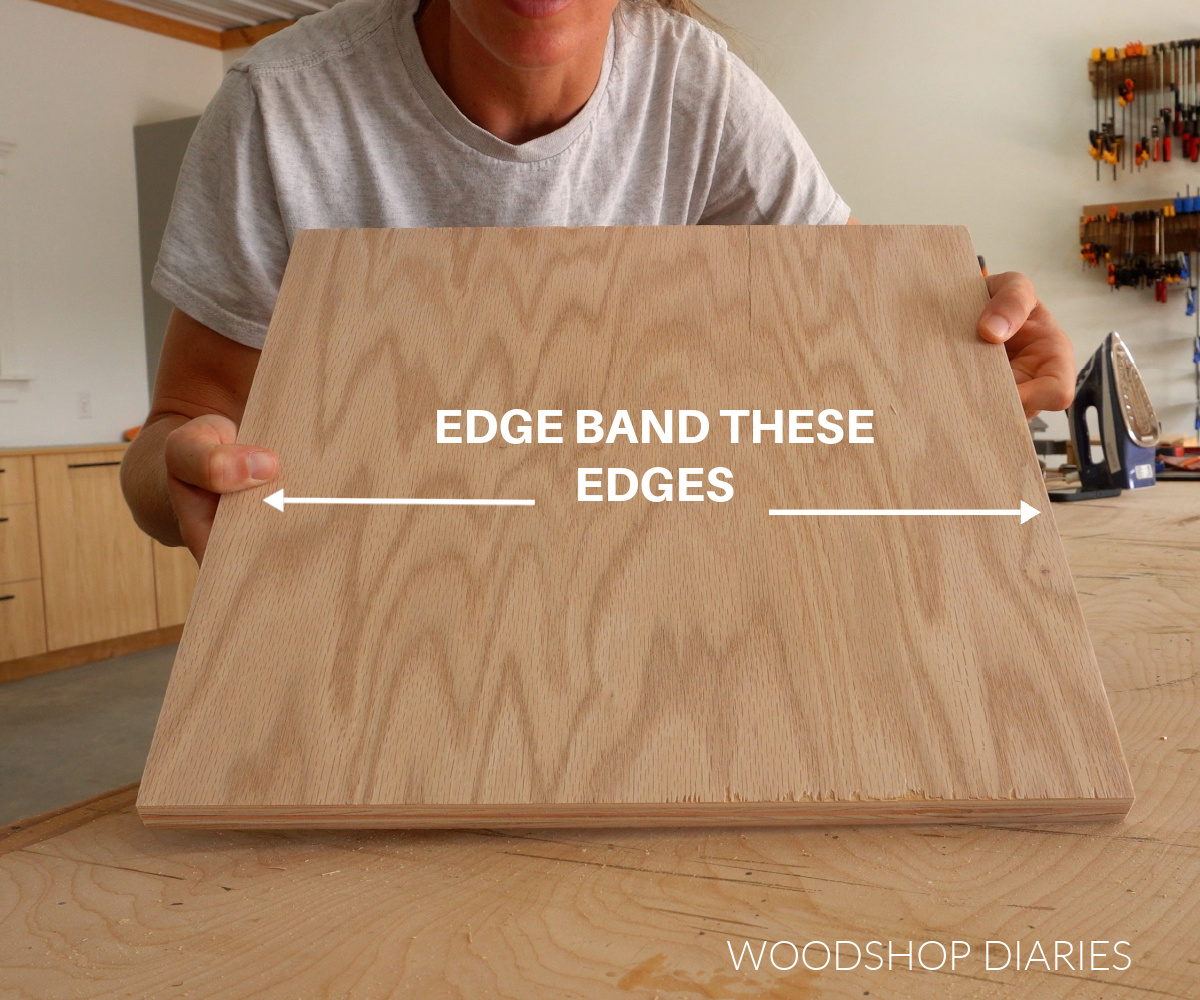
This part is totally optional, but it adds some fun character and detail and only takes a minute.
I looked my squares over and chose my two favorite sides (each panel obviously has two sides, so I picked ONE side from TWO panels that I liked the most).
I set my table saw height to about ¼″ and ran my pieces through to cut two kerfs equally spaced on these two sides.
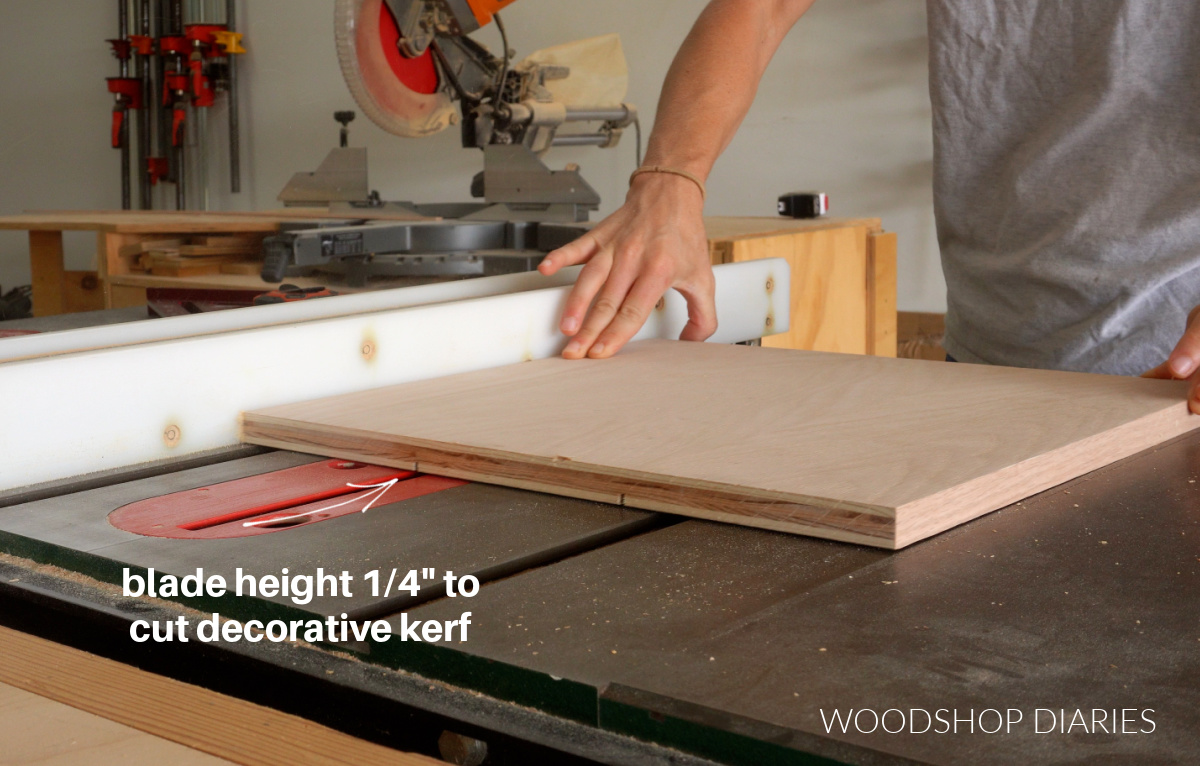
If you don’t have a table saw, you can do this with a circ saw and a straight edge instead. Just keep the blade height about ¼″ deep.
This gives the illusion that the panels are glued up planks vs a solid piece.
Step 2: Assemble Bench End “Boxes”
Once my four square panels were cut, I cut a strip of ¾″ plywood to 2 ½″ wide to glue between them to make boxes.
In hindsight, I wish I’d used a solid 1×3 here vs a plywood strip. This worked fine, but I think the grain pattern on a solid piece would have blended at the joints a little better.
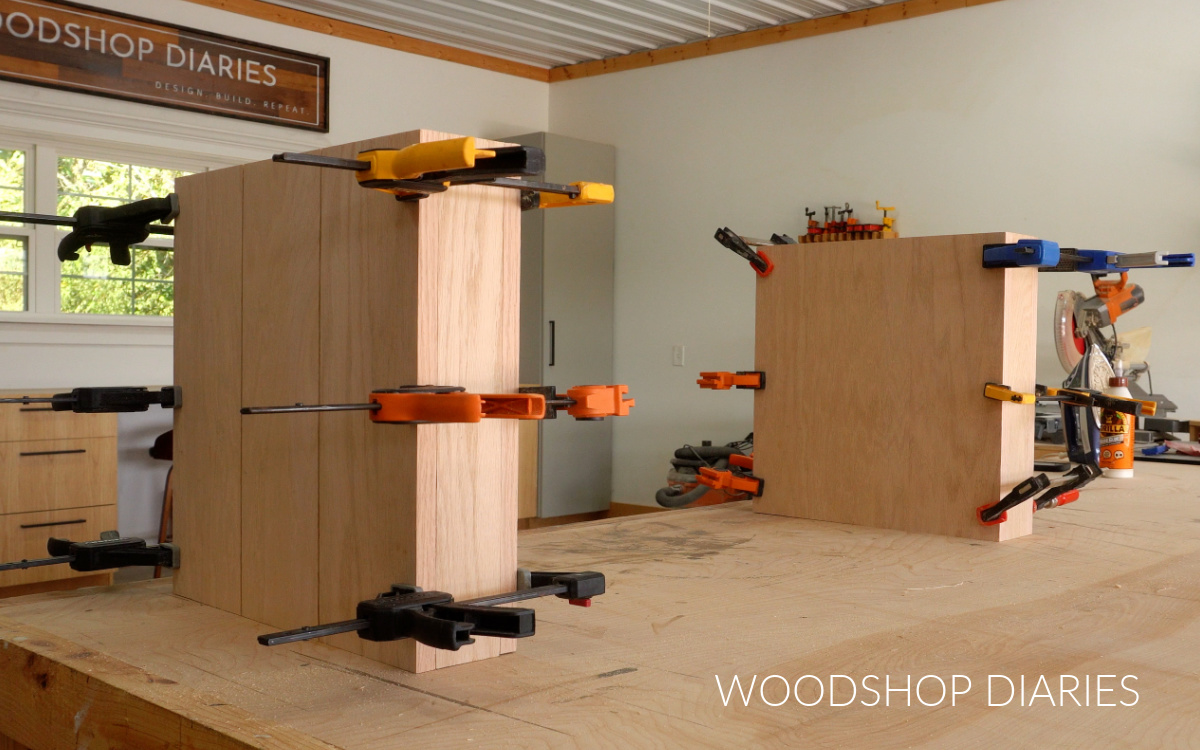
I cut four pieces from this strip and glued two between two panels to make a hollow box. Then I repeated to make a second just like it.
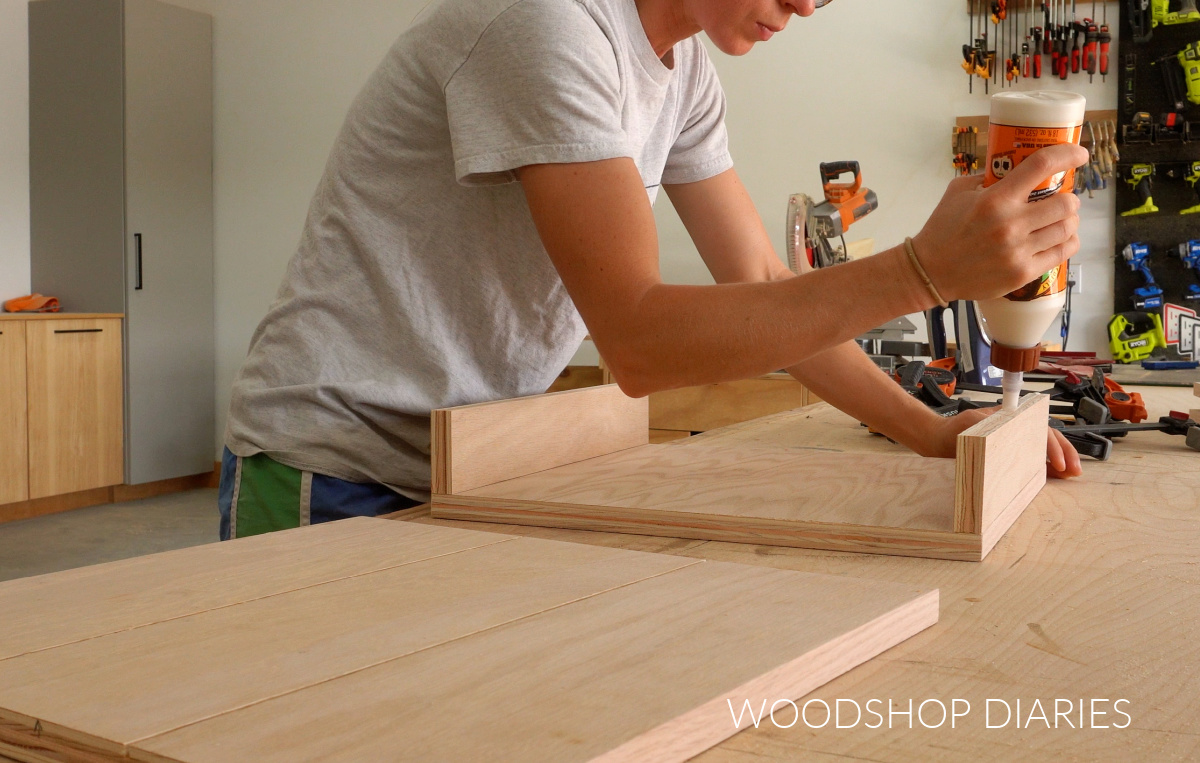
These boxes will be the bench “legs.” I carefully clamped both sides so the edges are flush and wiped away any glue squeeze out.
I was careful to put one kerfed panel on each box and faced the kerfs to the outside. These pieces will be the very ends of the bench and the most visible.
Prefer to print? Grab the printable chunky bench building plans here.
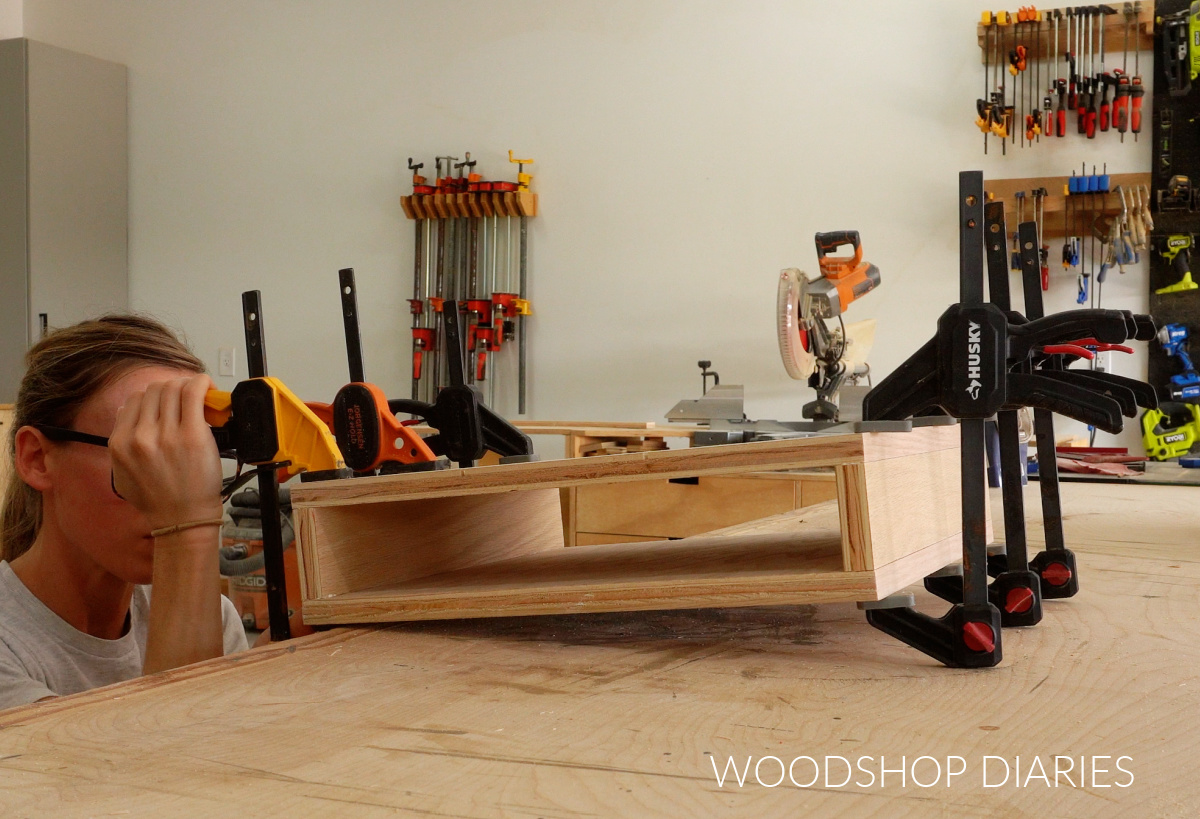
Step 3: Install Seat Supports
After the glue dried on my “bench boxes” (haha–I’m not sure what to call them!), I cut two pieces of 1×3 to attach between them for the seat supports.
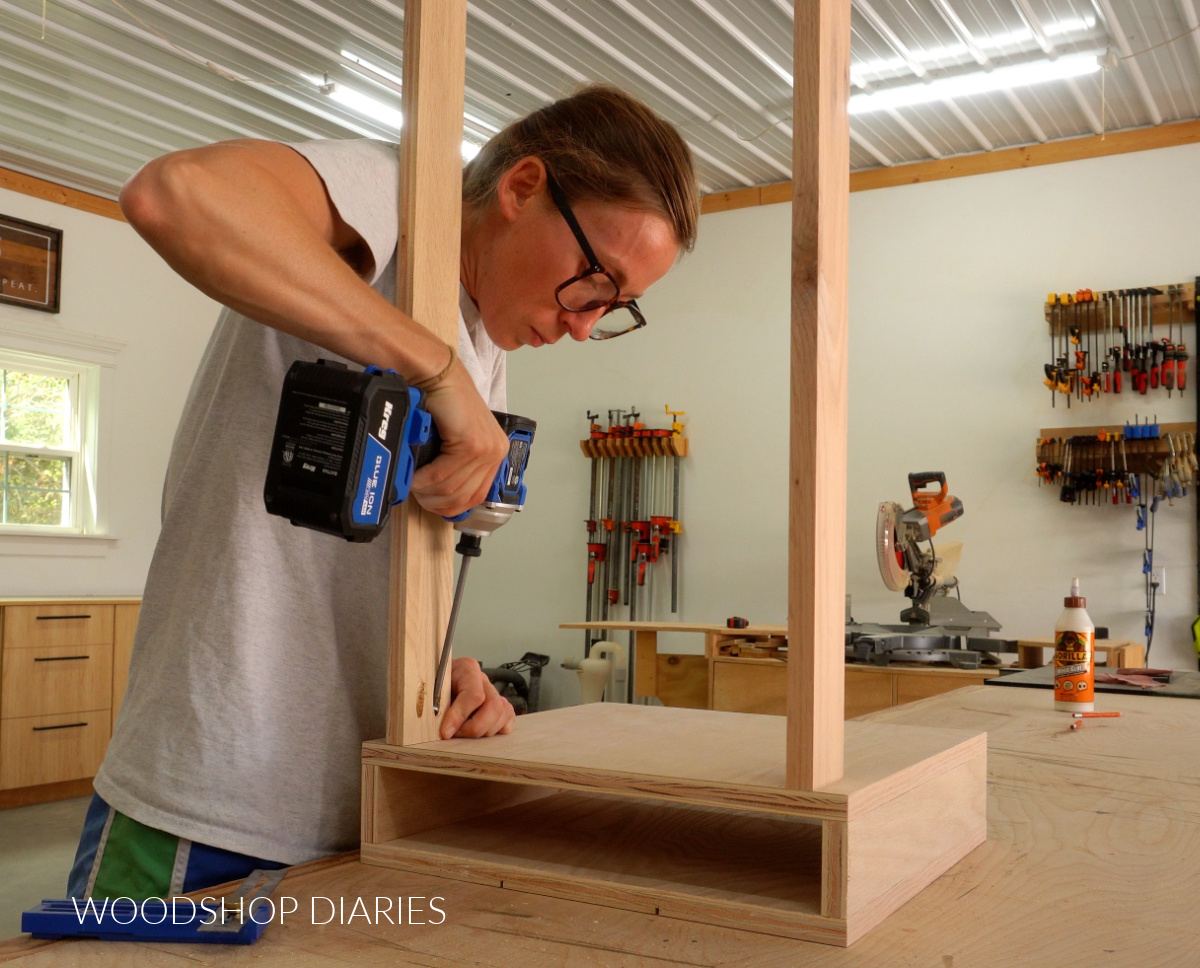
I installed one at the front and one at the back using pocket holes and screws. To give it some dimension, I inset these about 1″ from the outside edge of the boxes, but you could install them flush if you wanted.
RELATED: How to use pocket holes and screws
Step 4: Attach Bench Top
I cut the top panel and set it aside in step 1, so I pulled that back out and applied edge banding to all sides. Edge banding is always optional, but it makes the piece look like solid wood and hides the plies, so it looks a bit nicer.
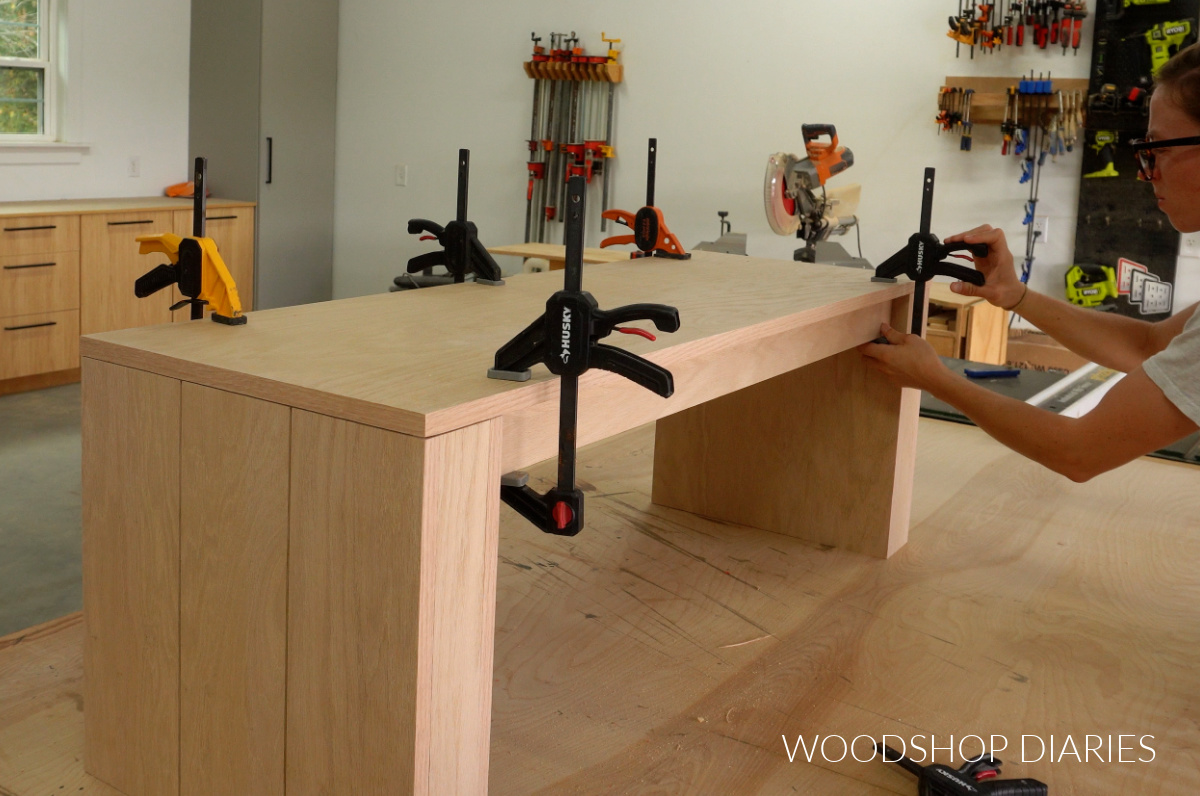
Then, I applied a bead of wood glue along the top of the entire bench base.
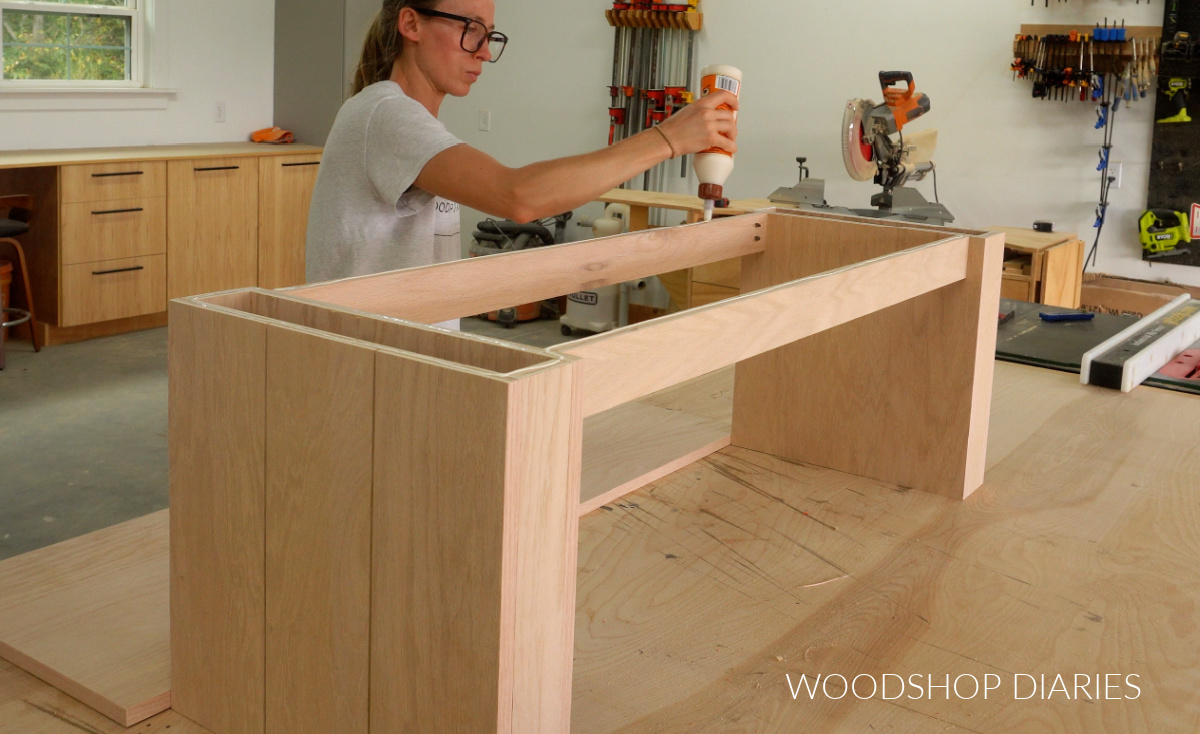
I carefully placed the top into the base and made sure it was centered and flush, then clamped it while the glue dried.
If you wanted, you could also use figure 8 fasteners, z clips, or add some corner brackets on the inside of the seat supports to attach them to the top.
But, glue alone should hold fine without additional fasteners.
Step 5: Finish
Once the glue dried on the top, I stained the bench with Minwax Weathered Oak (it’s my favorite wood stain on red oak lumber), then applied three coats of Minwax Polycrylic to seal it.
RELATED: How to stain wood
And with that, this simple chunky style bench is finished!
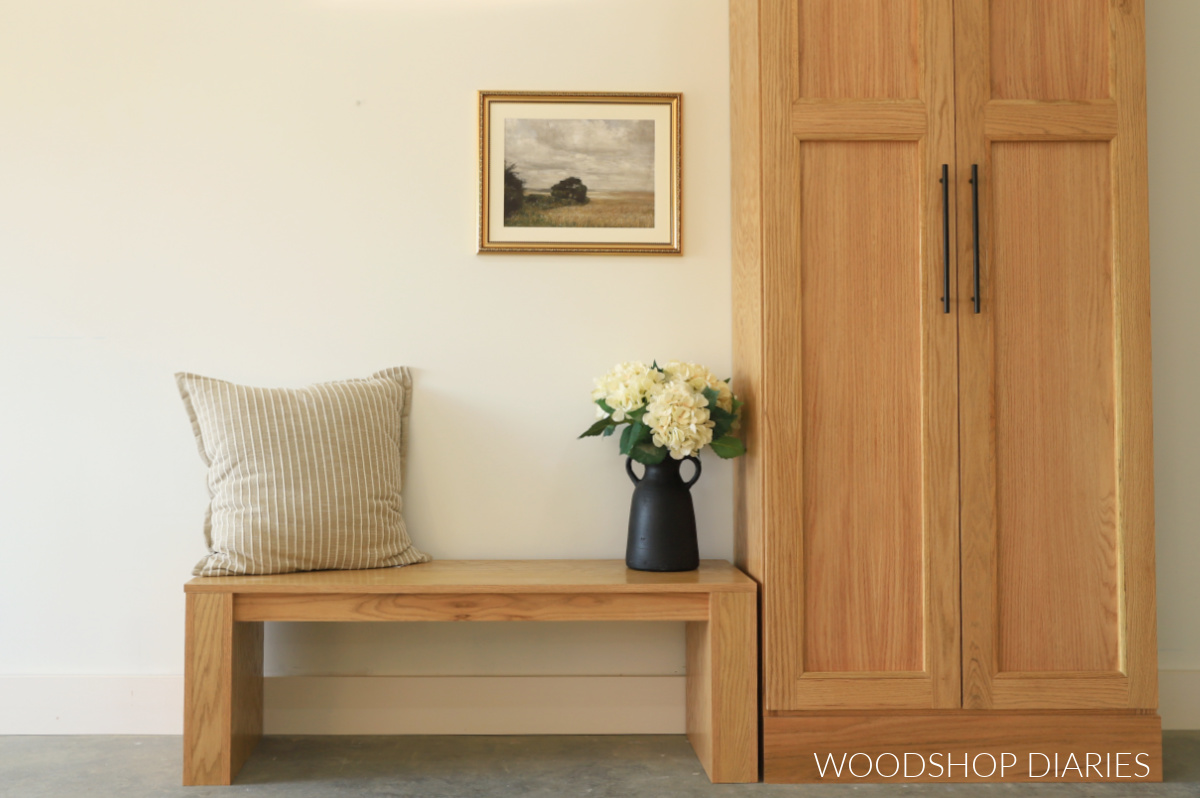
I’m using it in my entryway, next to the DIY coat cabinet I shared recently.
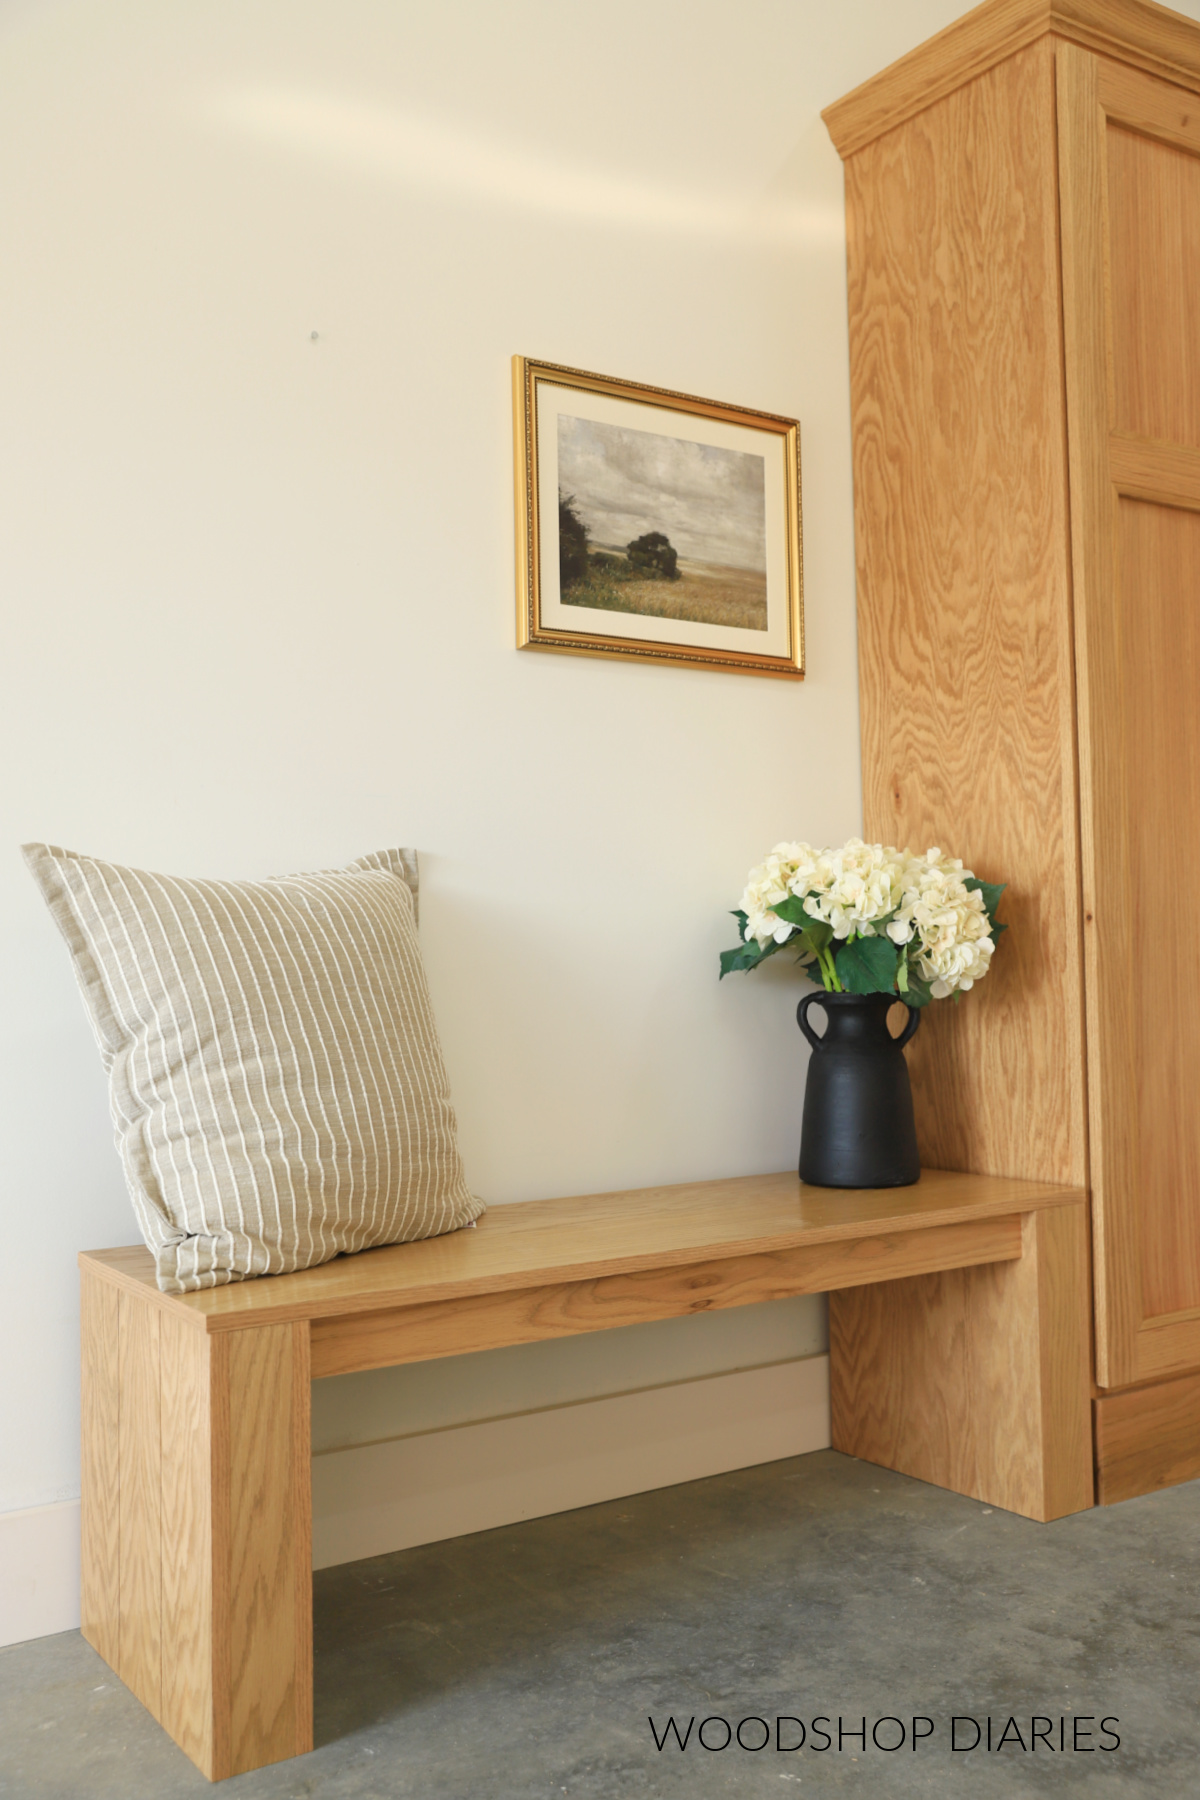
But it would also look great on its own in a hallway or at the foot of the bed.
If you’d like to build your own, the printable plans to make it are available here.
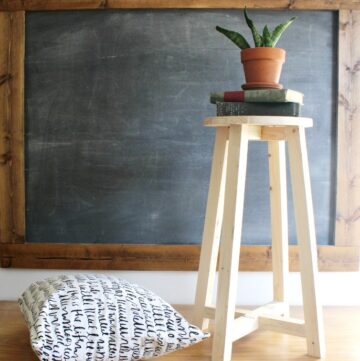
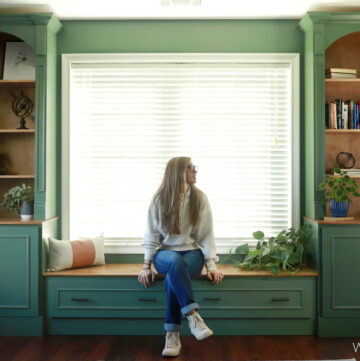
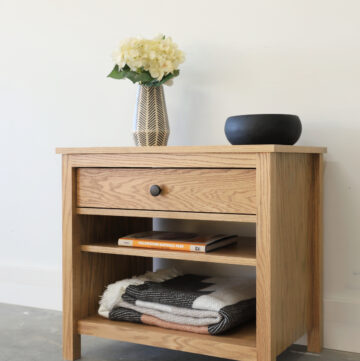
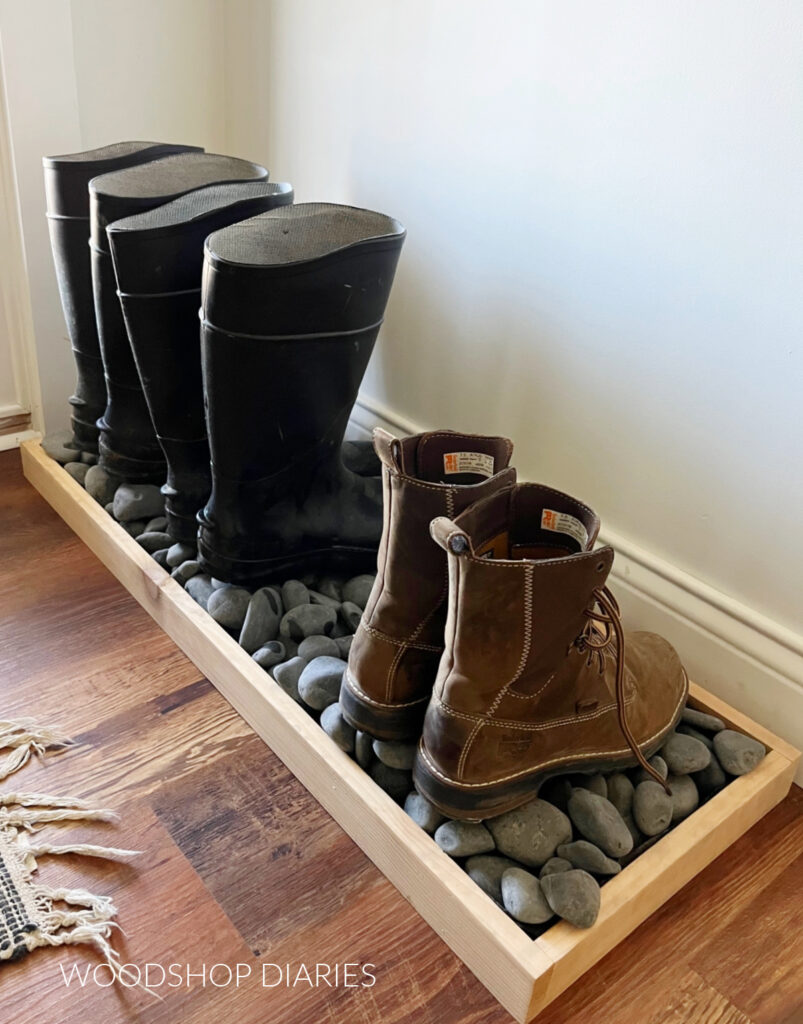
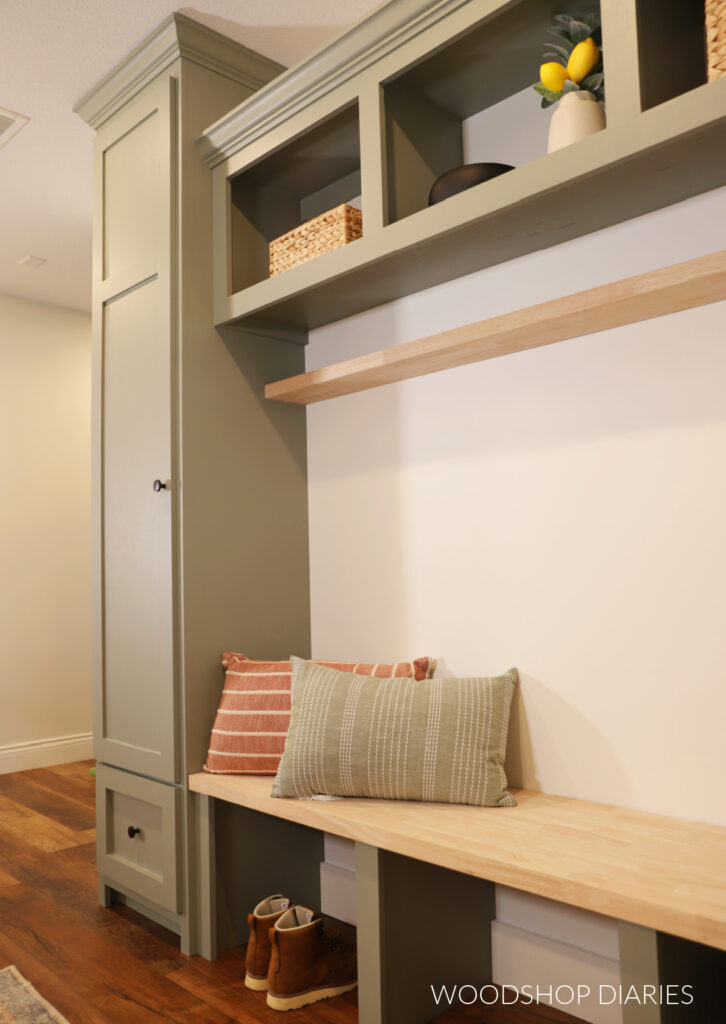
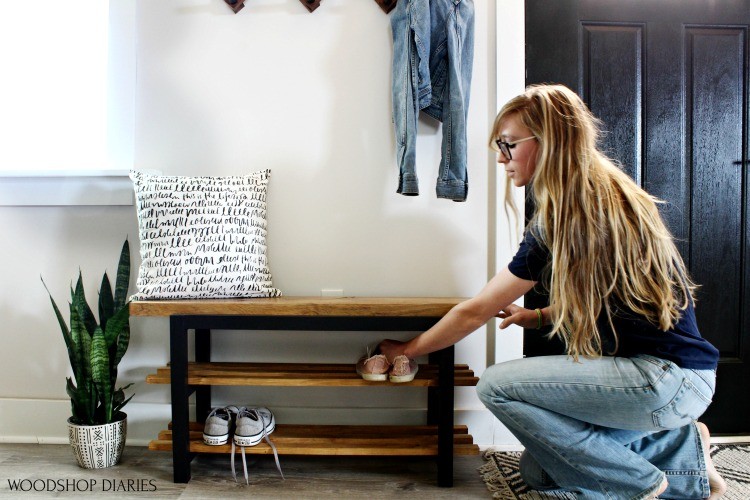
Looking for more entryway and DIY bench ideas?
Enjoyed this project, but looking for more? I love sharing projects for the entryway that are simple, practical, and stylish. So I’ve got plenty more ideas you’ll enjoy browsing below.
Click the image(s) to see how to build each one:


If you enjoyed this project, don’t forget to pin this or share to your favorite social media channel to save it for later!

Until next time, friends, happy building!