
Hey friends! Welcome to the final week of the All-Star Renovation Challenge with Jeffrey Court, FrogTape, and Behr Paint! This week is the MASTER BATHROOM FINAL REVEAL! This post contains affiliate links. See policies.
If you remember from the last five weeks, these brands challenged several bloggers from past renovation challenges (remember my kitchen renovation???) to take on another challenge as the All Stars! I’m so excited to be included in this group and to share with you the journey as we transformed my parents’ master bathroom! Check out all the designers and their spaces here.
The last three weeks began fan voting…the winner takes home the grand prize of $5,000 and, of course, bragging rights that they won the ALL STAR Renovation Challenge. The winner this time around will be determined solely by fan votes, so I’d be forever grateful if you’d click on over and cast your vote! You can vote once a day until July 12 and the winner is announced July 15!

So if you missed the last couple weeks’ updates, head over and check those out first to get the full story.
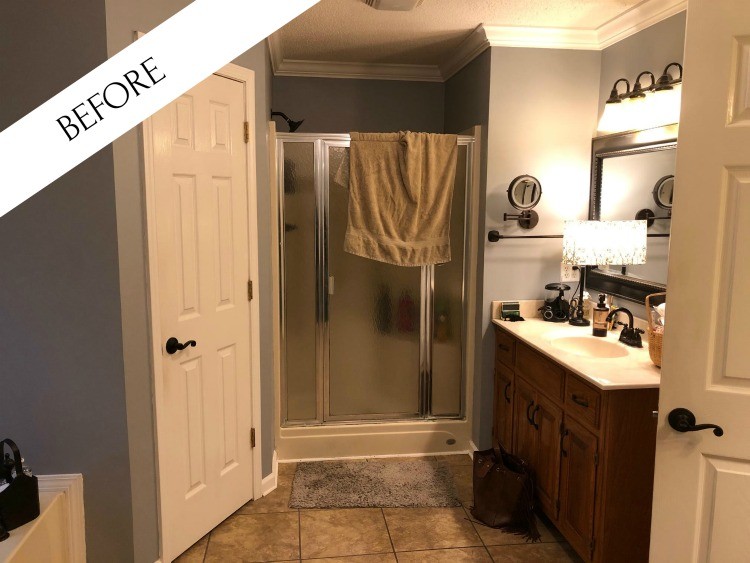
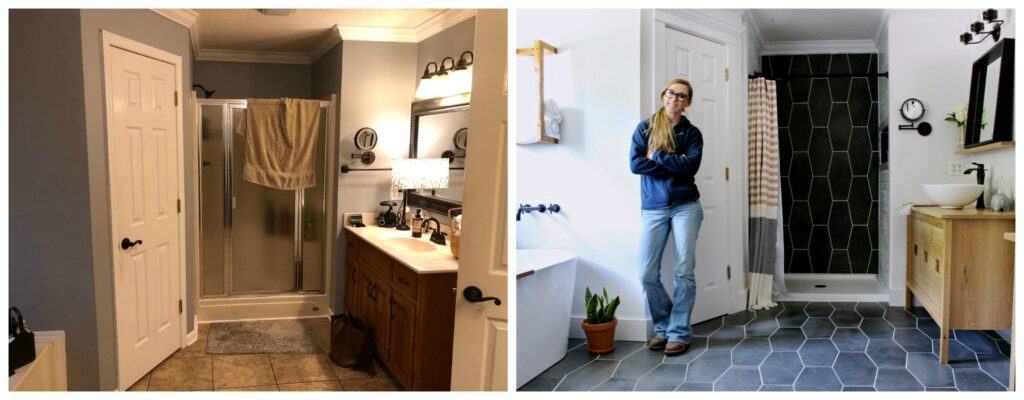
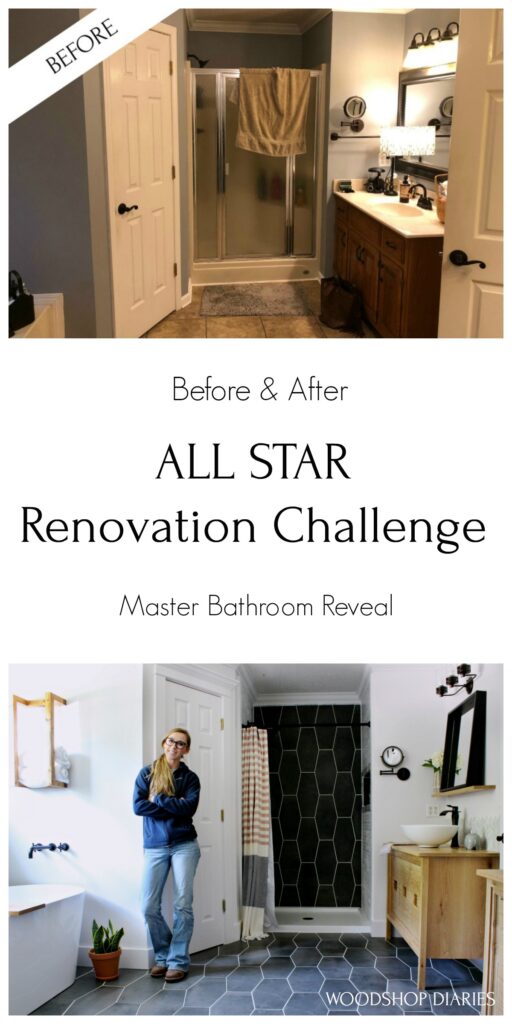
Here’s where we began our journey…the dark and dreary before photo…
At the end of week two, we had removed everything to the subfloor and taken out the tub and shower stall. We replumbed the shower water supplies and drain and set the shower pan in place. I also prepped the floor and shower for tile, laid the floor tile, and one wall of the shower. It doesn’t sound like a lot, but trust me…it was a busy first two weeks! There was also some drywall patching in there somewhere, but you get the idea 🙂

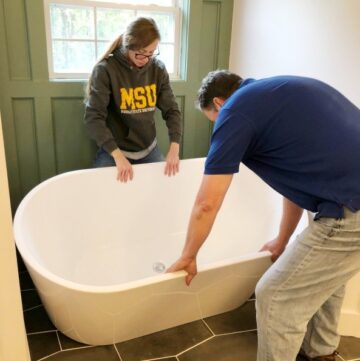
At the end of week three, everything was tiled, grouted, and trimmed out ready for paint. At the end of week four, we had painted the walls, installed the vanities, tub, and toilet. And we were eager and ready for the finishing touches to come together.
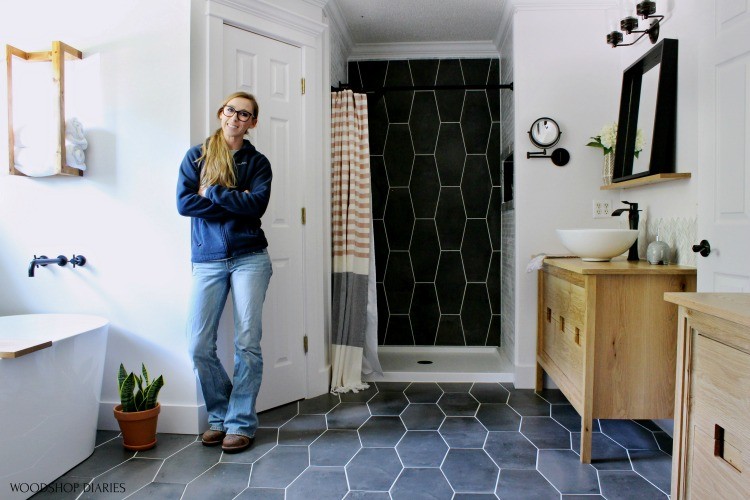
And at the end of week five, we finished the bathroom! ONE. WEEK. EARLY!!! But I couldn’t share the master bathroom final reveal until this week 😉
I was TIRED. I was ready to be back in my workshop (you know…vs my parents master bathroom haha). But I was SO HAPPY with how it turned out. Can you believe this before and after???
I’ve covered pretty much everything in all the previous posts, so this Master Bathroom Final Reveal is just going to be lots of pretty pictures and a trip down memory lane 😊
This was a pretty big remodel if you’ve been following along. We removed everything in here except the drywall (although we did remove some of that, too haha). It’s always nice starting with a clean slate, but also a little stressful because you don’t know what you’re going to find under all of that.
Luckily, we only found one unexpected issue and it was minor (a little rotten wood under the old shower valve…we replaced it and it was good as new). But, we did spend and entire day moving the shower drain location because the new pan we installed didn’t match up exactly to the old shower stall. Did you know it could take all day to move a drain 3”?? Plumbing is NOT for the faint of heart.
.
But once we got the shower pan in, the tile shortly followed and this room really started coming together quickly.

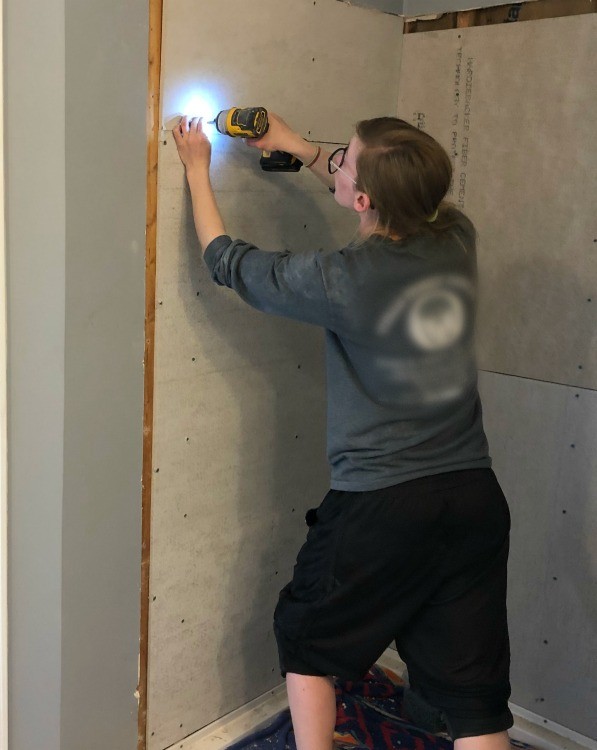
Installing cement board on walls 
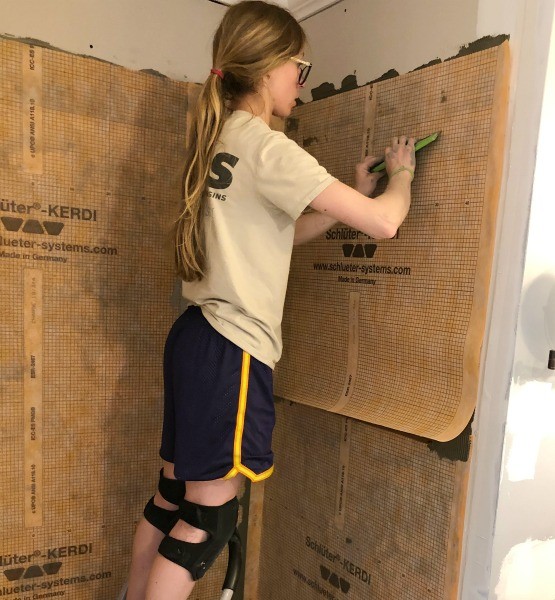
Applying waterproof membrane 
Back shower wall almost finished 
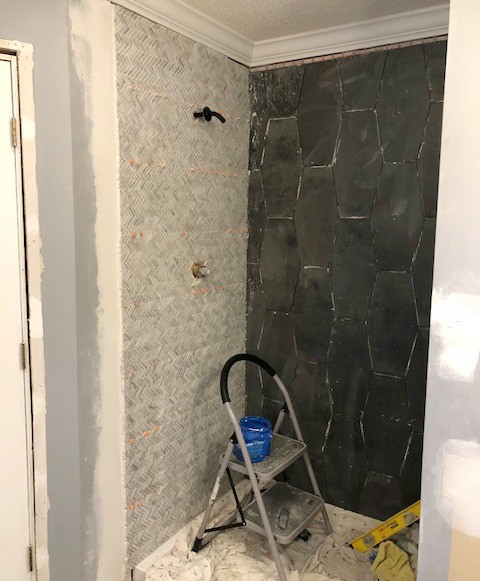
Shower sides tiled
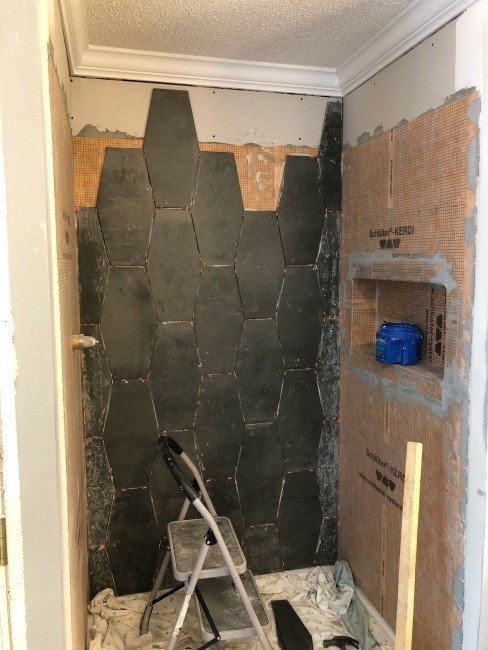
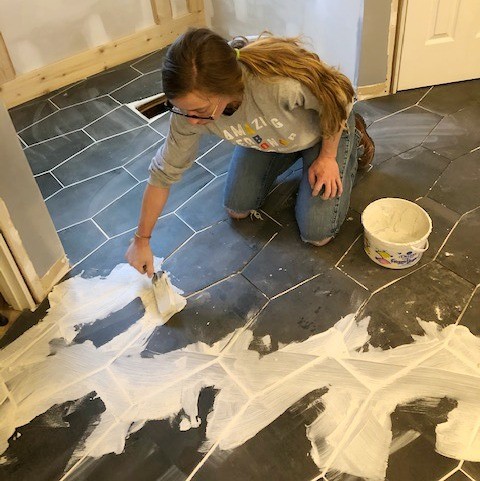
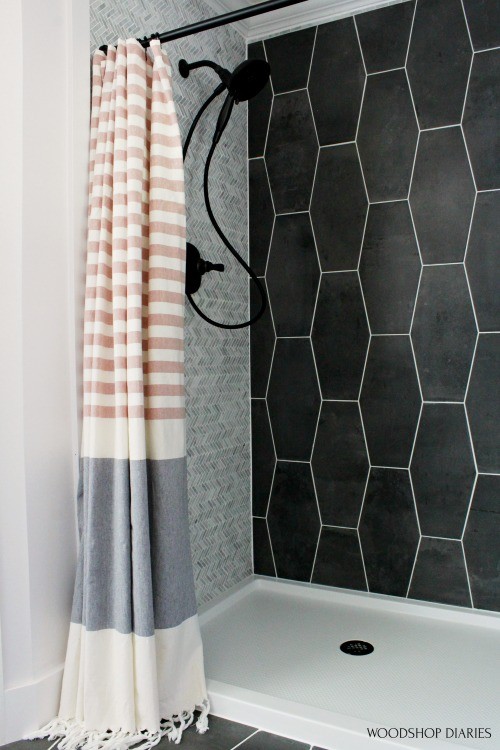
As far as the design in here, I wanted the Castlerock tile on the floor to run up the back wall of the shower. I thought it would be a fun way to add visual interest without being busy. I am really happy with how that turned out.
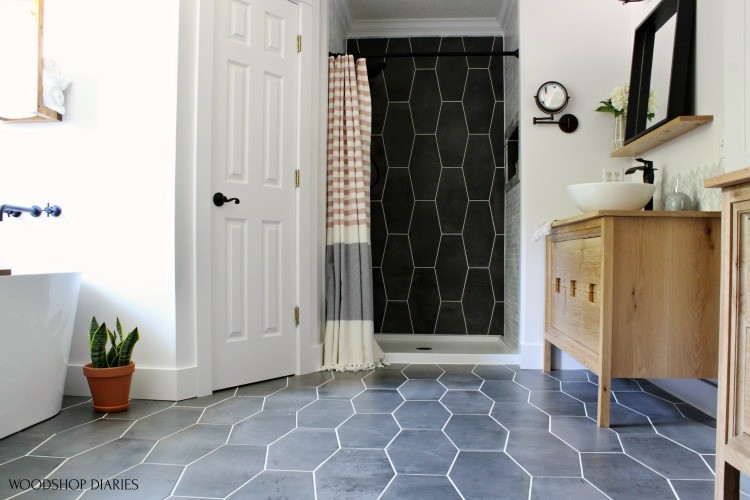
And I wanted the sides of the shower to be a little lighter and give some visual interest. So I used this Jetstream mosaic tile for that. We decided to lay it sideways vs the traditional way and it made it a little more challenging to install, but overall I’m happy with the look.
For this little niche, we had some…issues. I cut the Castlerock tile to line the sides and used the Jetstream tile on the back. BUT it looked unfinished on the edges once it was grouted.
.
So I used some Tundra Grey tile I had leftover from our kitchen renovation from the last challenge and used them to frame around the edges. I’m sure there was a better way to install these, but we used a plumbers epoxy and silicone to attach these tiles. They seem pretty solid, but if for some reason they come loose over time, they’re just decorative and we can stick them back on.
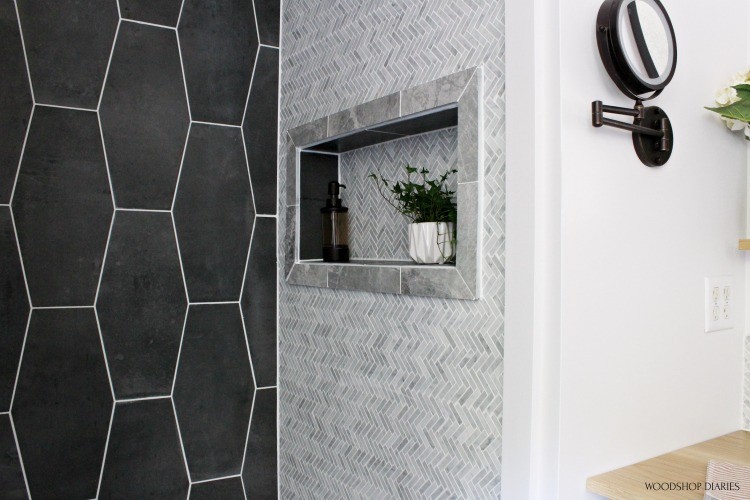
I wish I had framed this out prior to grouting and finishing the tiling on this wall, but it is what it is and even though it was kind of an afterthought, I think it turned out really nice.
.
PS do you remember how I added that wooden trim piece on the shower tile edges in week 3?? Do you see it in the photo above? I told you it would blend in nicely *wink wink*
.
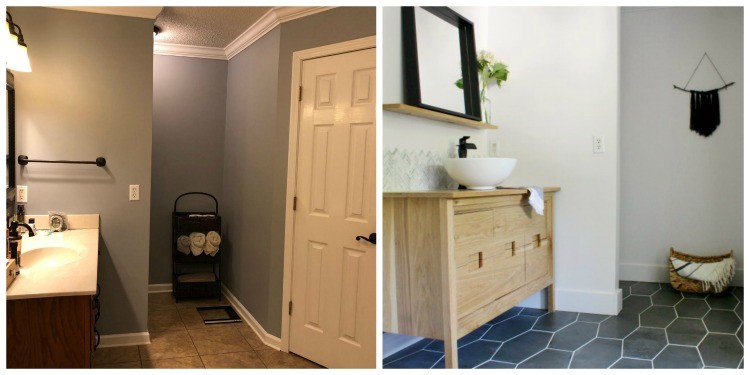
I had built these vanities a couple months ago and was so excited to (get them out of my shop) install them into this bathroom so my parents could finally use them.
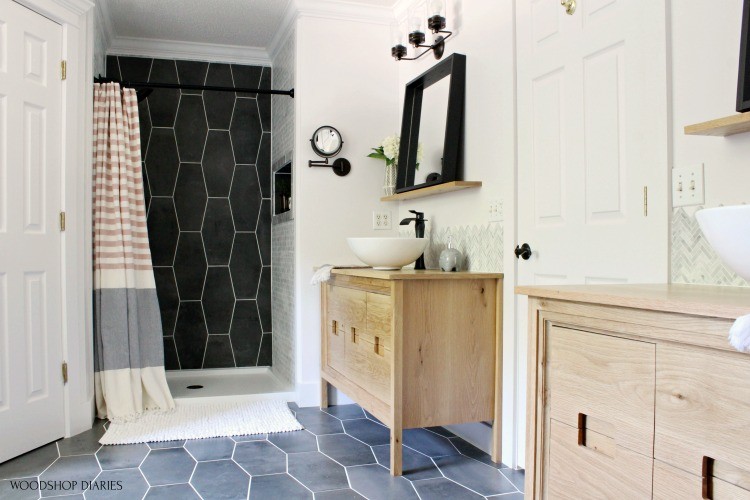
I also built them these mirrors and floating shelves to give them a simple, more modern feel than their old traditional style frames.
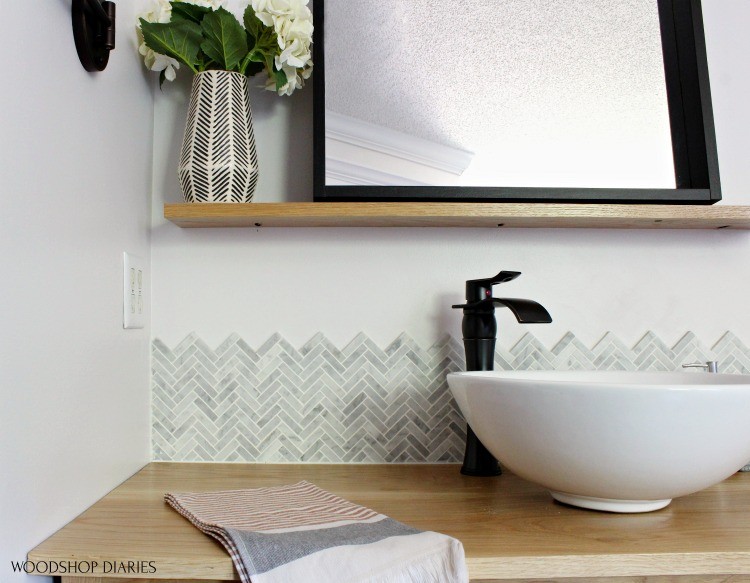
I also really loved how the Jetstream tile backsplash turned out. I decided to leave the tops jagged for two reasons…it was unique AND it meant I only had to cut one end of the sheets haha.
.
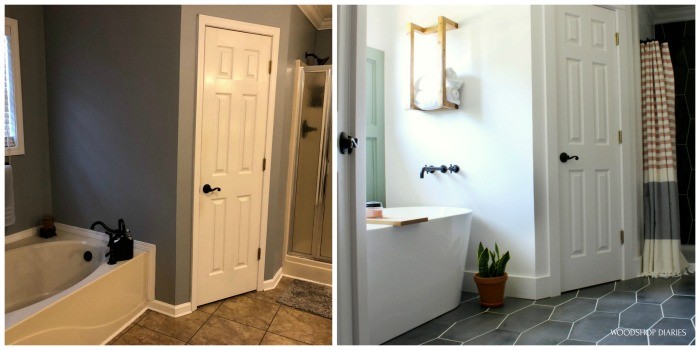
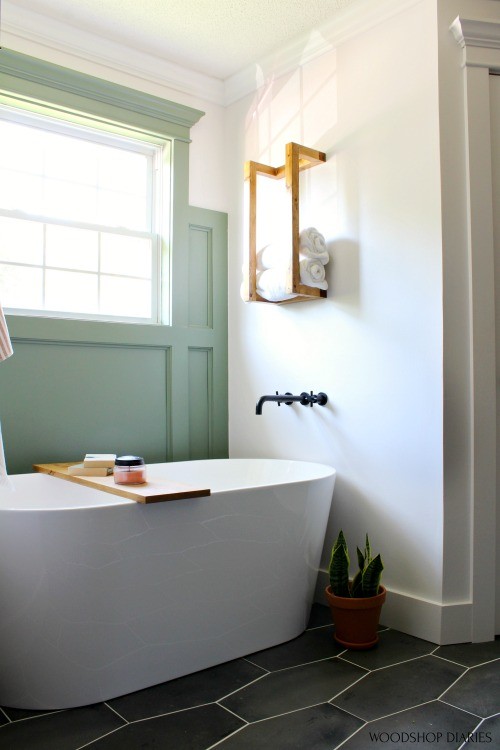
I added this feature wall behind the tub here and had originally thought I was going to paint it dark grey. But I decided to go a little bold and pick this Behr Sage Green color. It pairs perfect with the Behr Ambience White that we used on the walls and doors in here and adds a little…life? To the space. I’m so happy with these colors. They brightened up this space SO much and makes it look clean and fresh.
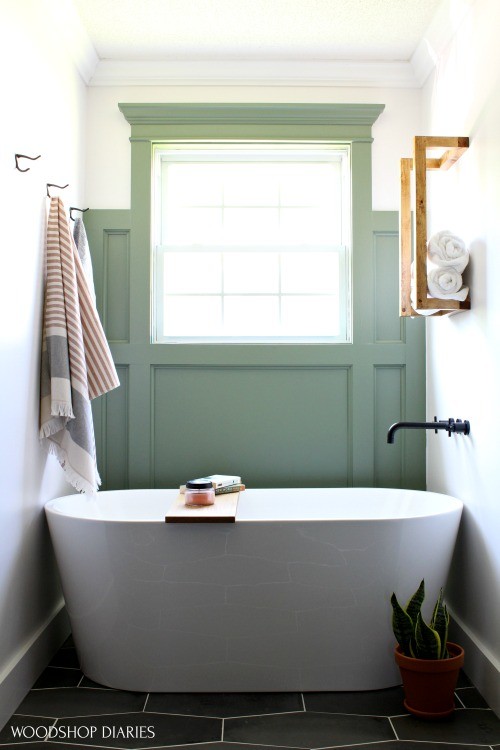
You can check out how I built that scrap wood towel rack in this tutorial post and if you’re wondering about that tub tray, it’s simply a board I cut from the leftover wood from the vanities and laid across the tub…so simple!
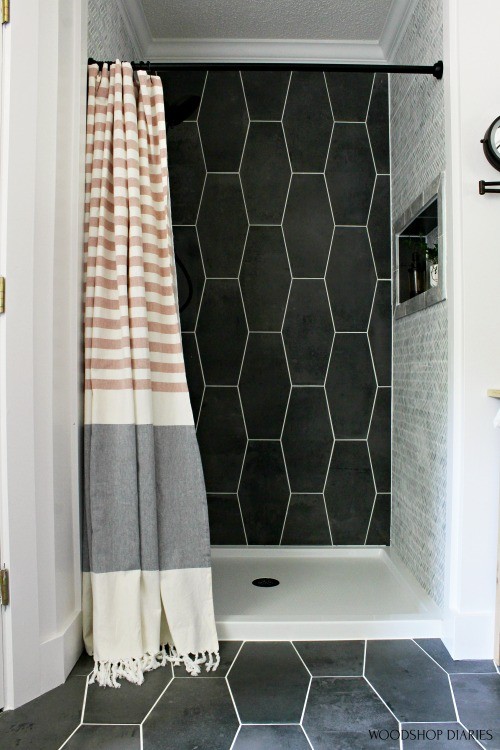
A note about the shower curtain—we intended on getting a glass door for this shower. But since it was such a narrow shower (only 48” wide), the shower door options were slim and the ones we did find had really narrow doors. You’d have to turn sideways to walk into the shower…not exactly ideal.
.
So we ended up going with a nice modern shower curtain to match the style in here. And I’m really happy we did. I think the colors in the curtains add a lot to this space and I am in love with the matching towels we found to hang on the wall and use with the vanities.
Personally I’m a fan of the curtain over the glass shower doors because I don’t like to clean shower doors all the time to prevent water spots. I think my parents agreed and weren’t too upset about the trade off.
Now, if you want more details about the process, be sure to check out the previous weeks’ posts. And if you want a list of parts and materials used in this space, here are links to everything:
- Castlerock Tile (floor and back wall)
- Jetstream Tile (shower wall sides)
- Tundra Grey Tile (shower niche trim)
- Behr Ambience White (main wall and trim color)
- Behr Sage Green (feature wall color)
- Shower Pan
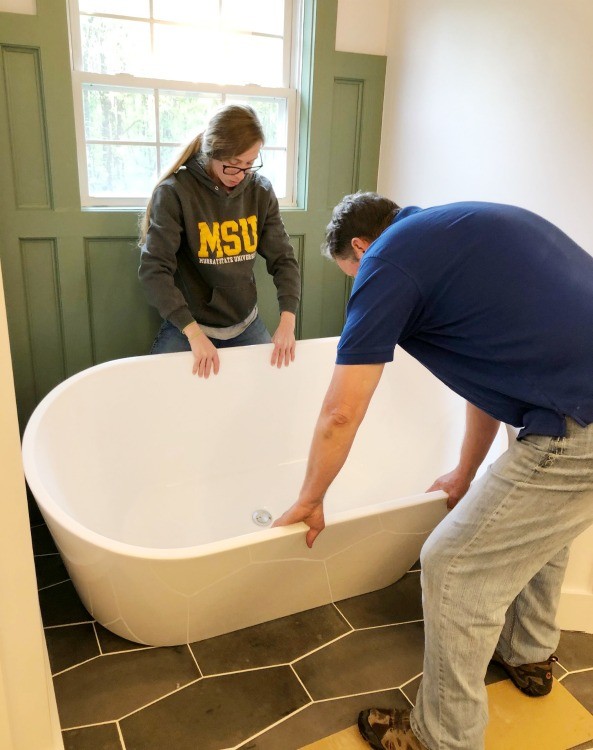
- Freestanding Tub
- Vanities
- Mirror
- Towel Rack
- Sinks
- Vanity faucets
- Bathtub faucet
- Shower head faucet
- Shower Curtain
- Matching towels
- Shower curtain rod and hooks and liner
I hope you’ve enjoyed watching this transformation and seeing the master bathroom final reveal and I’d love if you’d take a few seconds to vote for me in this renovation challenge…pretty please 🙂
.
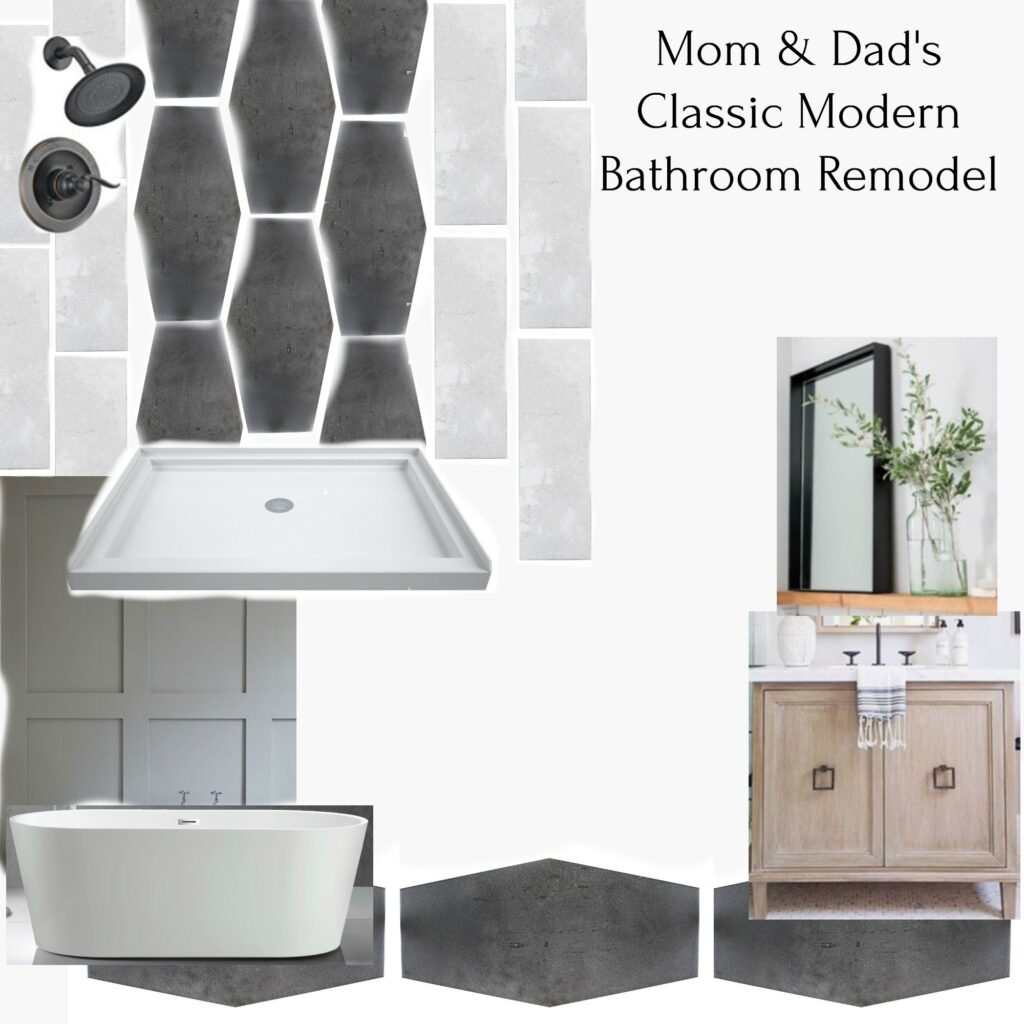
If you want to save this for later, I’d also love if you’d pin any of the images in this post or this pretty graphic!
Until next time, friends, happy renovating 😊
Nancy Shugan says
Shara, I love your parents’ bathroom, your taste and your skills! I sometimes feel I’m at the mercy of the carpenter who says, why don’t we do this, not because it would look great but because that’s what he knows how to do. I wish I could learn some of your skills.
One question: I didn’t see that l lovely green accent wall color anywhere else. I’m wondering if a bit of green in the shower curtain would be a good way to tie in that element?
Two last things: congratulations on a job well done and now I’m going to spend a pleasant hour looking over the other Masters’ work and voting. Of course, for you! Good luck in the voting. Have you thought about what the $5,000 would go for, if you win it?
Shara, Woodshop Diaries says
You are so sweet! I hope I am able to teach you some and you can tell the carpenter you’ll just do it yourself 🙂 I picked the shower curtain copper color because I thought it paired really well with the green accent wall, but I didn’t add much green anywhere else. Maybe I should have, but I did add some plants for some extra greenery to hopefully help tie it all together. I appreciate your votes! I’d love to win, but even if not, I’m happy to have given my parents a new bathroom 🙂 But if I do win, I’m not sure what I’d do with the $5,000. I’d love to take a vacation out west (I’ve never been!), but I’m not sure. Any suggestions?
Mike Williamson says
Absolutely beautiful! You did a great job.
I like the backsplash. I plan to do that in my bathroom, which I remodeled earlier this year.
Thanks for your idea.
Shara, Woodshop Diaries says
Thank you!! I thought it wasn’t TOO out there, but a unique way to do it.