I partnered with my friends at Build Something to bring you the free plans for this DIY guitar stand stool made from scrap plywood! This post contains affiliate links. See policies.
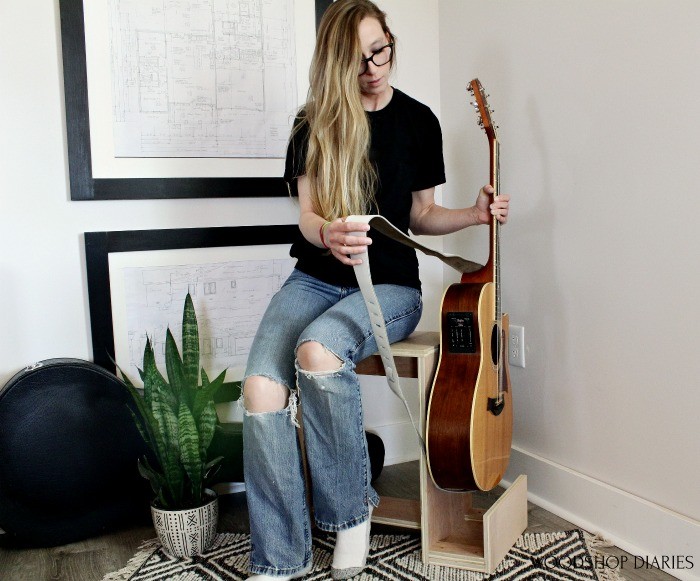
Our tiny garage apartment doesn’t have a lot of extra space. But I’ve been tired of keeping my guitar stuck in its case in the corner all the time and wanted to get it out so it was more easily accessible for playing.
.
So when I started thinking of a way to make a guitar stand that didn’t take up a lot of space, I also started thinking about how to make it multipurpose and also allow me a small space to store my music books.
.
So this simple scrap plywood stand worked perfectly and came together really quick. I’m sharing the free printable plans over on BuildSomething.com and I’ve got the quick tutorial and video below.
For this project, you will need:
- ¼ sheet ¾″ plywood (or browse your scrap pile!)
- Miter Saw
- Kreg Pocket Hole Jig
- Drill
- 1 ¼″ pocket hole screws
- An hour of your time 😉
RELATED: Check out this mobile scrap and plywood cart idea to keep your lumber contained and organized!
.
To start this project, I browsed my shop for ¾” plywood scraps. I love building with plywood, so I typically have lots of random off cuts and leftover pieces to pick from.
.
RELATED: Check out my latest plywood project–one sheet plywood bookshelf!
.
I found a leftover panel of birch plywood in my plywood cart and a few pieces of leftover hickory plywood (from the kitchen cabinets and laundry room remodel) in my scrap bin.
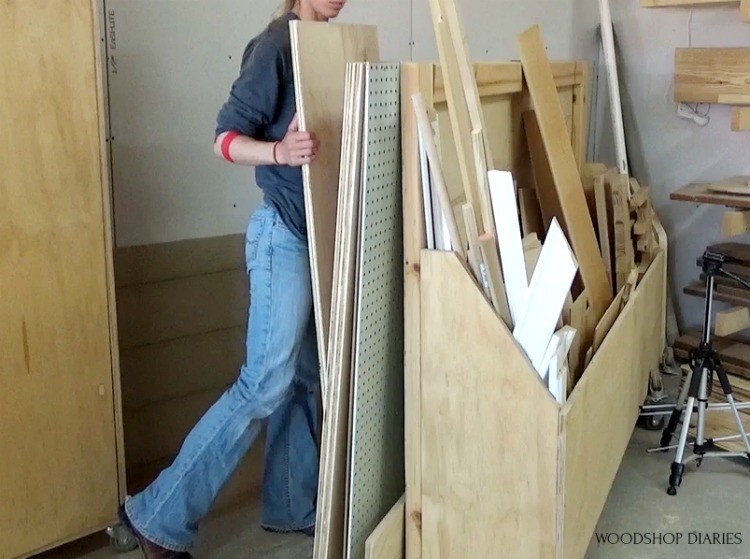
But, if you don’t have scraps to pick from, you can purchase a ¼ sheet of plywood and that’s more than enough to complete the project. Check out the plans to see the cut diagram.
Step 1: Assemble Stool
I ripped my scraps down to 12″ wide on my table saw just to get everything consistent first. If you don’t have a table saw or are working with a large plywood piece, check out this tutorial for how to cut down plywood sheets quick and easy.
.
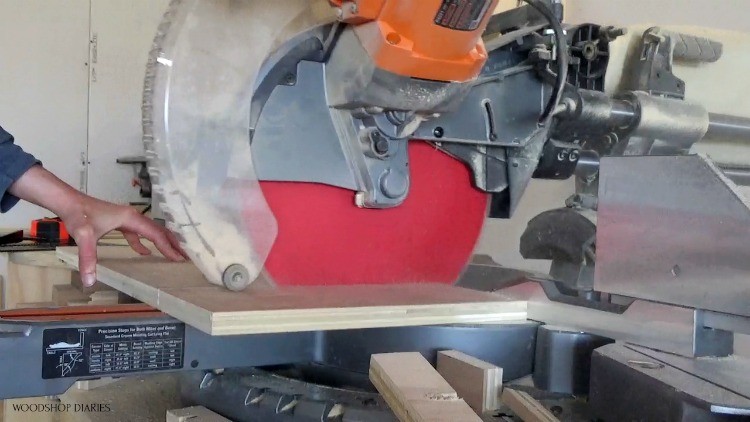
From these pieces, I cut two stool sides, a top, and two small pieces for the guitar stand on the miter saw.
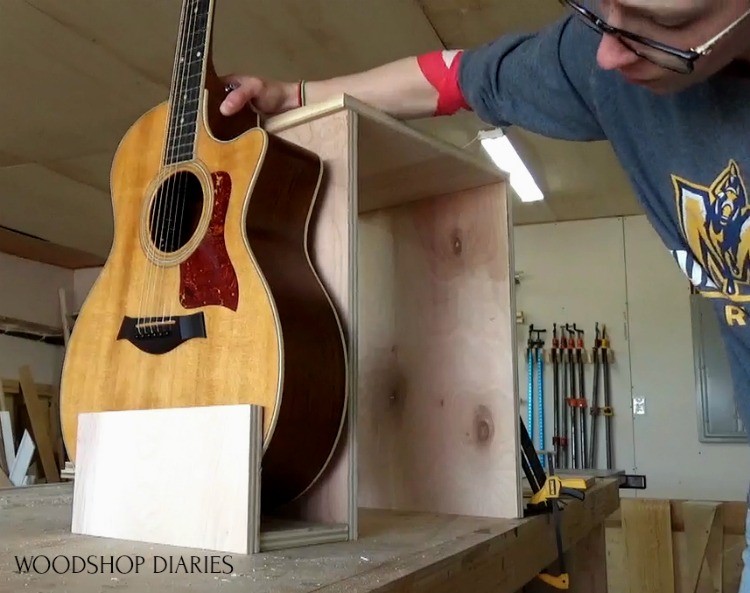
I wasn’t sure how deep to make the section that my guitar will go into. So, I dry fit the pieces together and brought out my guitar to test fit before putting anything together.
I assembled this project using pocket holes and screws, so I drilled ¾” pocket holes along the top ends of the stool sides using my Kreg pocket hole jig.
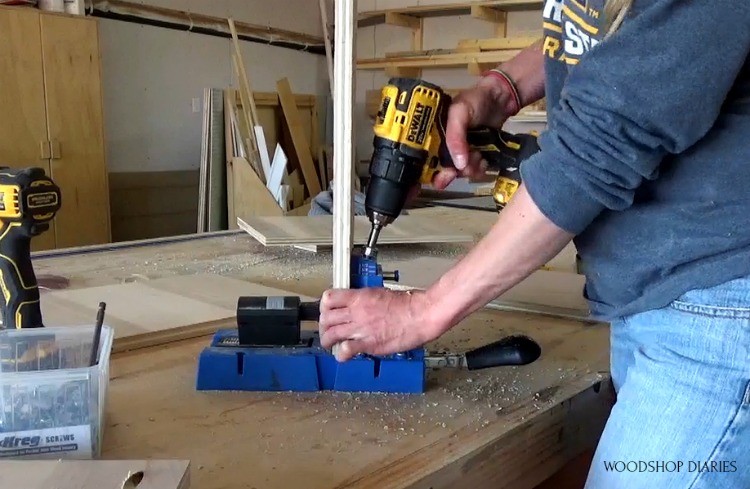
Then, I used pocket hole screws to attach the stool sides into the top like shown.
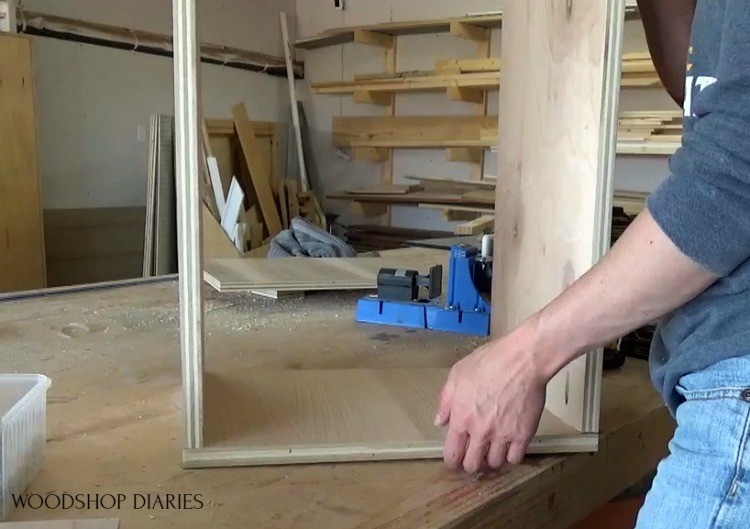
Once that part was together, I dug around the scrap piles some more and found two small pieces to use as a shelf and a seat support.
.
I drilled pocket holes into the ends of these pieces and installed into the stool base with pocket hole screws. The top seat support here was basically just for looks, but I wanted this bottom shelf piece as a place to store my music books.
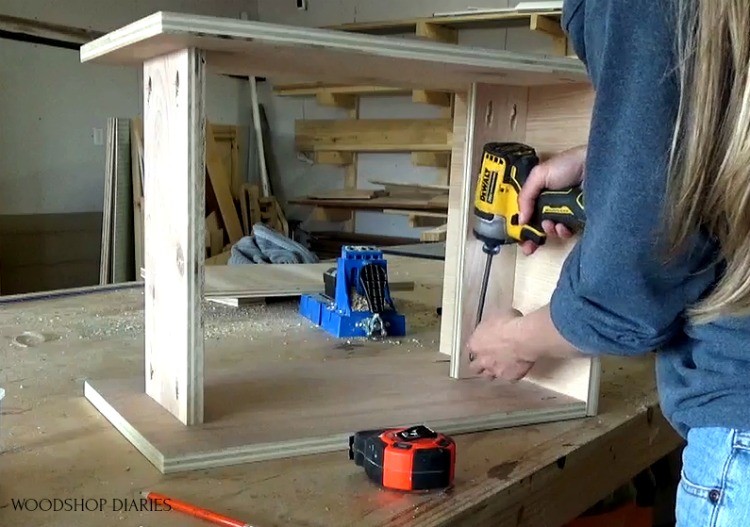
Step 2: Attach Guitar Stand to Stool
Once the stool was put together, I laid out the guitar stand pieces and attached them together first, then attached the whole section to the stool.
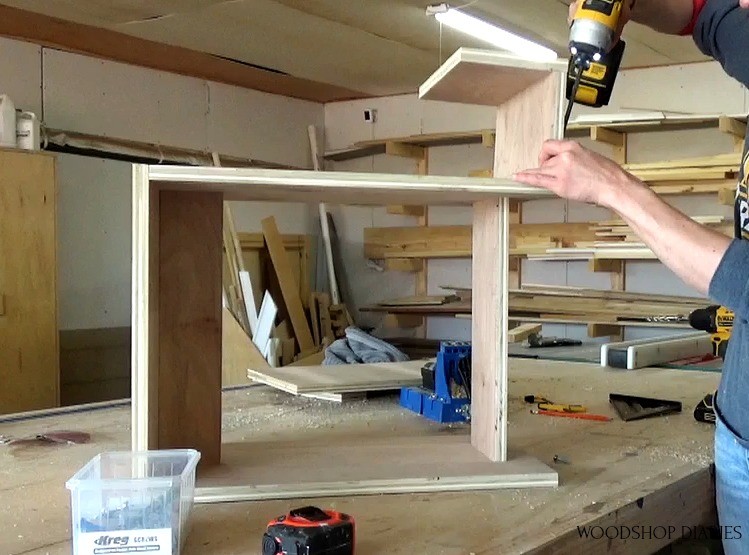
I thought at this point I was finished, but when I brought my guitar out again to test fit, I noticed it tended to rock side to side and wouldn’t stand on its own.
Step 3: Install Guitar Stand Blocks to Prevent Rolling
So I ended up cutting two small pieces of ¾” plywood and screwed them into the bottom of the guitar stand edges.
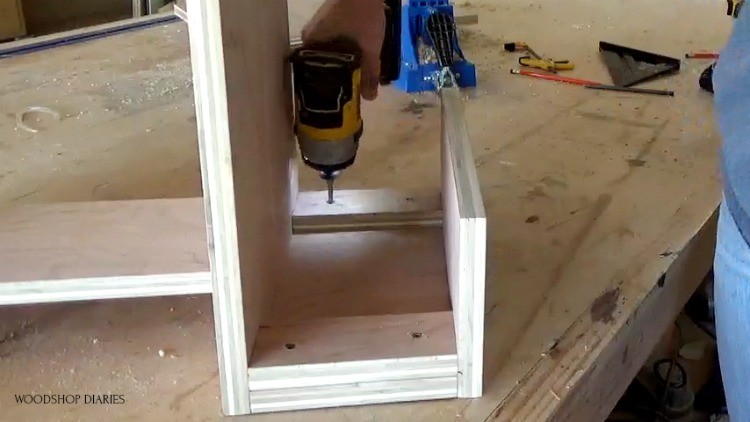
This helped with the rocking and allowed the guitar to stand on its own in the stand. I’ll probably go back at some point and add some felt or some sort of padding along these edges to protect the guitar. But for now, I just want to play.

I just love a good, practical, and quick scrap wood project. This may be my favorite one so far!
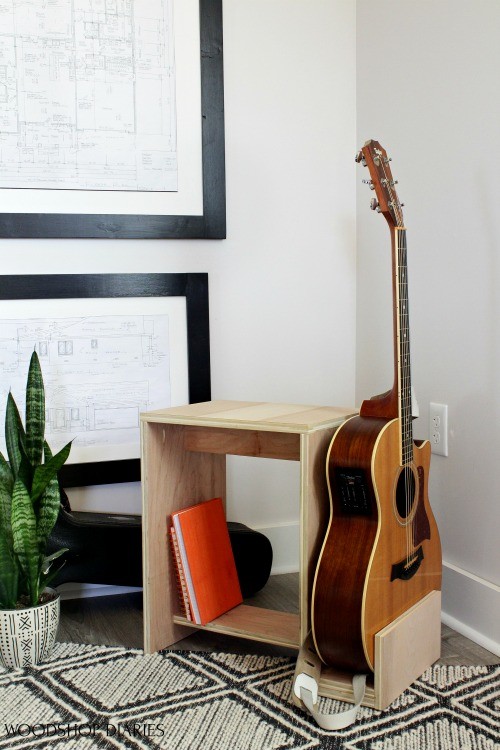
If you’re interested in building one of these simple stands for your own guitar, be sure to head over to Build Something for the printable plans. And check out a sample of my guitar playing in the video above as well 😉
.
For more scrap wood projects, check out some of my favorites:
I hope you’ve enjoyed this super easy scrap wood project. Don’t forget to subscribe to my newsletter below so you don’t miss out on what’s coming next AND save this for later by pinning this graphic!
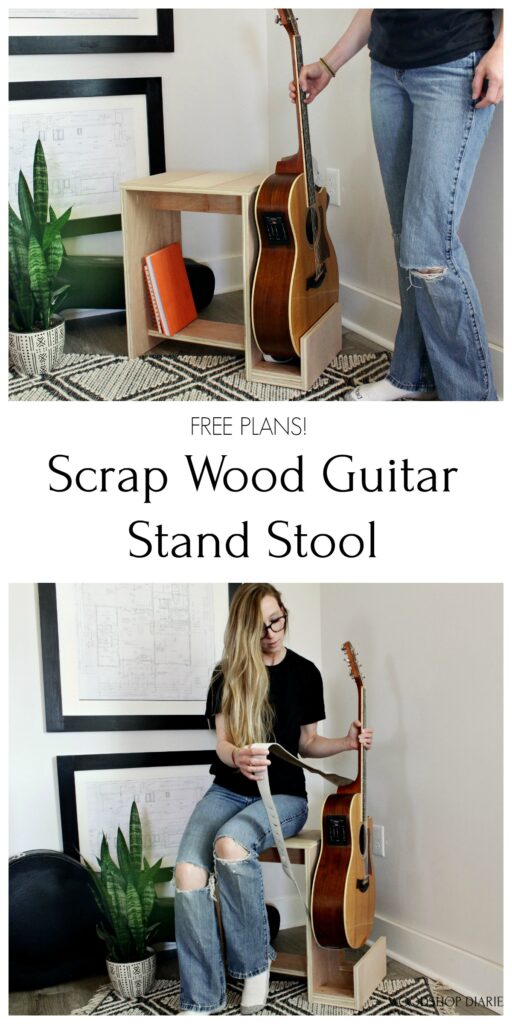
Until next time, friends, happy building 😊



Shara…for the life of me, I can’t understand why you live in a tiny garage apartment. You are without a doubt the most talented blogger I’ve seen out there anywhere! You should have a glorious space! Your woodworking is just fabulous! FABULOUS! And now to find out you play guitar and WOW you are fantastic at that as well! Even the little you played I can tell you are good, real good! You deserve the best and I will pray that you get the best! Thank you for sharing your life with us!
You’re the sweetest!! Thank you so much…in a world full of negative comments, it means the world to me when I get such nice ones like this. I so appreciate your support! We live in a tiny apartment because we had plans to live here temporarily while we built our real home next to it. However, things haven’t worked out to build here yet, so we are trying to stay here to save money for when we are able to build. We like it, though. It’s just two of us and a dog, so we don’t need a lot of space 🙂 Maybe one day we will build our house, but for now, we are happy here. Thank you so much for following along our crazy journey!