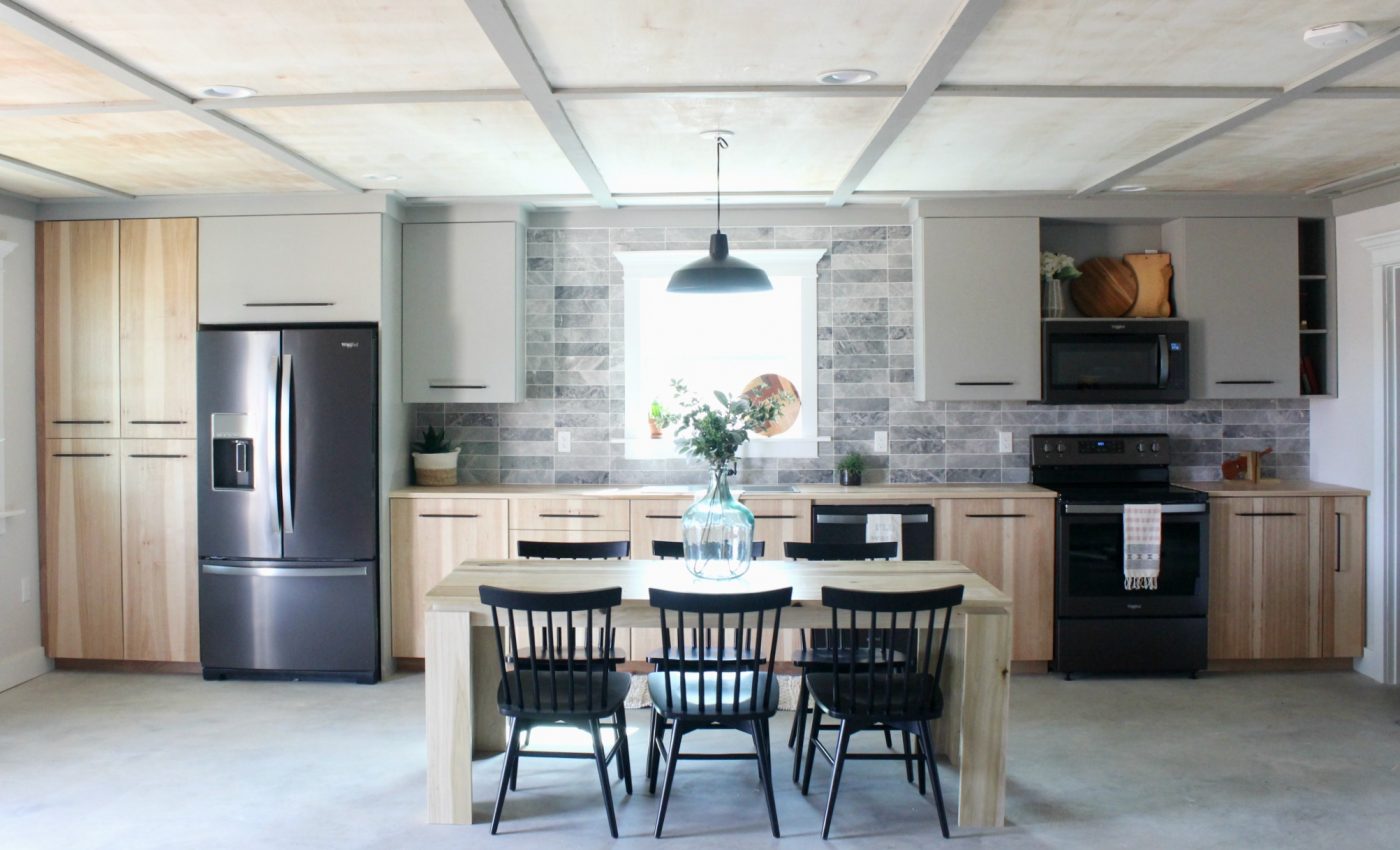
Check out how we used inexpensive plywood and 1x4s to create a beautiful, simple plywood ceiling!
Several years ago, we started building our garage apartment. If you didn’t already know, I’ll make this backstory quick.
.
We sold our old house, bought some land, paid a garage builder to pour our foundation, put up four walls and a roof, and then we finished out the inside ourselves.
.
We lived in half of it and the other half was my workshop.
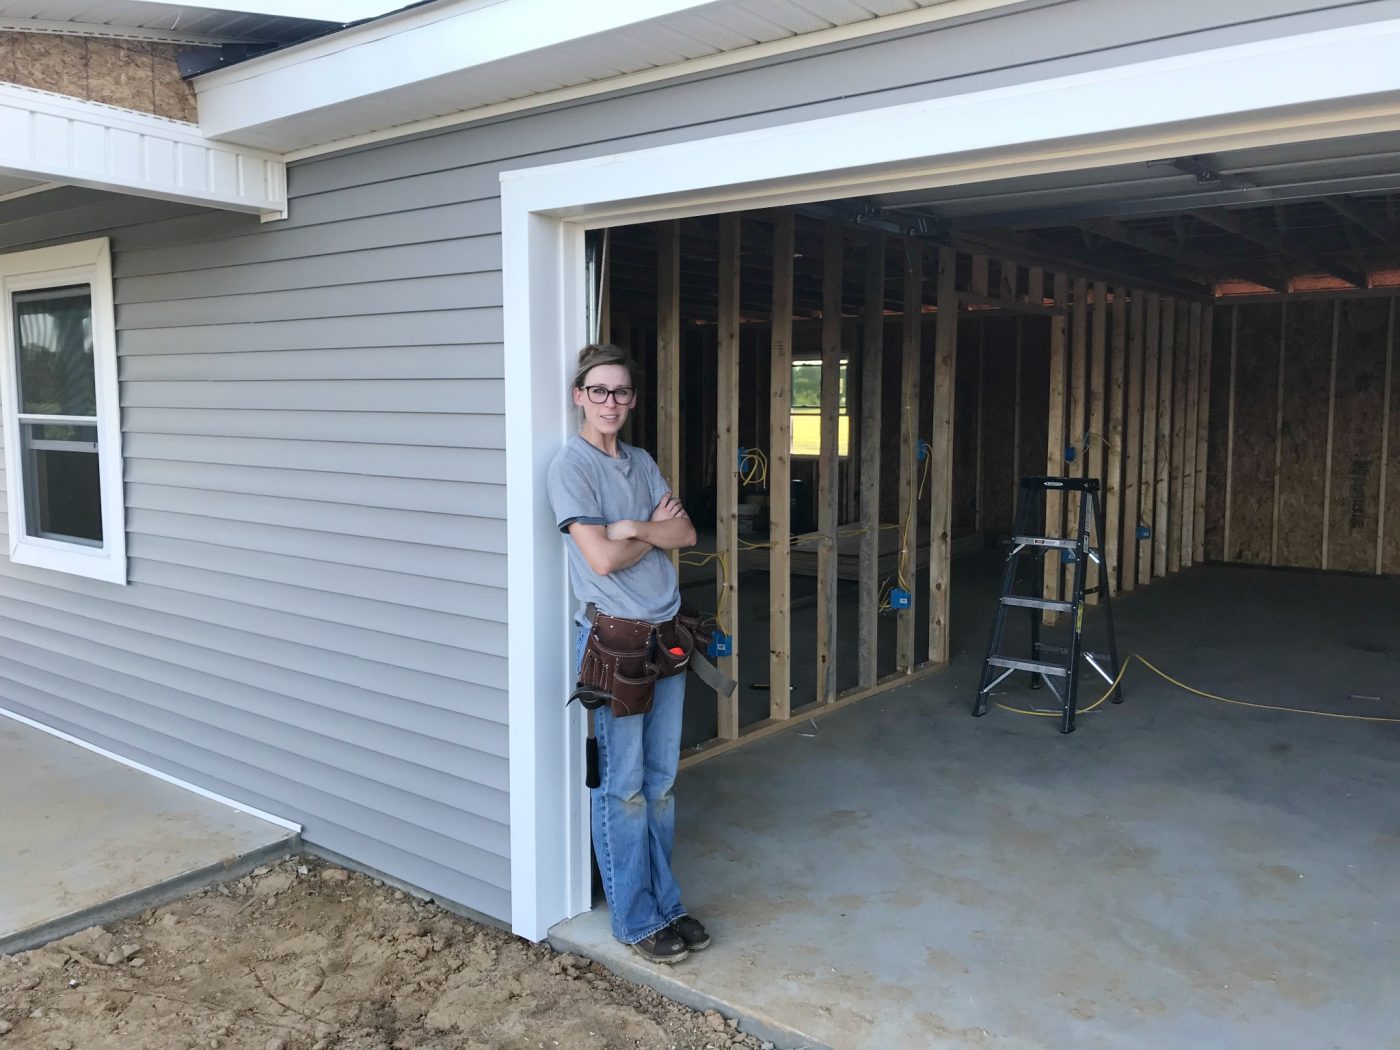
The part we lived in was one big (it’s not that big) room and there’s a tiny bathroom in the back corner.
.
It’s a total of about 750-775 sq. ft. of finished space.

I have a whole series about the building process here.
.
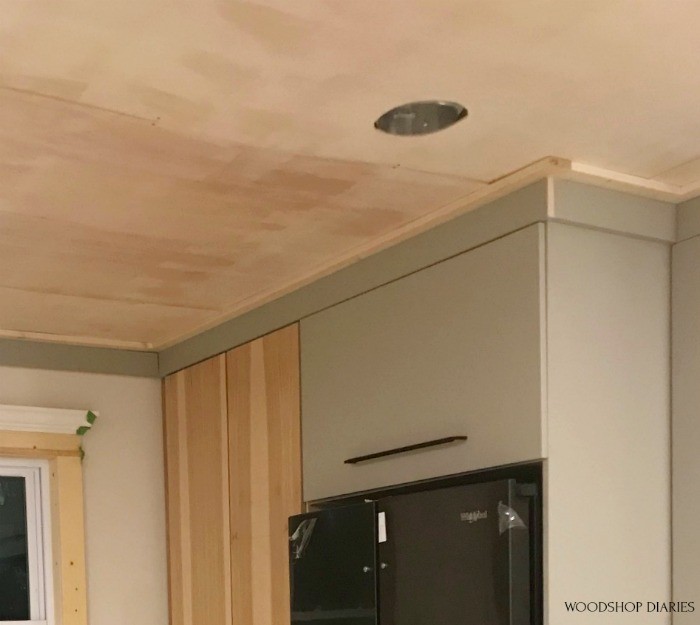
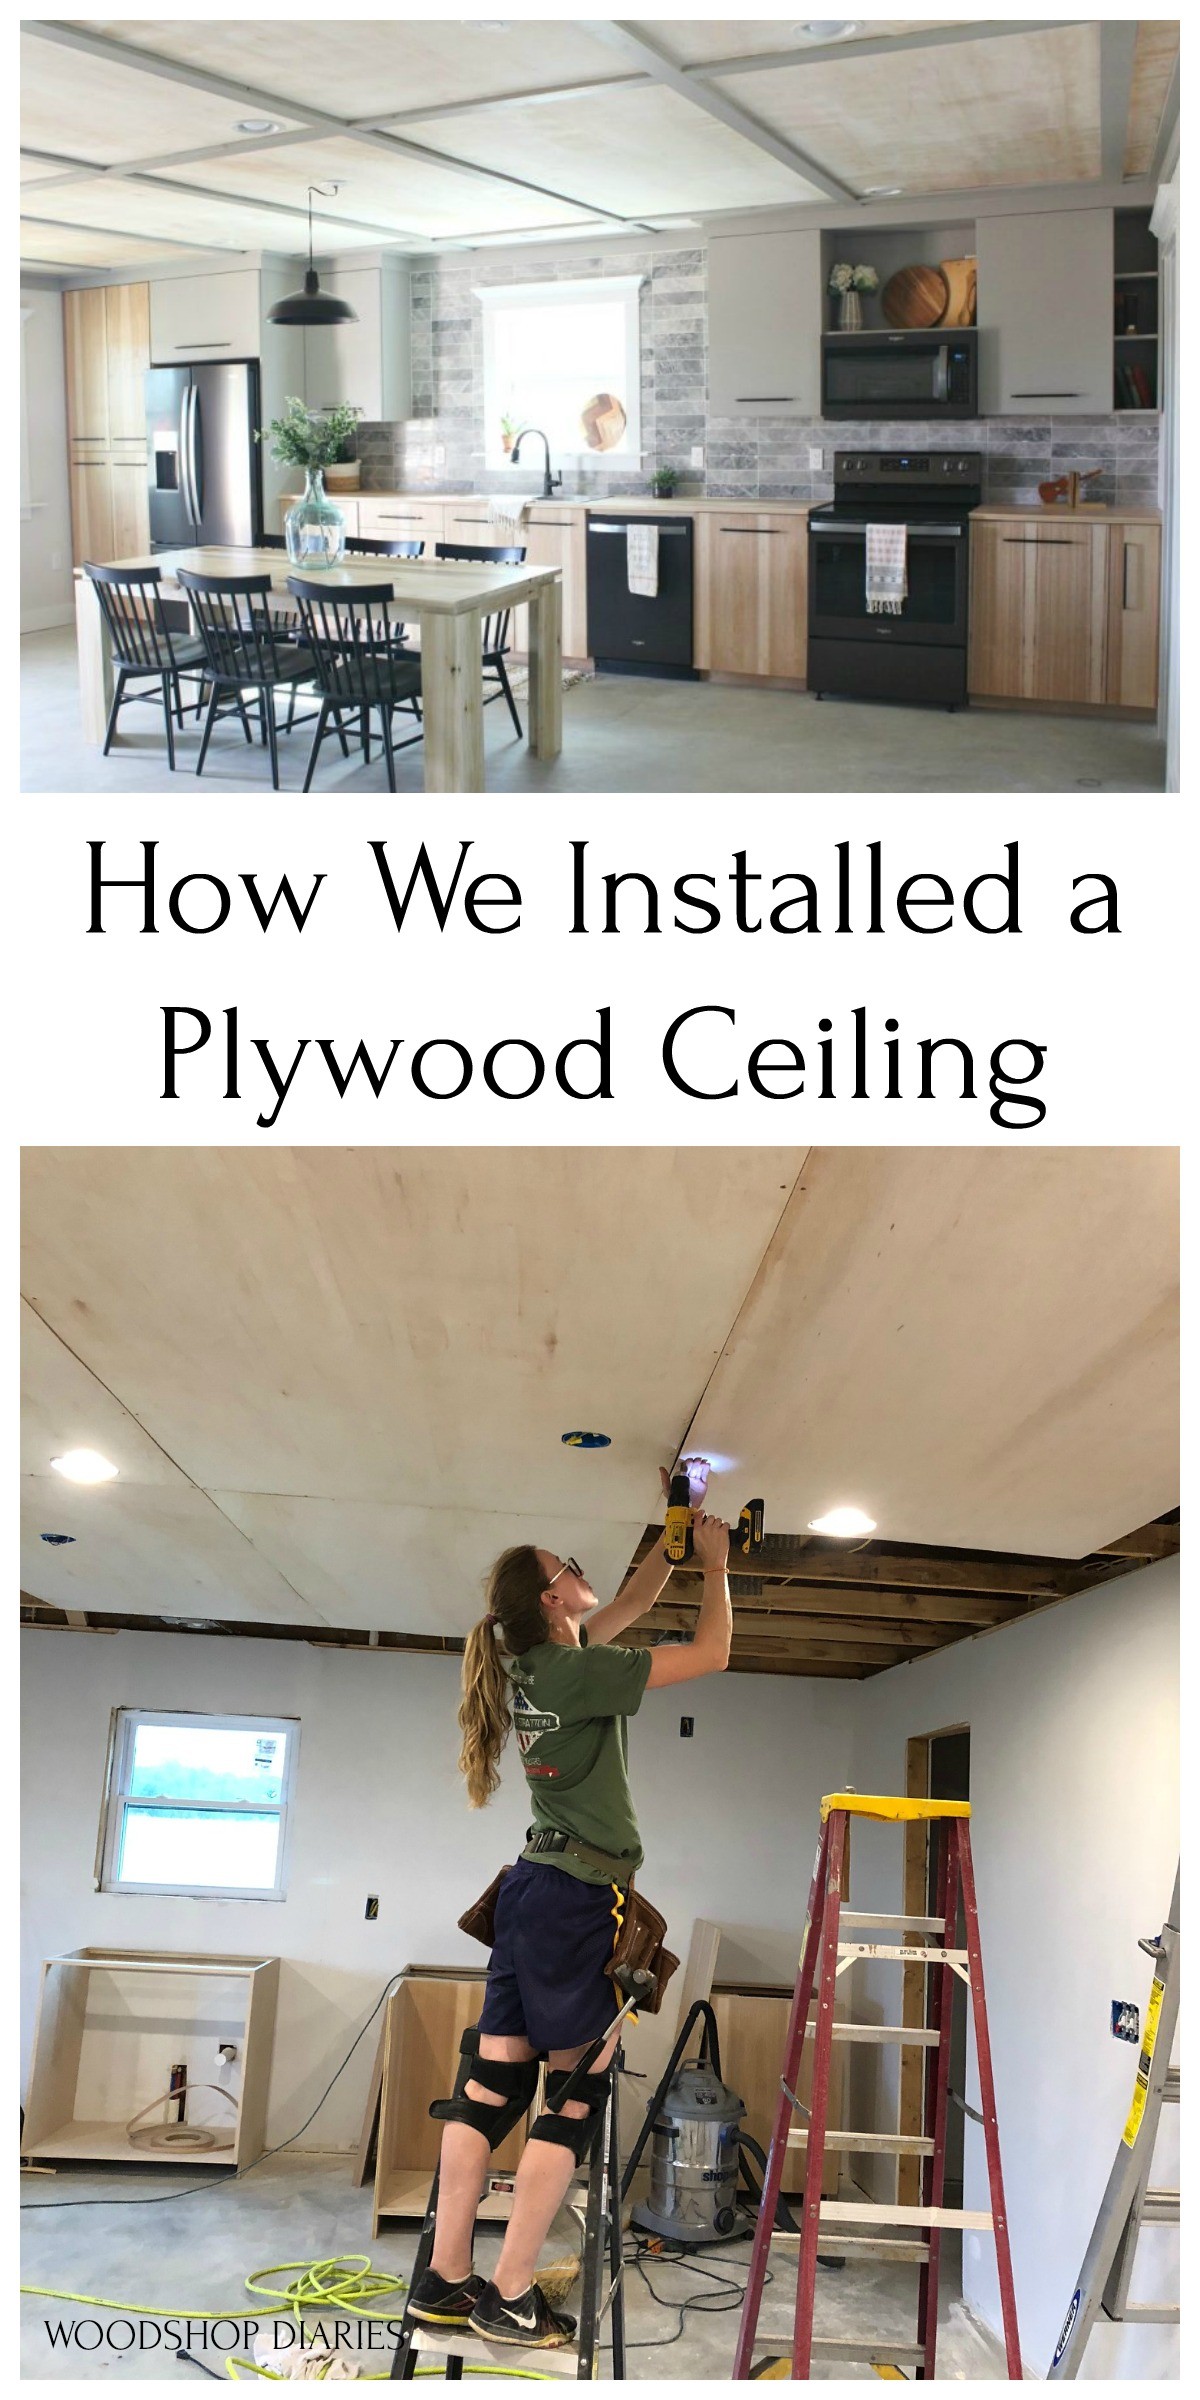
After the walls were done, I decided to get creative and install ¼″ plywood on the ceiling instead of drywall and just trim it out to cover the seams.

We did this years ago and at the time, I wasn’t planning to write a tutorial for it, but I’ve received a ton of questions, so I’m writing it now.
.
I don’t have a video or a ton of photos for this, but it’s a fairly easy project.
.
This post contains affiliate links. See policies page.
.
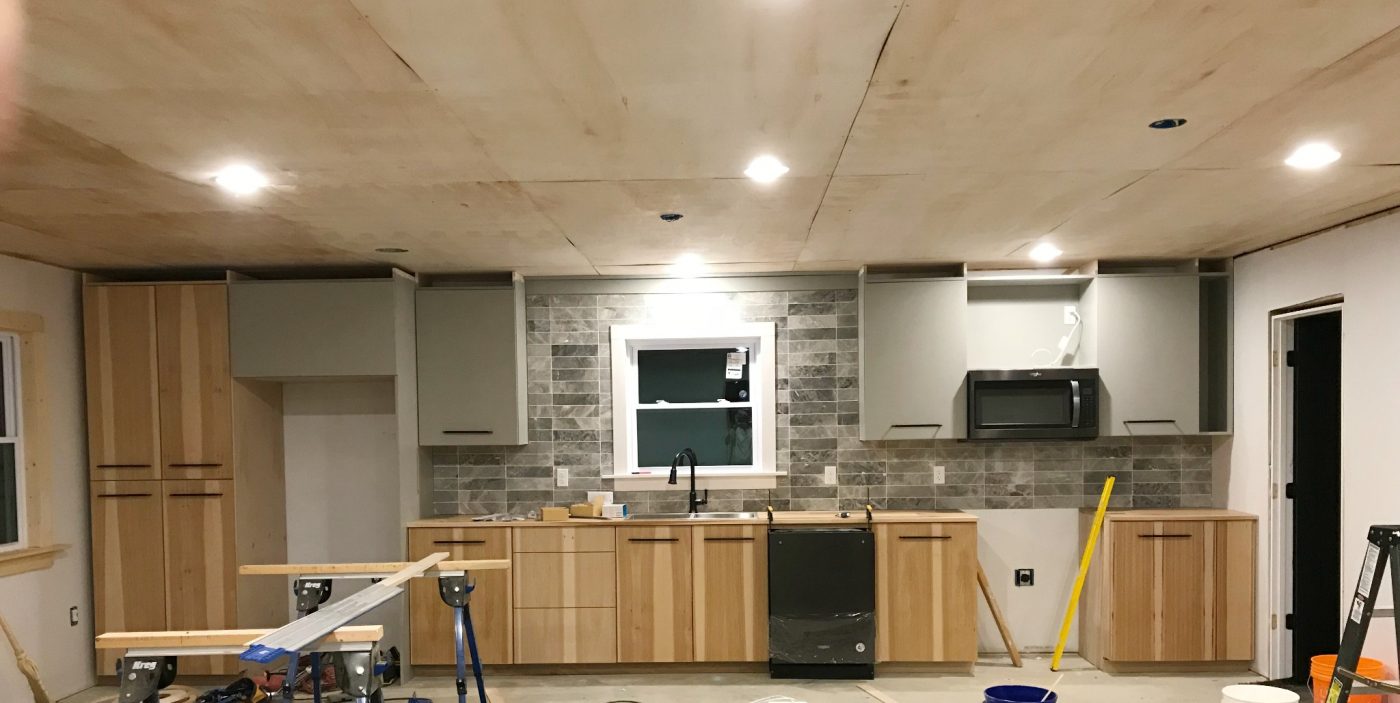
Now, our ceiling looked like this when we started–trusses placed on 2 ft centers.
.
So it was easy to see where to put the screws to attach the plywood.
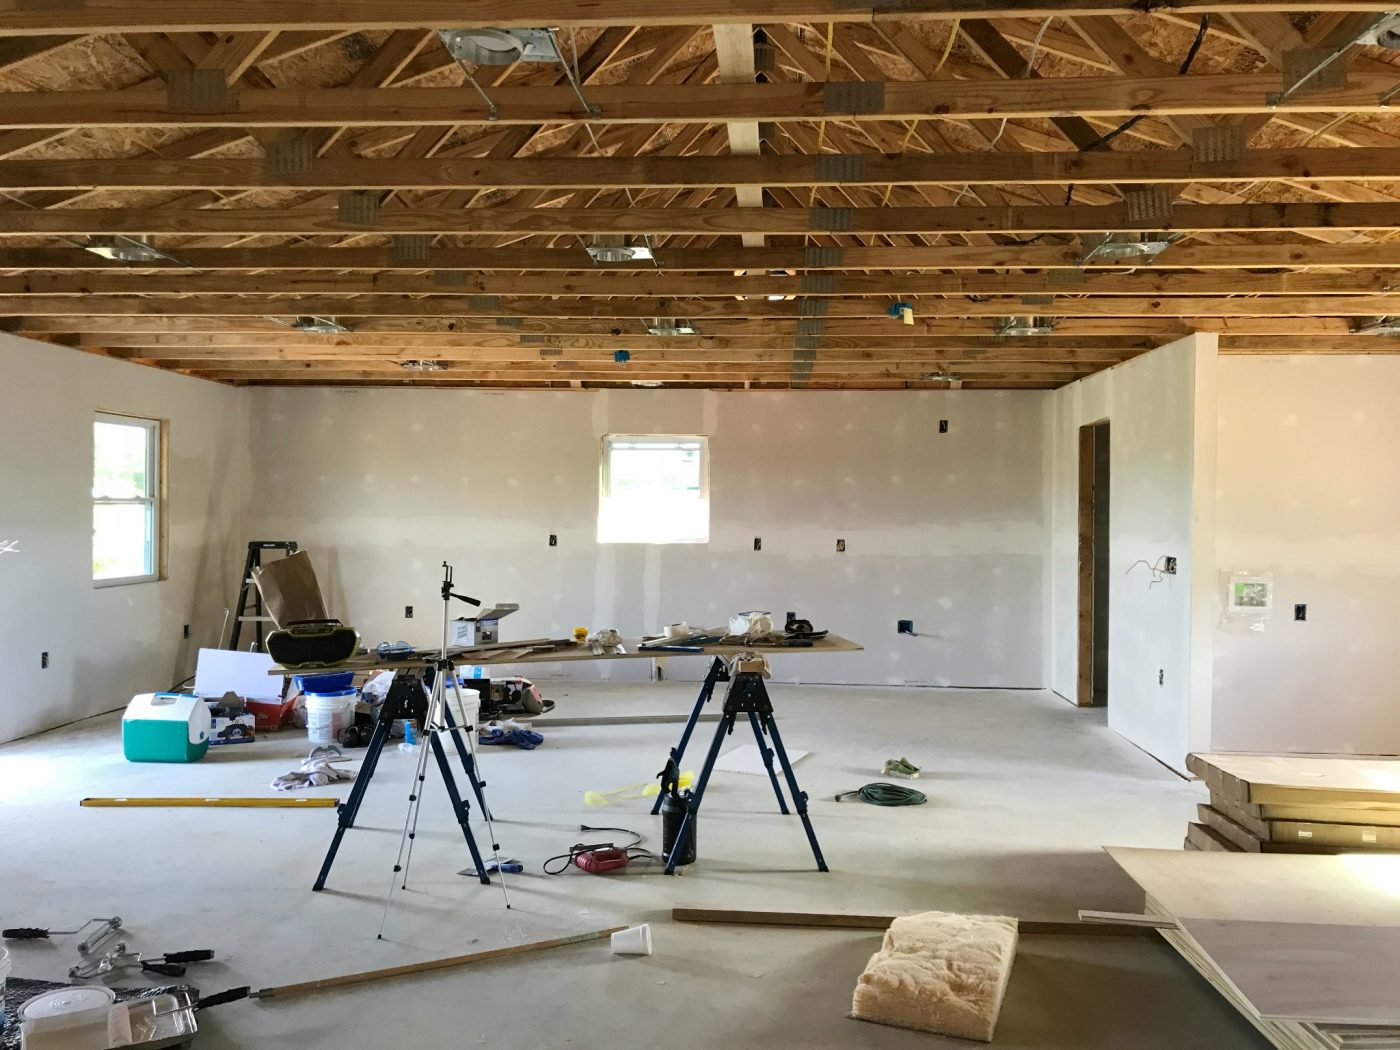
BUT, if your ceiling is already finished with drywall, you can use a stud finder to find the joists or trusses and mark them on the drywall to screw the plywood into.
.
OR remove the old drywall and start clean.
.
But, personally, if I did this again, I’d do it OVER drywall, so the air is better sealed off (more energy efficient so lower heating bills 🙂 ).
.
So if you already have it, I don’t recommend removing it to install this–just put it on top.
.
DISCLAIMER: Every house/roof is built differently, and local codes vary.
Before adding plywood onto a ceiling structure, check with a professional to make sure your ceiling can hold the added weight and ensure local building codes allow it.
For this plywood ceiling, we used:
Materials:
- ¼″ plywood (we used underlayment because it was about $15 for a 4×8 sheet at the time, but ¼″ hardwood plywood is nicer–it’s about $27 for a 4×8 sheet)
- 1×4 boards
- 1×3 boards
- 1 ½″ wood screws
- 9/16″ staples
- 2″ brad nails
Tools:
- Brad nailer
- Drill
- Stapler
- Measuring Tape
- Jig Saw
- Circular saw (See this post for how to cut plywood sheets)
- Miter Saw
NOTE: Lumber prices are always changing and vary greatly by location.
At the time we did this in 2018, it cost APPROXIMATELY $700 to cover, trim out, and paint/finish our 750 sq ft space.
Step 1: Find a Starting Point
Our plywood sheets were 4 ft x 8 ft. And our trusses were on 2 ft centers.
.
So we tried to lay things out in a way that would both look aesthetically pleasing, but also allow us to cut as few sheets as possible and still keep our plywood centered on the trusses.
.
The big thing here was making sure all the edges could be secured to a truss.
.
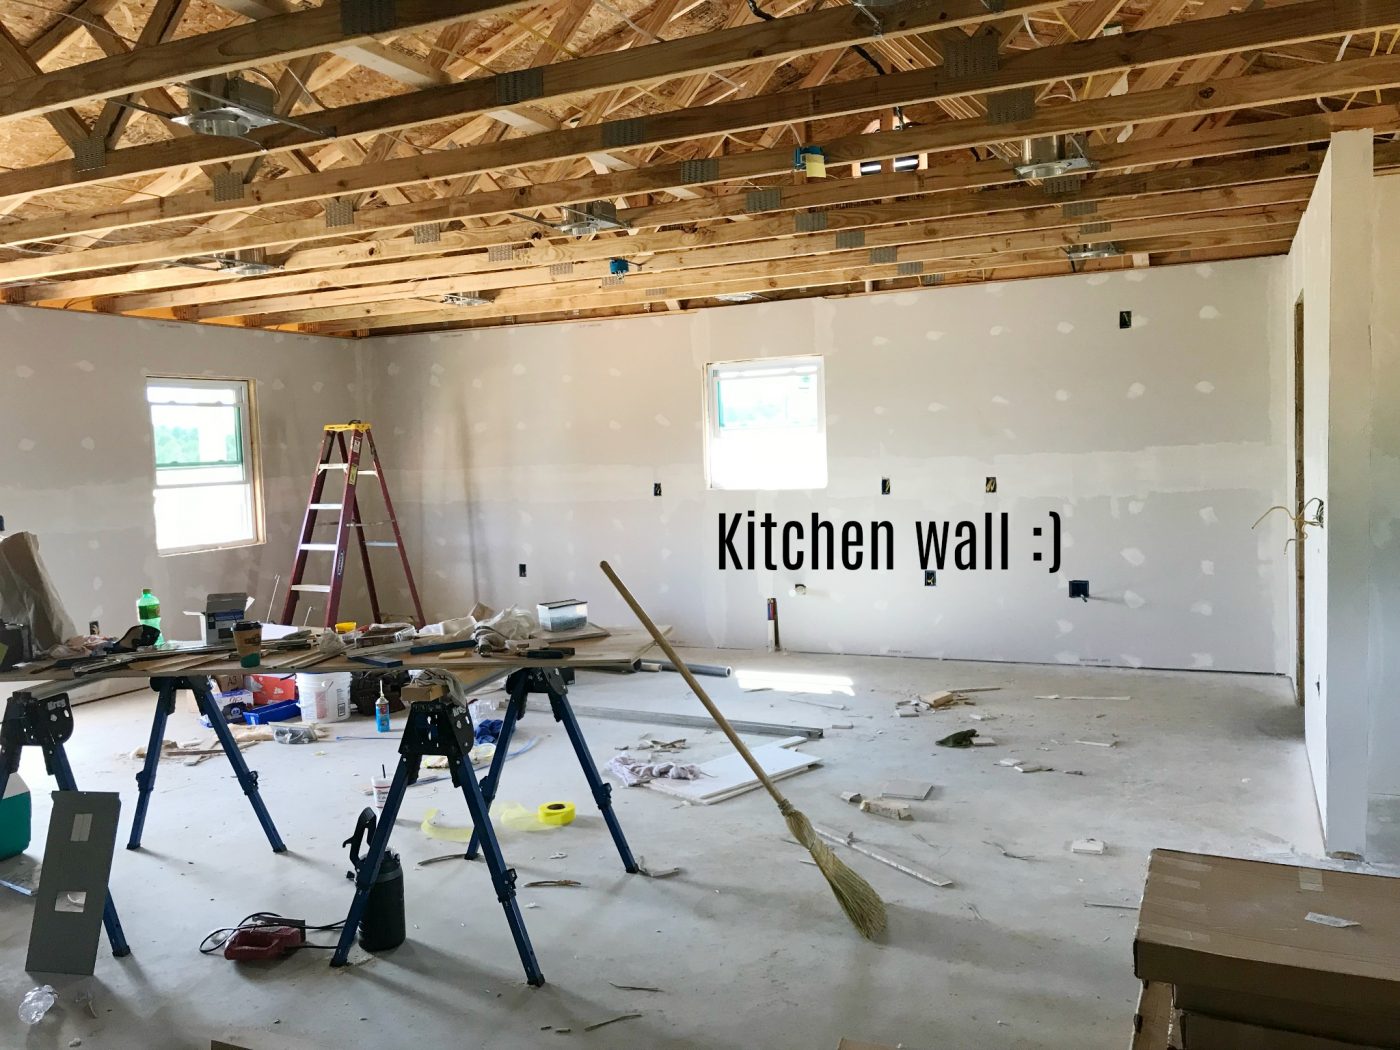
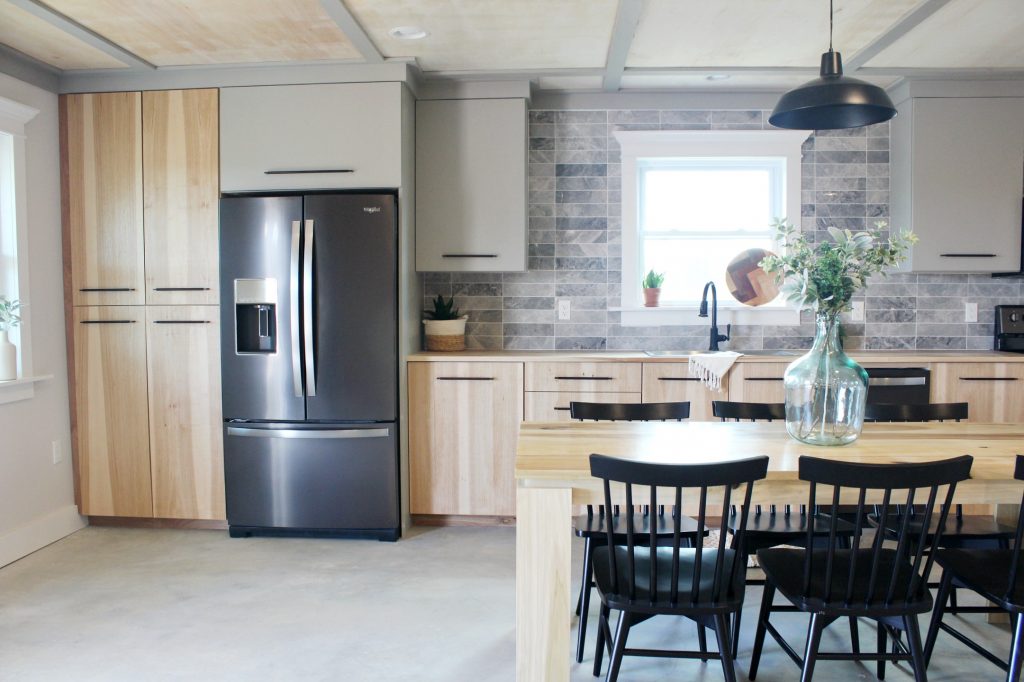
If you’ll notice, the kitchen window, here, we decided it would look best to start here and make this our “center.”
.
So we ran a row of sheets even with this window across the room first, then worked our way out from there.
You can pick a starting point however you want…just kind of sketch or plan it out so you waste as little plywood and cut as little plywood as possible.
.
Here you can kind of see how we ran them centered on the window.
.
We also centered them the other way so that the two end pieces ended up being the same size–notice the 2 ft gap above the window?
.
There’s also a two foot gap behind where I was standing when I took this picture.
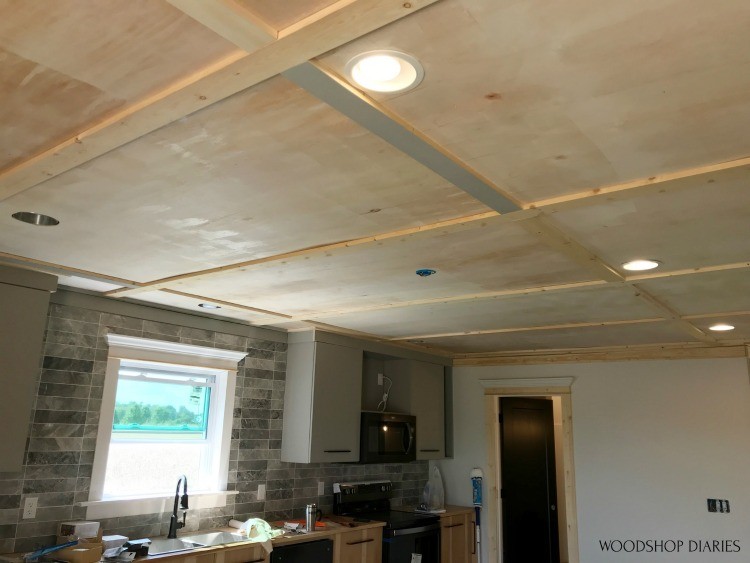
Note that we hung all our full sheets in the middle of the room, then finished up the outer edges last…see the edges missing above??
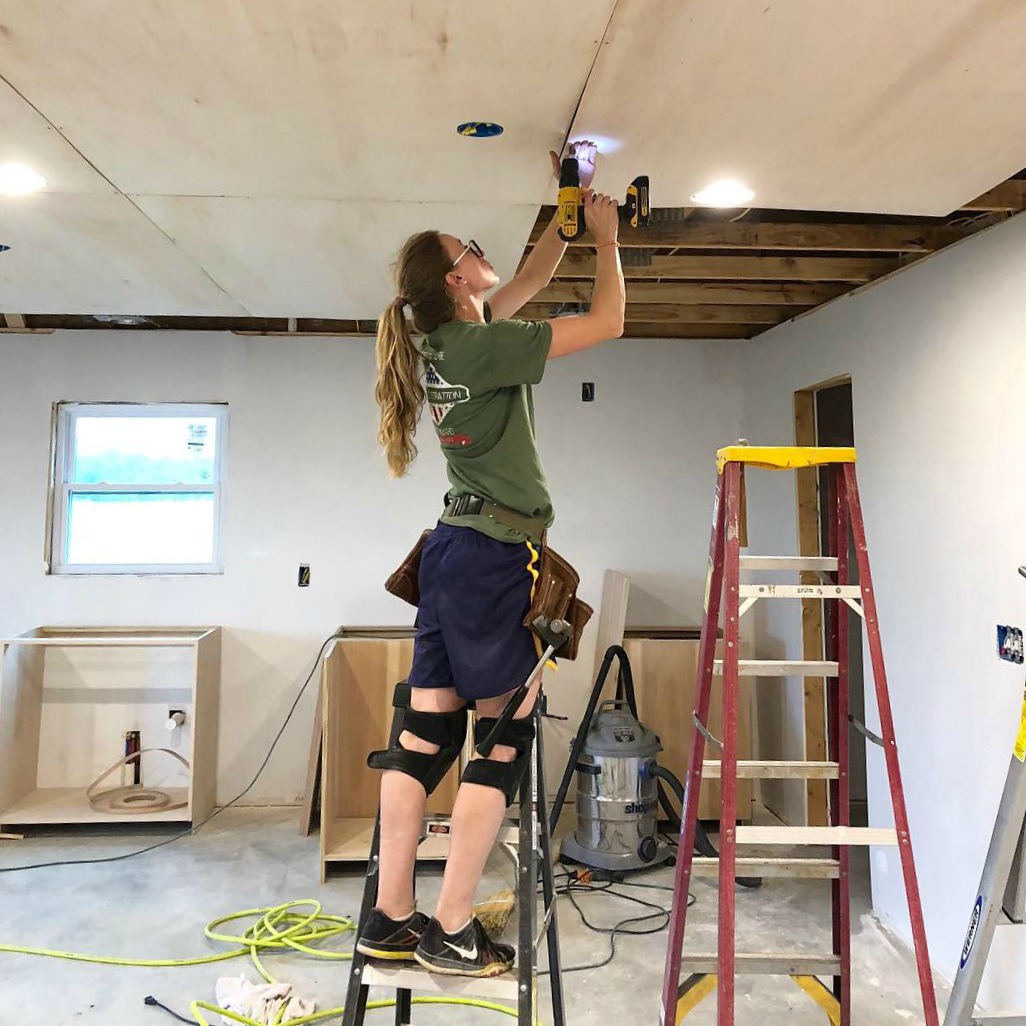
Step 2: Hang the Plywood
Once we had our game plan together for where we were starting and what direction we were laying them, we started hanging the sheets.
.
Now, the ¼″ plywood sheets are’t heavy, but they are flimsy, so this was definitely a three person job.
.
Two held each end of the sheet, climbed the ladder and screwed it in place.
.
And the third person stayed on the ground and used a stick or broom to push the center flat to the trusses.
.
The sheets tended to sag in the middle, so two of us screwed the sheets into the ceiling while the third person supported the center.
,
We used 1 ½″ wood screws along the outside edges to attach it into the trusses.
.
Since we were trimming the edges out later, these screws will be covered.
But there wouldn’t be any trim in the center of the sheets. So for that, we used long staples because they are less noticeable.
As we installed each sheet of the first row, we constantly checked the distance from the edge of the sheet to the edge of the room to make sure we were putting these up straight.
.
We used a measuring tape, but this would have been ten times quicker and easier if we had one of these handy laser measurers at the time.
.
Once we had the first row straight, we knew we could work our way out and they’d stay straight.
.
For the light boxes, we held the sheet up where it needed to go, then marked around the light box where to cut with a pencil.
.
Then, we brought it back down and used a jig saw to cut that part out.
That was the worst part of the process. Just tedious. Trim pieces go into these light boxes to cover the edges later.
.
Once we got to the outside edges, we cut the sheets to fit. For a detailed guide on cutting plywood sheets, check out this post.
.
There were a few places where there was nothing to nail or screw into.
.
In those cases, we used some scrap 2x4s to add some bracing to attach the ceiling to.
.
You can see below in the hole above the sink I screwed some pieces into the existing framing to attach the plywood to here.
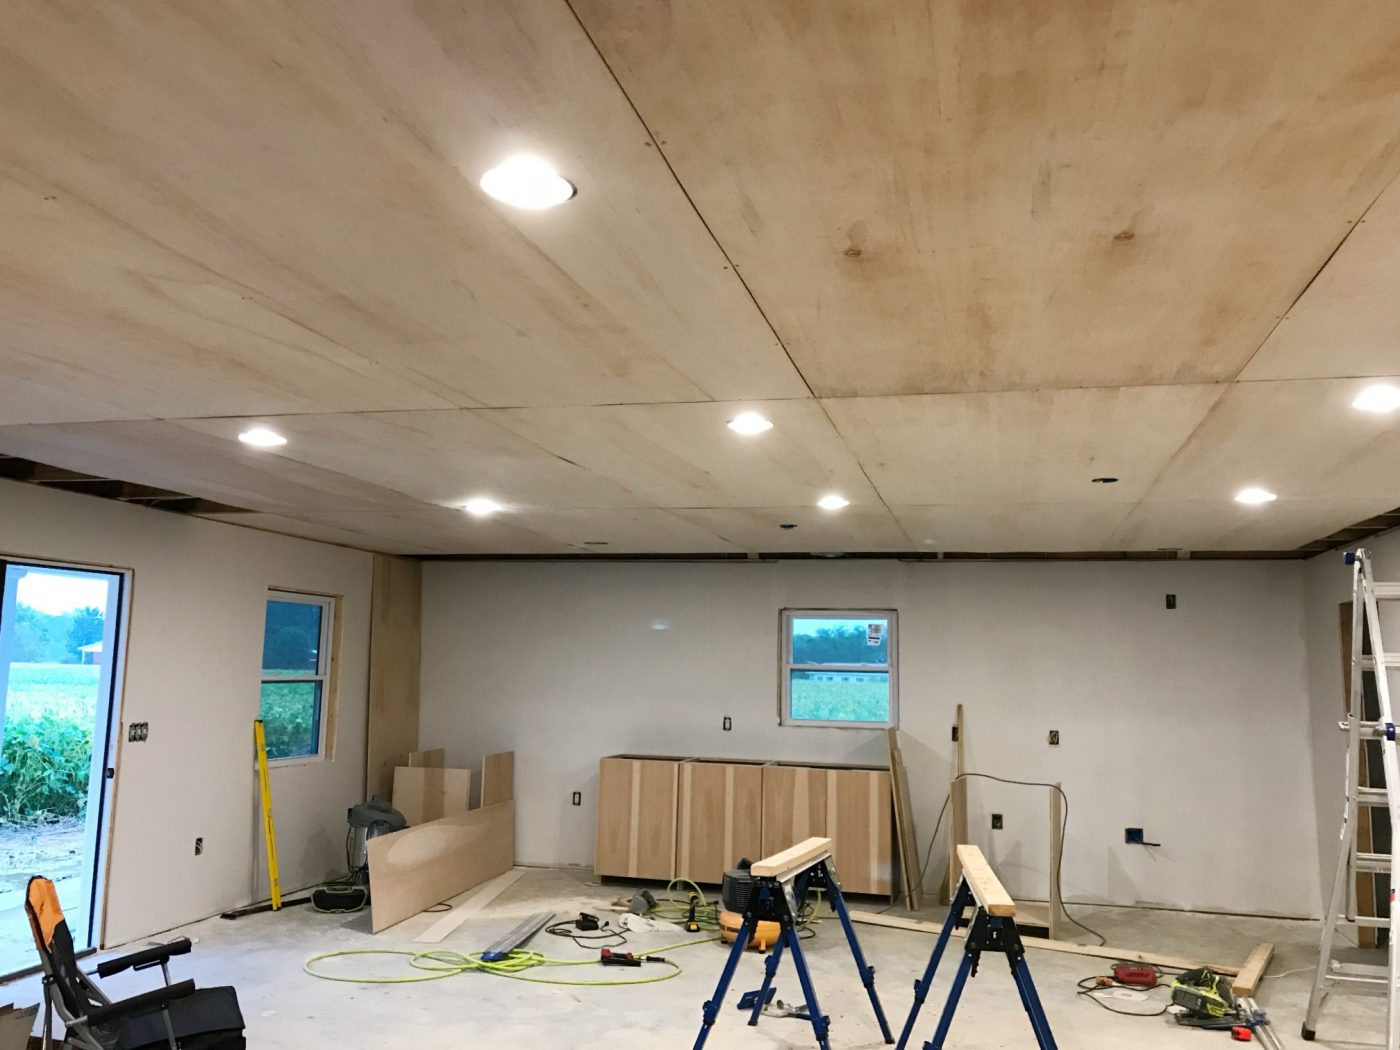
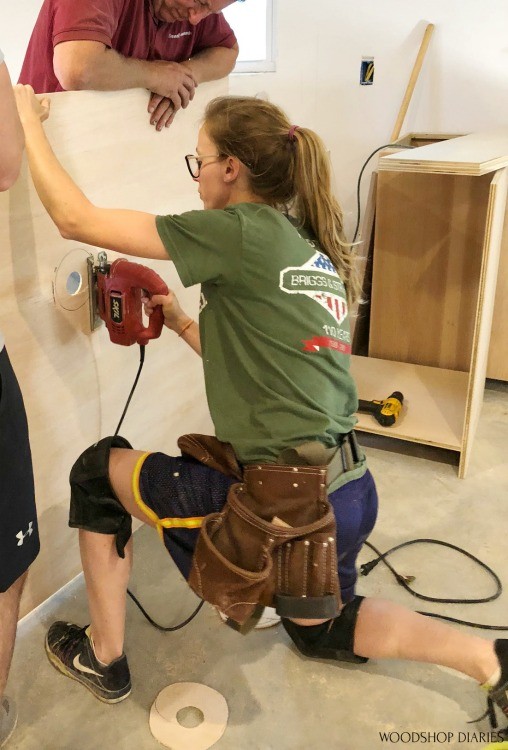
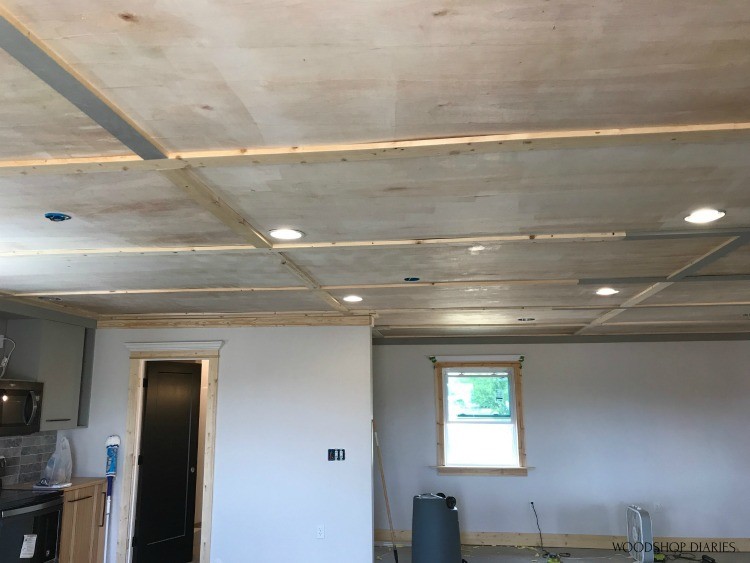
Once we had all the plywood on the ceiling, we finished it with a clear coat–Minwax Polycrylic.
.
We just used a paint roller and rolled it on.
.
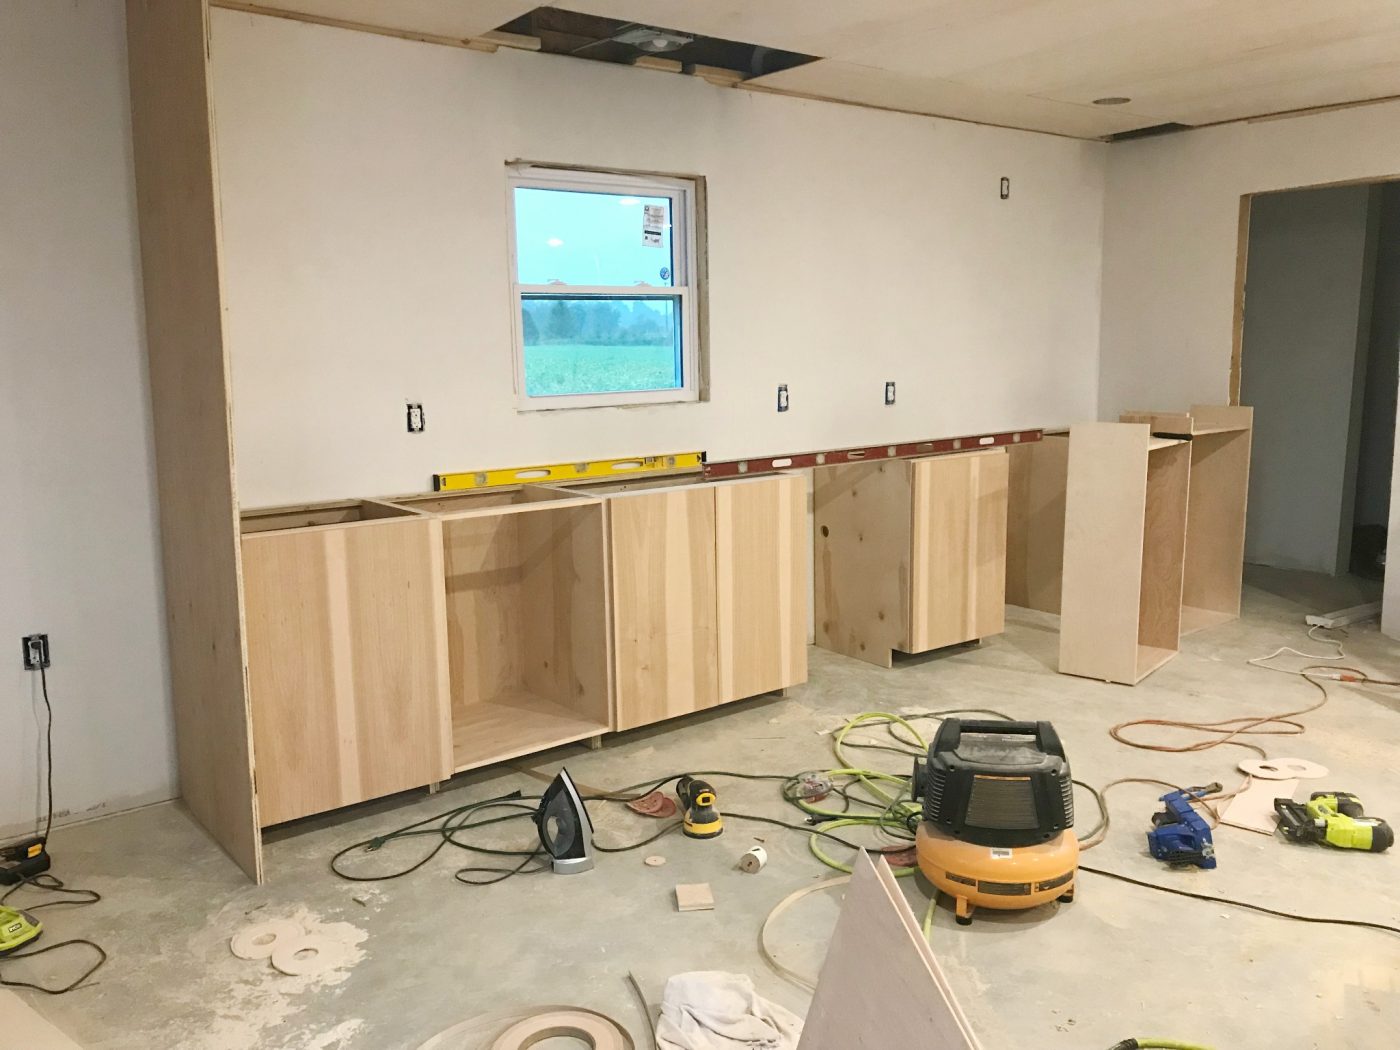
At this point, I also had installed the DIY kitchen cabinets.
Step 3: Trim it Out
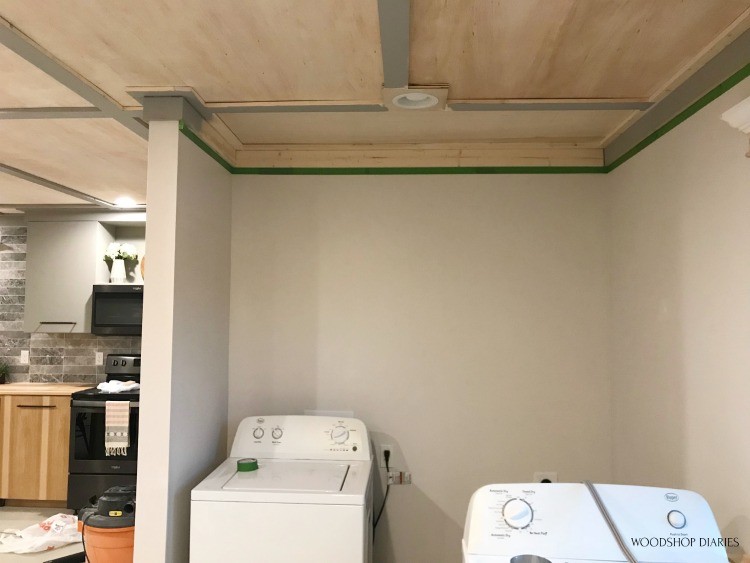
The final step was to trim the plywood ceiling out to cover the seams.
.
Because we installed all the seams along the trusses (remember how we made sure all the edges could screw into a truss??), we were able to nail 1×4 trim along all the edges into the trusses.
We haven’t had any issues with our trim falling down or anything, but looking back, it might have been better to use long screws instead of long brad nails.
.
But I didn’t want to putty all the screw holes so I took my chances. So far so good…but you may want to consider screws.
.
I first trimmed out all the outside corners of the room using 1x3s at the top and 1x4s at the bottom.
.
I nailed the two together, then installed as one piece along the edges.
Once the outside edge was finished, I installed 1x4s along all the seams in the middle.
.
I used the longest boards I could buy (16 ft) so that I had as few seams as possible.
.
Then I cut to fit all the pieces between. I used 2″ brad nails and secured these into the trusses in several locations.
I highly recommend painting all the trim before installing it.
.
I painted some, but not all and it was a nightmare touching up all the little edges.
Once the trim is up, you could (and probably should) caulk between the plywood and the trim to help seal it off from air leakage.
.
We didn’t…but our electric bill is low because we live in a tiny house and use a ductless Mr. Cool system.
.
If you’re worried about energy efficiency, definitely caulk.
.
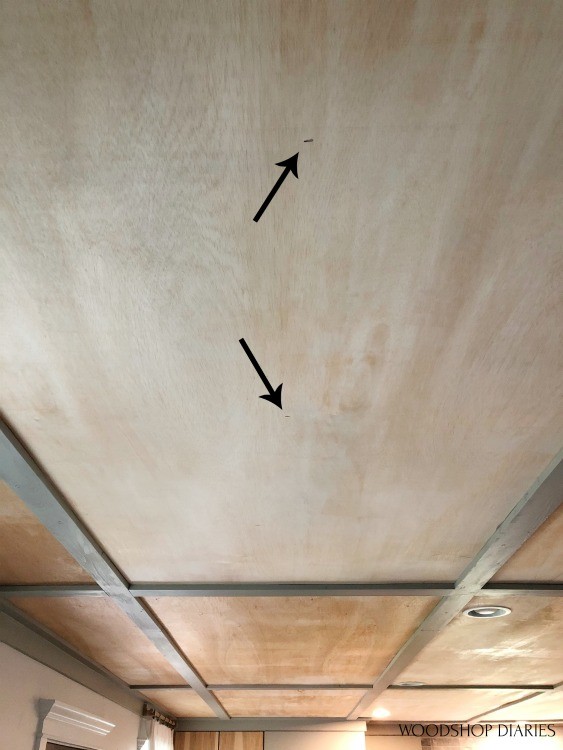
Now, we did run into one instance where the seam was right on a light box.
.
That’s not ideal, but I used it as a design element. It kind of drives me crazy that it isn’t centered, but there wasn’t any way around it.
.
Either the light would be off center or the trim would be off center–so I left the light centered.
.
I used a scrap piece of plywood and cut out the center for the light box.
.
I installed this block onto the ceiling, then butted the trim up to it.
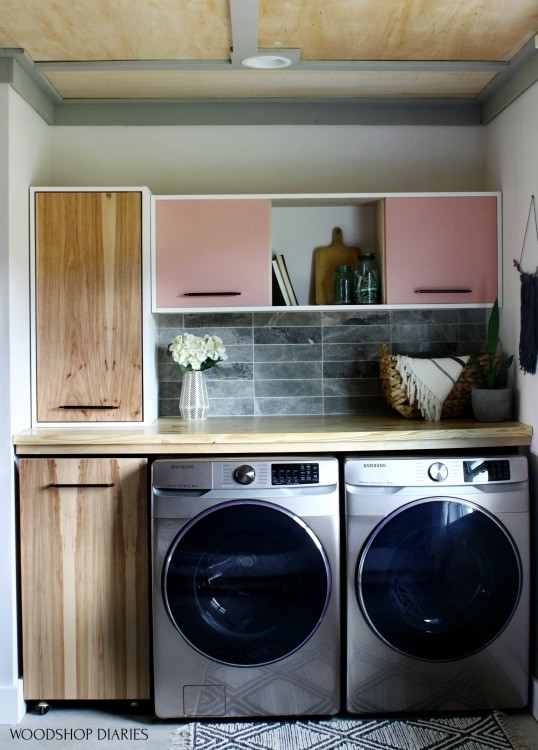
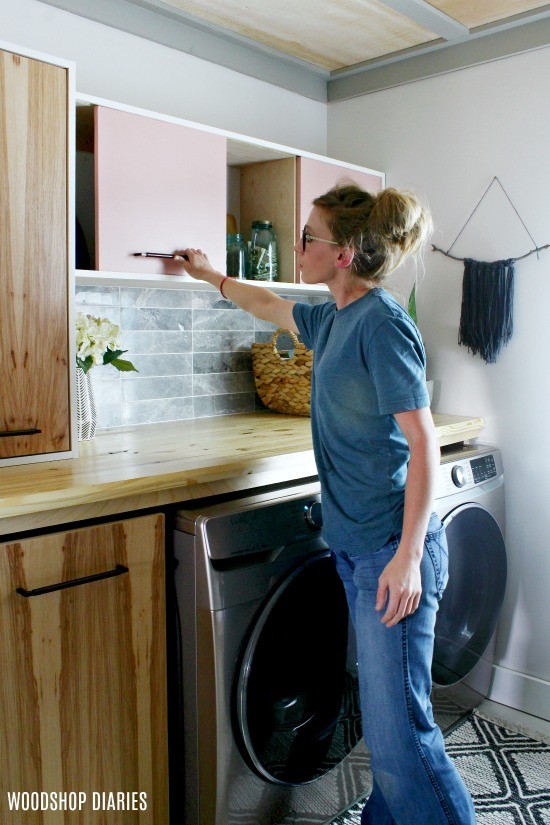
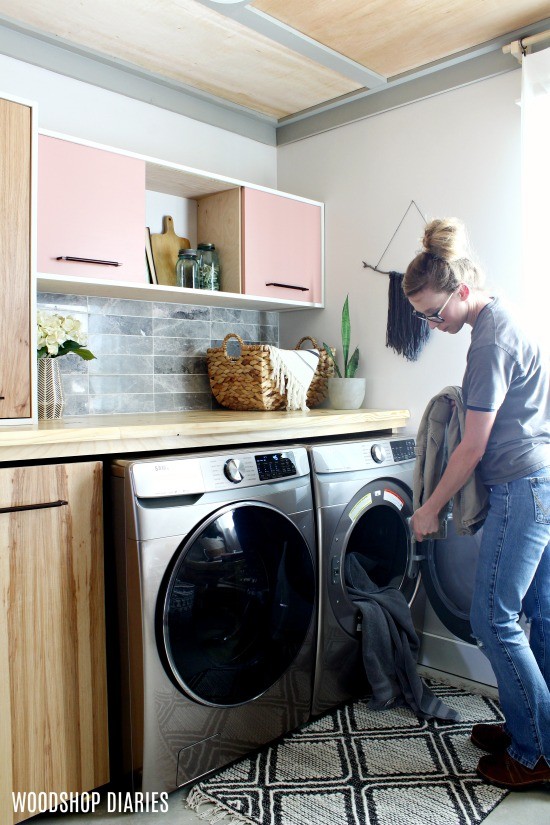
I was pleasantly surprised how nice it looks finished in our little laundry nook after the recent refresh I did in here.
Once we installed the can light trim pieces, we were finished with the ceiling. HALLELUJAH!
.
We did have someone come and blow insulation on top of it in the attic space to help seal and insulate our living space. That’s pretty standard practice.
.
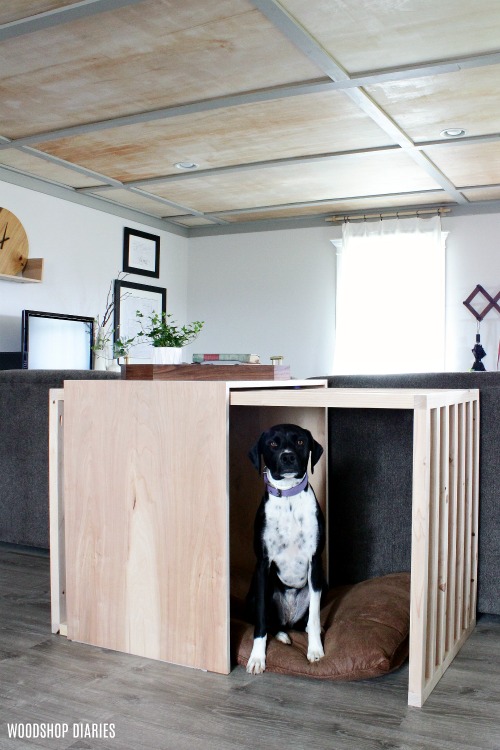
And that’s the story of our plywood ceiling! It was really a pretty simple project if you have a few people helping.
.
And although it was kind of a “lazy” idea because we only did it to avoid having to finish drywall, it’s actually the one thing about our little home that get’s the most compliments.
.
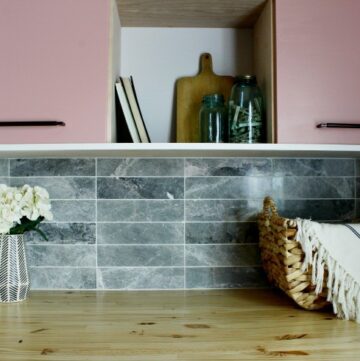
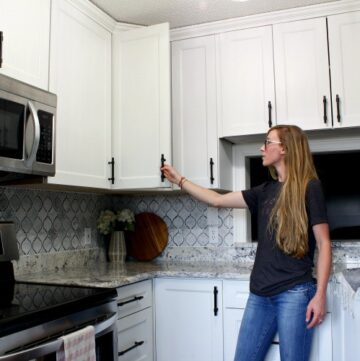
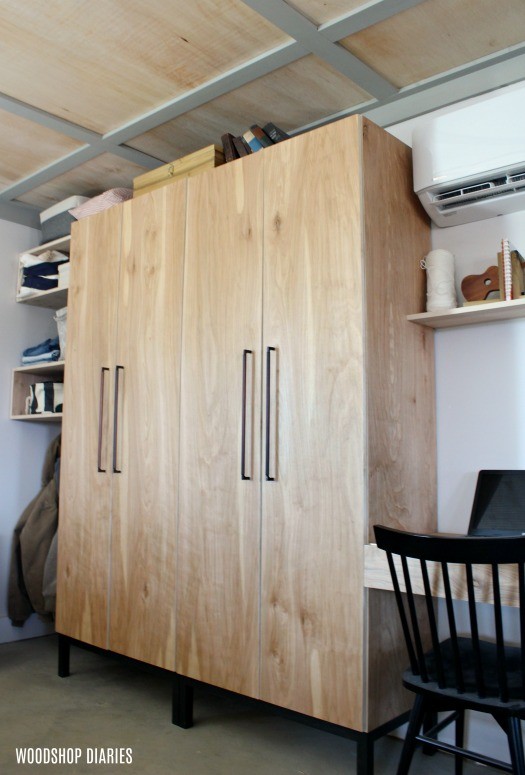
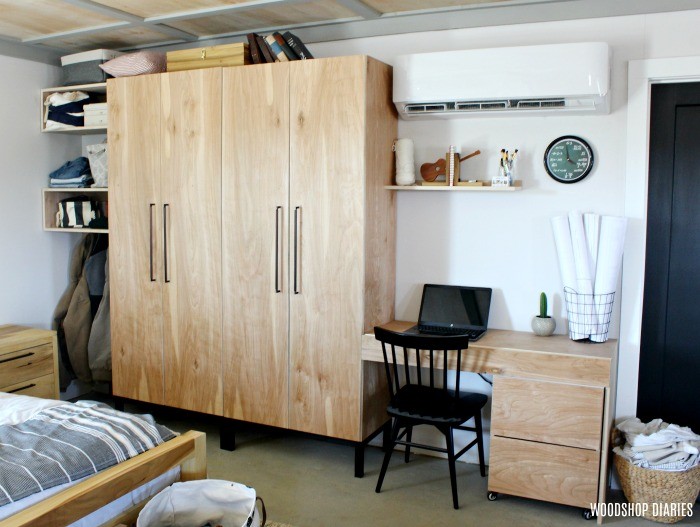
Here’s a peek at it in several of my other project photos.
Before I go, I’ll go over a few Frequently Asked Questions about the plywood ceiling…because I’ve been asked A LOT of questions 🙂
Won’t the nails/screws come out over time?
I honestly don’t know. I mean, I’m not worried about it. The ceiling isn’t going to just one day all fall down on me or anything.
.
But if a piece comes loose at some point, the beauty of doing it yourself is that usually you know how to fix it if it breaks.
.
So I’ll just reattach the loose piece with another nail or screw and go on about my business. We had it for over three years and we didn’t have any issues.
What did you do at the trim seams?
Because this is a grid and the room is so long, I had to butt a lot of trim pieces up to each other.
.
We were in a HUGE hurry to get this finished because we were in a six week renovation challenge.
.
So I just nailed the pieces in place and didn’t putty or caulk the seams.
.
I may eventually go back and putty/smooth out the seams, but it will be a LOT of tedious work so I’m not super motivated to do it yet.
.
The reality is that even if I did, the putty will probably crack with seasonal changes and that will just be a lot of time wasted.
What kind of plywood did you use?
We tried to build this place on a tight budget.
.
I really really wanted to use ¼″ birch plywood, but it was almost double the price of the ¼″ underlayment.
.
So we used ¼″ underlayment plywood (also sometimes called luan).
.
It’s not high quality and sometimes it has a side that is pink or red…you don’t want that.
.
I recommend picking through your own sheets to make sure you get decent ones. They usually carry it at any building supply store that sells lumber.
Would you do a plywood ceiling again?
Totally. BUT…If I do it again, I’ll do it on top of drywall.
.
We’ve talked about doing something similar again in our real house (whenever we get around to building it), but if we do, we want to finish the ceiling drywall (well…have SOMEONE ELSE finish it) first so that the air is sealed off.
.
This just helps keep air from seeping through the ceiling and causing high heat and cooling bills.
.
In our tiny space now, it’s not a big deal. But an entire normal sized house might be a different story.
Did you stain the plywood?
No. We just rolled on a clear coat poly (Minwax Polycrylic). You could stain it if you wanted.
How much did your plywood ceiling cost?
Lumber prices vary by location and prices change all the time so your cost won’t necessarily be the same as mine.
.
But, when we did it in 2018, we spent about $700 to cover, trim out and paint/poly our 750 sq ft ceiling.
.
I hope you’ve enjoyed reading about our plywood ceiling process and if you want to save it for later, I’d love if you’d pin it and share with your friends 🙂
If you want to read more about our garge apartment and projects we’ve done in it, check out a few of these posts:

And if you want to follow along and be the first to know about the latest projects and DIY tips shared on Woodshop Diaries, be sure to subscribe to our free newsletter!
Until next time, happy building! 🙂