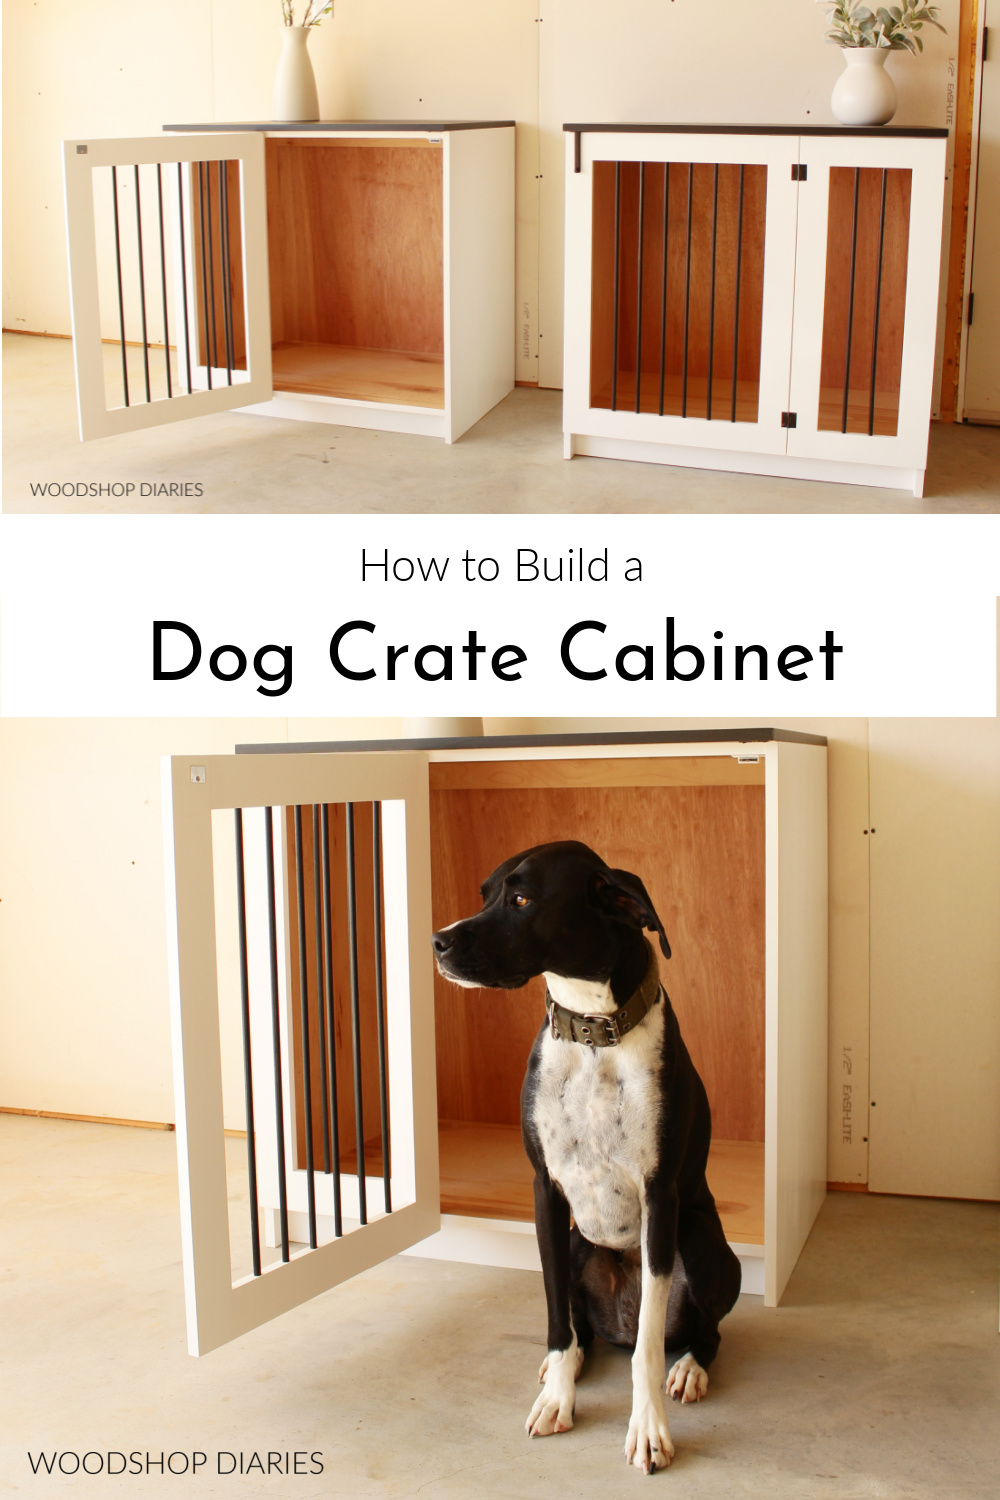
In this post, I’ll share with you how to build a DIY wooden dog crate cabinet!
A friend of mine recently asked me to build a custom black and white wooden dog crate to fit underneath her laundry room countertop.
.
Since this was custom built to fit into a specific space, my measurements are a little random.

I’ve provided step by step instructions for this project below, but you will probably want to determine your own size and dimensions to fit your specific dog and your own space constraints.
.
For more pet projects, check out a few of these favorites!

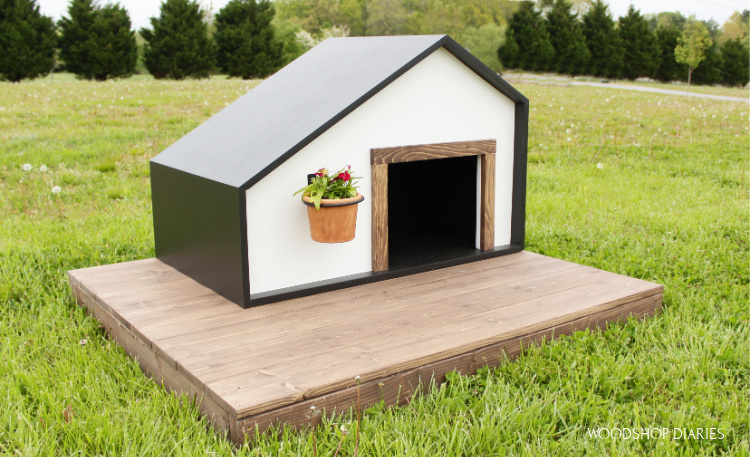
DIY Pet House 
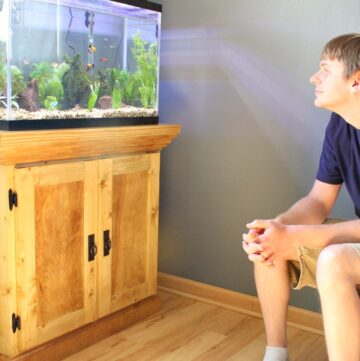
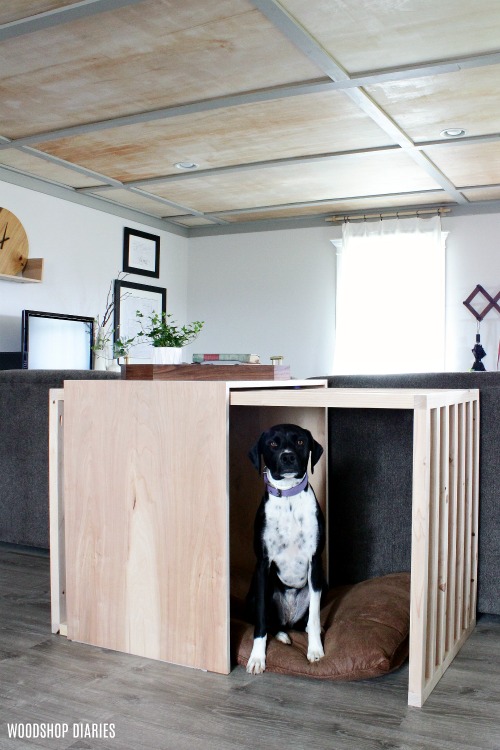
Modern Dog Crate 
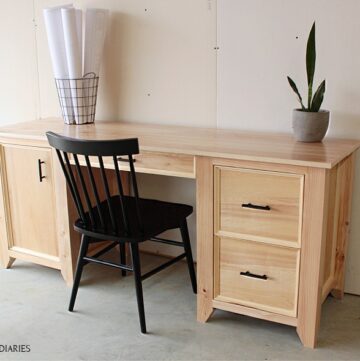
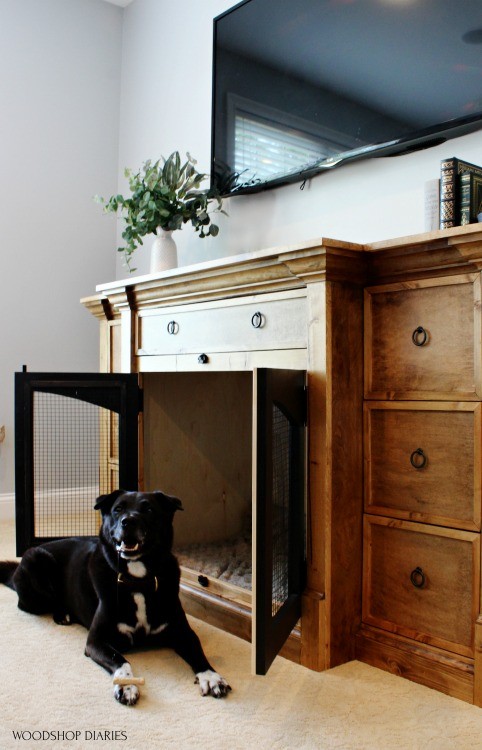
Dog Crate Console Dresser 
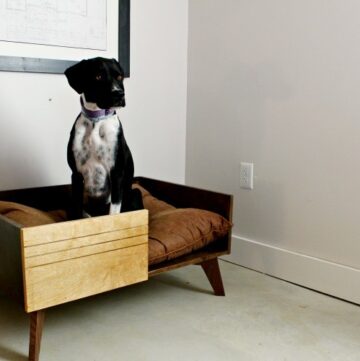
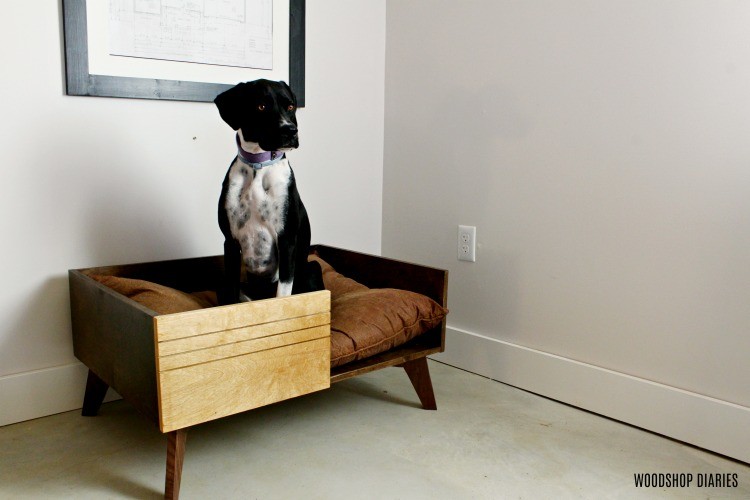
DIY Dog Bed
To determine a good size to make this wooden dog crate for your own pet, I’d recommend finding a plastic tray liner or a dog bed that’s a good size for your dog and build your crate to fit those measurements.
.
Nonetheless, this is a pretty straightforward build and is very easy to customize, so let’s jump right in. You can check out the plans below and the build video here:
**This post contains affiliate links. See website policies.
Tools and Materials:
Tools:
- Circular Saw
- Cutting Guides (optional)
- Miter Saw
- Drill/Driver
- Pocket Hole Jig
- ⅜″ Dowel Jig (optional)
- ⅜″ forstner bit
- Nail Gun (optional)
Materials:
- (1) sheet ¾″ plywood (I used cabinet grade maple)
- (1) sheet ¼″ plywood
- (3) 1x3x8 boards
- (8) ⅜″ dowel rods
- ⅜″ dowels for joinery
- 1 ¼″ pocket hole screws
- Pair butt hinges
- Surface Bolt Latch
- Wood Glue
- Wood Putty
- Edge Banding (optional)
- Spray Paint (whatever color you want to paint the rails)
- Paint (whatever color you want to paint the cabinet)
- Clear Poly (optional–to finish the inside of the crate)
Notes About the DIY Wooden Dog Crate Cabinet Project:
I used cabinet grade plywood for this project–birch, oak, and maple are usually readily available and are great options. This made them easy to finish and kept the insides nice and smooth (no rough surfaces for splinters).
.
You can mix and match your paint colors as you want for your own project, but I used a custom color match of white paint for this to match my friend’s existing cabinets (the closest color to what I used is SW Extra White) and I used SW Tricorn Black for the top panel. I just used satin black spray paint for the rails.
.
Feel free to get creative by using different colors as you wish.
.
When spacing out your rails in the front panels of this wooden dog crate, make sure to space them close enough together that your dog can’t get their head through and get stuck. Err on the side of too close vs. too far apart.
.
Some posts you might find helpful in this build:
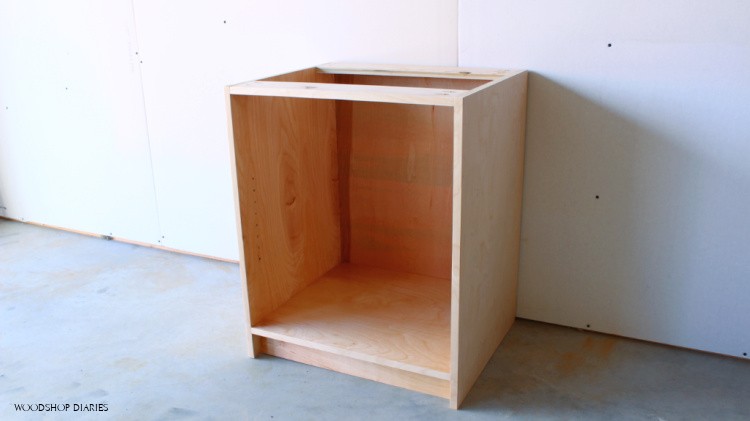
Step 1: Assemble Dog Crate Cabinet Carcass
If you’ve ever built basic cabinets before, this wooden dog crate is literally just building a cabinet box–two sides, a bottom, two strips at the top, one at the back, and a toe kick at the bottom.
RELATED: You can check out more information on how to build basic cabinets in this post.
ALSO RELATED: You can also check out how to build them a SLIGHTLY different way in this post as well.
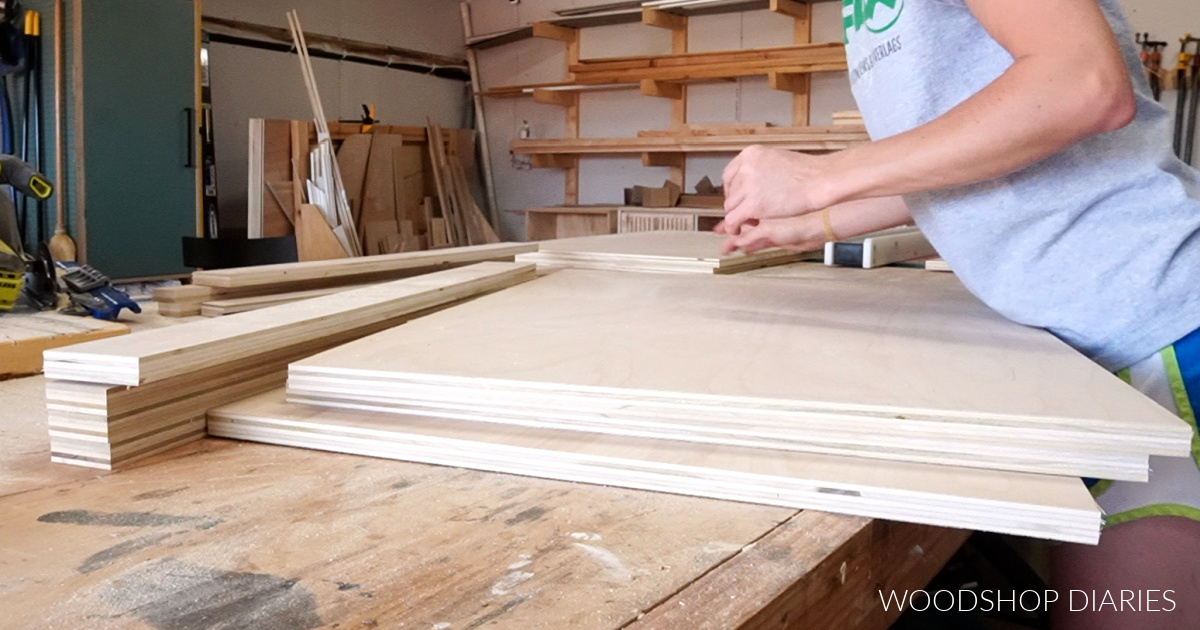
So, I began this project by cutting down the plywood needed to build the main cabinet carcass of the crate. You’ll need to determine your sizing and the best way to cut your pieces from that.
.
As usual, I used a circular saw and my Kreg cutting guides to cut down this sheet. I started by cutting a piece off the sheet to use as the top later. I set this to the side, then ripped down the remaining sheet into strips to make the cabinet body.
RELATED: How to Cut Down Plywood Sheets
.
From these strips, I cut two sides and a bottom panel. Then I cut three thin pieces for the top and back supports and a strip for the toe kick.
The widths of these thin support strips isn’t critical, but I did cut the toe kick to be about 3” wide to use at the bottom of the box. You can obviously adjust this width to raise or lower your bottom panel as desired.
.
To keep things super simple, I just used pocket holes to assemble this box—so I drilled ¾″ pocket holes into the ends of the thin strips, and across the ends of the bottom panel.
RELATED: How to Use a Pocket Hole Jig
.
I used the toe kick strip to help me install my bottom panel into my side panel exactly 3” up from the bottom edge.
Then, I continued assembling, by attaching these top strips using pocket hole screws.
.
I did apply iron on edge banding to the front edges of all these pieces that will be exposed. This just makes things look a little cleaner, but is definitely optional.
RELATED: How to Apply Iron On Edge Banding
NOTE: The top two support strips in this cabinet will be used to install the top panel later and the piece at the back will be used to secure this to the wall studs once it’s set in place—just like a typical kitchen, bathroom, or built in cabinet.
.
Once the sides, bottom and top were assembled, I added the toe kick piece a couple inches from the front edge and set this cabinet aside to start work on the front face frames and door.
Step 2: Measure and Cut Face Frame and Door Pieces
Since I was painting, I used some primed 1×3 pine for the face frame and door frame of this project.
.
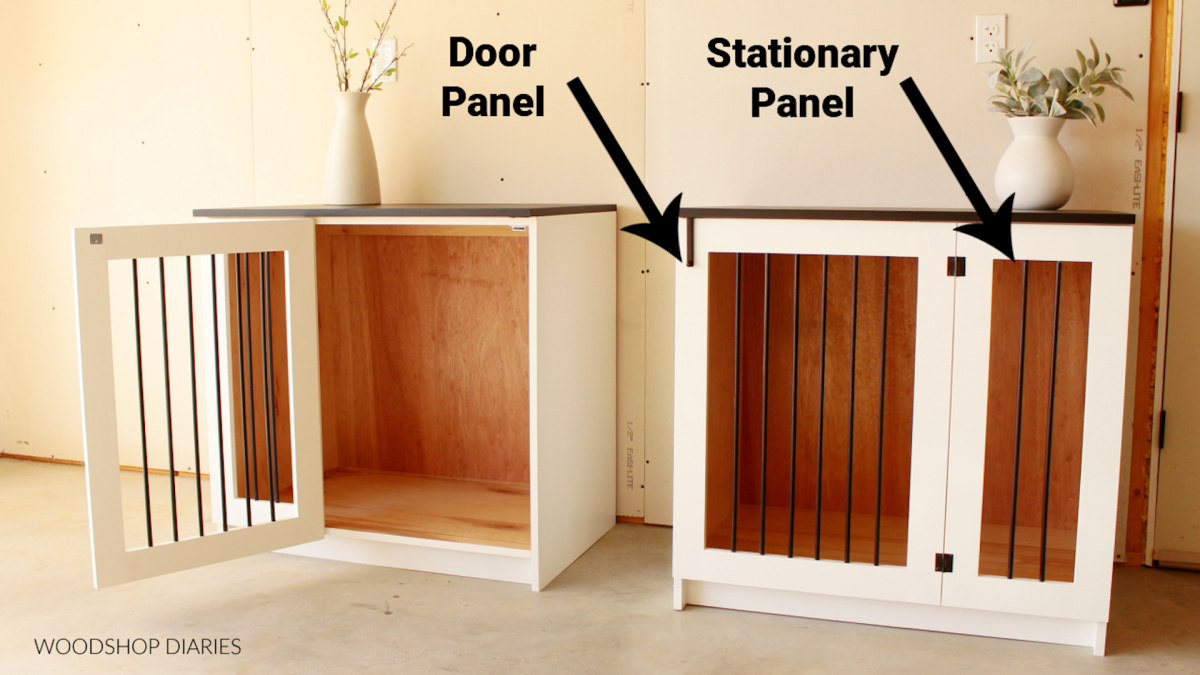
I cut down the pieces to make a door and a stationary rail panel to fit my cabinet.
I made the HEIGHT about ⅛″ shorter than the distance from the top of the cabinet to the bottom of the bottom panel.
.
Now, you can customize the widths you want here to fit your own needs, but I made my stationary face frame panel a little smaller than my door panel.
RELATED: How to Size and Build Cabinet Doors
.
Again, this is completely customizable, but once I cut my pieces to fit on the front of my cabinet, I laid them out on the workbench to get a visual and make sure it would fit correctly.
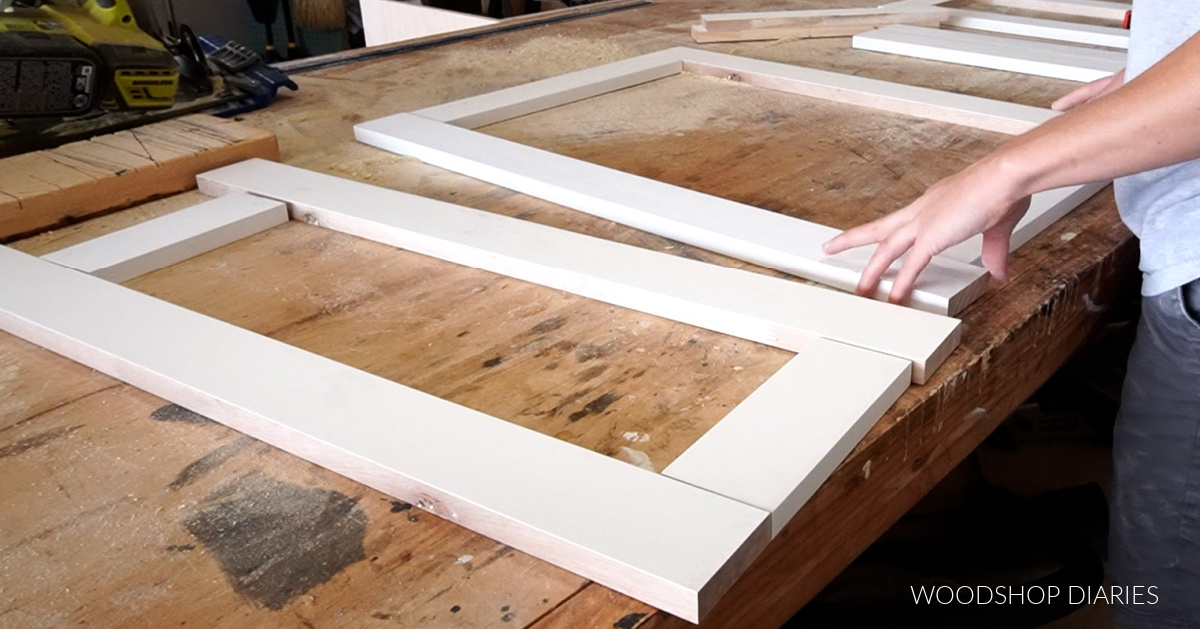
Make sure that the two panels together are a little narrower (⅛″ to ¼″) than the overall cabinet width to give you some wiggle room.
Step 3: Drill and Prep Face and Door Frame Pieces
Now, since the rails and frames were two different colors (black and white), I needed to paint the frames and rails separately before assembling them together.
.
So before painting, I went ahead and drilled the holes for assembly and for the rails.
.
I used pocket holes in the stationary panel because they’ll be hidden on the back side. But I used dowel joinery on the door so the joinery wouldn’t be seen when the door is open. However, either method works fine for both.
.
Make sure to label these pieces well so after painting, you know which piece goes where 🙂
.
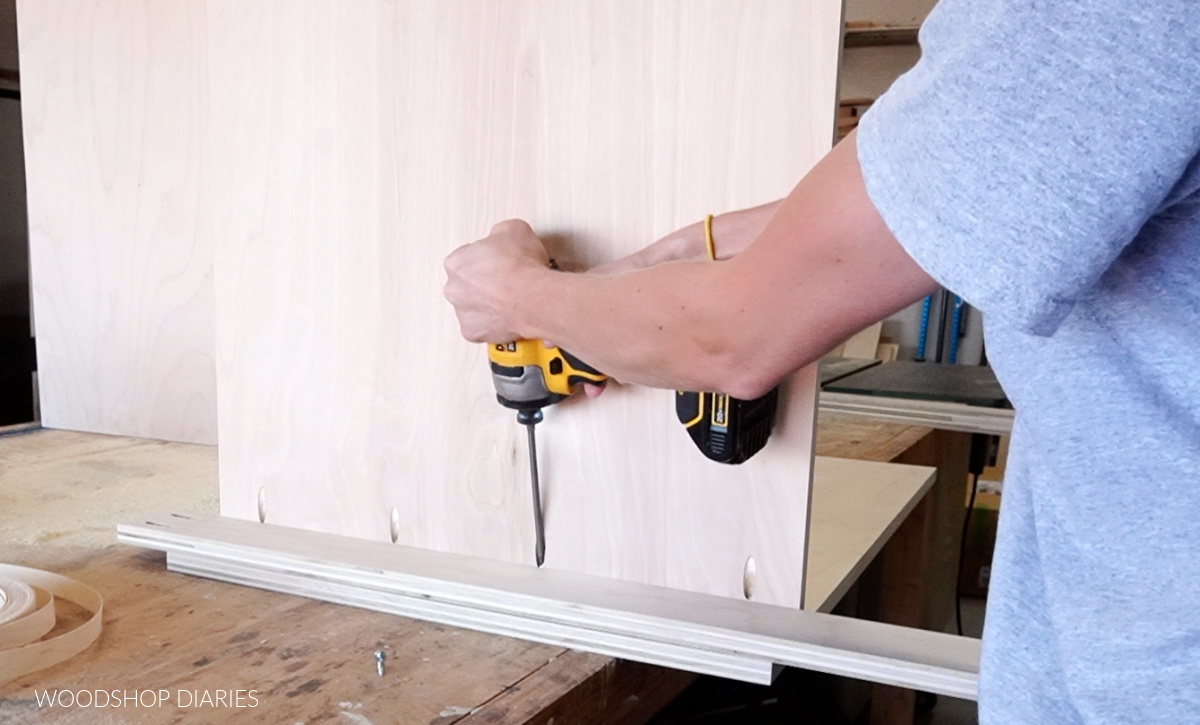
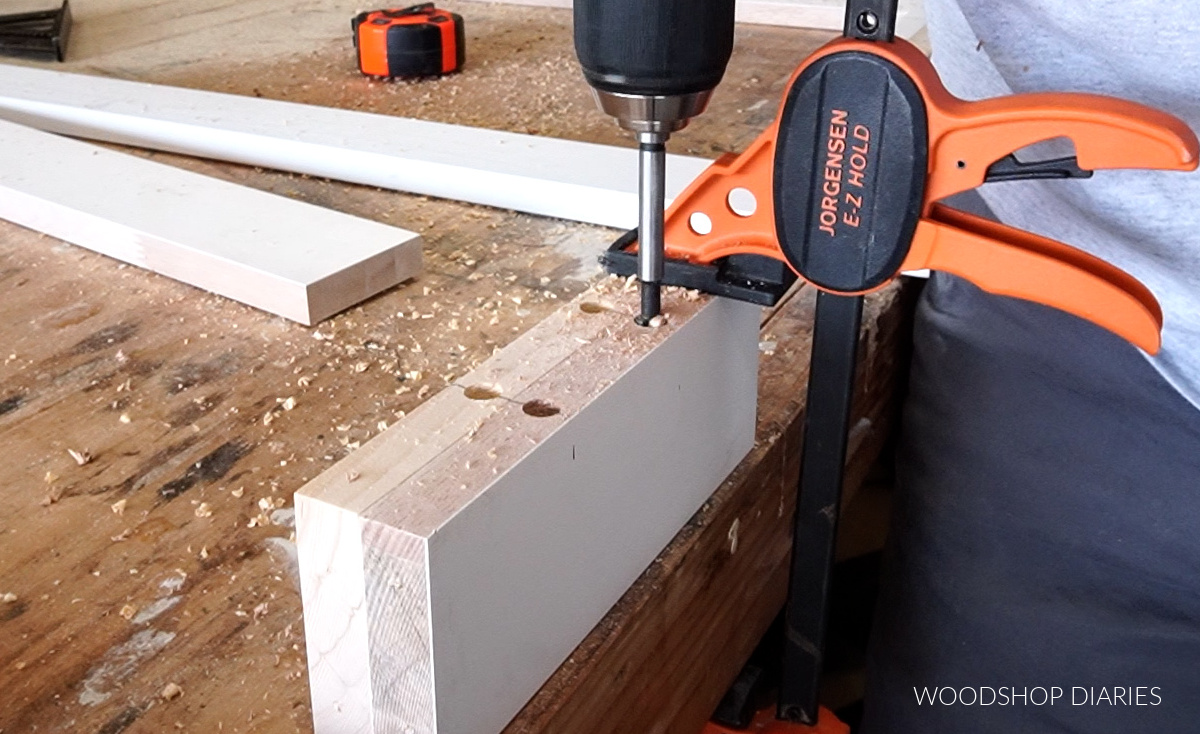
Once the pocket and dowel holes for assembly were drilled out, I marked and drilled the dowel holes to insert the rails.
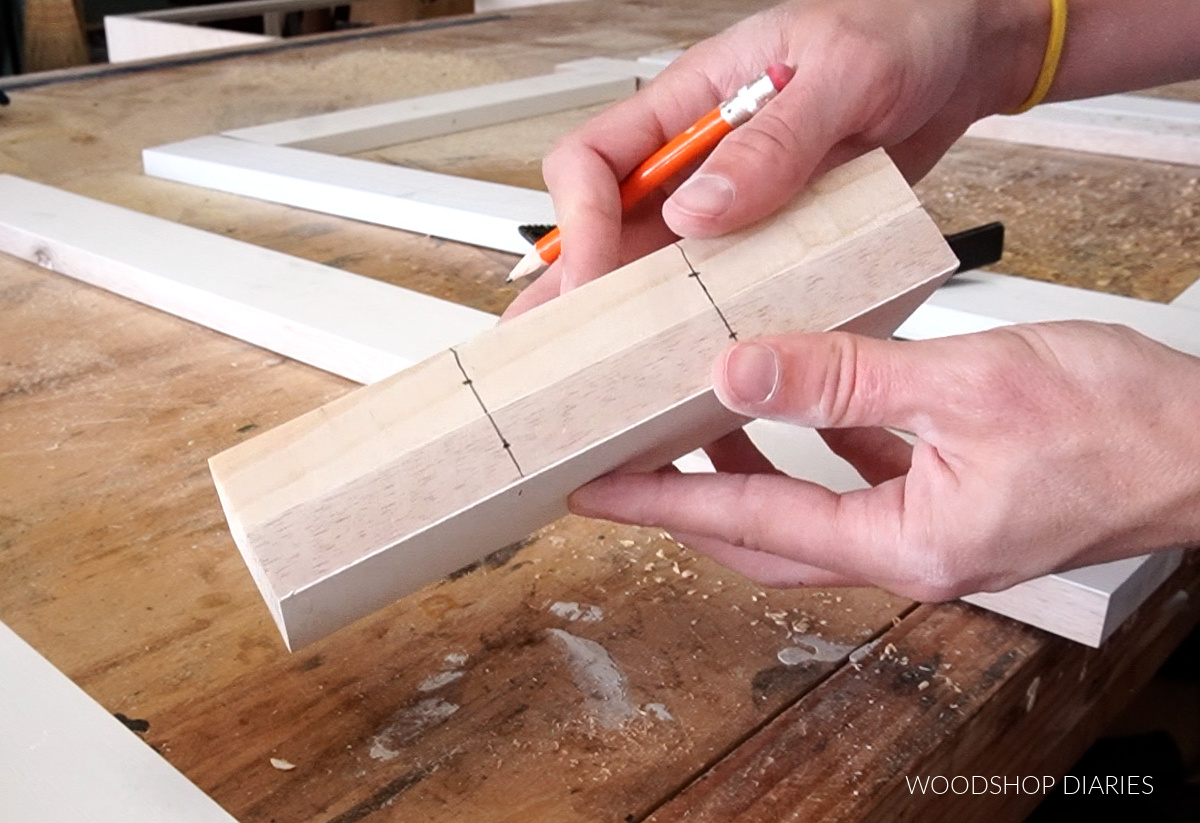
I decided to add two dowels in the small stationary panel and six in the door. So I just measured and tried to evenly space these so that they looked okay.
.
The goal here is to space them close enough so that the dog can’t get their head stuck between them haha.
.
I was using ⅜” diameter dowels, so I used a ⅜” forstner bit to drill out these holes. I just drilled until the cutter head was about flush with the surface of the wood—the exact depth isn’t critical here—consistency is most important.
Once all these holes were drilled, I gave everything a good sanding, then painted all these pieces and the cabinet boxes separately.
RELATED: How to Finish Raw Wood Furniture
Step 4: Cut and Paint Dowel Rails
While the paint dried on the frame pieces, I cut dowels long enough to span the frames and go into the dowel holes so they’ll stay put.
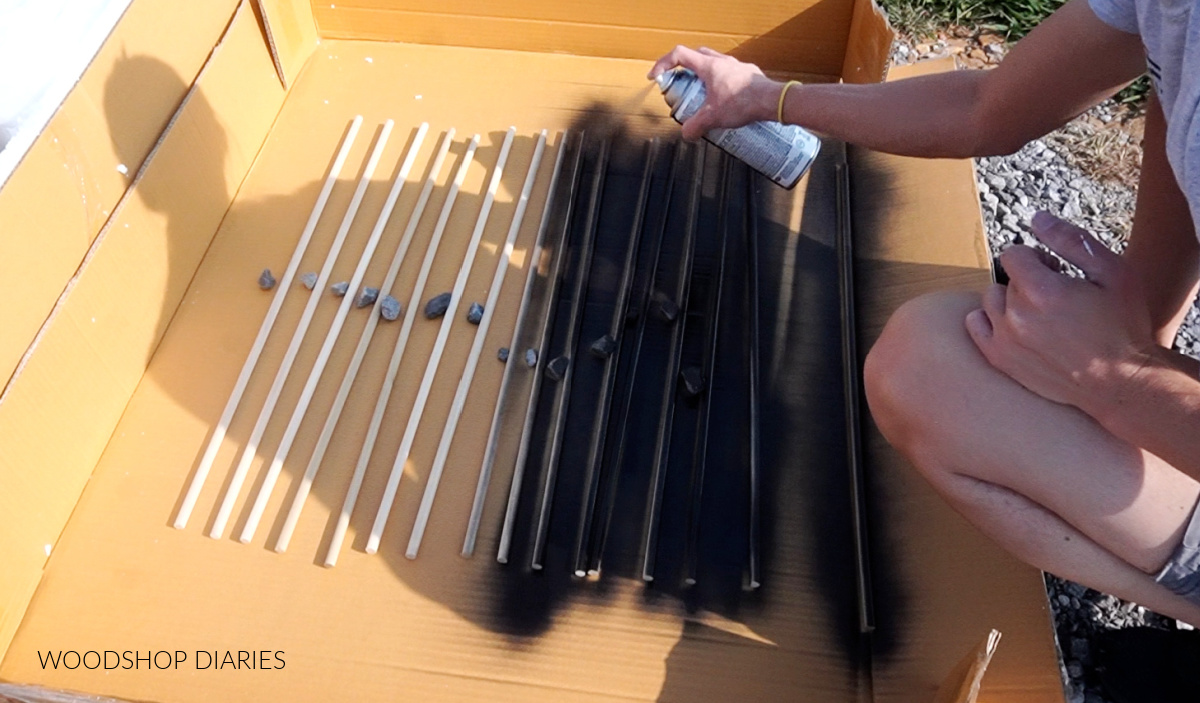
Once these were cut, I used some black spray paint to paint them all and let them dry well before moving on.
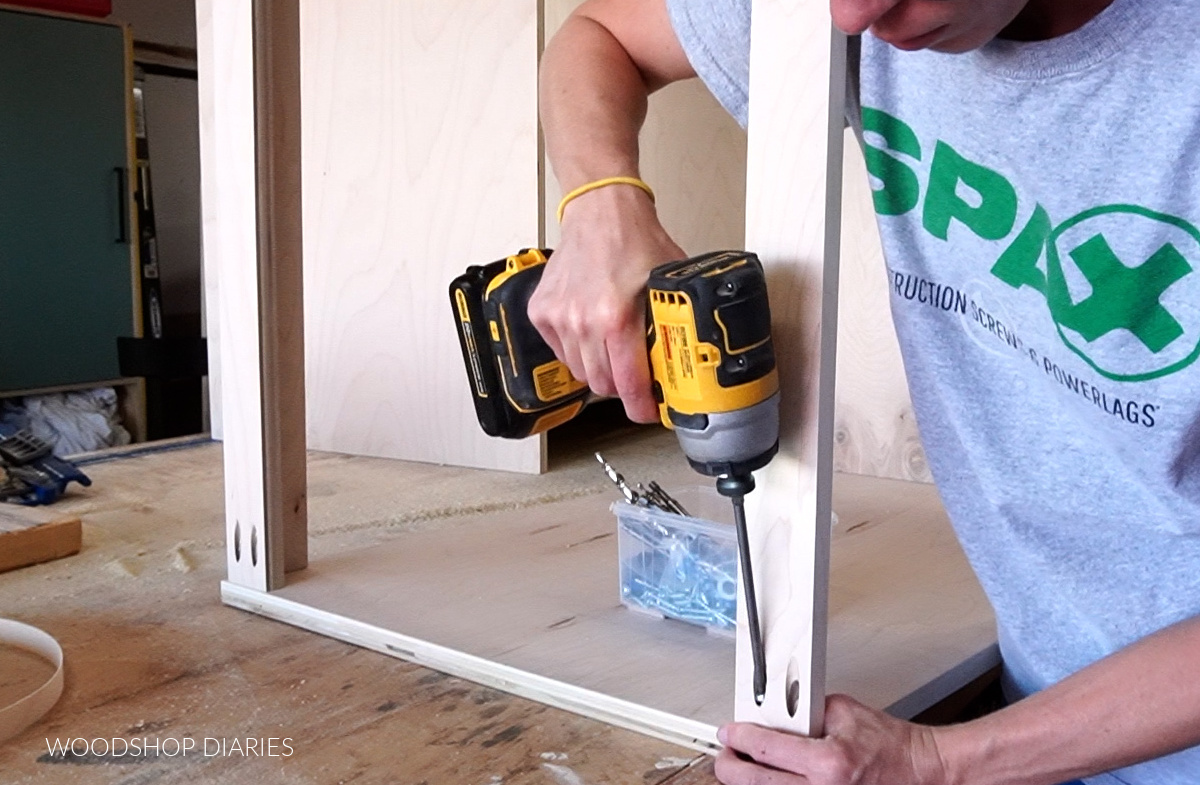
Step 5: Assemble Door and Face Frames
I used pocket hole screws to assemble the small stationary frame and used a rubber mallet to make sure the dowels went securely into the drilled out holes.
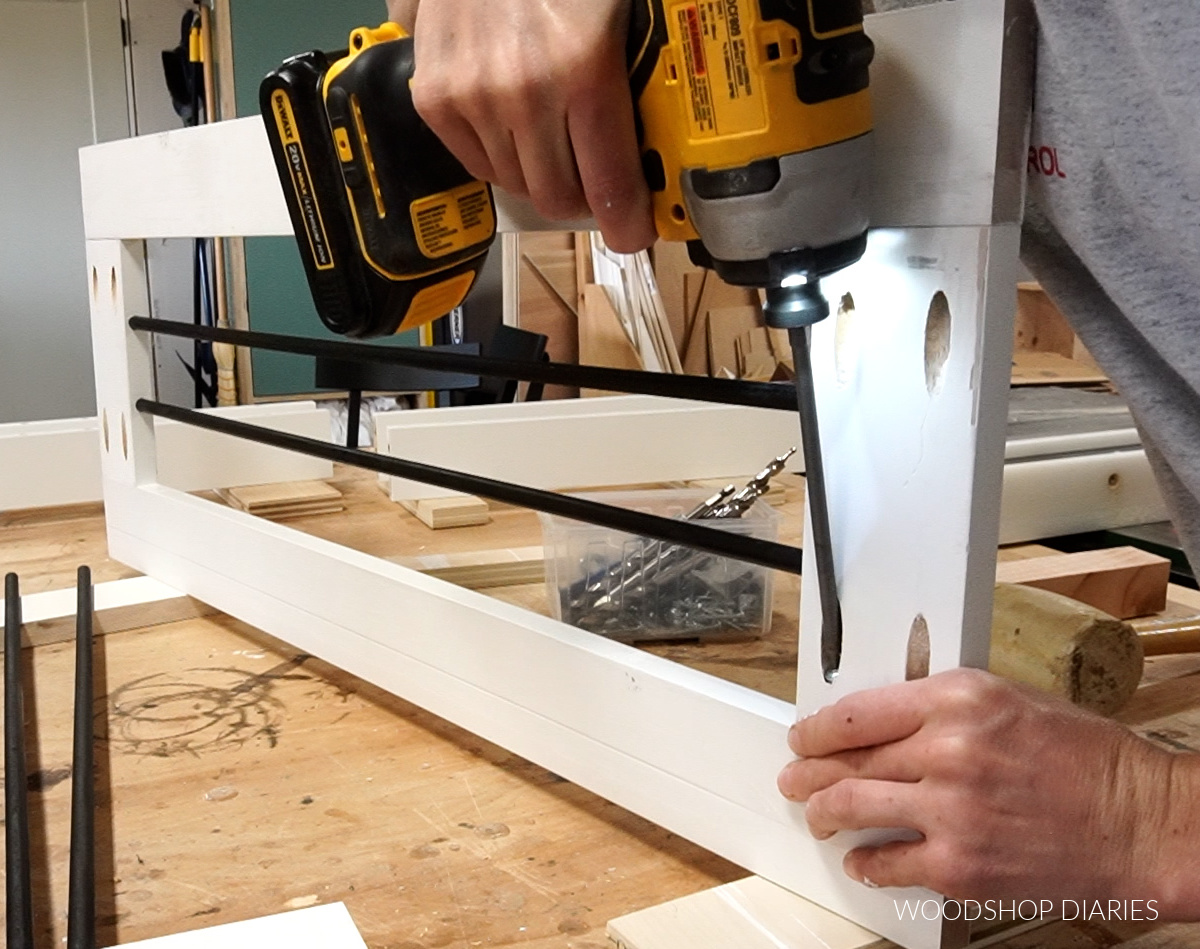
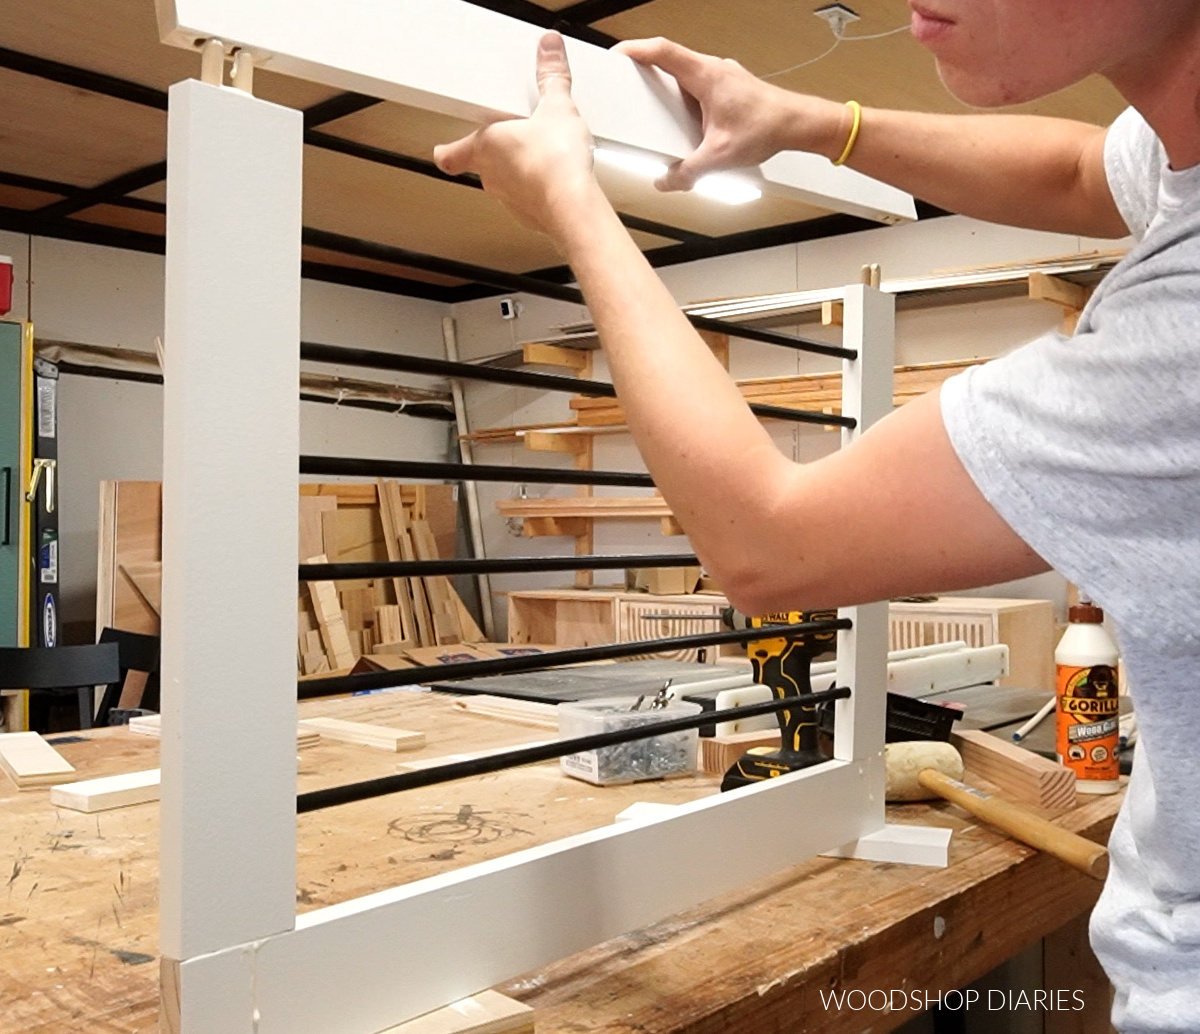
Then, I assembled the door frame using dowel joinery. I found it easiest to attach the rails between the top and bottom pieces, then add the sides using wood glue and dowels.
.
The rubber mallet is super helpful in this process to tap everything in place.
I clamped the door together until the glue dried, then went back and puttied, sanded, and smoothed over the joints on both frames and touched up the paint.
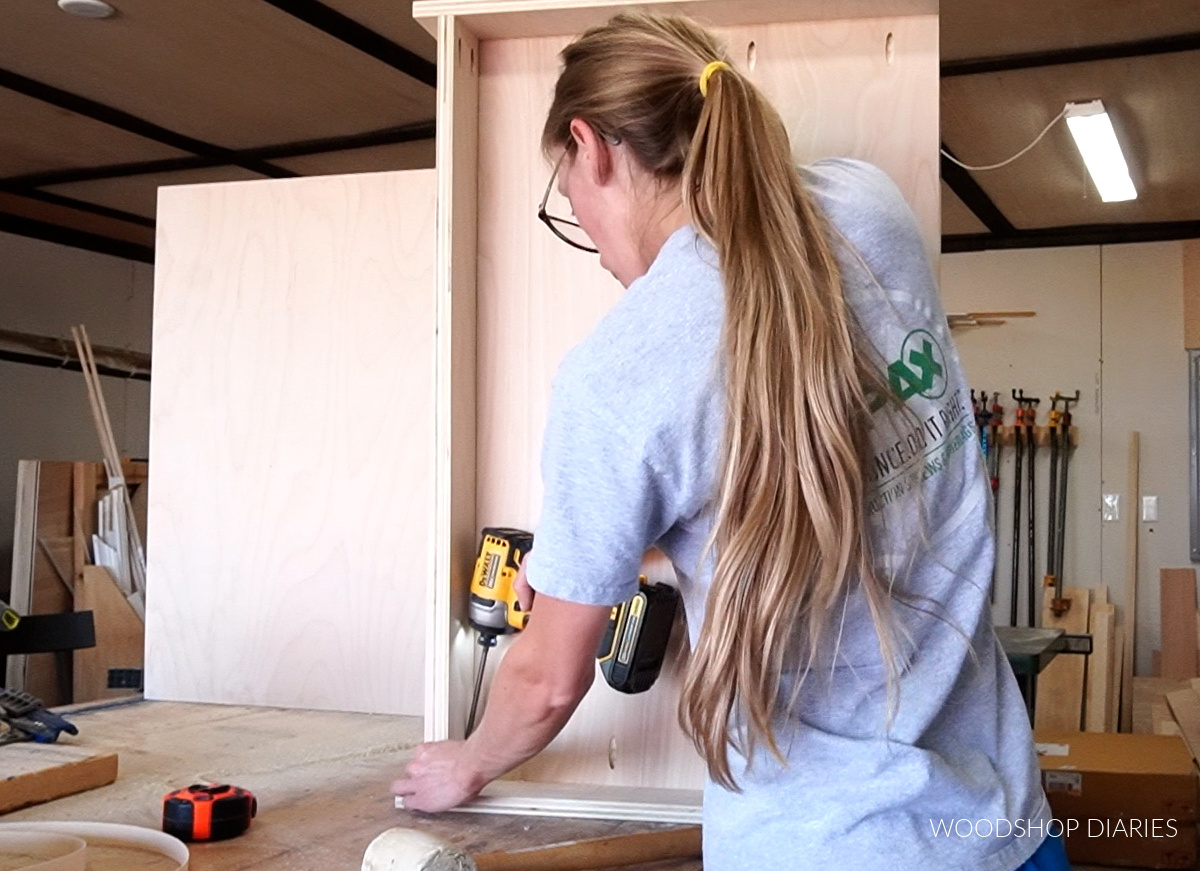
Step 6: Install Face Frame and Door onto Wooden Dog Crate
I installed the stationary panel onto the front of the cabinet using wood glue and brad nails. Now, if you’re concerned this isn’t enough, you could use screws instead of nails, but honestly, the glue should hold this fine on it’s own.
You’ll notice that I built this frame so that there is about an ⅛” space between the top of the frame and the top of the cabinet.
.
This is because I made the door that way so it had clearance to open smoothly and I wanted the two frames to be even. So that’s why you see a little space here at the top…it was intentional.
.
I puttied over these nail holes, then came back later and sanded, and touched up the paint again…it felt like a never ending process of paint touch ups haha.
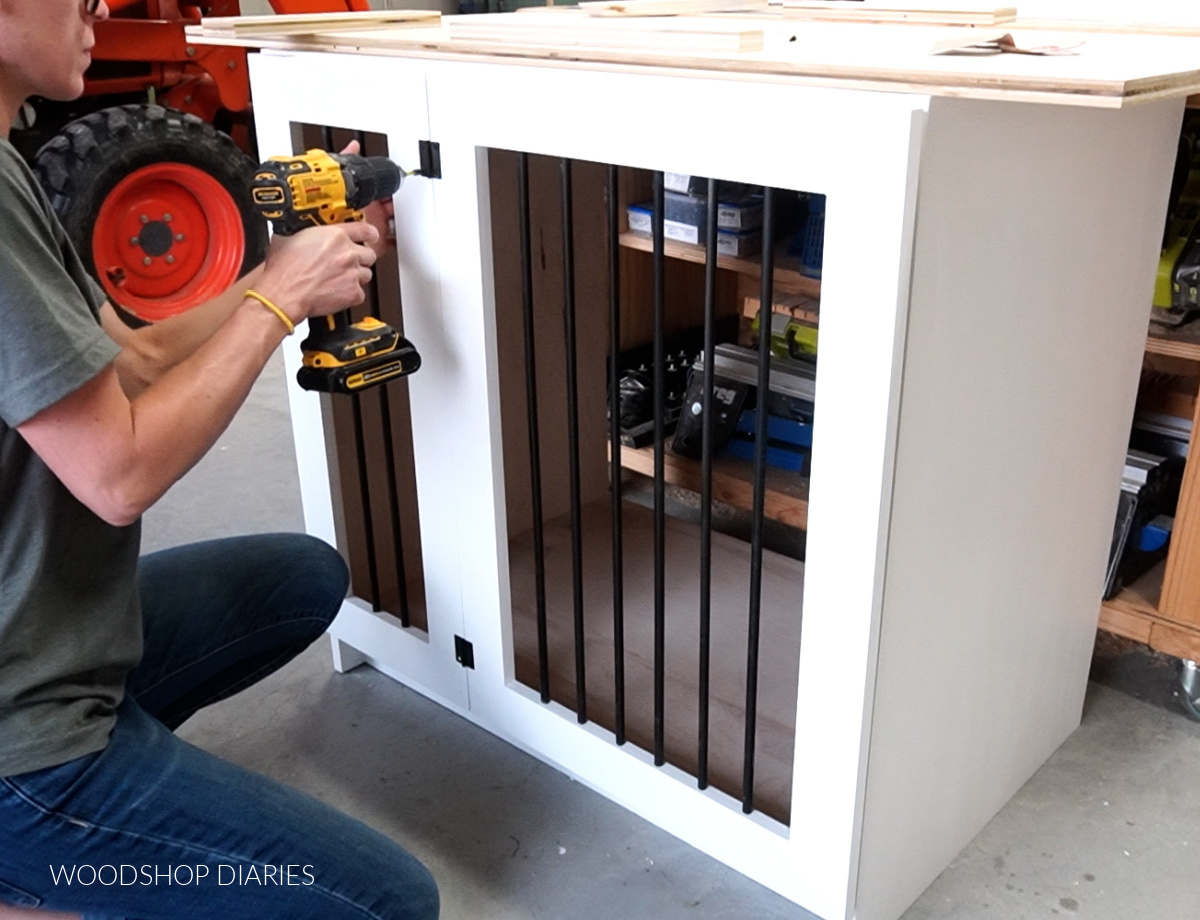
Then, I installed the door frame using some simple black butt hinges.
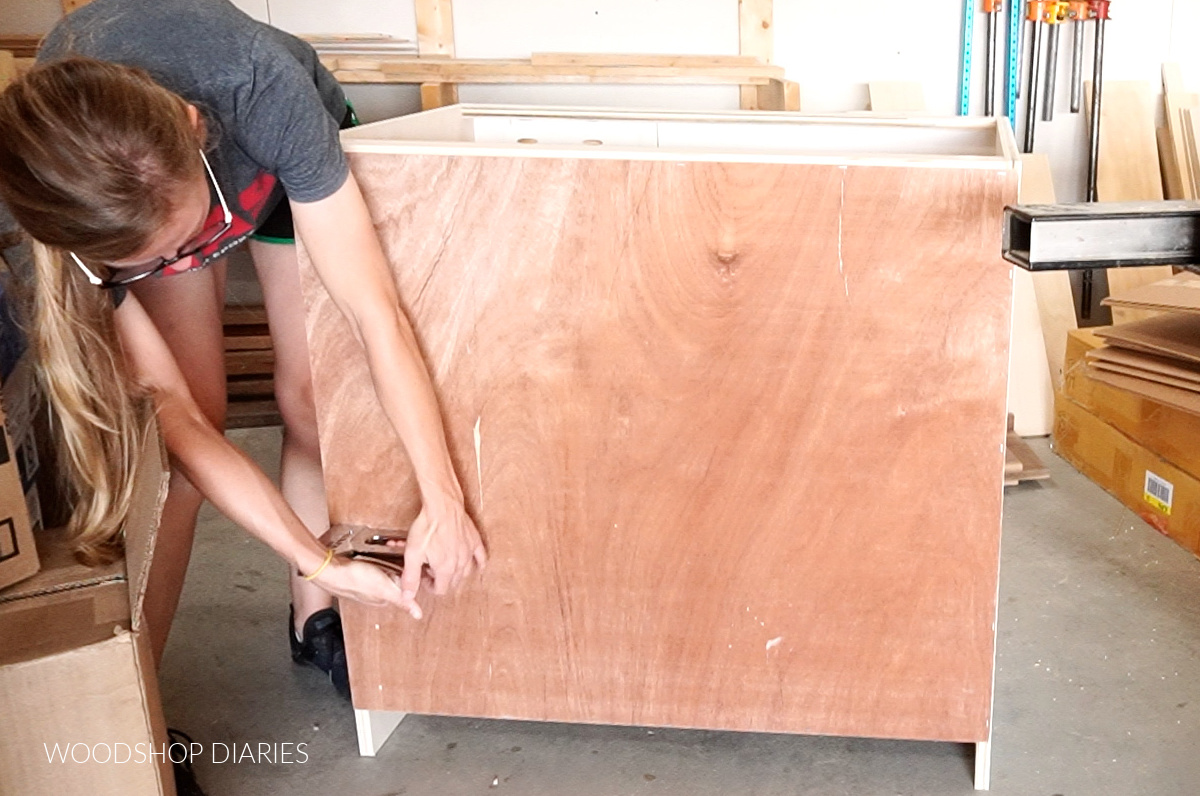
Step 7: Install Back Panel on Dog Crate
Once the door was in place, I cut a piece of ¼” plywood to staple onto the back. If you don’t have a staple gun, wood glue and brad nails or screws would work just as well.
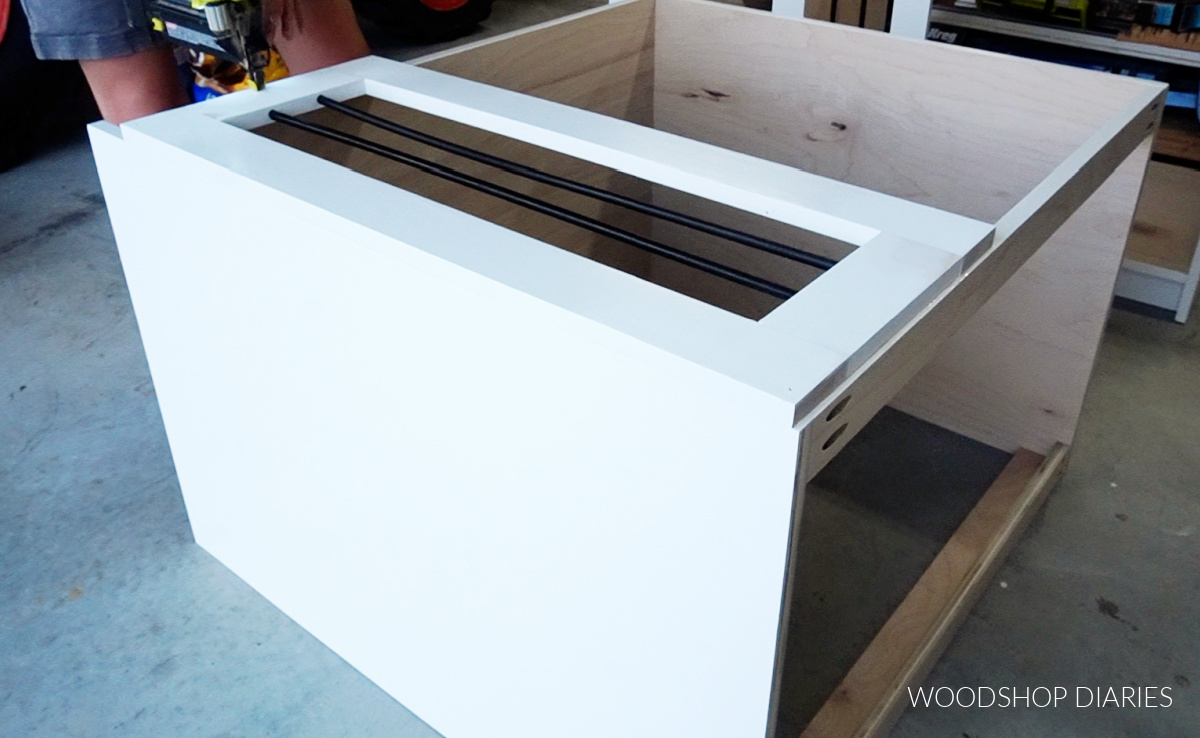
Step 8: Install Top Panel and Latch
I brought out the piece from the very beginning that I cut from the plywood sheet to use for the top. I trimmed it to fit, then applied edge banding, and painted it black to match the rails.
.
I hate painting so I hardly ever show that process. But I have a helpful furniture finishing guide here.
.
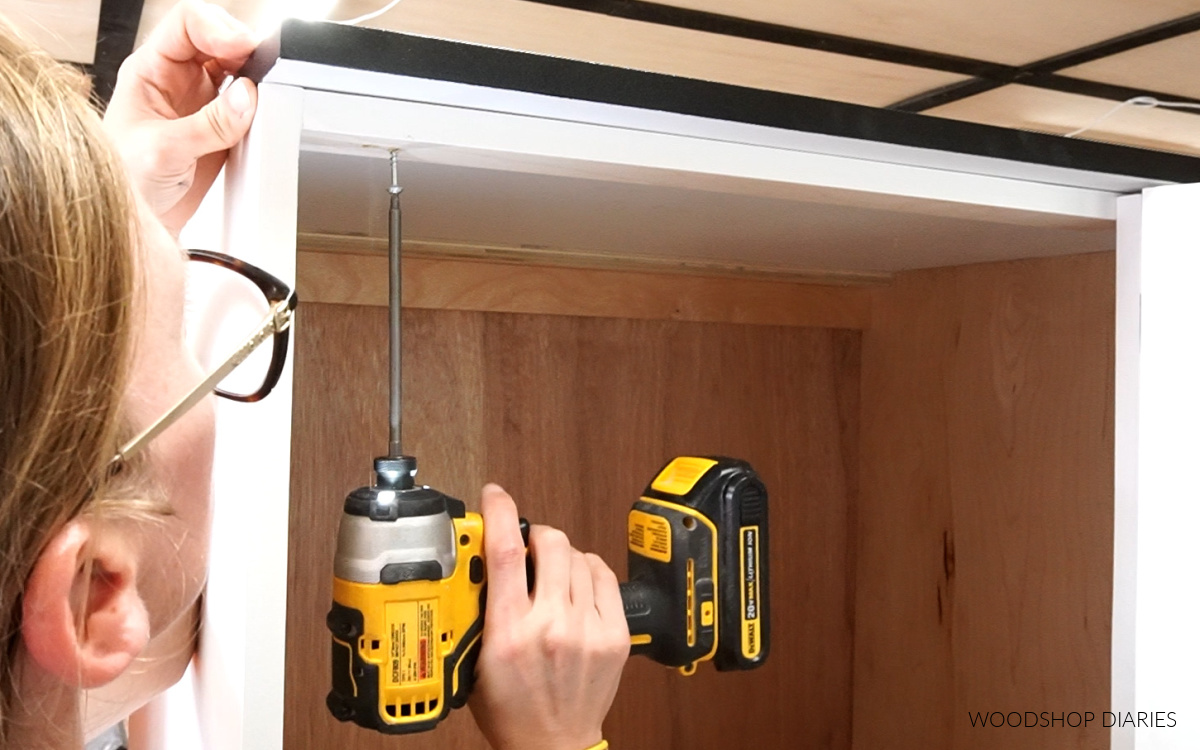
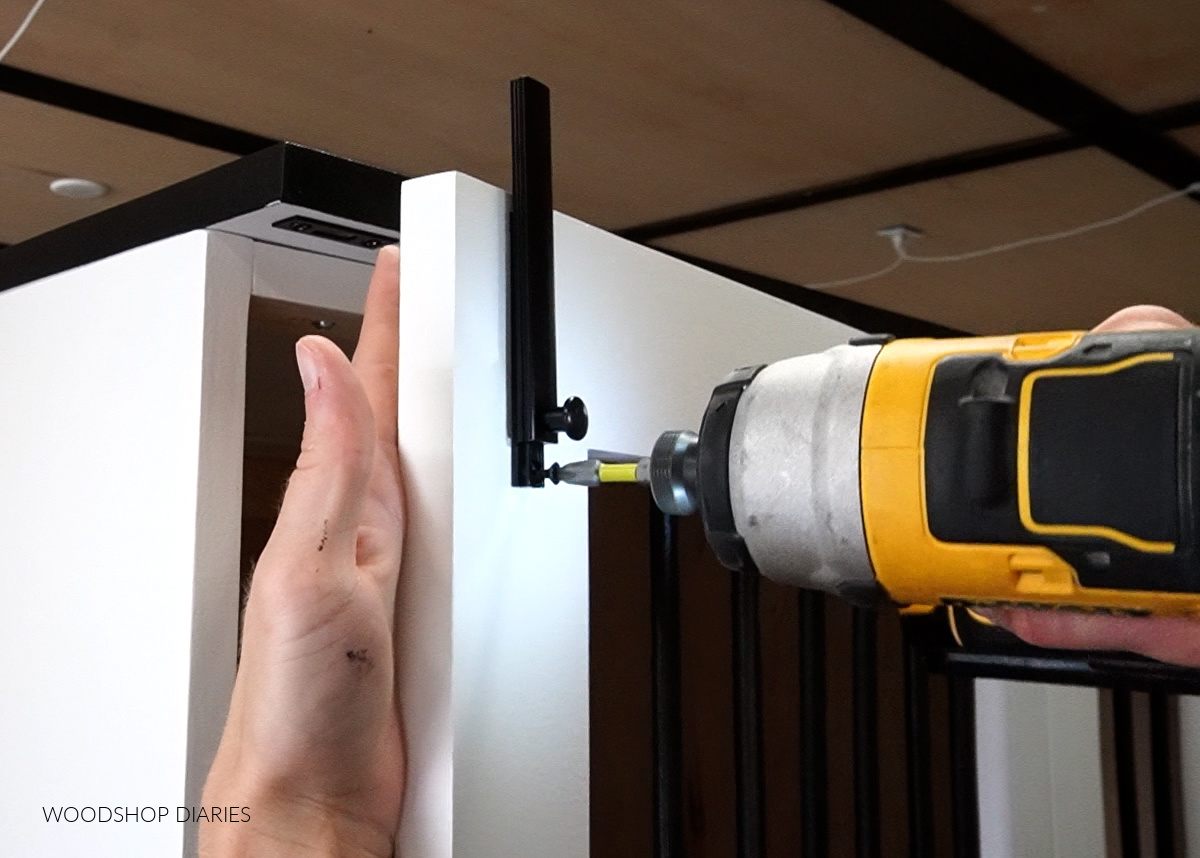
So once the top was painted, I simply screwed it in place using 1 ¼″ screws through the supports at the top, then added a latch to keep the door closed.
I used a simple surface bolt because I thought it looked good with this project. But whatever kind of latch you prefer is fine.
.
To install this surface bolt, I placed it where I wanted it and traced out the hole in the bracket that the bolt should slide up in to. Check out the video above to see the full process.
.
I drilled out a hole about ¼” deep in this spot, then screwed the bracket in place. Then I attached the surface bolt to the door so that it lined up with the bracket.
I also added a small magnetic catch to the door to just help pull it into place when the door is shut. This is completely optional, but you can see it in the images below.
.
I also applied a few coats of clear sealer (I used Minwax Helmsman Water Based) to the inside of the cabinet to seal it and make it easier to clean up any messes and spills.
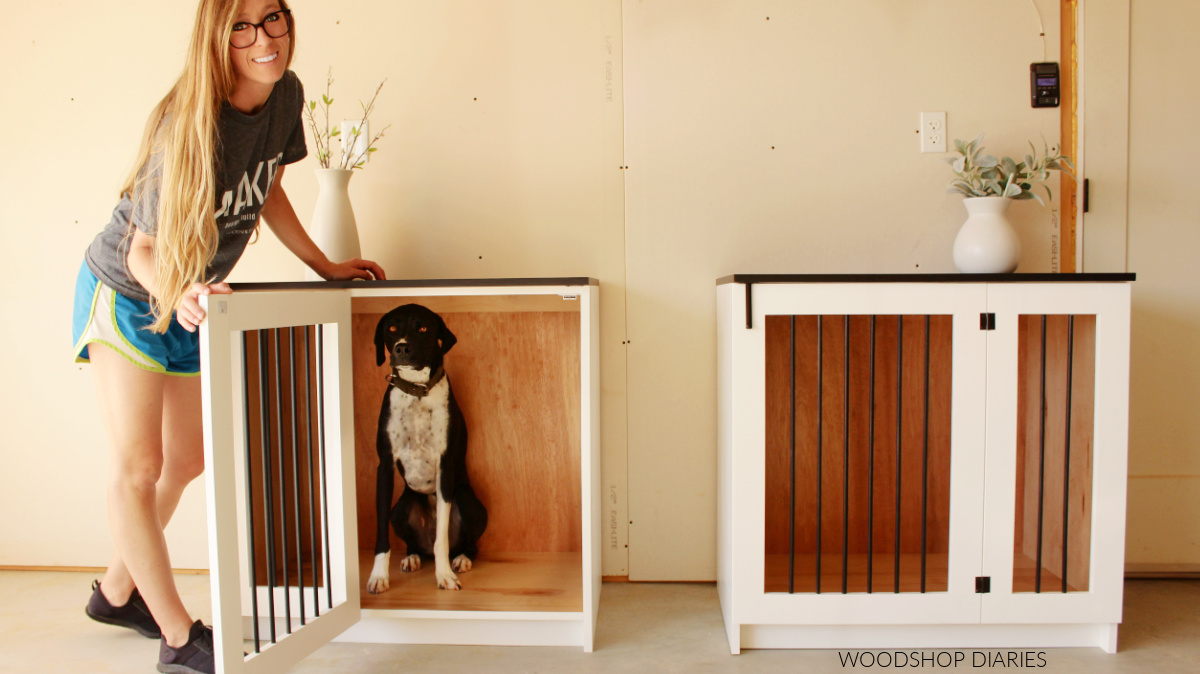
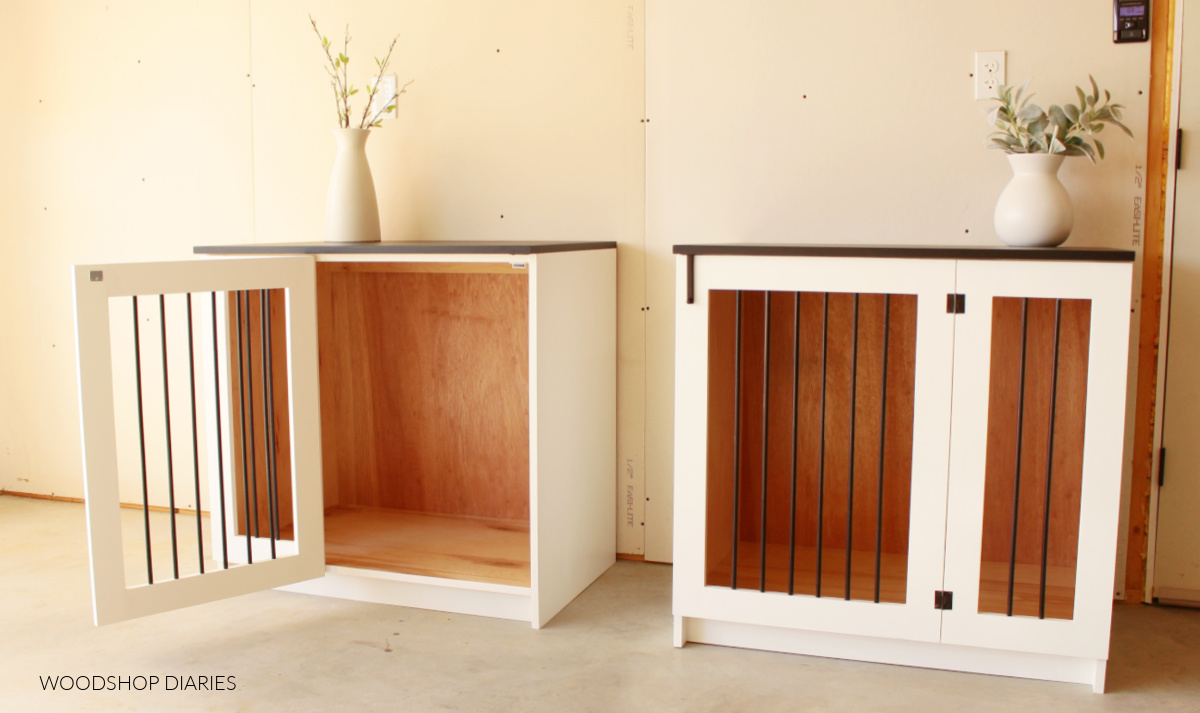
You’ll notice that I installed the door panels opposite on these two crates. Either way works fine, but this way, since they’re going side by side, once they’re installed, it’ll be more balanced looking with the doors centered.
.
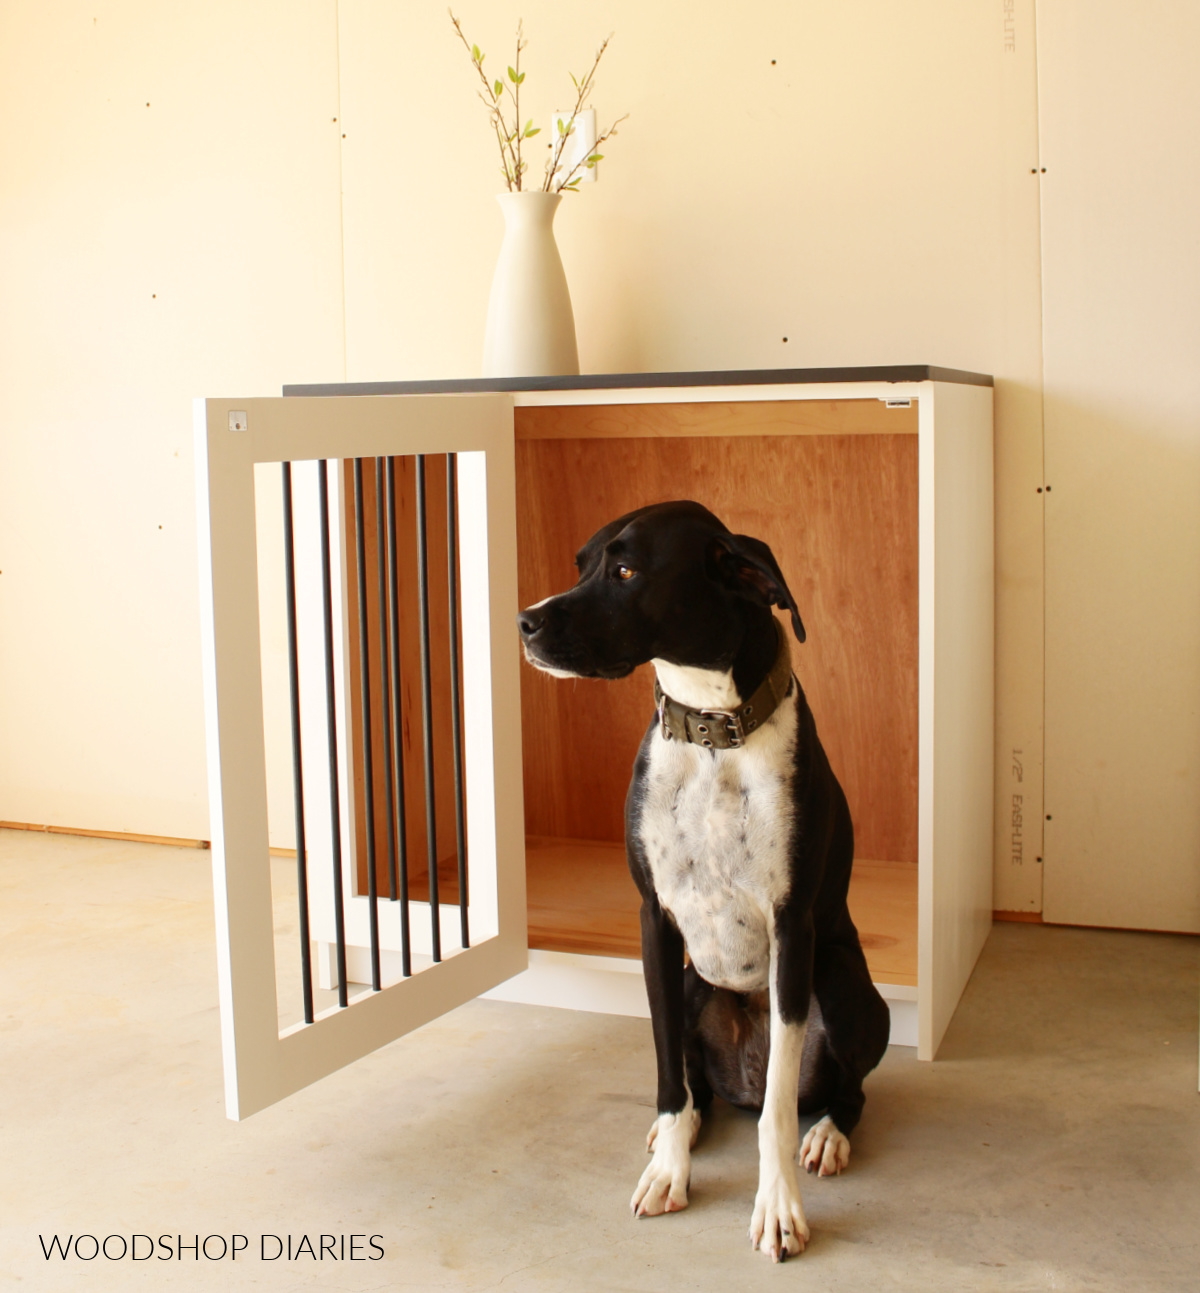
I bribed Lucy into demonstrating this wooden dog crate cabinet for me…she has to earn her keep around here haha!
I hope you enjoyed this DIY wooden dog crate cabinet build and I hope it inspired some ideas of your own!
.
If you can’t wait to see what’s next, I’d love if you’d subscribe so you don’t miss out on all the upcoming tips, tricks, and projects!
Don’t forget to check out the video as well, and if you’d like to save this for later, don’t forget to pin it or share it to your favorite social channel!
Until next time, friends, happy building!