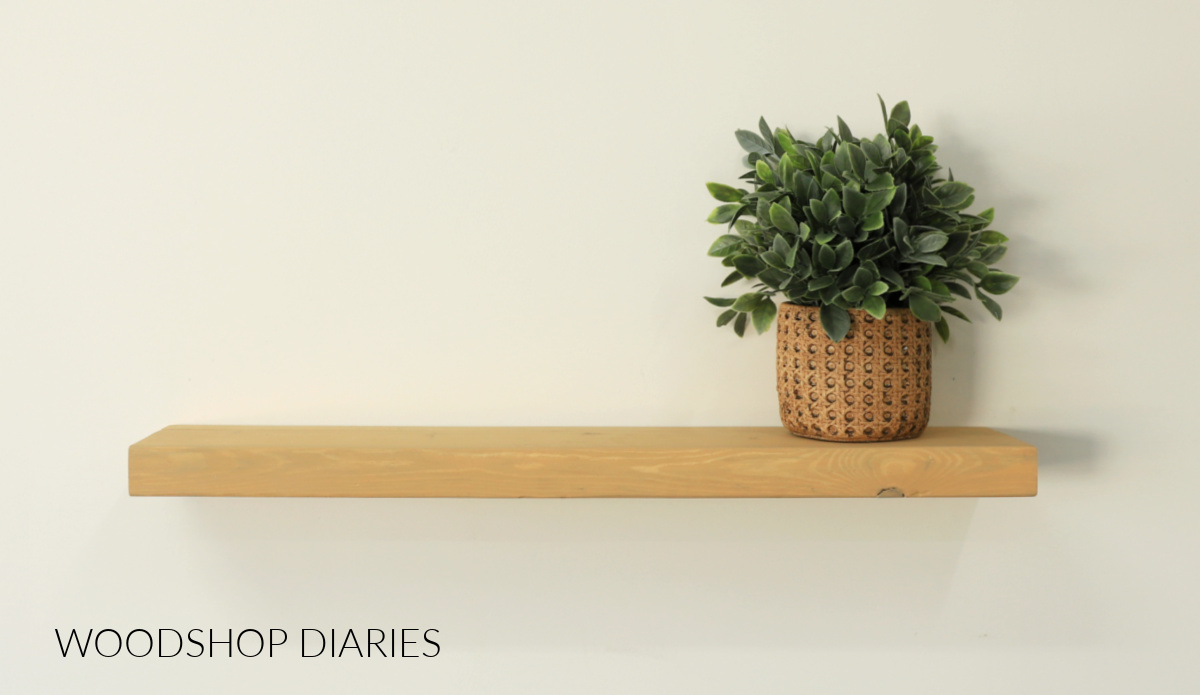
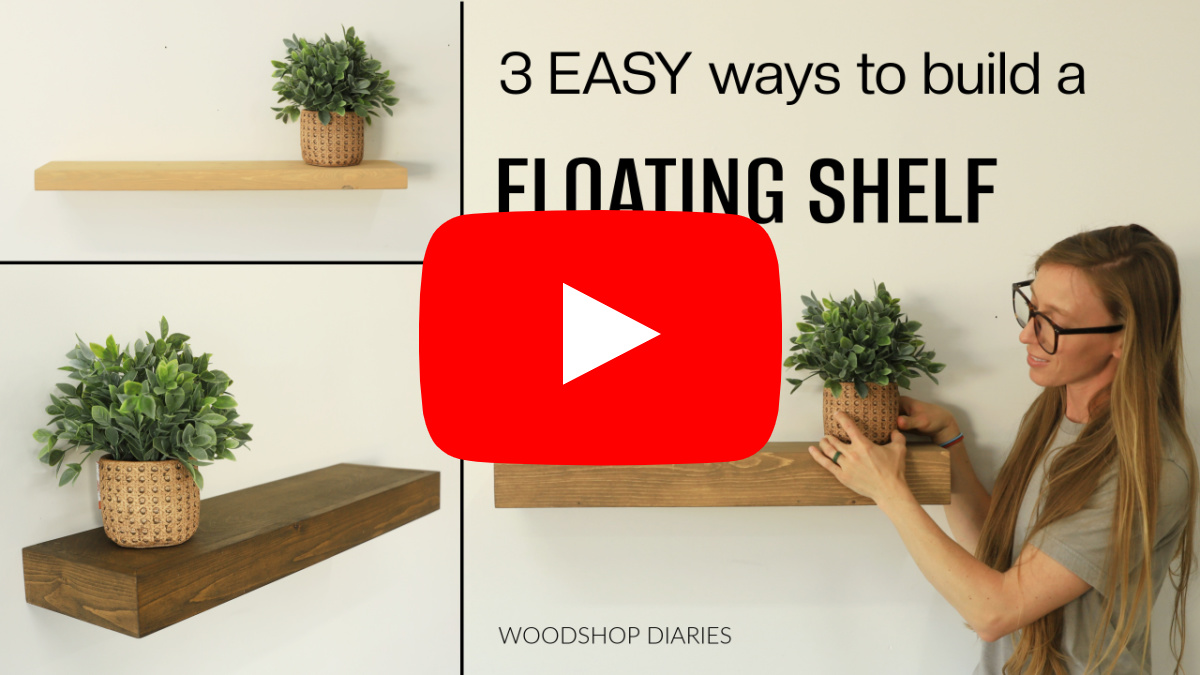
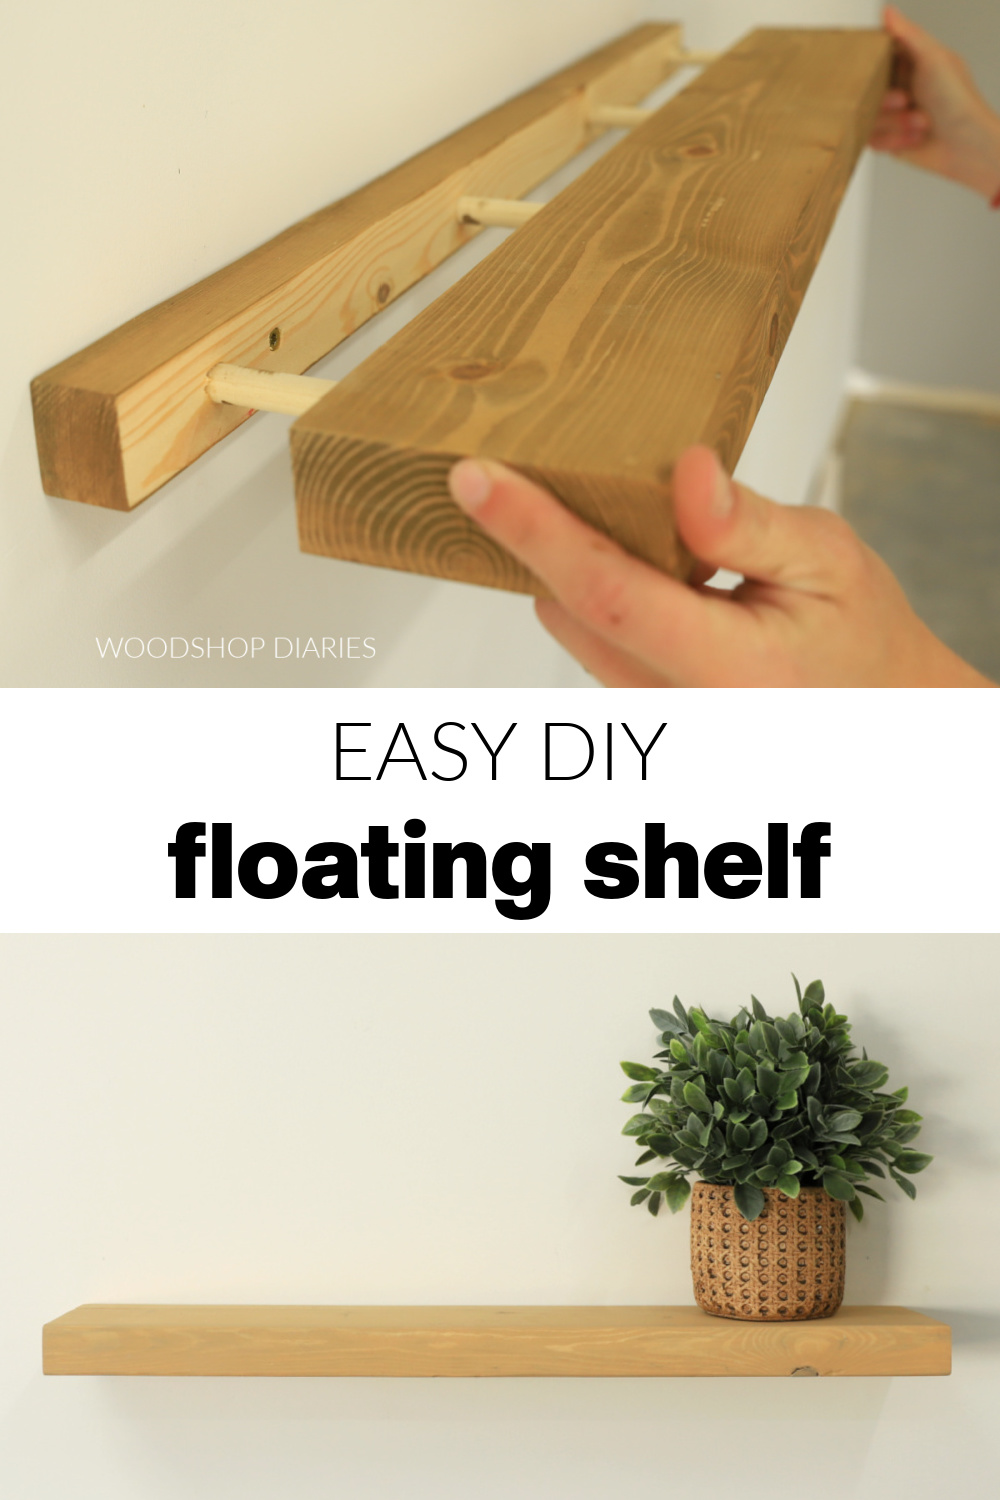
In this post, I’m sharing how to build an EASY DIY floating shelf using a single board and a dowel rod.
This is one of the simplest ways I’ve found to make a minimalist wall shelf.
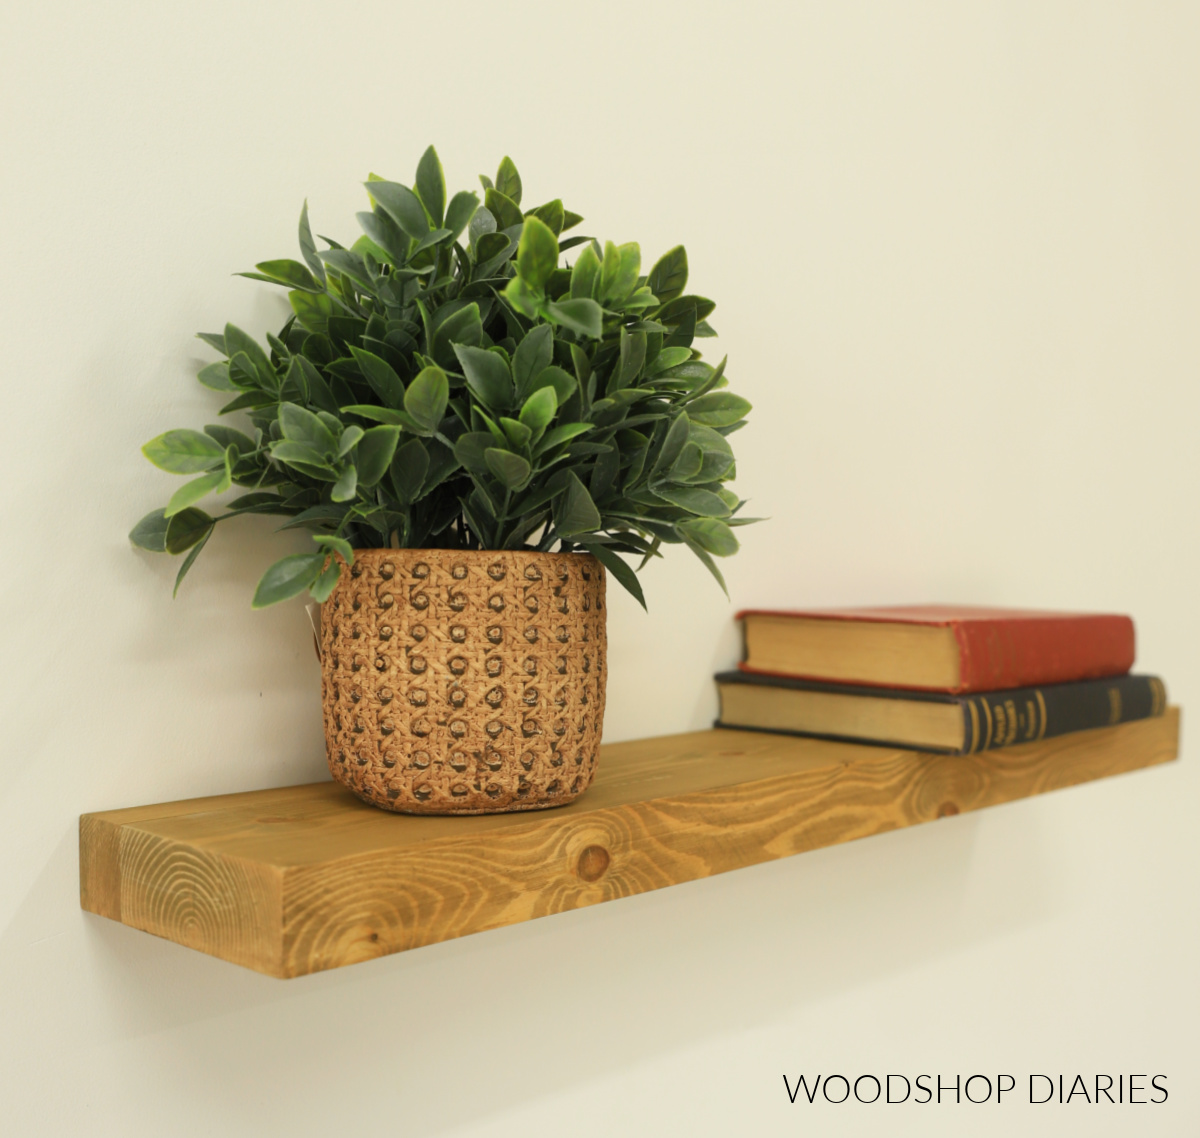
It’s a super quick (I promise!) weekend project and if you have some wood scraps lying around, you may even can make it for practically FREE.
Nothing beats fast AND free haha!
All you need is a couple of tools and about a half hour of spare time. So if you’re ready to build, I’ve got all the details below.
*This post contains affiliate links. See website policies.
What to consider before building
Floating shelves are a great option to add some character and function to a blank wall.
You’ll find them in all shapes and sizes and there are a million ways to build a basic floating shelf. But this is one of my favorites.
Pros & Cons
This style of floating shelf is a quick project that only takes about 20 minutes to put together. It’s one of the thinnest options of floating shelves (many other DIY shelves are quite a bit “chunkier”), so it’s ideal if you prefer the more minimalist style.
The downside to this type of shelf is that it’s made in two pieces: a front and a back. When installed, the seam between the two parts isn’t too noticeable, but it’s also not completely concealed.
This design is also best for shallow shelves. Deeper ones can tend to sag. So I recommend these shelves for small nooks and narrow hallways.
Material Choices
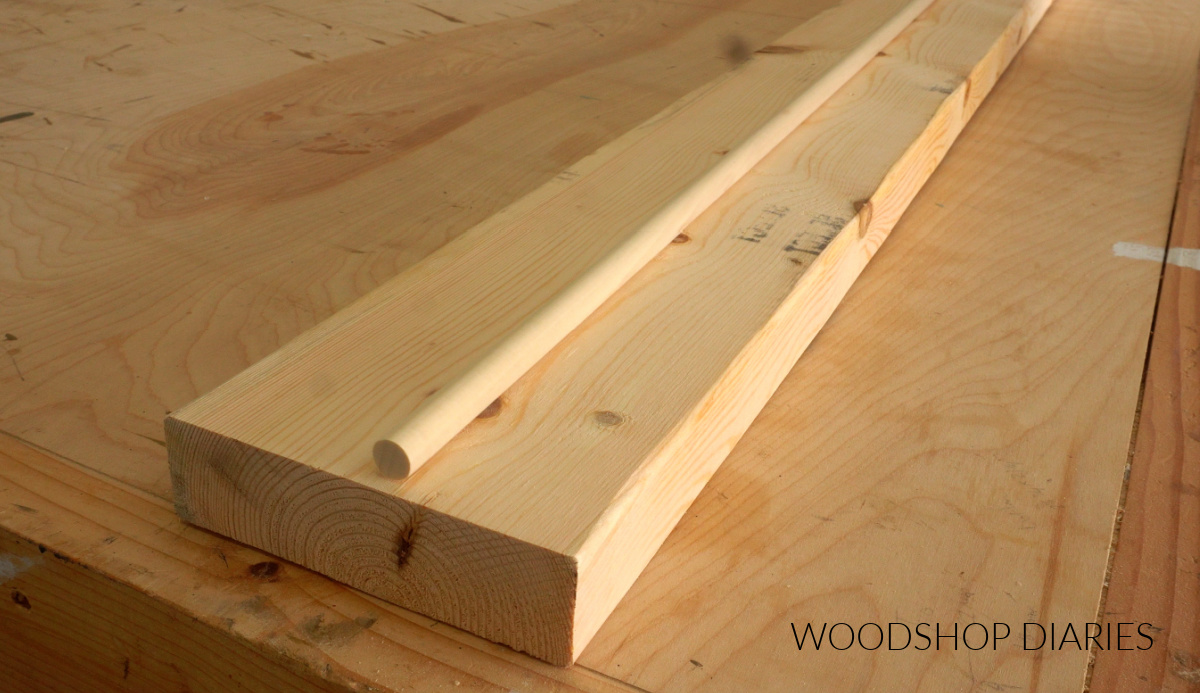
As far as lumber, you just need a piece of 2×6 board the length you want your shelf and a piece of ½″ dowel rod roughly 20″ or so.
So, you may be able to grab everything you need straight from the scrap pile! Or, if you buy a full 2×6 board, you can turn it into multiple shelves for just a few bucks!
I used basic construction lumber (pine/spruce) for this shelf, but you could use any type of wood you’d like.
Enjoy DIY projects and woodworking plans? Sign up for priority access for the latest posts on Woodshop Diaries!
How to build a floating shelf with dowels
If you prefer to watch, I’ve shared the full build video with tons of tips, behind the scenes, and additional details on my YouTube Channel here.
Love watching how-to videos? Subscribe to my YouTube channel for plenty more where that came from!
Prefer to print? Grab the printable floating shelf building plans available here:
Tools & Materials
Tools:
- Drill
- MultiMark Tool (optional, but helpful)
- Drilling Guide (optional, but recommended)
- Table Saw, Jig Saw and/or Miter Saw
- Stud Finder
Materials:
- 2×6 board (length you want shelf)
- ½″ dowel (20″ or longer)
- Wood Glue
- 3″ screws
- 80 grit sandpaper
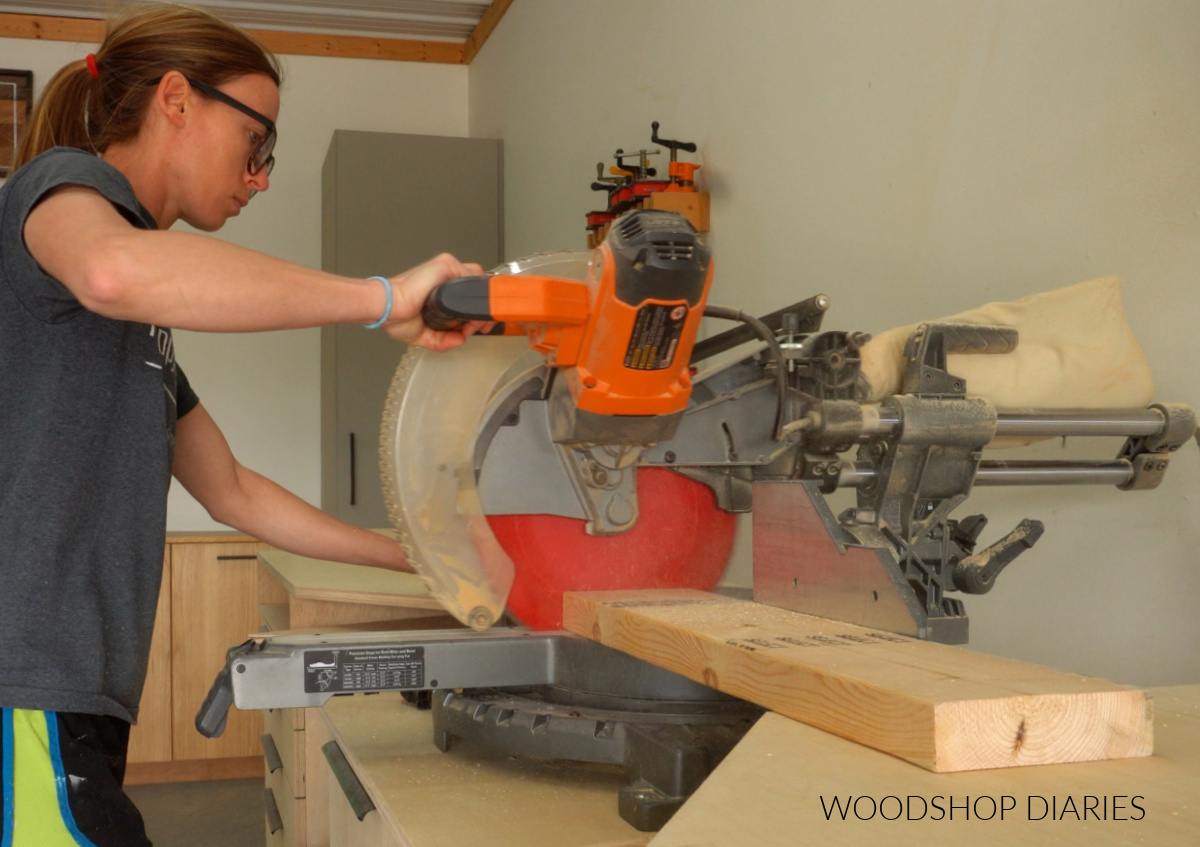
Step 1: Cut Shelf to Length
First, I cut my 2×6 board to the length I wanted my shelf, which, in this case, was about 26″ long. I cut this on my miter saw, but any saw that can cut a straight line would work fine here.
You can certainly make your shelf longer or shorter, but it needs to be long enough to cross at least two wall studs.
So if your wall studs are 16″ on center (which is pretty typical), your shelf should be at least 17″ long or so. And if your studs are 24″ on center, your shelf should be at least 25″ long or so.
You can make them longer, but I recommend keeping it under 48″.
Step 2: Drill Dowel Holes
In case you didn’t know, a 2×6 (and any 2x board) is 1 ½″ thick. Learn more about understanding lumber sizing here.
So once my shelf board was cut to length, I set my Kreg MultiMark to ¾″ (which is half the thickness of my board).
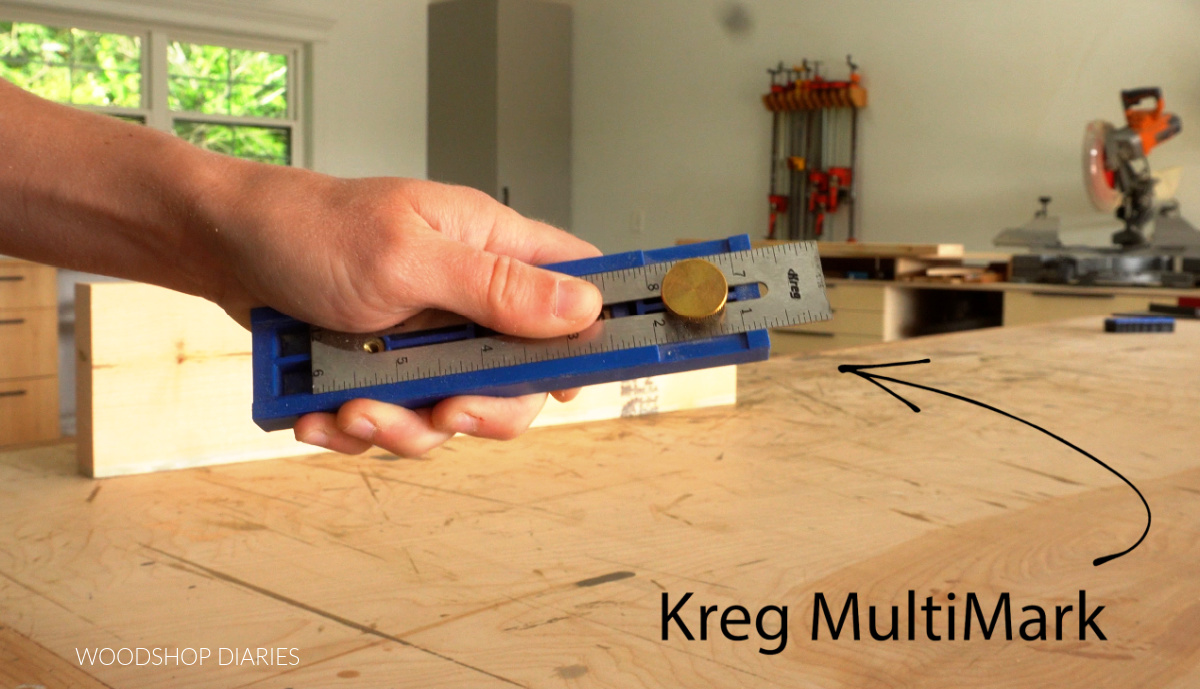
Then, I used this to mark the center down one edge of my board. If you don’t have a MultiMark tool you could also mark this with a straight edge or a speed square.
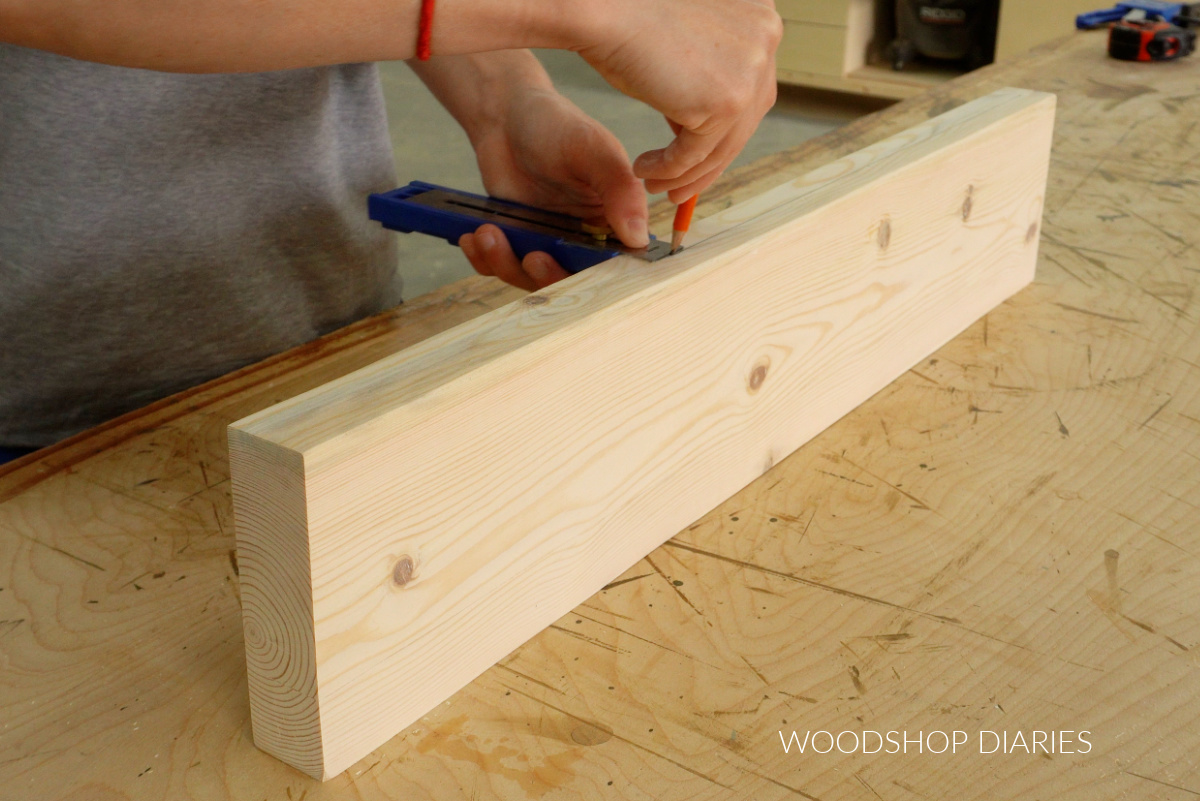
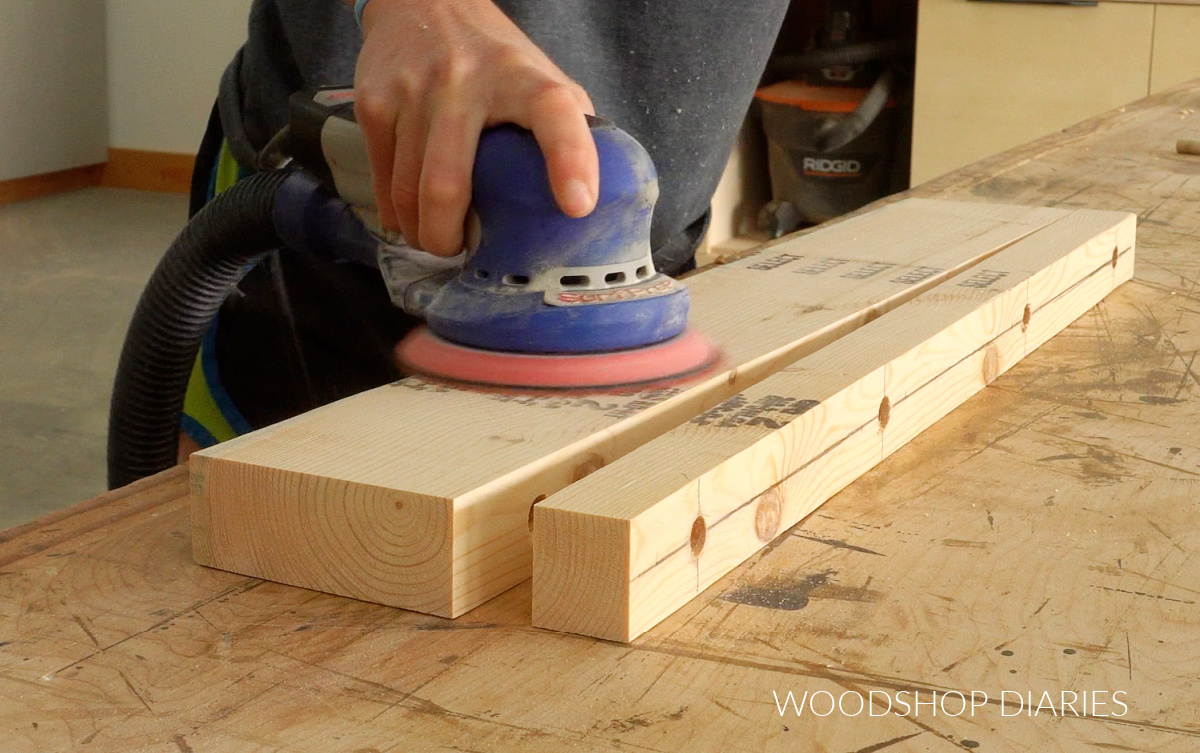
Then, I marked four somewhat evenly spaced marks along this centerline. These don’t have to be in any EXACT location, but they should be pretty evenly spaced along the edge.
I recommend making a mark at least every 8″. So, obviously, longer shelves will need more marks.
I need to drill dowel holes at these marks and they need to be as straight as possible. So I used a Kreg Drilling Guide to drill straight ½″ holes at each mark.
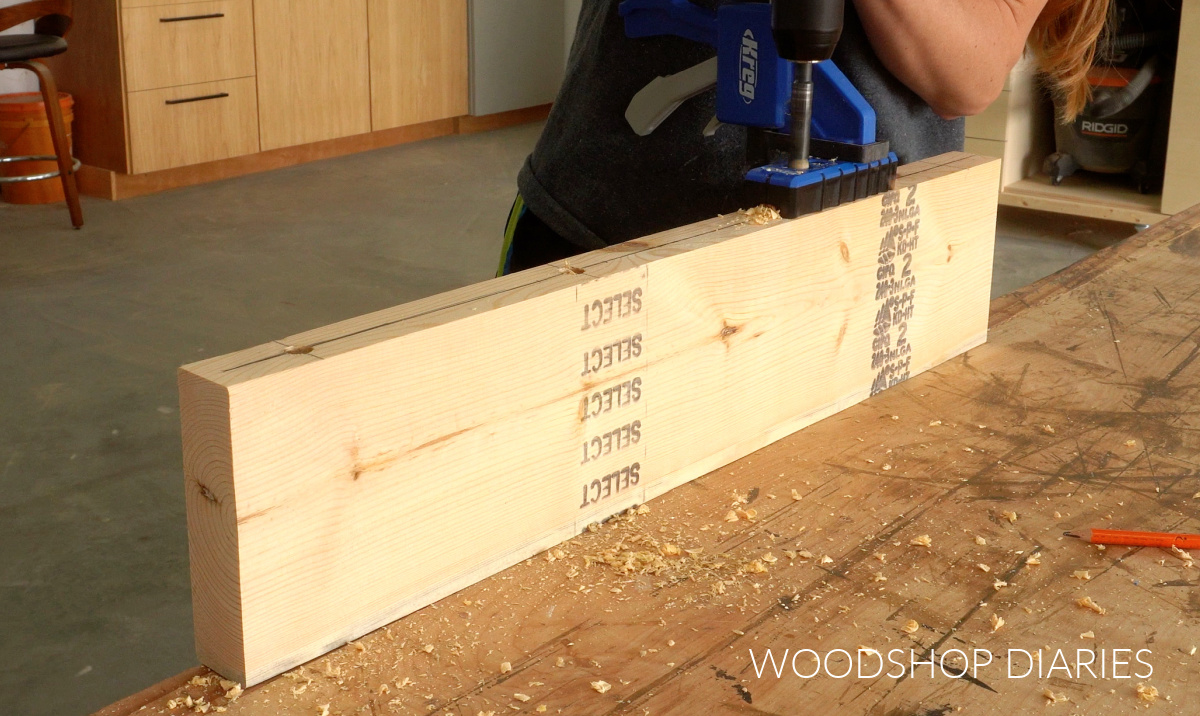
But, these holes also need to be as deep as possible, so after drilling the initial holes with the guide, I removed it and drilled down all the way without the guide to give me the deepest possible hole.
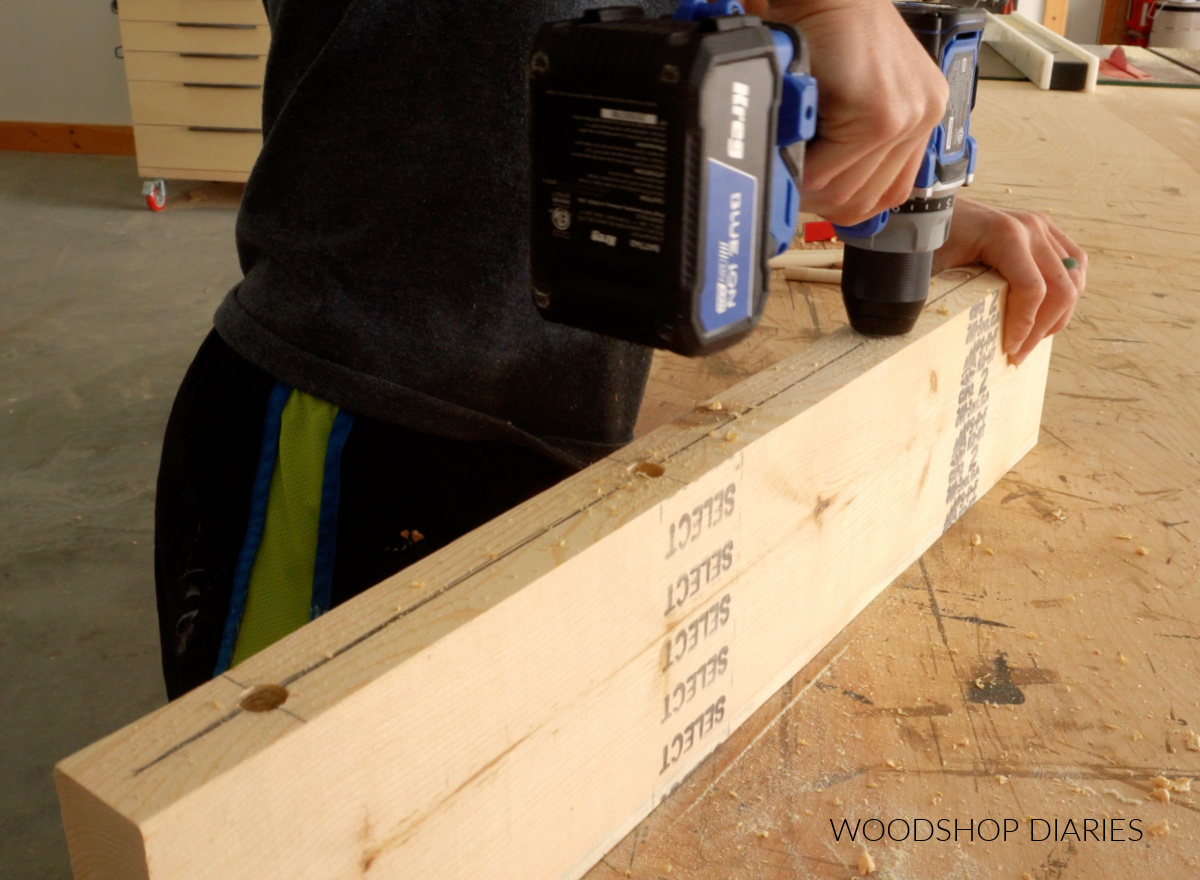
TIP: You want to drill as deep as possible without going all the way through the board. In my case, the board was 5 ½″ wide and my drill bit was about 4″ long.
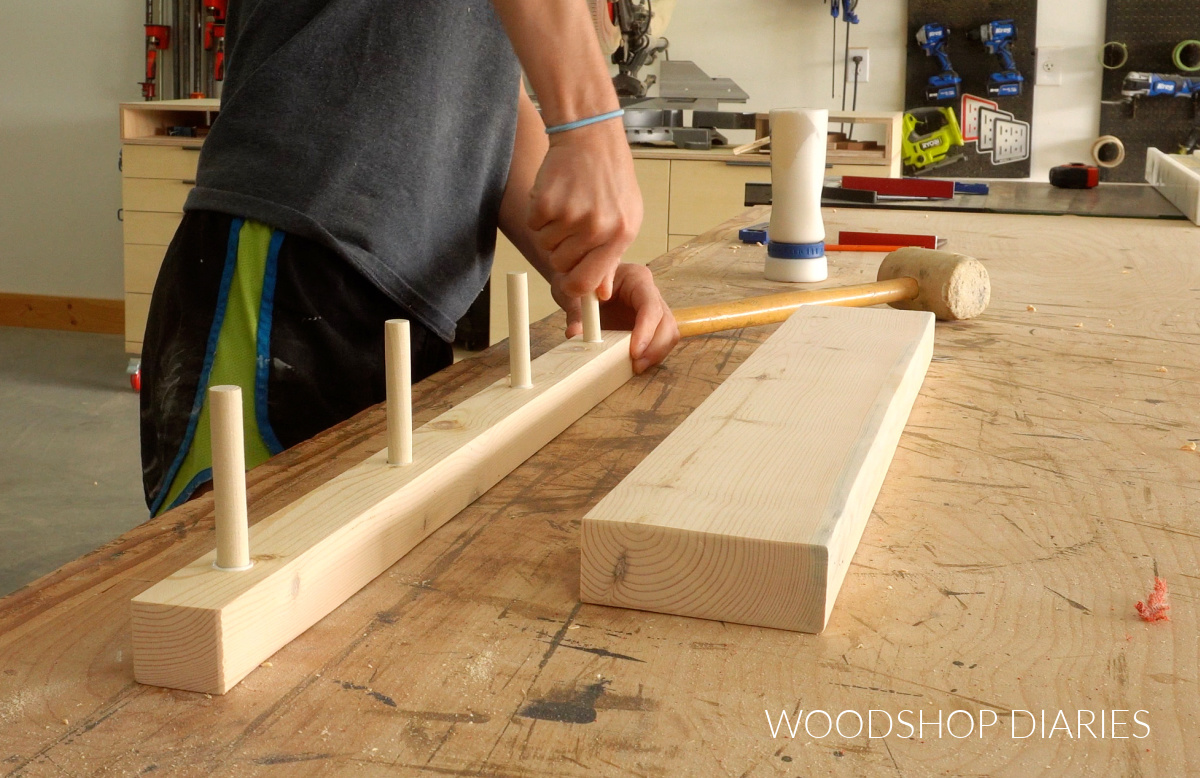
Step 3: Install Dowels
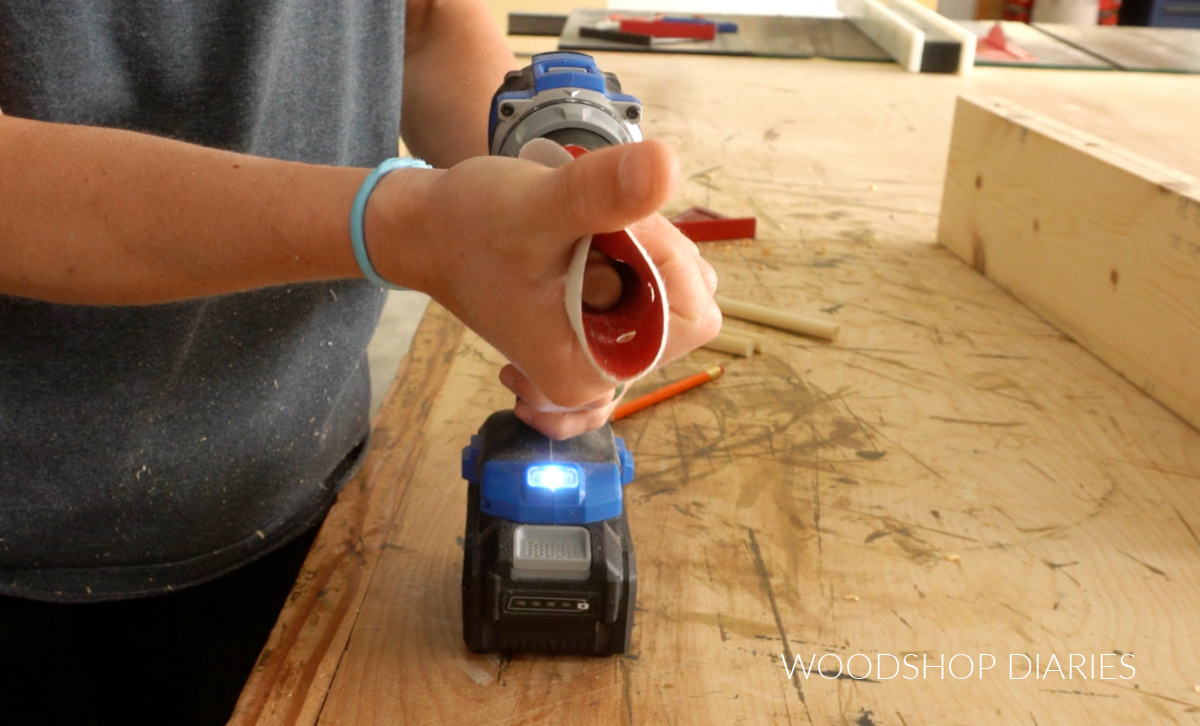
I measured the length of my drill bit and cut four ½″ diameter dowels to just under this length.
Now, these dowels should fit into my ½″ holes, but it’s going to be tight. I want them to be snug, but be able to slide in and out of the holes pretty easily.
So, I stuck them into my drill and sanded them down a bit with 80 grit sandpaper. It doesn’t take a lot…just a few seconds.
Then, I ripped about 1 ¼″ off the shelf board on the edge where I drilled the holes. You could rip this with a table saw, jig saw, or circular saw.
After these pieces were sanded, I carefully glued my dowels into the thin strip I ripped off. Stick with me…I know this seems odd, but it’s going to work!
Once that was dry, I stained both pieces of the shelf before installing it onto the wall.
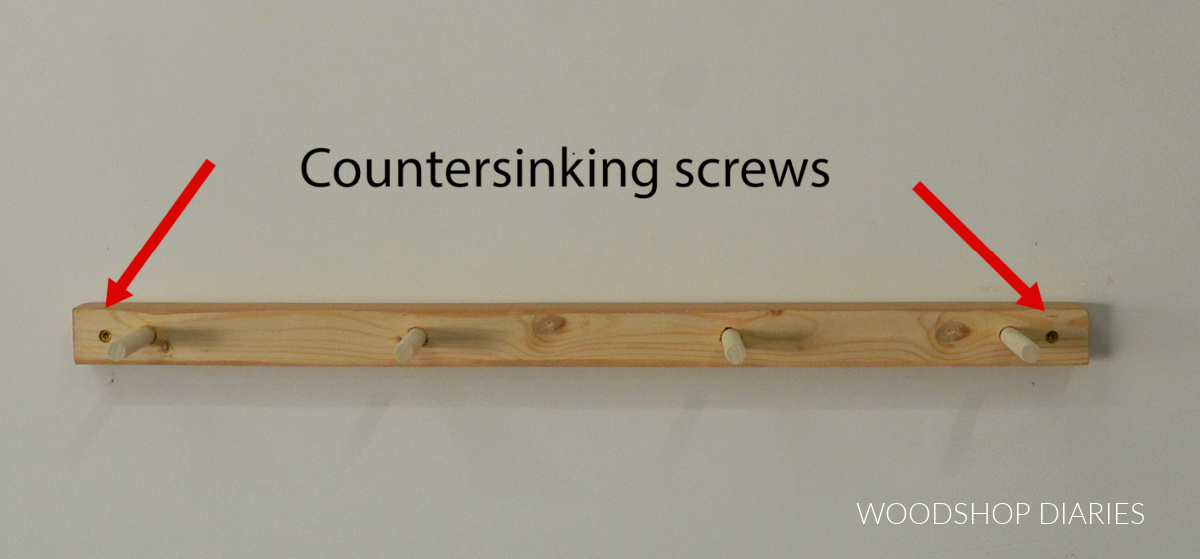
Step 4: Hang Floating Shelf
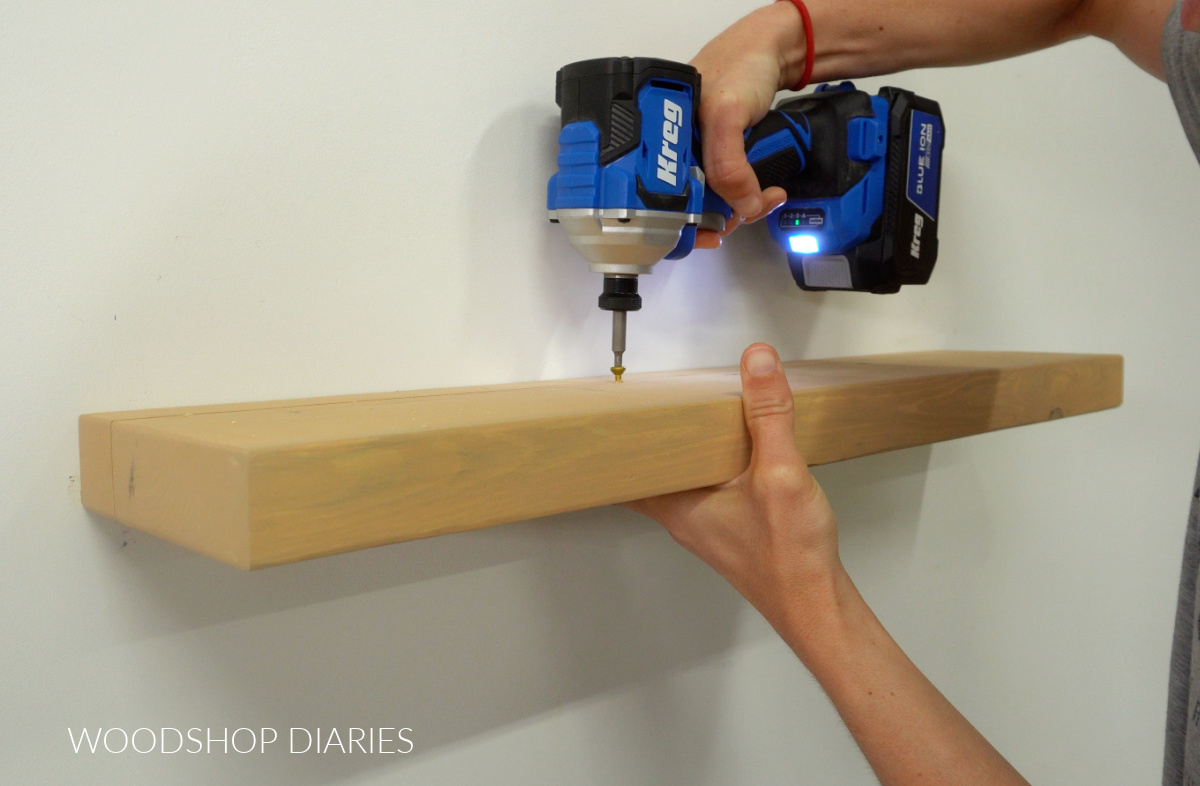
To install, I used a stud finder to locate two wall studs and secured the shelf piece with the dowels to them with 3″ wood screws.
It’s important that these screws be countersinking because they need to sink into the wood and be flush once installed.
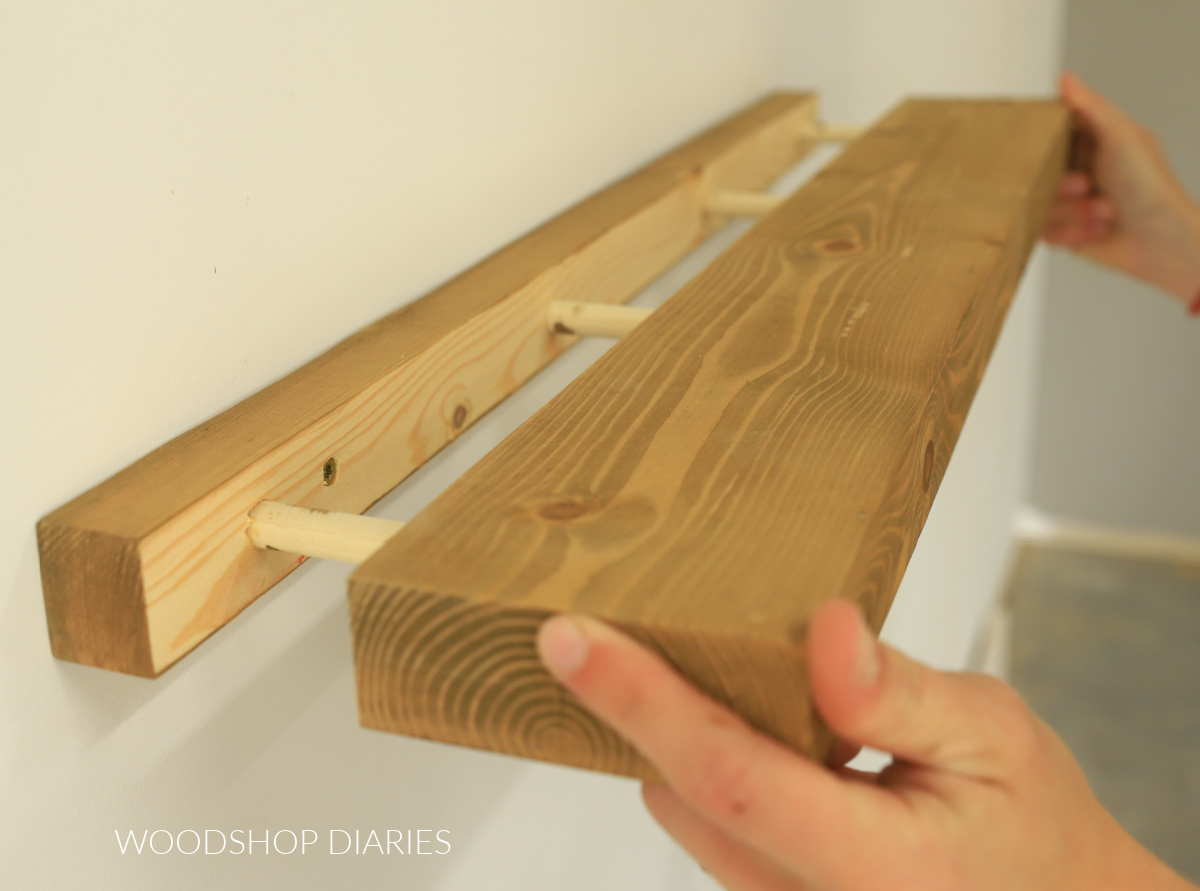
Then, I can slide the front of the shelf right onto the dowels. DO NOT GLUE THIS PART!
To keep this from sliding off, I added a couple screws from the top into the dowels. This helps hold the shelf in place, but if I decide to take it down later, I can simply unscrew it and slide it back off.
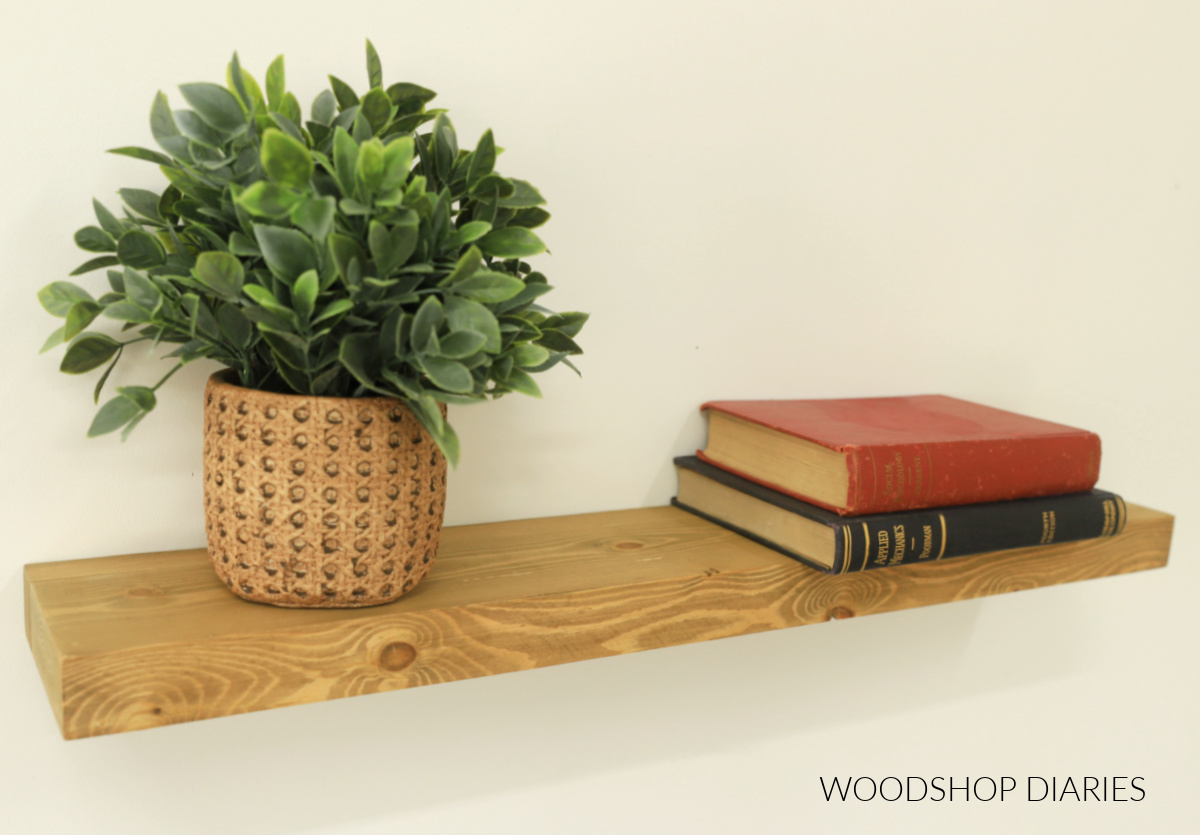
And just like that, this shelf is ready for your decor, accessories, books, photos, and more.
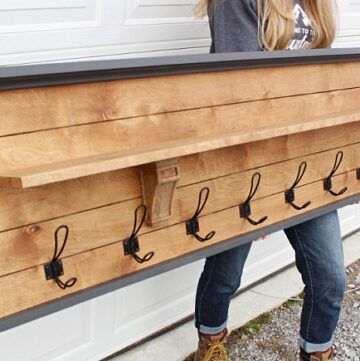
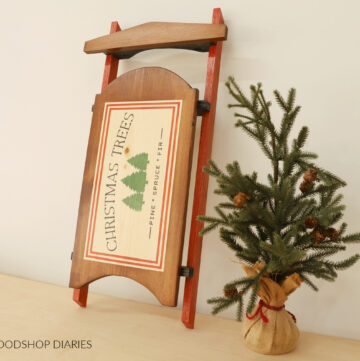
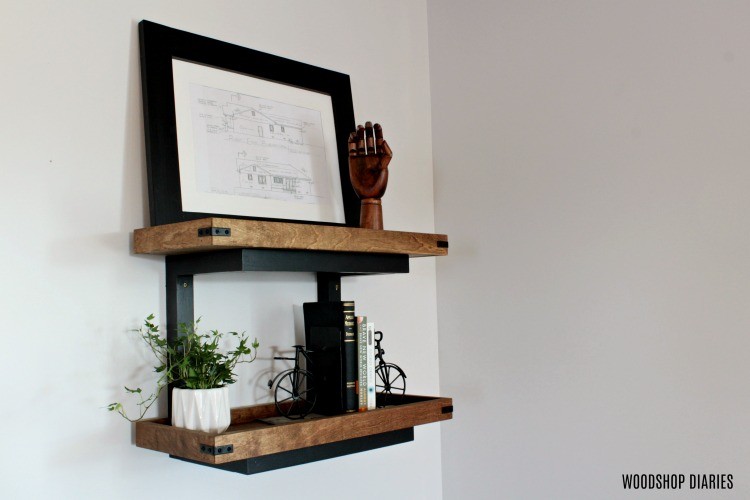
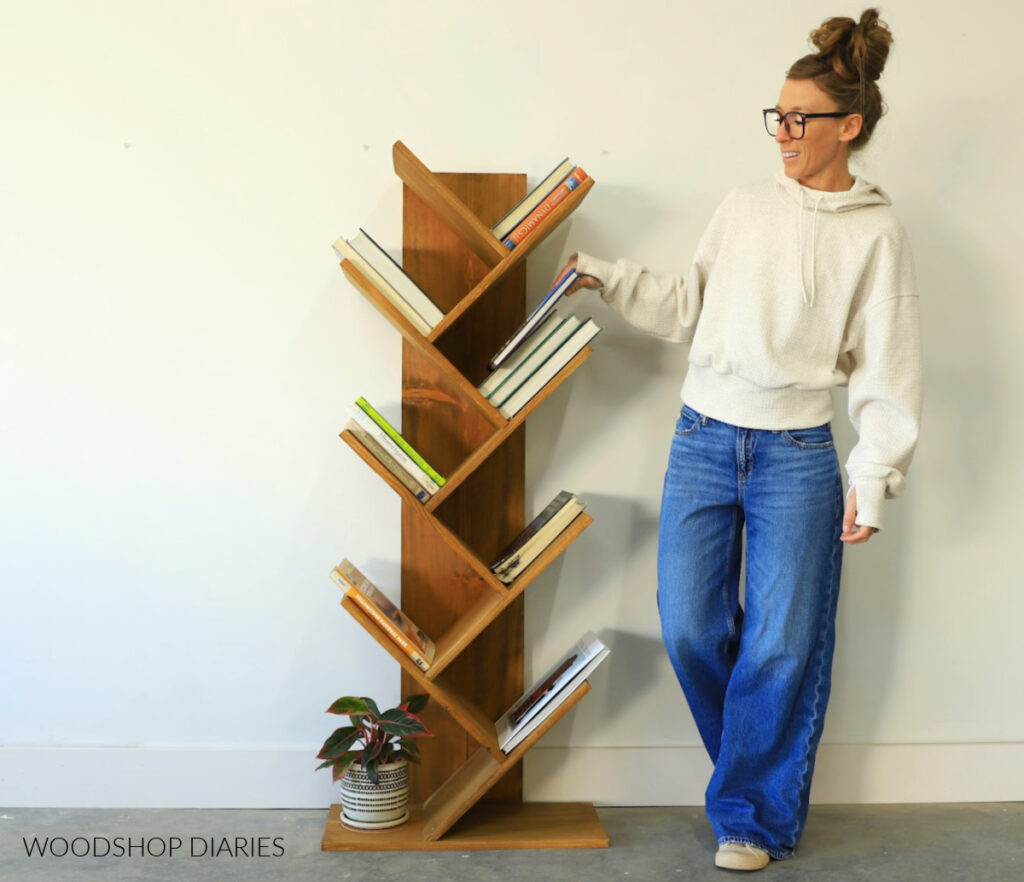
Looking for more DIY shelving ideas?
Enjoyed this project, but looking for more shelving DIYs? I’ve got you covered with plenty more!
Click on the image(s) below to see how to build each one:

If you enjoyed this post, be sure to save it for later by pinning or sharing to your favorite social channel!
Until next time, friend, happy building!