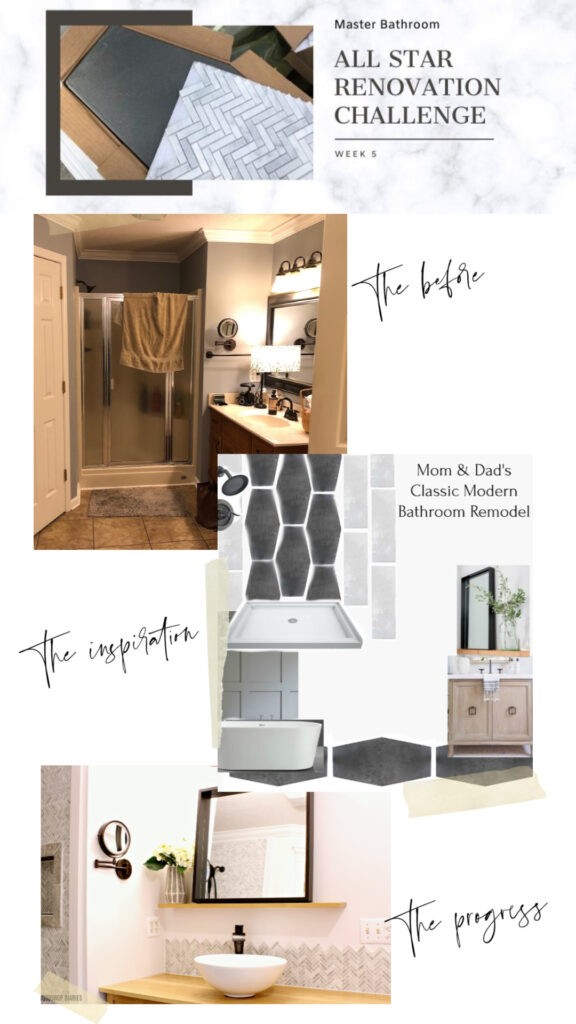
Hey friends! Welcome to Week 5 of the All-Star Renovation Challenge with Jeffrey Court, FrogTape, and Behr Paint! We are talking master bathroom renovation again, and I’m updating you on week FIVE of our progress. This post contains affiliate links. See policies.
If you remember from the last four weeks, these brands challenged several bloggers from past renovation challenges (remember my kitchen renovation???) to take on another challenge as the All Star Renovation Challenge. I’m so excited to be included in this group and to share with you the journey as we transform my parents’ master bathroom! Check out all the designers and their spaces here.
The last two weeks began fan voting…the winner takes home the grand prize of $5,000 and, of course, bragging rights that they won the ALL STAR Renovation Challenge. The winner this time around will be determined solely by fan votes, so I’d be forever grateful if you’d click on over and cast your vote! You can vote once a day until the winner is announced next week!

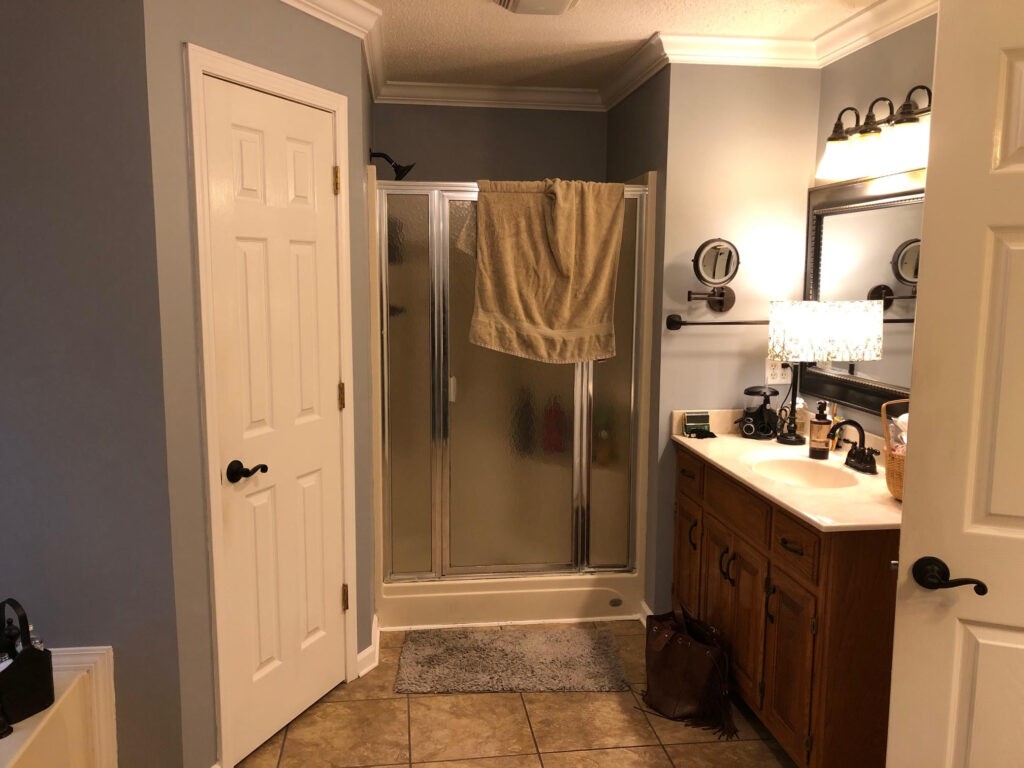
So if you missed last weeks update, head over and check that out first. But I’ll give you a quick recap of where we started this week.
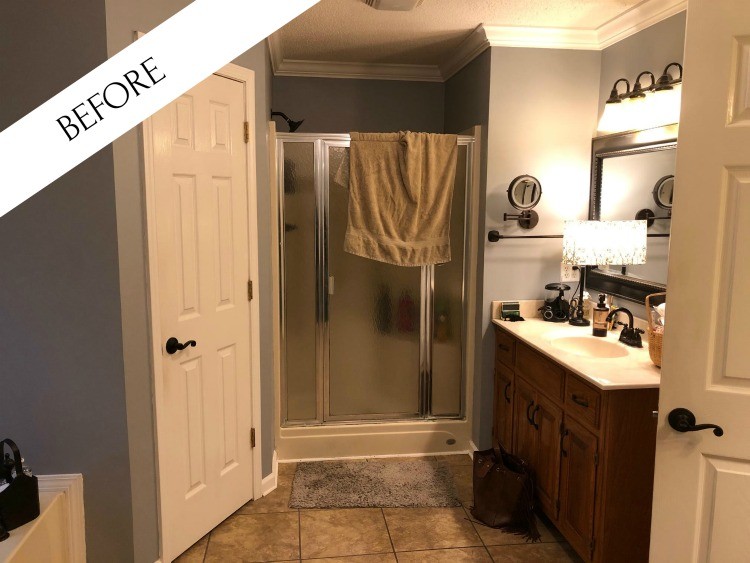
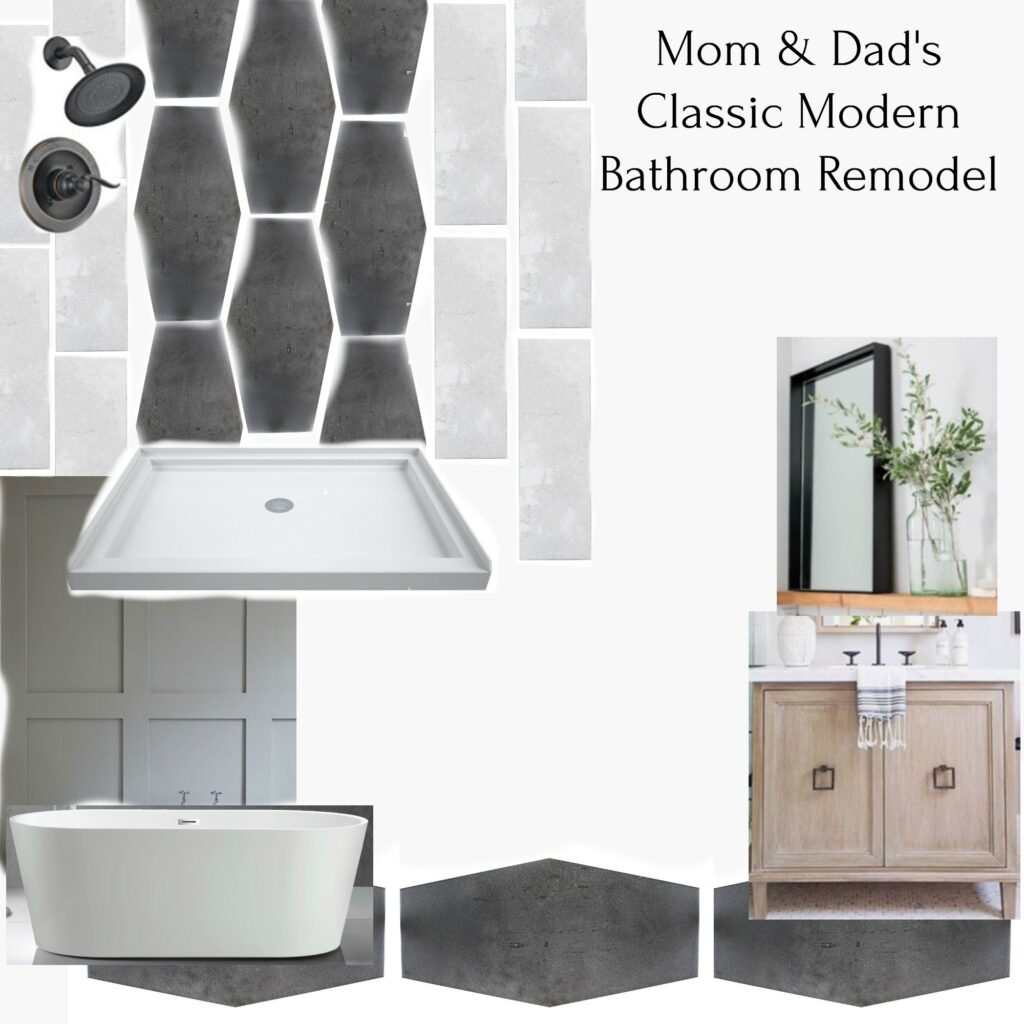
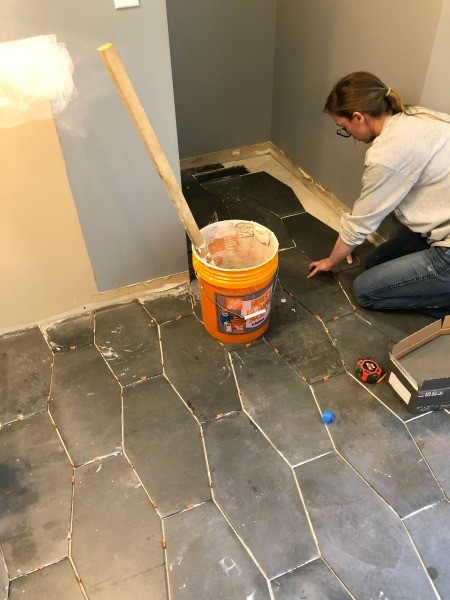
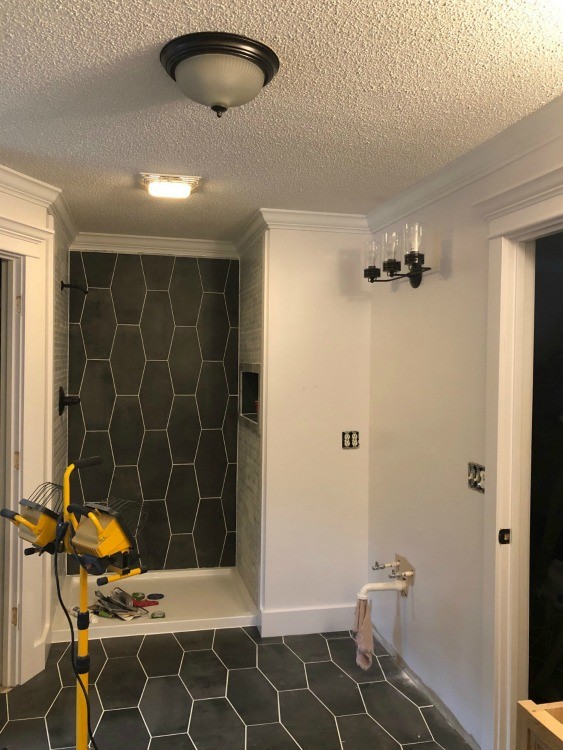
At the end of week two, we had removed everything to the subfloor and taken out the tub and shower stall. We replumbed the shower water supplies and drain and set the shower pan in place. I also prepped the floor and shower for tile, laid the floor tile, and one wall of the shower (we used Jeffrey Court Castlerock Tile). It doesn’t sound like a lot, but trust me…it was a busy first two weeks! There was also some drywall patching in there somewhere, but you get the idea 🙂
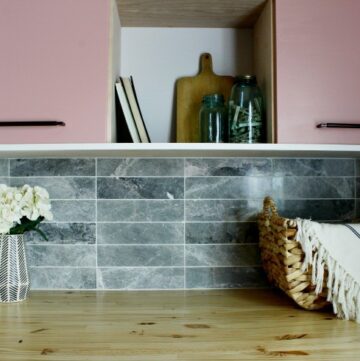
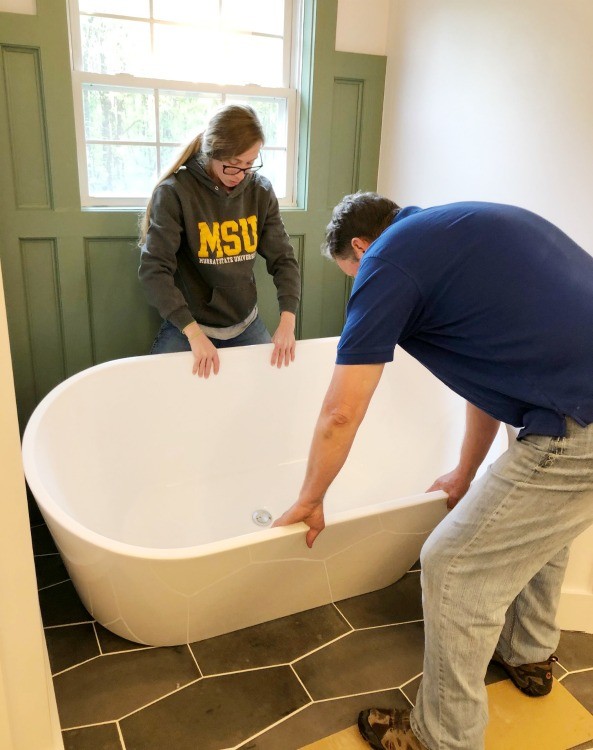
At the end of week three, everything was tiled (we also used Jeffrey Court Jetstream tile on the shower walls), grouted, and trimmed out ready for paint. At the end of week four, we had painted the walls (Behr Ambience White and Behr Sage Green), installed the vanities, tub, and toilet. And we were eager and ready for the finishing touches to come together.
So we started week five antsy and excited and ready to be finished and see our hard work completed! So, with that, here’s what happened in week five:
We finished the bathroom!
I know…we weren’t really supposed to finish until week 6, BUT we were ahead of schedule and we did.
.
But don’t get too excited…I’m still saving the final reveal for next week 😊 In the mean time, I’ll share a few of the final details we added to the space before sharing the overall space in week 6.
New Bathroom Mirrors:
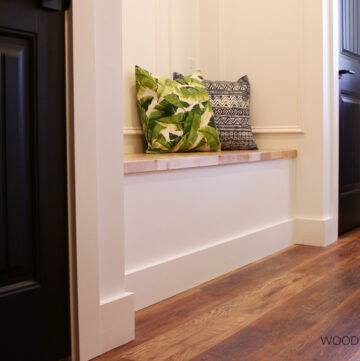
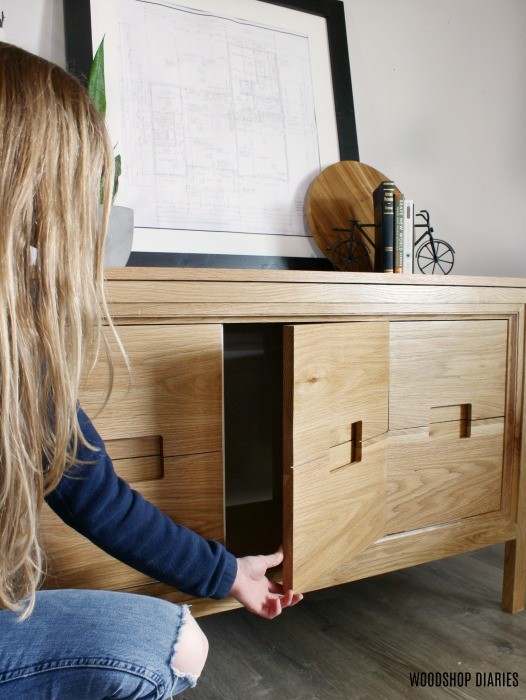
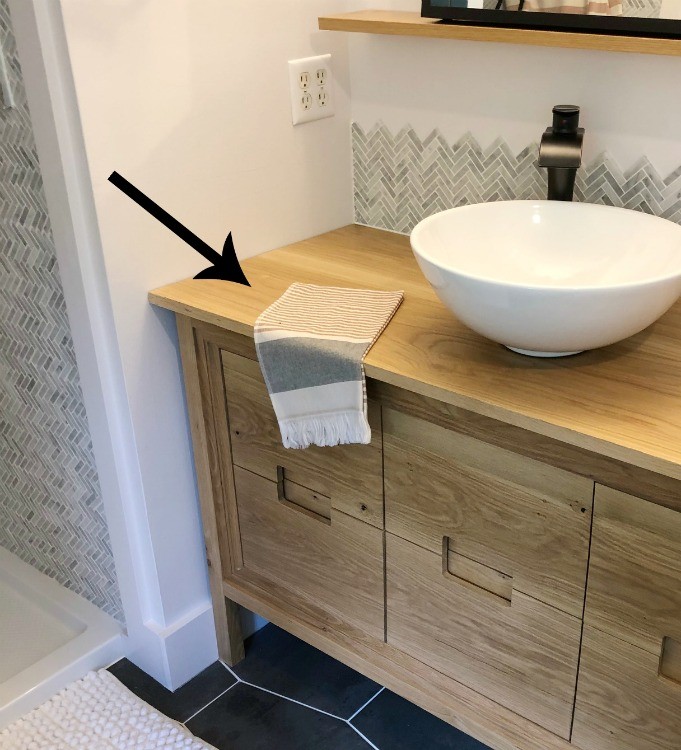
If you remember, from some previous posts, I built my parents’ vanities. I wanted this bathroom to have an overall modern feel. So I built them a floating mirror shelf and bathroom frame that would fit a similar style as the vanities.
I posted a whole tutorial about the floating shelf and mirror frame here.
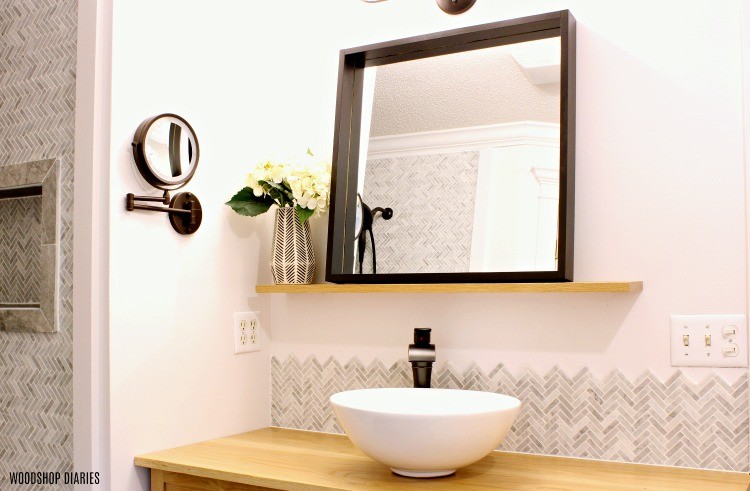
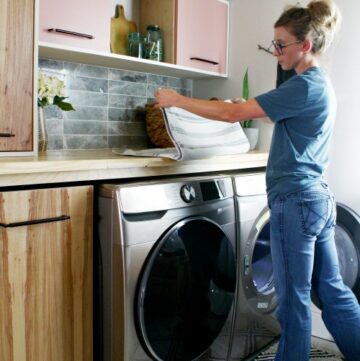
I got this installed after installing the backsplash last week and now my parents could finally use their vanities again. I think I was almost as excited as they were haha.
Scrap Wood Towel Rack:
I also built a SUPER SIMPLE scrap wood towel rack to hang above the tub. This was more for looks than function as they don’t use the tub often, but I thought the wood tone on the rack brought some warmth to this space with the white walls.
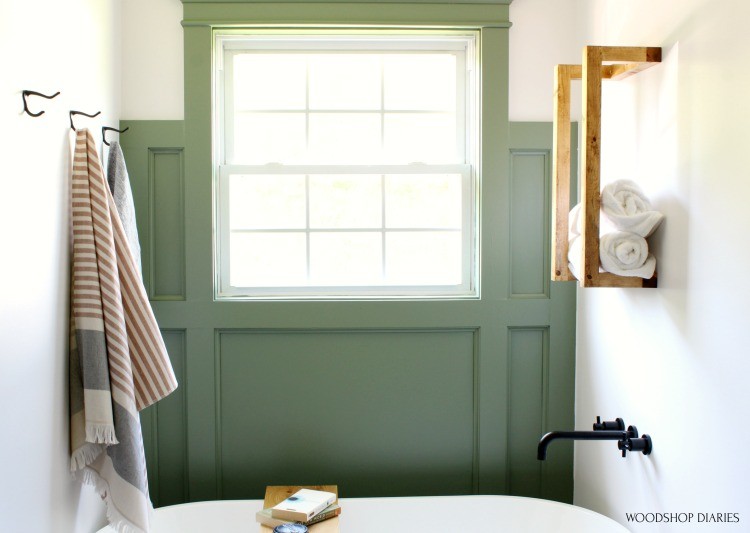
I’ve also got a tutorial for the towel rack posted here.
Tub Tray:
I also gave my parents a tub tray (is that what these things are called??) to set on their tub. I simply cut a white oak (the same wood I used for the vanities so it would match) board a few inches longer than the width of the tub. Literally the easiest DIY project ever haha.
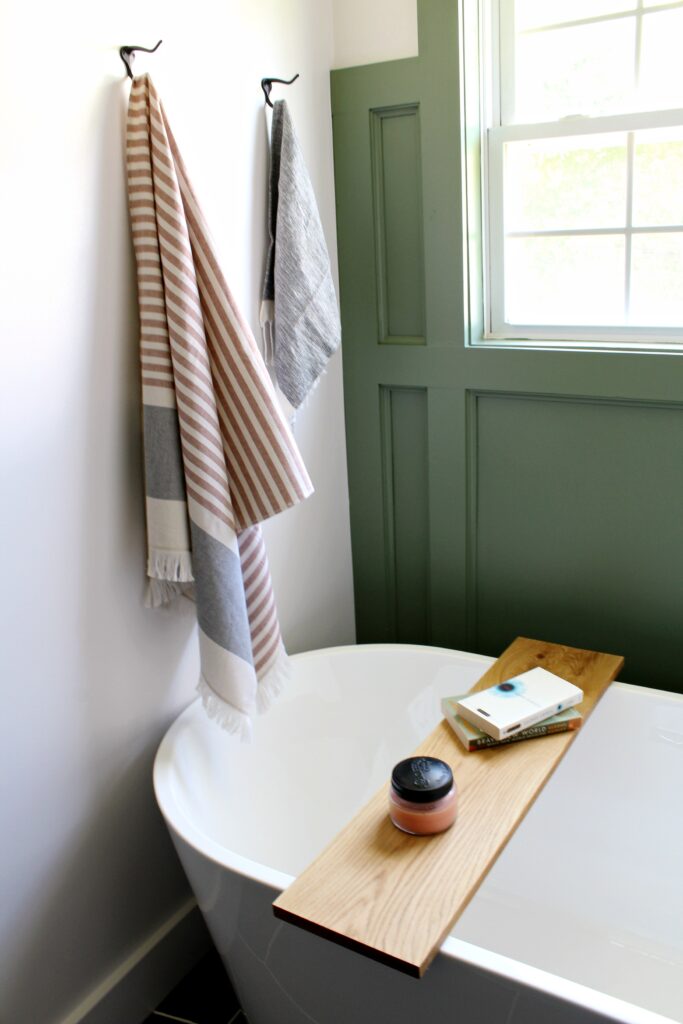
It also adds a little warmth to this modern bathroom. With the white walls, I didn’t want it to feel too cold. The wood tones really helped give it some “life” and warmth.
New Shower Curtain:
We weren’t actually supposed to have a curtain in this bathroom. We had planned to have a glass door on the shower.
However, when we began shopping for them, since their shower was so narrow (only 48” wide), the glass door options weren’t great because the door widths were so small. That meant they’d have to turn sideways just to walk into the shower.
.
Not ideal.
.
So, we decided to actually go with a shower curtain. And while it’s not as “fancy” as a glass door, I think in the long run, it’ll be a little more practical for this space. My parents have really hard water and I was a little concerned about it damaging the glass door if it wasn’t cleaned after every use.
.
With that PLUS the narrow door issue, we ultimately just decided to go with a nice curtain instead.

It was still ten times better than the 20 year old shower door they used to have haha.
We found this shower curtain on CB2 and it matched the style I was going for perfectly. It also had matching towels!!
It was the last piece of the bathroom to come in and it really completed the space. And at this point, it’s all over but the cleaning, so I’m off to sweep and mop all the renovation dust off everything and get ready to share the full reveal next week!
.
Get excited…the before and after side by sides will blow you away 😊
So be sure to tune back in next week! Until next time, happy renovating!