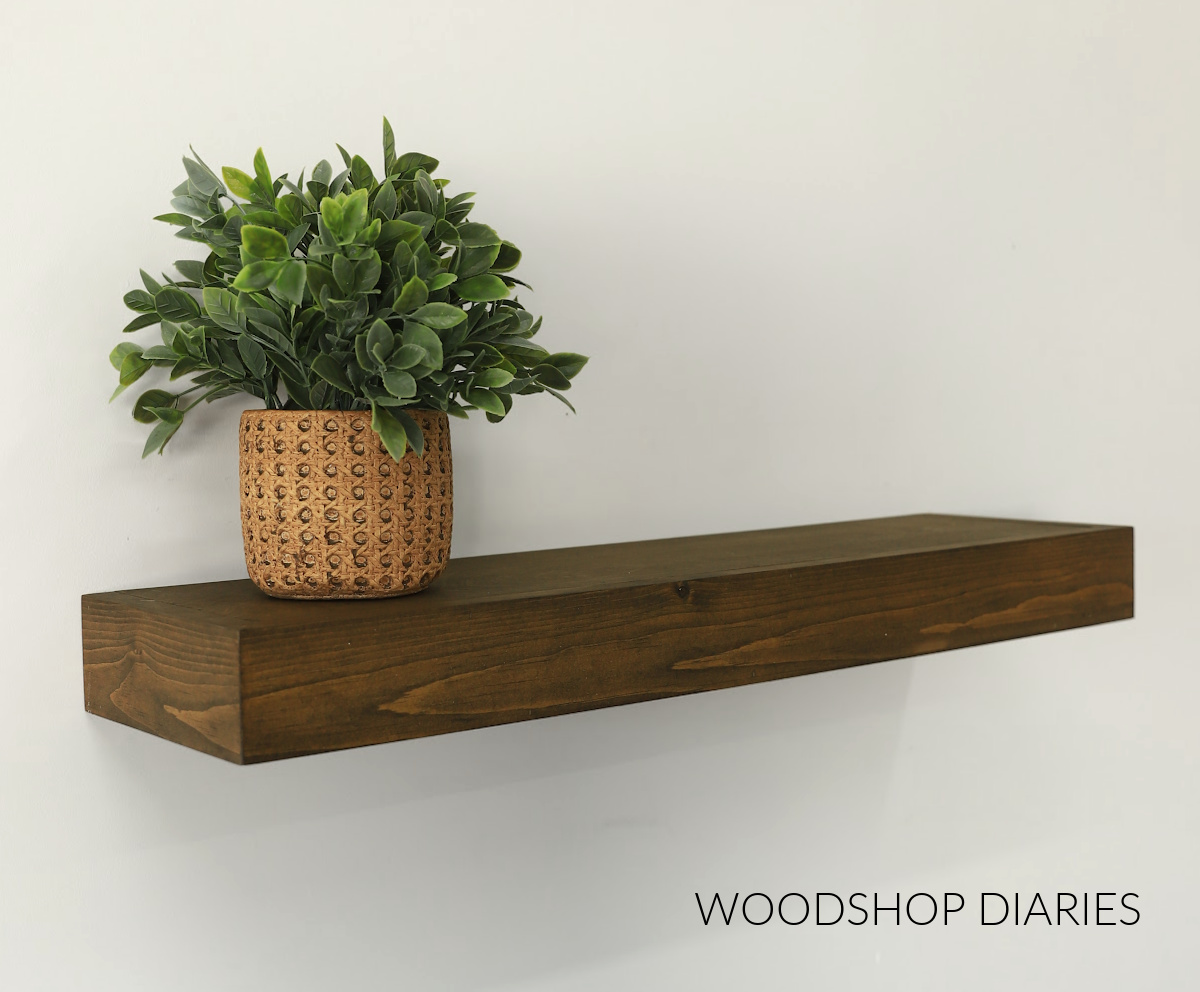
In this post, I’m going to show you my absolute favorite way to build a basic floating shelf!
Floating shelves are a great addition to just about any room of the house.
They’re common in bathrooms in nooks or above the toilet for paper, wipes, or other accessories.
They’re great in hallways to display your family photos, in kitchens for cookbooks, in laundry rooms for supplies.
It would honestly be hard to find a place where a floating shelf wouldn’t be handy!
Of course, there are a million ways to build a shelf, but this method and style is my number 1 favorite.
So if you could use an excellent easy weekend project (and a place to set a few things), let’s dive in and build a basic floating shelf!
*This post contains affiliate links. See website policies.
What to consider before building
This is a great scrap wood project idea, so be sure to check your scrap pile before building. You may already have everything you need!
For this shelf, you just need a small piece of ½″ plywood, and about 48″ of 2×2 and 1×3 boards.
You can use just about any wood type you’d like for this shelf, but I used pine boards and birch plywood.
As far as skill level, this is a great beginner project. It doesn’t require a lot of tools, and it’s pretty forgiving. You could also have it built in under an hour.
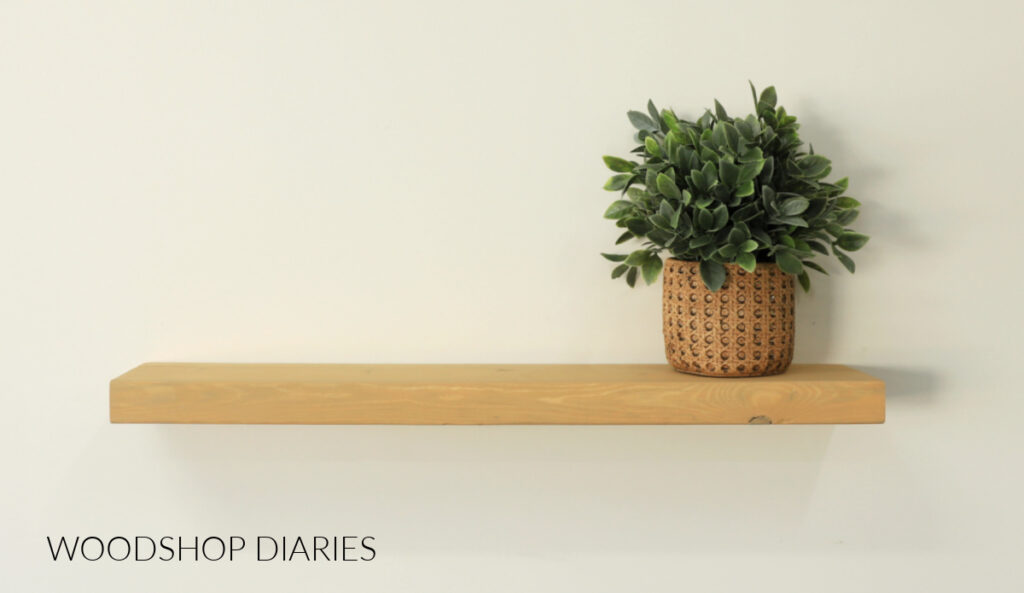
Overall Dimensions
This style of floating shelf is easy to customize in size and works great for both shallow or deeper shelves….within reason. I recommend keeping it 12″ or under.
As is, this shelf is 2 ½″ thick x 6 ¾″ deep x 30″ long.
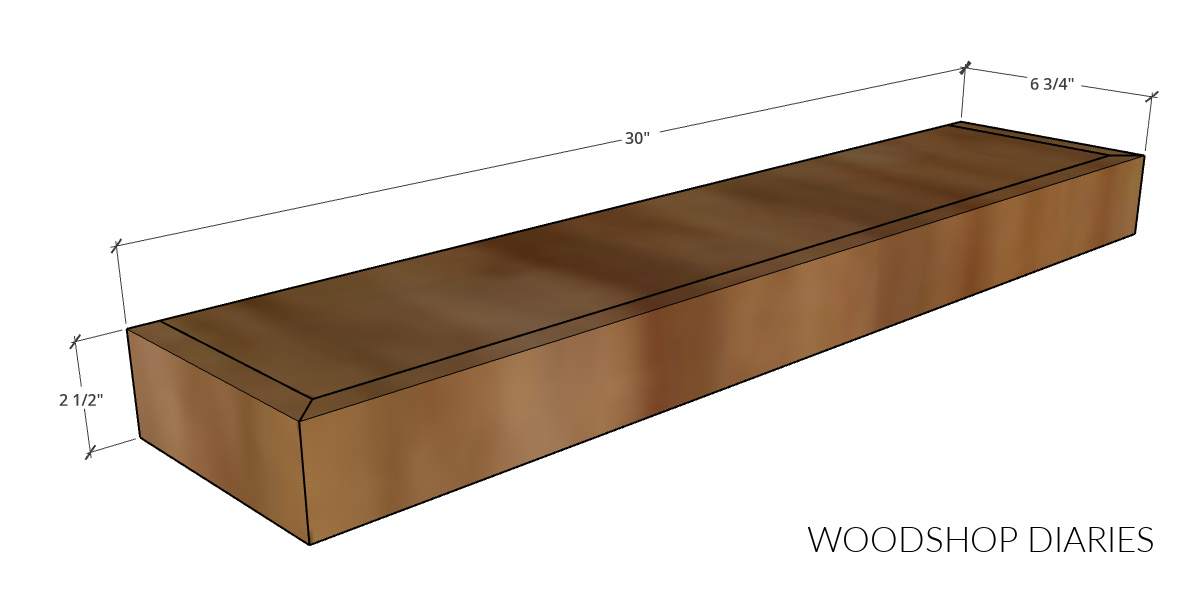
You can certainly make it longer or shorter, but it needs to be long enough to cross at least two wall studs.
So if your wall studs are 16″ on center (which is pretty typical), your shelf should be at least 17″ long or so. And if your studs are 24″ on center, your shelf should be at least 25″ long or so.
Enjoy DIY projects and woodworking plans? Sign up for priority access for the latest posts on Woodshop Diaries!
How to build a Basic Floating Shelf
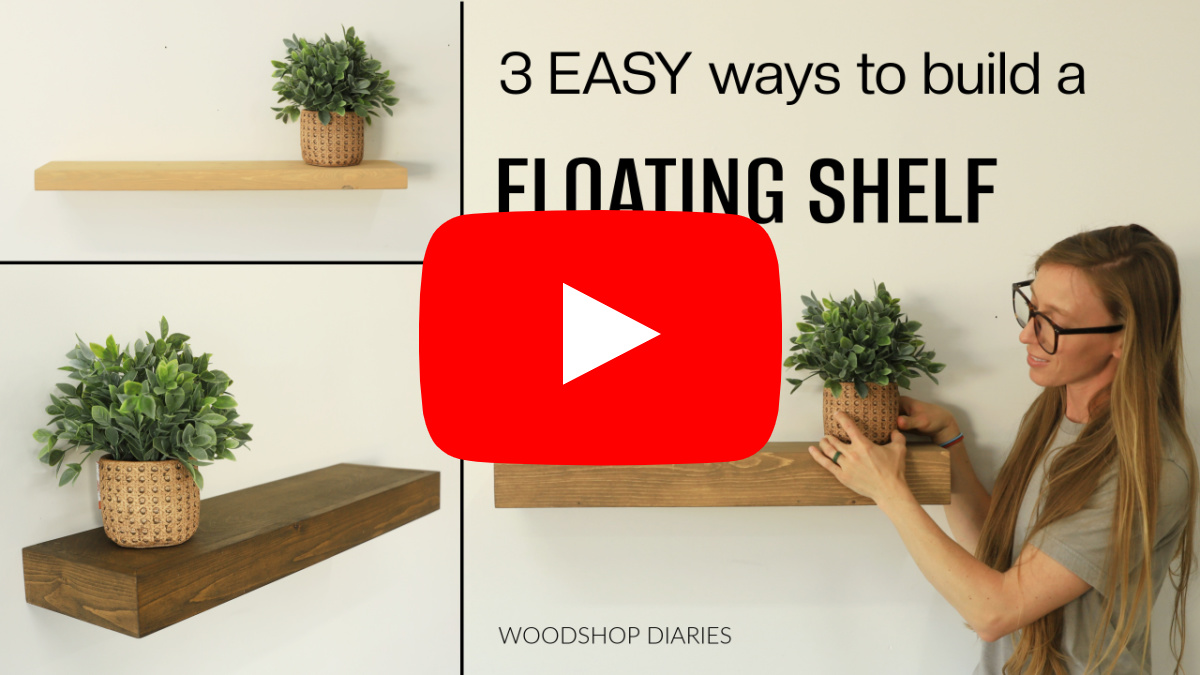
If you prefer to watch, I’ve shared the full build video with tons of tips, behind the scenes, and additional details on my YouTube Channel here.
Love watching how-to videos? Subscribe to my YouTube channel for plenty more where that came from!
Prefer to print? Grab the printable floating shelf building plans available here:
Tools & Materials
Tools:
- Drill/Driver
- Miter Saw
- Circular Saw & Cutting Guides (optional)
- Pocket Hole Jig
- Brad Nailer
- Clamps (optional, but helpful)
- Stud Finder
- Level
Materials:
- (1) 1×3 board 48″ long
- (1) 2×2 board 48″ long
- (1) 2’x4′ (¼ sheet) ½″ plywood (or scraps)
- Wood Glue
- 1 ¼″ Brad Nails
- 2 ½″ pocket hole screws
- (2-4) 3″ wood screws
- (2) 1 ¼″ wood screws
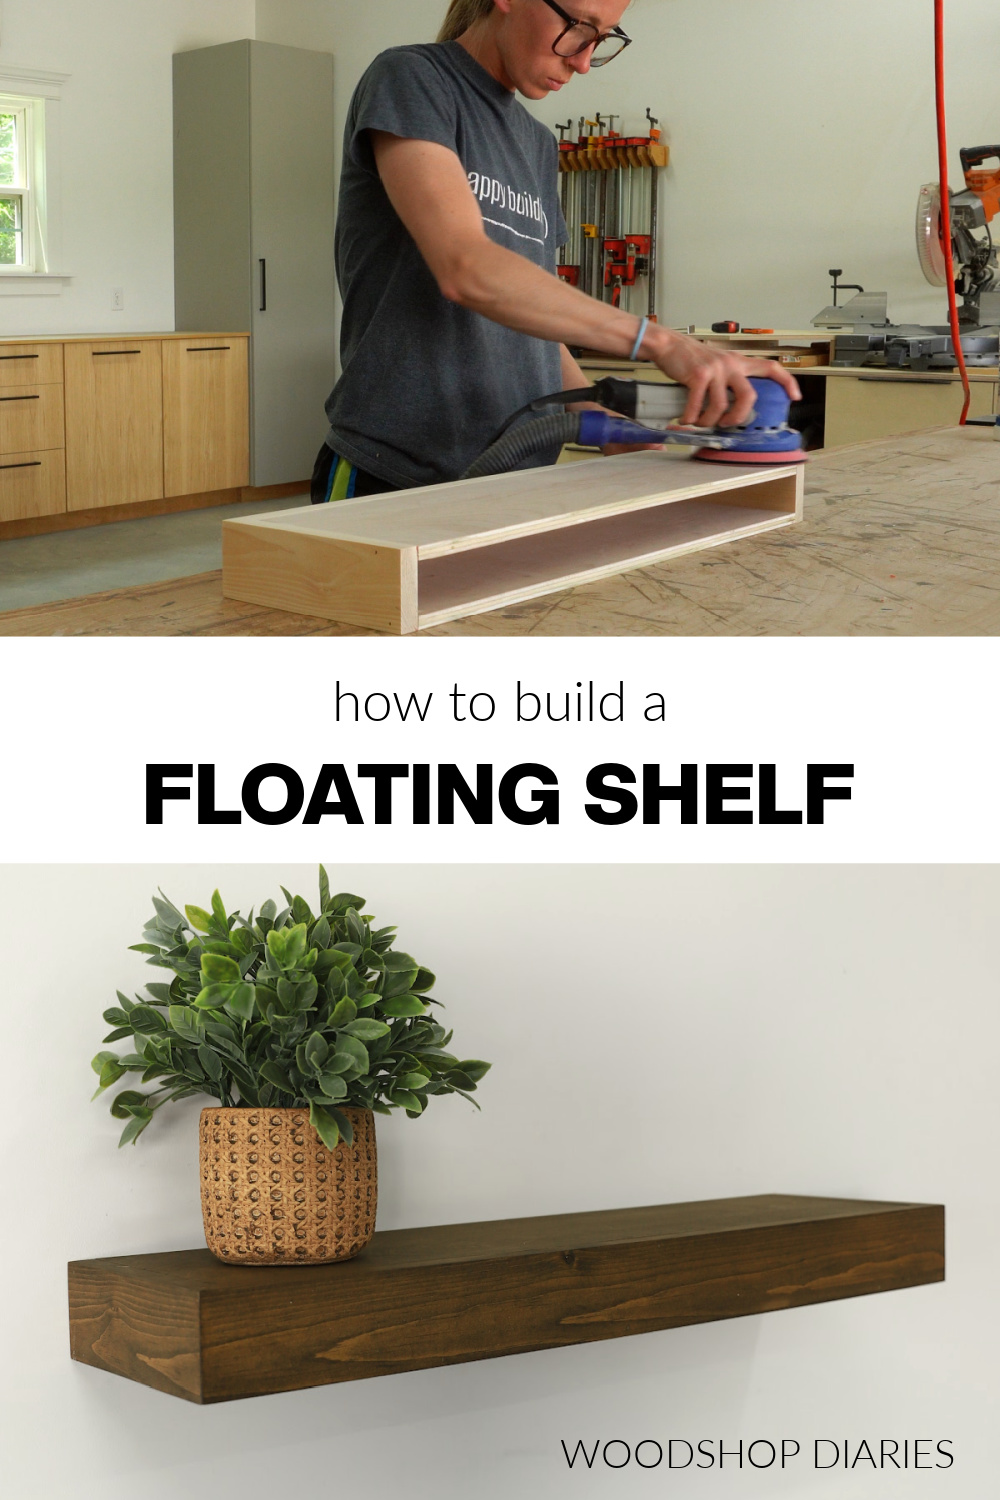
Step 1: Cut Shelf Box Pieces
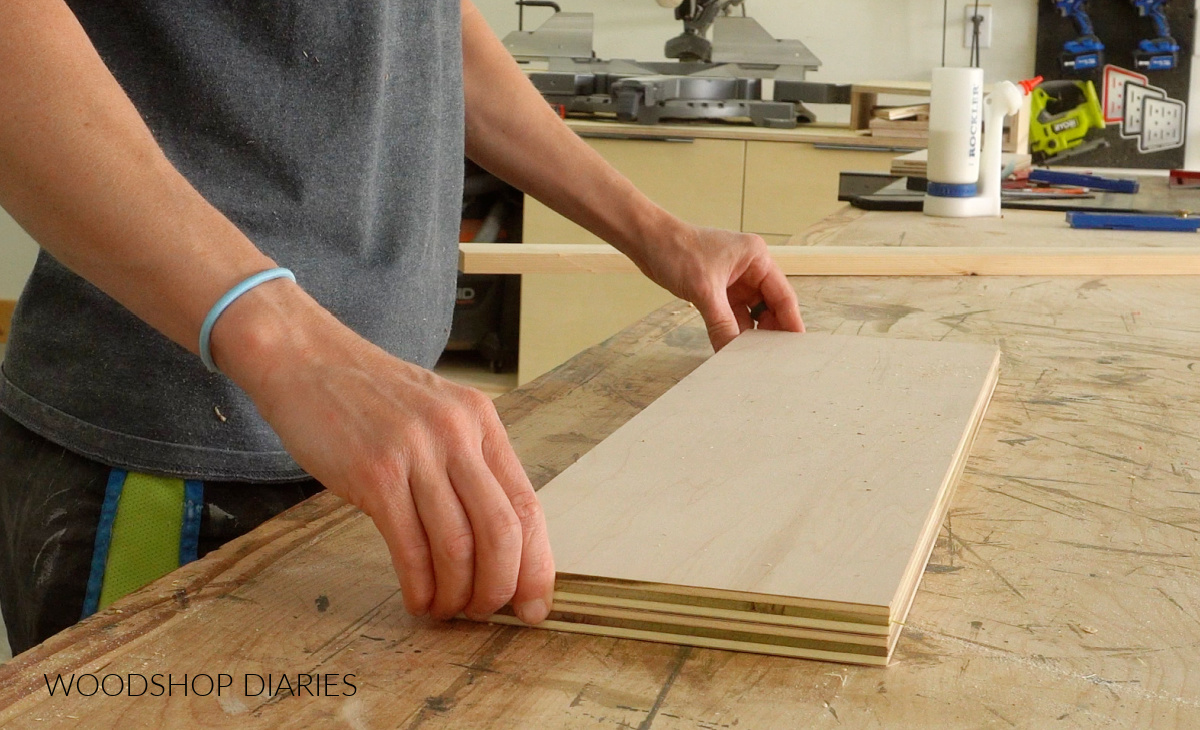
This floating shelf is essentially a hollow box that’s built to fit over a frame. To build the hollow box, first, I cut two pieces of ½″ plywood for the top and bottom.
These can be just about any size you want, but should be about 1 ½″ shorter and ¾″ narrower than the overall size you want the shelf.
It’s important that these two pieces are cut exactly the same size.
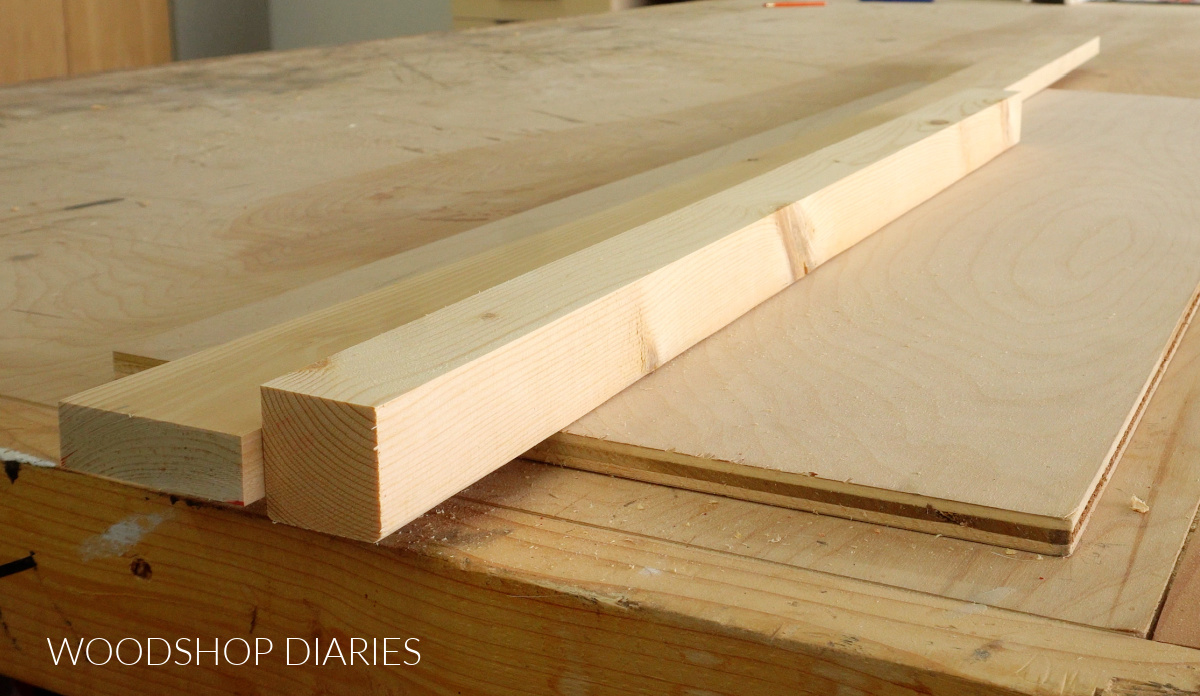
Once I had my top and bottom pieces, I carefully cut to fit 1x pieces to wrap around the sides and front.
I beveled the ends that meet at the front corners 45 degrees so you don’t see any end grain. But, if you wanted to cut these square and use butt joints, that’s totally fine, too!
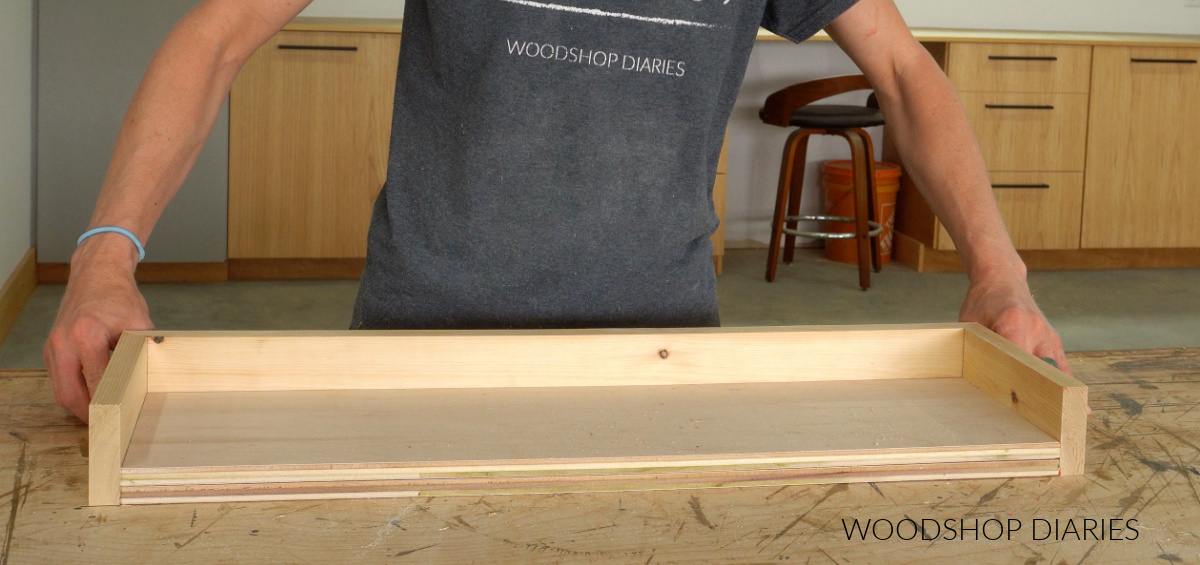
I test fit my pieces together to make sure they all fit well before gluing. Adding glue makes a mess, so it’s good to KNOW THAT YOU KNOW they’ll fit well before involving glue.
Step 2: Assemble Floating Shelf Box
Now that my shelf box pieces were cut, I could glue and nail the box together.
To do this, I laid my 1x3s out side by side so that the beveled ends butted together. Then I applied painters tape on the joints.
I flipped this upside down, then applied glue into the beveled joints and added a bead close to the top edge and another bead close to the bottom edge.
Then I could kind of “wrap” the sides and front around my plywood panels.
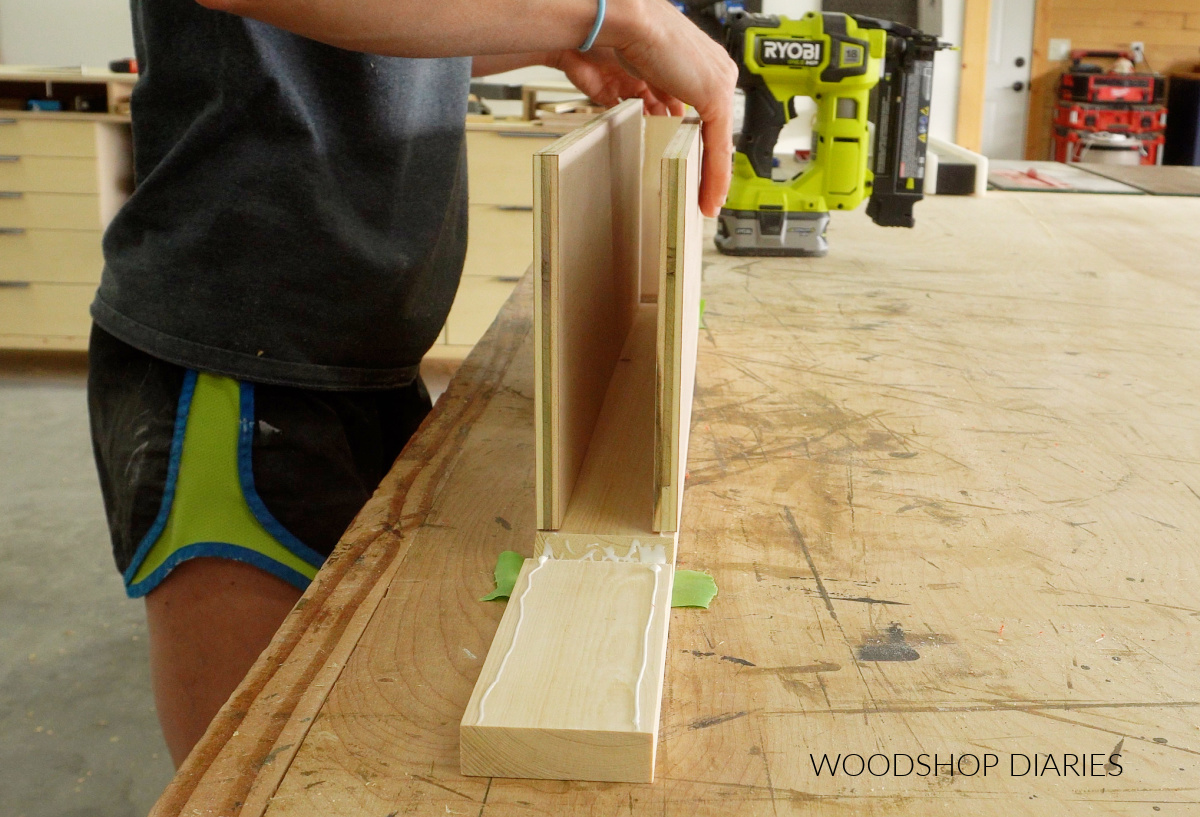
It’s important to MAKE SURE the plywood panels are flush to the top and bottom edges of the 1×3 when attaching. Glue and clamps alone would be fine to hold this while it dries.
But, I’m impatient, so after clamping, I added some brad nails, too so that I didn’t have to wait for the glue to fully dry before moving on. The brad nails replace the clamps.
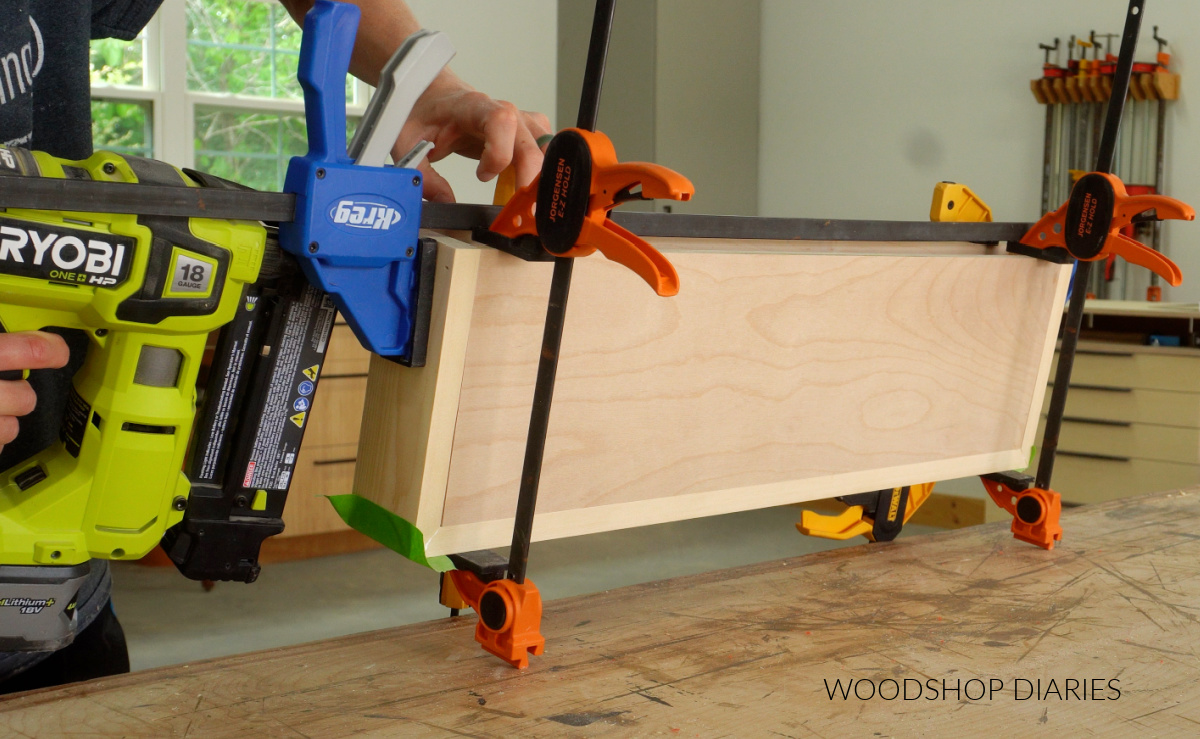
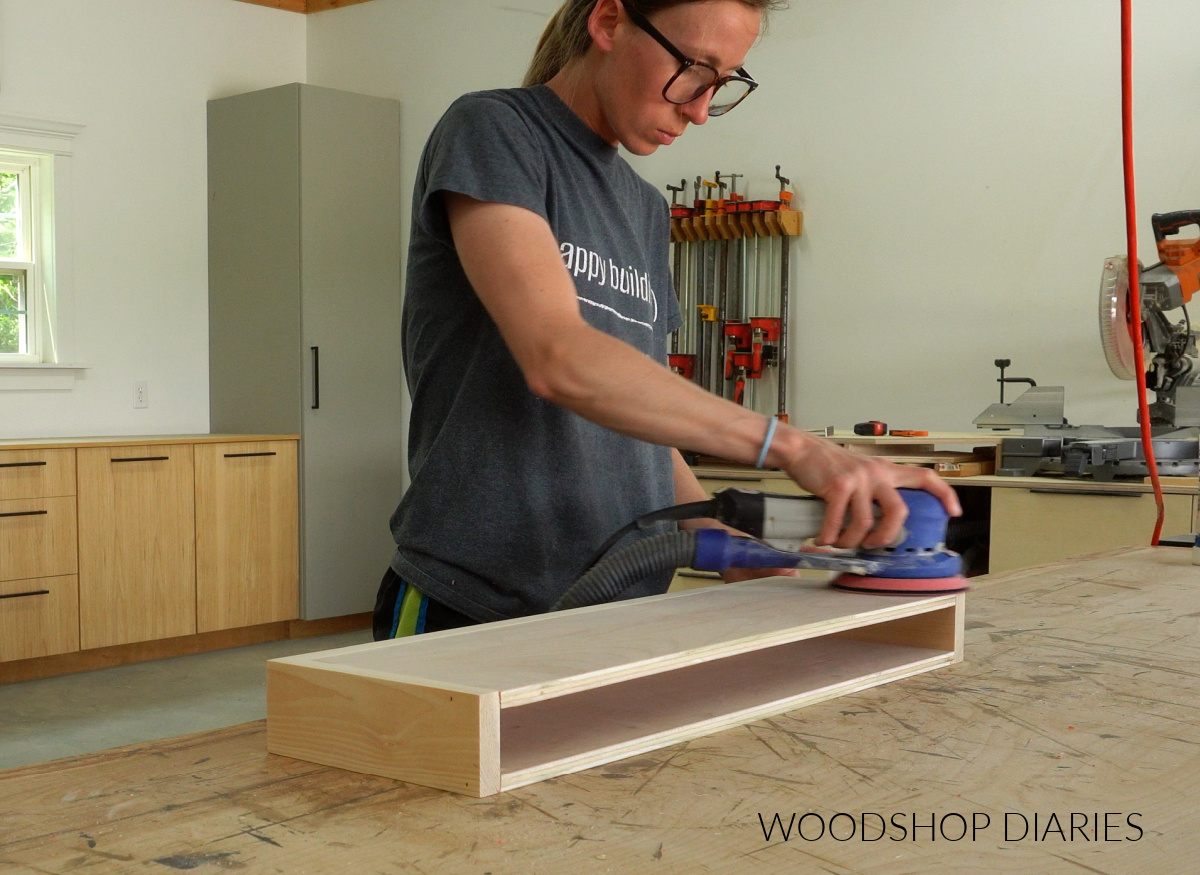
I removed the clamps and the tape, applied wood filler into the nail holes and sanded this box well.
Then I stained it in Minwax Mocha. It’s a deep, rich color that looked great on this pine!
Step 3: Assemble Floating Shelf Frame
While the stain dried, I assembled the frame that will actually hold this shelf box on the wall.
I built the frame using 2x2s, and it is basically an E shaped frame. So I cut one long piece for the back (it should be slightly under the inside opening of the box). Then I cut a few shorter pieces to use for the supports.
I installed the shorter blocks into the back piece using pocket holes and screws.
RELATED: How to use pocket holes
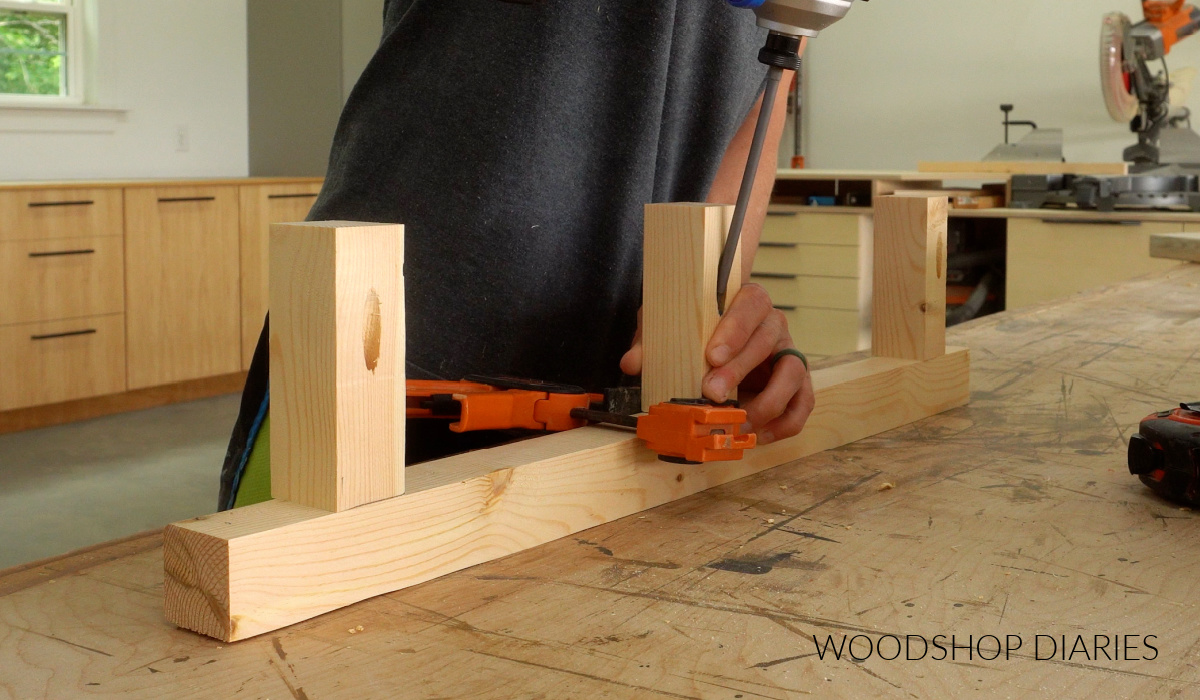
It’s important that this frame fit fully into the shelf box. It’s also important to consider where you plan to hang the shelf and make sure not to place a support on the back piece where a stud will be.
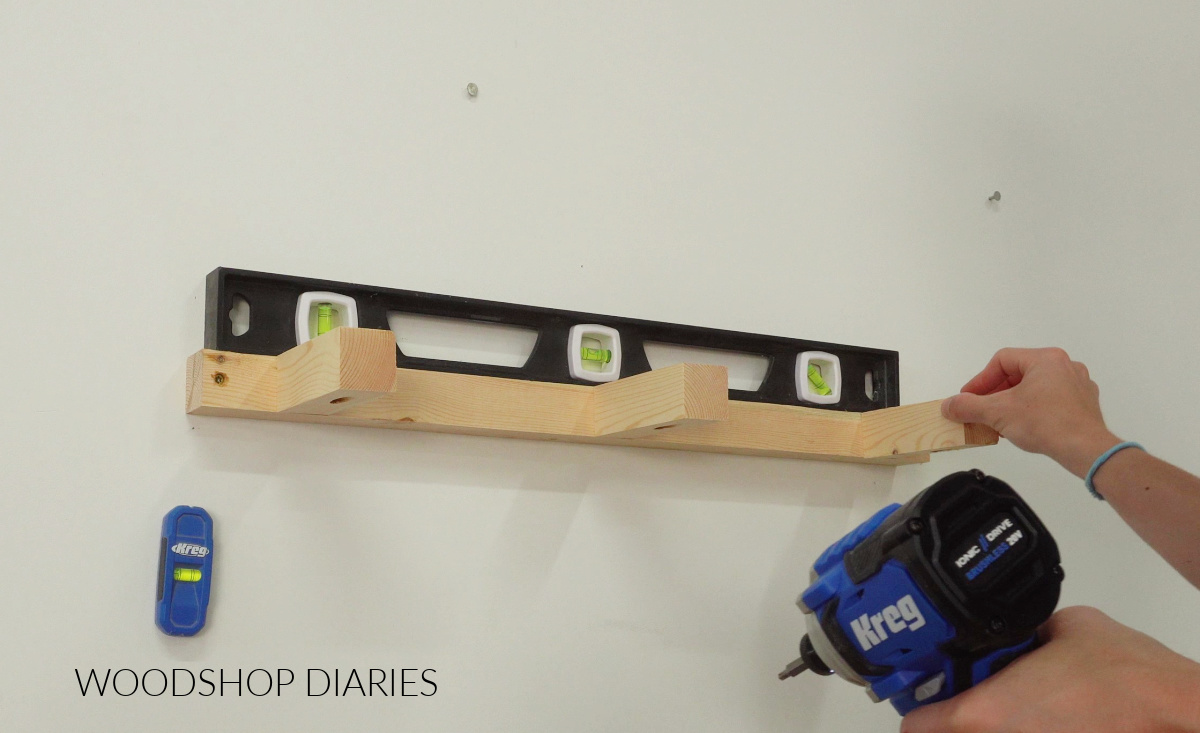
Step 4: Install Basic Floating Shelf
Now, all that’s left is to hang it up. I located the wall studs and secured this frame to them with 3″ wood screws.
The frame should cross AT LEAST two studs. Make sure it’s installed level!
The shelf box simply slides onto, over, and around the frame and butts against the wall.
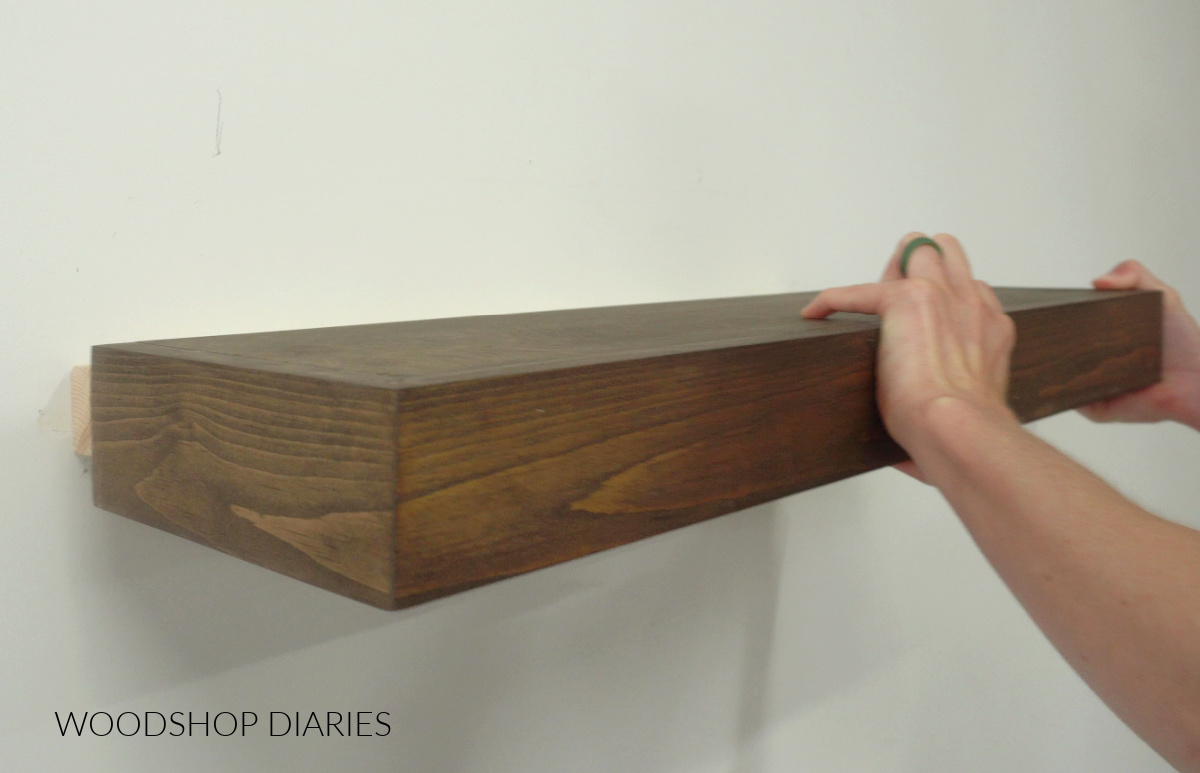
To prevent the shelf from sliding off the frame, I used a couple screws in the back through the top to secure it.

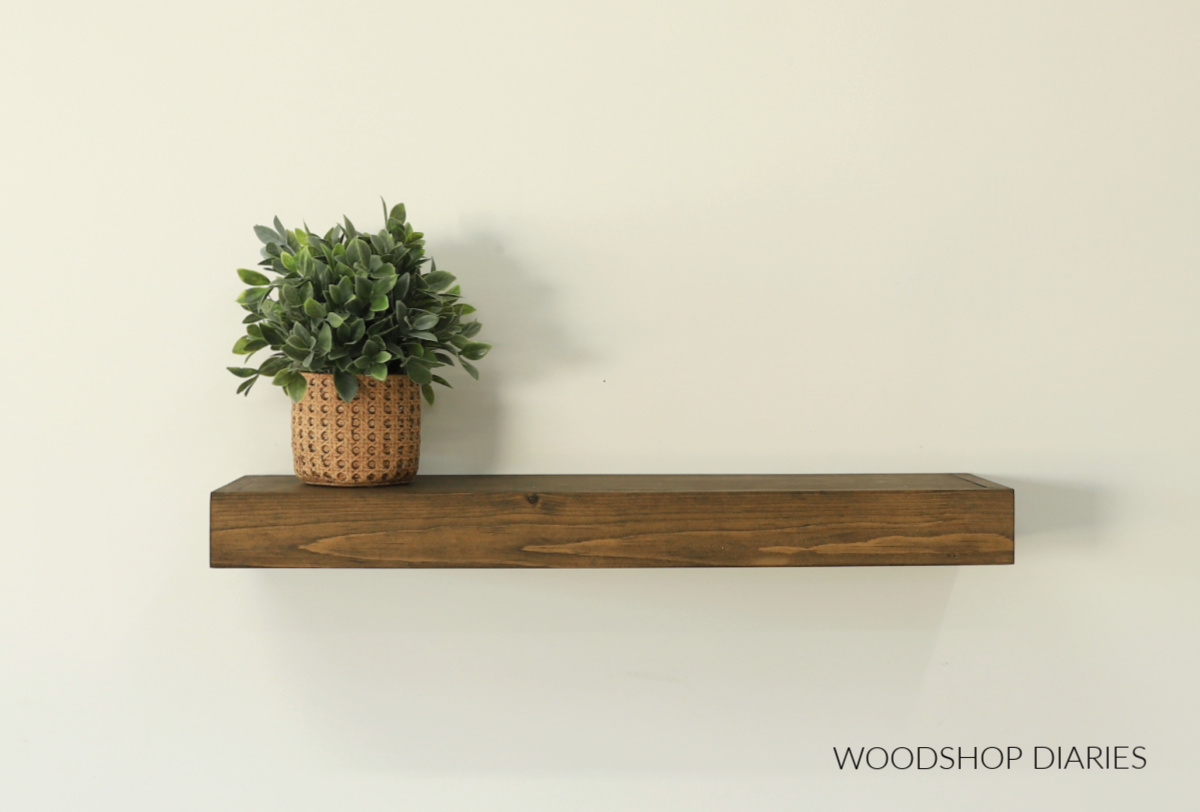
And now this simple floating shelf is ready for decor, photos, books, whatever you want to use it for!
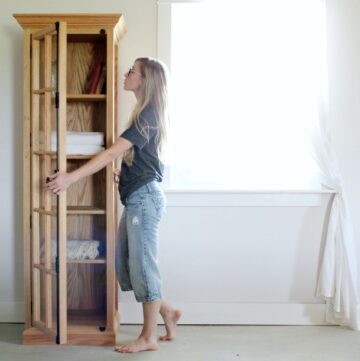
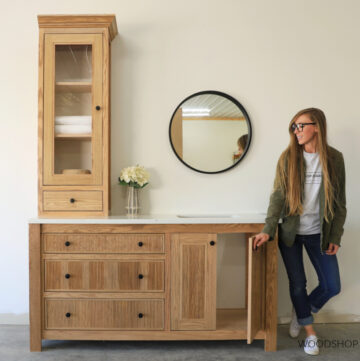
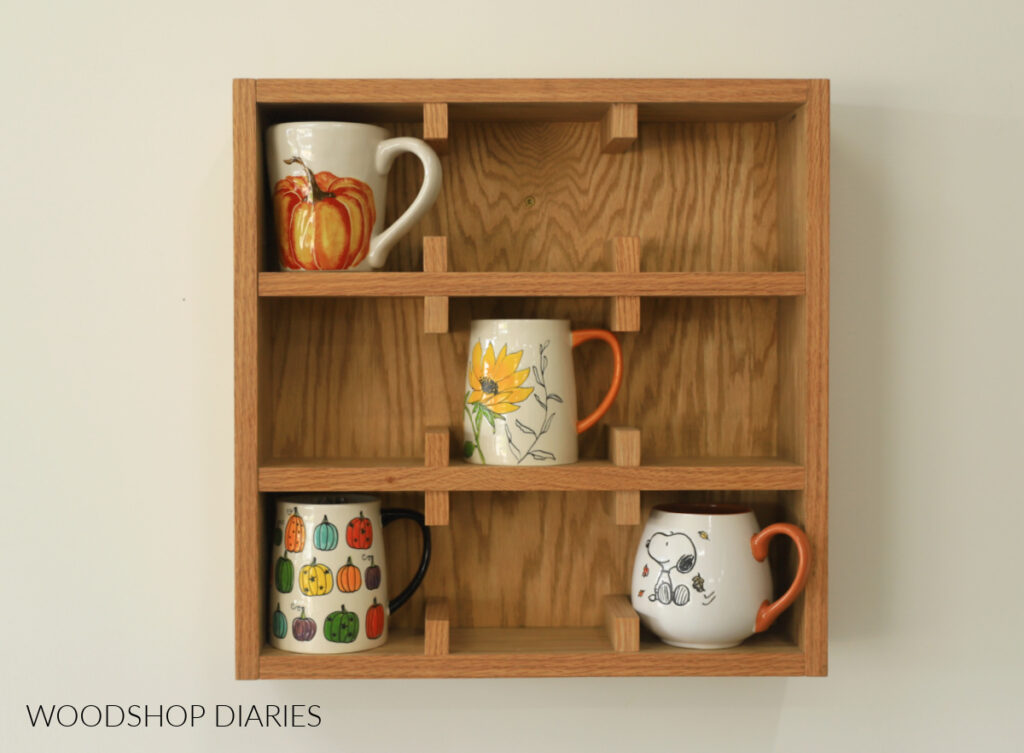
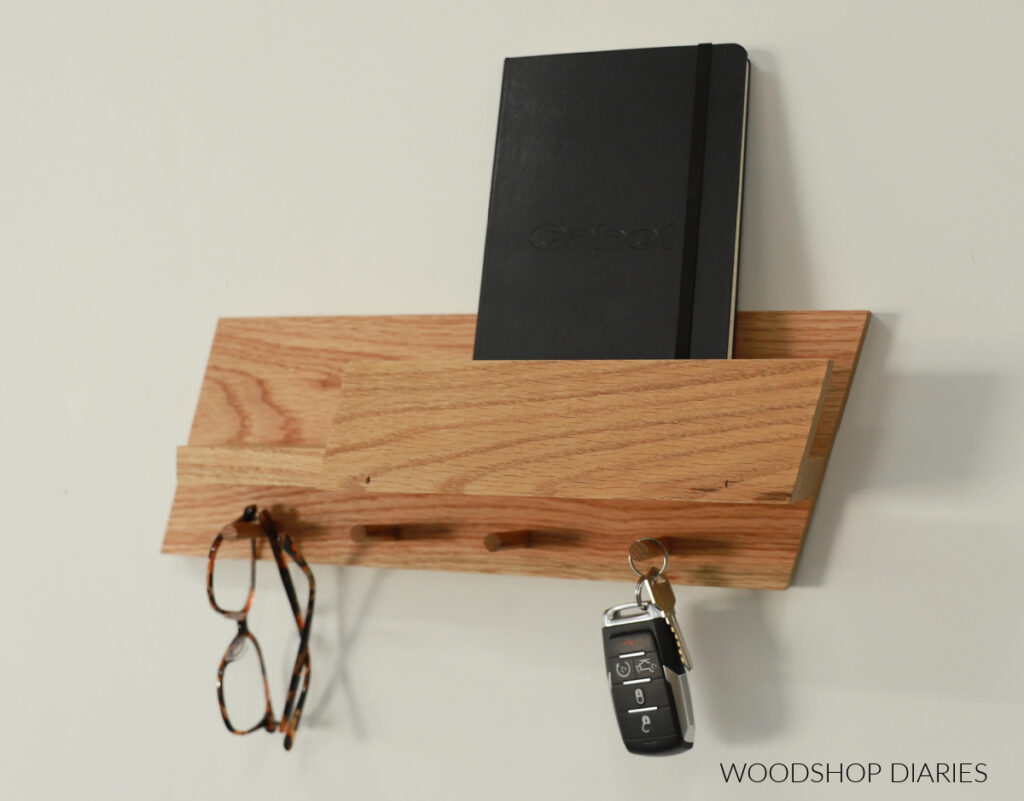
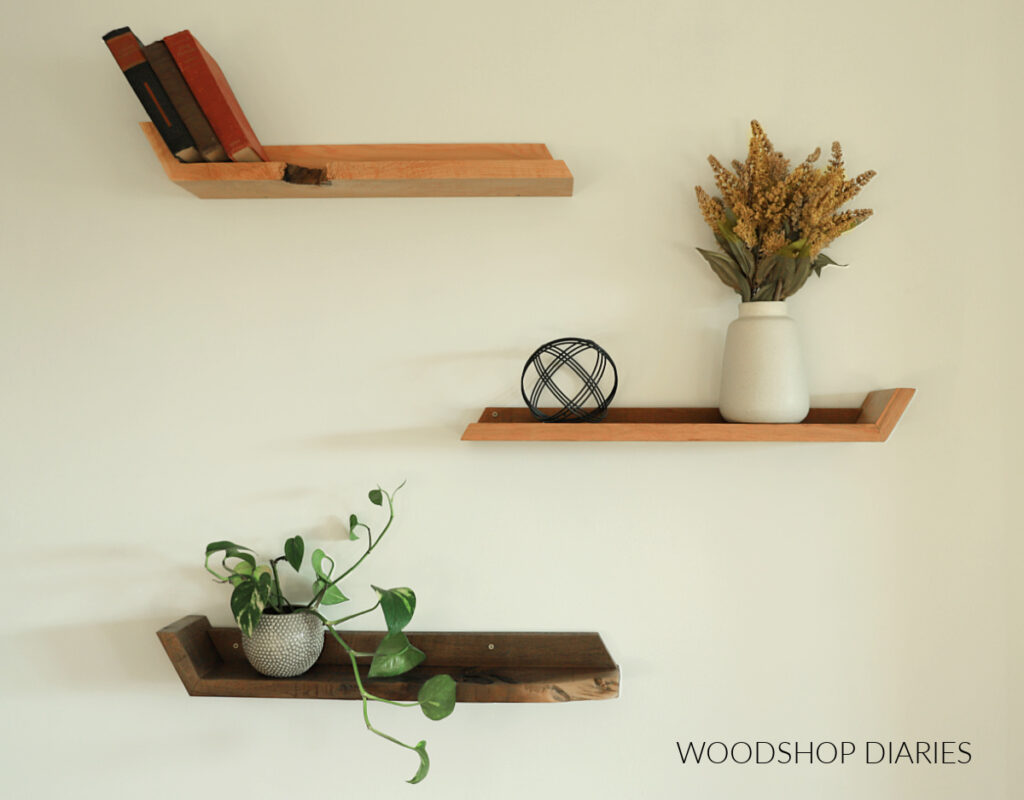
Looking for more DIY shelving ideas?
Enjoyed this project, but looking for more shelving DIYs? I’ve got you covered with plenty more!
Click on the image(s) below to see how to build each one:

If you enjoyed this post, be sure to save it for later by pinning or sharing to your favorite social channel!
Until next time, friend, happy building!