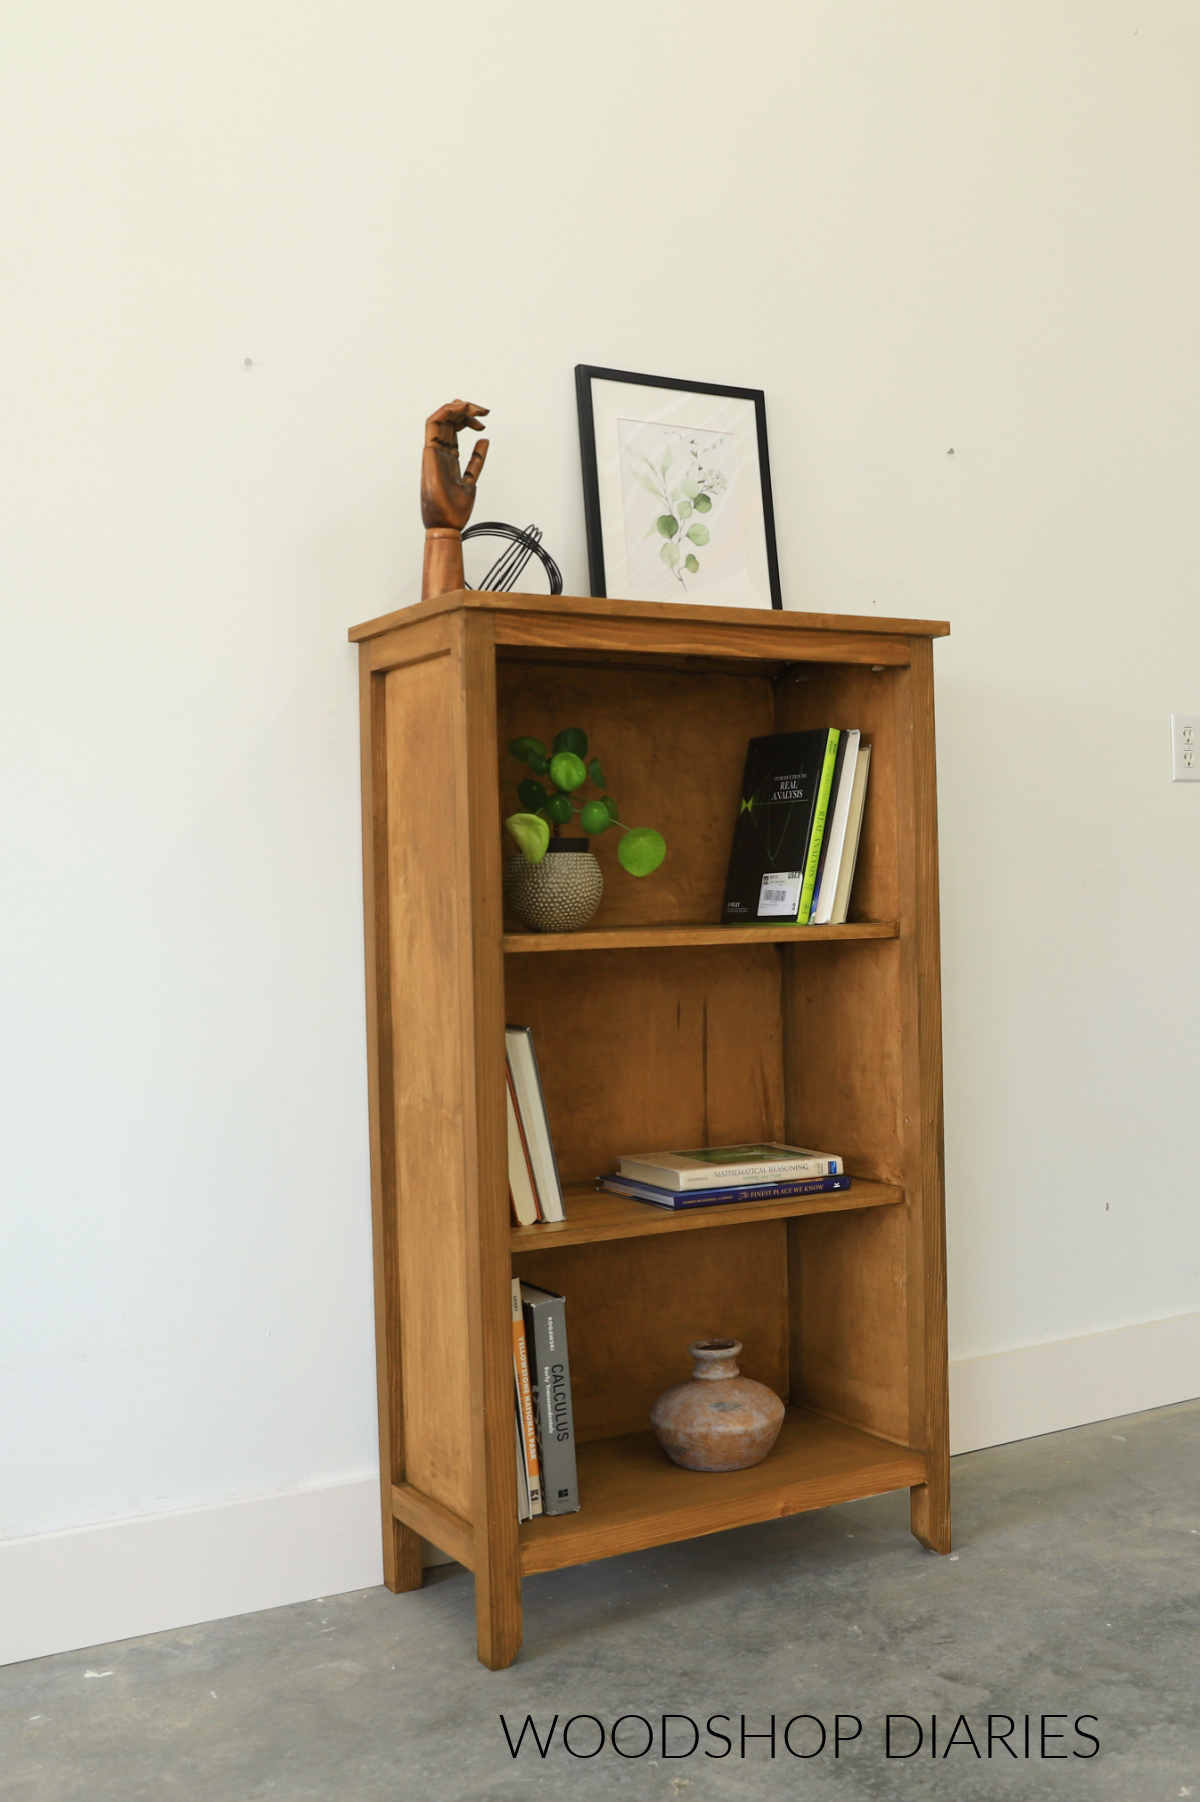
In this post, I’ll show you how to build a small, rustic style bookcase with just a few basic tools!
You’ve heard it said that you can never had enough storage. I feel like the same applies to bookshelves, too.
A small (or big!) shelf is a practical addition to any room and can add extra storage and/or a place to display your favorite keepsakes and décor. And…books, of course.
This small, freestanding book case is the perfect size for use in a bathroom for towels, a kid’s room for books and toys, or a kitchen for cookbooks, snack storage, and more.
Plus, it’s an excellent weekend woodworking project (even for beginners!). So if you’re ready to get building, I’ll show you how to make your own below.
*This post contains affiliate links. See website policies.
What to consider before building
This bookshelf is designed to be freestanding, so I gave it legs at the corners instead of it going all the way to the floor.
For these legs, I used 2×2 lumber, and for the trim and framing pieces, I used 1x2s. To make things “rustic,” I opted to use pine boards. You can absolutely buy precut 2x2s, but I like to make my own using this method.
For the rest of the build, I kept it simple by using plywood, BUT if you wanted to make this from solid pine boards instead (like 1x pine), you certainly could!
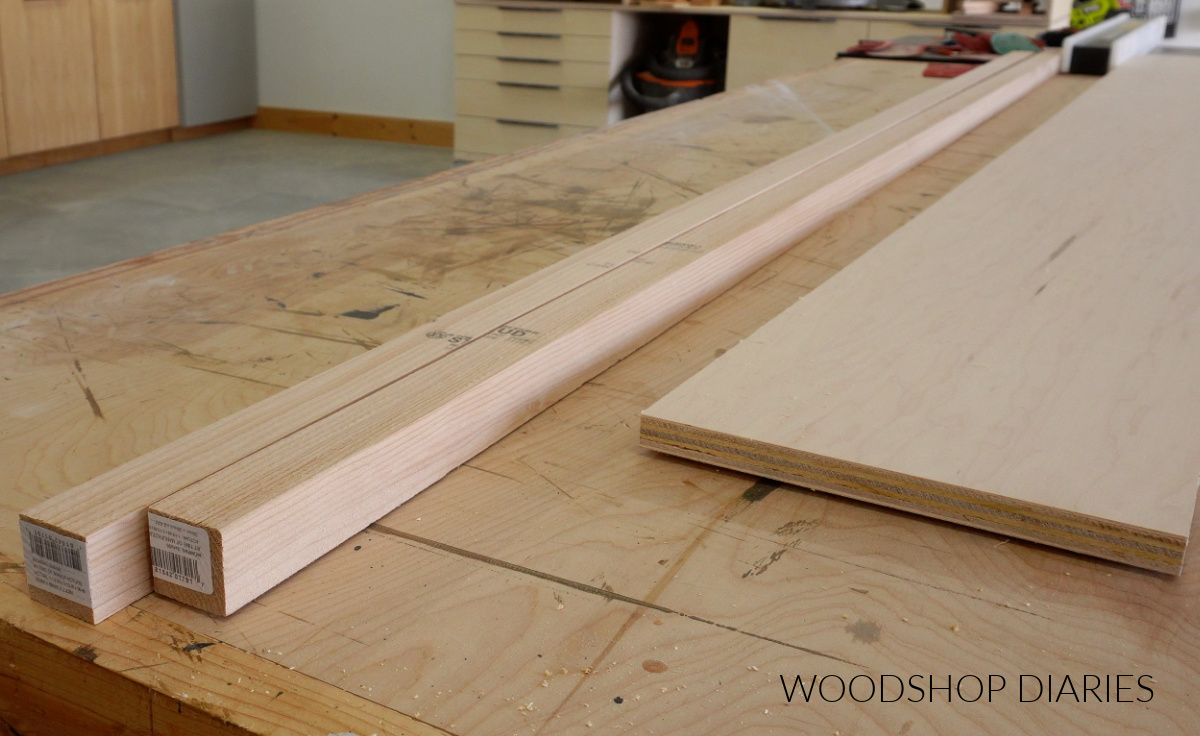
I had scrap plywood already around, but I think pine would have been a really great alternative to give this an even more rustic feel.
If using plywood, a cabinet grade plywood is the best option for a smooth, sturdy shelf.
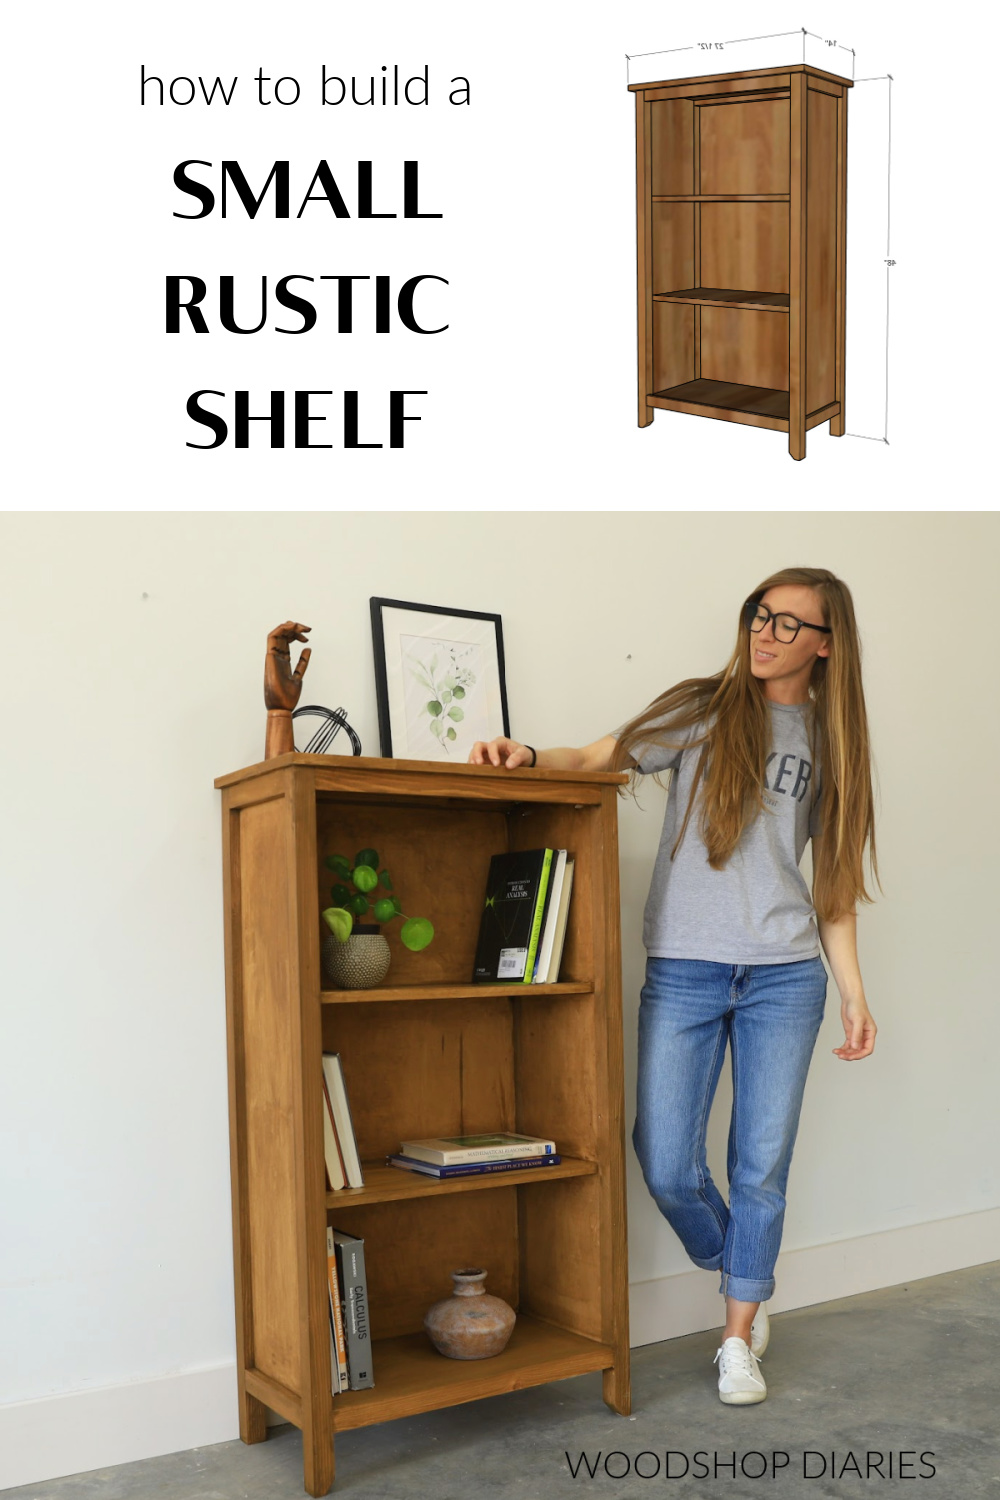
Overall Dimensions
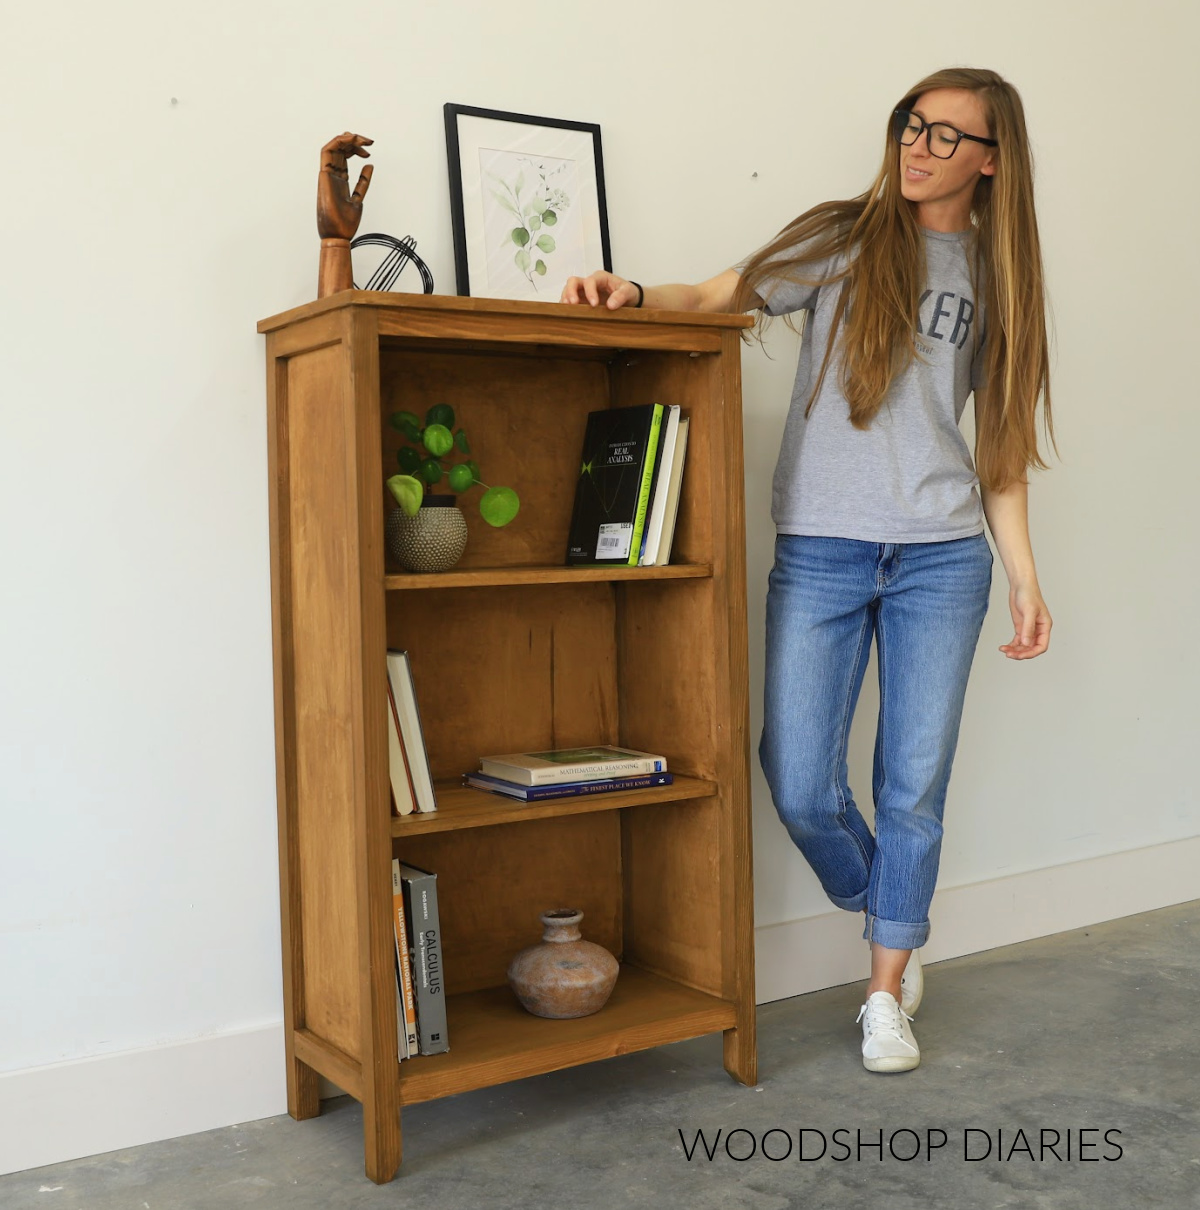
The overall dimensions of this small rustic bookshelf are approximately 14″ deep x 27 ½″ wide x 48″ tall.

You may find these resources helpful throughout the build:
Enjoy DIY projects and woodworking plans? Sign up for priority access for the latest posts on Woodshop Diaries!
How to Build a small book shelf
If you prefer to watch, I’ve shared the full build video with tons of tips, behind the scenes, and additional details on my YouTube Channel here.
Love watching how-to videos? Subscribe to my YouTube channel for plenty more where that came from!
Prefer to print? Grab the printable bookshelf building plans available here:
Tools & Materials
Materials:
- (1) 4’x8′ sheet ¾″ plywood
- (1) 2’x4′ sheet ¼″ plywood
- (2) 2x2x8′ boards
- (2) 1x2x8′ boards
- 1 ¼” pocket hole screws (100 count box)
- (2) 1 ¼″ wood screws
- (2) 2″ wood screws
- 1 ¼” long brad or finish nails
- Wood glue
- Edge banding (optional, but recommended)
Step 1: Assemble Side Panels
First, I built the two sides of my bookcase. So I cut four 2x2s to about the height I wanted my shelf. One of these will go on each corner.
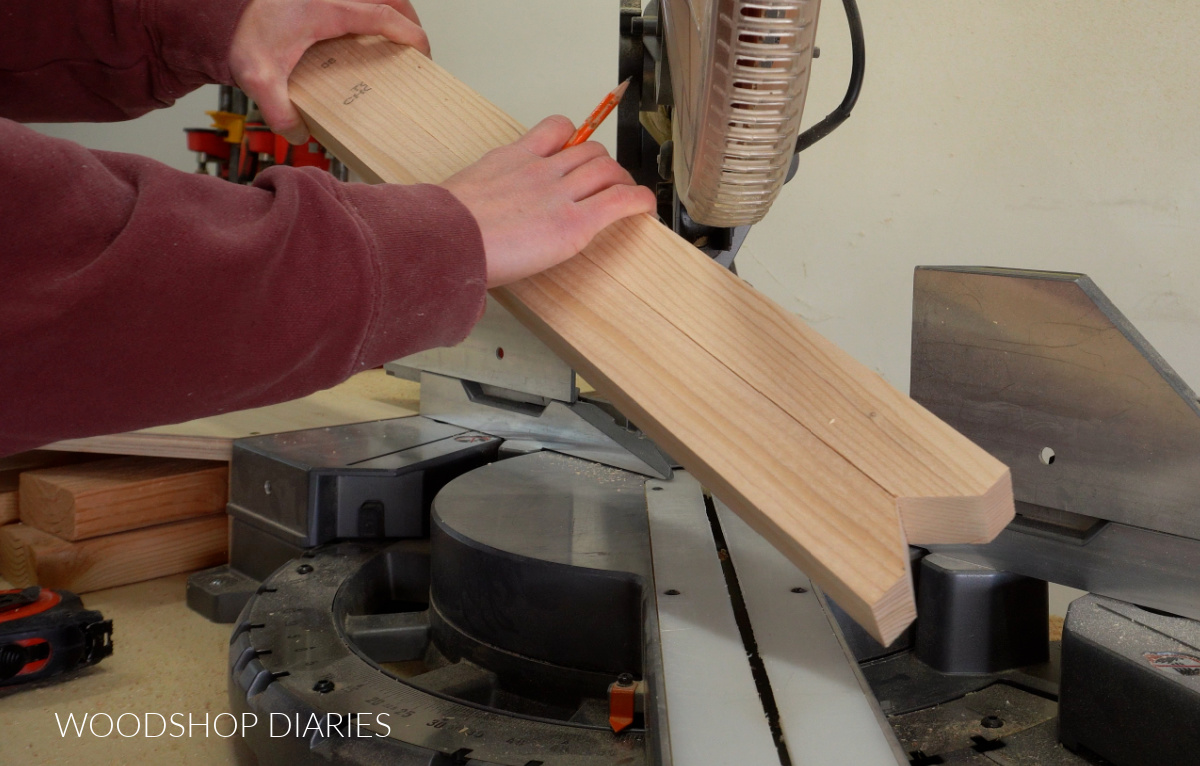
For the front two, I took a minute to taper the inside corners just to add a little detail, but that’s totally optional.
To taper, simply adjust the miter saw to 45-50 degrees (I went with 50, but if your saw only goes to 45, that’s fine!), and trim off just the corner of one end.
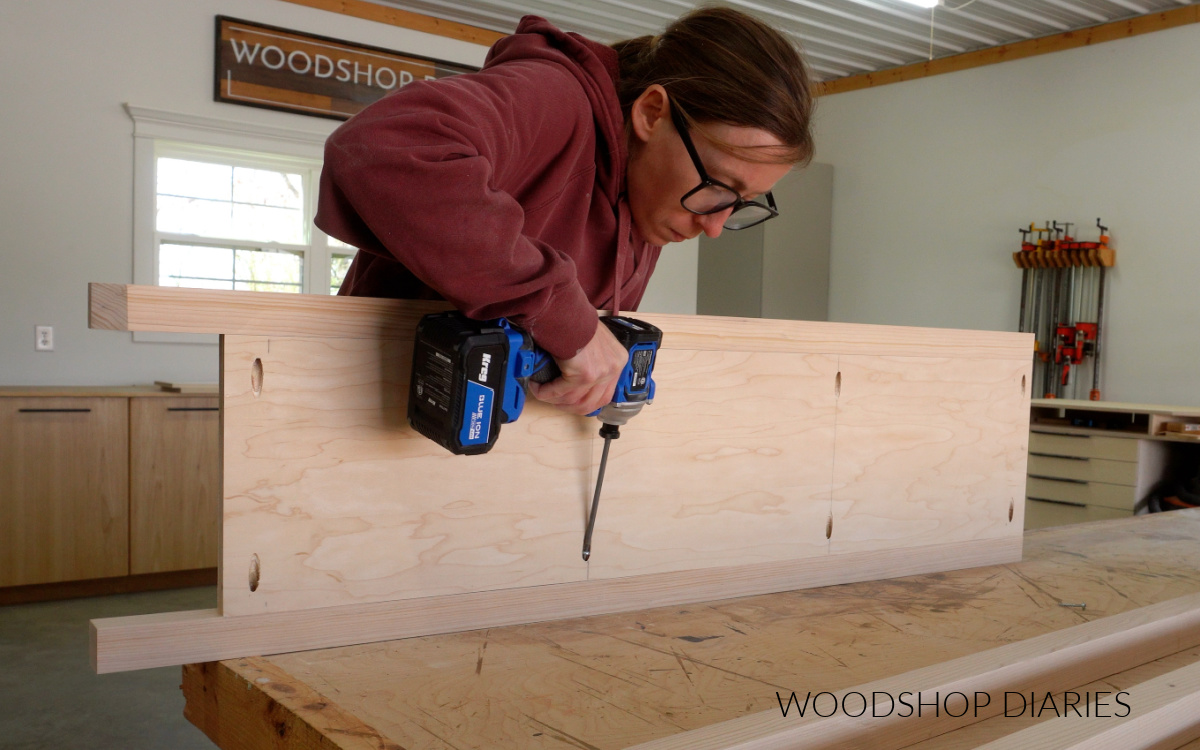
Then, I cut two ¾″ plywood side panels to run between them. I had wanted to attach the plywood side panel to each leg using wood glue and dowels, but due to time restraints, I used pocket holes.
Pocket holes work great here, but the problem is they’re visible on the inside of the shelf.
So, I opted to strategically lay out and place my pocket holes on the side panels so that my stationary shelves will cover them in a later step. I carefully marked out my pocket hole locations and drilled my pocket holes.
RELATED: How to use a pocket hole jig
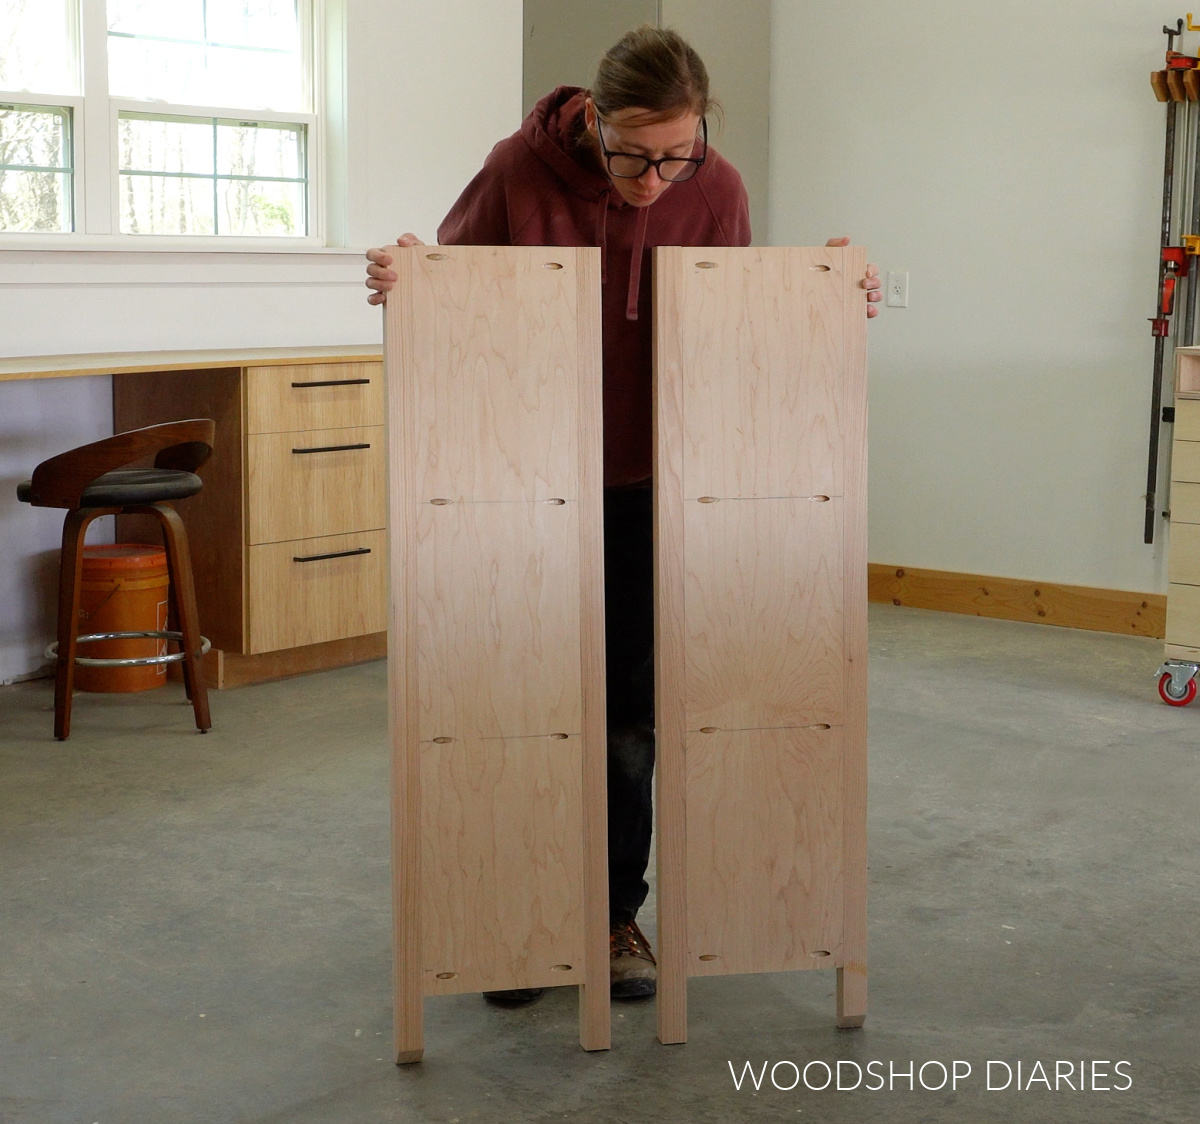
Then, I secured this piece between two of my 2×2 legs. Notice how the pocket holes are spaced here. You can find all the dimensions used here in the printable plans.
I built two of these, one for each side of the bookshelf. And I made sure to keep my tapered legs on the front side of each.
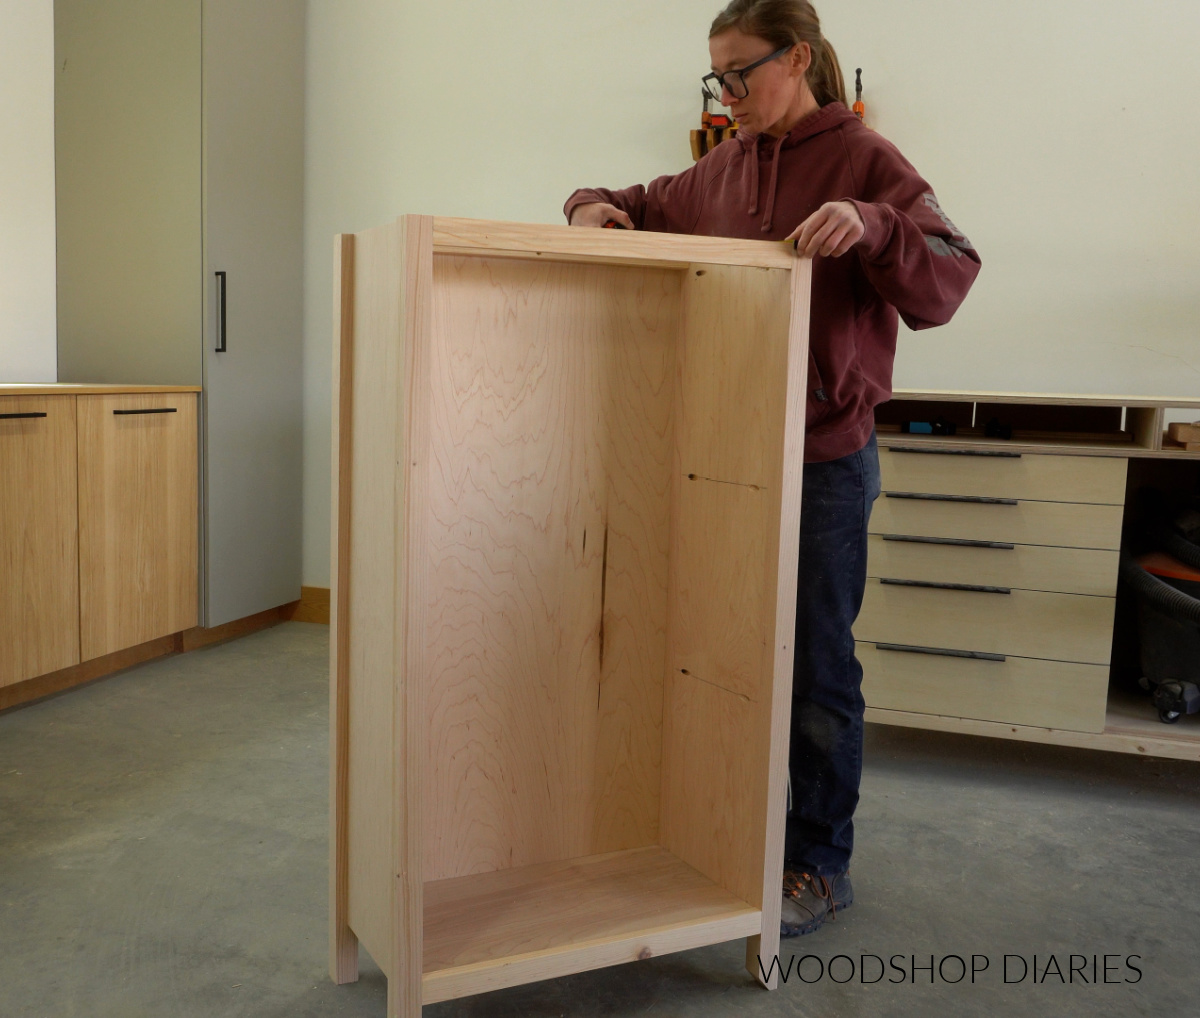
Step 2: Build Bookshelf Frame
Next, I could attach these two sides together to make the bookshelf frame. For this, I cut three 1×2 pieces and a plywood bottom shelf.
I drilled pocket holes into the ends of all of these pieces and attached them between the sides from step 1.
Two 1x2s go at the top (one at the front, one at the back), one goes at the bottom (in the front), and the bottom shelf slides in right behind the bottom support like you see below.
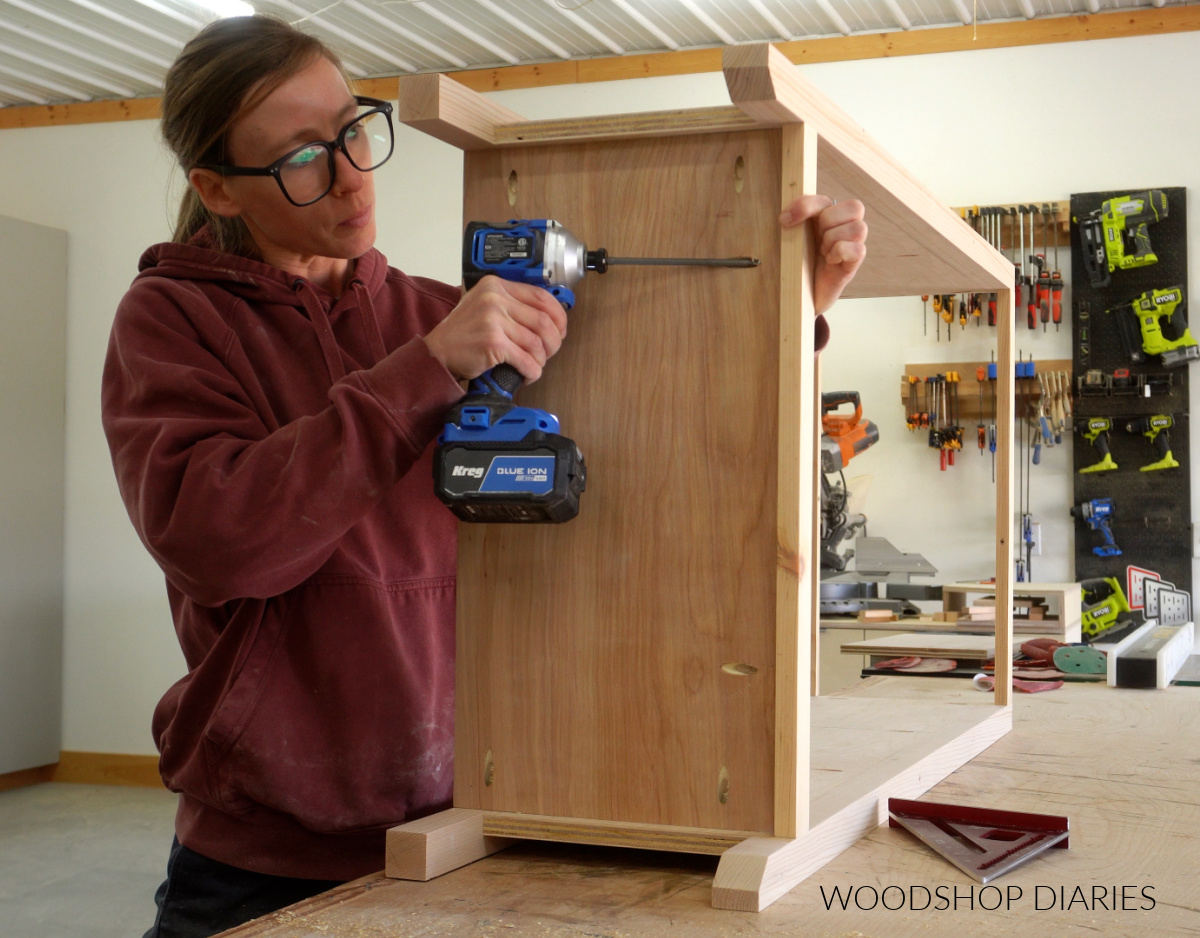
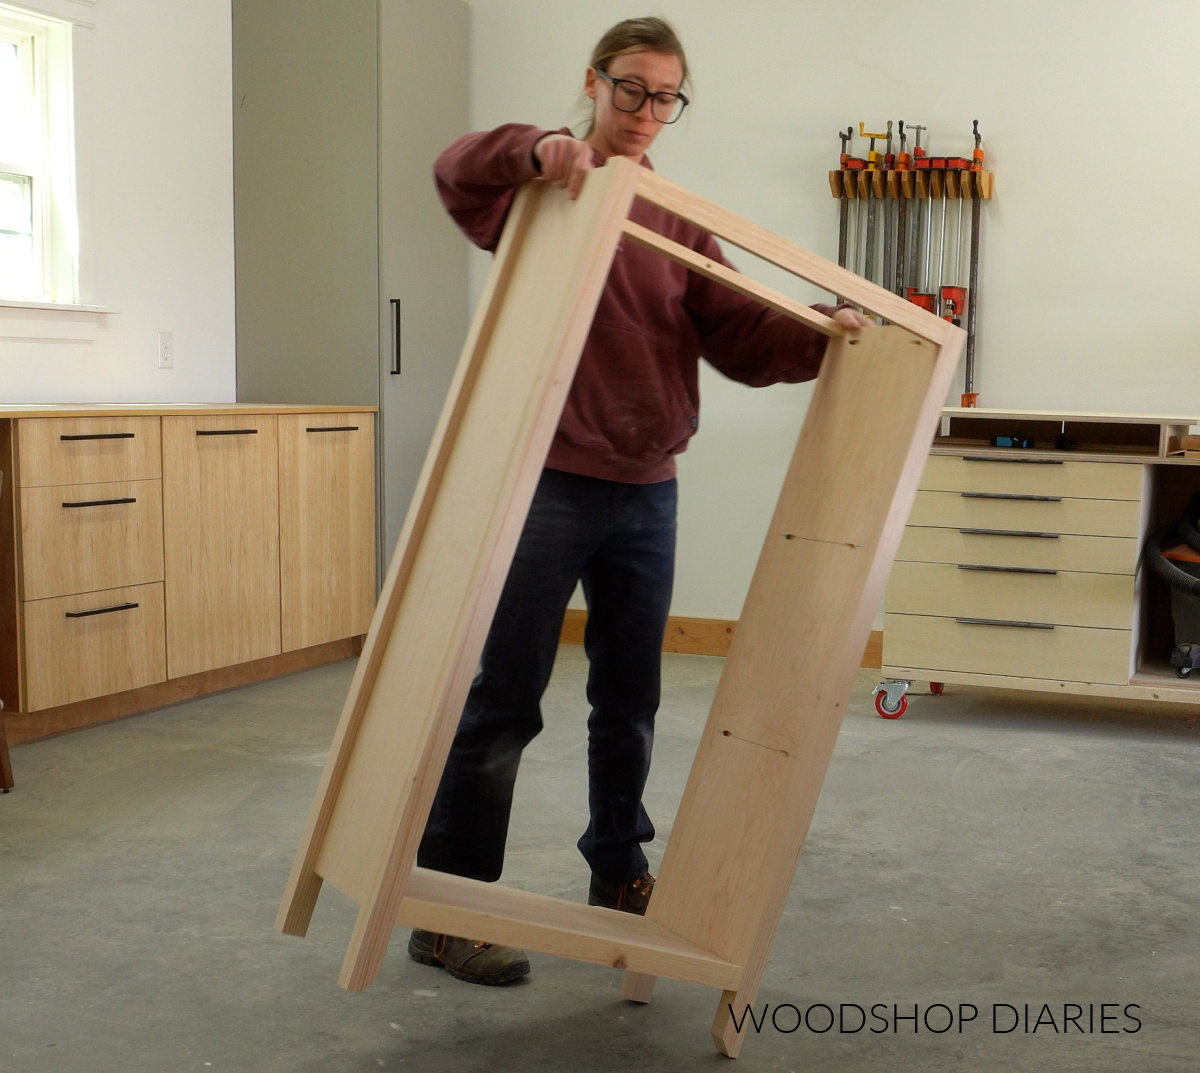
And now this bookshelf is starting to take shape and actually look like a bookshelf!
Step 3: Attach Back panel
For the back panel, I used ¼″ plywood. Now, in the video, I show you how you can simply staple (or nail or screw) the back panel over the back side of the bookshelf.
But, I also show you how you can route a rabbet out of the backside to recess the back panel.
Either method works fine here, so you can pick which you’d rather. Personally, I am not a big fan of the router, so I’d rather just staple on the back panel.
Recessing the back panel kind of hides it so that you don’t see the edges from the sides, but on a piece like this, if you don’t run your back panel all the way to the edge of the sides, it’s not really noticeable anyway.
So I suggest cutting it a bit narrower than the overall shelf width and tacking it on the back.
Prefer to print? Grab the printable plans with details, dimensions and cut diagrams here.
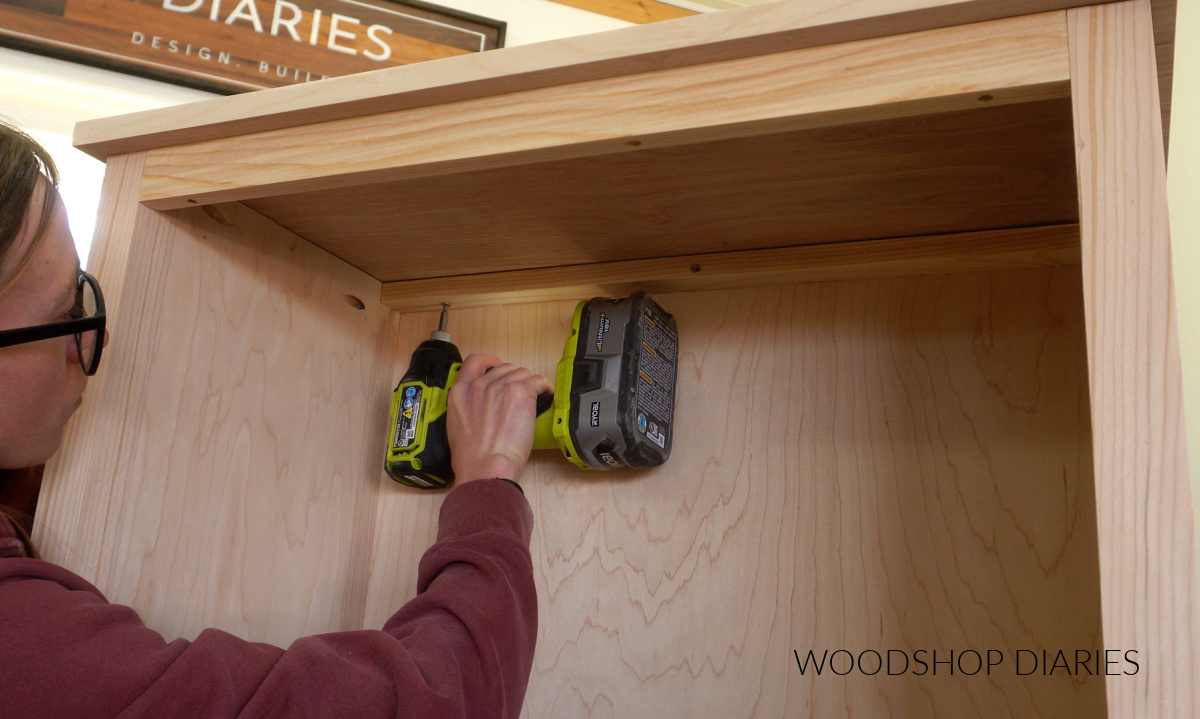
Step 4: Add Top
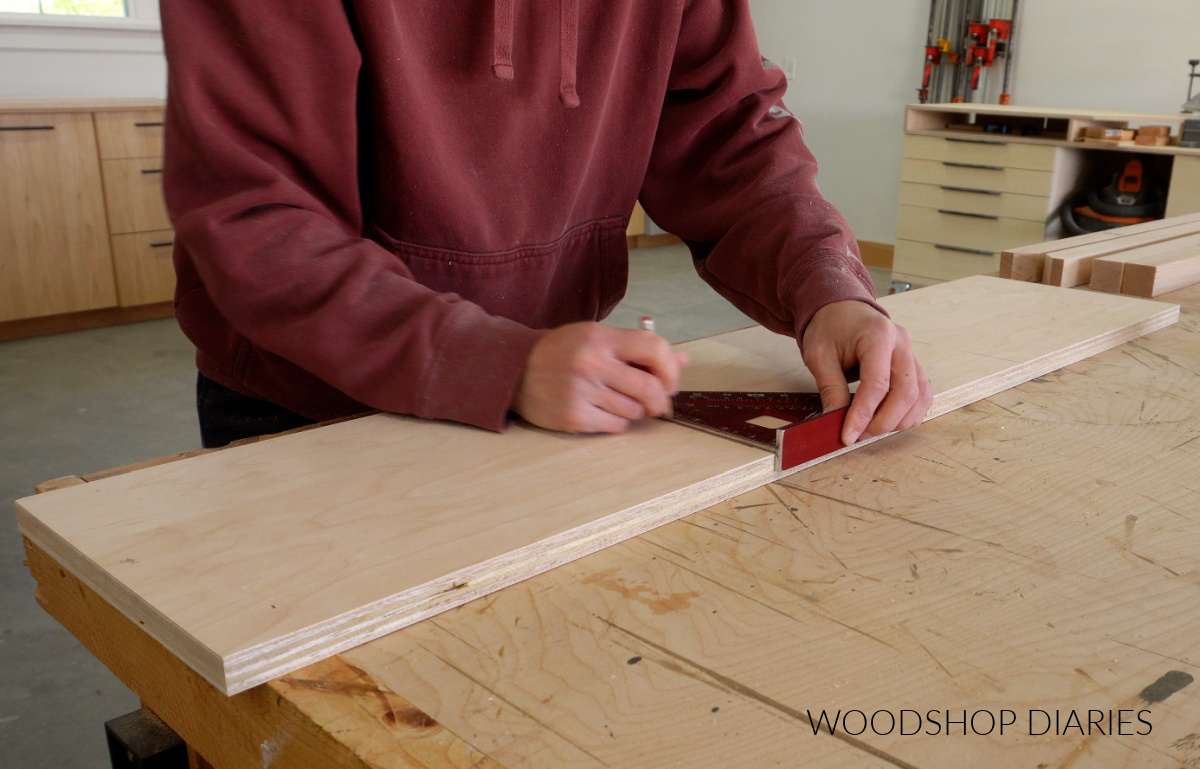
Now this was ready for a top, so I cut a piece of plywood to fit over the top with about ¾″ overhang on the sides and front.
Before attaching it, I applied edge banding to the front and sides to cover the plies.
Then, I centered it on the shelf and secured it with screws through the top supports.
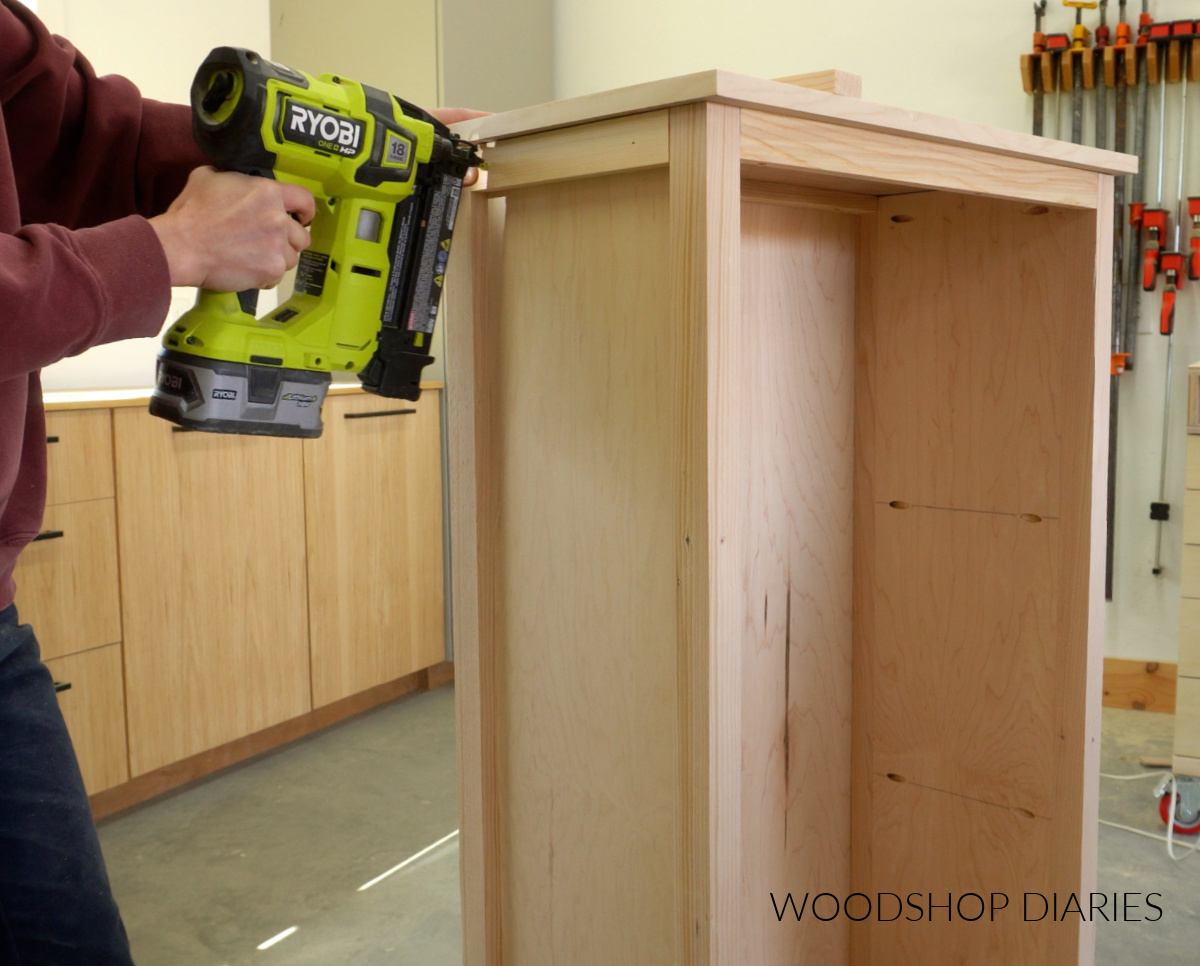
TIP: For an even more rustic feel, you could swap the plywood on the top panel and glue up a solid wood top from pine boards.
Just to dress the sides up a bit, I glued and nailed some 1×2 trim at the top and the bottom of both sides. That way the sides kind of “match” the framing on the front.
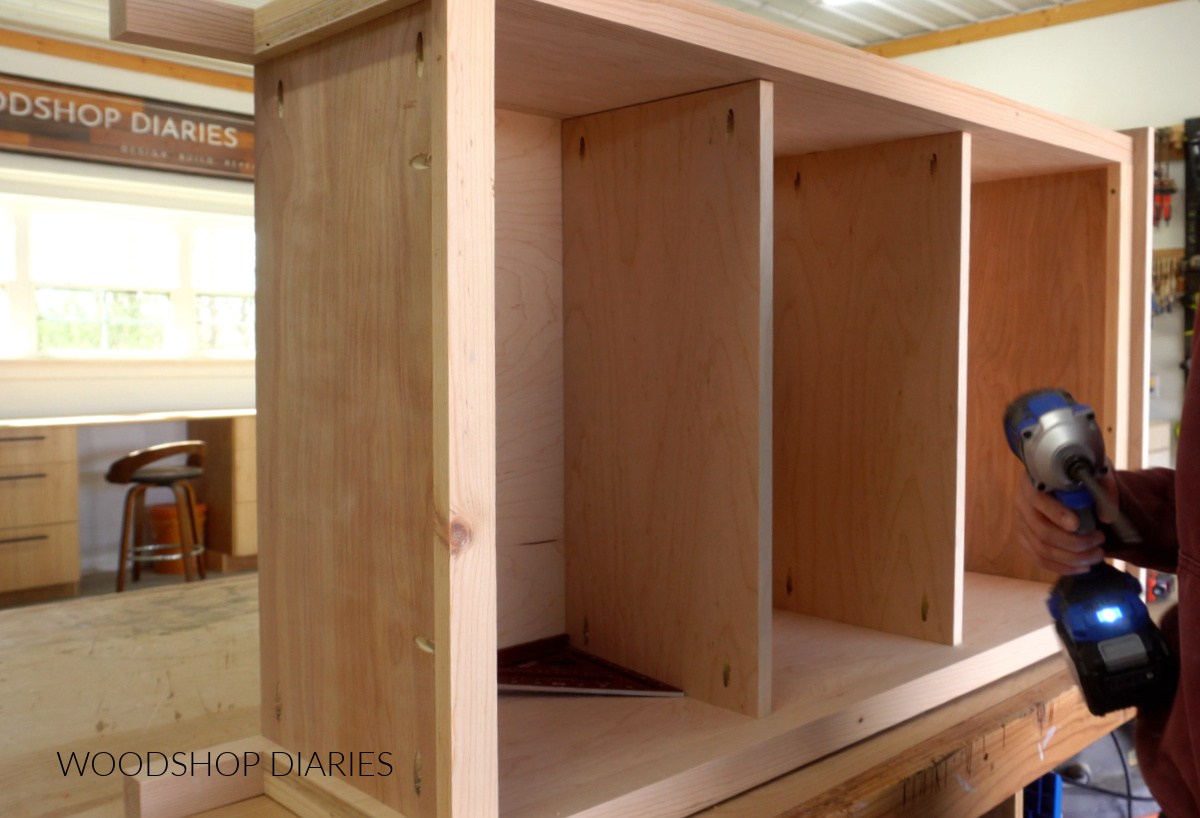
Step 5: Install Shelves
I mentioned in step 1 that I kind of wish I’d assembled my sides using dowels instead of pocket holes.
The reason for this is because I usually like to add adjustable shelves vs stationary shelves to my projects.
But, since I used pocket holes on the sides, if I added adjustable shelves here, you’d see the visible pocket holes.
So I opted to add two stationary shelves here instead and strategically placed them to cover the pocket holes on each side.
You can absolutely add adjustable shelves here if you don’t mind seeing the pocket holes…or if you wanted to plug them.
But I think if you wanted to add adjustable shelves here, using dowels in step 1 would be the best option.
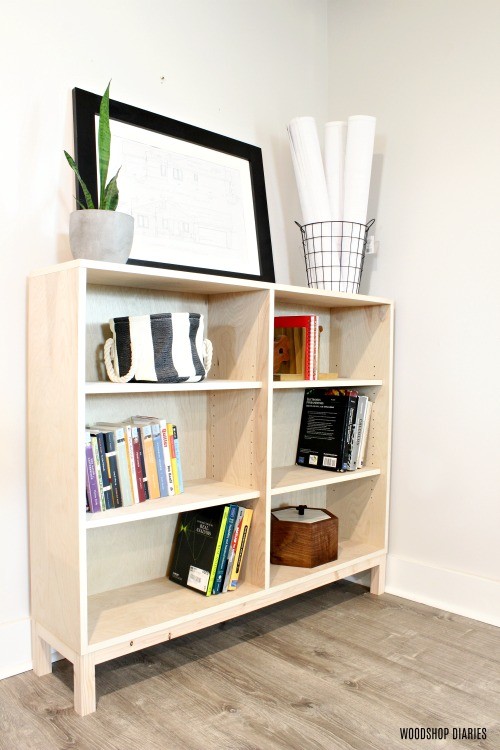
After my stationary shelves were installed, I gave this piece a coat of Minwax Water Based Semi-Transparent Wood Stain in Aged Oak.
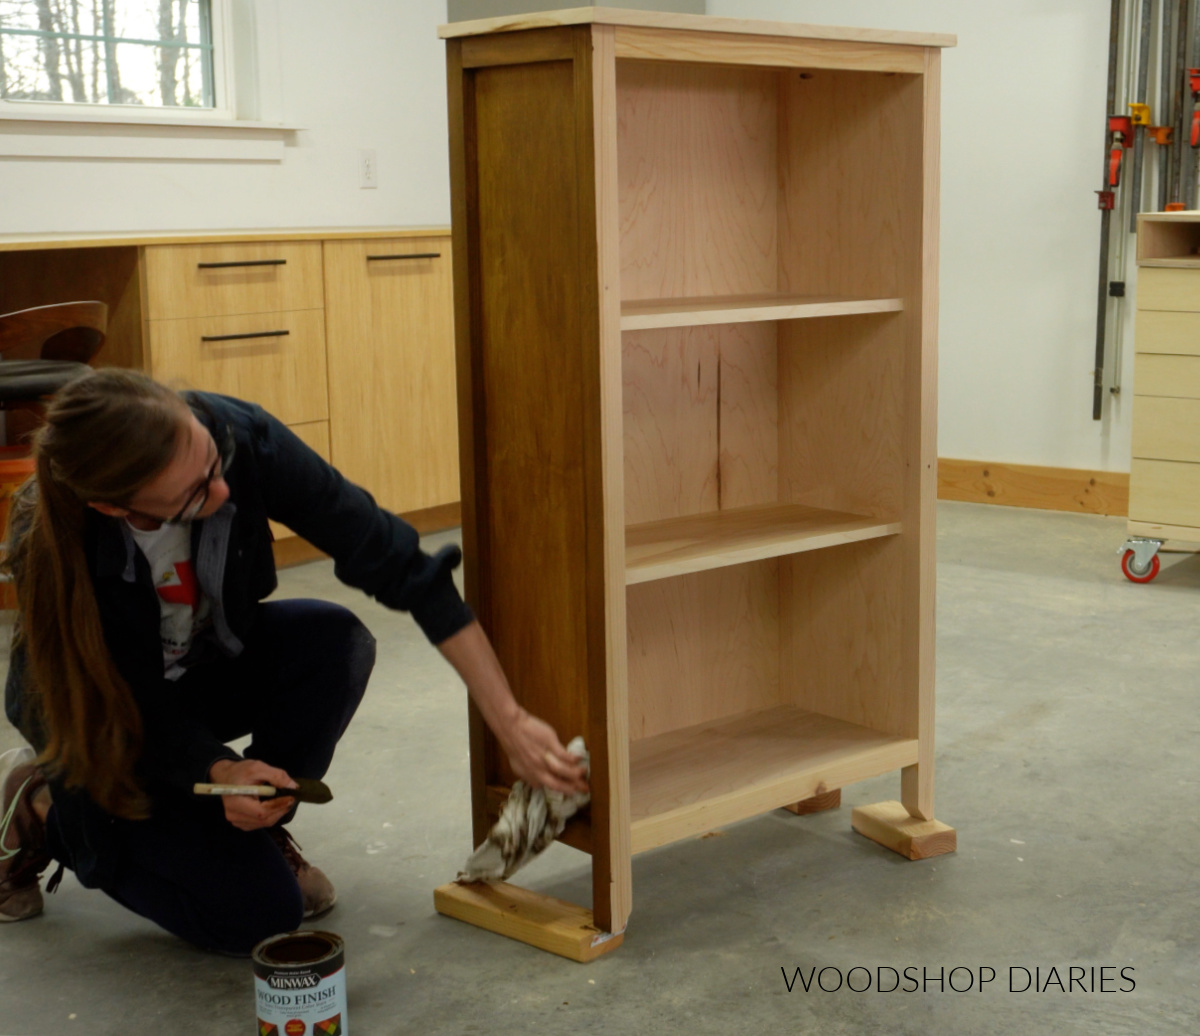
And this adorable little shelf was ready for books, trinkets, and all the essentials you need on a well rounded bookshelf 🙂
If you’d like to build your own, grab the printable building plans for this small rustic bookshelf here.
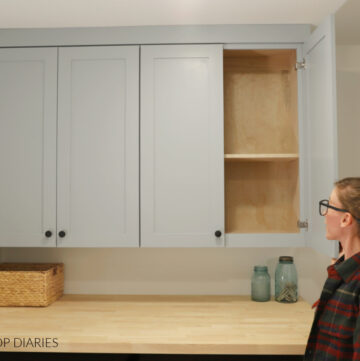
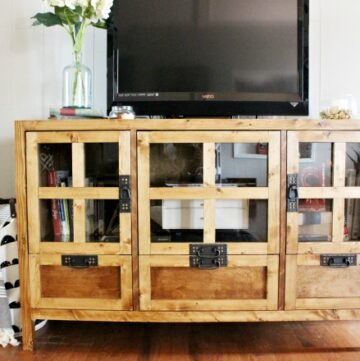
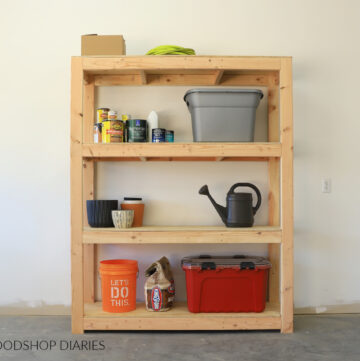
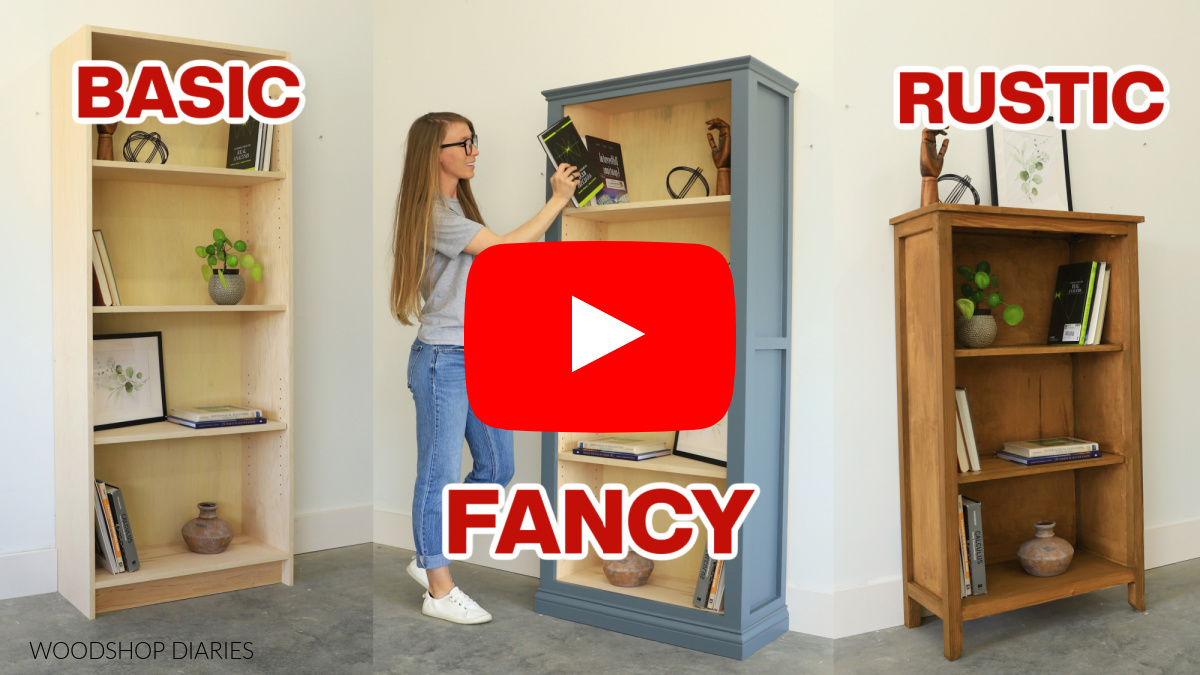
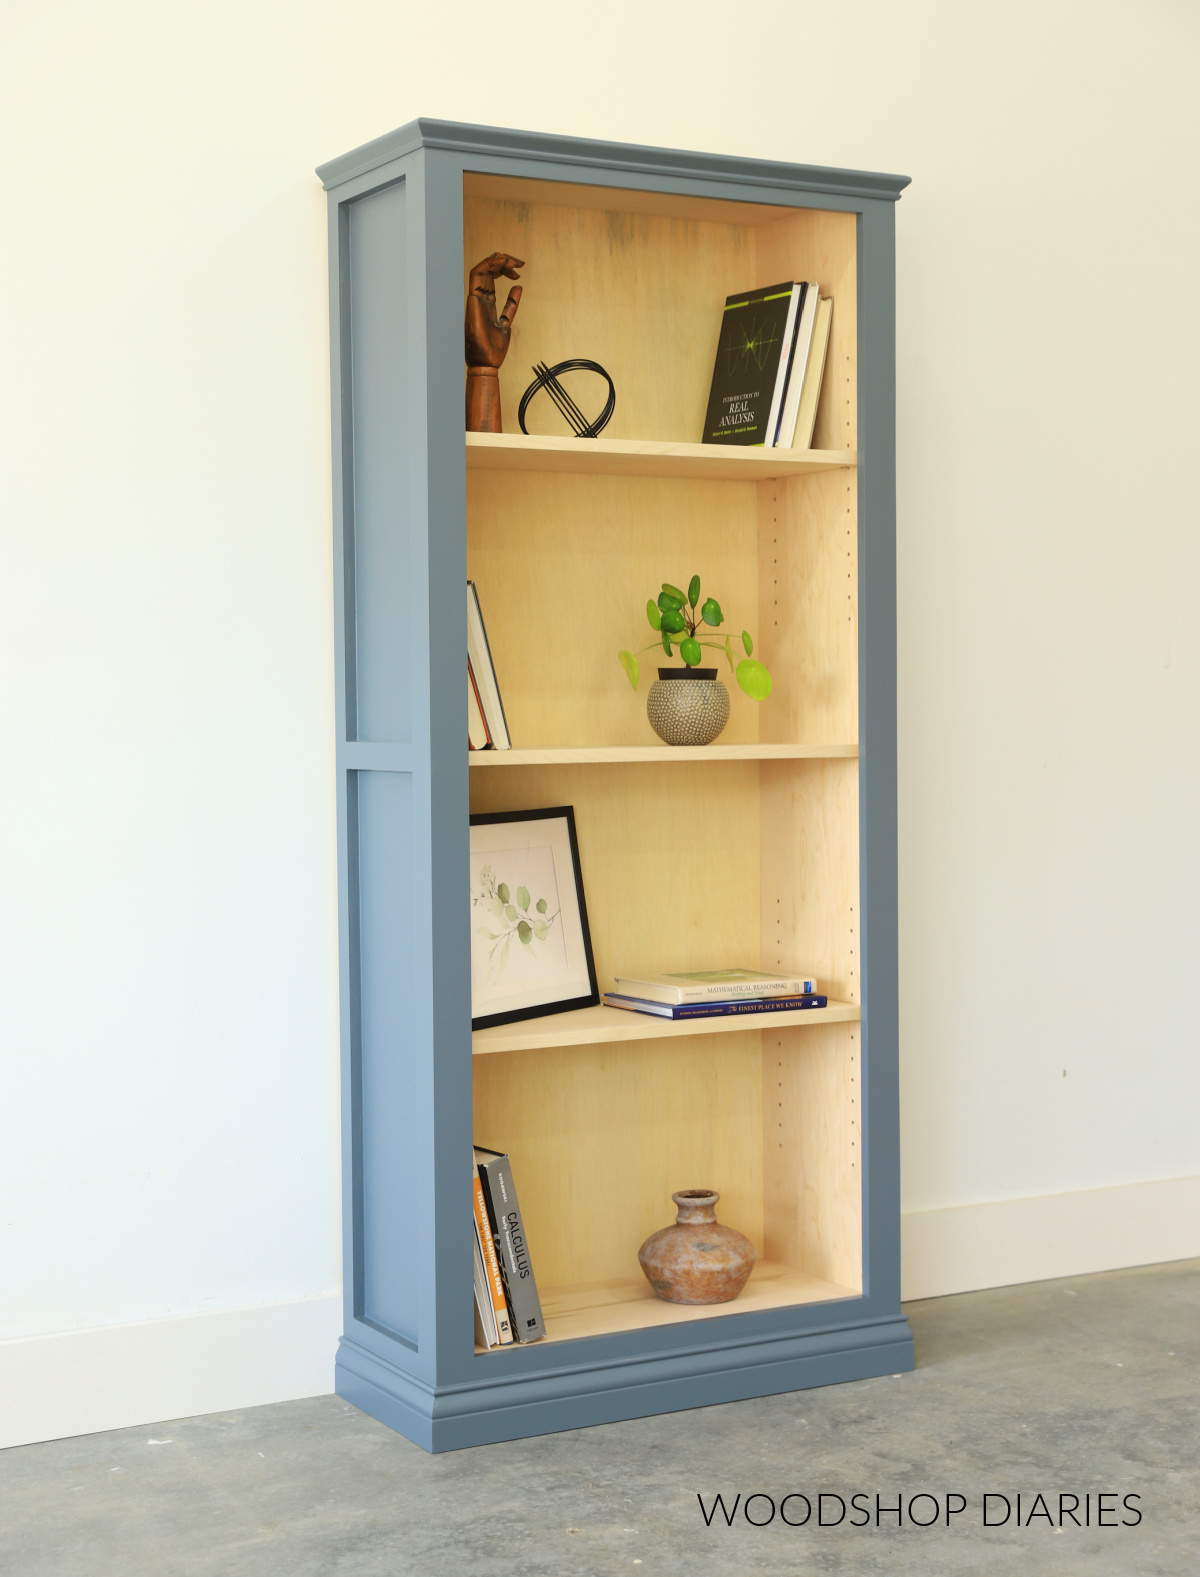
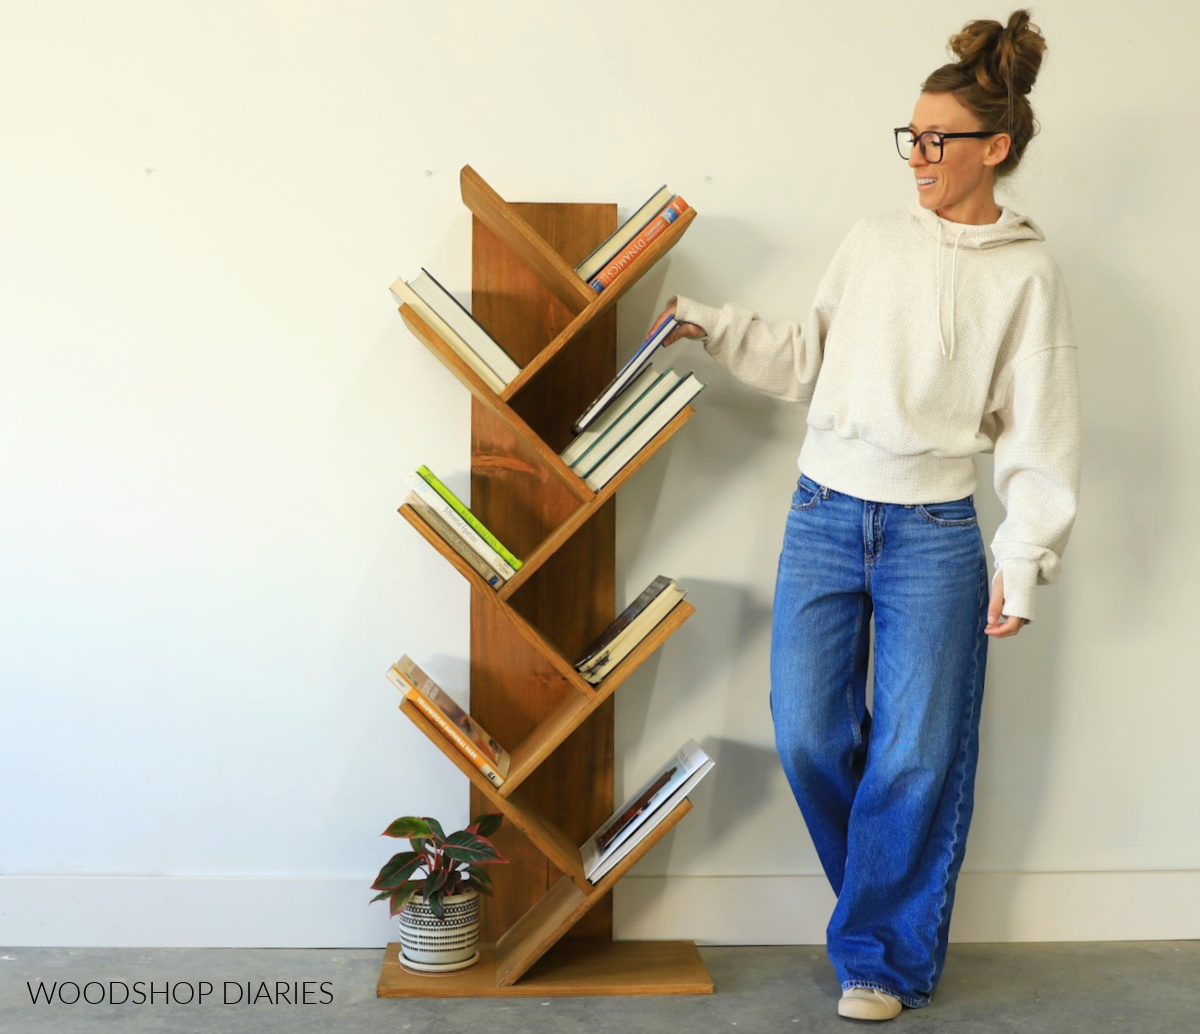
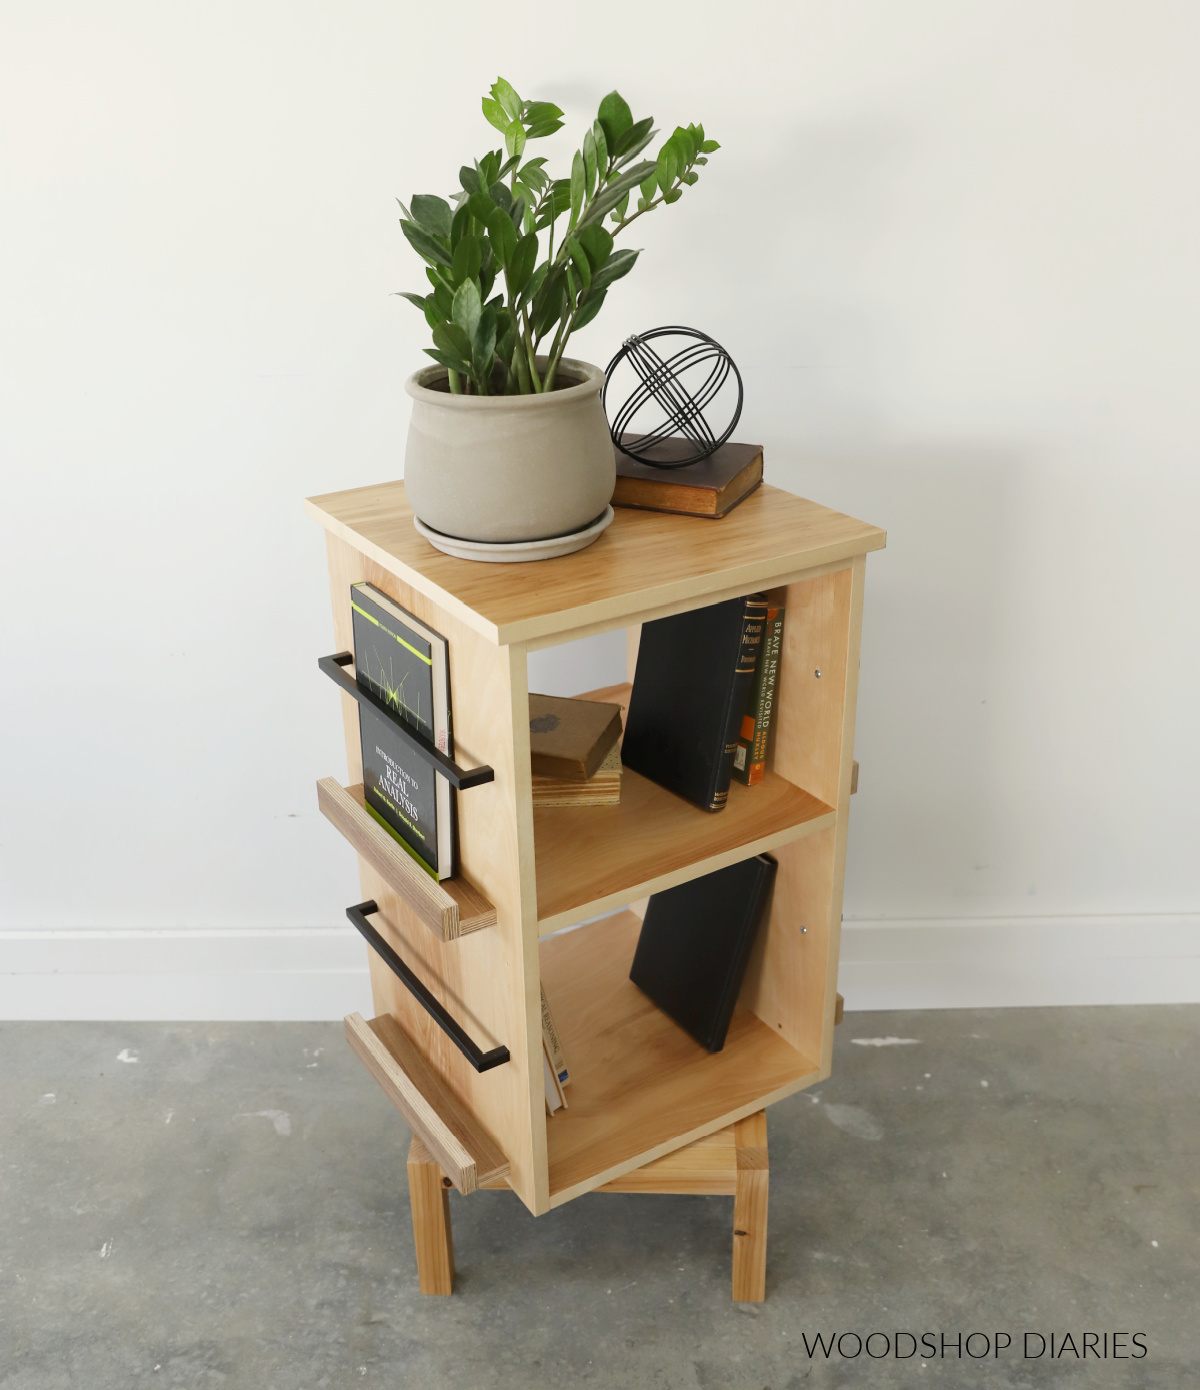
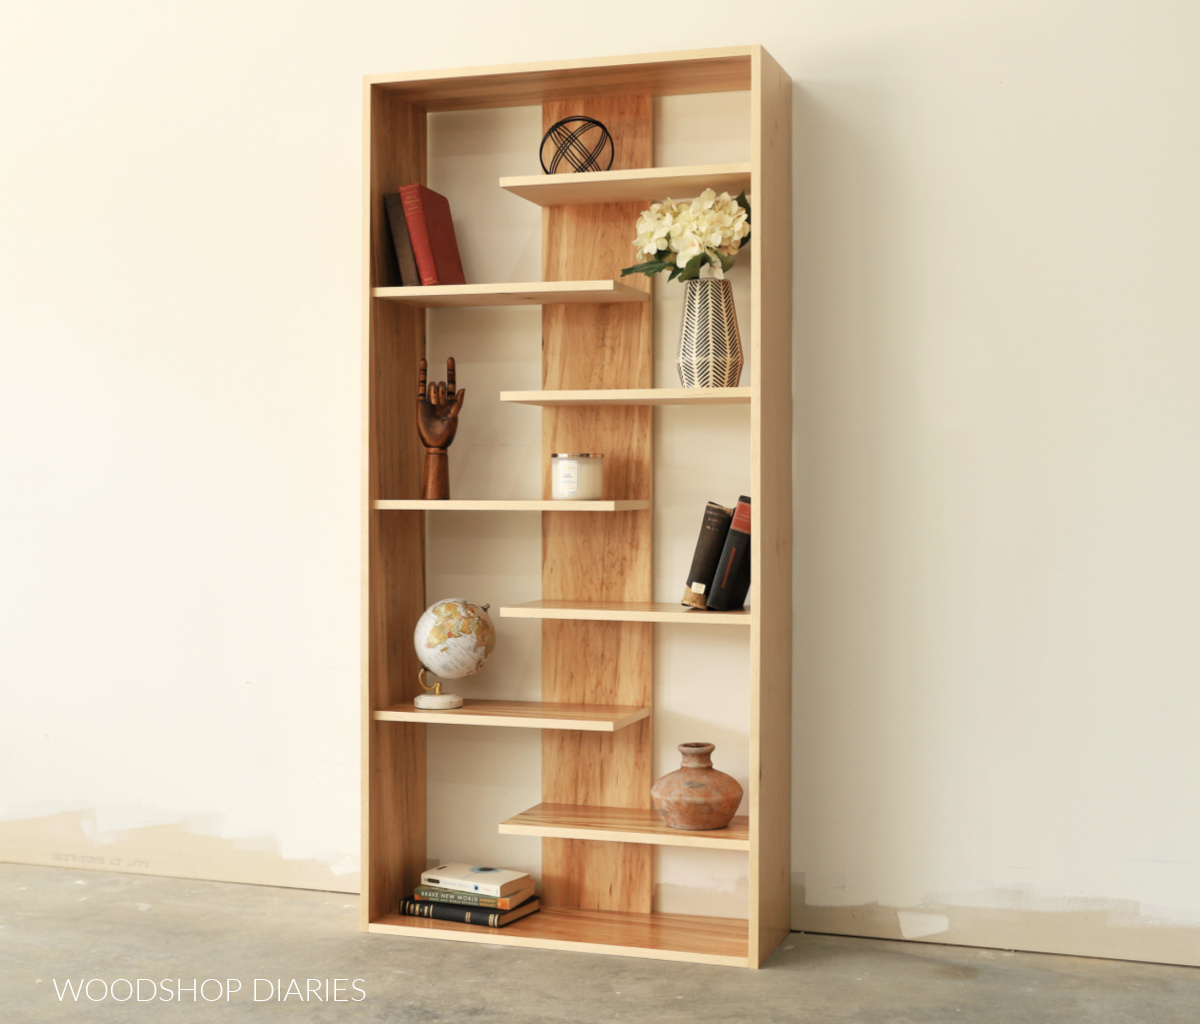
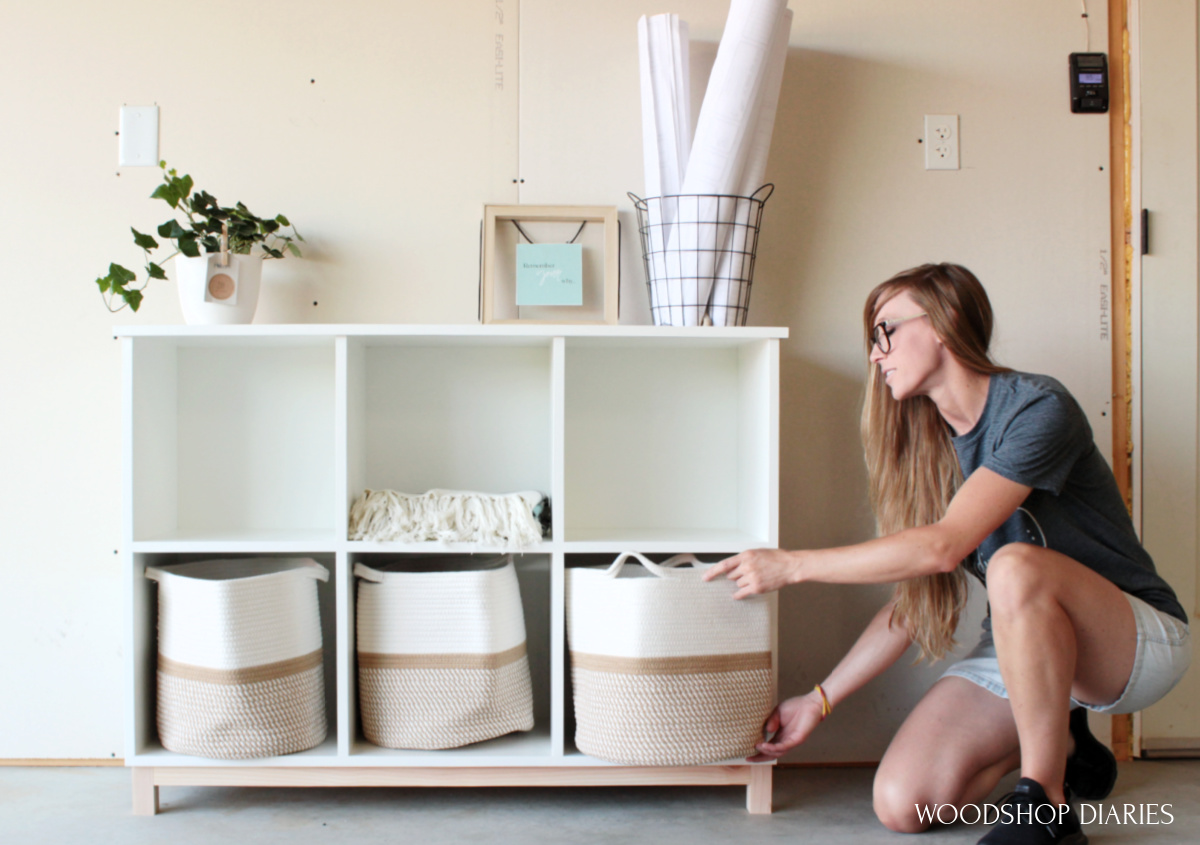
Looking for more simple DIY book shelf ideas?
If you enjoyed this project, but are still looking for more bookshelf ideas, I’ve got you covered! Click on the image(s) below to see how to build each of these easy DIY bookshelves:
Don’t forget to save this project for later by pinning it or sharing to your favorite social channel!
Until next time, friend, happy building!