
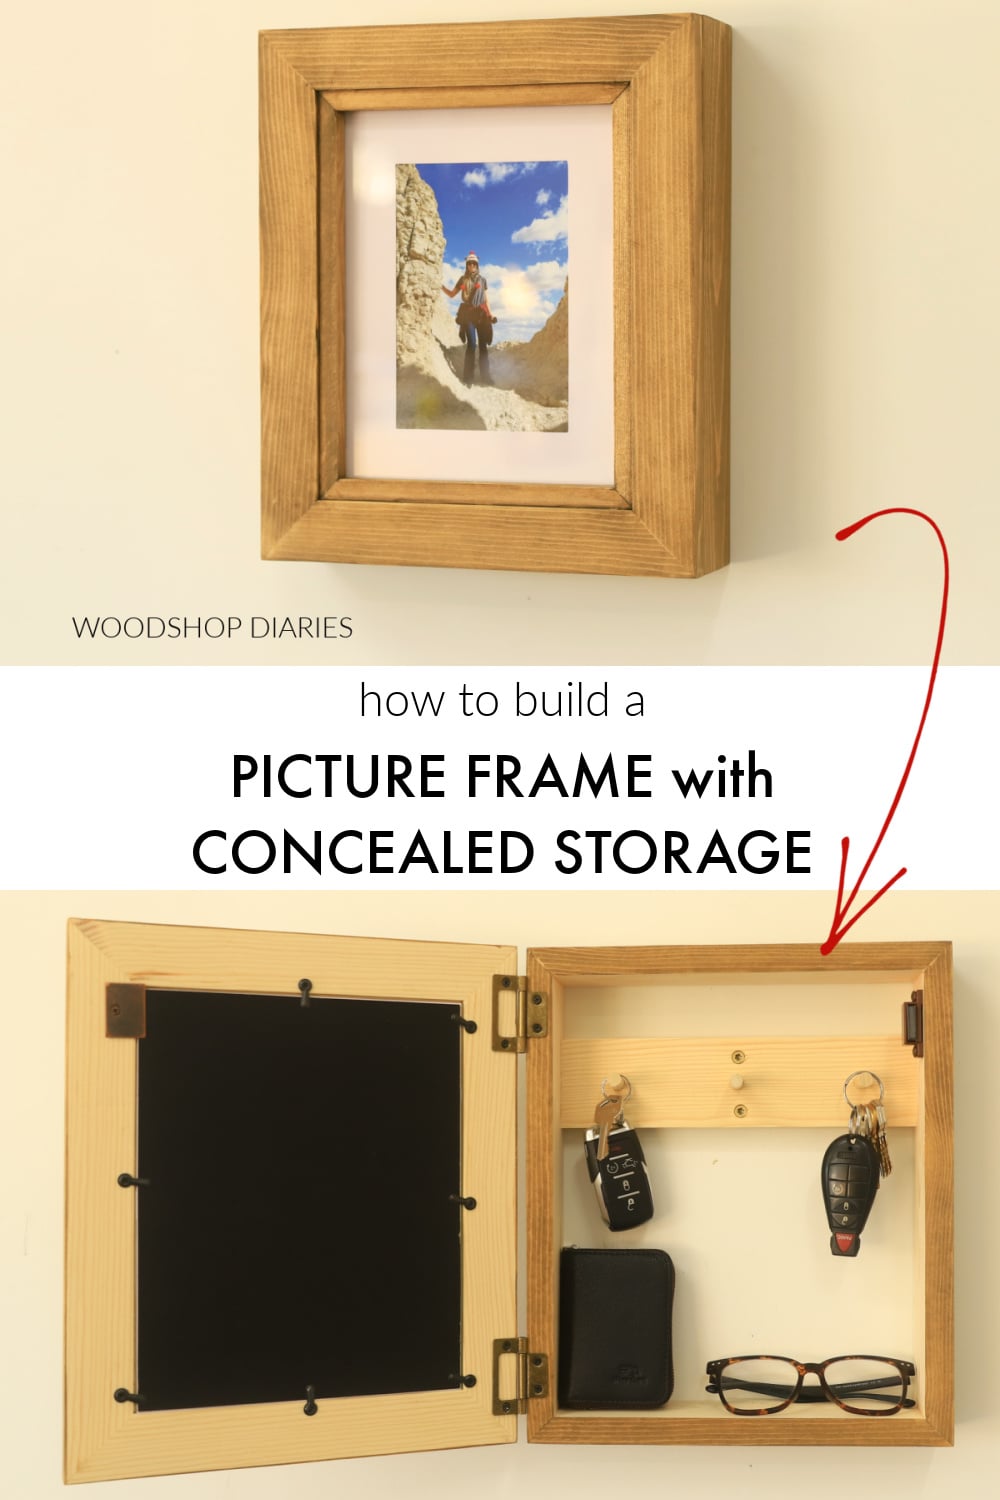
In this post, I’m sharing how to build a simple picture frame with concealed storage.
Closed up, it looks like a regular wooden photo frame…just maybe a chunky style frame. But when opened, it can house keys, glasses, pocket knife, wallet, and other accessories.
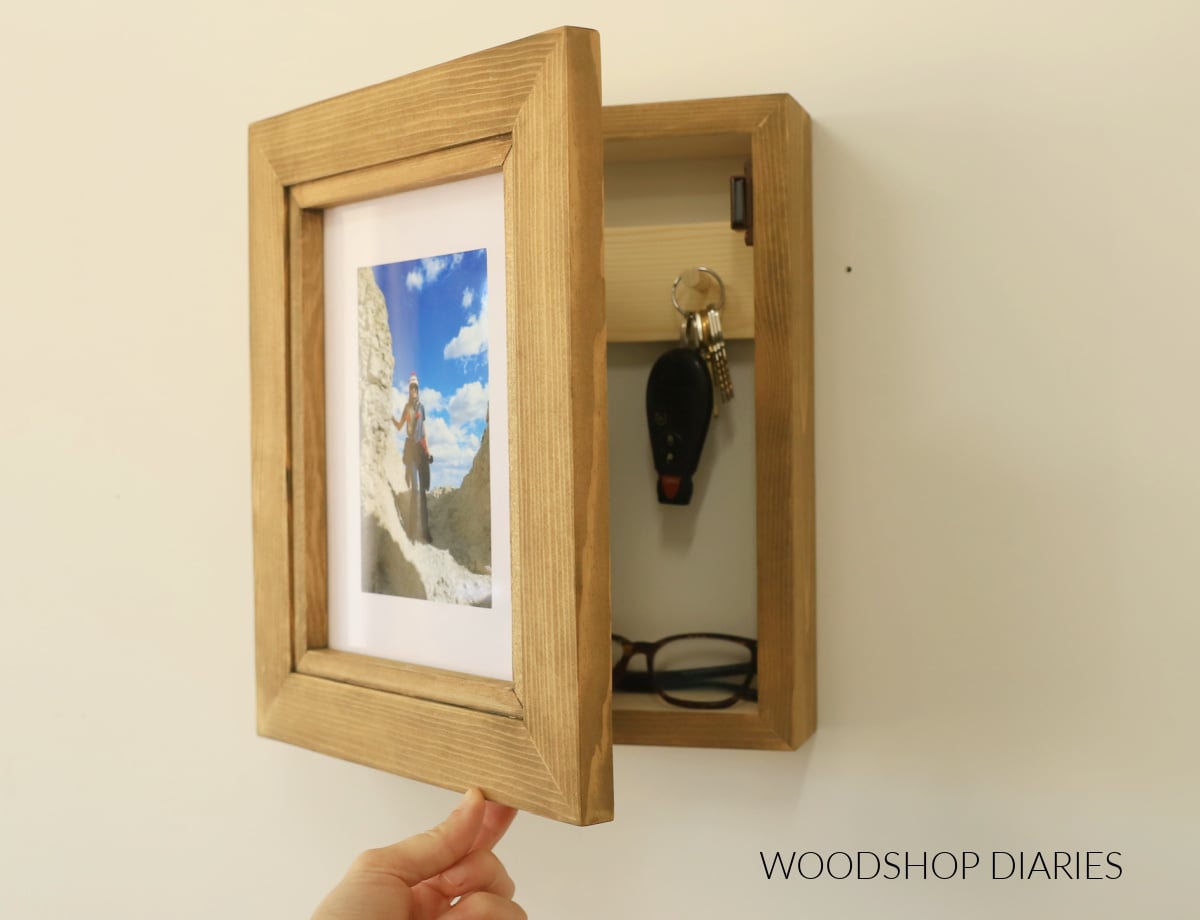
You can hang this right next to the front door so everything is ready to grab as you leave the house and drop off when you get back home.
Or you can use it to hide cash, Christmas gifts, or your secret candy stash (*wink wink*) in an unsuspecting place.
However you plan to use it, this is an easy build and I’ll show you how to make one below.
*This post contains affiliate links. See website policies.
What to know before building
For the glass, mat, and picture frame backer, I recommend finding a cheap 8×10 picture frame (from a thrift store, dollar store, etc). I found one for $2 at Walmart for mine.
Remove the glass, mat, and backer (the backer is usually a piece of cardstock, or thin cardboard) to use for this project. You can toss the frame…you just need the stuff inside.
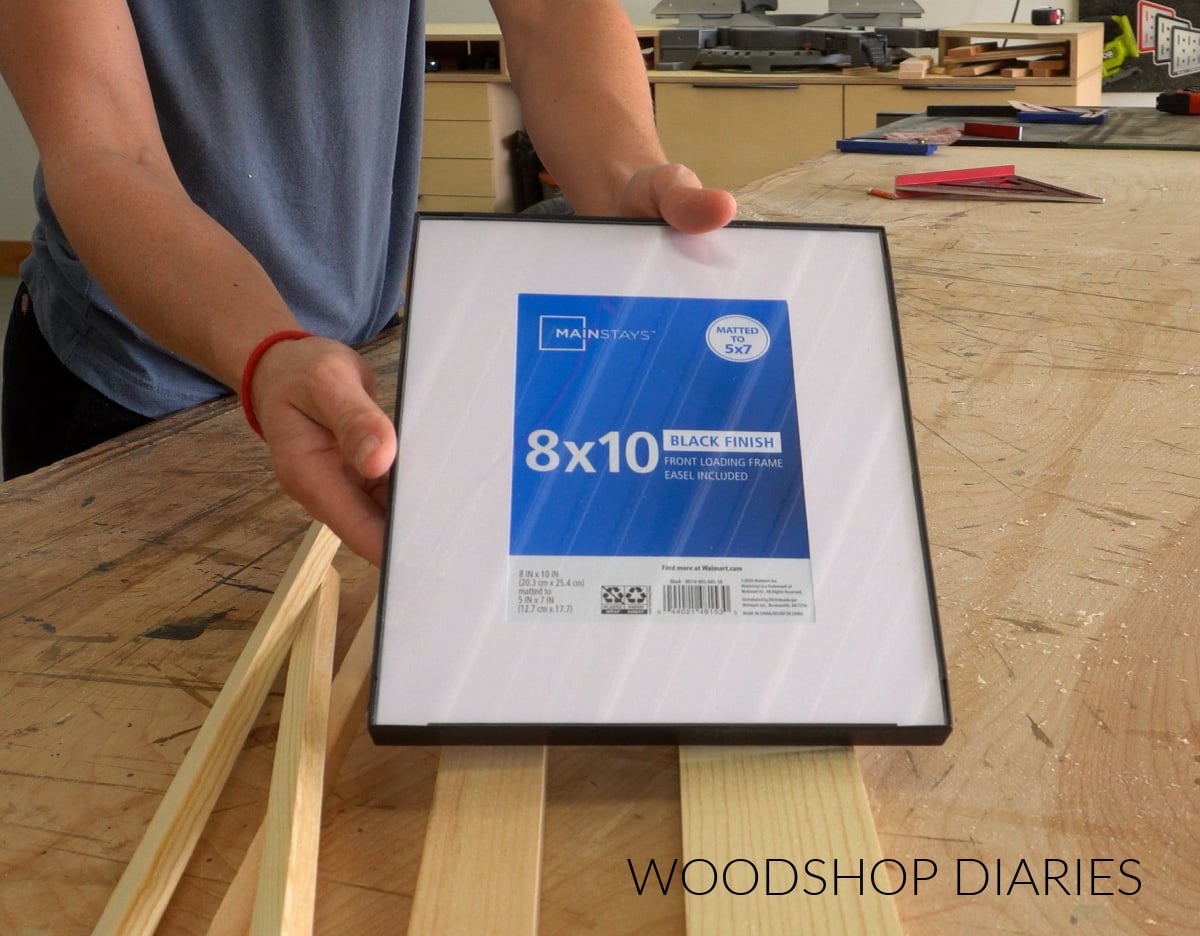
Reusing these parts from an existing frame is often times MUCH cheaper than trying to source each individual piece needed for the picture frame.
The dimensions below are based on the existing picture frame glass being exactly 8″ x 10″. If your picture frame glass is not this size, adjust dimensions as needed.
Overall dimensions
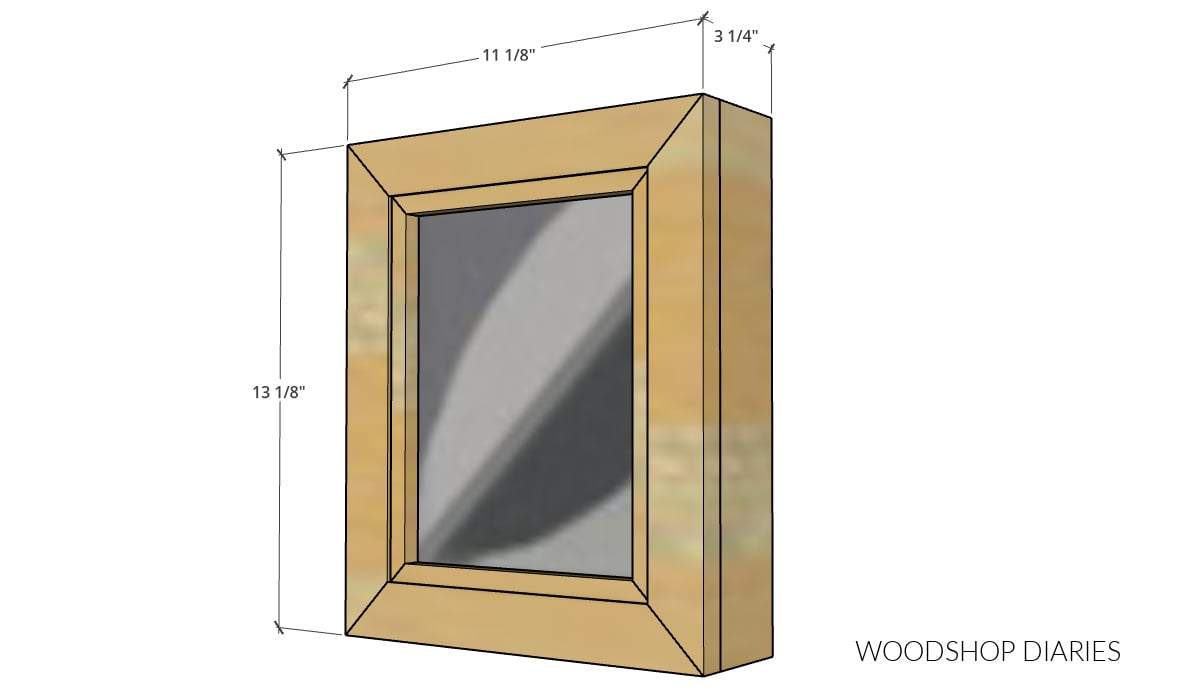
The overall dimensions of this project are approximately 3 ¼″ deep x 11 ⅛″ wide x 13 ⅛″ tall. The interior dimensions are about 2 ½″ x 9 ⅝″ x 11 ⅝″.
Want to be the first to know about new projects and plans? Subscribe to the newsletter for priority access!
How to build a Picture Frame with Concealed Storage
I’ve included the step by step building instructions below along with printable building plans. But, if you prefer to watch, I’ve also included a build video as well.
Love watching how-to videos? Subscribe to my YouTube channel for plenty more where that came from!
Prefer to print? Grab the printable picture frame with storage plans here:
Tools & Materials
Tools:
- Drill/Driver
- Miter Saw
- Clamps
- Pocket Hole Jig
Materials:
- (1) 1x2x4′ board
- (1) 1x3x6′ board
- (1) ½″ square dowel 4′ long
- (1) ⅜″ diameter dowel 12″ long (optional for key hooks)
- Wood Glue
- (4) 1 ¼″ pocket hole screws
- (2) 2 ½″ -3″ long wood screws (to hang with)
- (2) non mortise hinges (or simple butt hinges can work as well)
- Magnetic catch
- Picture Frame Turn Buttons
- Cheap 8×10 picture frame (see notes–you’ll only need the glass and backer from this)
- Painters Tape (optional)
Step 1: Assemble Picture Frame
To get started, first, I built a picture frame to fit the 8×10 glass I was using (see notes above).
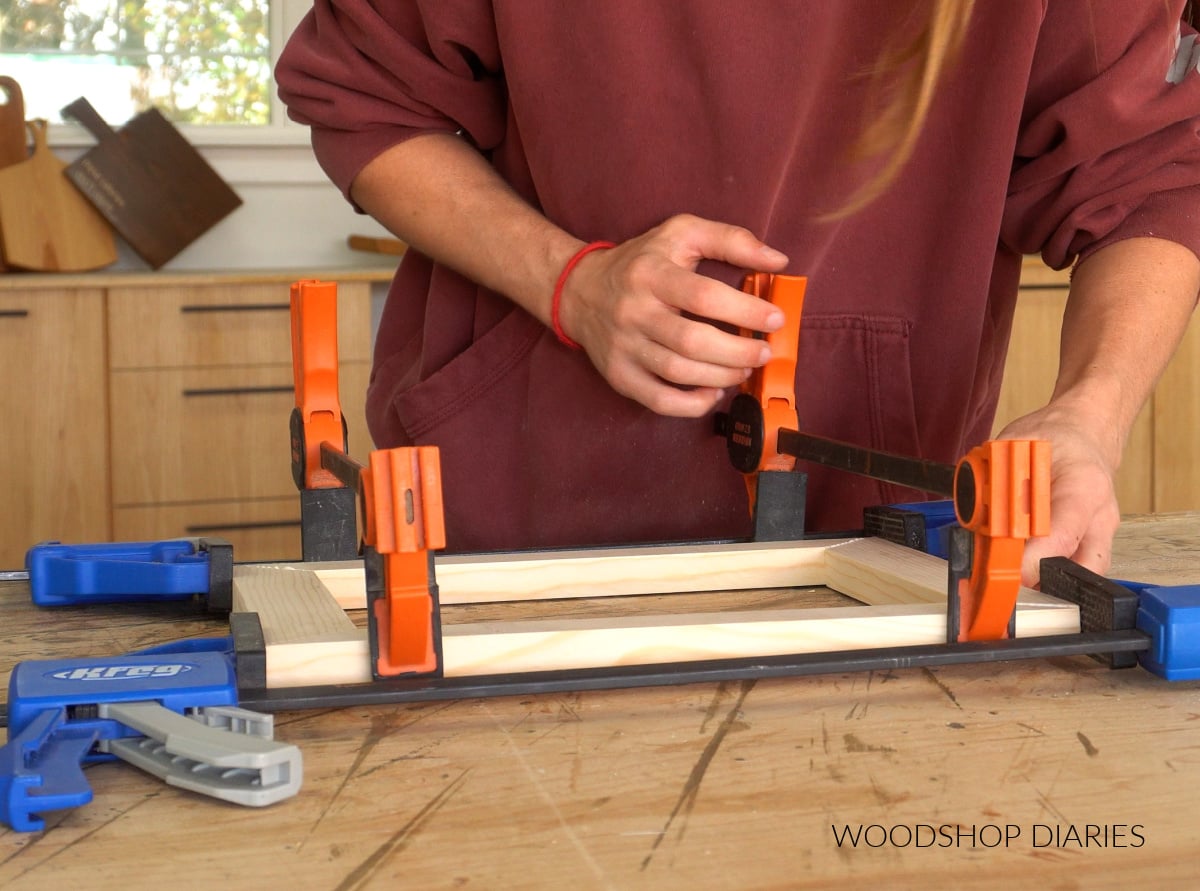
I built this frame using 1×2 boards and cut four pieces with mitered ends so that the inside opening was just a hair (and by a hair, I mean about ⅛″) bigger than my picture frame glass.
I glued and clamped this frame together at the corners.
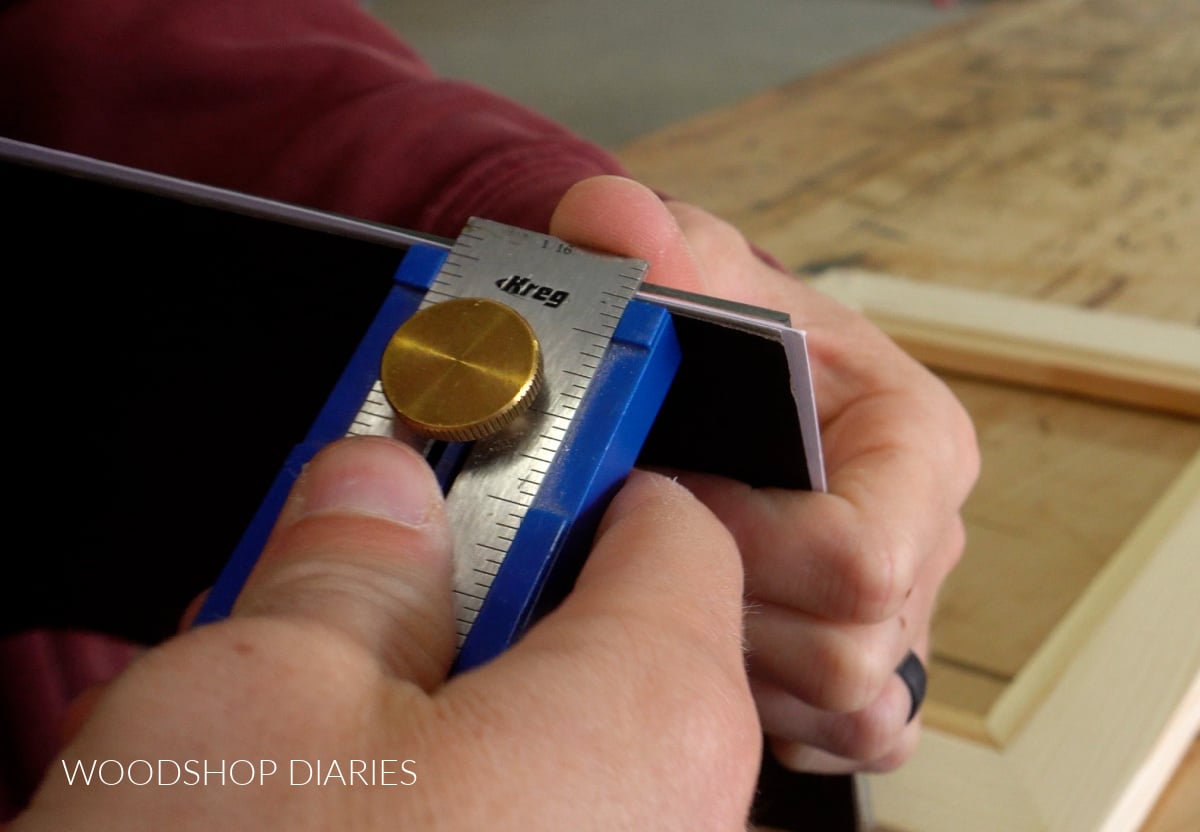
Once the glue had dried on my frame, I measured the thickness of the glass, mat, and backer I pulled from my 8×10 frame (see notes). If you buy a cheap frame, these are typically pretty thin.
Mine ended up being about ⅛″. By the way, the Kreg Multimark is a really handy tool for measuring this and for tons of other tasks around the shop. I highly recommend keeping one handy…I use mine all the time.
Then, I cut to fit ½″ square dowels to line the inside of my frame. I glued these on so that they were ⅛″ (the thickness of my picture frame parts) from the back edge.
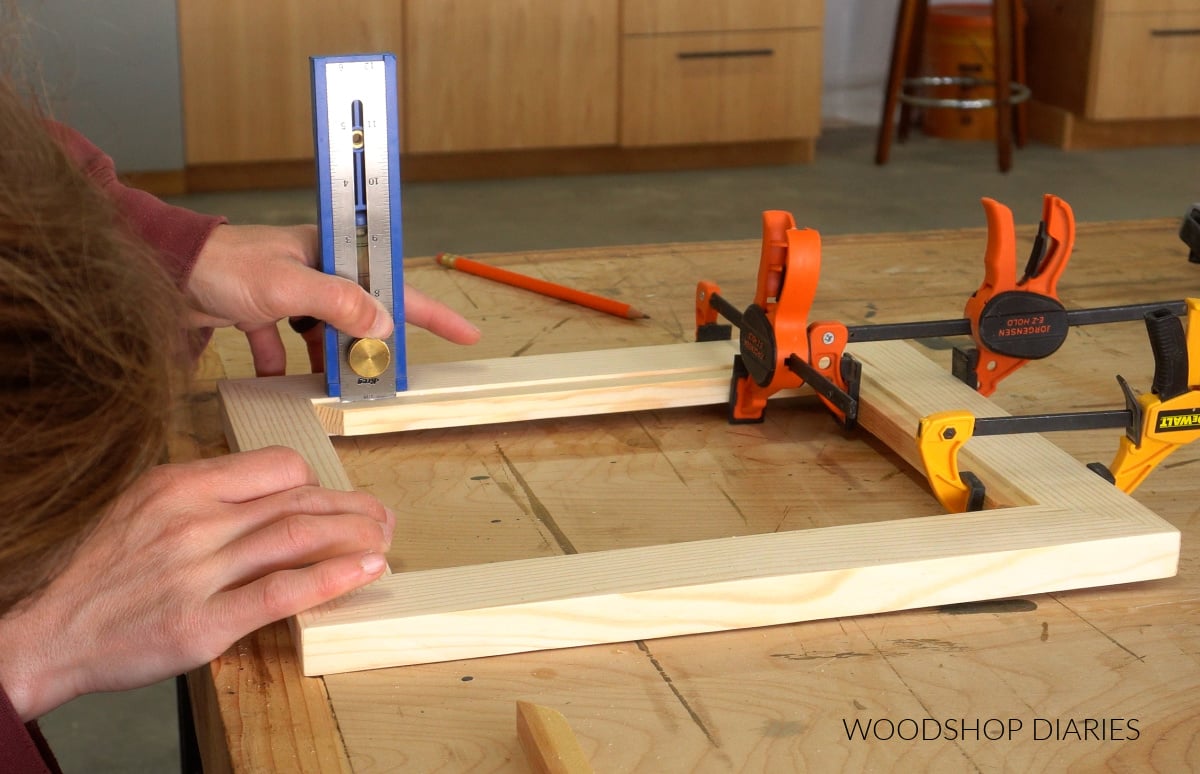
FYI: I used these ½″ square dowels to give my picture somewhere to “rest in” on my frame. You can swap this for another type of small trim if you’d like. I basically used this to avoid having to use the router to route out the back side of my frame to install the glass. I’ll do almost anything to avoid using a router haha.
Prefer to print? Find the detailed cut list, diagrams, and step by step instructions in the printable plans here.
Step 2: Assemble Storage Box
While that dried, I built the hidden storage box that goes behind the frame. For this, I used 1x3s, and I cut four pieces with beveled ends so that when put together they were the EXACT same size as my frame in step 1.
This box and the frame need to be exactly the same size so that when they’re put together, they blend right in and look like one piece.
When gluing up a box with beveled ends, I find it easiest to lay the pieces out end to end on the workbench and tape the joints (far left photo below…painter’s tape works perfect!).
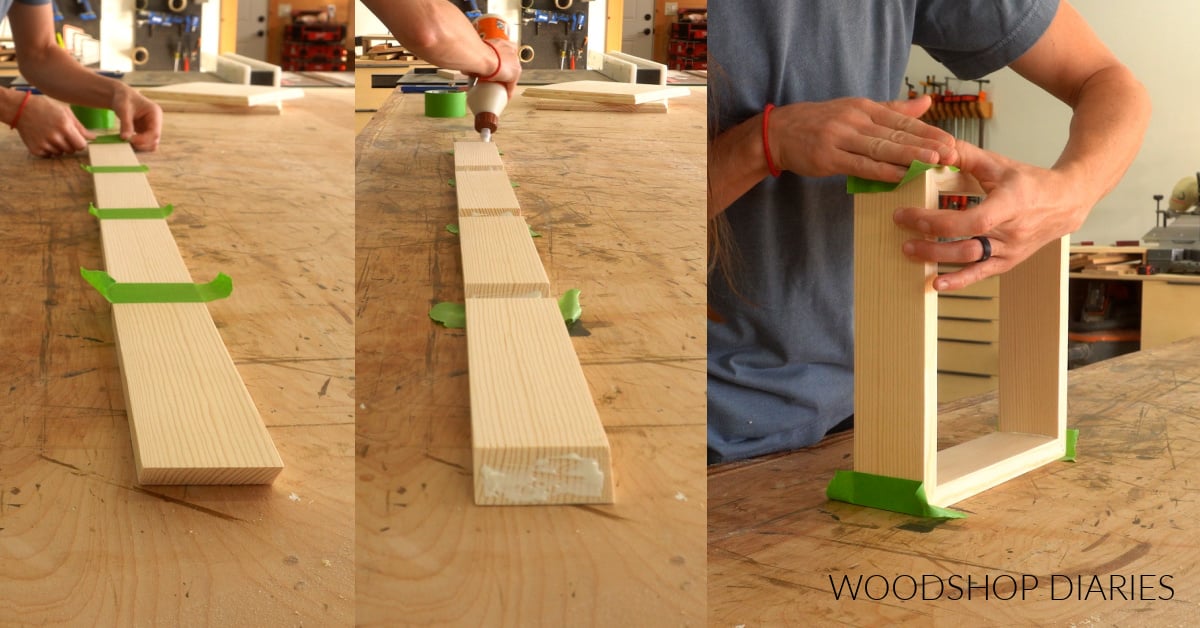
Then, you can flip this over and apply wood glue to the beveled ends (center photo) and fold it together (far right photo above). The tape helps keep the corners together while you clamp.
Step 3: Add Backer Strip and Optional Hooks
Once the glue on the box was dry, I cut another piece of 1×3 to fit between the sides and secured this using pocket holes and screws so that it was flush to the back edge of the box.
RELATED: How to use pocket holes in DIY projects
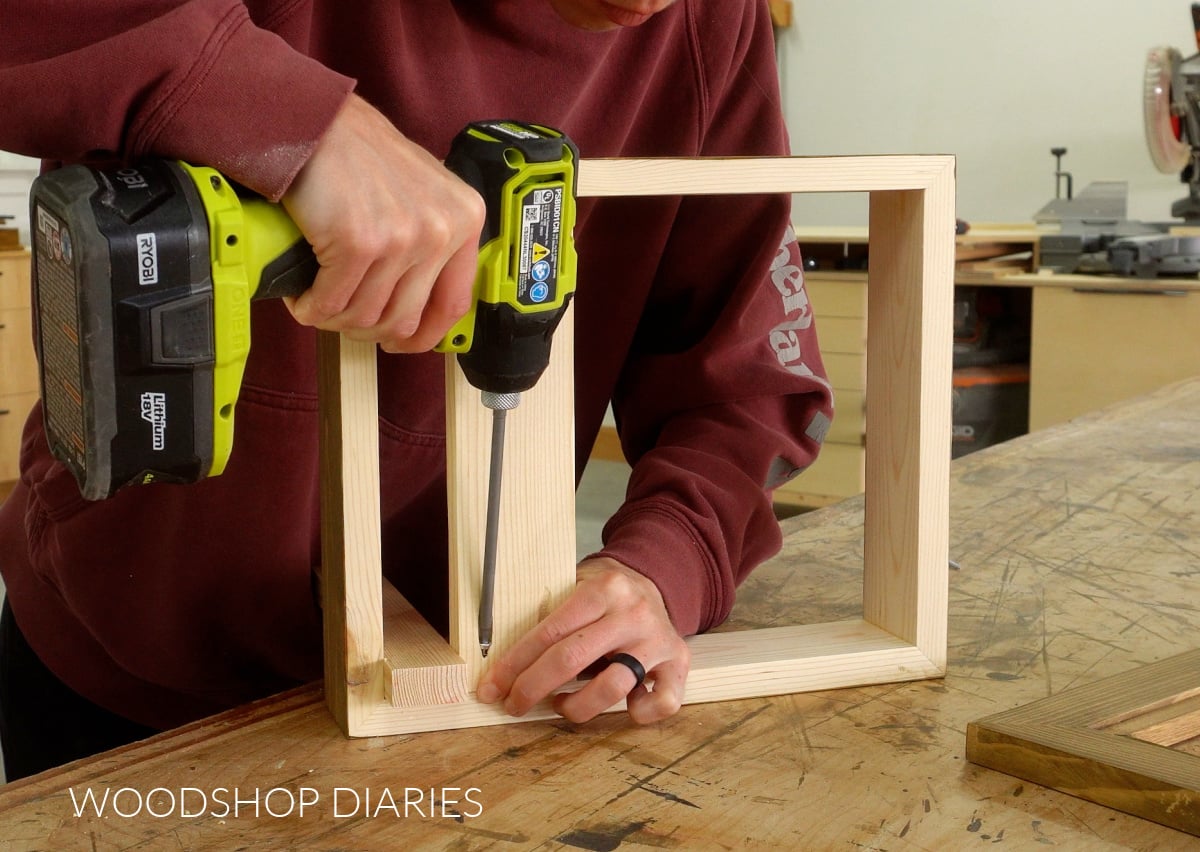
This piece will be what is used to hang this on the wall, but, it’s also handy for installing hooks to to hang keys.
You could just screw some basic hooks to the front side, but I drilled three holes to install three small dowels to use as hooks. I had the scrap dowels, so these hooks were practically free.
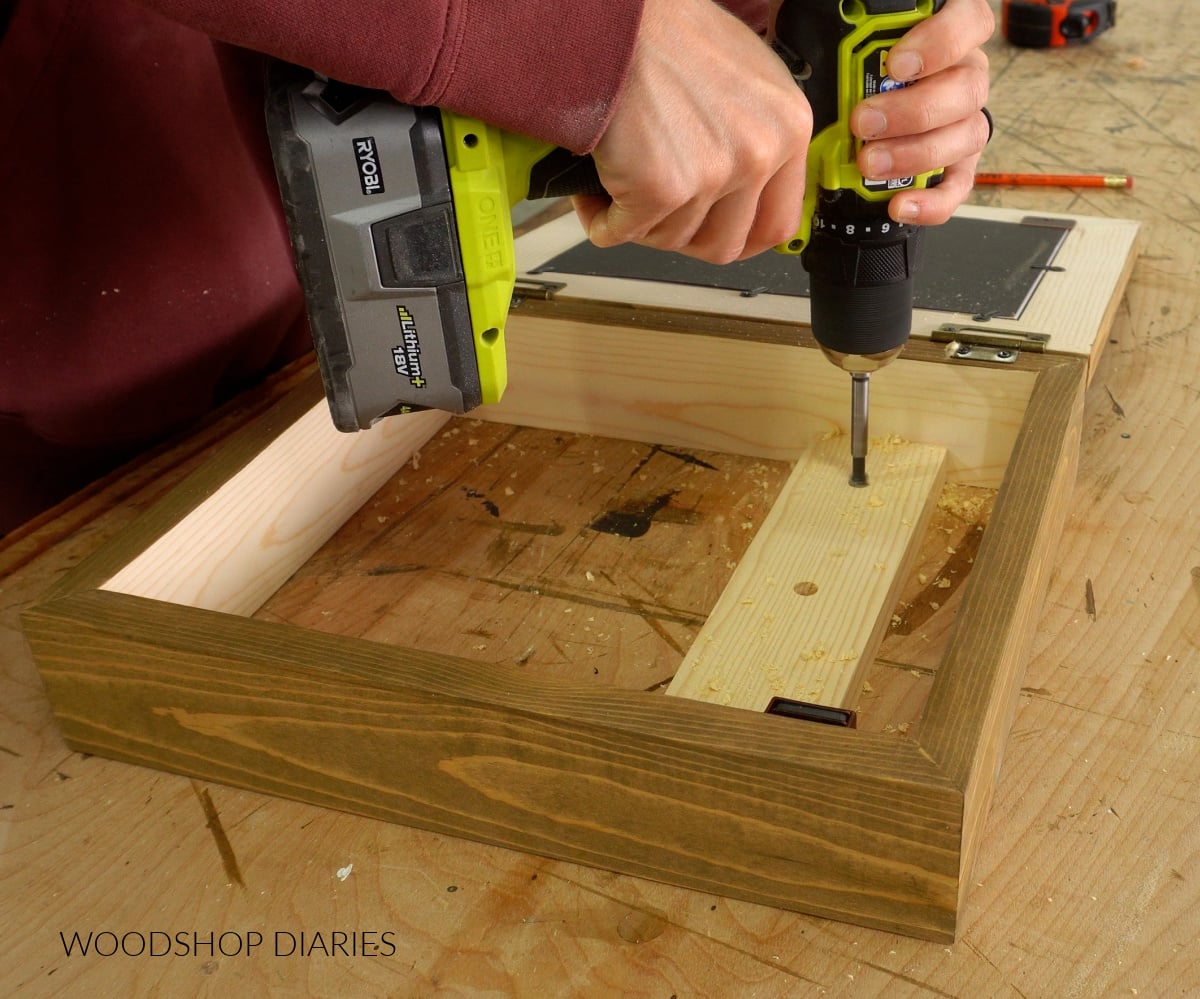
If you don’t want or need to add hooks, feel free to skip that part.
PS you’ll notice in the photo above that I had already attached the frame and stained everything. I added the hooks a bit out of order, and that’s okay. You can add the hooks now or at the very end.
Step 4: Attach Picture Frame to Box
Before attaching the frame to the box, I recommend finishing each separately. Paint or stain as desired.
Once my stain (Minwax Water Based Stain in Driftwood) was dry, I attached the frame to the box using some small hinges. I recommend placing these hinges on the side of the box that will be less visible.
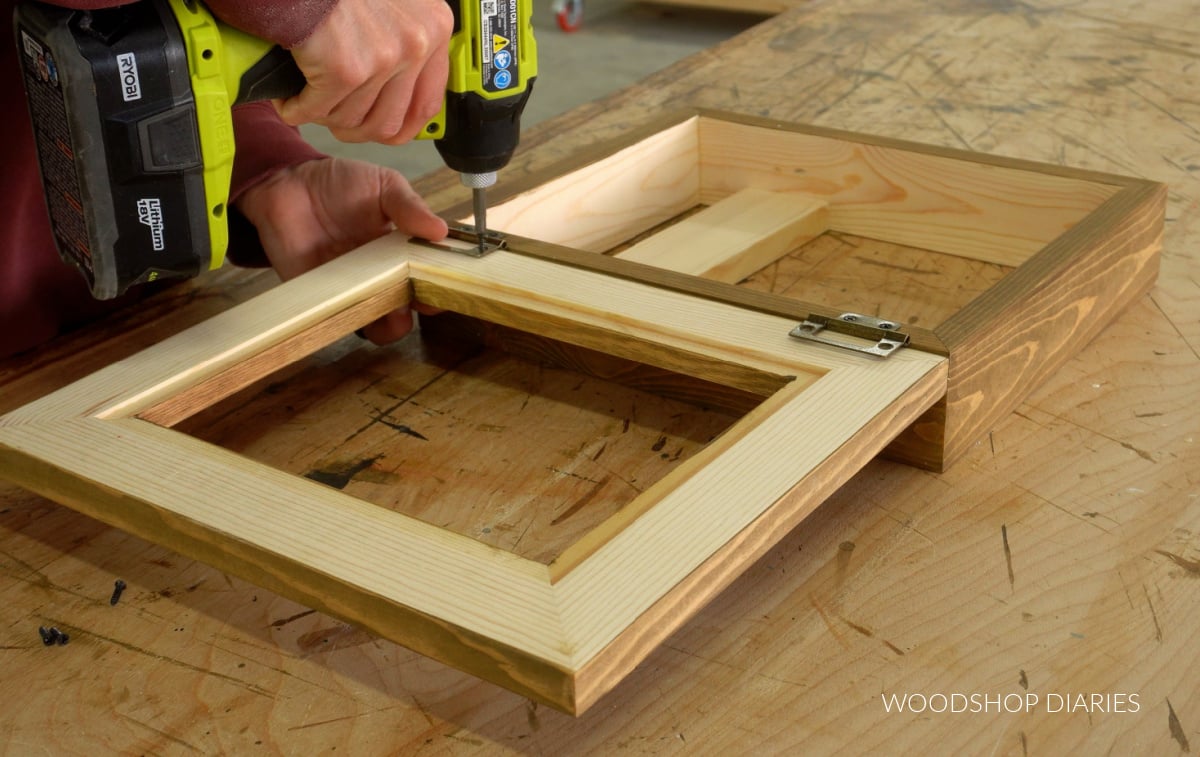
Then, I placed the picture frame glass, mat, photo and backer into the frame. These should rest into the recess created with the ½″ square dowels.
I used small turn buttons to keep everything in place. I love using these turn buttons for photos because they keep everything secured, but make it easy to swap photos (no tools required!) whenever you want.
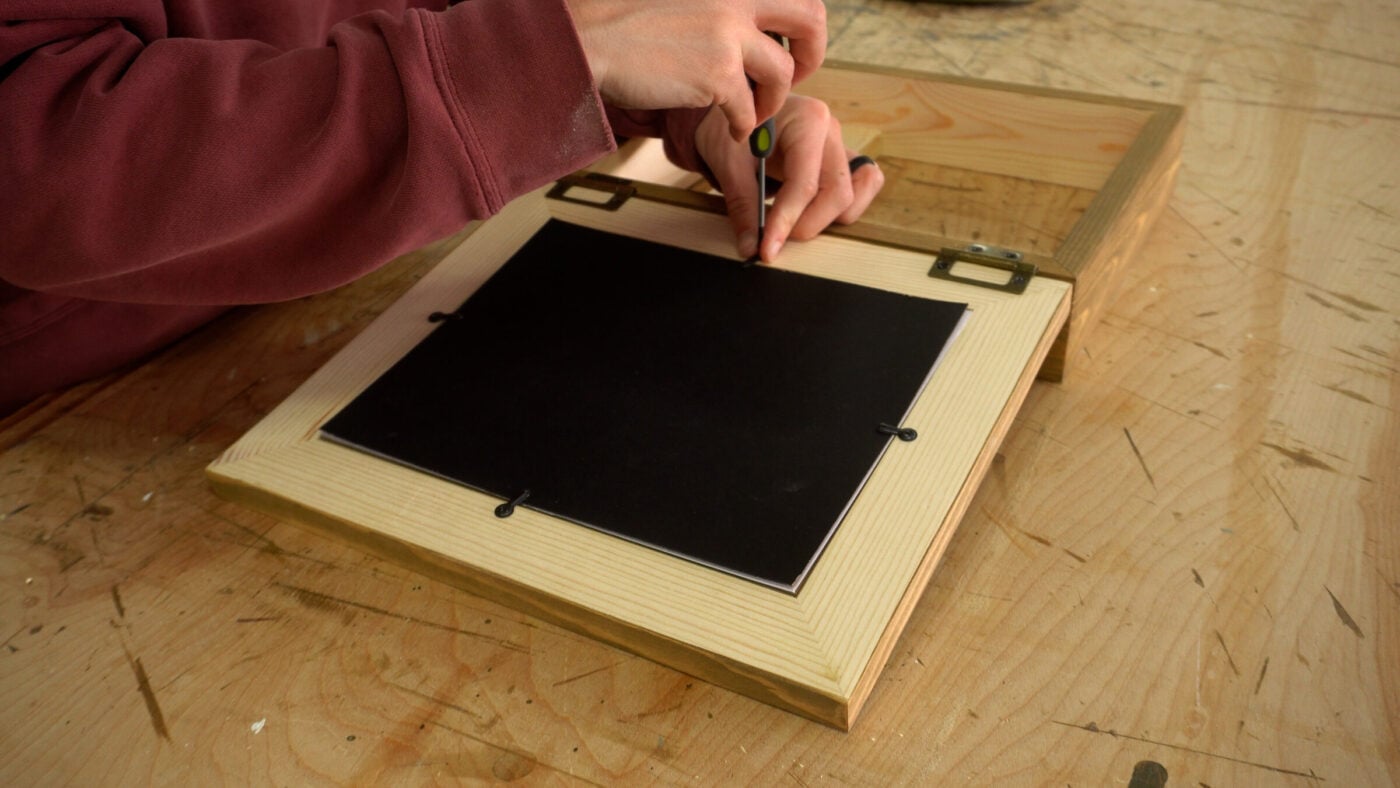
I also added a small magnetic catch to the box to keep the frame snug when closed. If you wanted to add an RFID lock or a cabinet lock to keep things even more secure, you certainly can.
Step 5: Hang Picture Frame with Storage
To hang this simple box, I used some 2 ½″ wood screws through the backer strip and into a wall stud.
One screw will hold the weight, but it can tend to twist. So I recommend using 2 screws. Place one toward the top of the backer strip and one toward the bottom.
Make sure it’s level before driving the second screw.
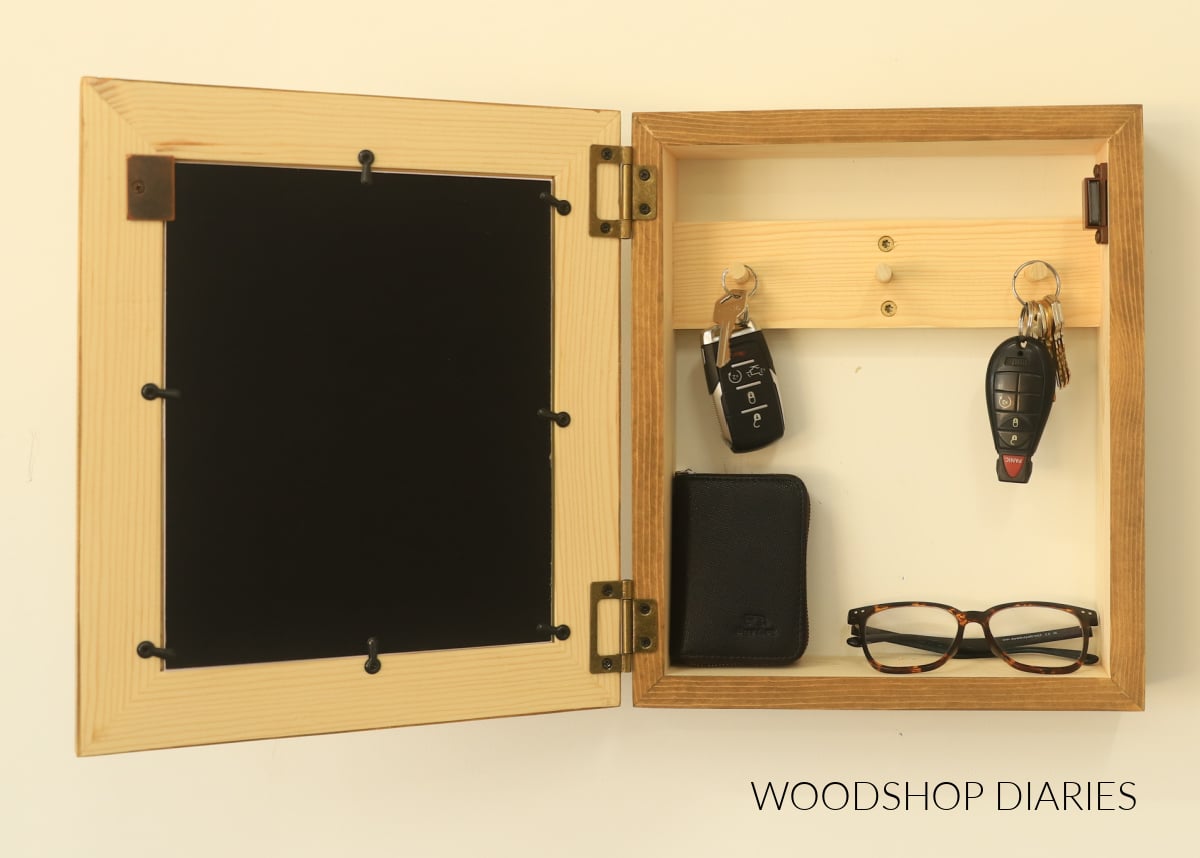
Now this unsuspecting storage box blends right into your other wall décor.
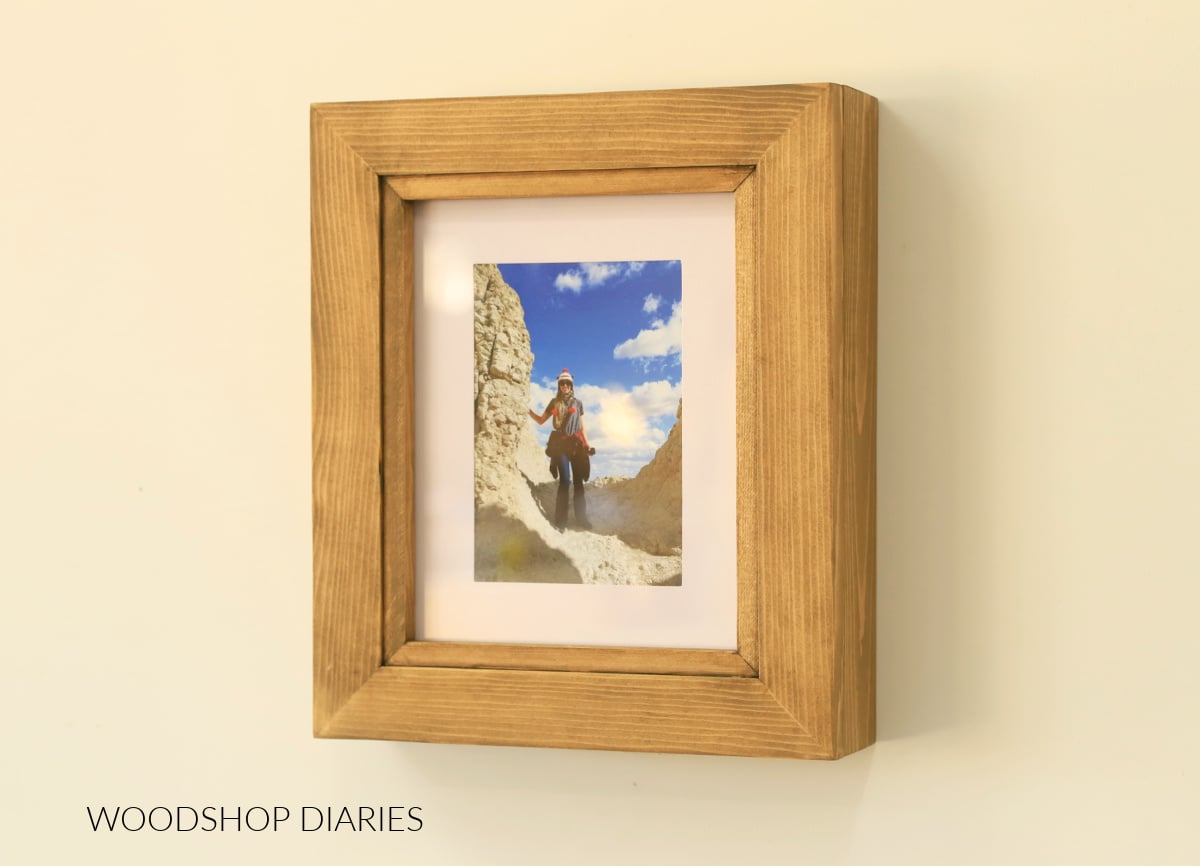
This easy DIY makes an excellent gift idea for that person on your list who already has everything, but could use a little extra secrecy…and organization, of course 🙂
Looking for More easy DIY projects & gift ideas?
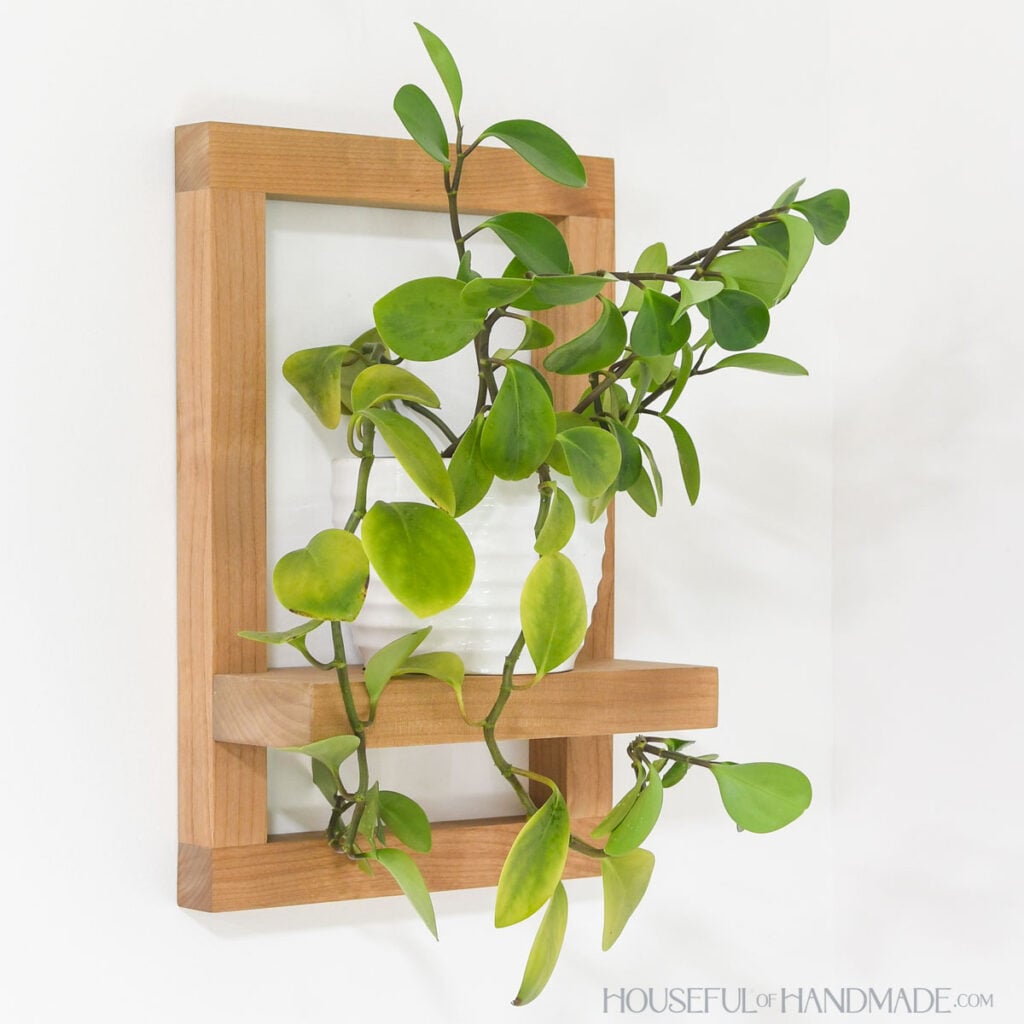
With the upcoming holidays, I’ve teamed up with my friend, Kati, from Houseful of Handmade and Anika from Anika’s DIY Life to share some easy and fun gift ideas that you can make this season!
I’ve included their projects in the gallery below plus a few of my own (click on the images to see how to make each one).
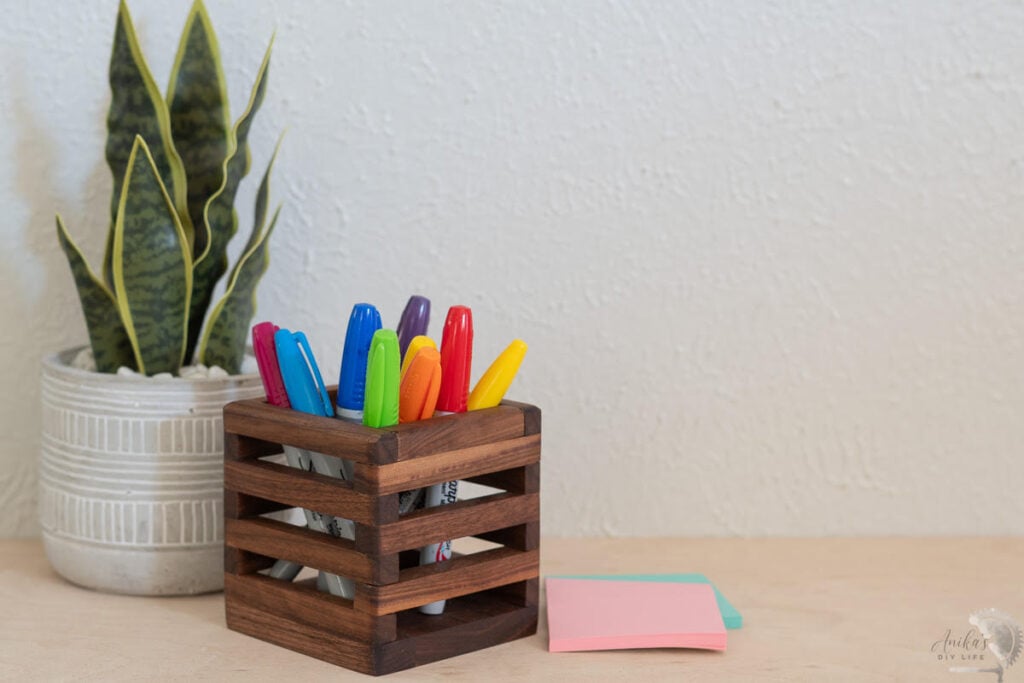
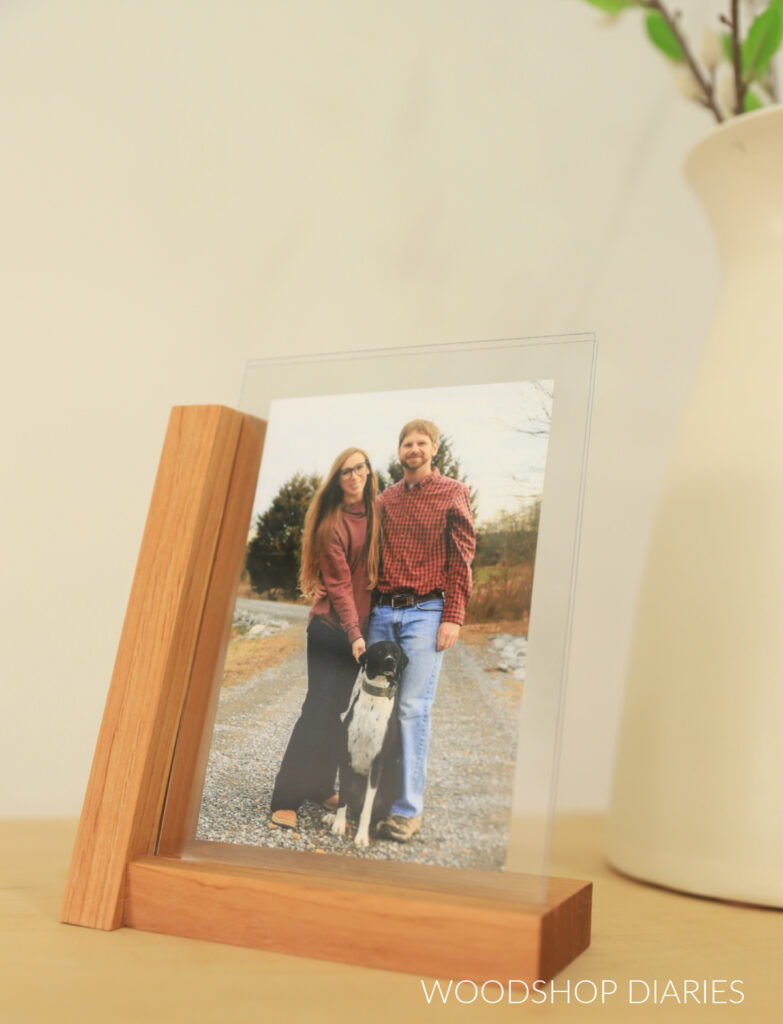
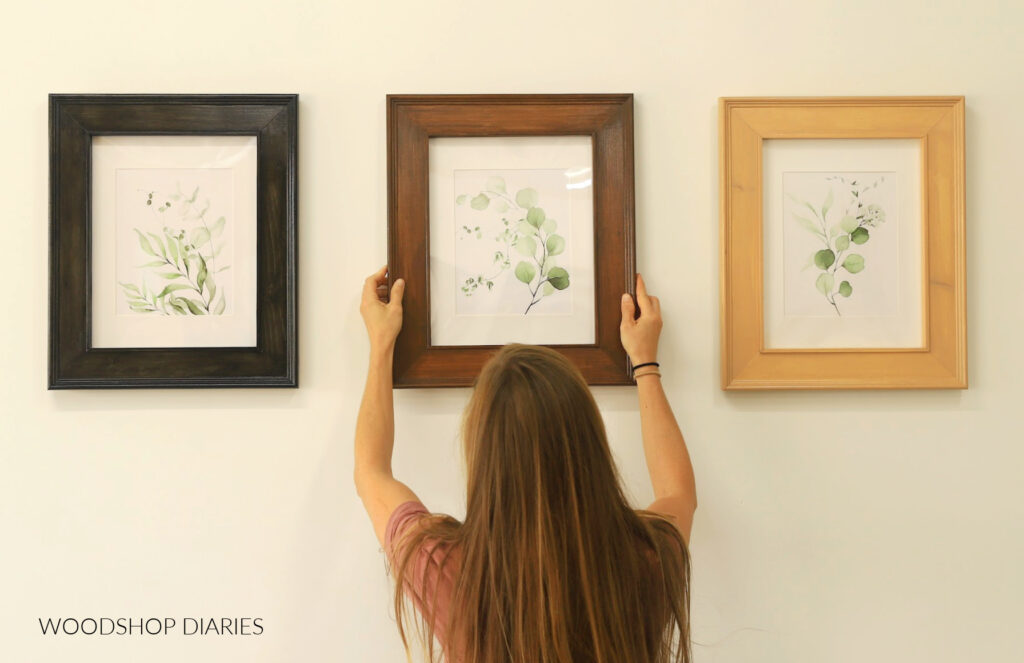
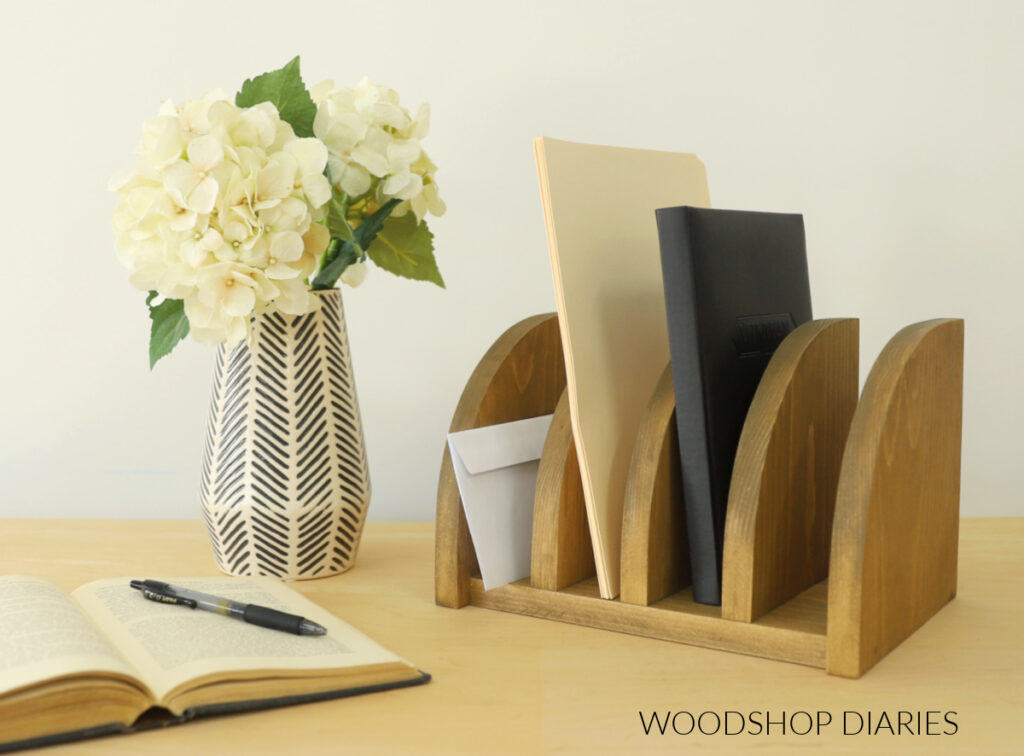
Enjoyed this project and want to save it for later? Be sure to pin it or share it to your favorite social channel!
Until next time, happy building!