In this post, I’m sharing how to install an elegant DIY picture frame molding accent wall!
*This post is sponsored by The Home Depot as part of the ProSpective Program.
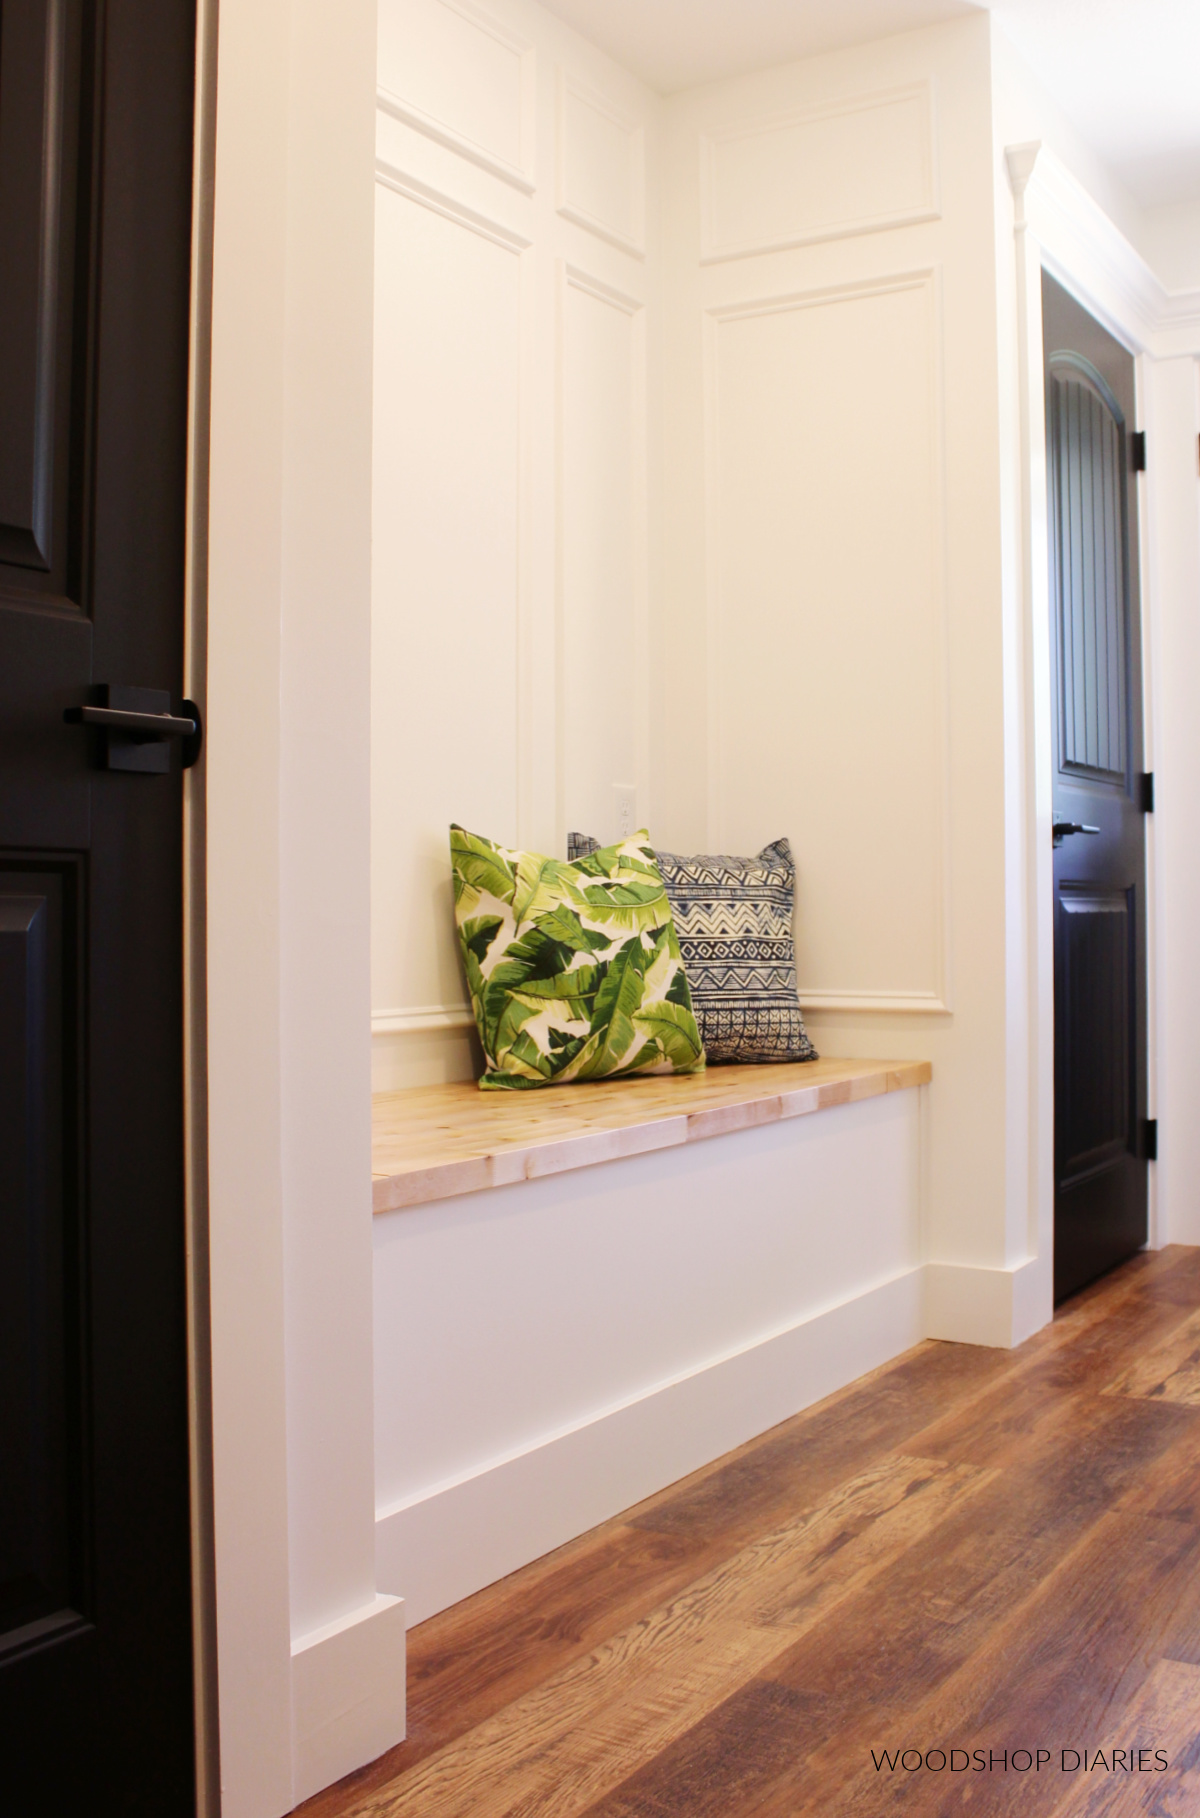
I recently gave our hallway a makeover with a fresh coat of paint, updated trim around the doors and a new custom DIY built in storage bench between the closets.
.
However, when I finished with all of that, I felt like something was still missing here in this nook space.
.
This three sided nook space above the built in bench seemed like the perfect place to try out a DIY picture frame molding accent wall as I’ve been wanting to add one somewhere around our new home (because I LOVE THEM!).
.
You can check out the full before and after hallway makeover in this post and grab the plans to build a built in storage bench here.
.
Check out the video tutorial here and the step by step instructions to make your own DIY picture frame molding accent wall below:
*This post contains affiliate links. See website policies.
Tools & Materials:
Tools:
- Ryobi ONE+ 18V 7 ¼″ Sliding Compound Miter Saw
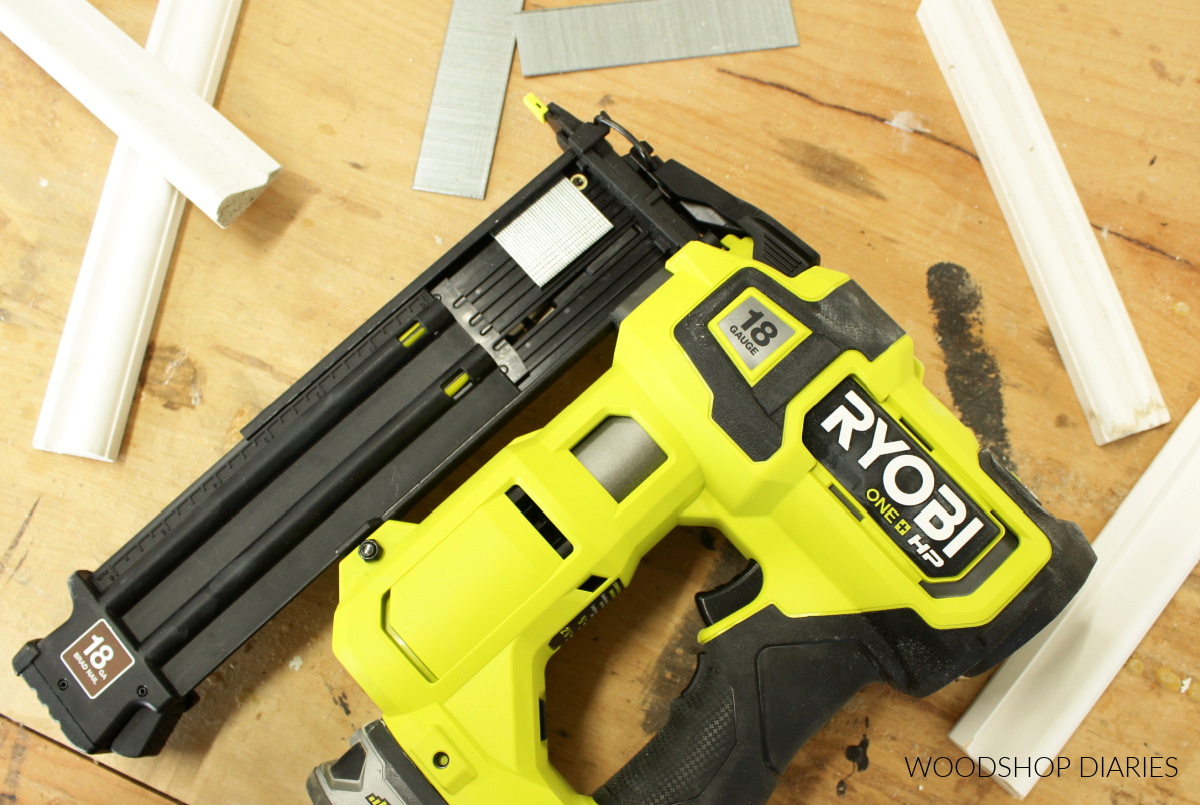
- Ryobi ONE+ HP 18V AirStrike Brad Nailer
- Measuring tape
- Caulk gun
Materials:
- Base Cap Molding (amount will vary based on the size of your project)
- Construction adhesive
- Painters caulk
- Wood filler
- Paint
- Scrap wood spacer block (optional, but helpful)
- 1″ brad nails
Some notes about the project:
Get creative with picture frame molding layout!
The exact measurements used here will vary based on the size of the wall you are working with and the exact design you are implementing.
.
There is a ton of freedom when it comes to accent walls, so feel free to get creative and don’t worry too much about “right” and “wrong.”
.
In my case, I added picture frame molding to the nook space above a built in bench. However, you can definitely take this all the way to the floor if you don’t have a bench in your space.
.
You can make your “boxes” smaller, larger, or alternate big and small boxes however you want.
Use Adhesive AND Brad Nails
Because my pieces weren’t all going to line up on a wall stud, I chose to use BOTH construction adhesive and brad nails to install it.
.
The adhesive will hold the pieces in place for the long term. But the brad nails will hold the pieces in place until the adhesive dries.
.
Brad nails into the drywall alone won’t hold the pieces securely without going into a stud.
Check the Length of Your Nails
HOWEVER, the length of the nail is important here!
.
You want the nail to go into the drywall to hold the trim piece in place. However, you don’t want it to go THROUGH the drywall because you don’t want to take a chance on the nail running into any wires or plumbing inside the walls.
.
Check your drywall thickness and your trim thickness before beginning and make sure the nail isn’t longer than these two added together.
.
In my case, my drywall was ½″ thick and my trim was about ⅝″ thick (on the thickest part–where I nailed), so I used 1″ long brad nails.
Painting Before or After
I painted my walls white first (this whole hallway had been gray, so I painted the whole thing at once), then installed the trim and let it dry. Then, I came back and painted just the trim to match the already painted walls.
.
However, you can wait and paint everything after the fact if you’d like–whichever you prefer.
How to Install a Simple Picture Frame Molding Accent Wall
Step 1: Measure Wall and Decide Layout
This is the hardest part because it’s going to be different for every one and every wall. So I can’t tell you your exact measurements–you’ll need to figure that out for yourself.
.
However, I can help you think it through 🙂
- First, measure your wall(s) width and height. Only include the WALL space in the height–don’t include any existing trim or trim you plan to add–like baseboards and/or crown molding.
- Second, decide the spacing between boxes/adjacent walls. I used a scrap 1×4 block as a “spacer,” so I made my gaps 3 ½″ wide (the width of a 1×4).
- Third, decide how many boxes you want in each direction. In my case, I did two rows of boxes, 1 column wide on the sides and 3 columns wide on the back wall.
.
Now, sketch it out and do a little math to figure out what width and heights to make your boxes. You can make your boxes equal sizes, or make some wider and some narrower. At this point, it’s up to you!
.
Here’s an example using my back wall space. My wall space was 76″ tall and 70″ wide. I made all my spaces between the molding 3 ½″.
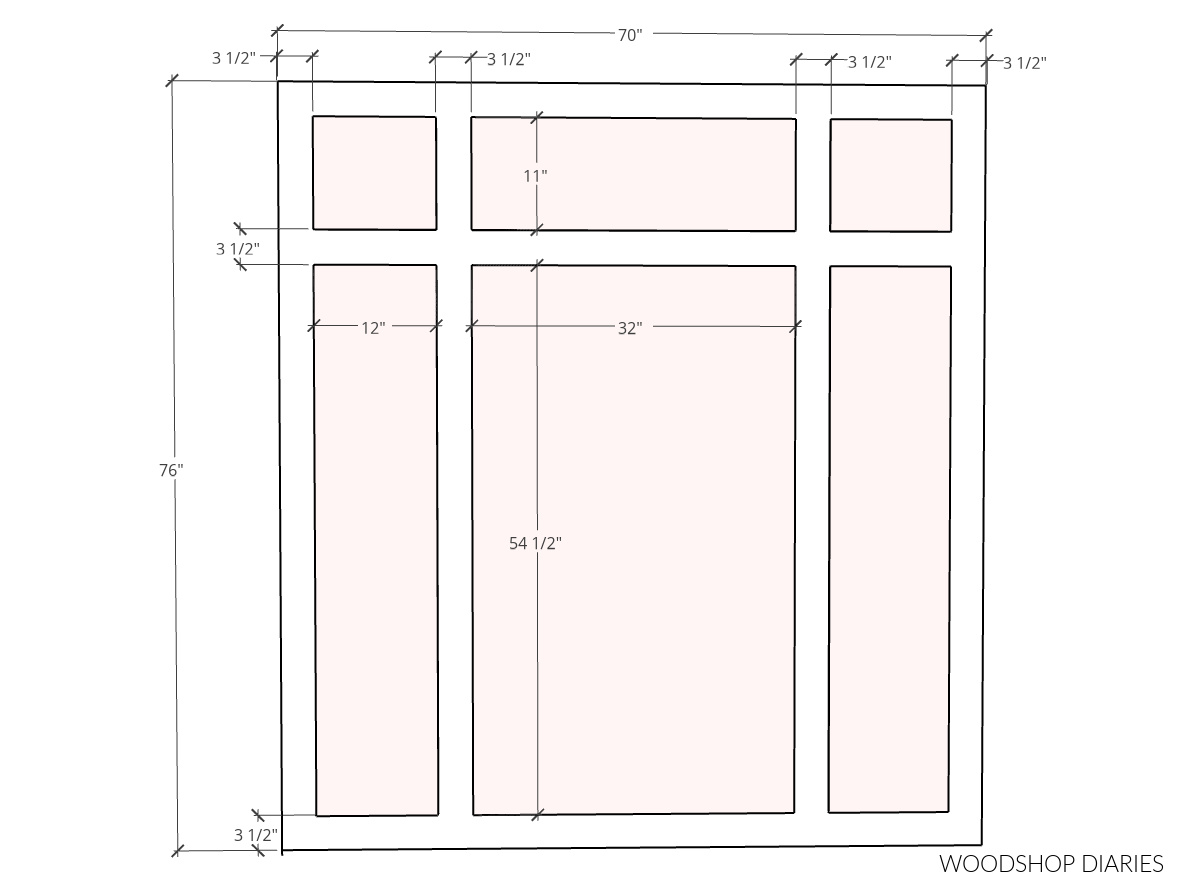
So I took 70″ – (4 x 3 ½″) = 56″ of space to divide among my boxes. I didn’t want them even, so I made the two on the outside 12″. So, 56″ – (2 x 12″) left me with 32″ for the middle box.
.
I did the same for the height to determine the height to make my boxes.
.
NOTE: Be sure to take into consideration outlet, doors, windows, etc. that you may need to work around for this. Try to avoid putting trim in places that will have to be cut around or notched out to fit around obstructions.
Step 2: List Out Your Molding Cuts
Once you have your layout, and your box sizes, count out how many pieces of each length trim you will need.
.
In the example above, I needed:
- (6) pieces 54 ½″ long
- (4) pieces 32″ long
- (6) pieces 11″ long
- (8) pieces 12″ long
.
Now, I also had the two side walls as well, but to keep things simple, let’s just discuss one wall in this example.
.
With a list of all your cuts, now you can determine how many pieces of trim you will need to purchase.
.
I used base cap molding for this and bought 8′ sticks. However, you may find them in longer lengths.
Step 3: Cut Picture Frame Molding Pieces
Now the fun part–cutting! Since you already have your cut list from step 2, this part is easy.
.
Base cap molding has a decorative profile, so in order for these to fit together properly at the corners, you’ll need to cut the ends with a 45 degree miter.
.
For this project, I set up my new Ryobi ONE+ 18V Cordless 7 ¼″ Sliding Compound Miter Saw to make these cuts right outside on the porch. Having a cordless miter saw for doing trim work around the house–or on the go–is such a game changer.
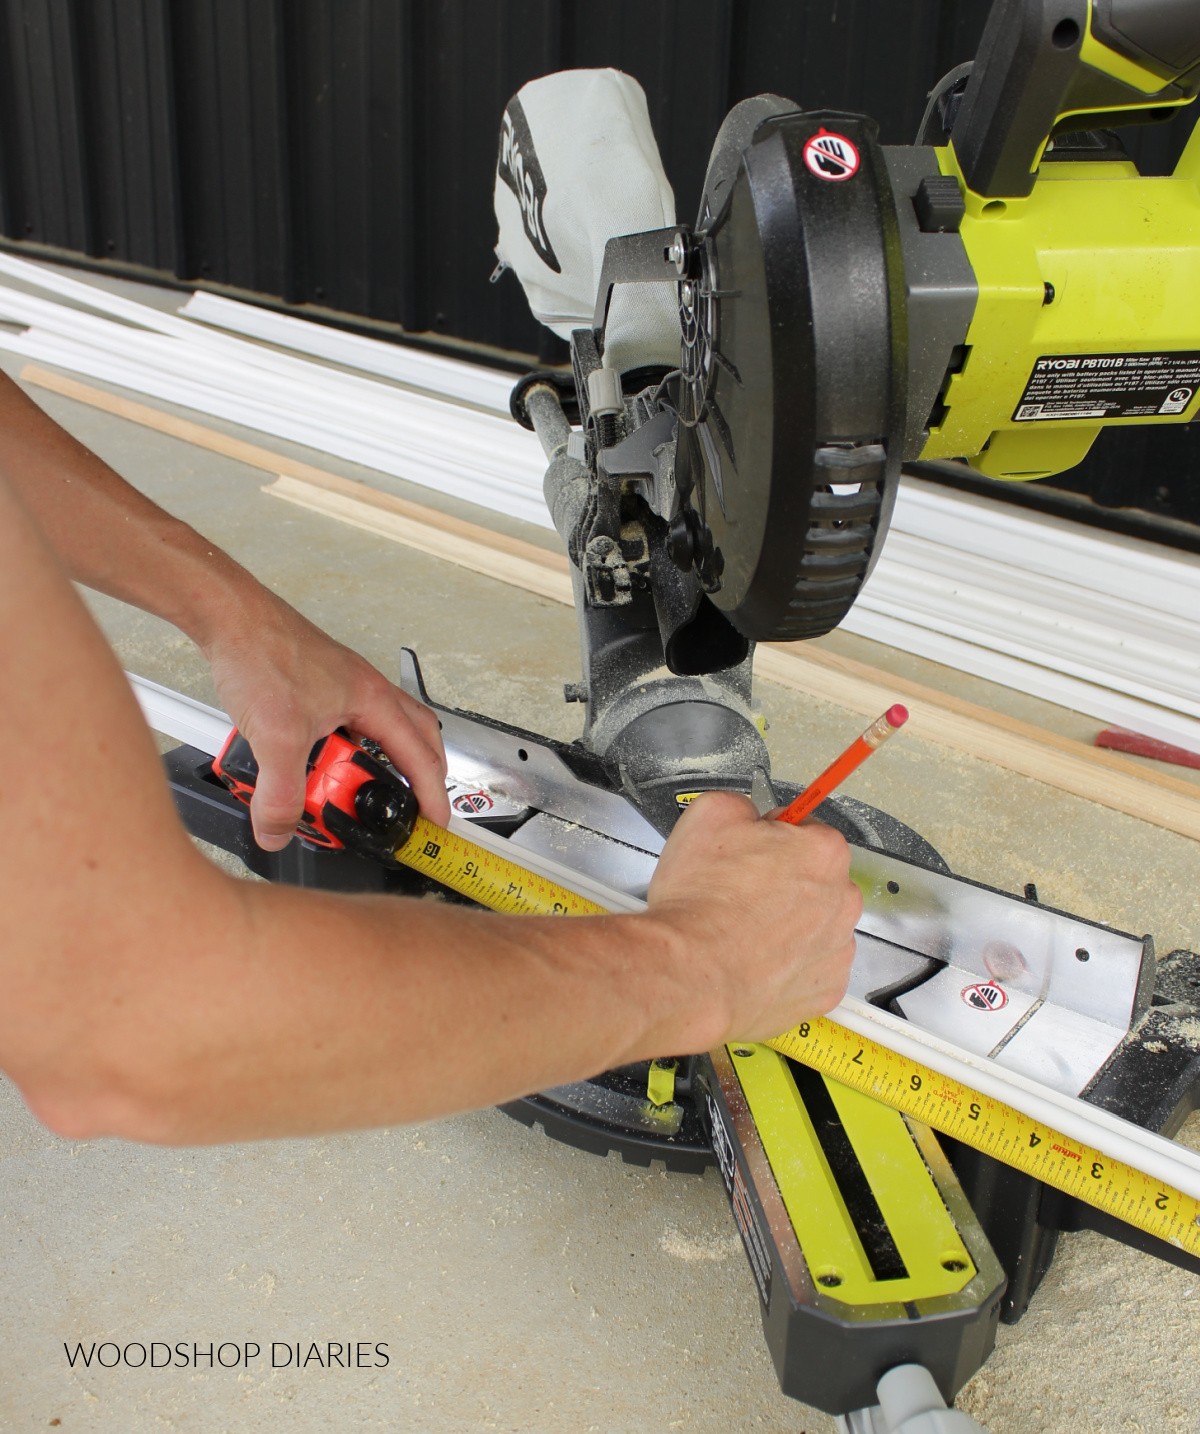
Since my shop is detached from the house, it’s such a time suck to go back and forth to and from the shop just to cut a little off a piece, then come back and test it and go back out to cut a little more.
.
After trimming out my bathroom during our recent remodel and making a thousand trips across the backyard to the shop, I vowed never to do any more trim work in this house without having a cordless miter saw to set up right where I’m working.
.
This compact saw is capable of cutting up to a 2×10 board, but is small enough to easily carry around and it works with the same 18v batteries I use every day in my other Ryobi 18V tools.
.
If you want a compact, yet powerful cordless miter saw option to be able to use wherever you’re already working, I’d encourage you to give this one a look!
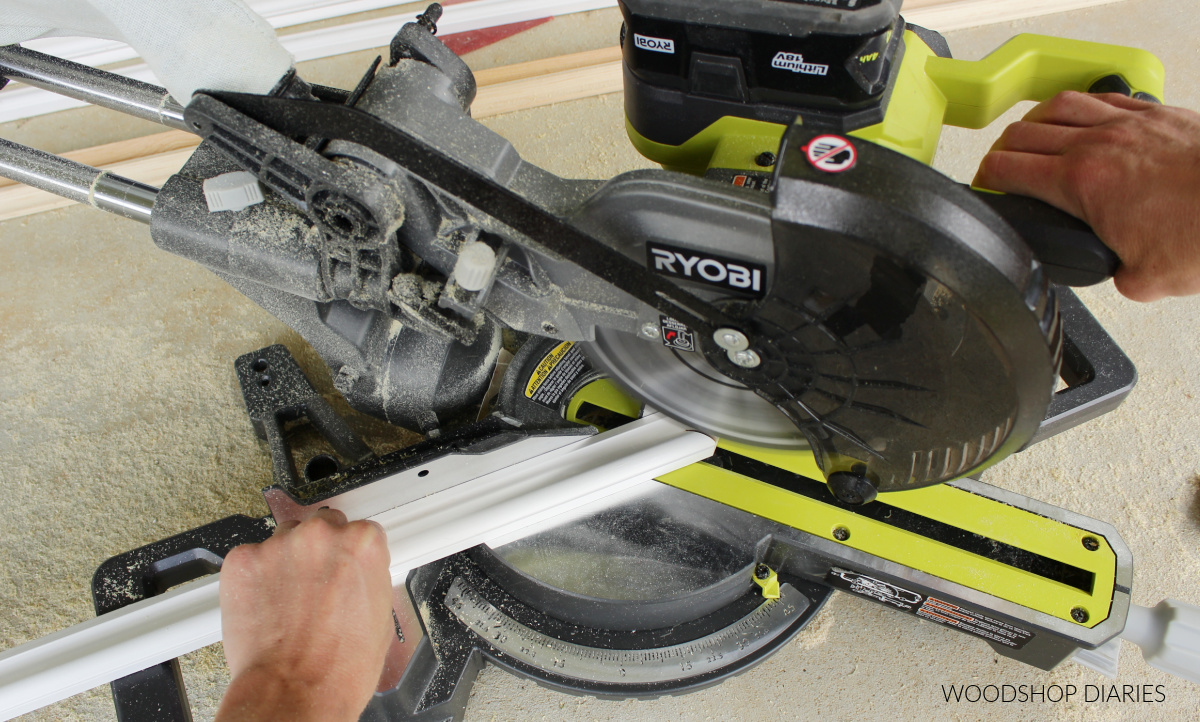
I cut each piece on my cut list with 45 degree mitered ends (with the “fat part” of the molding always the long end) and labeled them to make sure I kept them organized.
Step 4: Install Picture Frame Molding on Wall
Like I mentioned previously, I used BOTH construction adhesive AND brad nails to secure these pieces in place.
.
The adhesive will actually HOLD the pieces in place, but the brad nails will secure them until the adhesive dries.
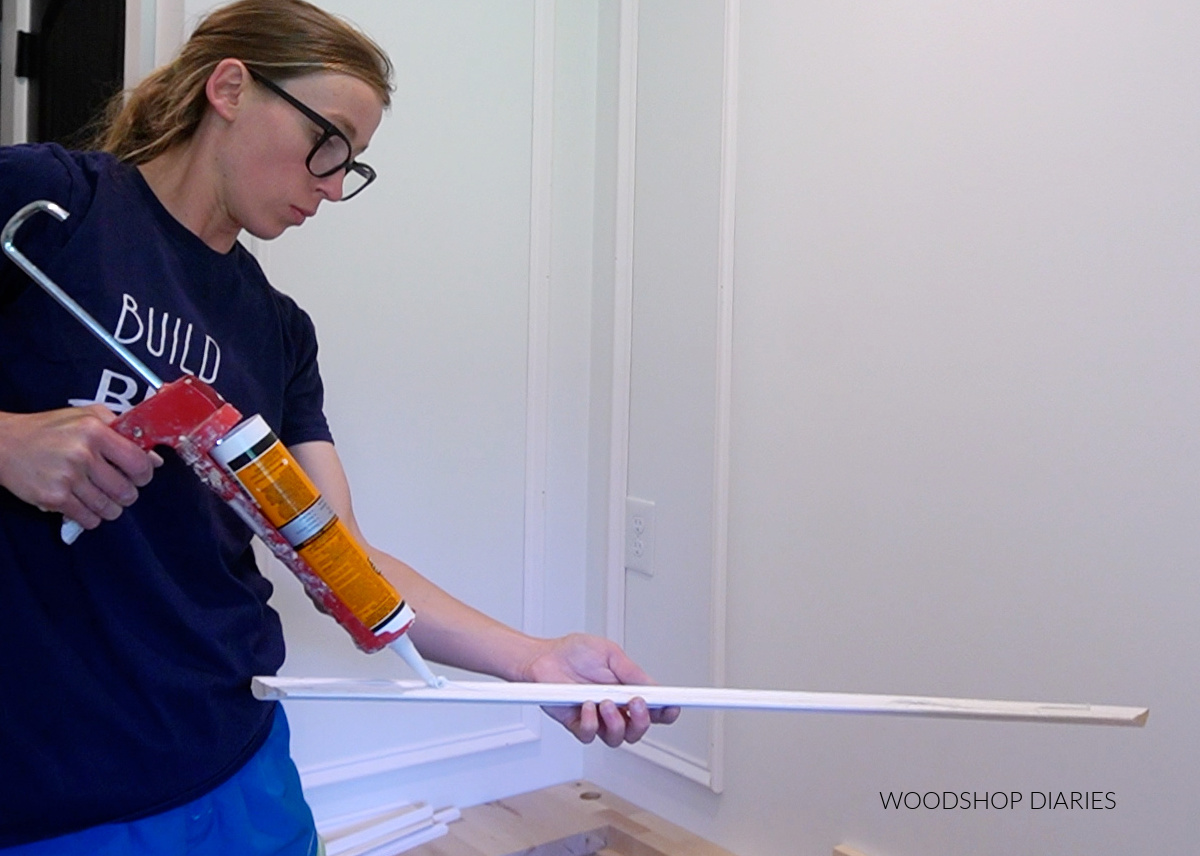
You want to make sure and install the bottom row level.
.
Check to see if your baseboard is level. If so, simply use your spacer block to space your bottom pieces 3 ½″ up from the top of the baseboard.
.
If it’s not level, use a pencil and a long level to draw a level line approx 3 ½″ (or whatever distance you decided to make your spacing) up from the baseboard to install your bottom row along.
.
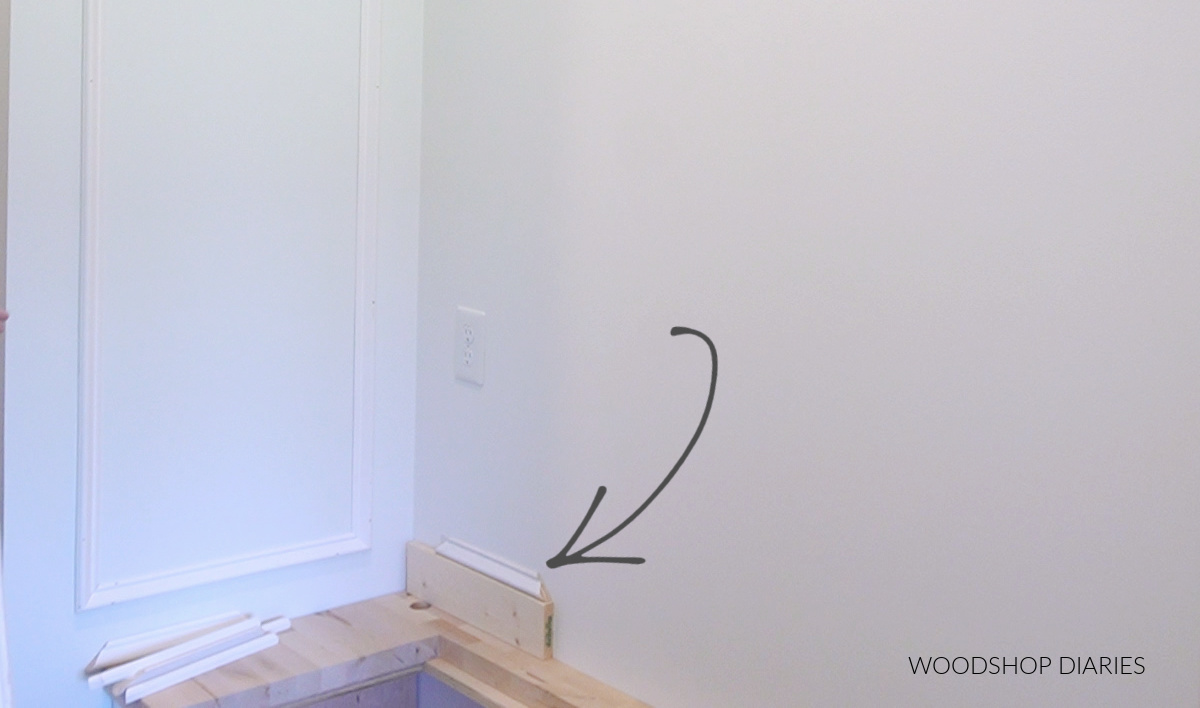
I started at the bottom corner, applied a bead of adhesive to the back of the bottom piece, and used my 1×4 spacer block to position it 3 ½″ up from the bench and 3 ½″ in from the edge of the wall.
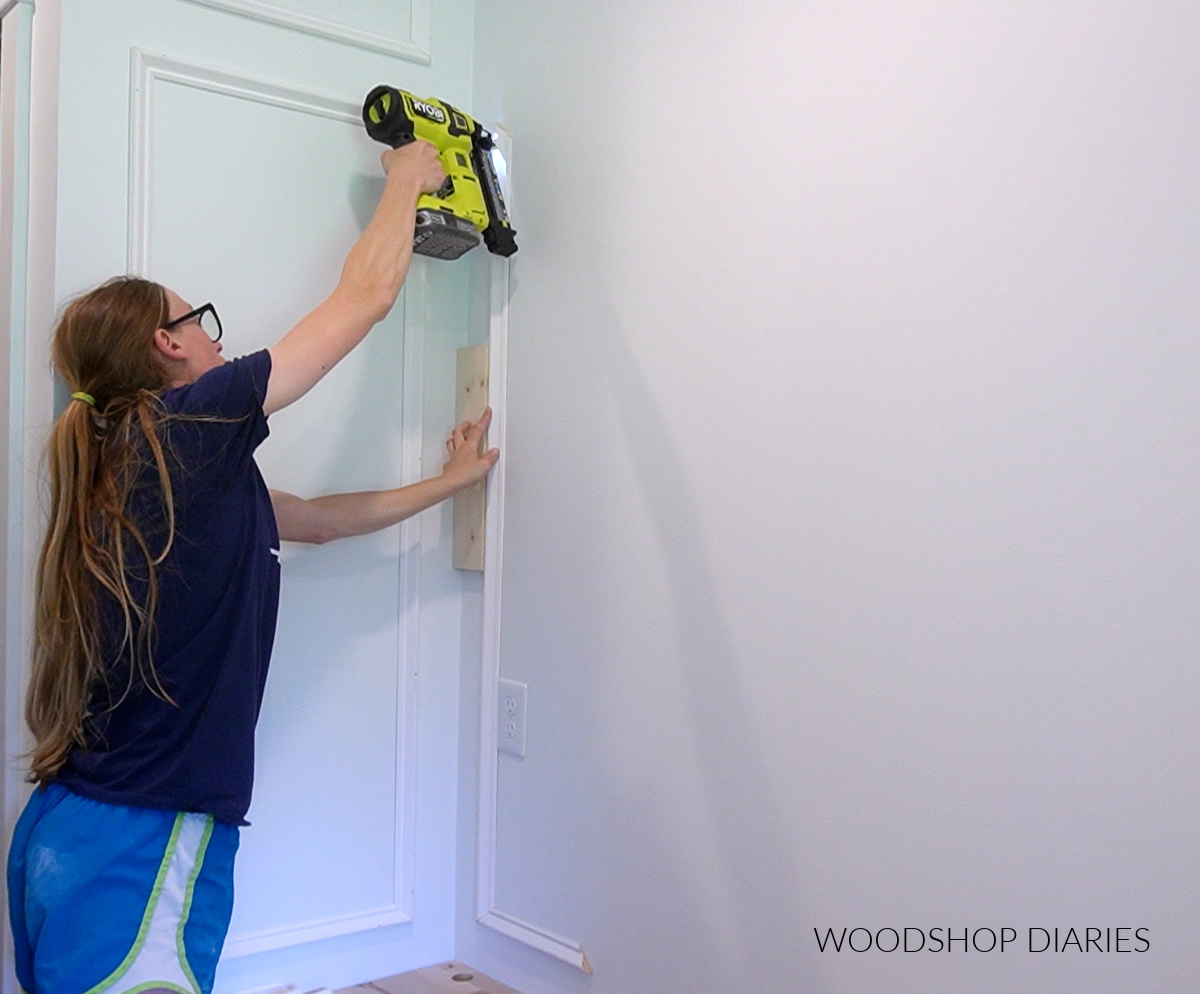
Then, I used my Ryobi ONE+ HP 18 ga AirStrike Brad Nailer to brad nail this piece in place. I added the piece closest to the wall next using my spacer block to keep it spaced evenly away from the corner.
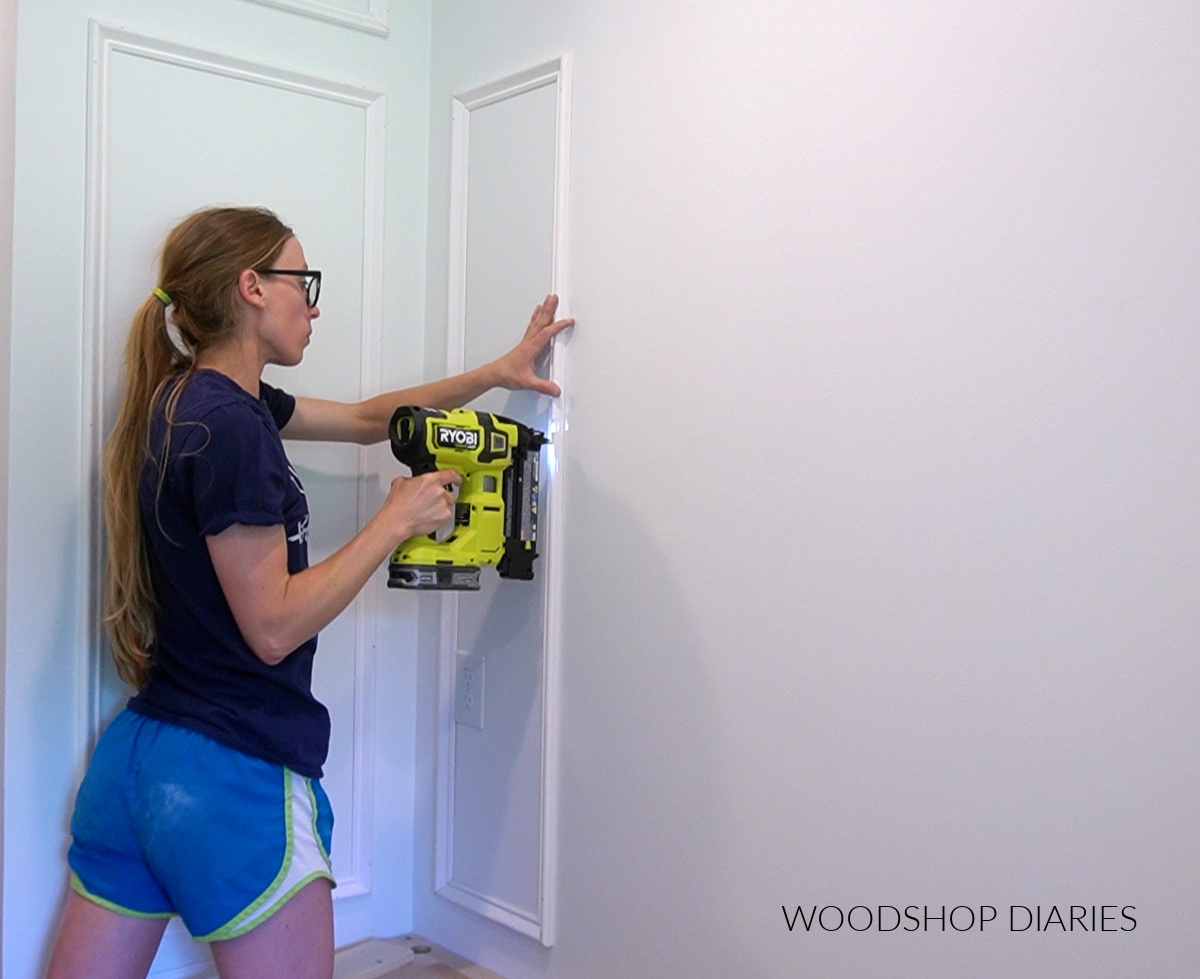
Then, I applied adhesive to the two other pieces to complete this box and stuck them on the wall. I got them positioned to where all the corners lined up before brad nailing these last two pieces.
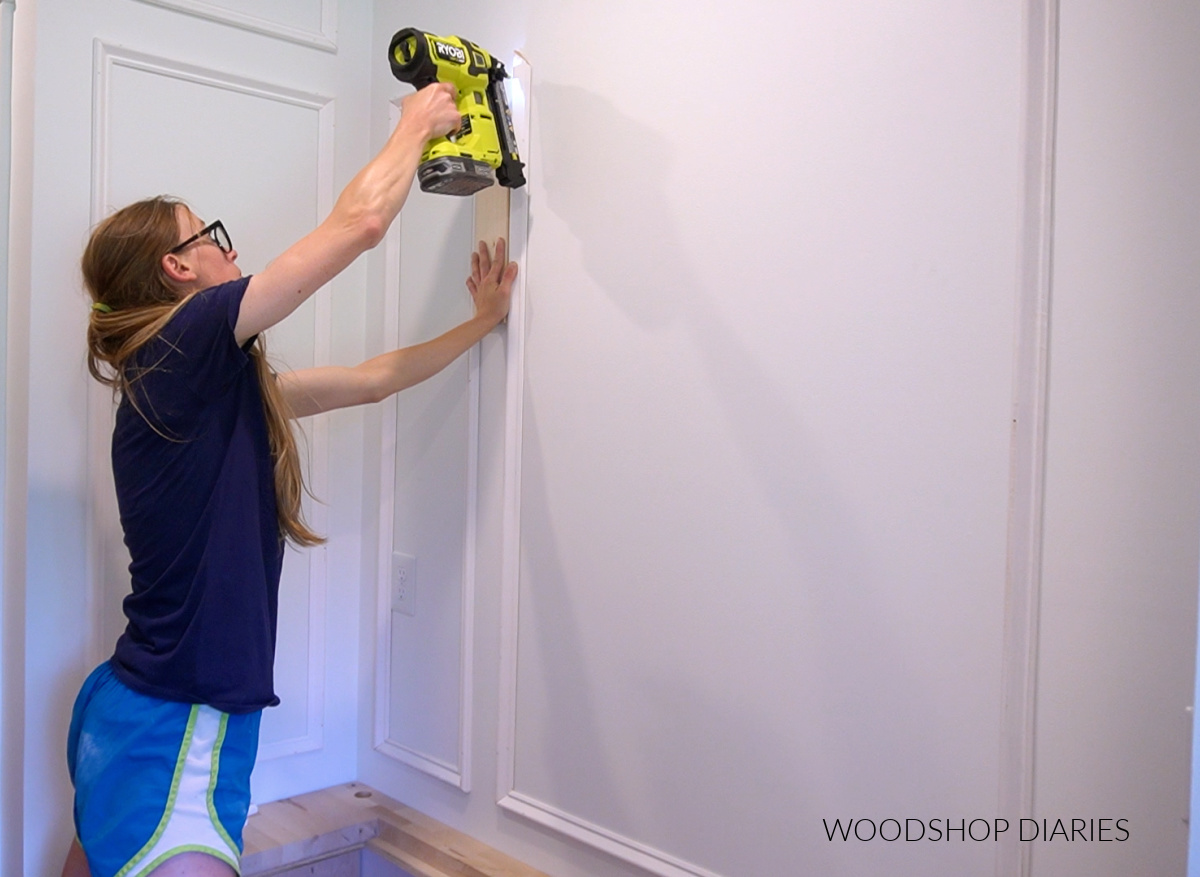
I repeated, working my way around adding pieces of each box keeping 3 ½″ spacing.
.
It’s important here to make sure that the brad nails aren’t going THROUGH the drywall. You want them to go INTO it, but not through.
.
This Ryobi ONE+ HP brushless 18 gauge nailer is a great option for this as it is capable of shooting the shorter nails that I needed, and it has depth adjustment settings so that I can make sure my nail shoots just right below the trim surface.
That way it won’t go through the drywall, and it makes puttying over the holes easier later as well.
.
As a side note, I’ve been using the older version of the 18 gauge AirStrike for several years now and have loved it. (You can see me using it in tons of my previous posts.)
.
So if you’re curious what’s different with the new HP brushless version of this nailer, it has a much quicker response time, it delivers 60% more power than the older version and the nose is so much easier to see where the nail will hit so your placement is much more accurate.
.
After all the pieces of all the boxes are nailed to the wall, allow to dry. Check your adhesive for specific dry times.
Step 5: Caulk and Finish
Apply wood filler to the nail holes and apply painters caulk along all the molding at the corners and where the trim meets the wall.
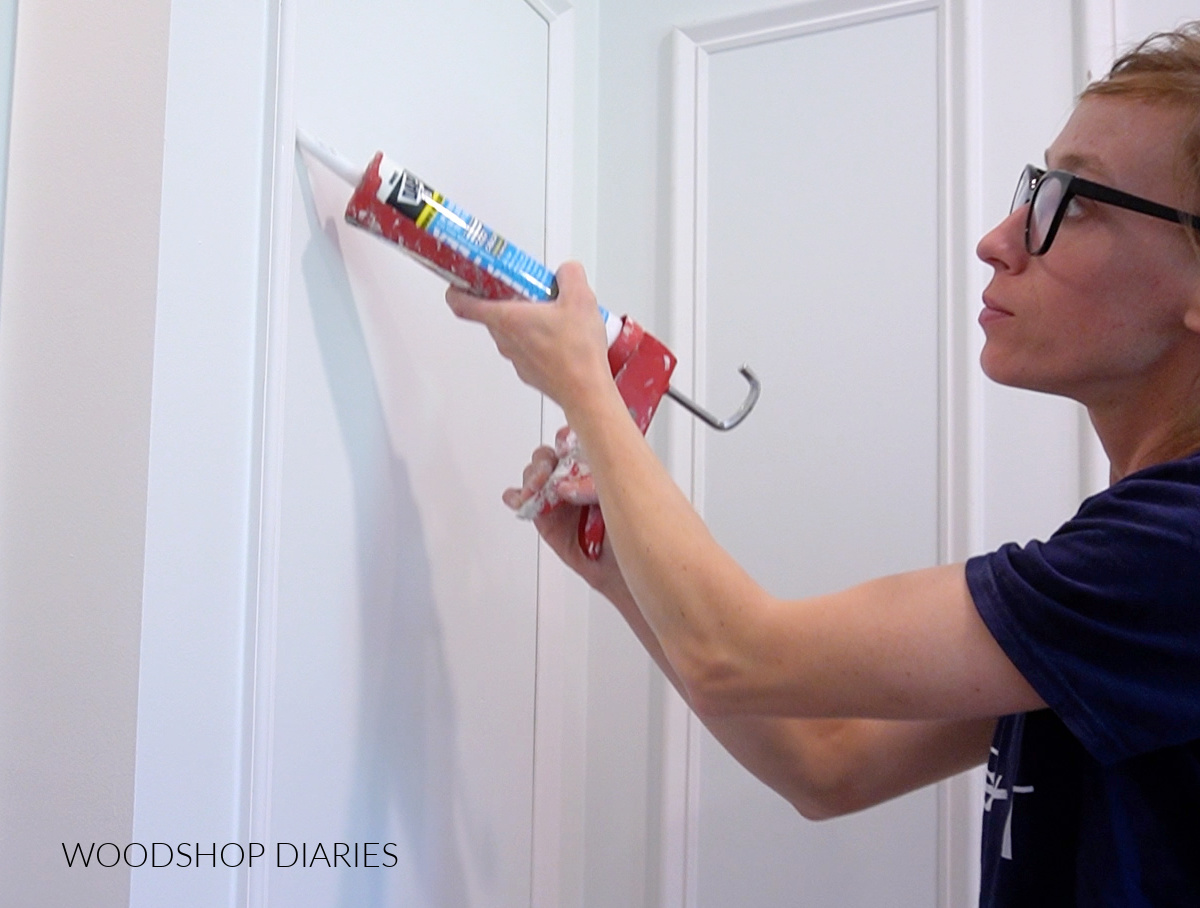
Don’t skip this step. Caulk and putty will cover any gaps and make this trim look seamless even if the walls are a little uneven.
.
Sand the wood filler smooth and allow the caulk to dry. Then, apply paint as desired.
.
Now the boring, blank wall looks like a high end, custom built accent!
.
As long as you get your bottom row level and use a spacer block to keep your spaces consistent, this is a pretty simple project. The hardest part is just figuring out the sizing!
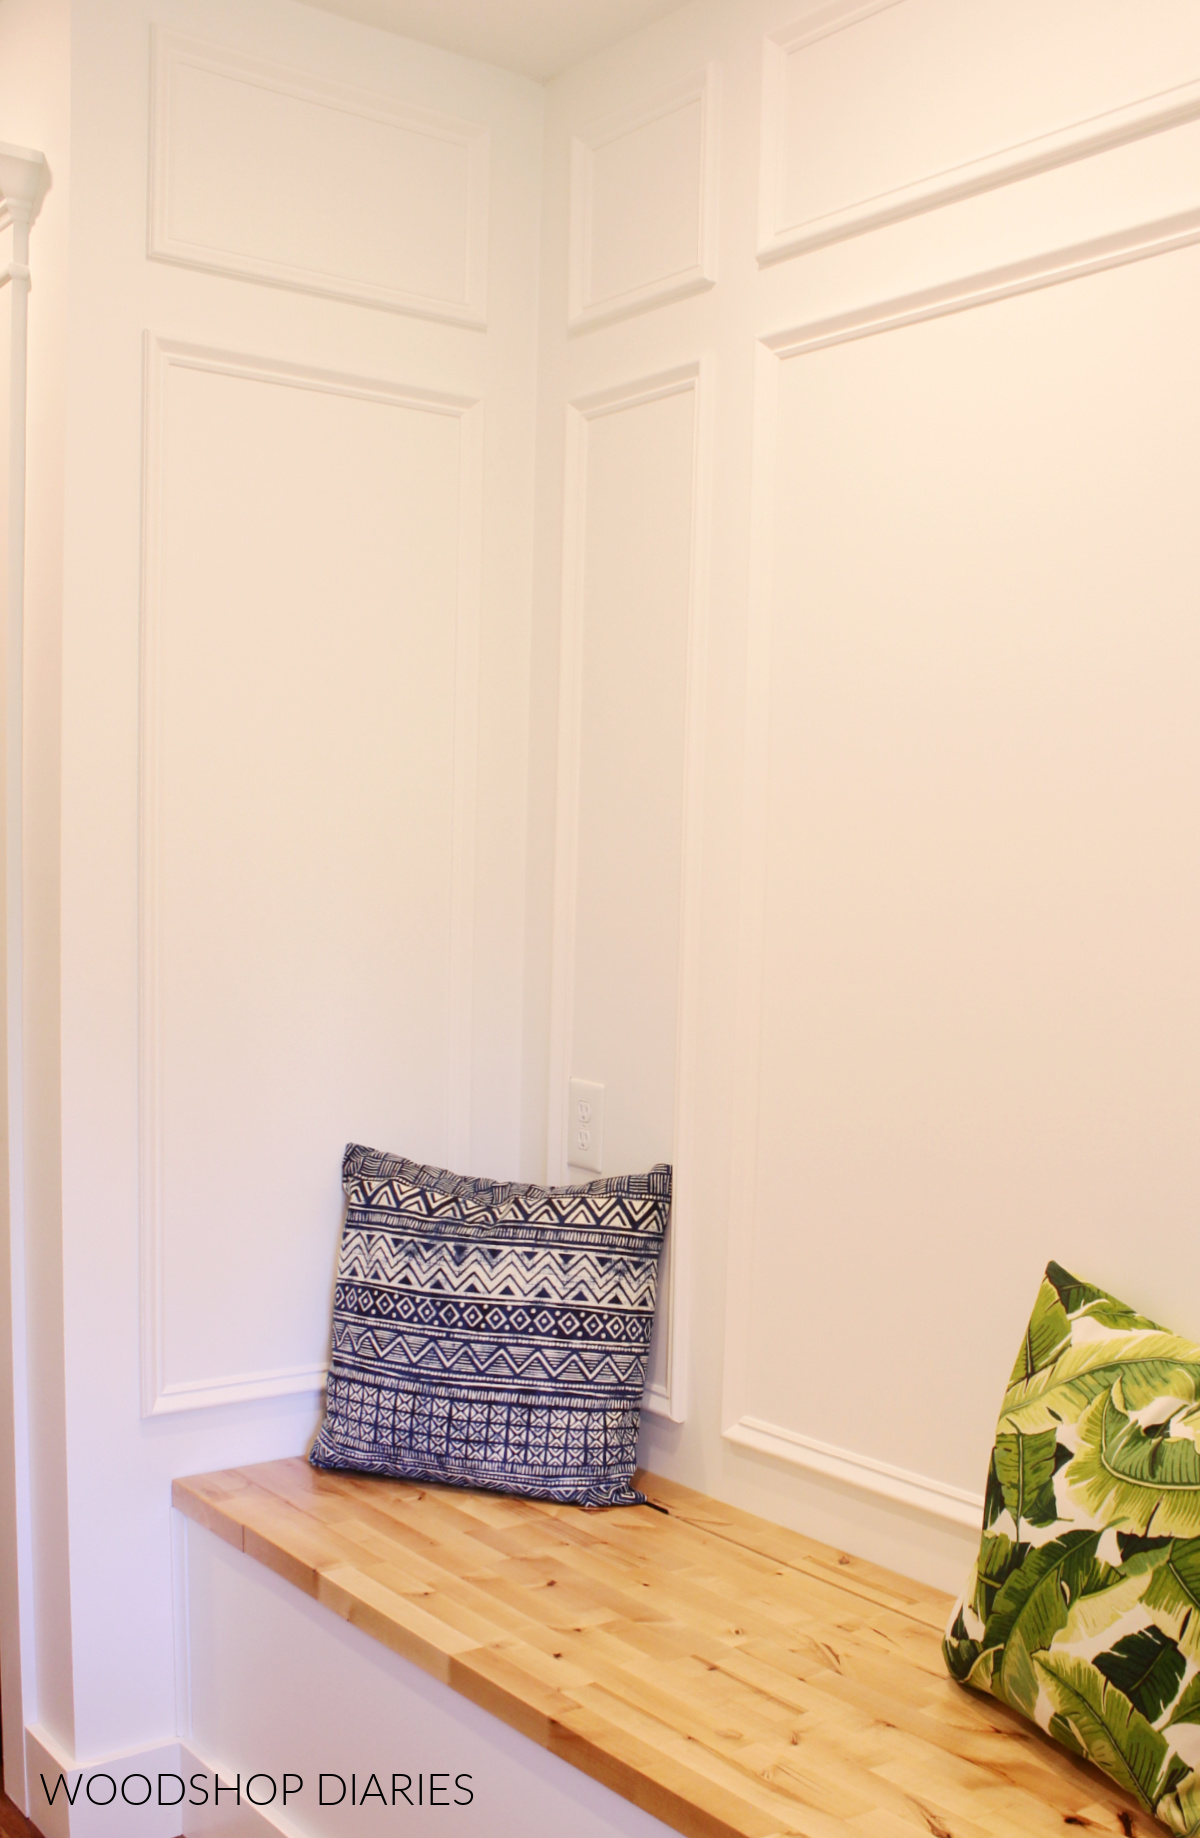
I love how much character this simple DIY picture frame molding accent wall project added to this plain, white nook. I have a feeling I’ll be trying this again on a bigger wall space very soon!
.
For now, I’m off to the shop to get building again 🙂
.
If you enjoyed this project and want to keep up with all the latest plans, projects, and happenings, be sure to subscribe to the newsletter below!
And if you want to save this project for later, don’t forget to pin it or share it to your favorite social channel!
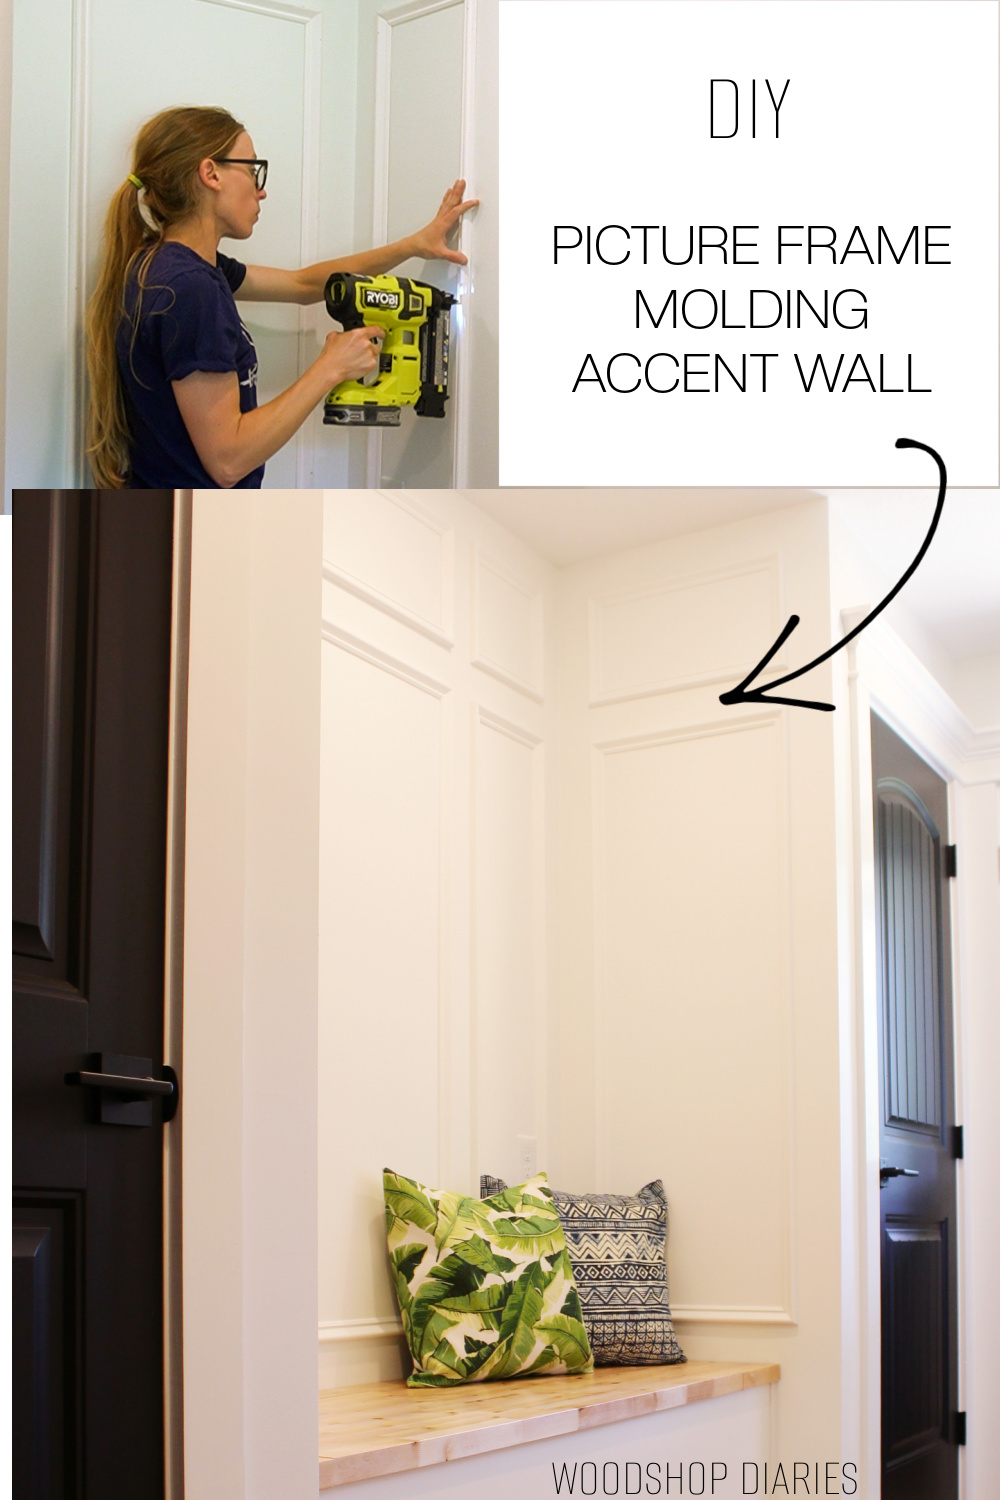
Until next time, friends, happy building 🙂


