
At this point, I was hoping to come to you with all kinds of fun pictures of major progress on this bathroom remodel. I had made plans and schedules and figured out in what order we needed to get everything done so we would be back to normal as soon as possible. By this week, I was expecting to tell you about how we tiled the shower.
.
But, instead, I get to tell you about how productive (yet unproductive at the same time) our week has been due to this one little detail we (I) didn’t plan for.
.
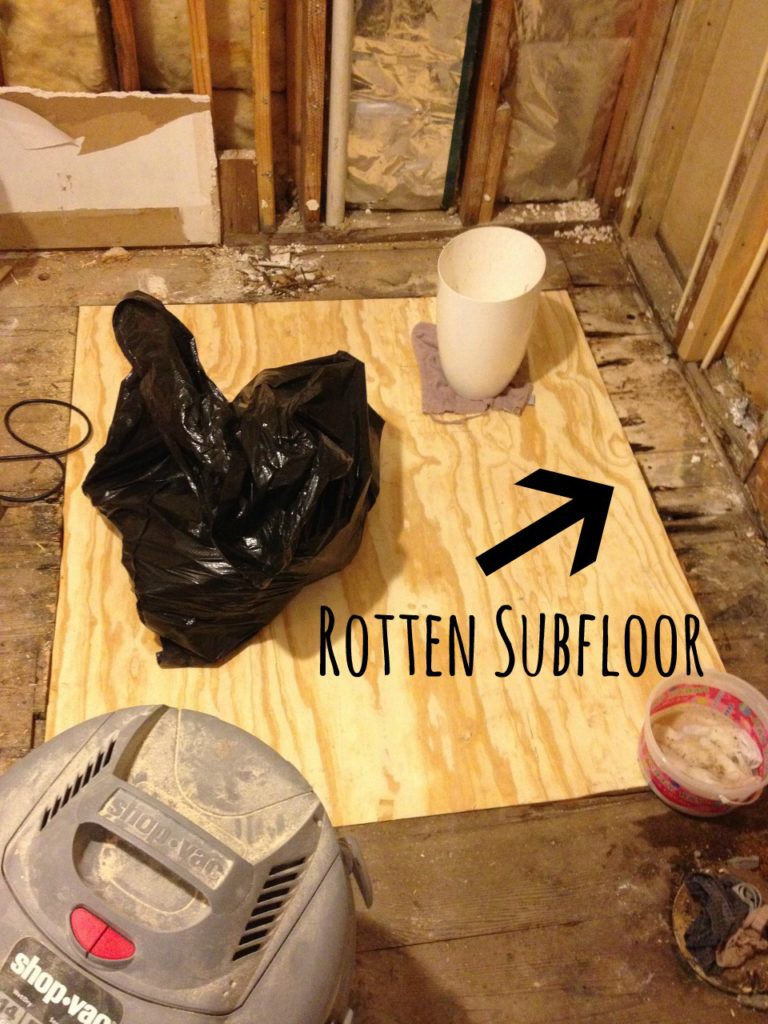
If you remember from my my previous bathroom posts here and here, I told you about how the subfloor and a couple joists in the bathroom had some water damage that needed to be fixed. Well, good news is that we fixed the majority of it fairly easily. And we were just going to leave it like this and move on. I didn’t expect the damage to extend past the bathroom wall.
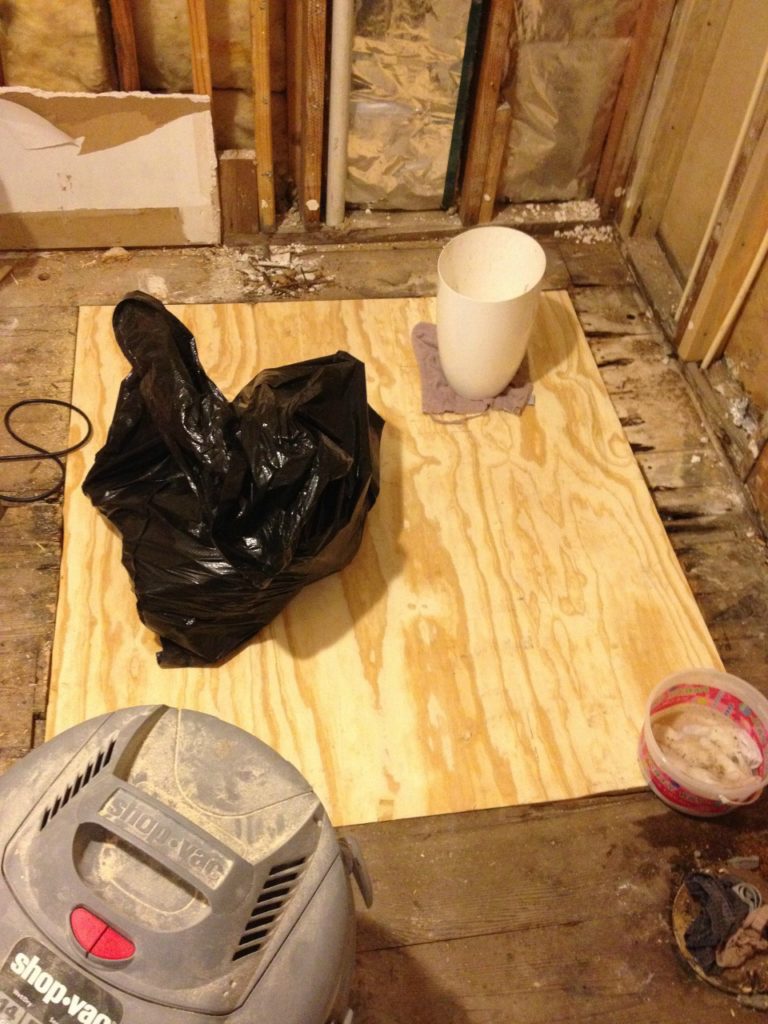
We tried to ignore the large section of subfloor that was in really bad shape that went under the wall and just pretend like we didn’t see it. I hadn’t planned for this.
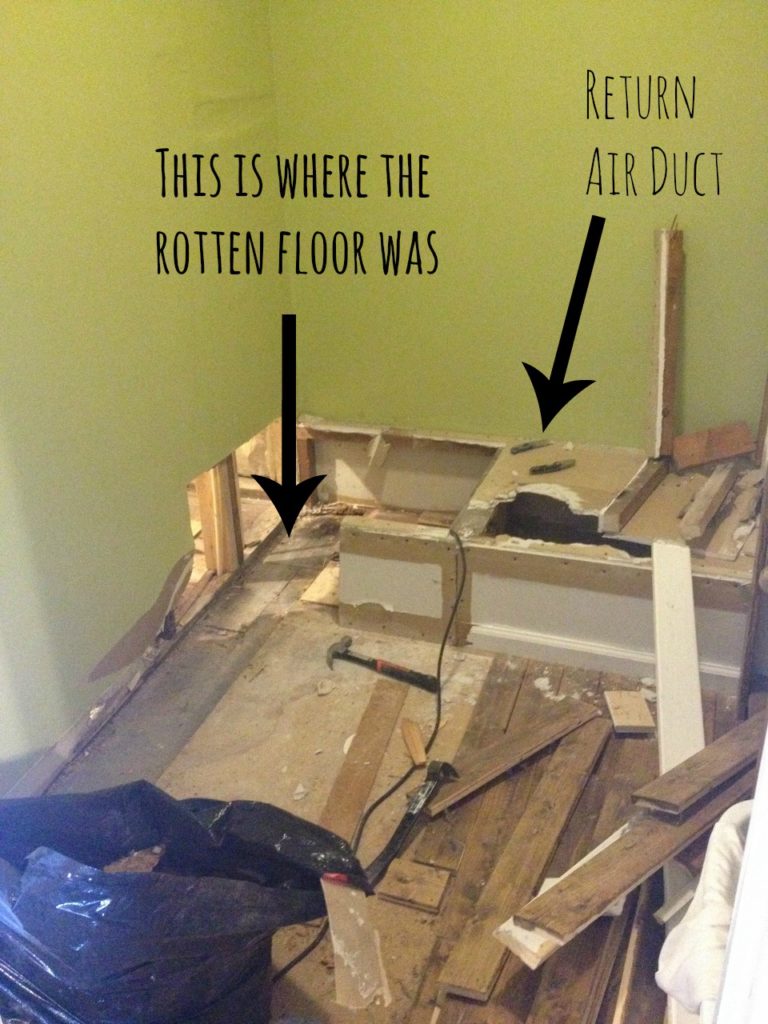
Mainly because if we decided to replace it, it would require us to rip out our closet that is on the other side of the wall. The same closet we had already redone last year. Not only that, but if you’ve read my post about how we redid the closet, you would know that the return air duct was in the closet. Guess where this rotten floor went to? Right under the return air duct. Nothing can be easy…
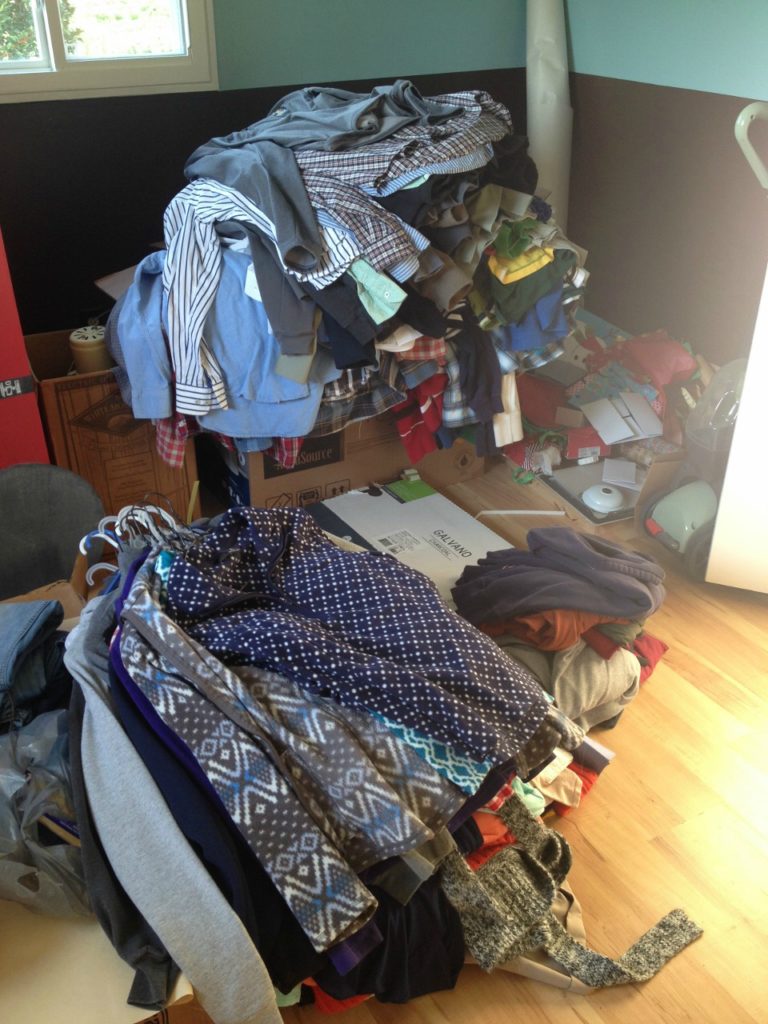
So we gritted our teeth and decided that we would fix it even though we (I) REALLY REALLY didn’t want to deal with a torn up bathroom and a torn up closet and a torn up bedroom all at one time. This happened to be my side of the closet, so I moved all my clothes to the bedroom…where they were piled in the floor.
This was a Monday night after we both got home from work. I apologize for the lack of pictures of the process, but we were both trying to hurry because everything had to be closed up and put back together before we could go to bed (because we couldn’t turn the air conditioner back on until we had the return duct back together), and were both pretty irritable haha.
.
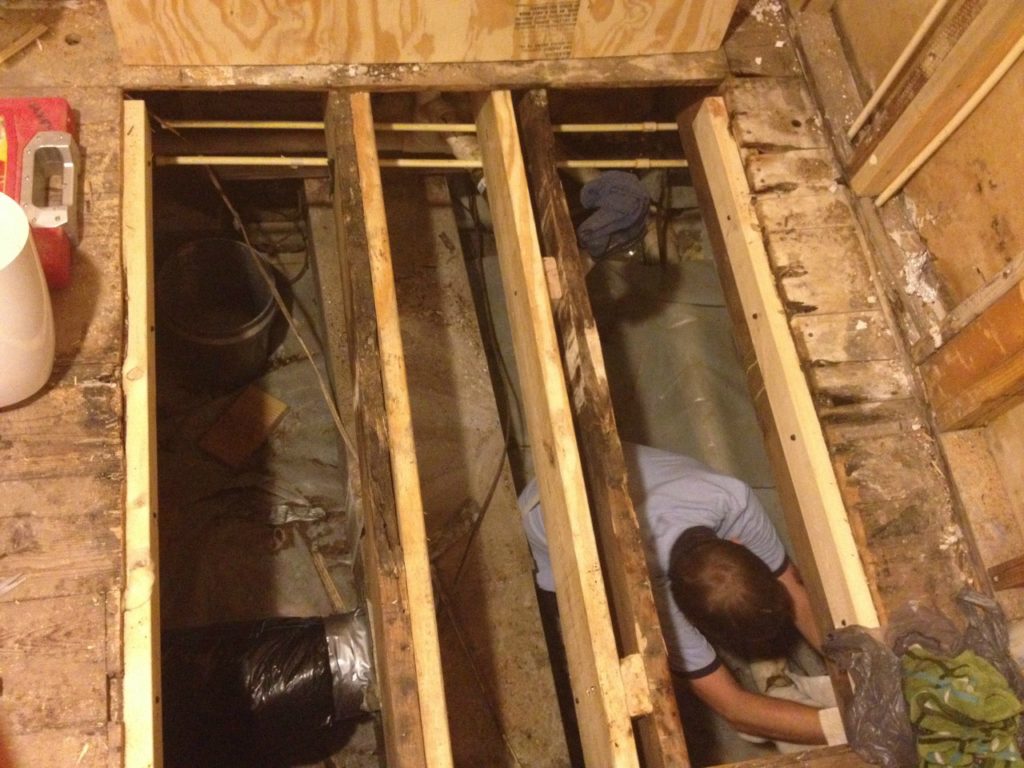
As you can see from the picture above, we tore out part of the return duct (after we turned the air off), pulled up the floor in the closet (wood and particle board…yuck). and cut out the drywall. We cut out the rotten 2x4s and subfloor planks and replaced them with ¾″ plywood and fresh new 2x4s. We are lucky this was not a load bearing wall. It was fairly simple…just really time consuming. Here is the new wood from the bathroom side.
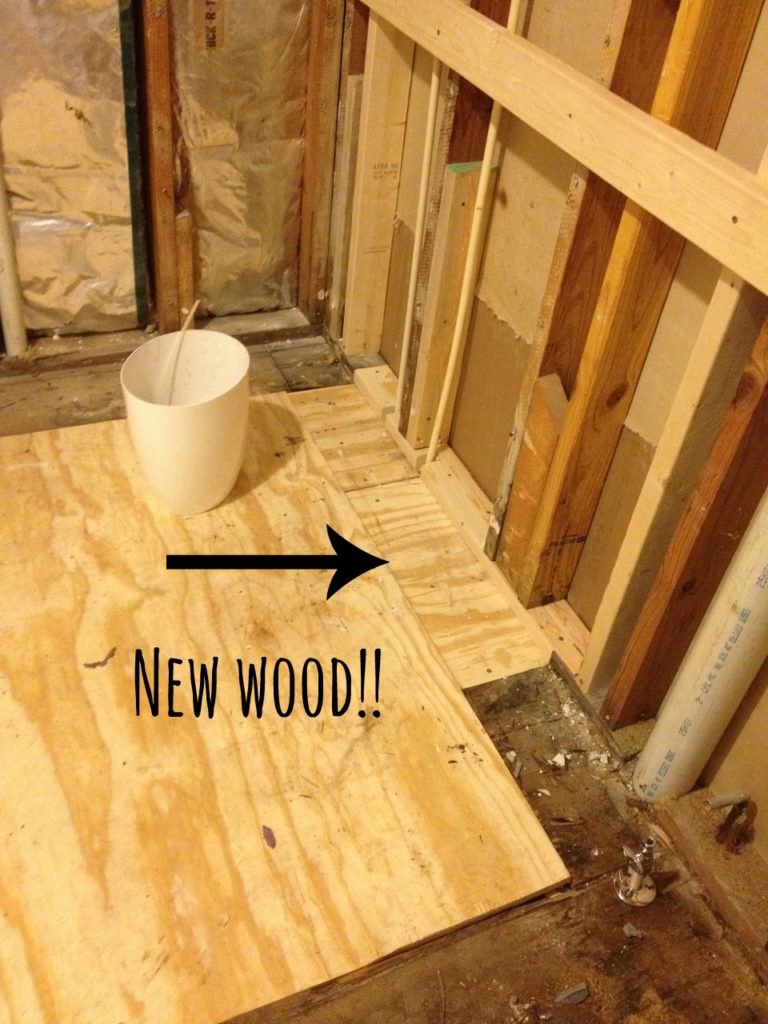
Then we rebuilt the return duct, covered it back with drywall, and I mudded it to seal it. This literally took us an entire evening. But we do both feel better that it’s fixed.
.
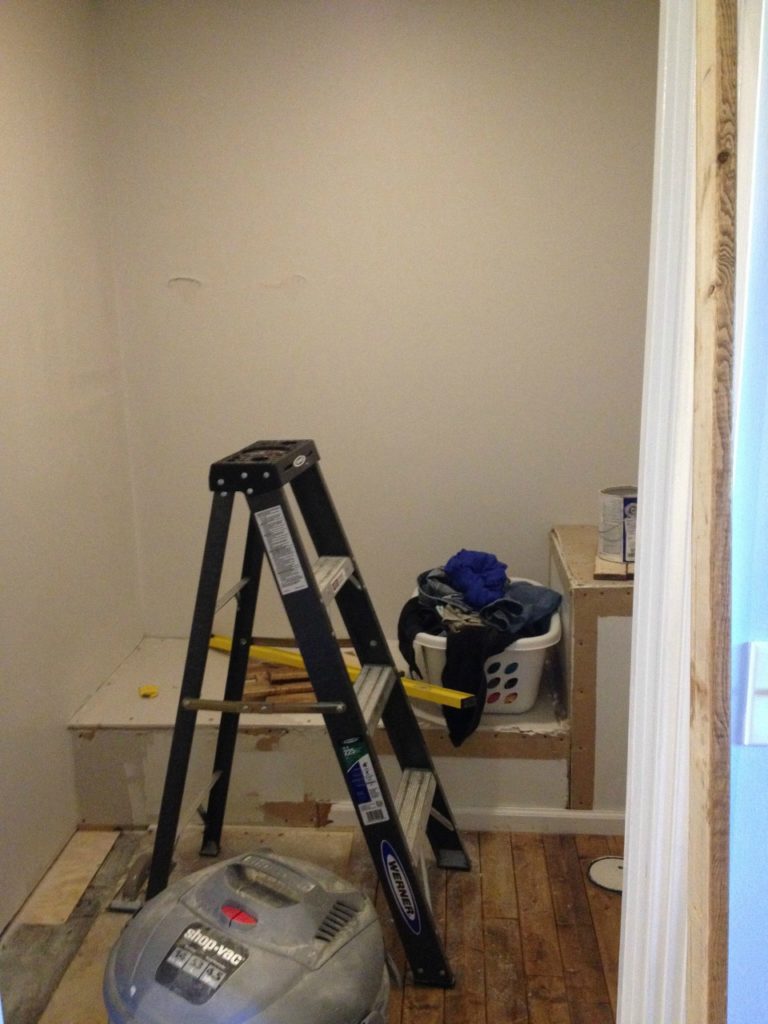
So after that fiasco, I expected things to go smoothly and make some good progress. But, then I got news that I’ll be doing a Facebook live video on Hometalk with a house tour this Friday at 1PM Eastern (you should totally tune in!!). Which is awesome and exciting and also super nerve racking because at this point, my house looked like this.
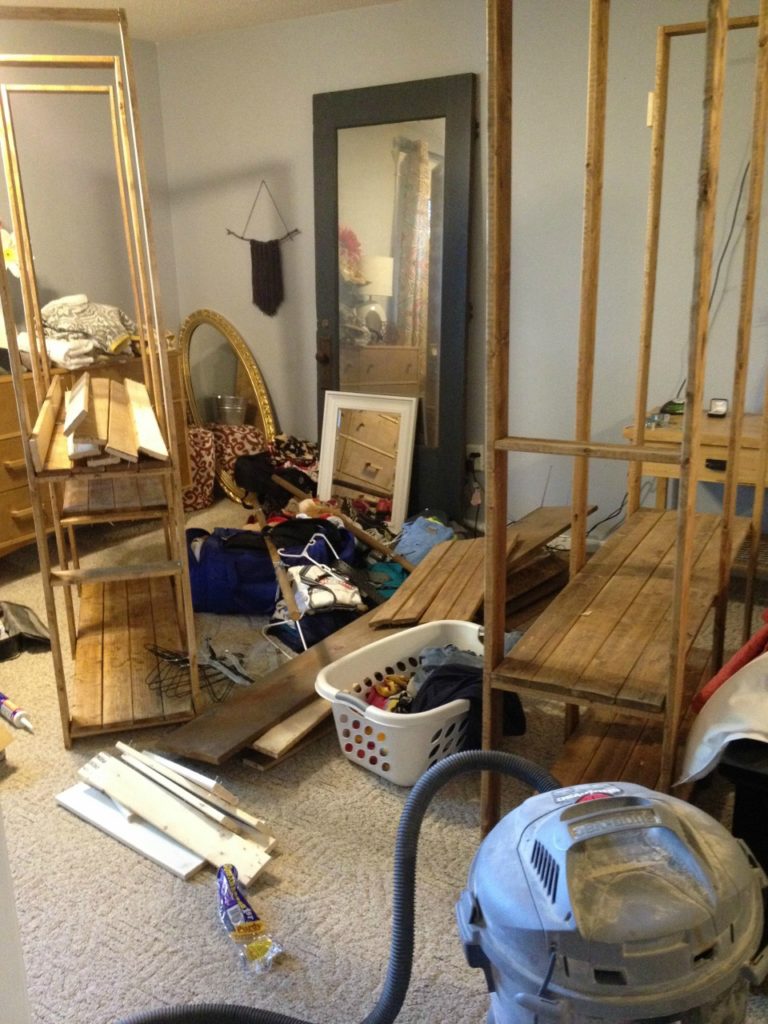
So my first priority was to at least get the clothes back in the closet and get my house cleaned up and ready for a tour.
.
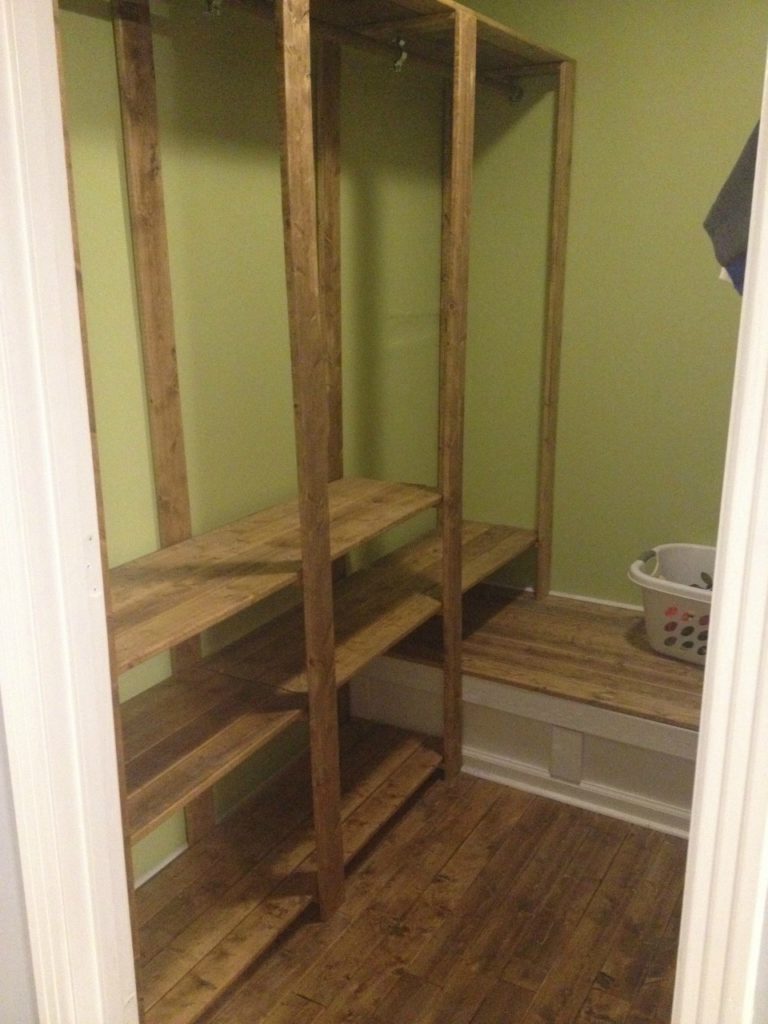
Once the bathroom is done, our plan was to rip the carpet up in our bedroom and lay wood floor. We had planned to leave the floor in the closet as is, but now that we had to rip it out anyway, we figured we would just lay the same floor in the closet that we use for our bedroom. Which means, if I simply put everything back in the closet like it was, I would have to rip it back out when we redid the floor because our shelves were sitting on the floor like this.
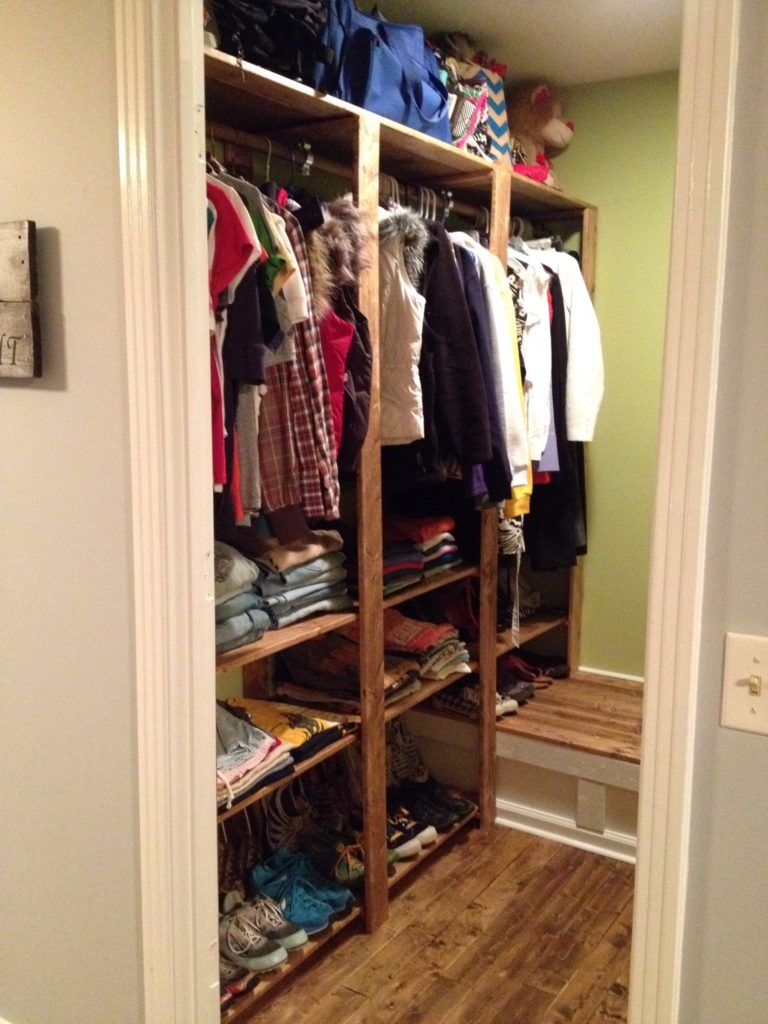
So I did a rush job and just stuck some shelves up on the wall to make it easy on us when we do the floor later.
.
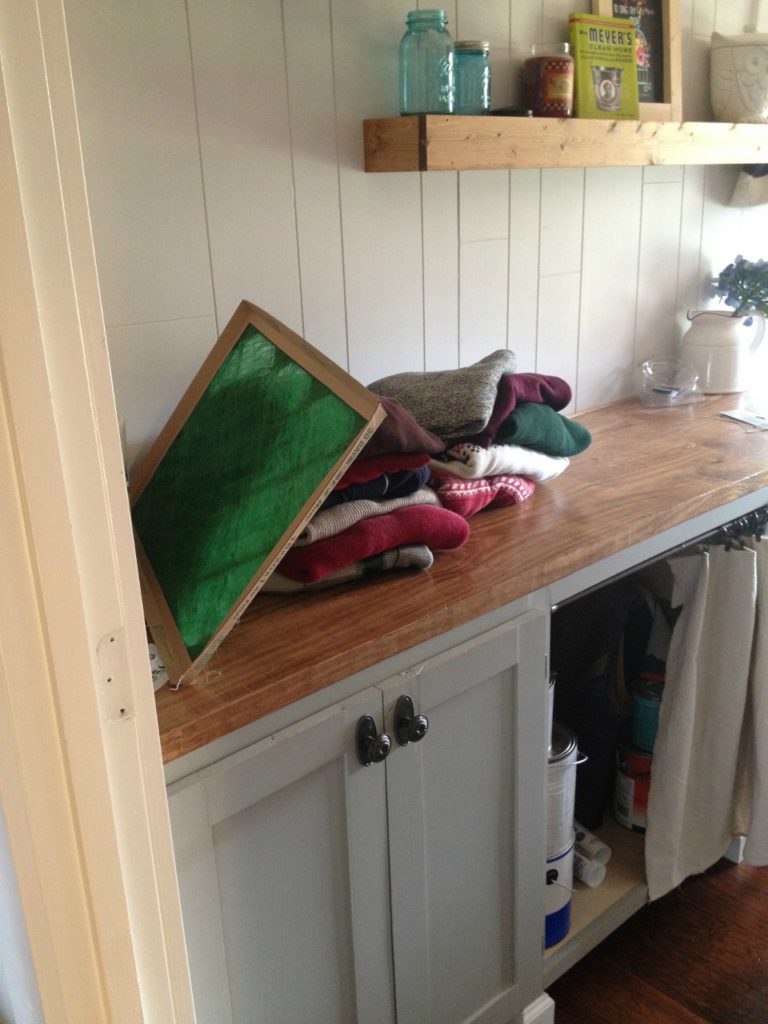
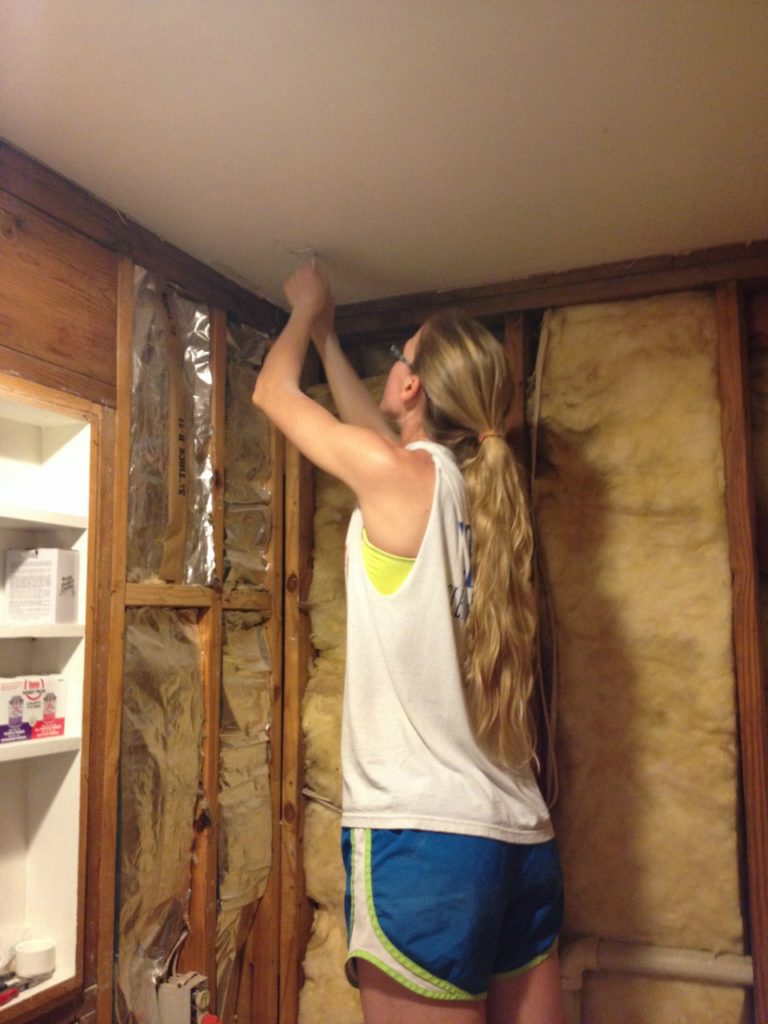
I painted the walls, one night, then hung the shelves the next night.
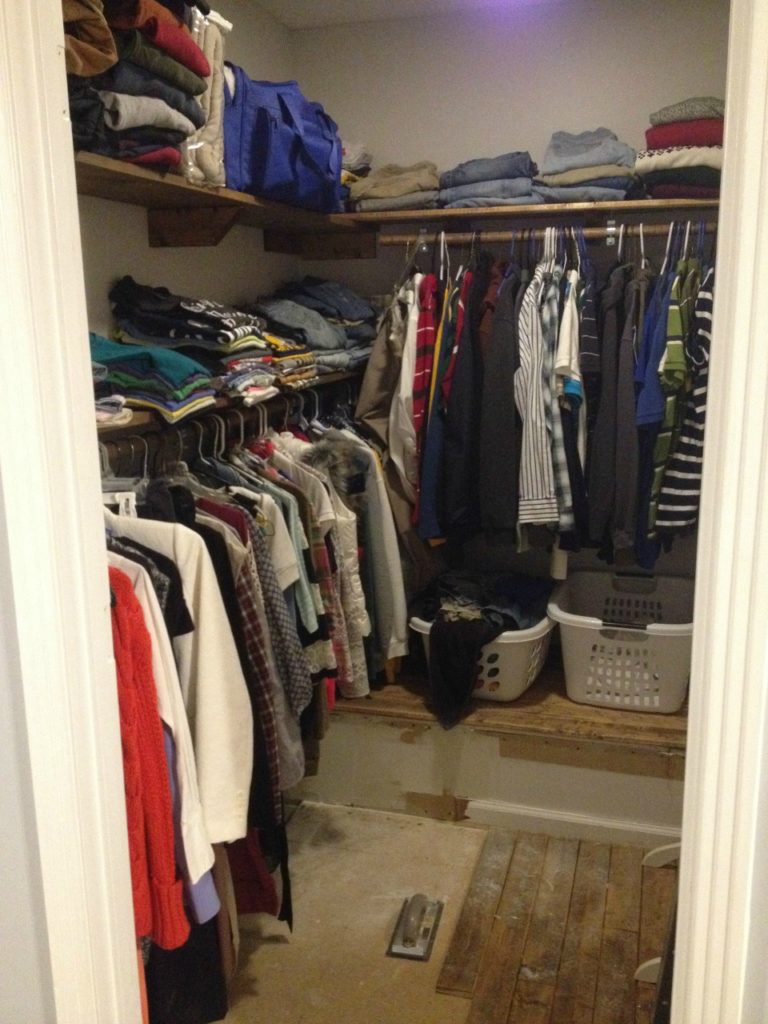
It’s not pretty, but it’s functional. There will be another closet remodel sometime in the near future, but for now, I’m just trying to survive. This bathroom is turning into a bigger job than I had planned for. I’m starting to think I should quit planning…
.
At this point it’s Thursday and it looks like there has been no progress made. Which is kind of true haha.
.
Danny and I spent Thursday, Friday, and all day Saturday working on plumbing and electrical. Neither of us expected either of those things to take as long as they did, but then again, no one ever does, do they?
Funny story time…my Dad is hilarious. He’s a HUGE help when we ask him for help with these types of projects. BUT, he’s well known for always breaking something before he’s done. His help outweighs the broken stuff, so it’s always still worth it to ask him for help. .
.
So, anyway…last week, after we cut all the rotten subfloor out and cut a piece of plywood to cover the hole, we set it in to see if it fit and it was a little off on one corner. I was going to trim it, but instead, Dad decides to step on it to force it in and it falls through the hole and knocks off our air duct (on the bottom left in the picture). Thankfully Dad was okay since he almost fell in the hole with the wood. But, then we had to go buy some flexible duct and put it back together. Remodels are so funny….frustrating….but still funny.
.
As far as electrical goes, I was SO excited to cut the holes for the new lights. I cannot wait to be able to actually SEE in my bathroom for once. All that’s left to do is wire everything to the main panel and hang the lights. I. CANNOT. WAIT.
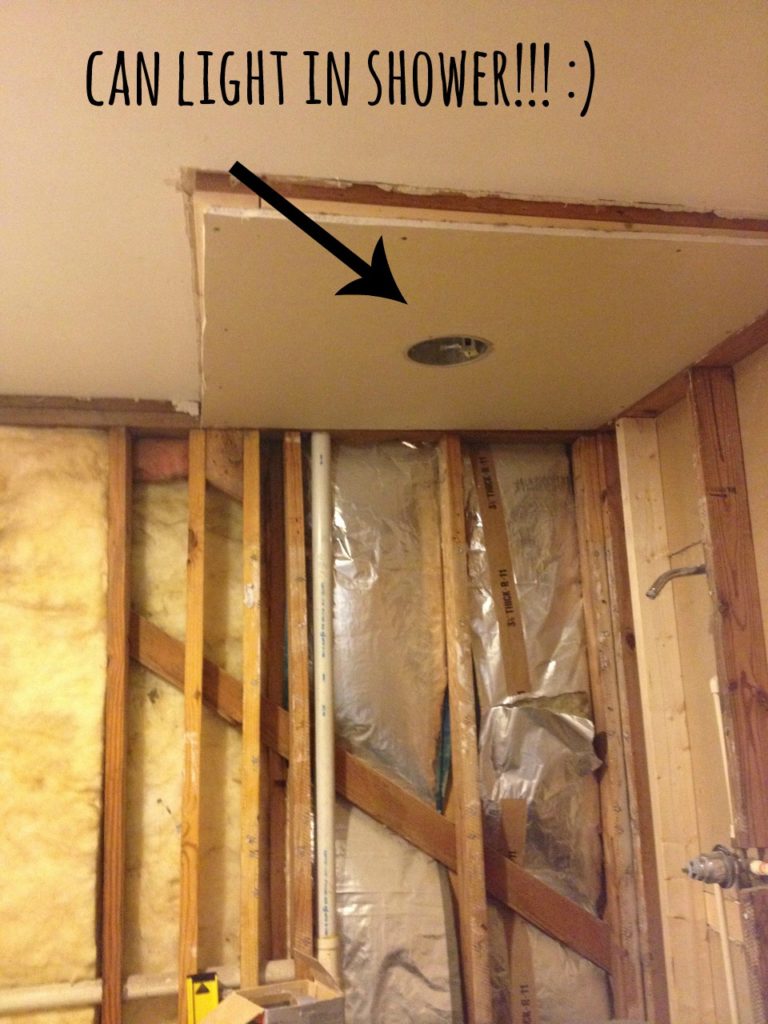
A new pendant light will go here:
All that’s left to do with the plumbing is hook it up to the main supply lines and test it. It’s slow going, but once the plumbing is done, we will start with drywall and things should start being more exciting. Of course, nothing ever goes as planned, so who actually knows what’s going to happen this week with this remodel. You’ll have to stay tuned to find out!
.
I’ve been pretty busy with all this this week and haven’t posted about any cool projects I’m working on. Don’t worry…I have plenty of fun projects coming up soon that you won’t want to miss.
.
In the mean time, be sure to tune in on Hometalk’s Facebook page this Friday at 1 PM Eastern for my house tour! It’s going to be fun 🙂
.
Until next time, happy DIYing!
[…] the bathroom and the one towards the front is the closet. It’s really awful right now after the bathroom remodel chaos, so it’s on the to do list for next […]