
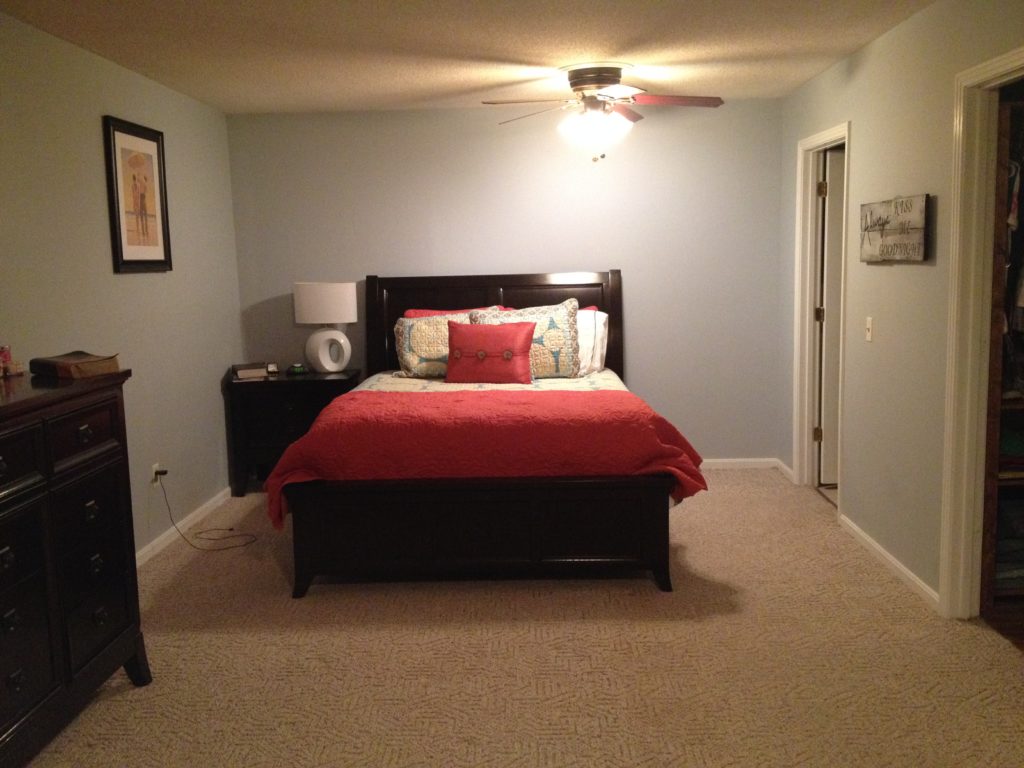
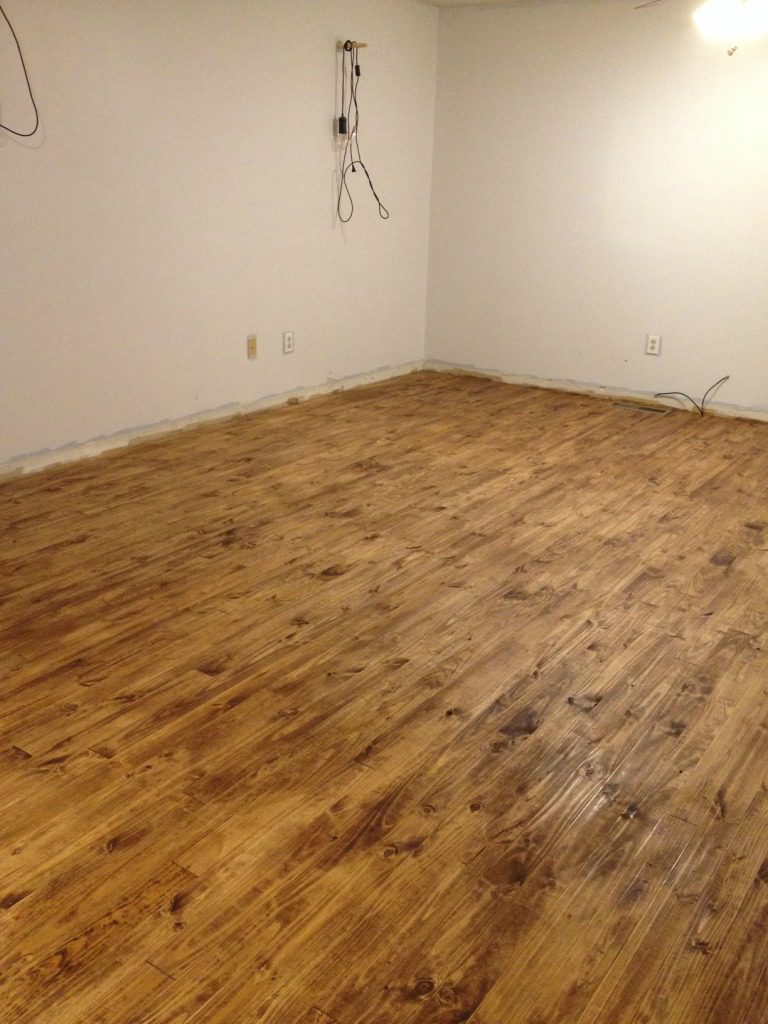
Have you noticed that I’ve been MIA the last several days? (If you haven’t noticed, just humor me and say yes.) Yeah, about that. We decided to replace the carpet in our master bedroom with new pine flooring right after we finished our bathroom remodel and I’ve been a little preoccupied. But, before I tell you about all that, first, this was our bedroom before:
If you remember, we started remodeling our master bathroom about two and a half months ago. Now, while the bathroom project seemed to drag on fooooooorevvvvvvveeeeeeeer (ps final reveal post coming soon), once we moved the bed out of the bedroom to replace the floor, it was a whirlwind to hurry and get it done. Because, you know, sleeping on the couch every night gets old.
.
So anyway, why did we have to replace the carpet so quick after the bathroom remodel? Well, we didn’t really HAVE to. But we did because:
.
1. We wanted to replace it since we moved in two years ago. (It appeared to be pretty old and had pet stains–if you know what I mean…)
2. We (I) got paint all over it when we repainted the bedroom several weeks ago.
3. We (Danny) got PVC crumbs all in it when we cut the pipes for the plumbing for the bathroom.
4. It was covered in drywall and concrete board dust from the bathroom remodel that I couldn’t get up with the vacuum.
5. It was just generally disgusting and needed to be replaced.
.
So just when our house was starting to get back to normal and the bathroom remodel was pretty much done, we had to move all our furniture out of the bedroom to prepare for the new floor.
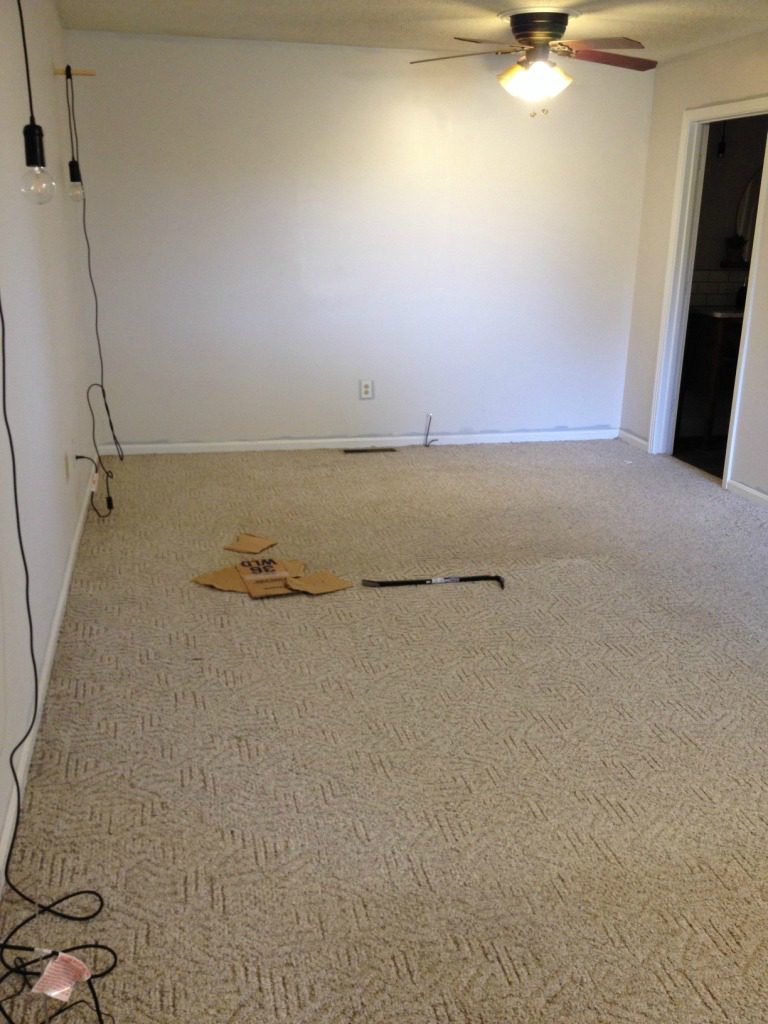
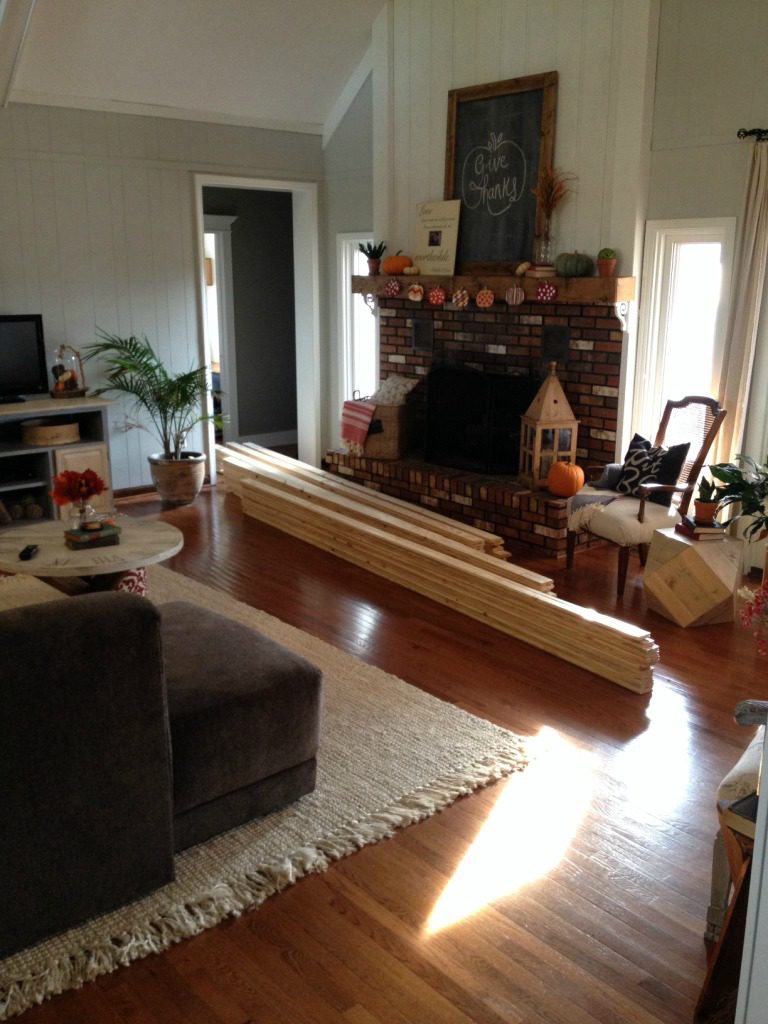
We put the furniture in every nook and cranny in the rest of the house that we could find because….
.
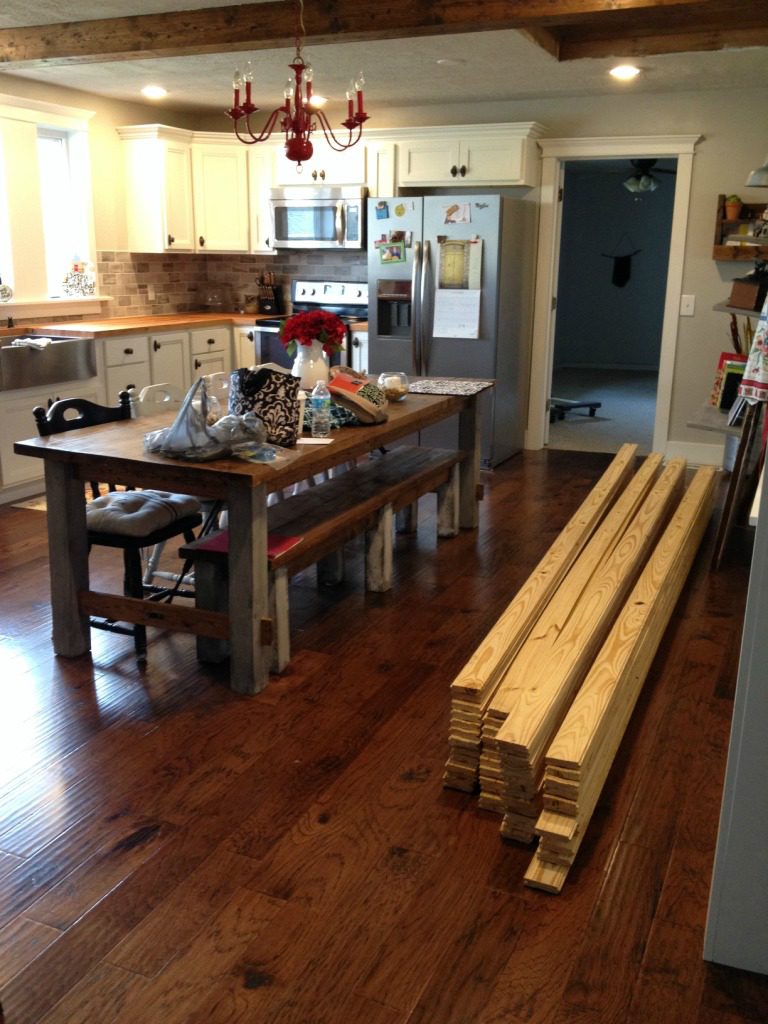
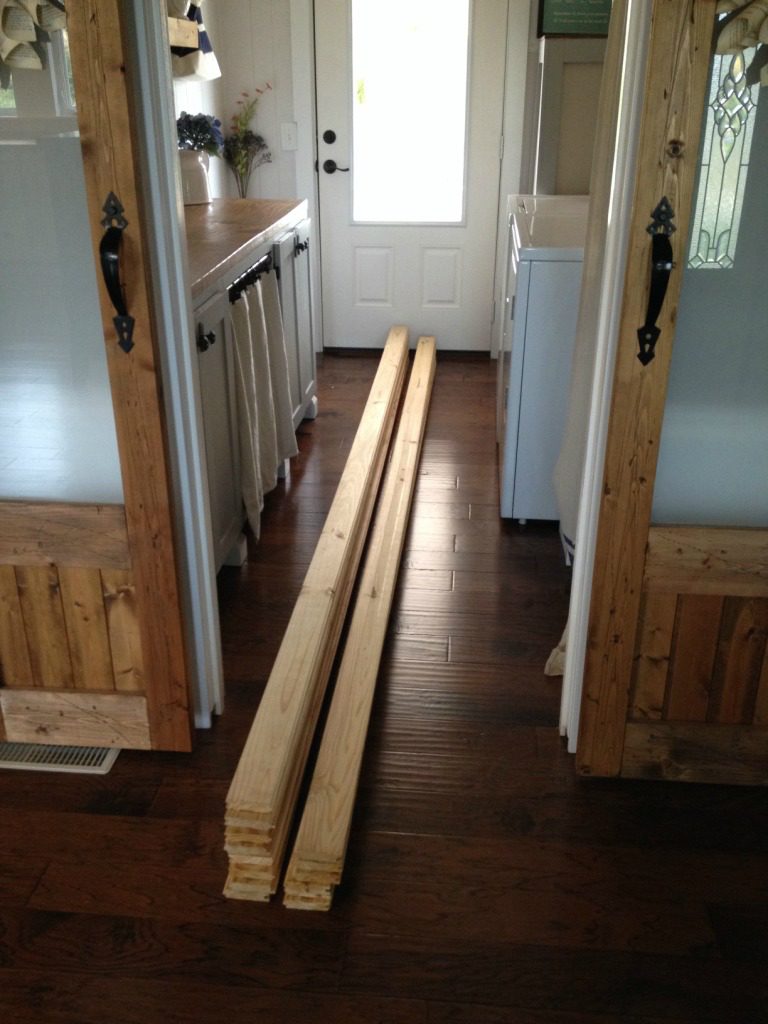
Then we got a load of lumber for the bedroom floor.
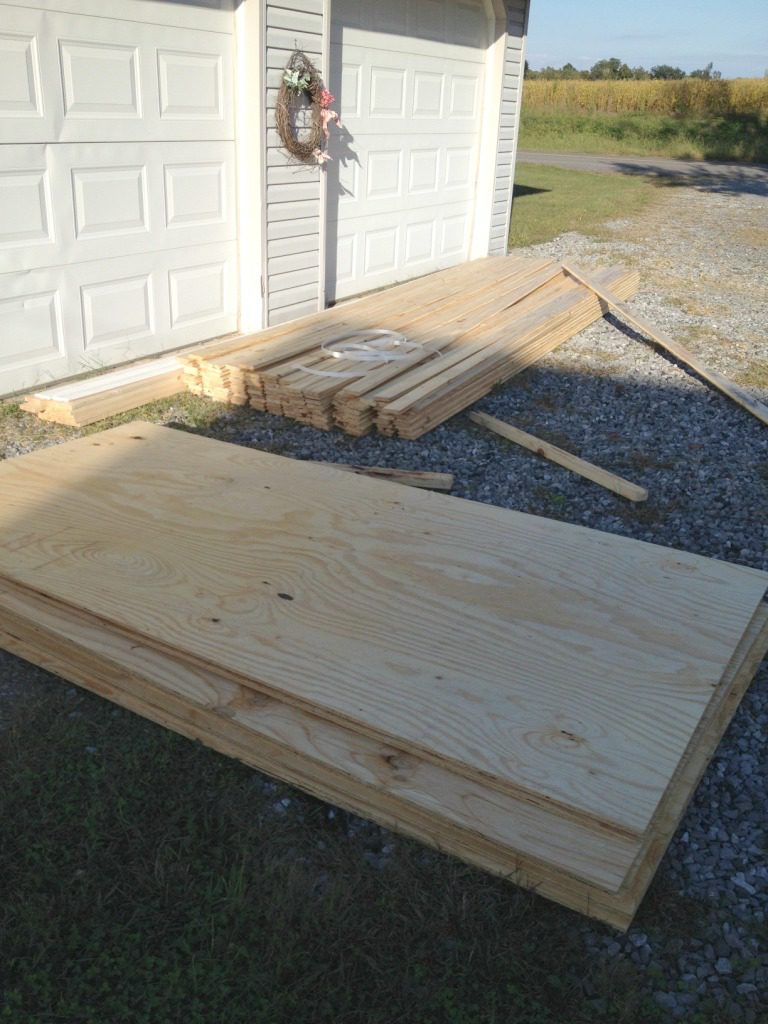
And this flooring has to sit inside for several days to acclimate. So in it goes.
At this point, there isn’t a single room in the entire house that is in its “normal” state. So I said all that to say, THAT is why I have been MIA the last few days because we have been going non stop to get our floor done and our house back in order.
.
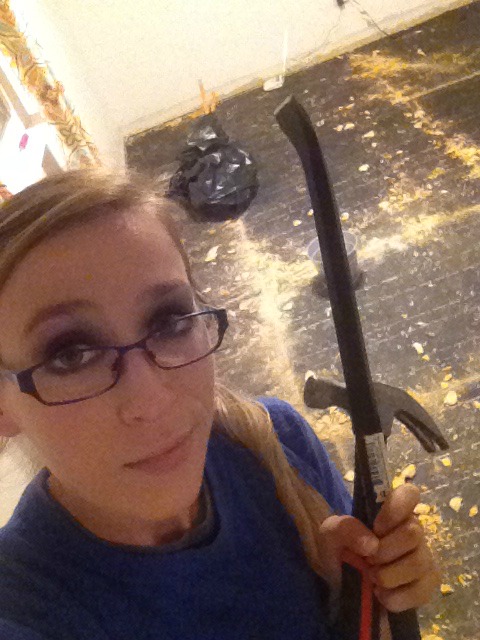
So now to the fun stuff…We ripped up the carpet and started pulling up the particle board one night after work.
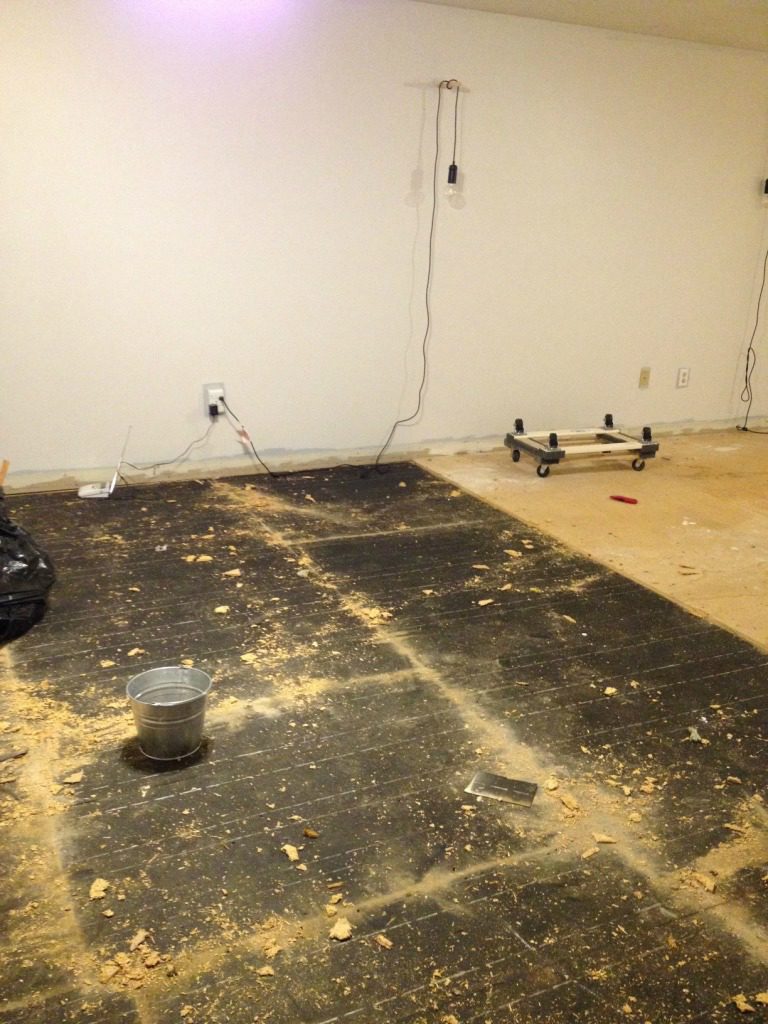
The next night, once the particle board was all up, we laid down ½″ plywood.
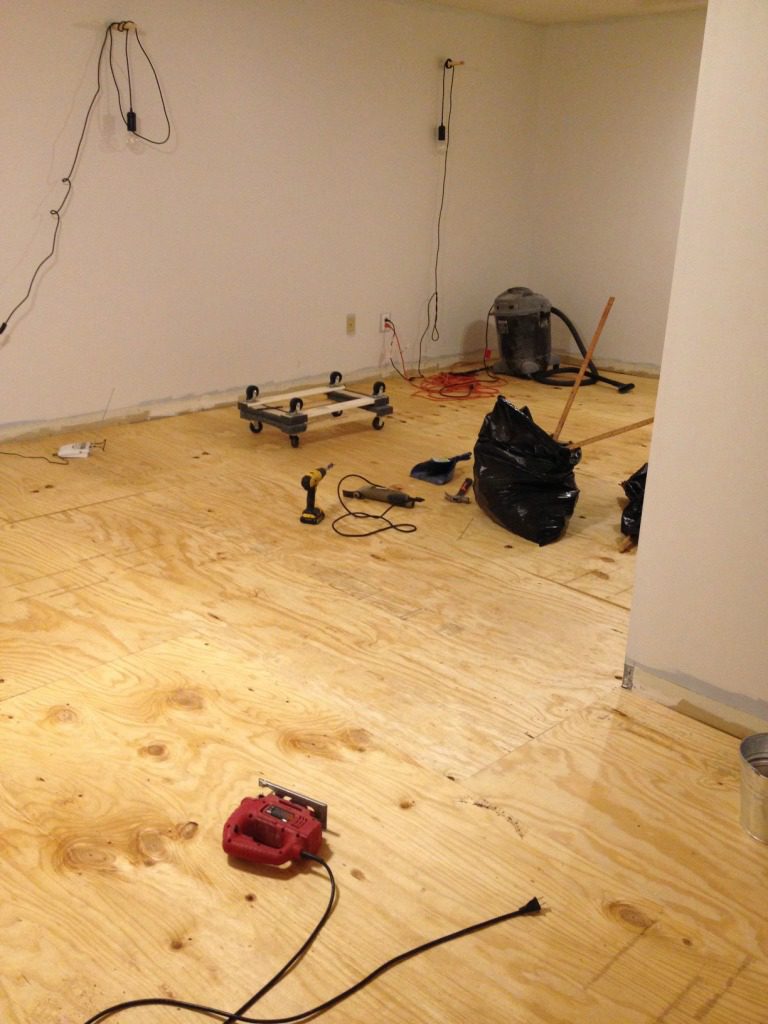
It already looks better : )
.
Side note: at this point we are both already pooped. You guys, I’m really slacking lately.
.
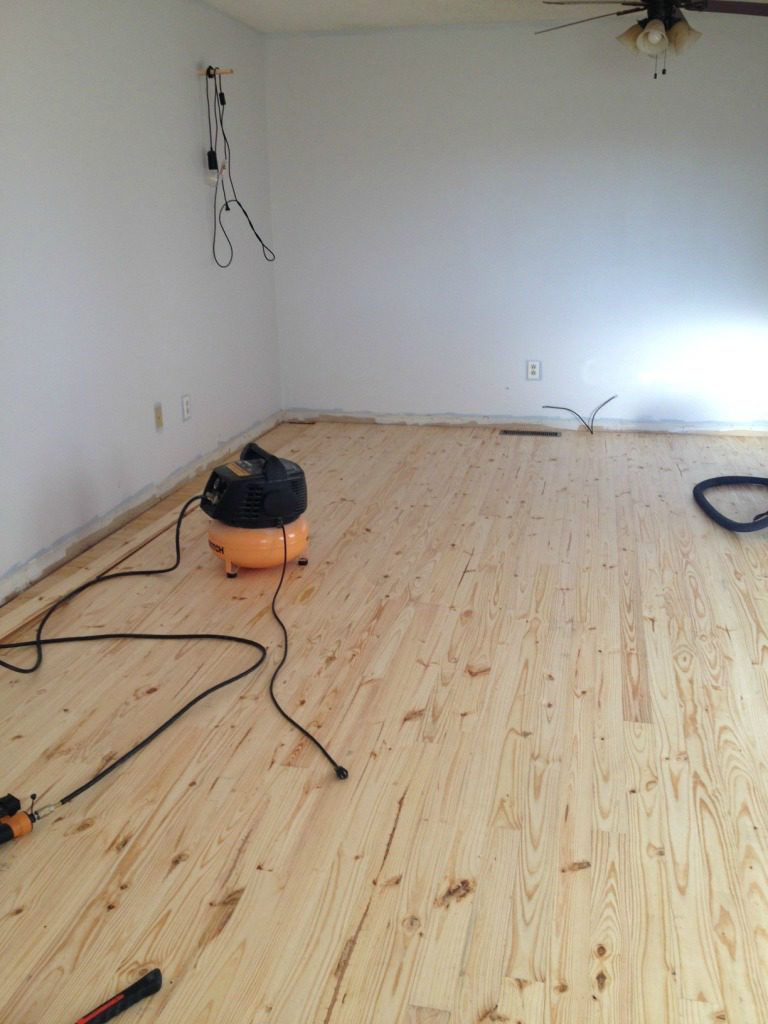
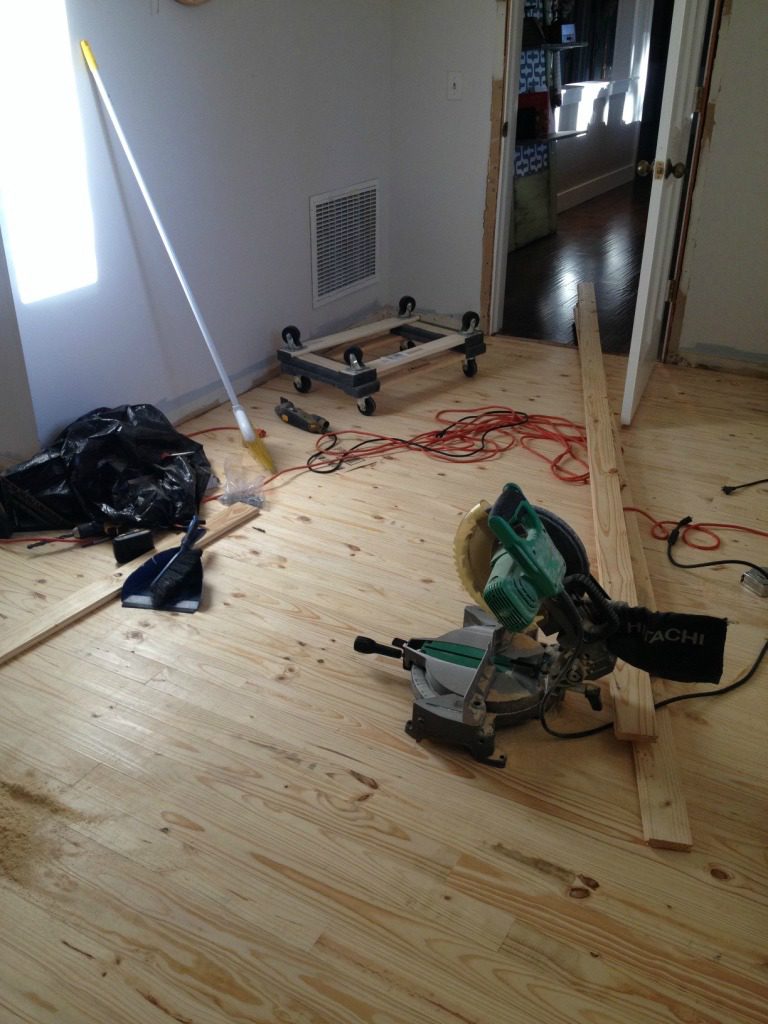
The next day, Dad brought over the floor stapler and we got to laying the floor. I brought my saw in and cut pieces to fit. There was dust EVERYWHERE. I don’t have a lot of pictures of the process because I swear it was non stop working to get this thing knocked out. Luckily we got most of the floor down that night and Danny and I finished it the next day.
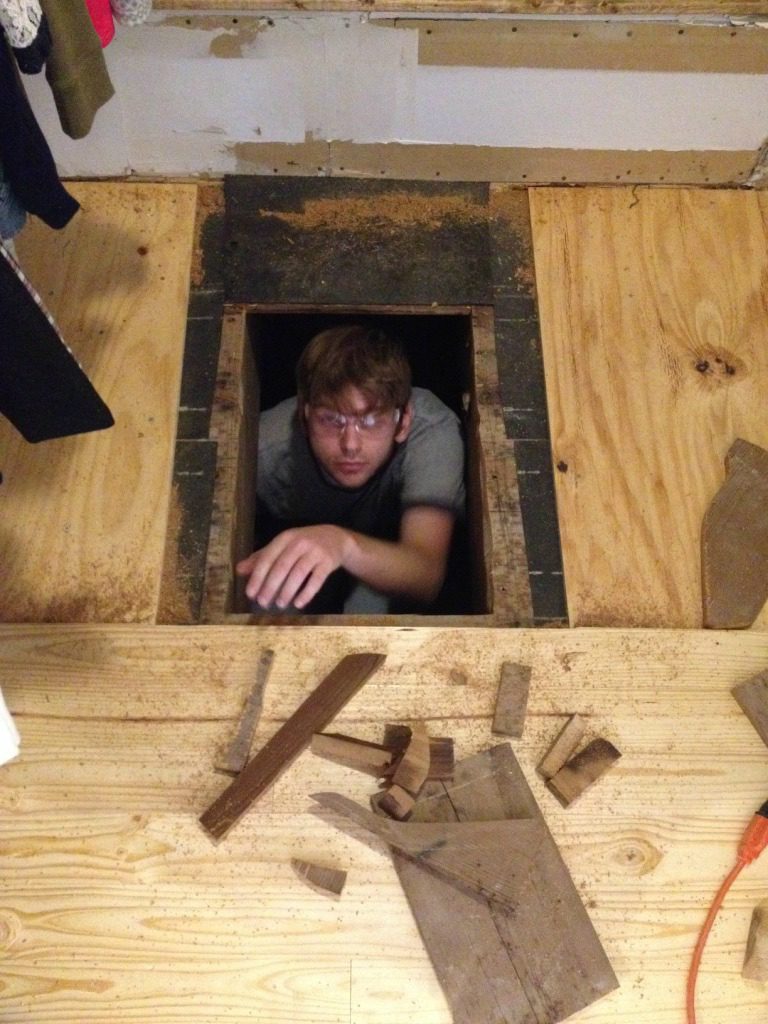
Because we are paranoid, we cut a trap door out of the closet floor (more on that in a separate post later) so we could easily check our plumbing in the new bathroom for leaks. It’s a small door so Danny had to make sure he could fit through it. Actually, he just got mad that I was making “his crawl space” dirty with my jig sawing so he had to get in there and clean it out. HAHAHA silly Danny.
Once the floor was laid, I sanded it smooth, then we spent a long time cleaning up all the sawdust. It think I’d rather have ten splinters in my foot than to have to clean up sawdust again haha. After all the dust was cleaned up, I stained the floor and polyed it. I’m going to have a separate post on all the floor details shortly, including all the products that I used on them, so stay tuned.
While the stain cured for a few days, I worked on the trim (which is still not finished by the way) and touched up some paint where we (Danny) scuffed the wall with the stapler. Wednesday was the day we would finally be able to move the bed back in and we were counting down the days! We had been alternating between sleeping in the guest bed (which no one ever uses, so it’s hard as a rock) and sleeping on the couch. So basically I was running on coffee and no sleep for several days. And I was grumpy…
.
But when we moved the bed and other furniture in, it finally seemed worth all the hassle.
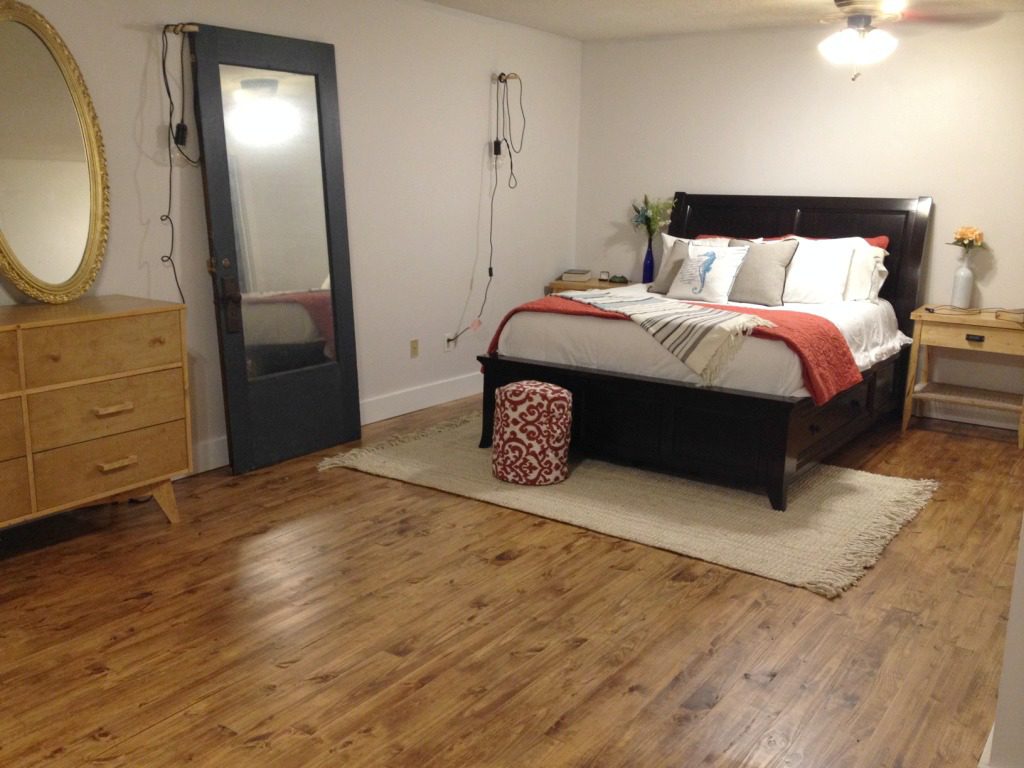
A few of the baseboards still need paint touch ups and the door trim needs to be painted, but at least the floor is DONE. And the room looks so much bigger! And feels so much cleaner! What do you guys think?
.
I said all this to say 1. this is why I’ve been MIA for a week and a half and 2. stay tuned because I will have a post with all the floor details coming soon and you won’t believe how much money we saved doing things the way we did. Eventually, I will tell you all about our bedroom remodel too, but not quite yet.
.
Stay tuned because I am so close to showing you the final bathroom reveal. Here’s a peek.

I plan on being back in action with some fun posts and projects next week after I get a few good nights sleep and have the weekend to catch up on all my building projects so stick around!
.
Thanks for bearing with me : ) Until next time, happy DIYing!

Eileen says
The floor looks AWESOME!! Can’t wait to get the low-down on how you did it! I noticed you had wood flooring in your kitchen. I would LOVE to have dark wood floors in my kitchen, but I keep being told you can’t have wood floors in the kitchen because it’s too wet. Do you think it’s a good idea? We put vinyl tiles that look like dark stone to match our countertops when we built the house in 2002, but for some reason all the exposed vinyl turned a greenish-yellow (everything under rugs, mats etc is still the dark stone brown). I have no idea why they “turned”-I’m very careful not to use chemicals when I clean. Anyway, great job!!
Shara, Woodshop Diaries says
I have had no issues with wood floor in my kitchen. I know many people who do this and haven’t had issues. The problem would be if something leaked like a dishwasher or fridge. But a leak would damage more than just floor. But from day to day living, our wood floors are holding up just fine 🙂
Gail says
Was it cheaper this way.. What was the cost? I love the look. Think of doing a hallway.
Shara, Woodshop Diaries says
It was much, much cheaper to install these floors than to buy prefinished solid hardwood. I’m going to write a post all about the options and prices and products used on the floors next week to give all the details about it 🙂
Nancy Cook says
Shara, great job on your recent bedroom remodel. The wood floor is beautiful. I can’t wait to replace the carpeting in our 4 bedrooms.
Shara, Woodshop Diaries says
Thank you! I think it really makes the rooms look bigger when the carpet is gone!