
I’ve always had a bit of a “retro style.”
.
Long, straight, boring hair: check.
.
Likes tie dye: check. (This was taken in 2003…what a great year. I was 13.)

Plays guitar: check. (So even though I still play, this was the most recent photo I could find…it was also from 2003…)
.
Favorite sneakers have tie dye shoe strings and peace signs: check.
.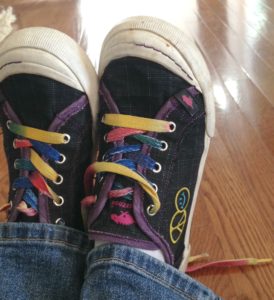
Still wears bell bottom jeans: check.
.
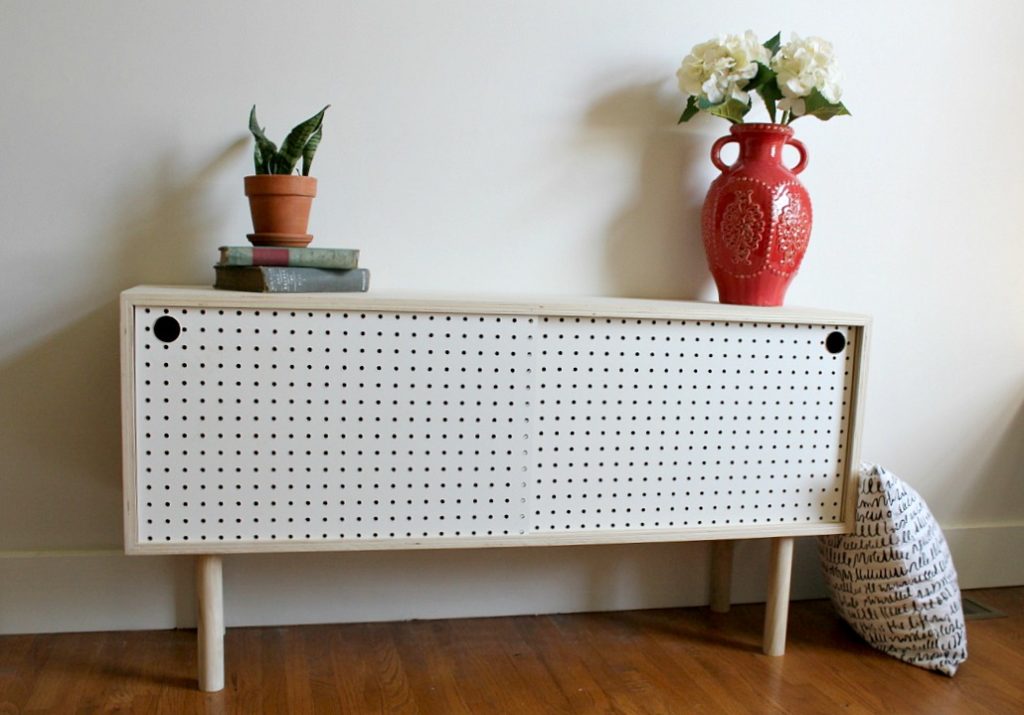
Likes furniture that looks like this:
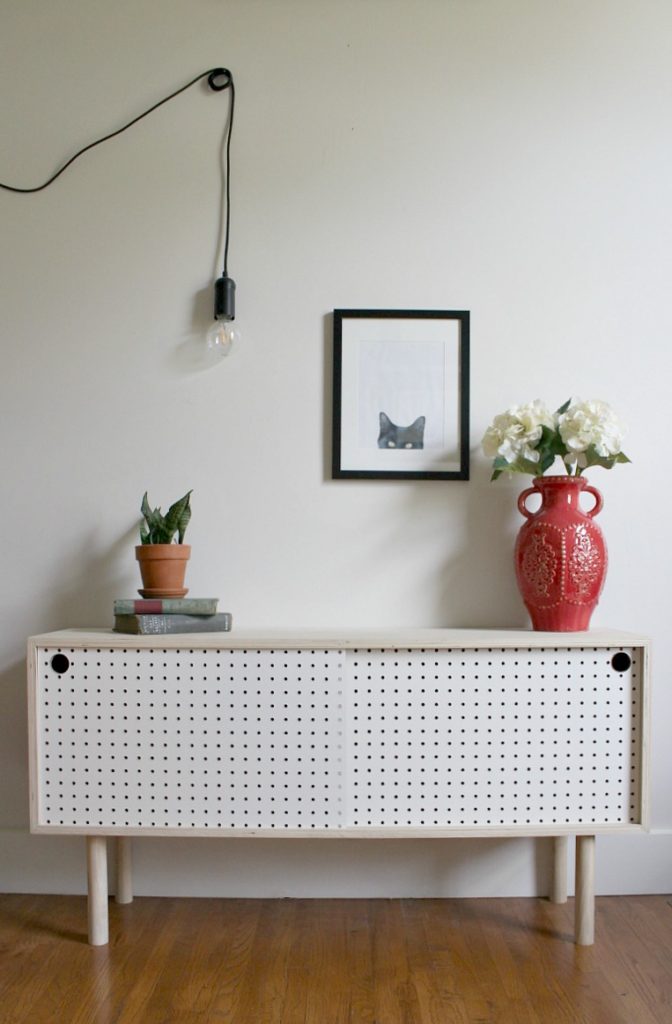
Double check.
.
(For kicks and giggles, I’ll also let you know that when I was in elementary school, during the summer, spring, and fall breaks, our school system offered “enrichment classes” and I took all the 60’s and 70’s pop culture classes that I possibly could. Oh, and I spent hours decoupage-ing my first guitar case with old Sunday comics. #coolkidforsure)
.
So, I can’t deny that my style leans a lot more toward the retro mid century modern than the wildly popular modern farmhouse. I’m always the weirdo.
.
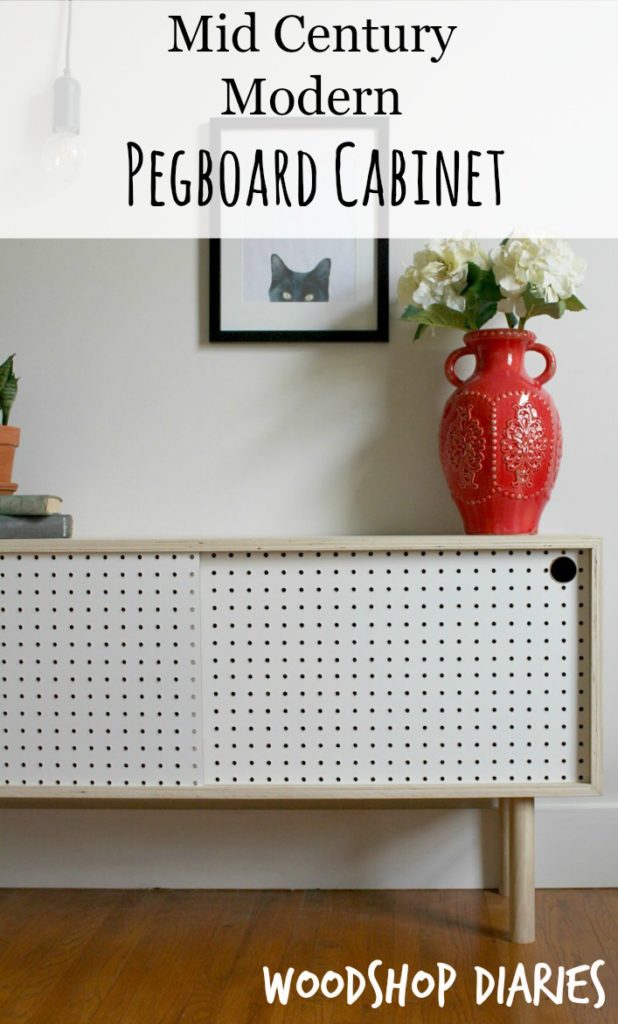
So when I saw a picture of a super retro, mid century modern style cabinet using pegboard for the doors, I KNEW I had to make one!! PS Danny HATES this thing. Like he wants to set it on fire and watch it smolder. He says it looks like it came straight out of the Brady Bunch house. I don’t see the problem.
.
If you are on Danny’s side and hate it too, it’s cool. I understand. But maybe I can sell you on it because it’s SO STINKING EASY to make. And of course, as always, I’m going to show you 🙂
.
This post contains affiliate links. If you purchase from these links I may receive a small commission at NO extra cost to you. This helps pay to keep this site running and the content free. Thank you for your support! See disclosure policy for more details.
Materials:
(1) sheet ¾” plywood
(1) sheet ¼” plywood
(1) sheet pegboard
(1) 1 ½” diameter x 48” long dowel rod
2 ½” wood screws
1 ½” (or 1 ¼”) nails for nail gun
Wood Putty
Wood Glue
Tools:
Table Saw
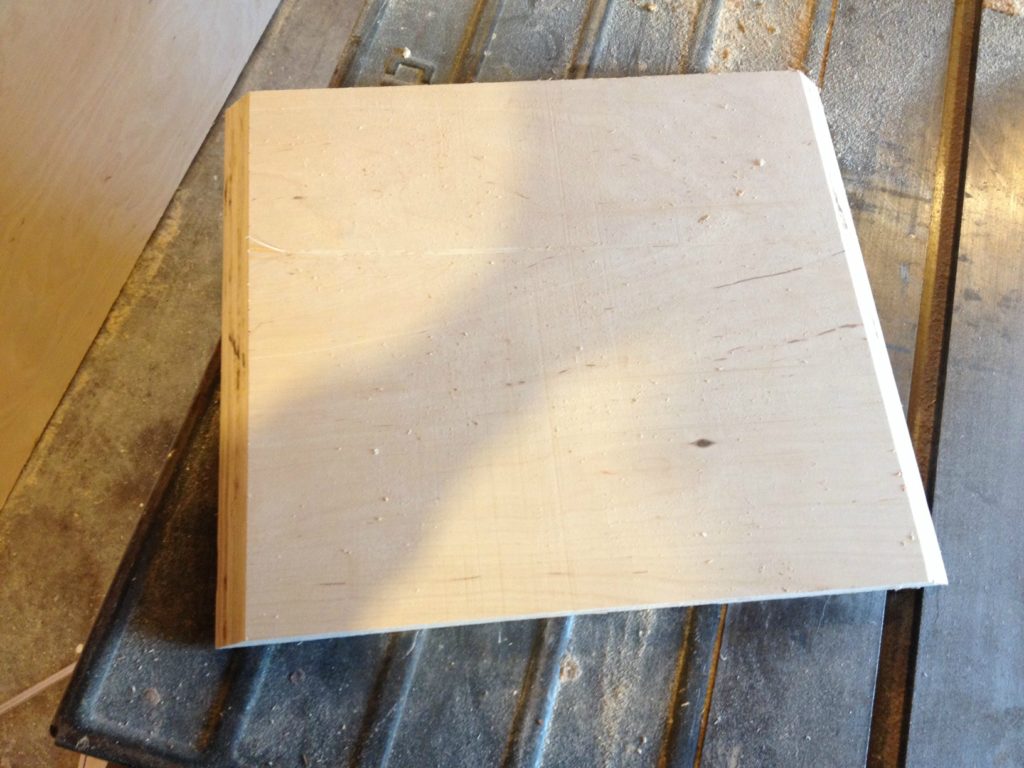
Step 1: Cut the 4 sides of the pegboard cabinet
I ripped my ¾” plywood down to two strips 13” wide using my circular saw and Kreg Rip Cut. If you don’t have a Rip Cut, you could use a long straight edge. Then from those strips, I cut 2 pieces 48” long and 2 pieces 16” long using my circular saw and a straight edge.
.
Using my table saw, I beveled all the ends off all four pieces at 45 degrees. Make sure your bevels are NOT parallel to each other.

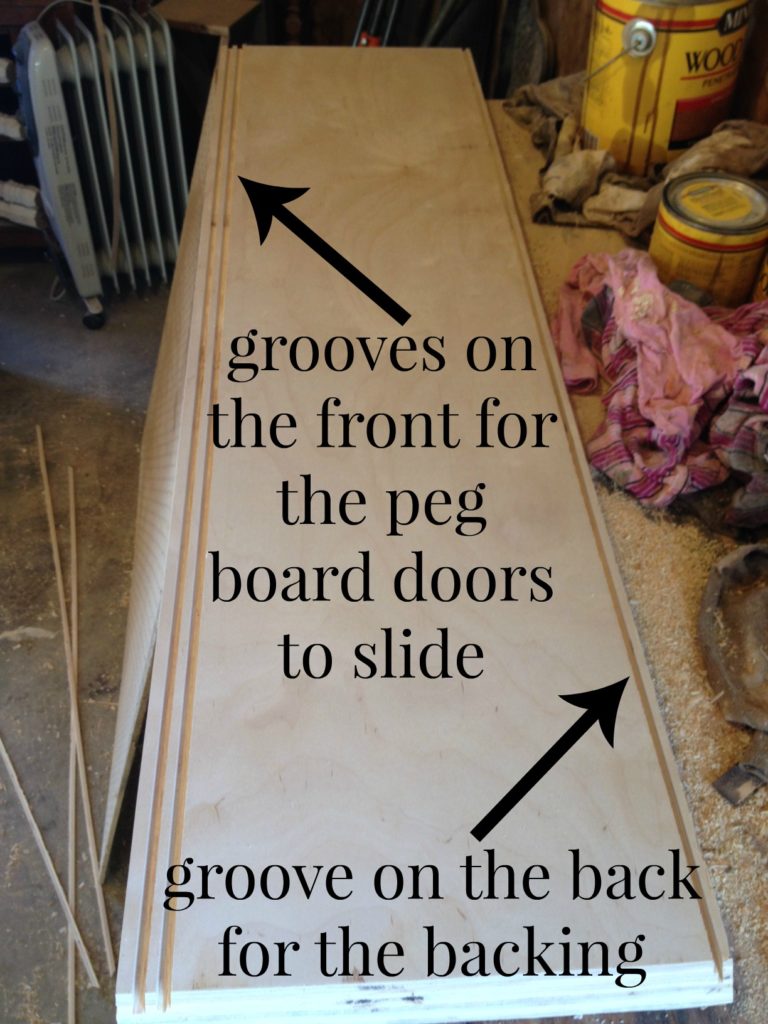
Step 2: Cut the grooves for the back and sliding doors
You can do this a million ways. You could simply nail ¼” plywood into the back of the piece once it’s assembled (in which case, you can skip this part about the backing grooves), route out the back so that you can “inset” the ¼” plywood on the back, or do it this way. As long as you get the back on somehow, it doesn’t really matter.
.
I used my table saw to cut a ¼” wide and ¼” deep groove about ¼” from the outside edge of the 4 pieces of plywood. A dado blade would work for this, or you can do what I do and cut one blade width, then adjust about ⅛” over and do another to get the ¼” wide part. (Similar to how I make shaker style doors.)
.
This groove will house the ¼” backing when it’s assembled.
.
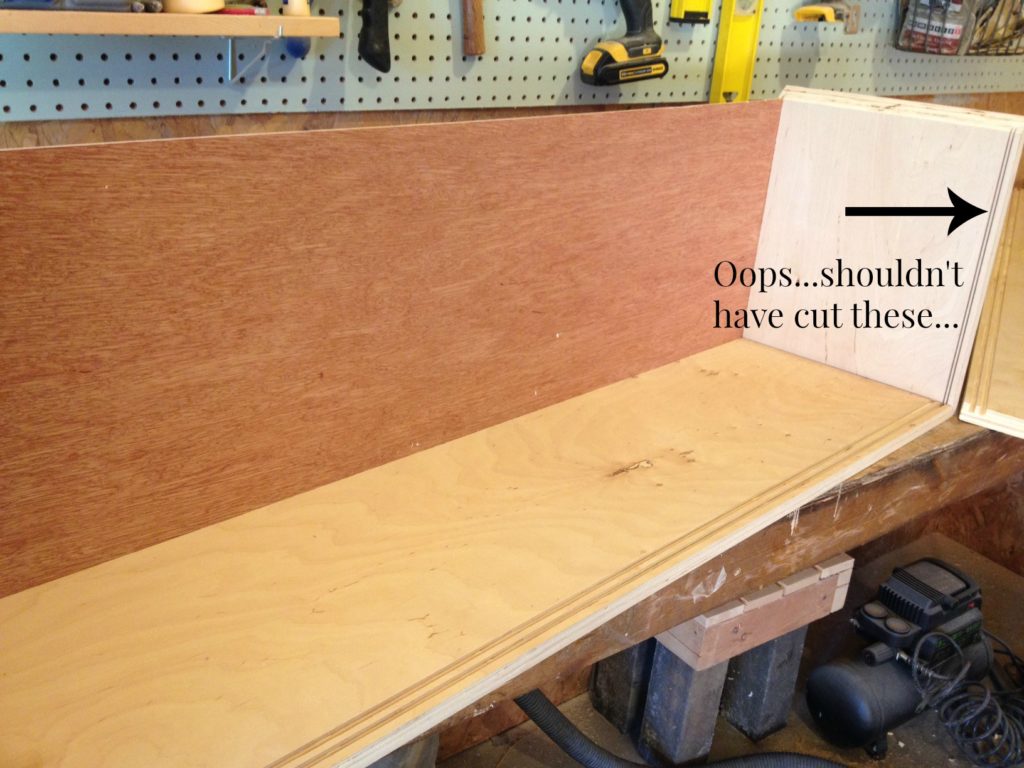
I made a boo boo on the next step…I accidentally cut part of the groove in the short pieces before I realized I was an idiot and wasn’t supposed to. So the grooves on the front side of the short pieces were NOT supposed to be there.
This is what I SHOULD have done:
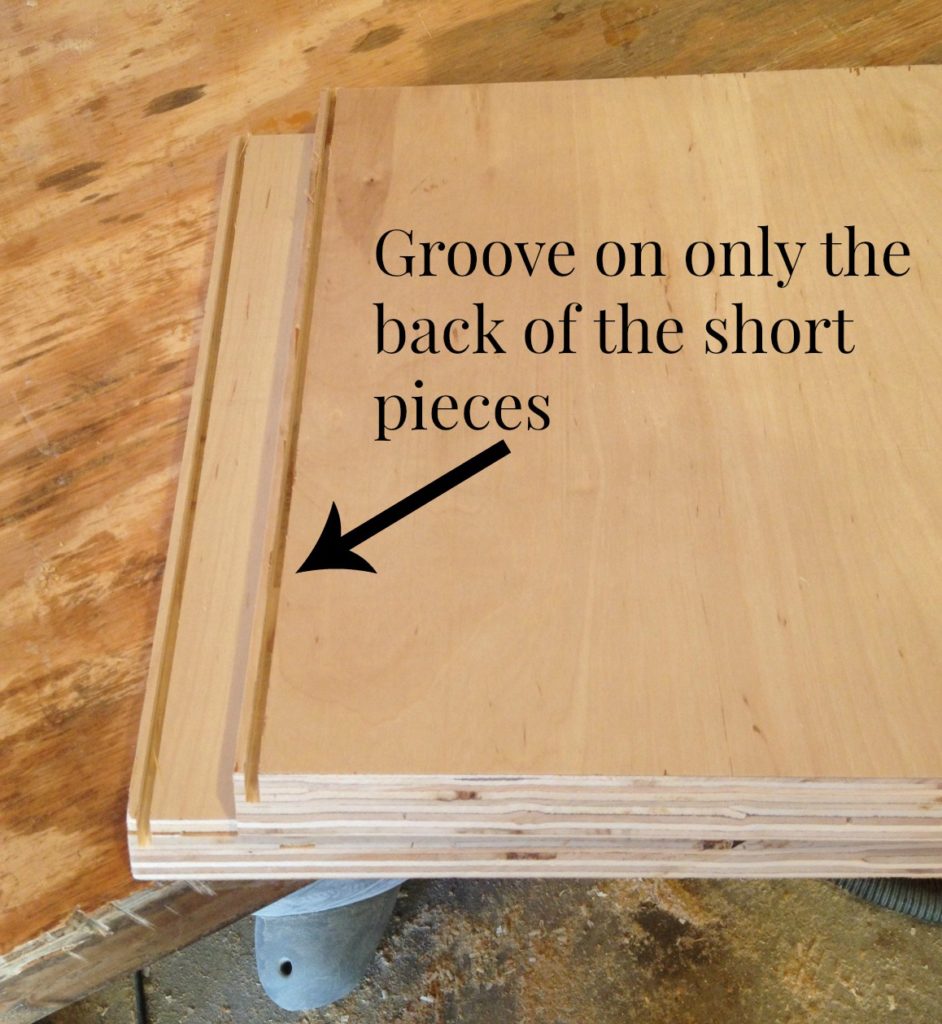
Then, I set aside the two short pieces and cut two more grooves (¼” wide and ¼” deep) on the opposite edge of the plywood on the long pieces. This is for the sliding doors. I cut the first groove about ⅜” from the outside edge and left about ¼” between that groove and the next one.
.
When you get done, your pieces look like this:
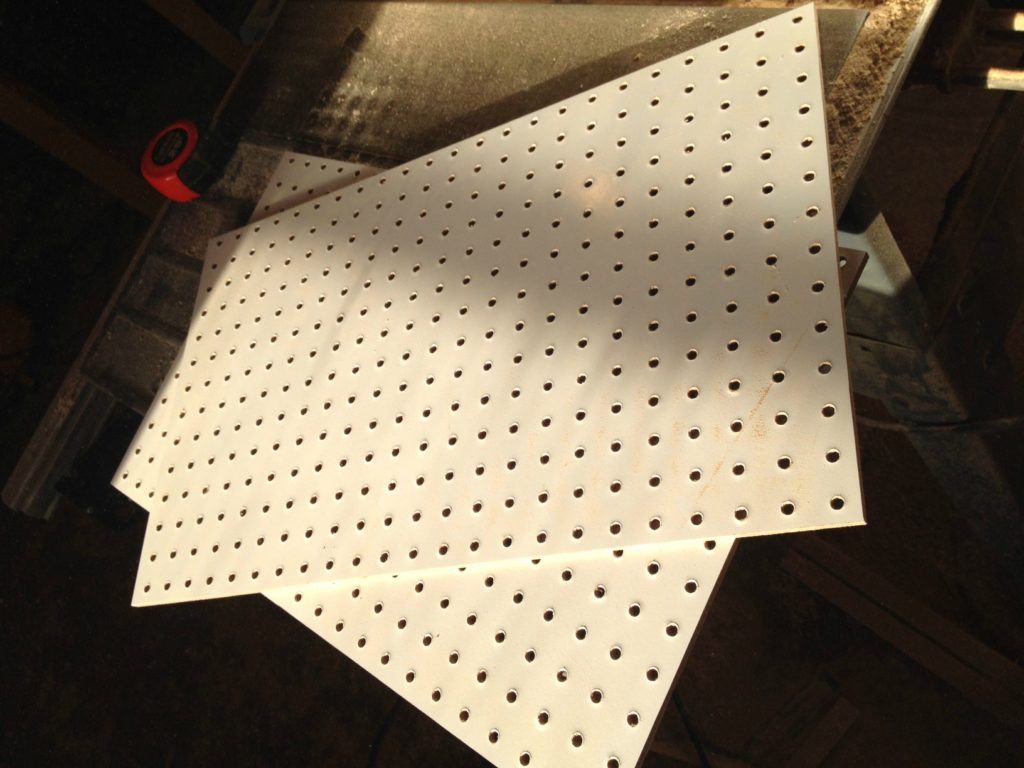
Step 3: Cut the backing and peg board
I measured the short side of my long plywood pieces (the length NOT including the beveled ends) and added ½” and did the same with the short pieces. This is the size the ¼” backing should be. Depending on how close you cut your bevels to the ends, it should be about 47” x 15”. I cut my ¼” plywood backing this size.
.
Then I added an inch to the width of the backing and cut a piece of pegboard this size, then cut it in half making sure not to cut through the circles on either side (this just makes it look nicer).
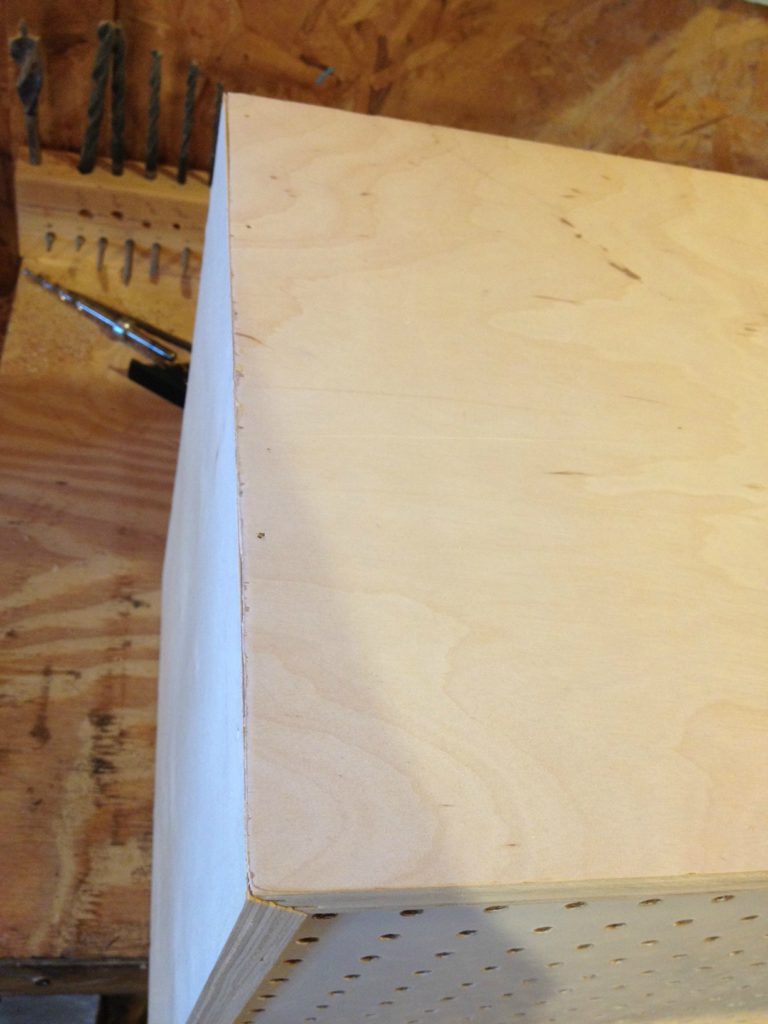
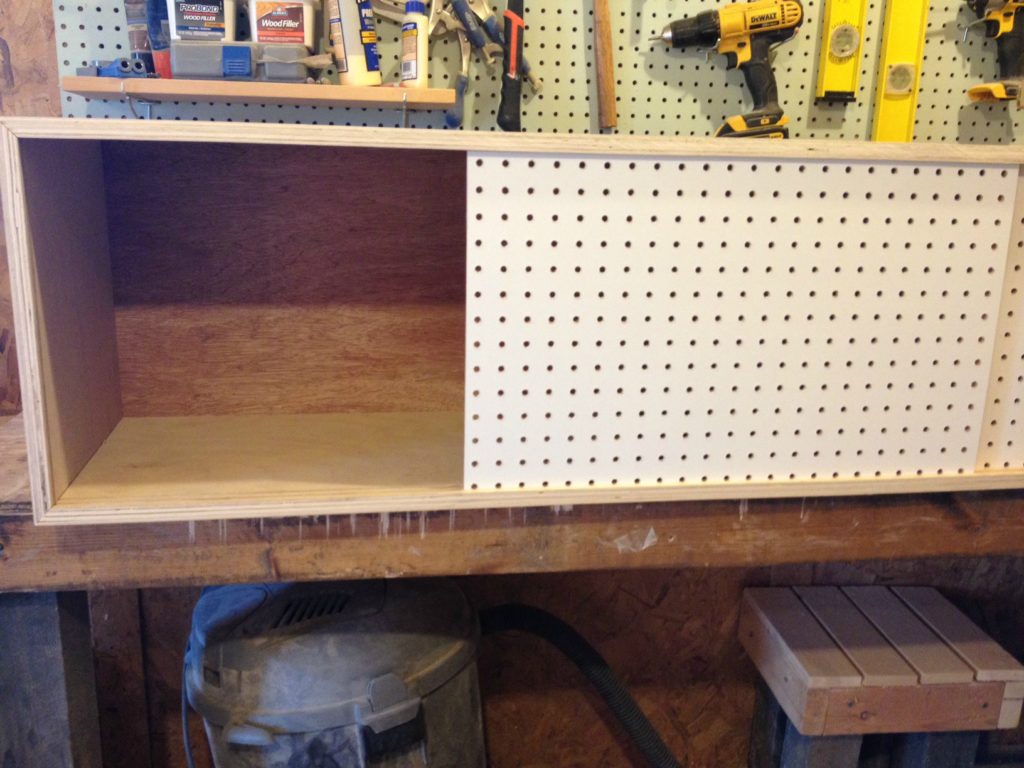
Step 4: Assemble the cabinet
Using wood glue and my nail gun, I pieced the cabinet together at the mitered corners. Before adding the last side, be sure to slide your backing and pegboard into the grooves. Also make sure everything is square.
One piece of pegboard should go in the front groove and the other in the groove behind it.
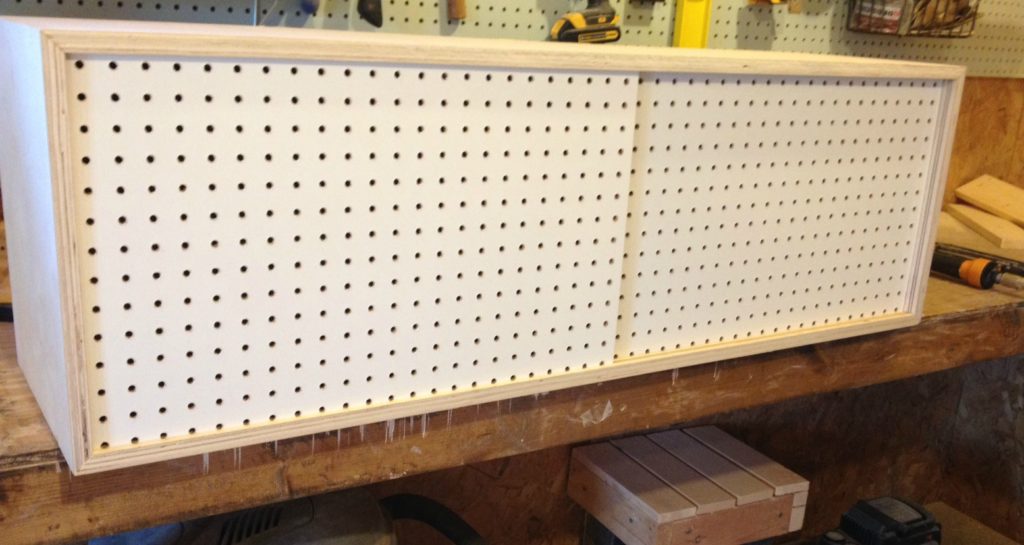
I puttied all nail holes and along the corners, then gave it a good sanding.
.
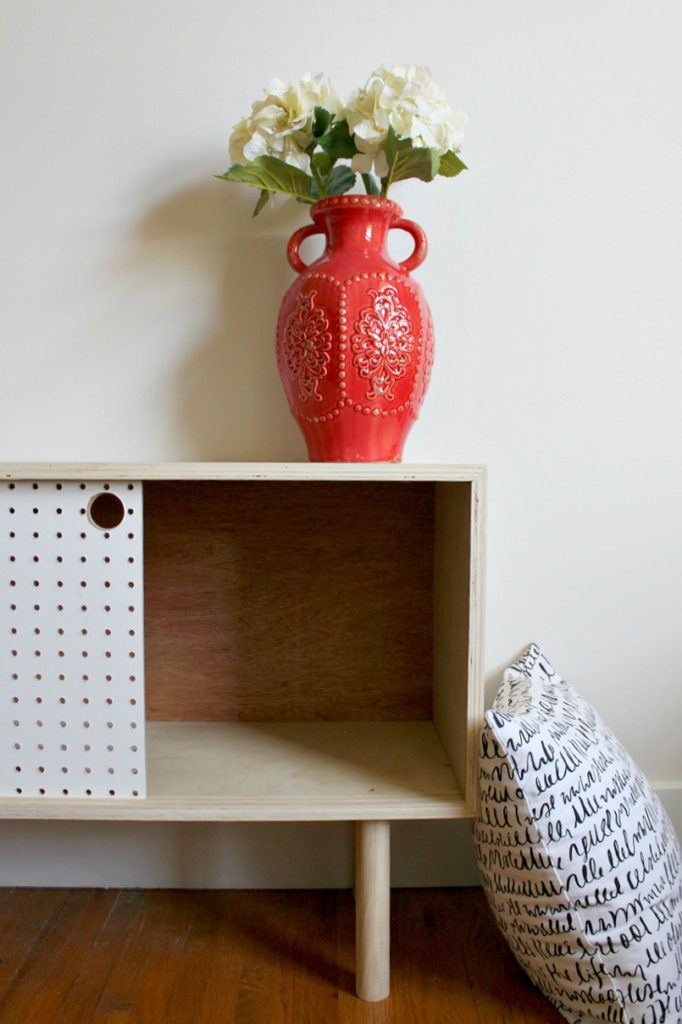
I also used the 1 ⅛” hole saw to drill holes on the top corners of the peg board doors so you can stick your fingers in to slide the doors back and forth. (I actually did this after the next step…so that’s why there are legs in the picture.)
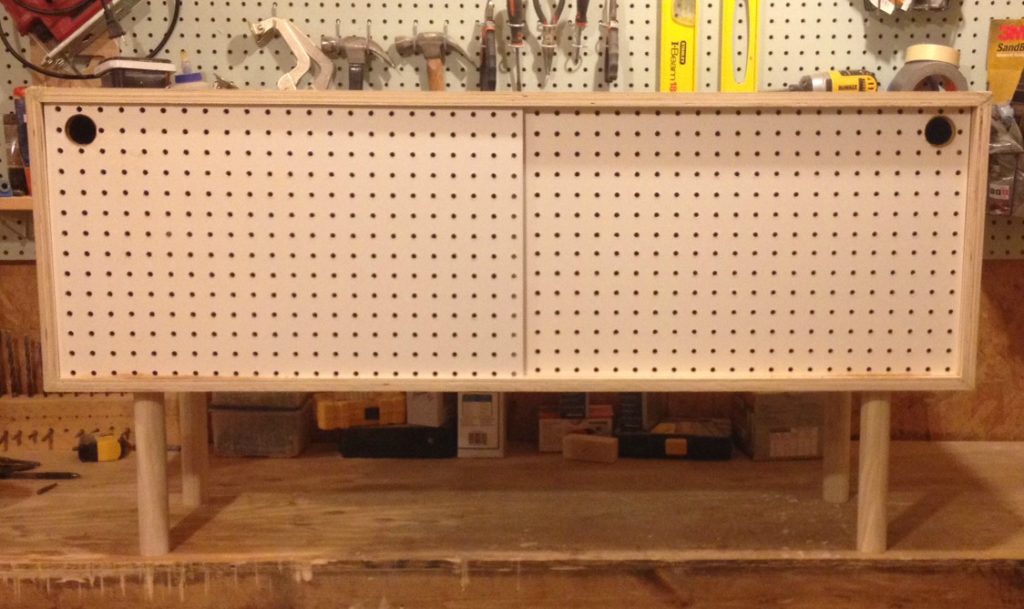
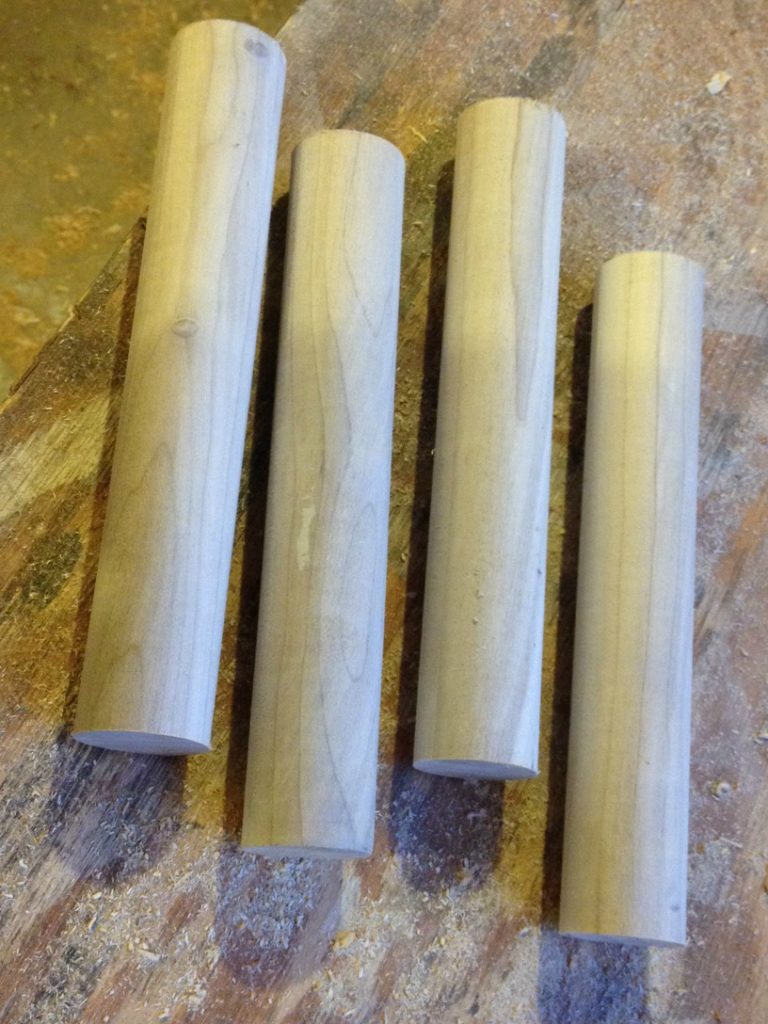
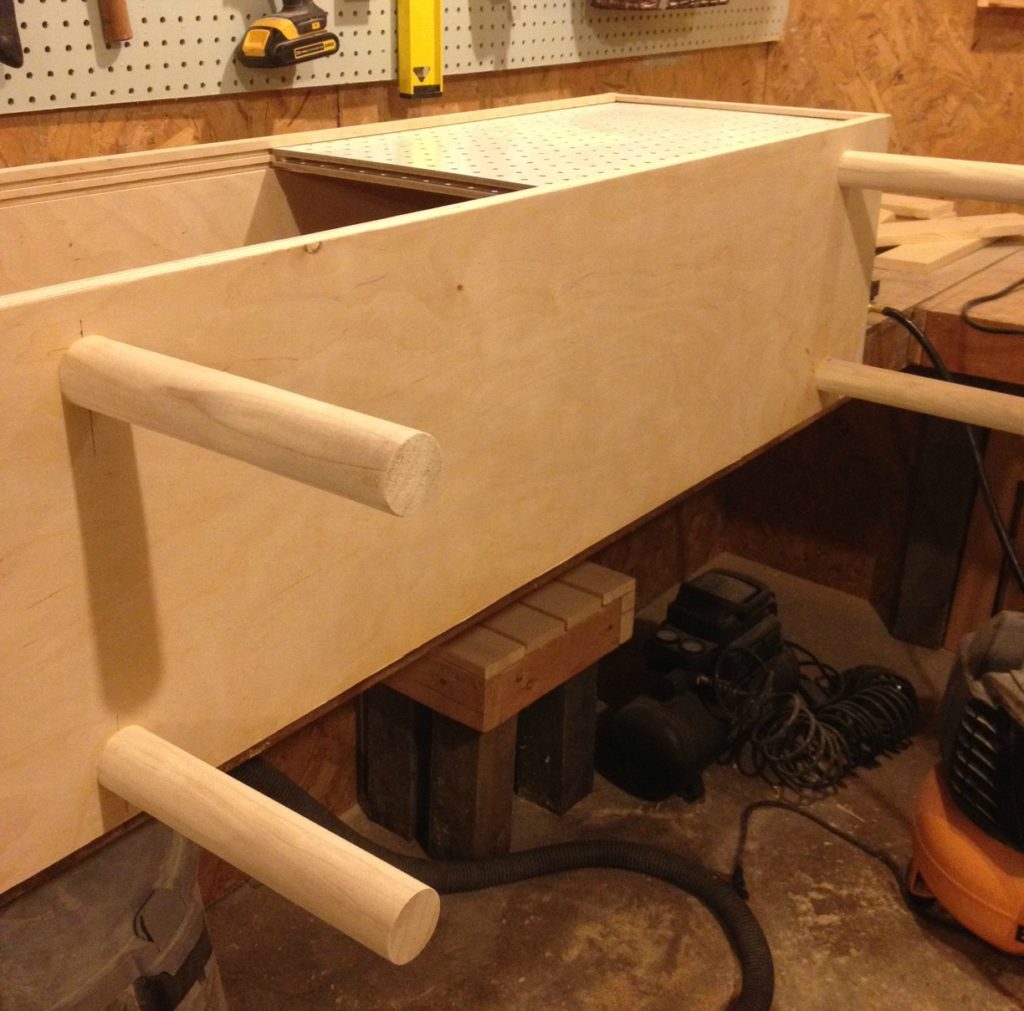
Step 5: Add legs
I cut my 1 ½” dowel rod into four 9” pieces.
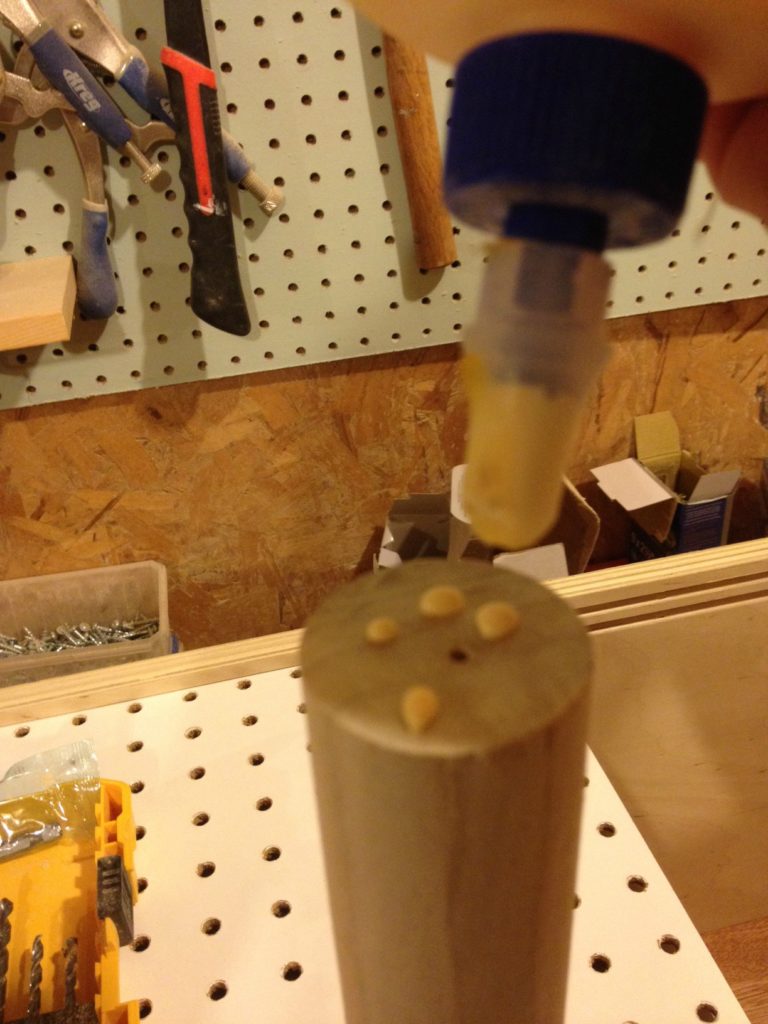
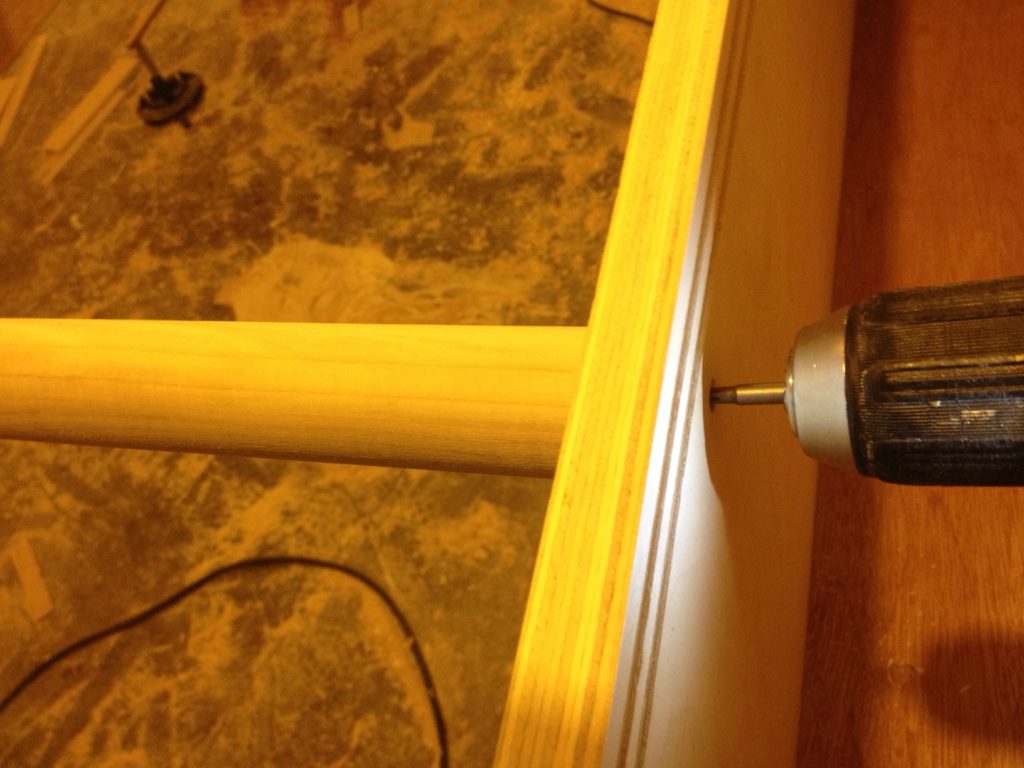
Then I marked on the bottom of the cabinet 4” from the outside edge and 2” from the front and back. I held the legs centered on these marks and predrilled through the bottom of the cabinet into the legs. After it was predrilled, I added some glue and used 2 ½” wood screws to secure the legs to the cabinet base.
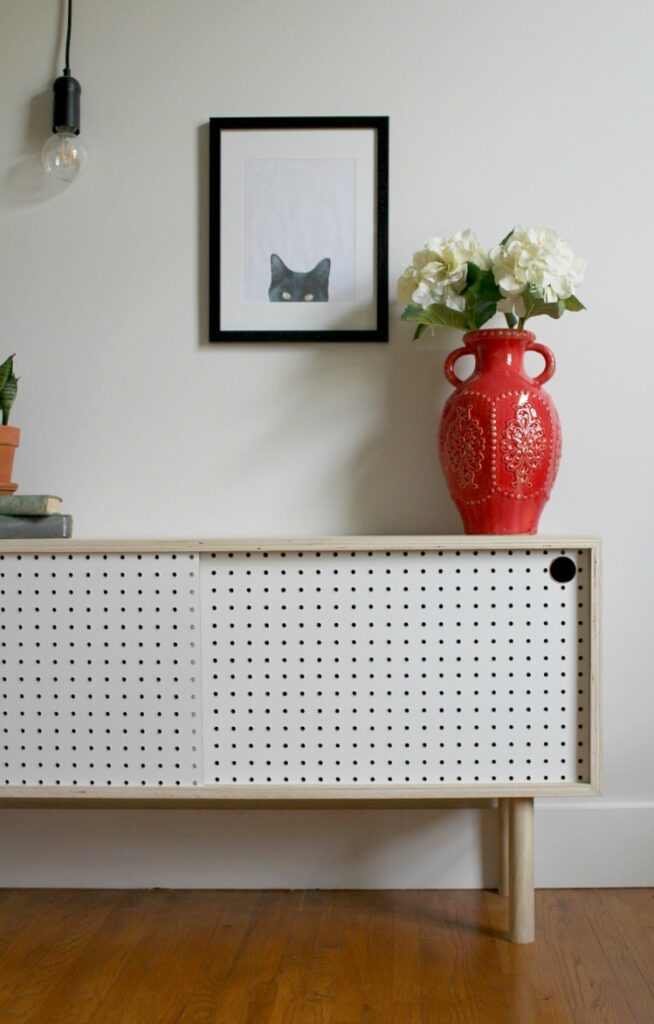
Step 6: Finish…or not
I left mine unfinished. I’m becoming a fan of the natural wood thing. I liked how it looked with this design. However, you could finish it however you’d like. I plan to (whenever I get time…which is probably never) give it a quick coat of polycrylic, but for now I’m still deciding where to put it, so it’s not getting a lot of use, so it doesn’t hurt to stay bare.
.
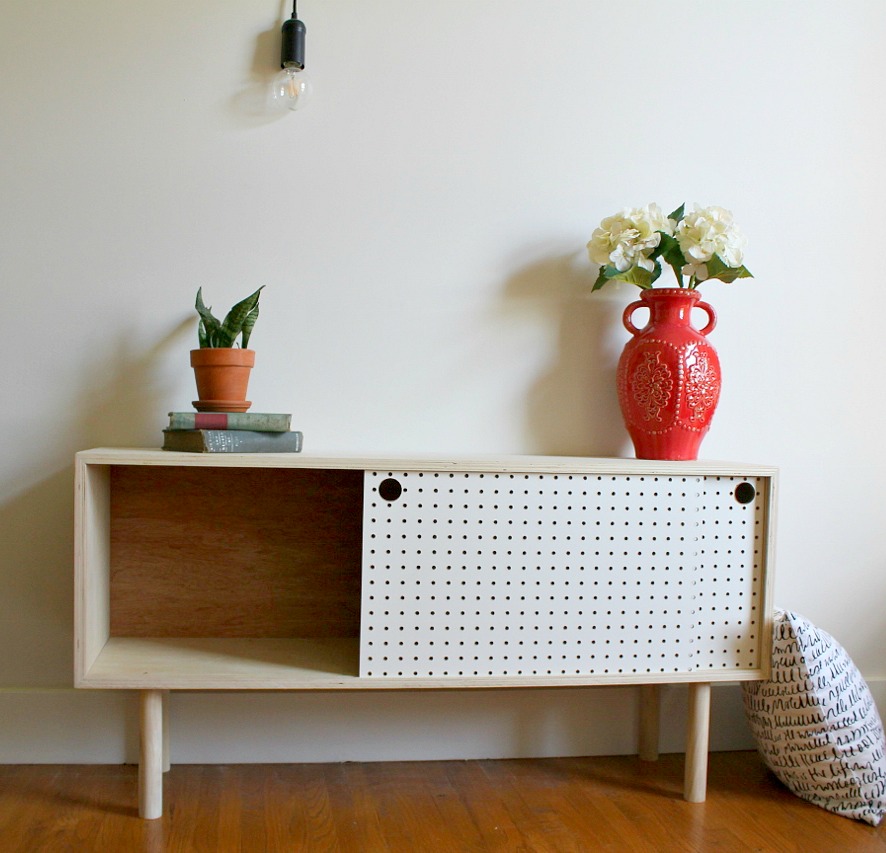
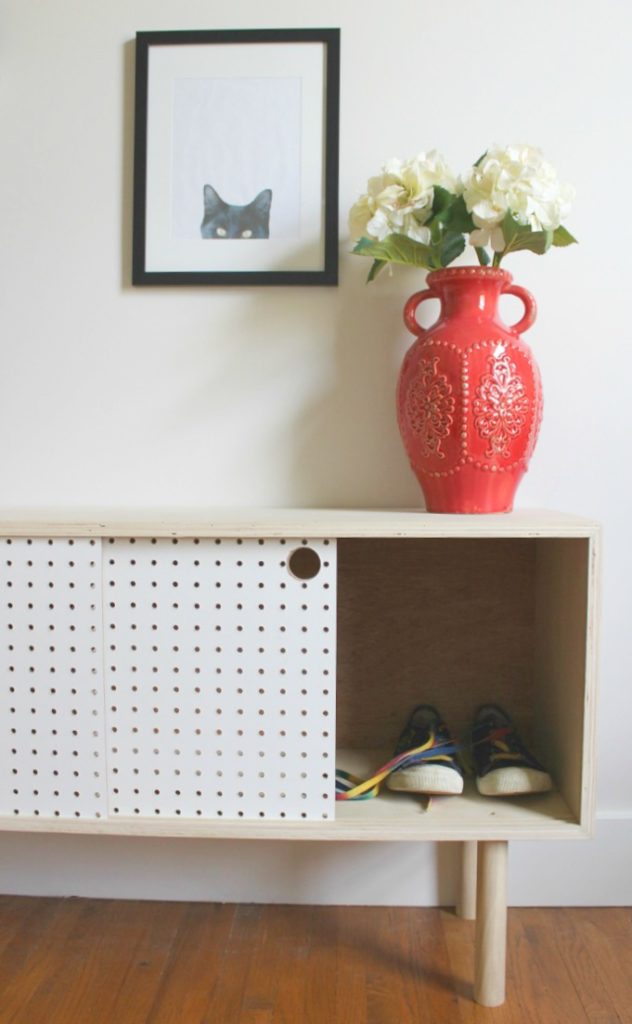
I wish SO BAD I had one of those weird, psychedelic posters from the 70s to stage this with. But I don’t. I just have this cat picture, and pendant light.
.
This would be great to for a modern TV cabinet, but if you do set your TV on top of it, I recommend adding another support in the middle between the top and bottom pieces or maybe a support along the bottom.
I love that I didn’t have to pick out hardware for the doors. I’m too indecisive when it comes to that. The holes are perfect for just sliding with your fingers. Ps no hardware (hinges, pulls or knobs) saved me some $$ too. #heckyes
.
It would also make a great shoe cabinet, or a great place to house your blankets or extra pillows and accessories. Remember those sneakers??
.
So do you guys love or hate the mid century modern trend?? I’m loving it, but I may be the only one (according to Danny haha).
.
Let me know what you think of my new favorite furniture build in the comments below and be sure to pin it for later!!
.
If you are like me and LOVE the mid century modern trend, be sure to check out this MCM dresser, these modern pendent lights, and our modern bathroom remodel.
.
Until next time, happy building!! 🙂
Tom Clarke says
Shara, did you buy the white peg board or did you paint it? I’ve never seen white peg board, only brown.
P.S. Don’t ever cut you long straight hair.
Shara, Woodshop Diaries says
Hey Tom, I bought the peg board like this. It’s brown on one side and on the other, it’s got a smooth, shiny, white layer on it. I thought all pegboard came like this…I guess I was wrong!