In this post, I’m sharing how to seal and paint an exterior door, and why it’s important to prime before painting.
**This post is sponsored by KILZ® Brand but the content and opinions expressed here are my own. This post also contains affiliate links. See policies page for details.
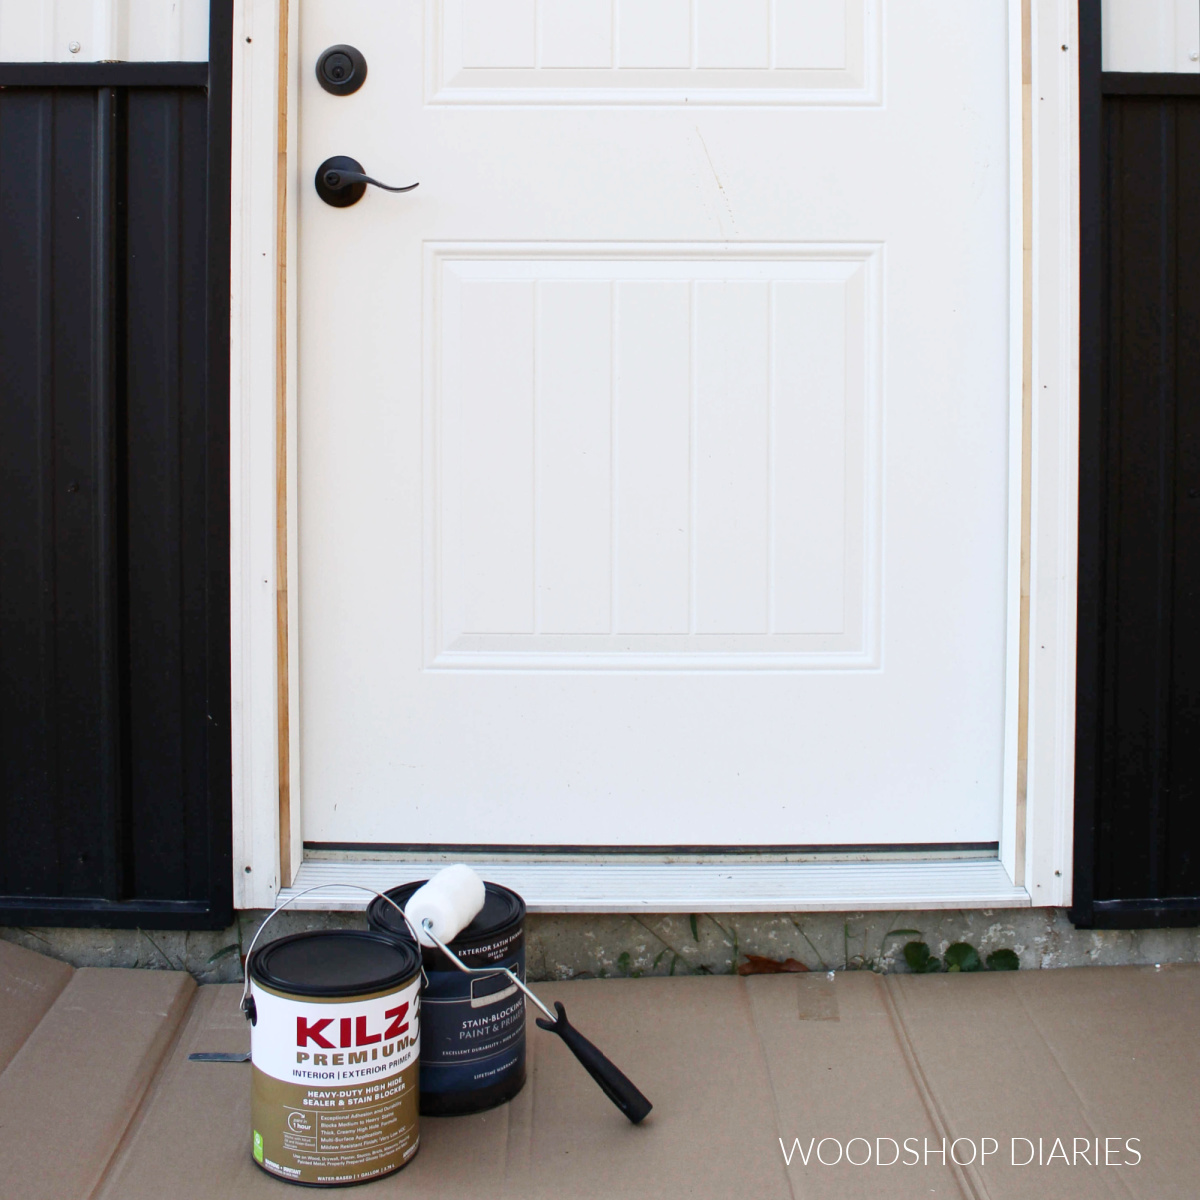
When we recently moved into a new home (and a new workshop!! Check out the video here.), I discovered that several of the exterior doors around the house and shop were installed leaving some exposed wood frame.
.
These doors really needed some color, but more than that, this bare wood needed to be properly sealed to protect it from the weather and eventual rot.
.
Bare, untreated wood doesn’t last long outdoors, so the sooner these were protected, the less likely I was to be replacing a door sometime soon ha!
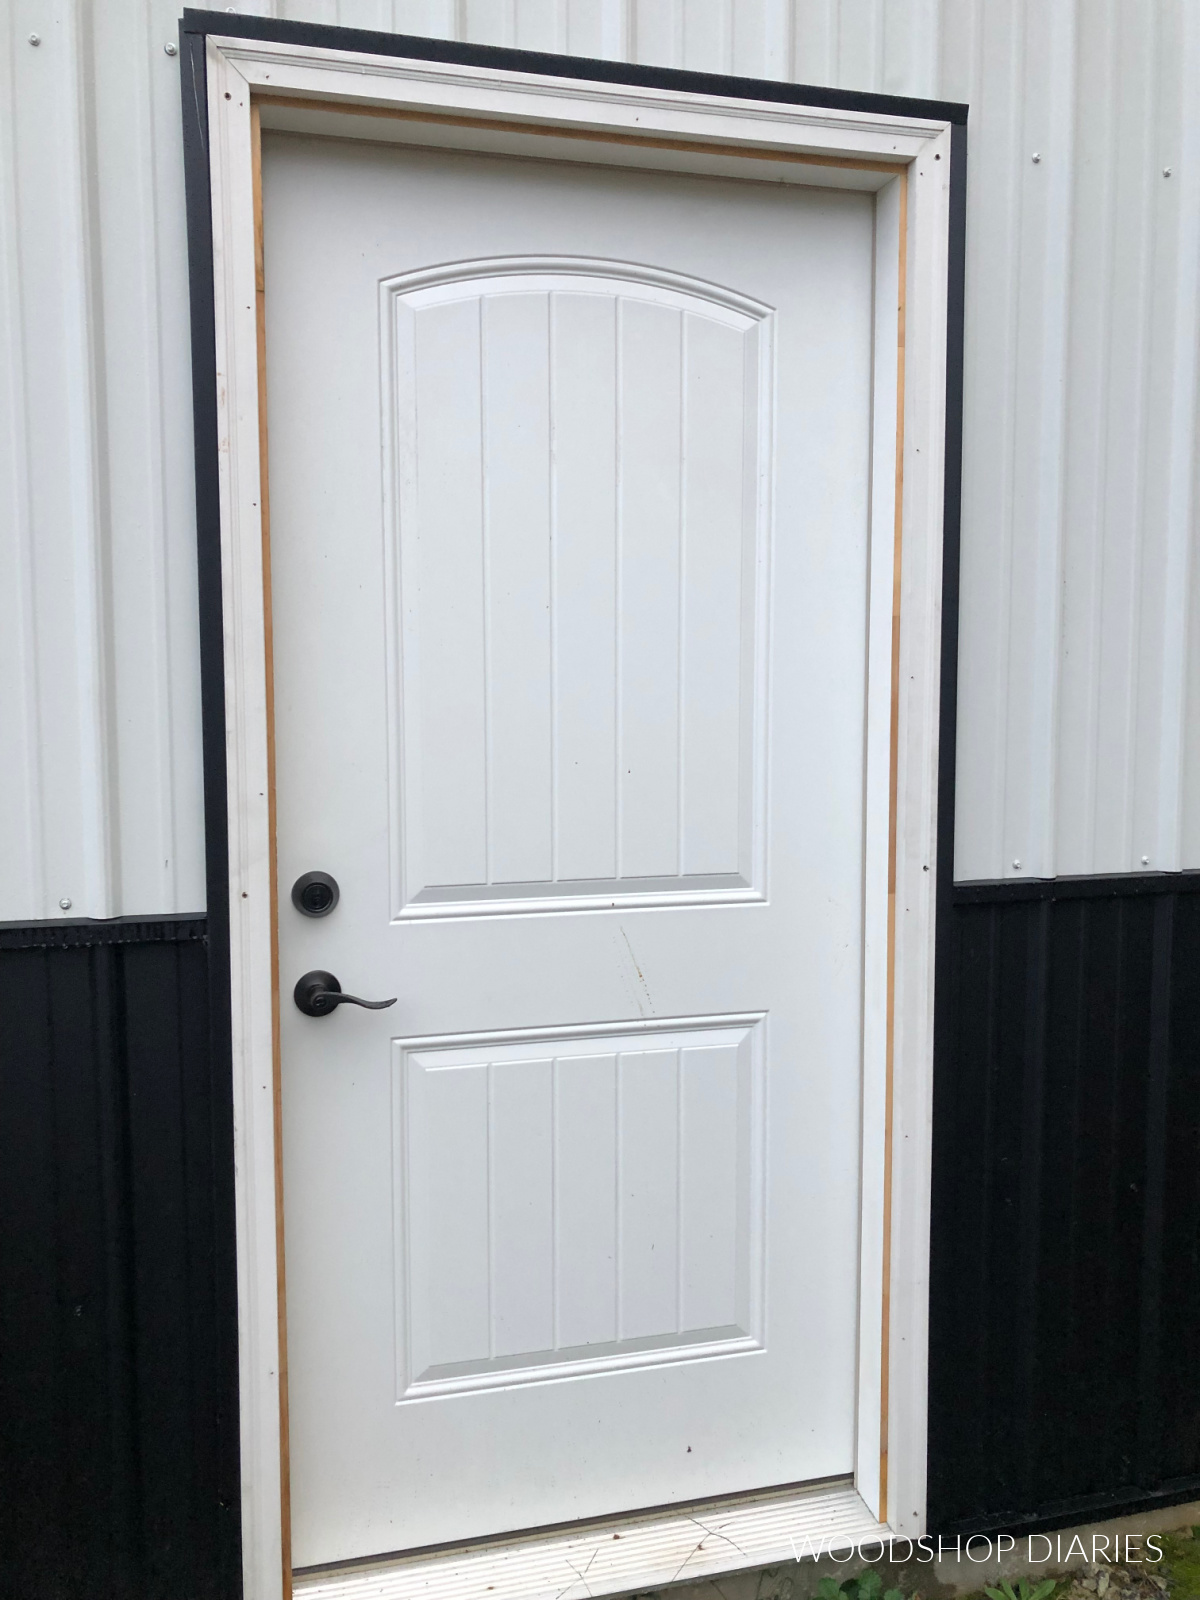
So I took a few hours to prime and paint all the doors around the house and the new workshop and I’m sharing with you how I did it in this post.
What You’ll Need:
- KILZ 3® Premium Primer
- High quality exterior paint (I used BEHR Ultra® Exterior in Graphic Charcoal)
- (2) High quality paint brush
- (2) 4” paint rollers and roller frame
- Paint Trays
- Painter’s Tape
- Screwdriver
- Cleaning supplies (I used 50/50 vinegar/water mixture and a rag to clean the door, but you can use whatever cleaner you prefer)
Step 1: Clean The Door
Before you do anything, you need to clean off the cobwebs, grime, mildew and all the other things exterior doors tend to collect over time.
.
It’s important to start with a clean, dirt and dust free surface. This will allow the primer and paint to stick to the actual DOOR vs the dirt on the door…and it’ll prevent getting cobwebs and spiders in your fresh paint–YUCK!
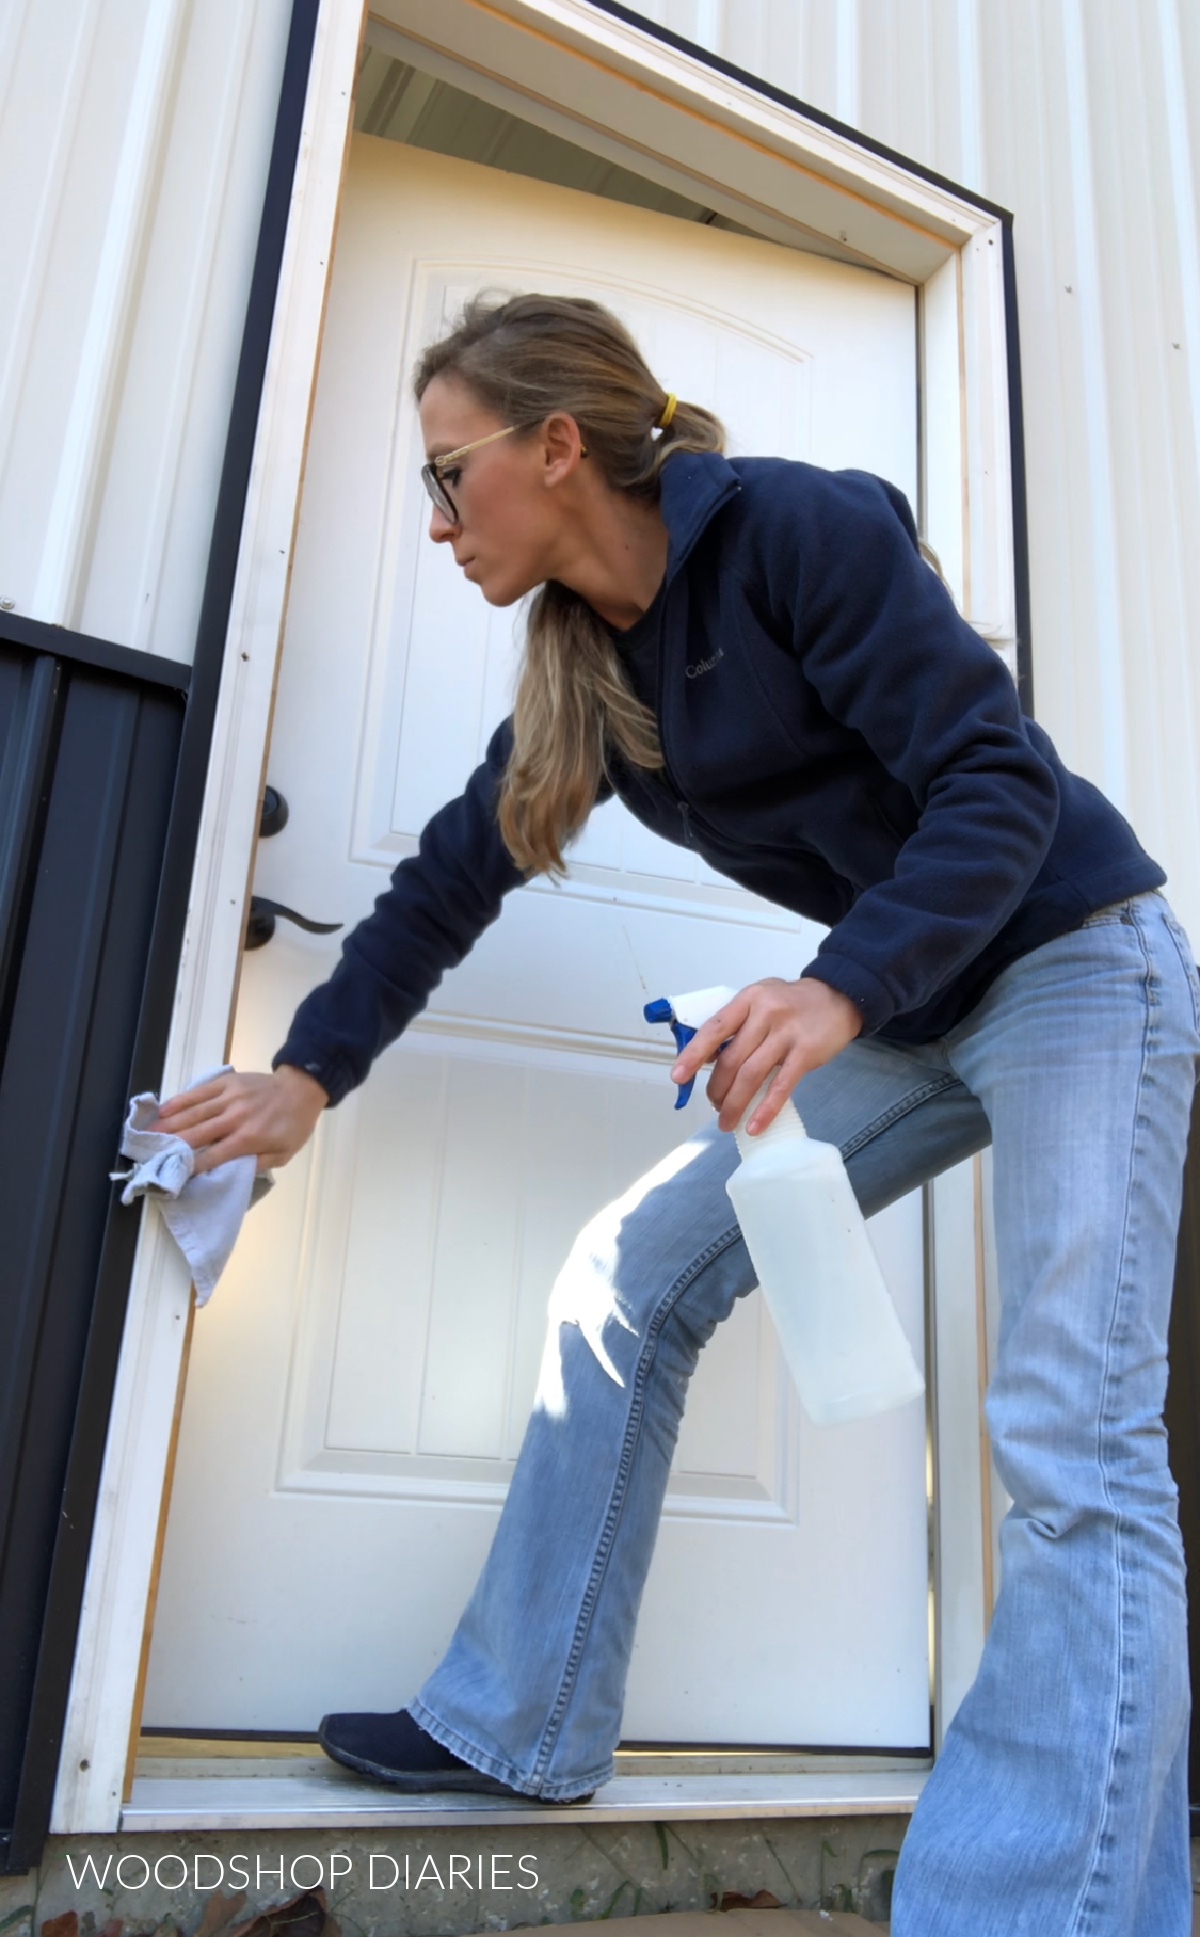
You can use whatever cleaner you prefer for this, but I like to keep it simple and just use a 50/50 vinegar/water solution and spray it all over the door and frame, then wipe it clean with an old rag.
.
Make sure all the mildew and mold is gone and that any existing rotten pieces are removed and replaced before starting.
.
If your door already has some chipped or peeling paint, sand or scrub off any loose paint. You can hand sand with 120-220 grit paper to remove/smooth things out.
.
Painting over loose paint will just make your loose paint thicker. You need to remove any loose pieces and smooth out any chips so that your primer and paint have something solid underneath to adhere to.
Step 2: Tape Off Door and Hardware
Use painters tape to tape off around the outside of the door frame, around any windows, trim, or thresholds you do not wish to paint.
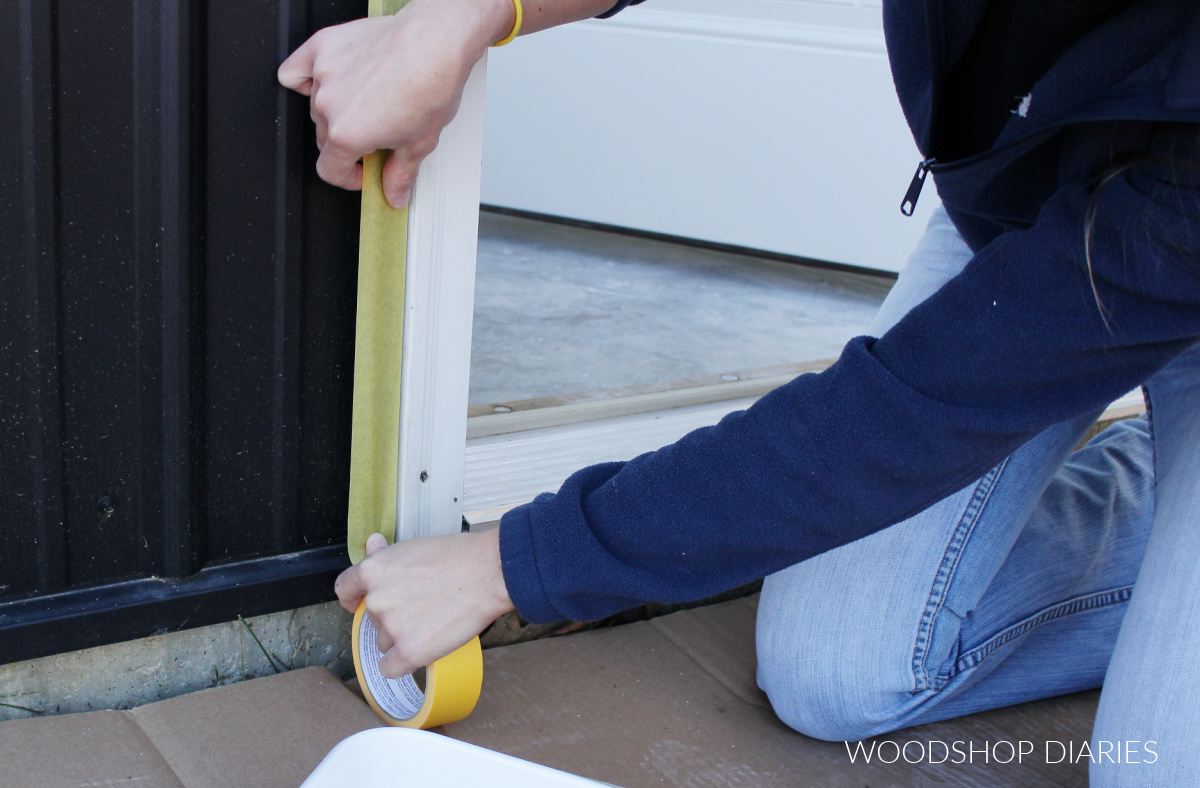
You can either tape around the door handle and deadbolt OR simply remove it by removing the two screws on the inside of the door on each one.
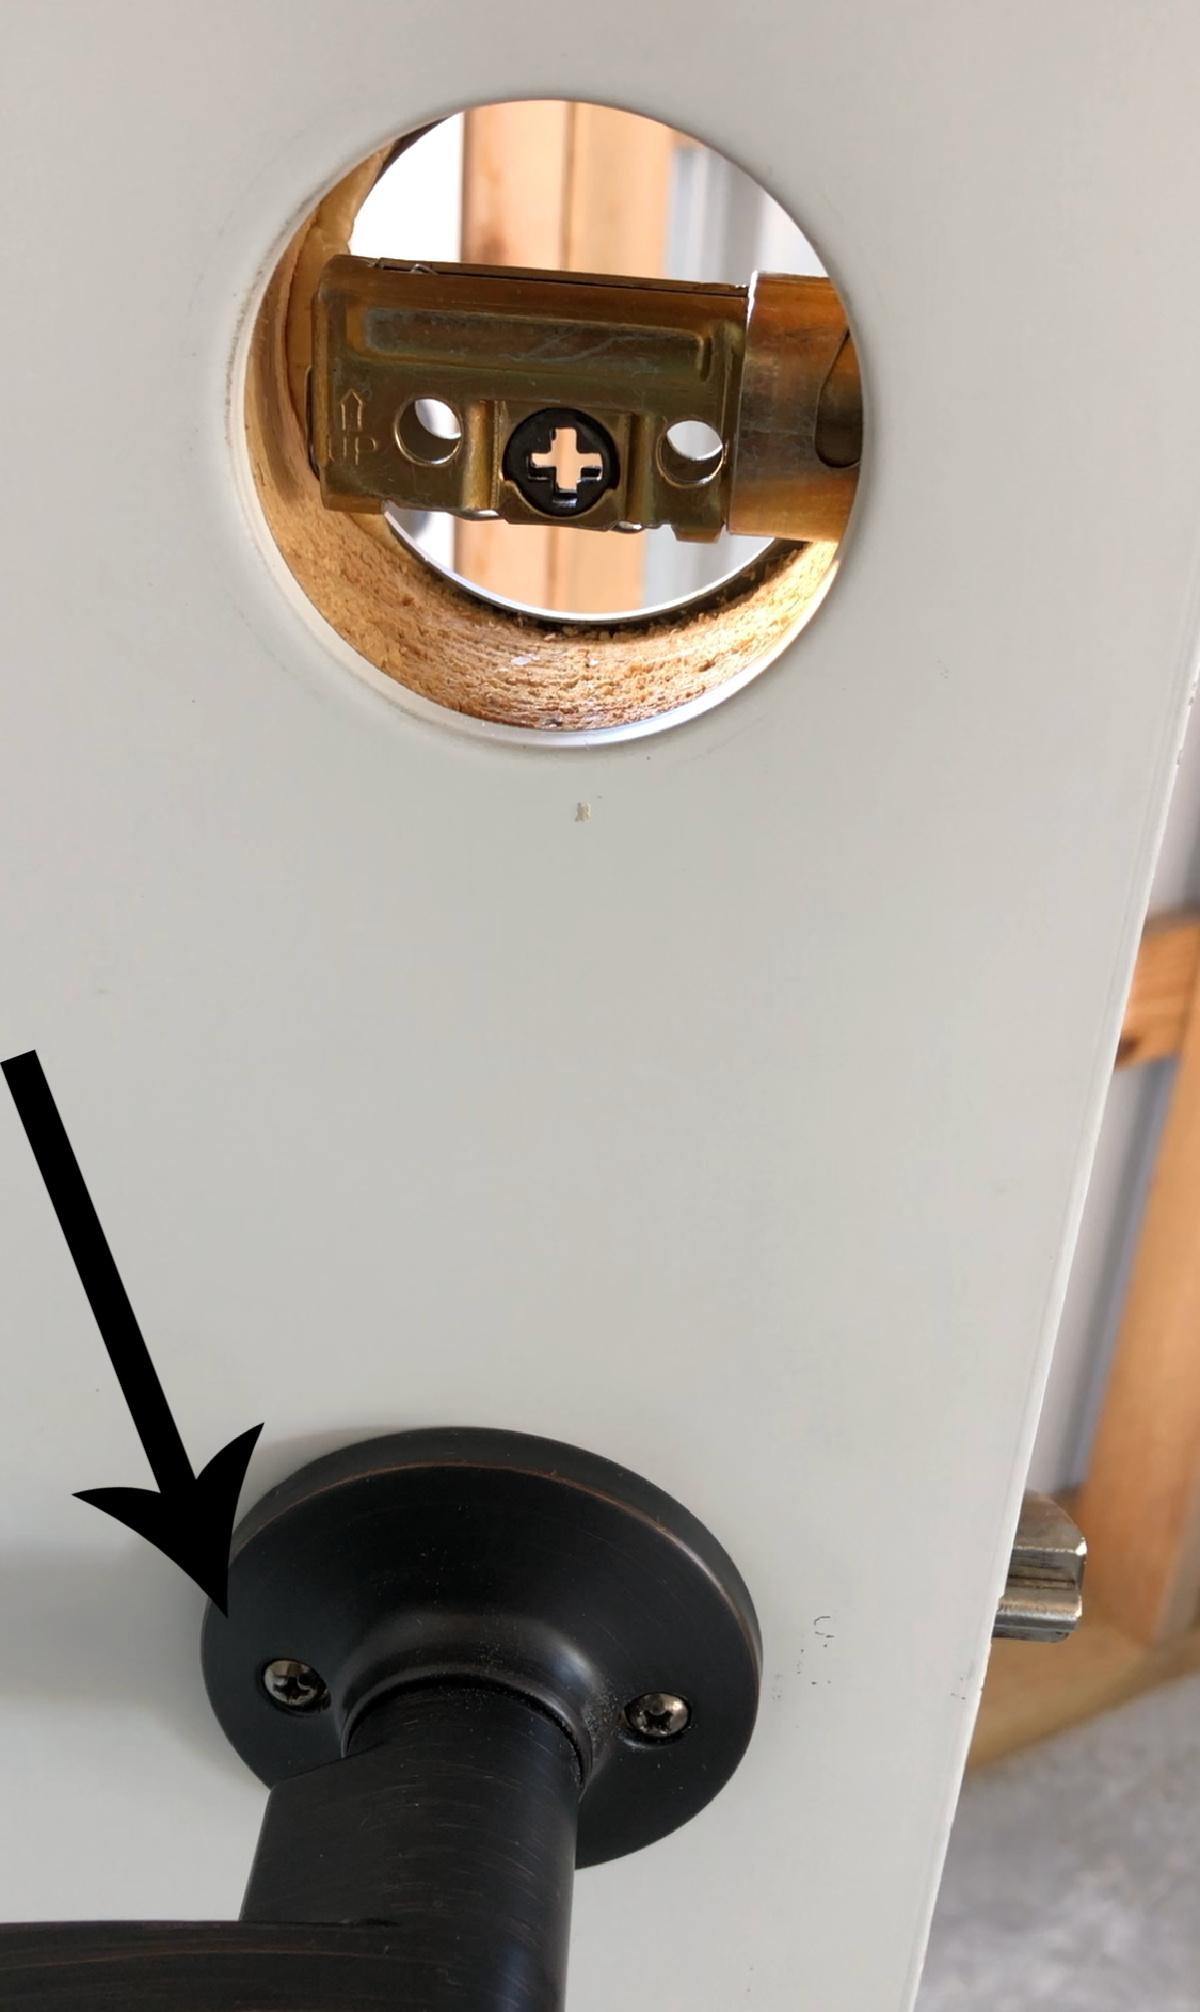
I have found it much easier and cleaner to simply remove the handle and lock. It only takes about 2 minutes and a basic phillips head screwdriver to remove and replace it once you’re finished painting.
.
Tape over the weather stripping on the door frame–OR you can just be careful not to paint it in the next steps. It’s probably easiest to tape over it, though.
Step 3: Prime the Door
Let me be clear here, DON’T SKIP PRIMER…especially on outdoor paint projects.
.
Most exterior doors are made from smooth surfaces (like metal or fiberglass) so it’s difficult to get paint to stick very well.
.
And most exterior doors also have wood frames. Wood is porous and when left outdoors unprotected, can tend to grow mold and mildew quickly.
.
Primer can help solve both of these problems if you use the right kind. When painting an exterior door and frame, you want a heavier duty primer.
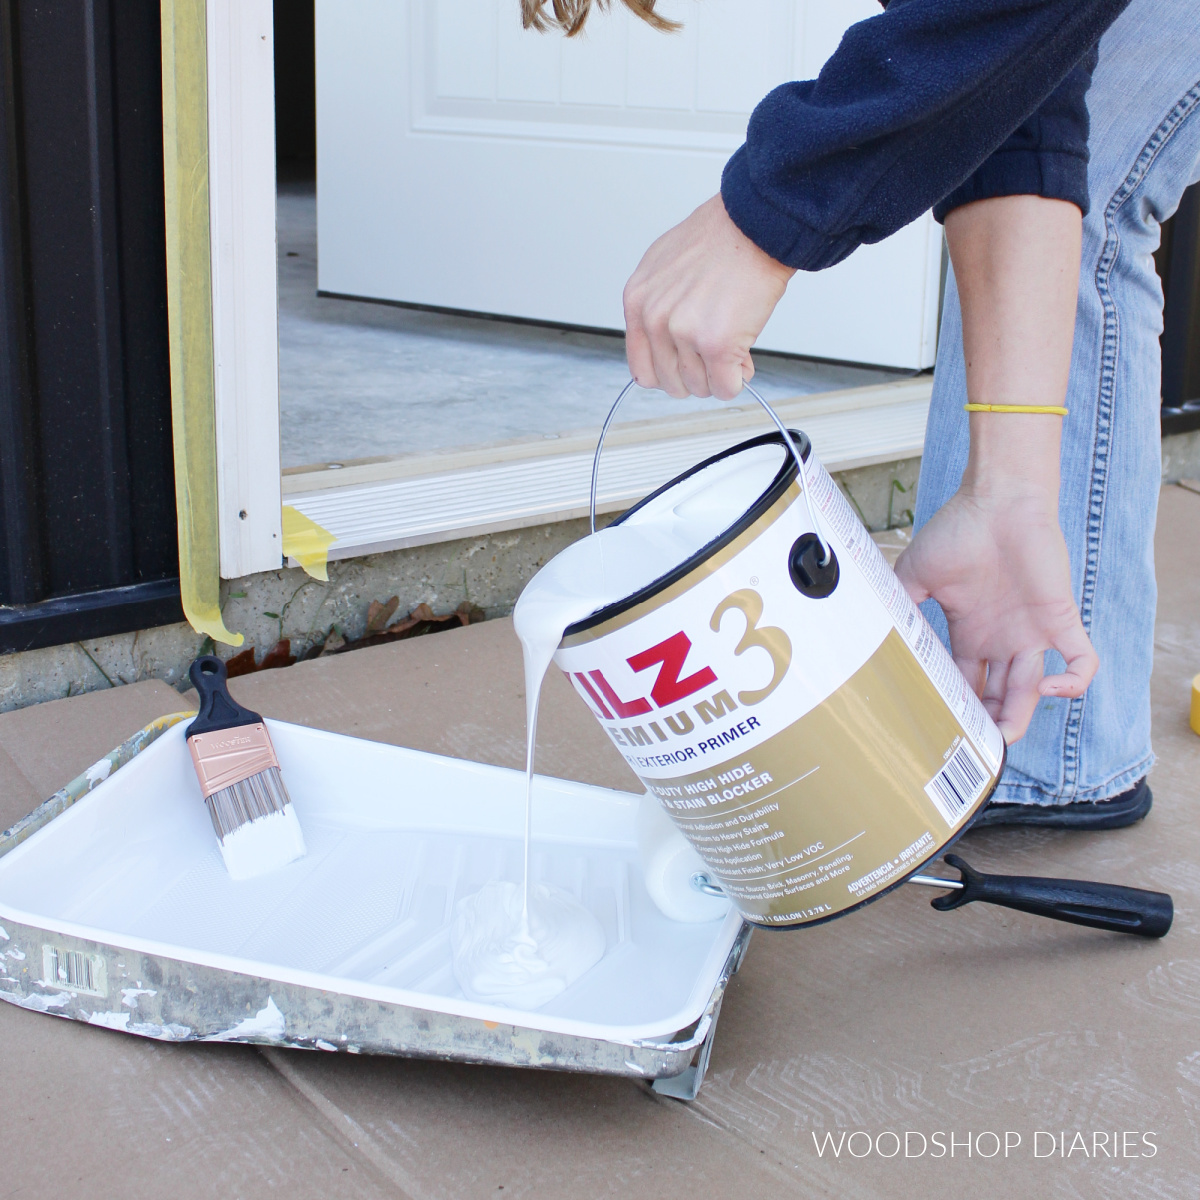
In this case, I opted for using KILZ 3® Premium Primer because it has excellent adhesion when working with smooth surfaces, and it’s mildew resistant to protect my wood door frame in moist conditions.
.
This formula is thick, goes on smooth and is easy to apply with both a roller and/or high quality brush.
.
I like to paint the frame first with a brush, then go around the details on the door.
.
NOTE: DO NOT PRIME/PAINT THE WEATHERSTRIPPING. The inside of the door frame where the door shuts and seals will have some rubbery, flexible stuff called weather stripping. You can tape over it before painting or just be careful not to paint while brushing.
.
But don’t paint over it. Painting over it can cause it to not flex and seal properly which can cause air/water leaks where the door meets the stripping.
.
I use a brush first in the detailed sections, then I use a roller on the flat surfaces to make things go a little quicker. (You can see this a little better with the paint picture in the next step–this white primer blends in with the white door.)
.
I roll the vertical sections first, then the horizontal sections. Lastly, I roll over the middle, more detailed sections.
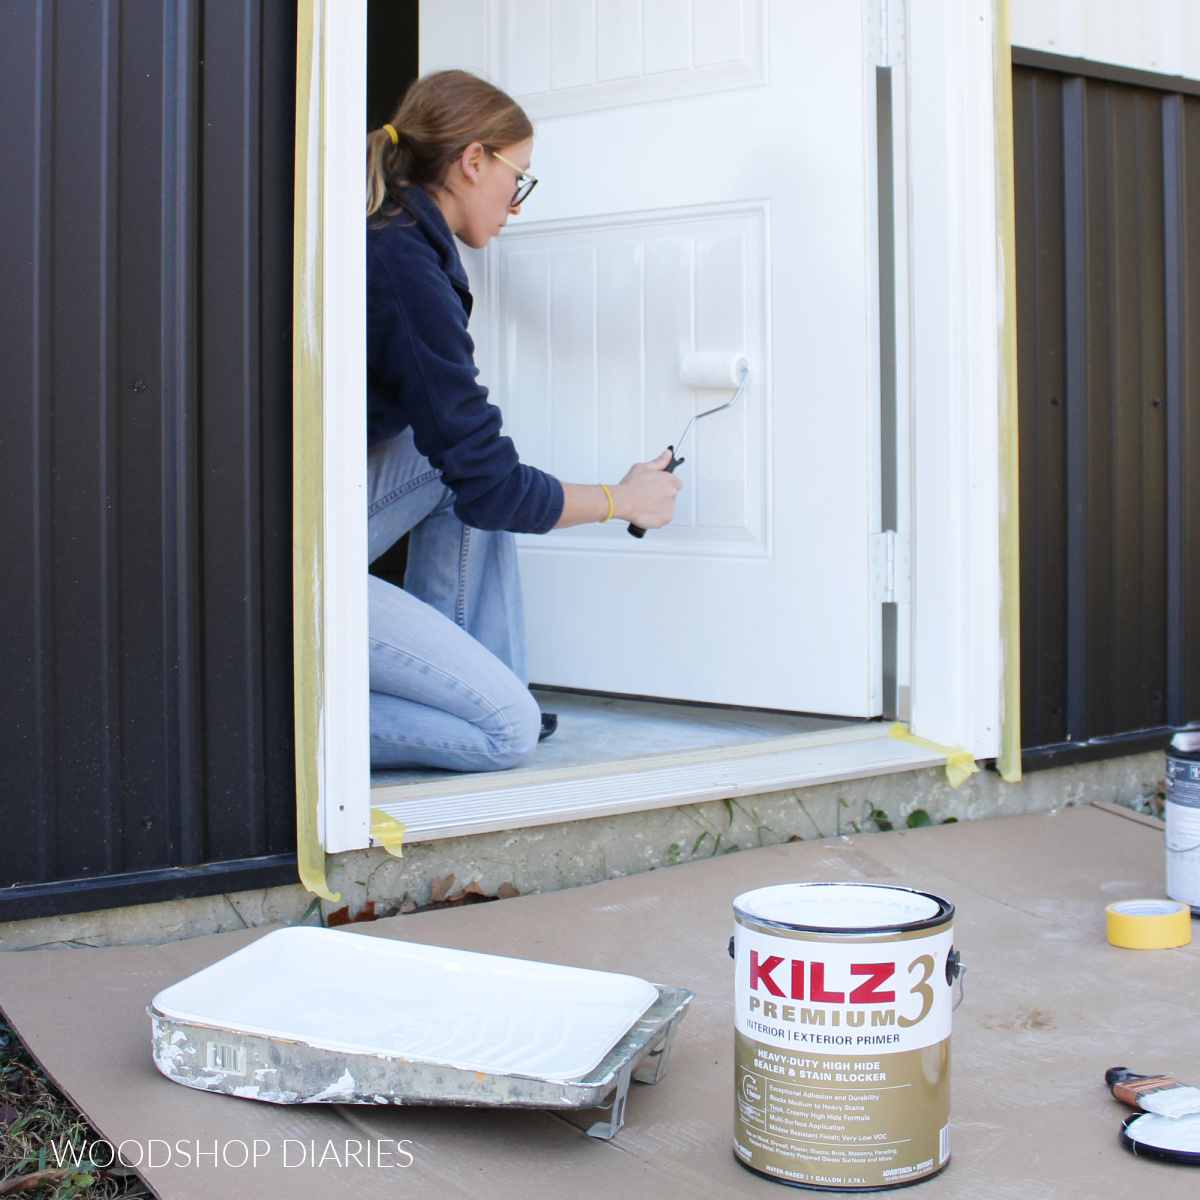
Apply a good coat of KILZ 3® primer over the entire surface you wish to paint. Allow to dry according to the instructions on the can.
.
Once it’s dry, if you see any stains or spots that look like they’re peeking through, you can apply a second coat on top.
Step 4: Paint the Door
Once the primer is good and dry, you’ve laid the foundation for a proper paint coat.
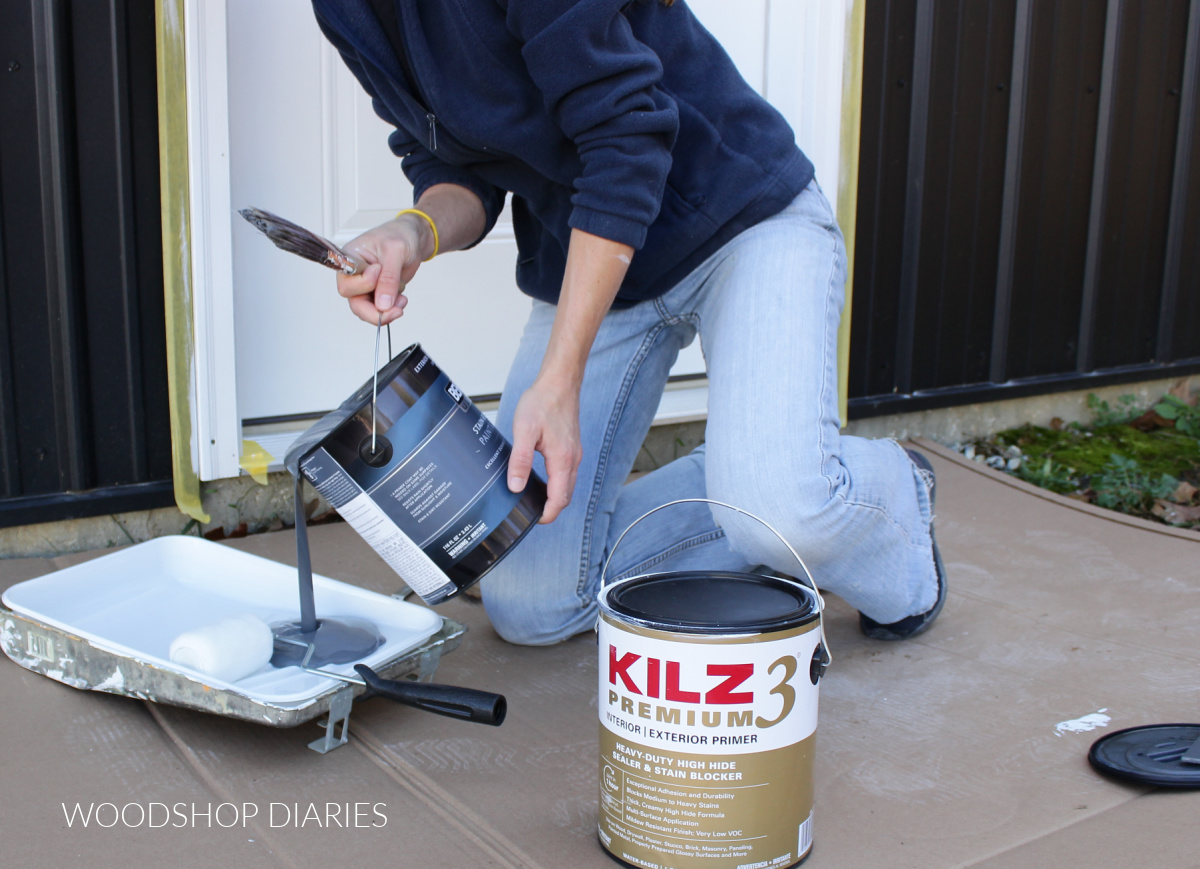
Apply at least two coats (I don’t care if the can says it only takes one coat–it takes at least two, trust me) of a high quality exterior paint to the door the same way as the primer.
.
In this case, I used BEHR Ultra Exterior in Graphic Charcoal to compliment my black and white exterior.
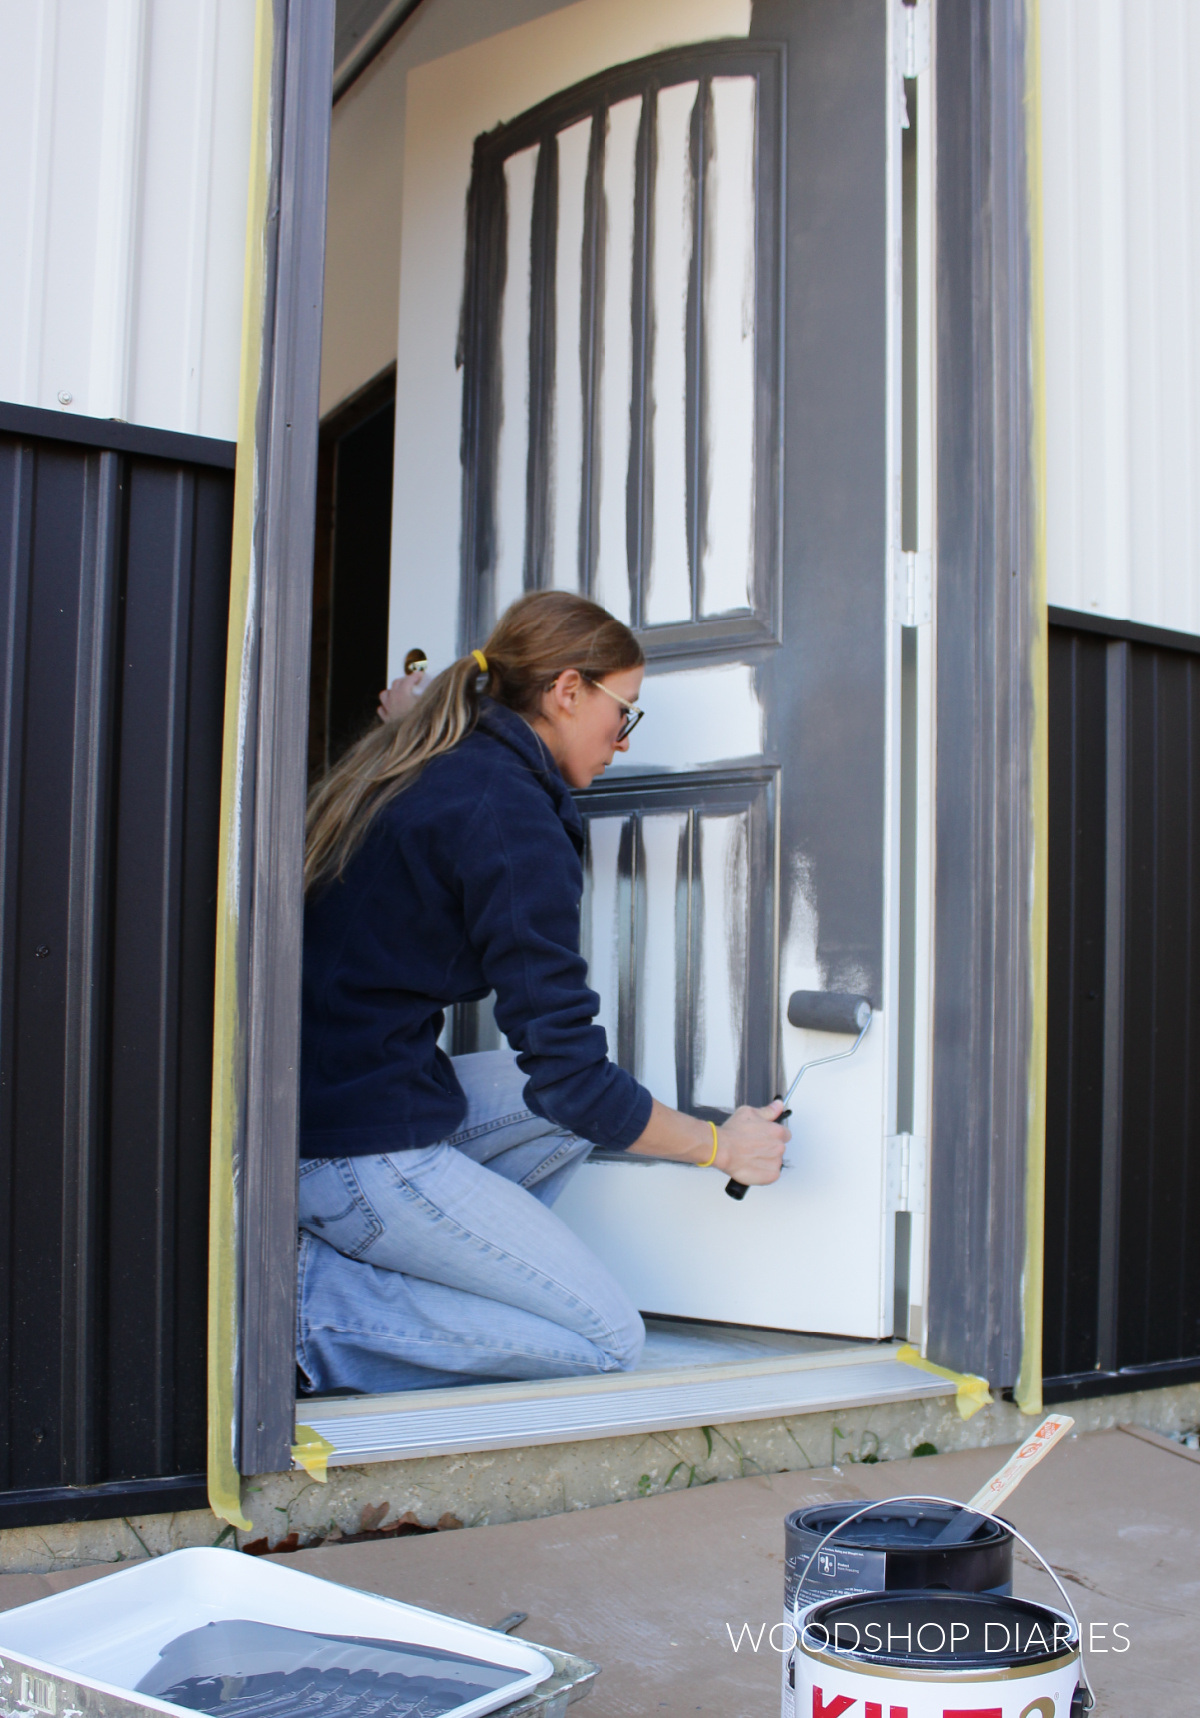
Make sure to cover over anywhere you primed, let dry completely, then replace the handle and lock hardware and you’ve just sealed, protected, and “dressed up” your exterior door!
.
Painting exterior doors is not only something that adds some beauty to your curb appeal and home, but it’s an important maintenance task that will give your door a long life and prevent larger issues of rot or mold from settling in.
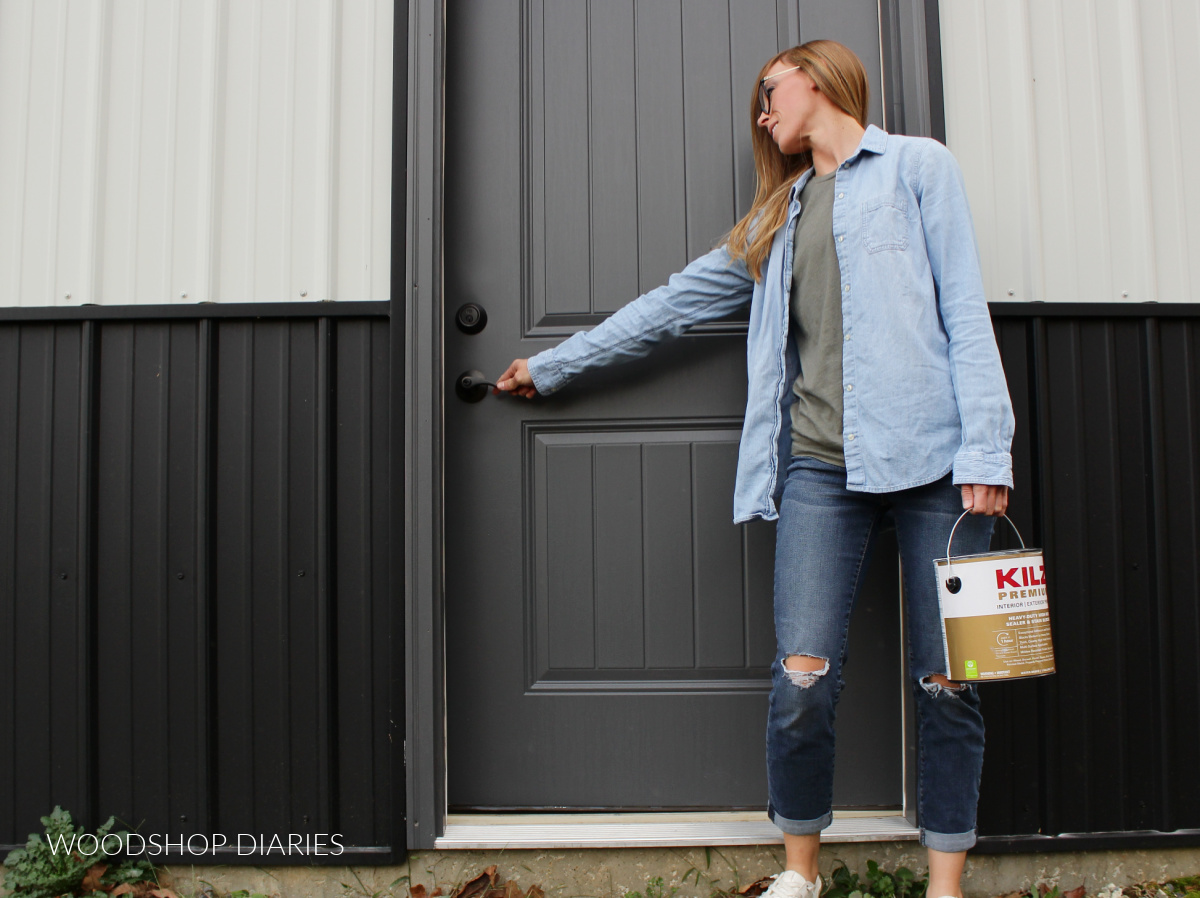
But before you paint anything, don’t skip the primer. Every project is worth using KILZ® Primer for long lasting, and smooth results.
.
If you’re getting ready to paint, check out this link for information and options for both paint and primer for your next project!
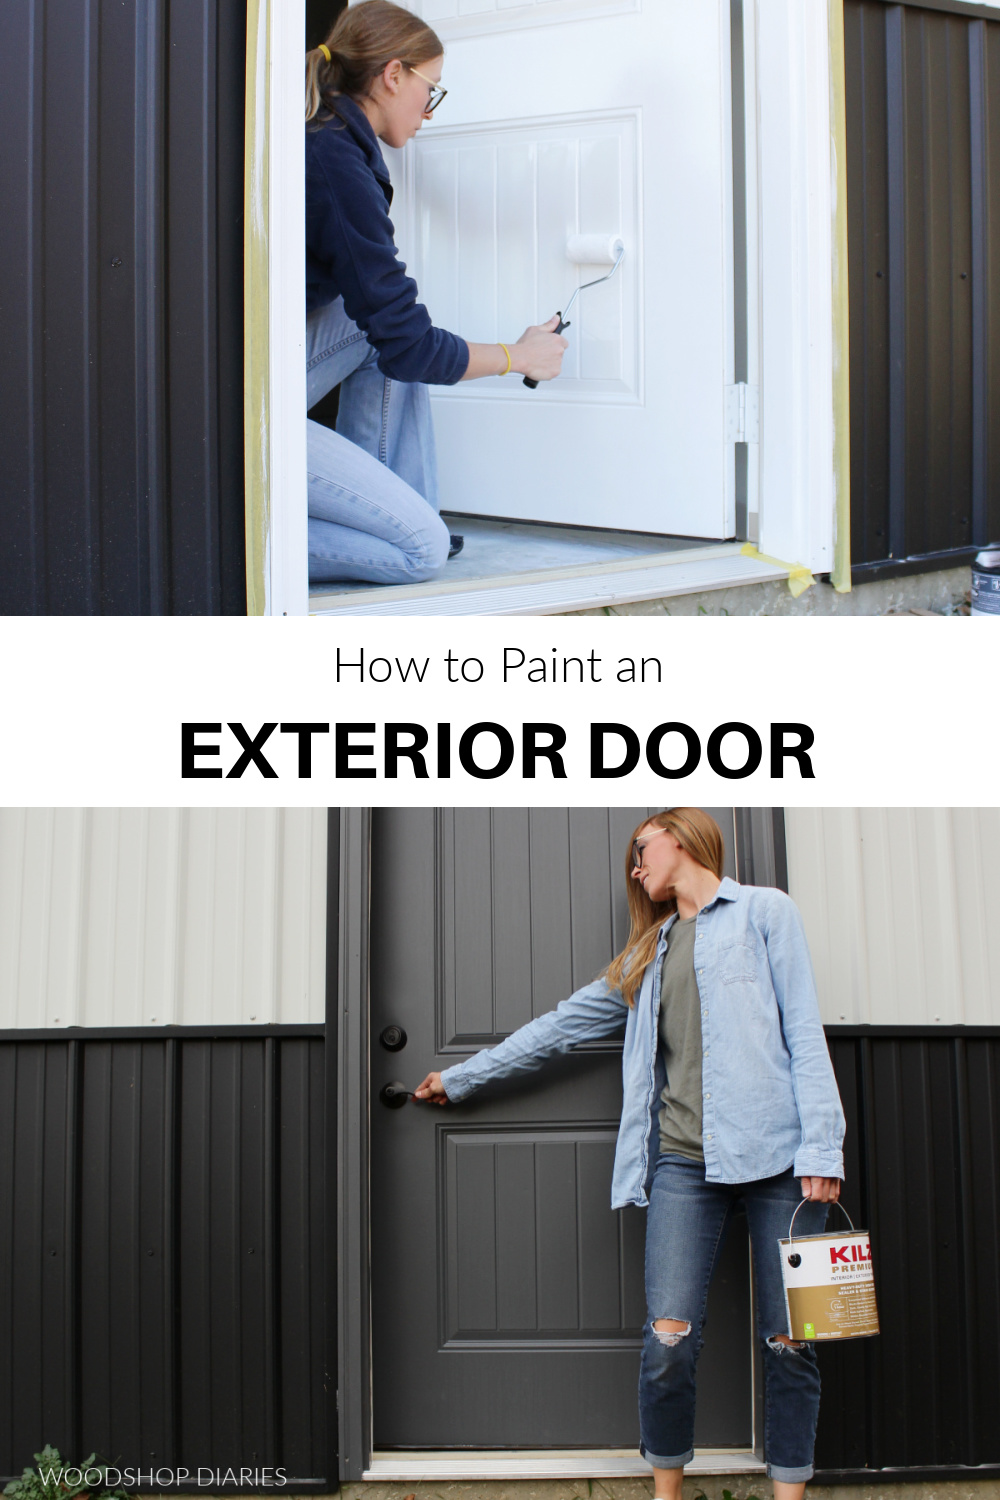
I can’t wait to show you more projects in and around my new workshop and home, but at least for now, the entry doors are ready to weather the…uh, weather, and I’m excited to hop inside and get to work!
Until next time, friends, happy building! 🙂


