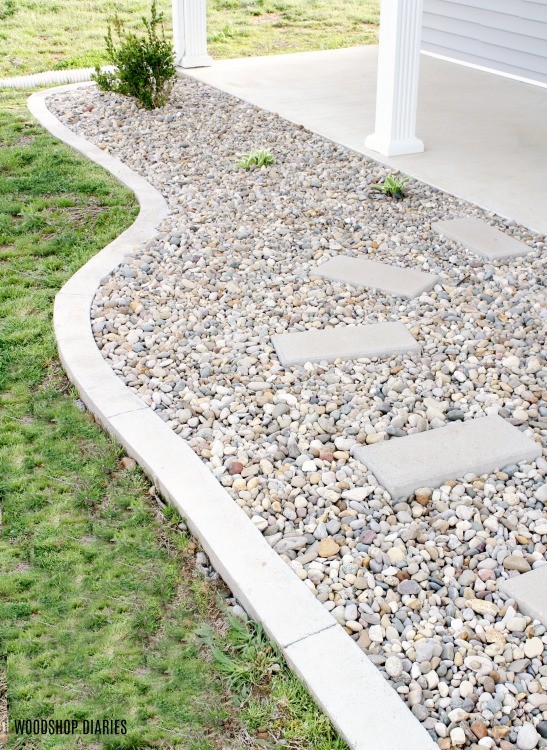
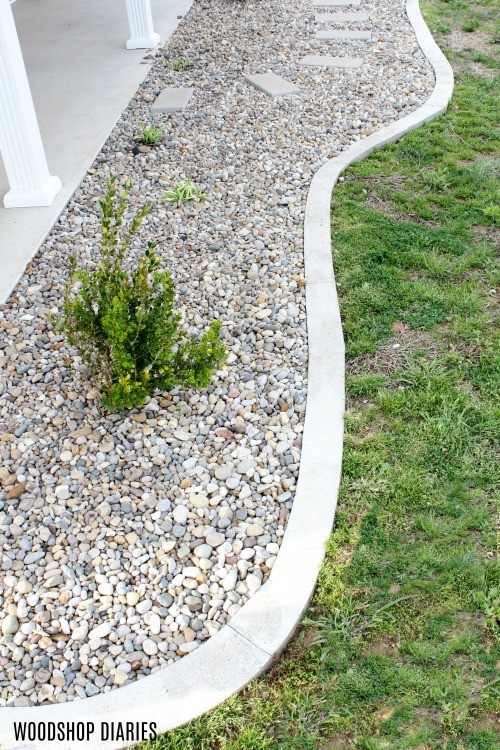
Last spring I spruced up the front of our garage apartment landscaping by adding some plants, some rock, and a nice concrete landscape curb.
This post is sponsored by The Home Depot as part of the ProSpective Tool Review Program.
.
We did this a few years ago to the front of our last house and loved it so much, we wanted to do the same thing here.
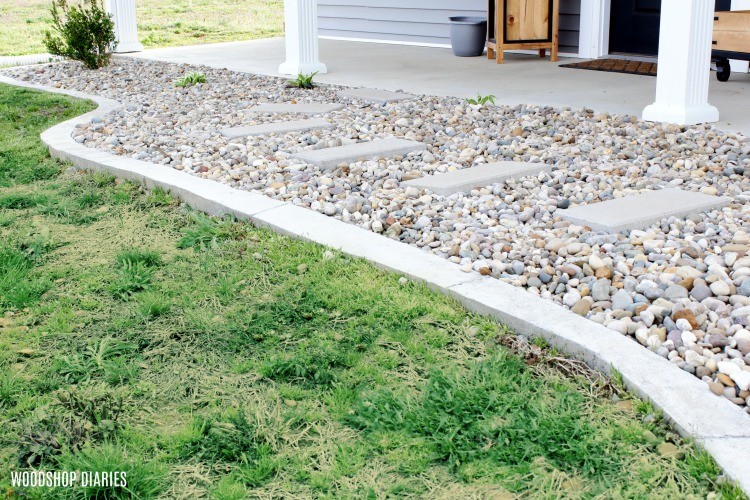
So today, I’m excited to be showing you how I made this concrete landscape curb. It’s not a difficult project, but it is a little exhausting digging, carrying heavy bags of concrete and mixing it all up. So make sure you eat your Wheaties the morning before 😉 You got this. I believe in you.
.
Want some more outdoor project ideas??

I made a video showing some of the process. Now, just a forewarning…I filmed this a year ago and didn’t get footage of the ENTIRE process.
.
But, I’m sharing the step by step instructions written out below, and anything I wasn’t able to film, I’ll explain in detail in the video.
Now, let’s get to work. This post contains affiliate links. See policies page.
.
To Make Your Own Concrete Landscape Curb, First You Need:
- ¼″ plywood
- Wooden stakes (can use scrap wood 1x2s or thin wood strips to nail into the ground)
- Stapler
- Hammer
- General Purpose Concrete (I used 7 or so 80 lb bags for this…you’ll have to determine how much you will need for yours)
- Water
- Shovels
- Trowel
- Safety stuff–gloves, dust mask, safety glasses…all those things
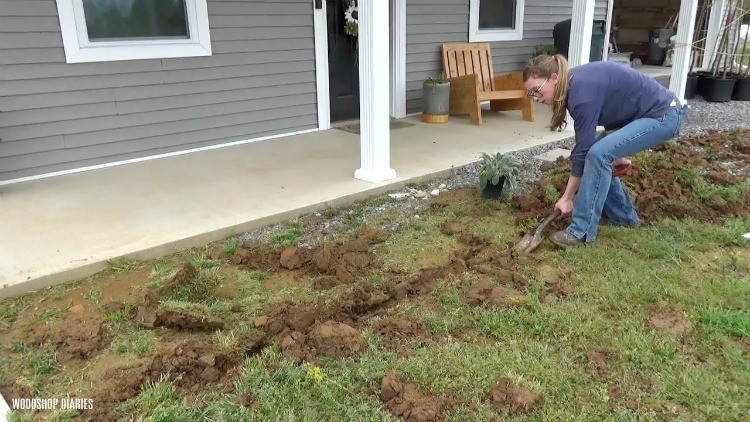
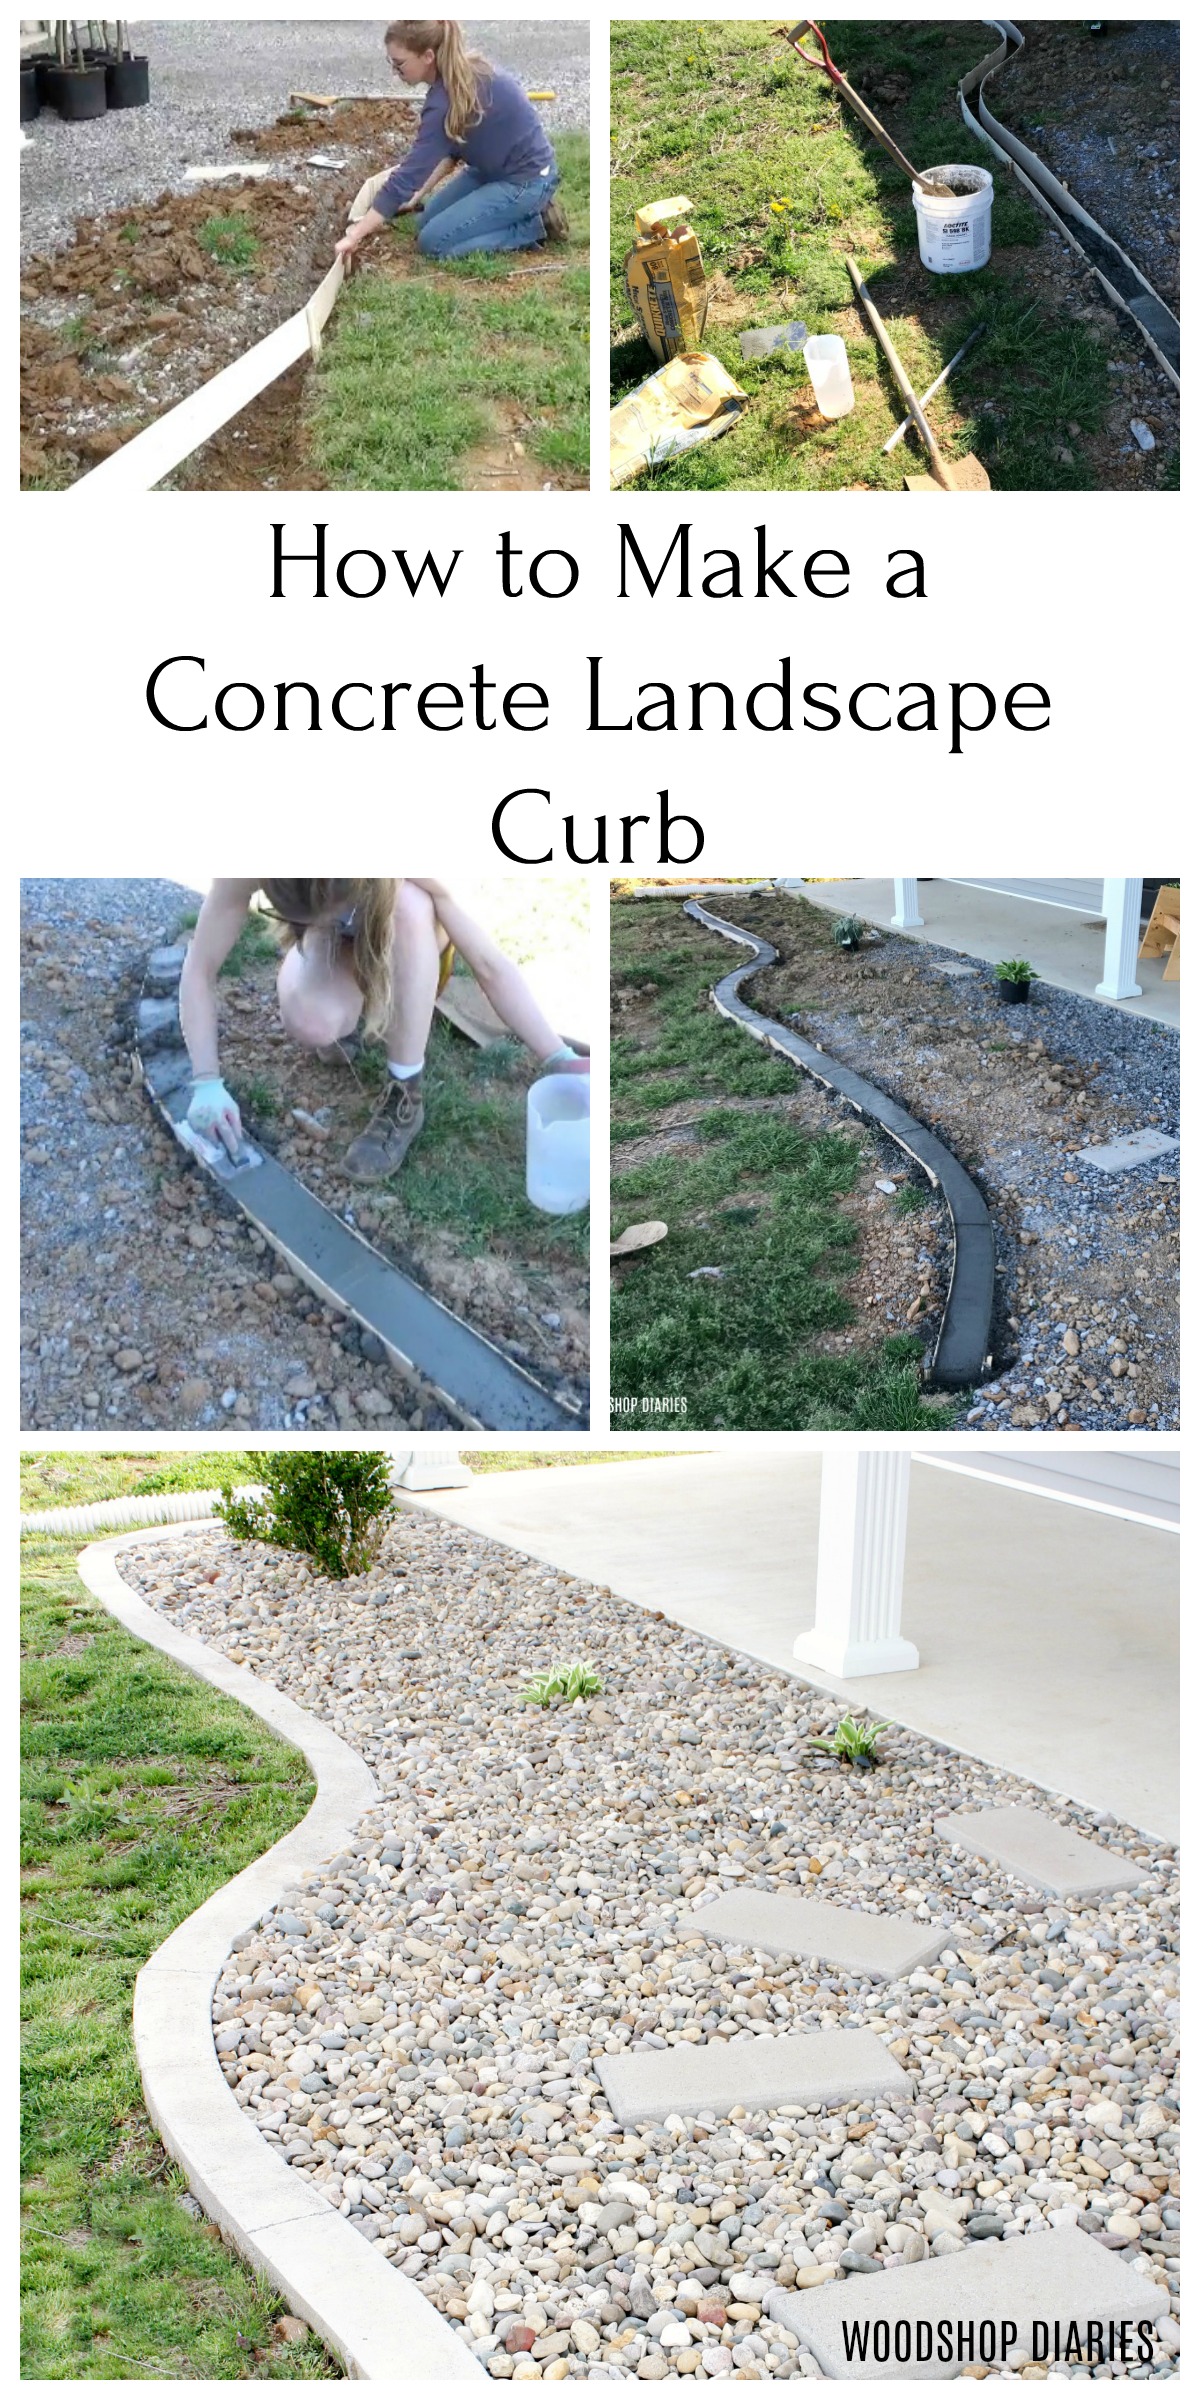
Step 1: Mark and Dig Out Your Curb Location
BEFORE YOU DIG: You guys know you’re supposed to call and have all utilities, and stuff marked before you ever dig anything right? Do that first. Even if you think you know…just do it so you aren’t fined for digging up a fiber optic line or something.
.
The first thing I did was dig out where I wanted to add the curb. I wasn’t really technical with this. I just kind of dug out the general shape I wanted my curb to take in about the location I wanted it to be. I was making my curb about 4 ½” wide, so I dug out about a 6” wide section about 4-5” deep.
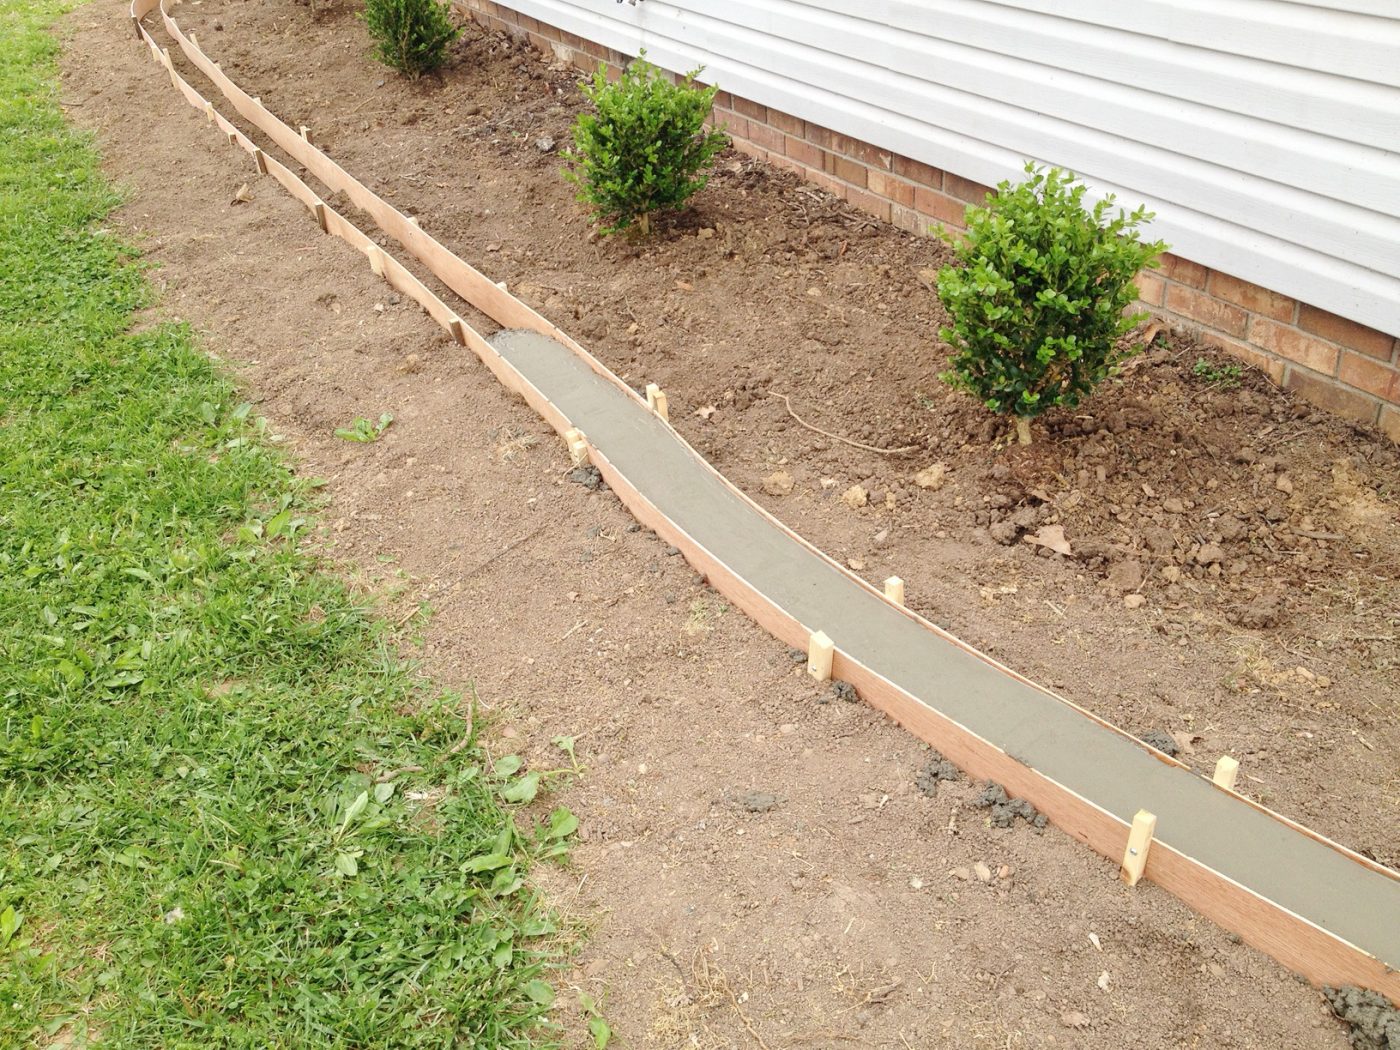
Step 2: Install the Concrete Curb Form
To build the form, I used ¼” plywood and some scrap wood stakes. I stapled the plywood to the stakes and drove the stakes into the ground. You can use 2x4s to make your forms as well or another kind of lumber, but because my curb was curved, ¼″ plywood is flexible enough to bend nice and pretty.
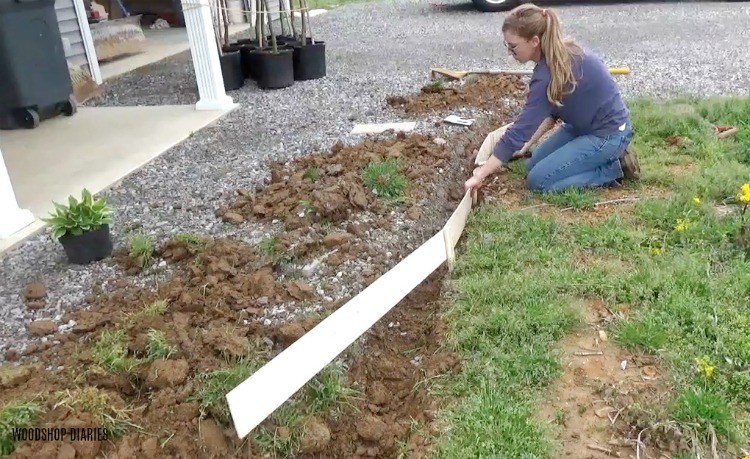
I cut my plywood strips about 4 ½″ wide and my stakes about 7-8″ long–I just used some scrap 1x2s and random thing strips I had in the shop, but you could also purchase actual wood stakes as well.
.
I laid the OUTSIDE form first along where I had dug out, then laid the inside form about 4 ½″ away from the outside. That will make my curb about 4 ½″ wide.
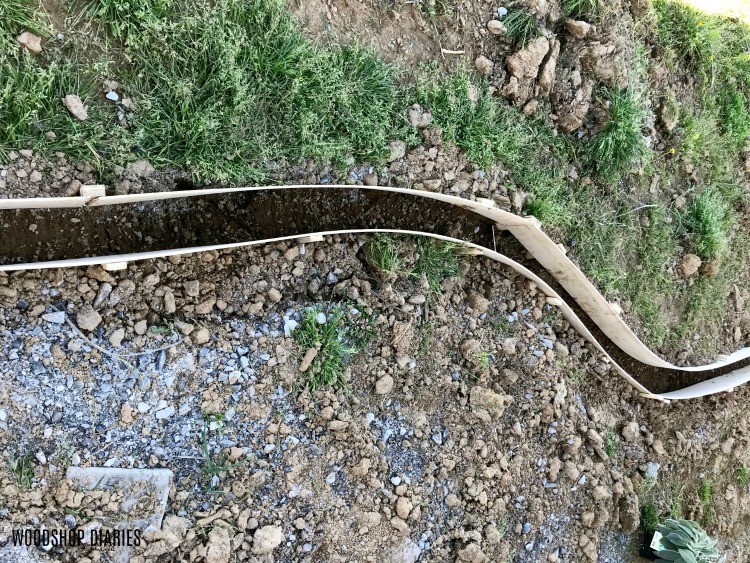
I just drove the stakes, then stapled the plywood onto them to make the shape. I didn’t want my entire curb below ground, so I left the forms sticking up out of the ground about an inch or so.
.
Also, I tried to keep the two sides of the form fairly level so the curb would be flat across the top and not tilted.
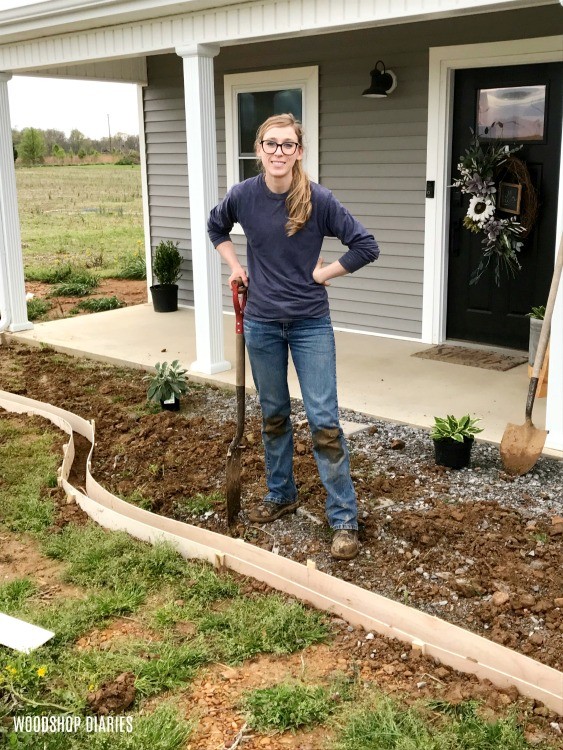
Step 3: Pour Concrete Landscape Curb
Once the forms were in place, I back filled some dirt around the outsides to help support the forms so that when I poured the concrete, they wouldn’t bow out.
.
Then, I grabbed all my concrete mixing and pouring supplies.
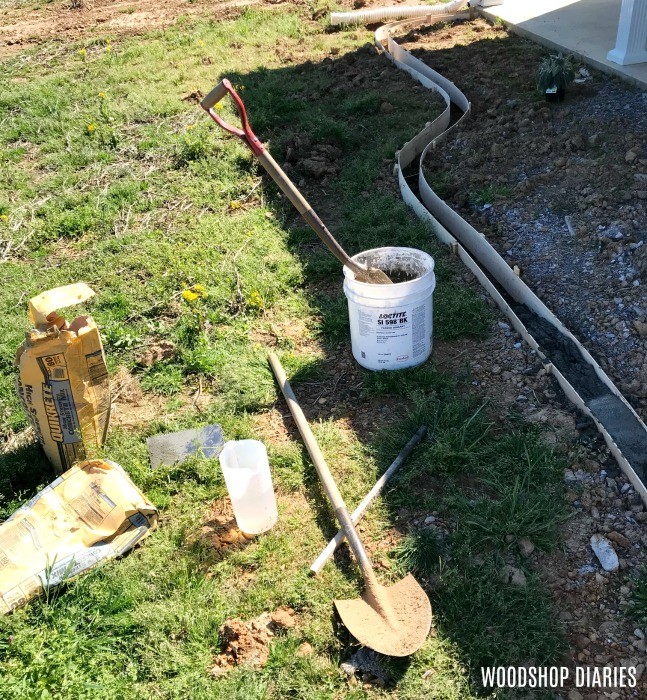
A bucket. A couple bags of concrete—I think I used 7-8 bags for this project. Trowel. Shovels. Gloves. Some water. And a dust mask—you don’t want to be breathing in the concrete dust.
.
I mixed small batches at a time to pour because I only had a bucket. Id suggest using a wheelbarrow if you have one to make this a little easier.
.
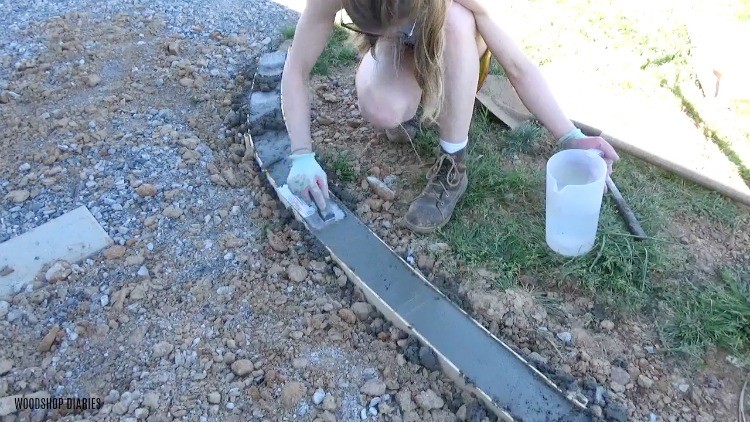
Once I had the concrete mixed to about the consistency of cake batter in the bucket, I used the shovel to shovel it into the form. It’s important to tamp the concrete to release as many air bubbles as possible (by “tamp” I mean to kind of “stab” the concrete with the shovel to push it down into the form and fill any voids).
.
I worked my way around the form and once I poured a few feet worth, I took a wet trowel and tried to smooth everything out. I’m not a professional at this, so it wasn’t the best job…but it’s just a concrete curb.
So I tapped and smoothed it out the best I could and tried to get it nice and flat. Here’s a photo from when we did this at our old house that shows how it smoothed out.
Once I had that section smooth, I mixed and poured another few feet then smoothed it out again. I worked my way all the way around the form. It was hot, dusty, and exhausting. But it really didn’t take that long—a few hours I guess.

Once everything was smoothed out, I took the edge of the trowel and made small relief cuts by indenting the trowel about ¼″ into the semi wet concrete.
.
You can see the indentions in the photo above. Concrete tends to crack over time. Making these “relief cuts” kind of tells the concrete to crack here so it’s less noticeable. It’s like cracking it ahead of time on purpose.
Step 4: Cure and Remove Form
I let it sit and cure for about 4 days. It’s hard to be patient, I know. But after four days, I carefully removed the forms from around the curb. Some of the stakes were a little hard to pull out of the ground, but eventually I got all the form removed.
.
I back filled dirt back around the front side of the curb to plant grass seed in later, and prepared the landscaping area for plants.

I planted a few hostas and a couple bushes in the landscape and covered everything inside the curb with landscaping mesh. This helps prevent weeds from growing through the rocks.
.
I had to cut small holes to fit over the hostas and bushes. Then I shoveled some Indiana river rock over the mesh to finish everything up.
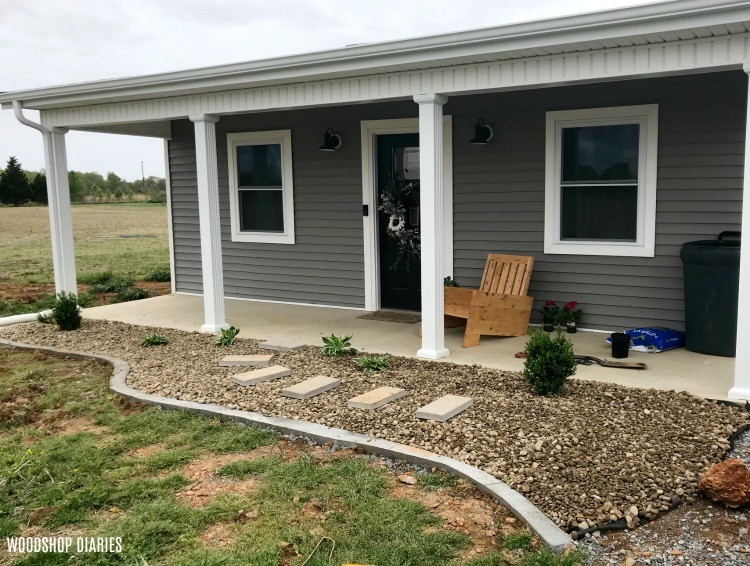
And that was it. I really love adding concrete curbs to landscape. I think it looks really clean and is quite a bit cheaper than adding a bunch of landscaping edging stones.
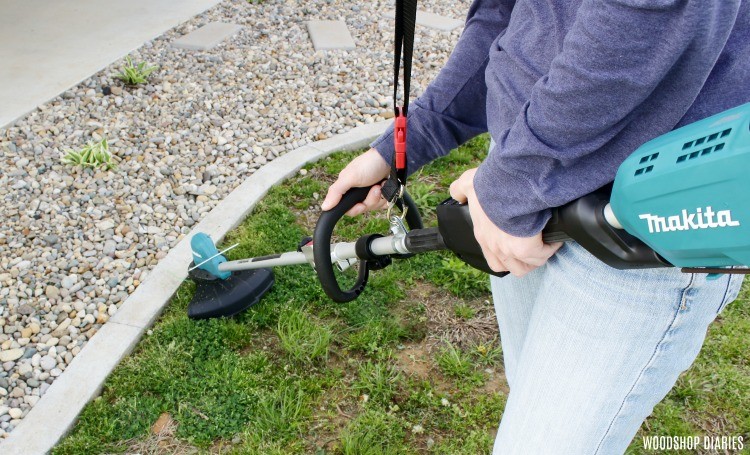
Although our grass is still pretty patchy, it did grow a little and I’ve been using this Makita cordless brushless motor weed trimmer to keep it looking nice around here.
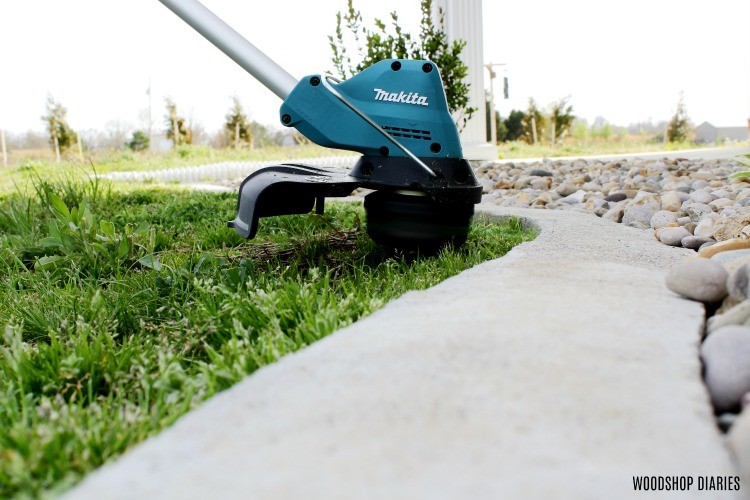
It’s really nice to skip the gas mixing, and string pulling and just slip on a battery and start trimming. It also features an automatic torque drive setting that can automatically adjust the power needed to trim thick, tall grass vs short thin grass.
.
This helps save battery life and gives you a better, more precise cut. It’s perfect for trimming around the house and keeping my new landscape curb looking clean. Check out the trimmer kit here.
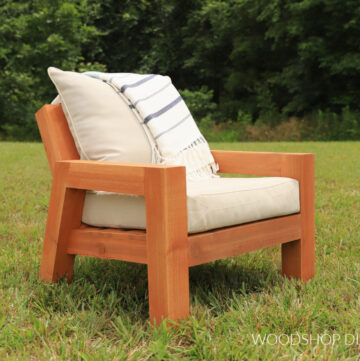
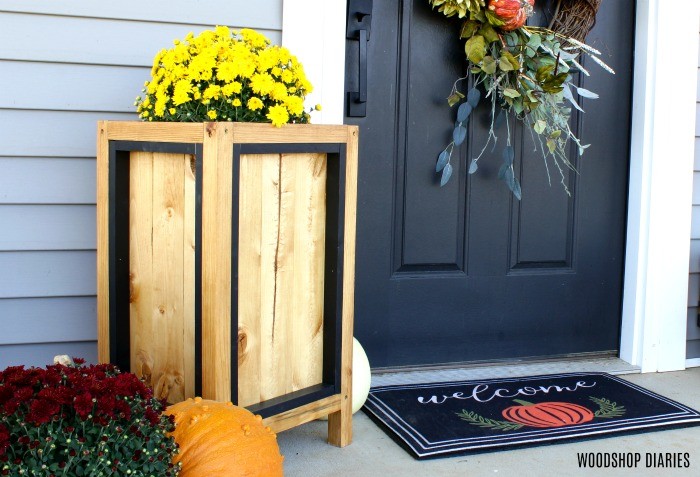
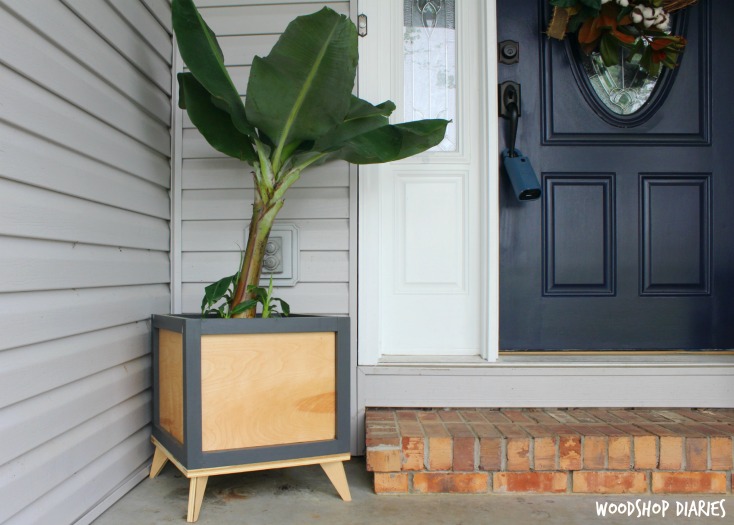
By the way, if you’d like a chair or a planter pot on the porch, you can grab the tutorials to make your own here:
I hope this has inspired you to get out and get pouring (concrete, that is). If you liked this project, I’d love if you’d pin this for later.
Until next time, happy building 🙂