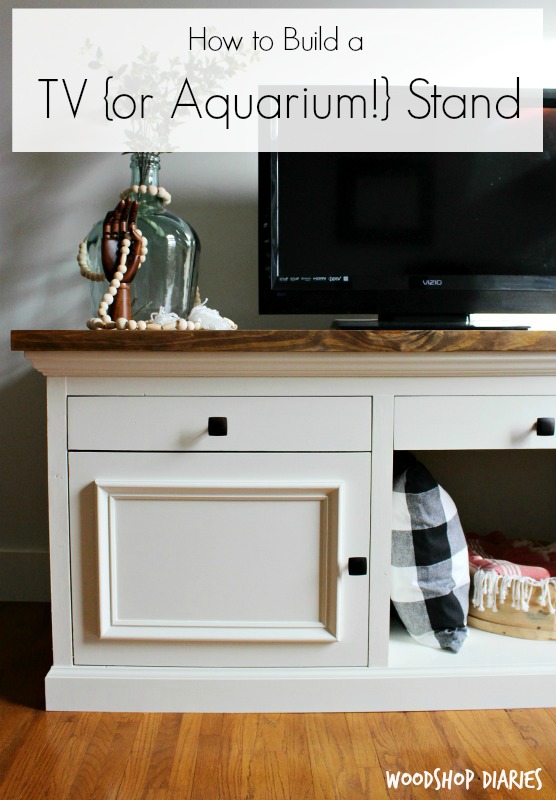
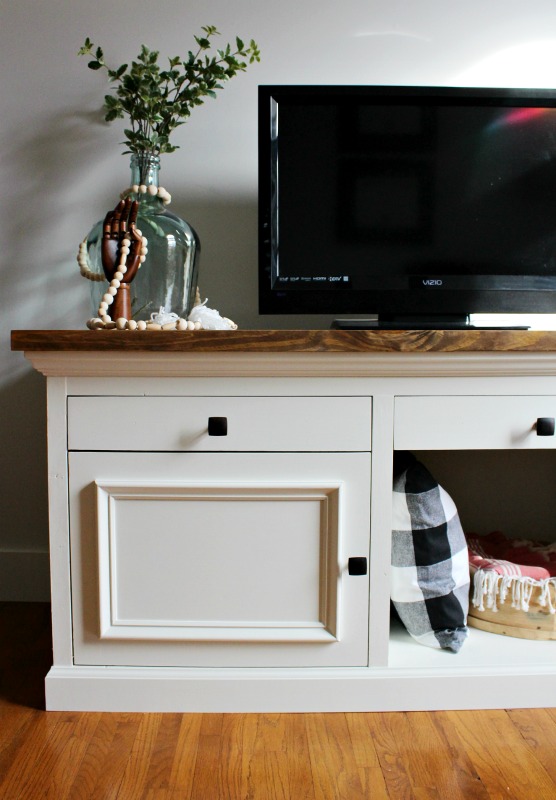
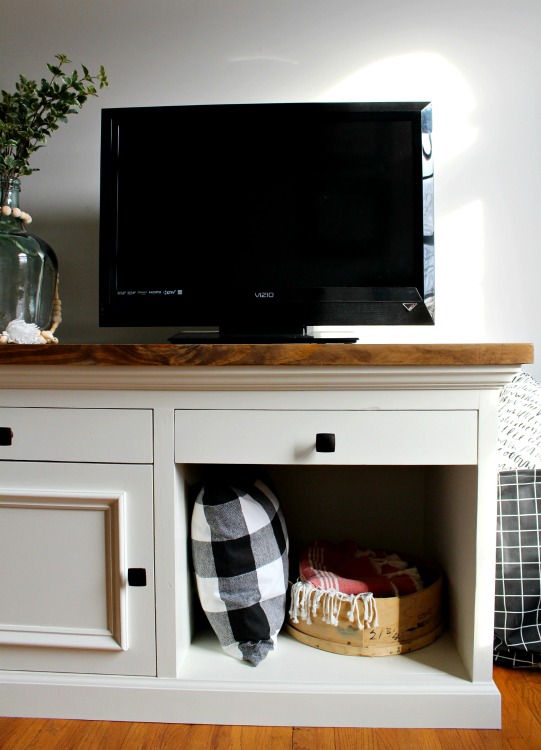
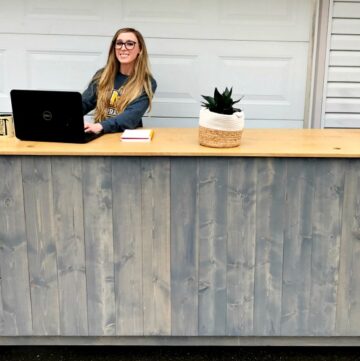
It’s a TV cabinet, it’s an aquarium stand, it’s a console cabinet. It’s…whatever you want to use it for?? It’s actually–in real life–a nightstand that I made for my brother in law who wants to put an 60 gallon aquarium on it. But, I thought it looked best in my pictures staged as a DIY TV stand….so let’s just go with that. But hey, nightstand, console cabinet, desk…it all looks good 😉 I’m not going to tell you how you have to use it. You do you, boo 🙂
This post is sponsored by Build Something. Build Something is Kreg Tools website for free building plans from small to large project types. They’ve got hundreds of free plans posted for you to build something for every room inside (and outside) your home.
.
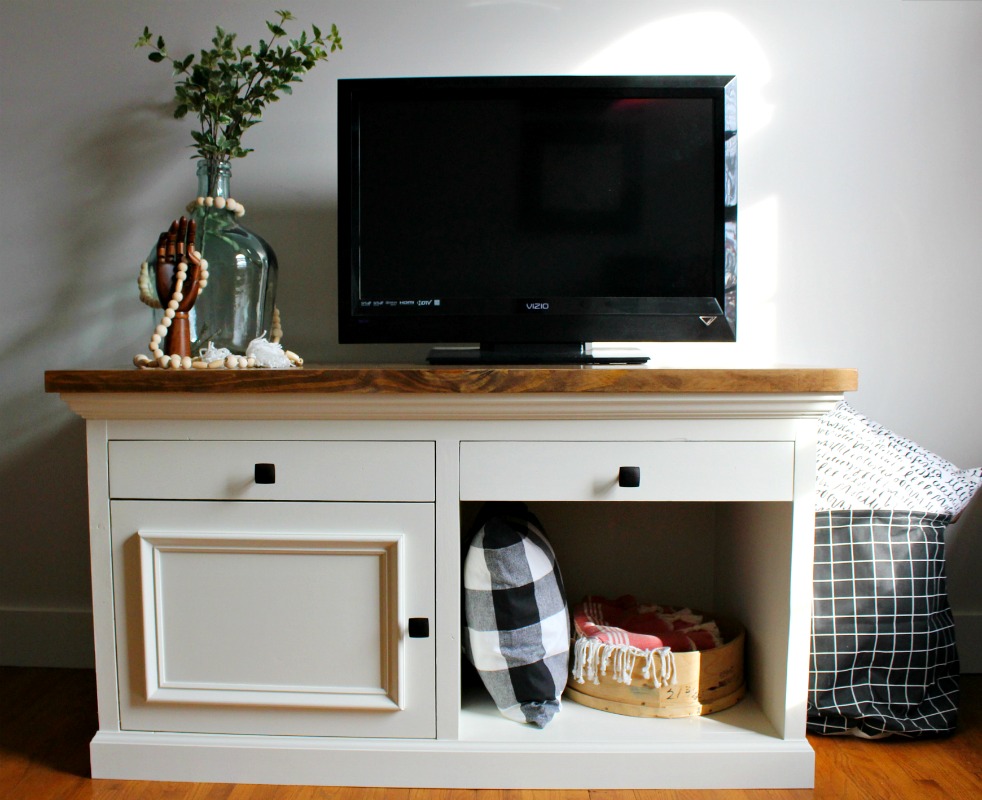
If you remember from not so long ago, I recently built a DIY media console and a DIY aquarium stand. So I felt a little redundant building another one…of both…kind of. But this design is totally different and trust me when I say it’s STURDY. It’s designed to hold well over 500 lbs of aquarium!
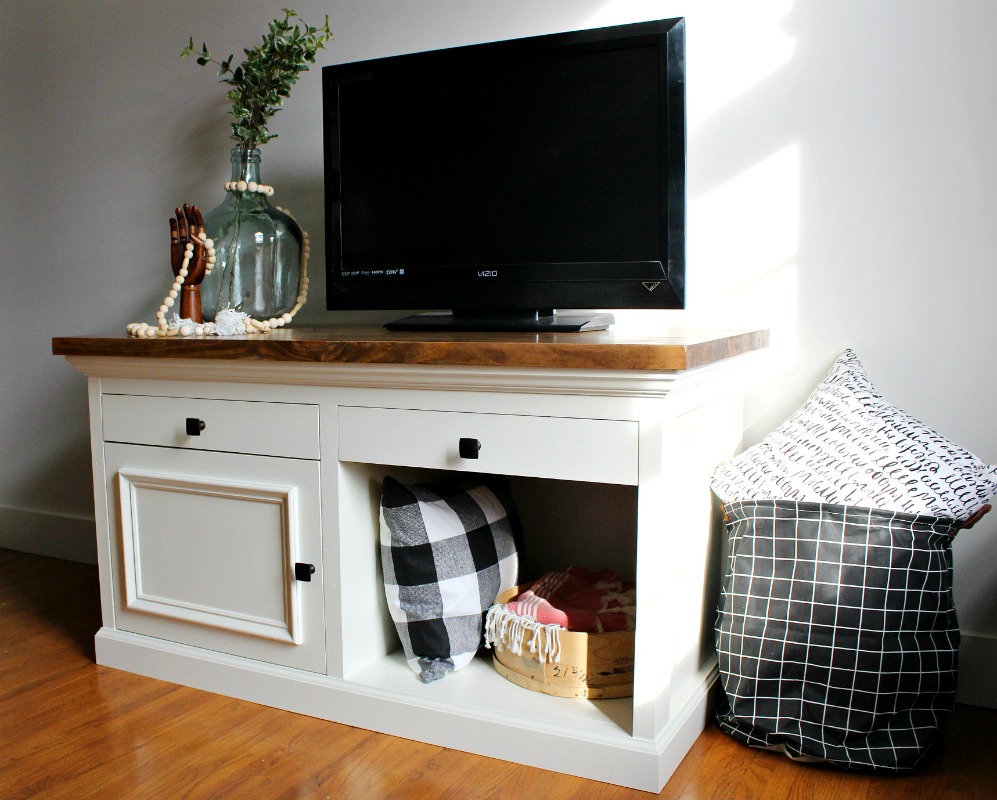
It’s made from mostly 2xs and hardwood plywood. If you’ve shopped around for 2x construction material, you know that usually it’s not that pretty. But, it’s strong. So since 2x material is a necessary evil when you want strong DIY furniture, you CAN do a few things to make it look nice. So, before you get building, be sure to check out this post where I show you how to get your 2x material to look a little nicer and come out a little cleaner.
.
Then, while you’re at it, check out this bar cart made from a single 2×10 board--it’ll prove to you that furniture made from construction lumber really CAN be pretty 😉
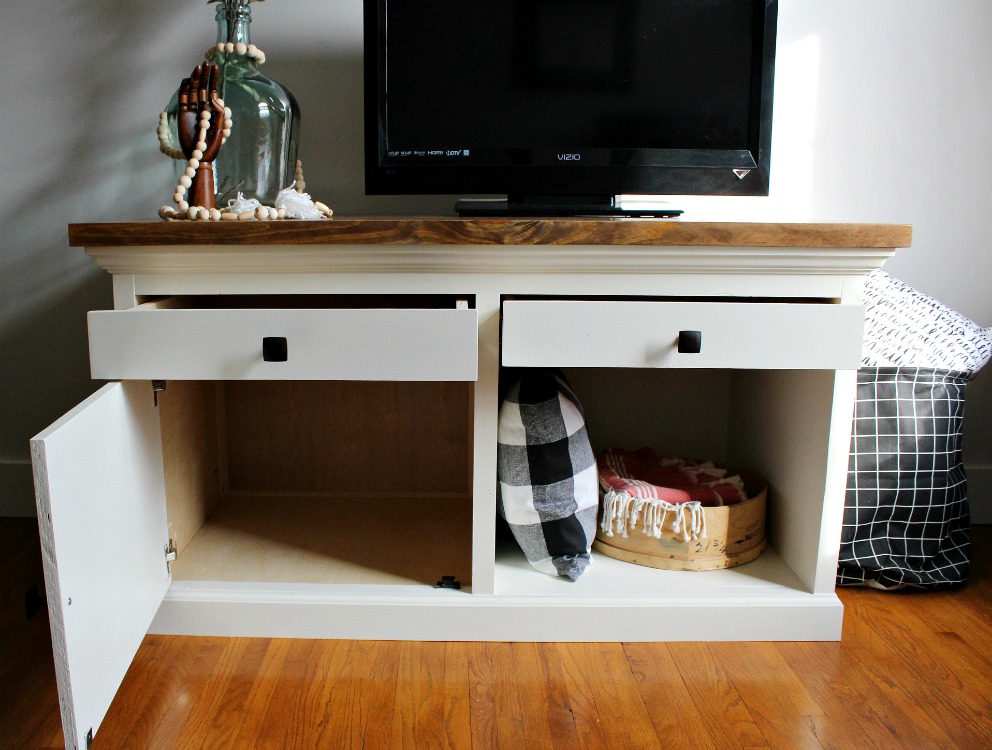
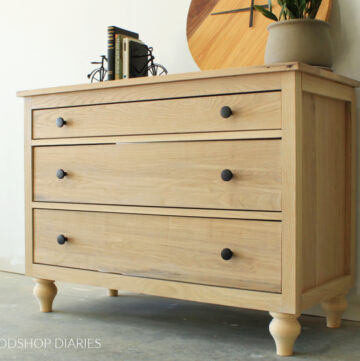
Of course, this project proves that, too. I love the option of drawers, cabinet or open storage all in one piece. It’s kind of like the combination storage cabinet I built a while back. Or the modern dresser armoire…or the faux drawer dresser. Now that I think about it, I really, really like pieces with versatile storage options haha.
Anyway, back to the cabinet…I’ve got the free plans for you over on Build Something so be sure to click over to grab those, but I’ve also got the video tutorial posted on YouTube and I’d love it so much if you’d check that out. I’m really working hard to make some videos for my channel lately and I’d love it if you’d subscribe!
I’ve made it a goal of mine to grow my YouTube channel this year and add at least one video per month. I’ve got several in the works, so stay tuned!
.
This post contains affiliate links. See disclosure policy for details.
As usual, I used a few tools in this build that came in quite handy that I highly recommend having around in your shop. These are:
.
You could build this entire cabinet with only these tools. Of course, a table saw is handy, but a circular saw will do the trick for a fraction of the cost.
.
Cutting down 4×8 sheets of plywood is hard for a scrawny girl like me. I can barely even reach each edge across the 4 ft span. There’s no way I could run a full sheet through the table saw by myself. The Kreg RipCut makes this job so much easier. And, now that I have the AccuCut, too, I think the AccuCut and my circular saw are the most used tools in my shop! It’s SO easy to use, accurate, and fast. You may have seen me using this on Instagram and in my last YouTube video for the mobile tool cart. It takes seconds to get a straight, clean cut on plywood.
.
Of course, the Kreg Pocket Hole Jig makes building so quick and easy and is great for DIYers, weekend woodworkers, and beginners. There are more advanced methods of joinery, but for those without fancy tools, who just want a fun, quick project or who are just learning how to build you can’t beat the pocket hole jig.
.
And, as I’ve told you before, now that I’ve used concealed hinges on my doors, I will never go back to any other kind of hinge. These things are AWESOME. The only drawback is that you have to drill out a “cup” to place your hinge. But the Kreg Concealed Hinge Jig is made specifically for this task and is SO easy to use. You just line it up, clamp in place, and drill. You can see this done in the video above. Concealed hinges make adjusting and aligning your doors a breeze!
People always ask me what tools I recommend to get started woodworking. The tools listed above are PERFECT for getting started.
.
So head on over to Build Something and grab the free plans, and be sure to check out the video tutorial as well.
.
Until next time, happy building! 🙂
As always, fabulous job. I love it!
Thank you so much!!
Shara, as a DIYer I am also a safety nut. I would have preferred seeing you use a push stick when you were cutting the dados in the drawer sides.
I use my push stick quite a bit! I should have probably used them on this, but it’s easier for me to not use my push stick when cutting dados. I’m always a little afraid of the table saw, so I always try to be super careful.