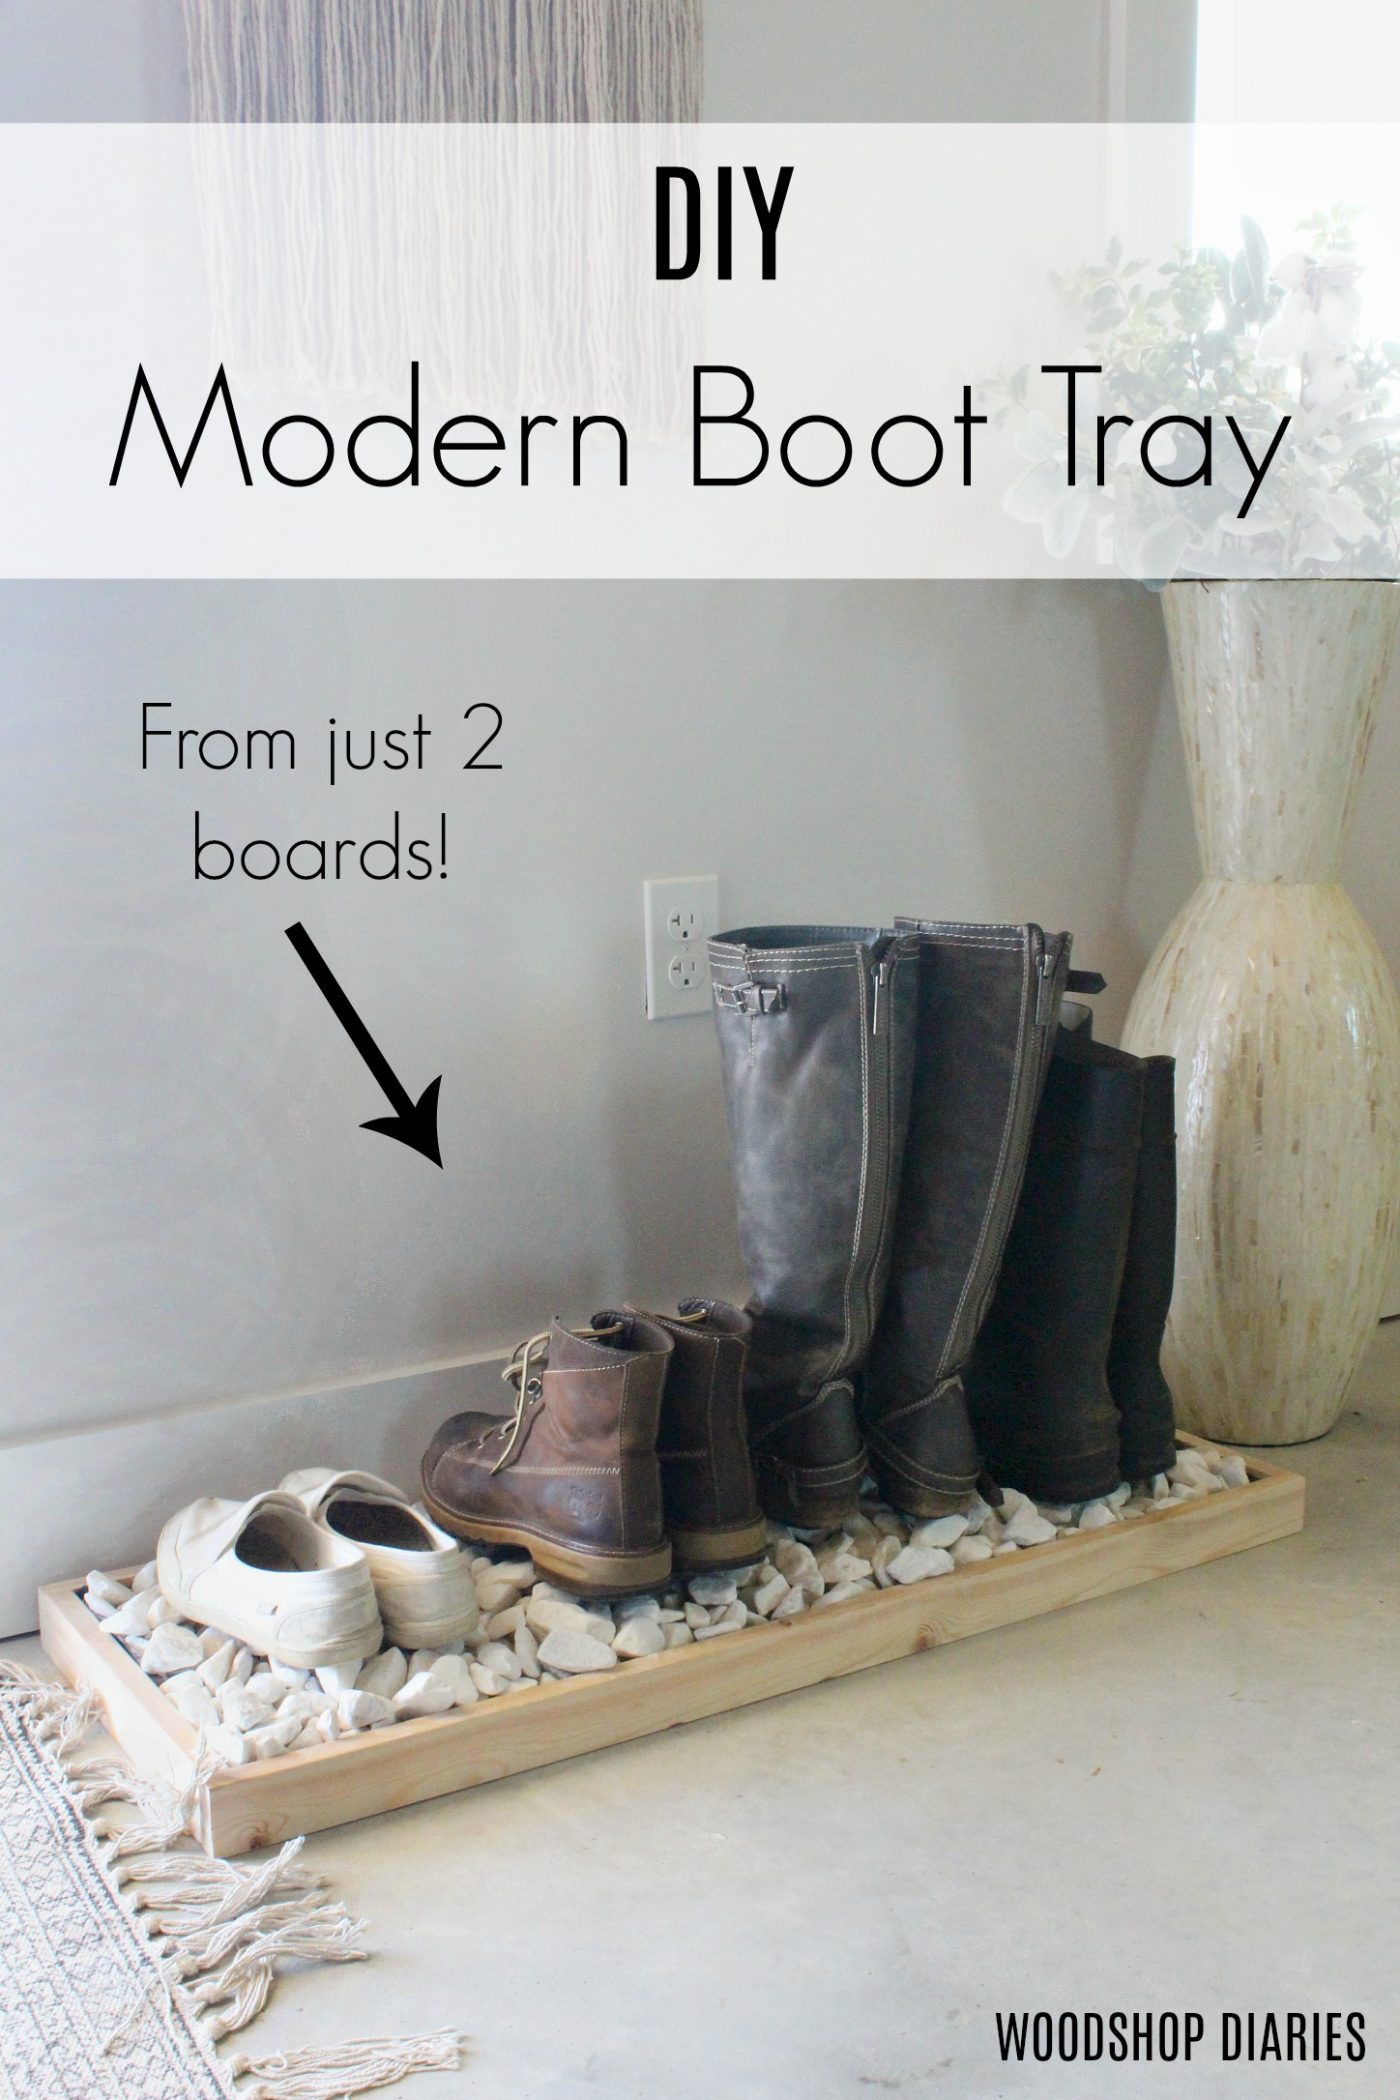
Tired of muddy boots next to the front door? In this post, I’m sharing how to build a simple wooden DIY boot tray with just 2 boards!
*This post is sponsored by Kreg Tool and contains affiliate links. See policies for details.

*This post was originally shared on October 22, 2018 and was updated on September 21, 2023.
Plastic boot trays are inexpensive and work great. However, they don’t always look so nice.
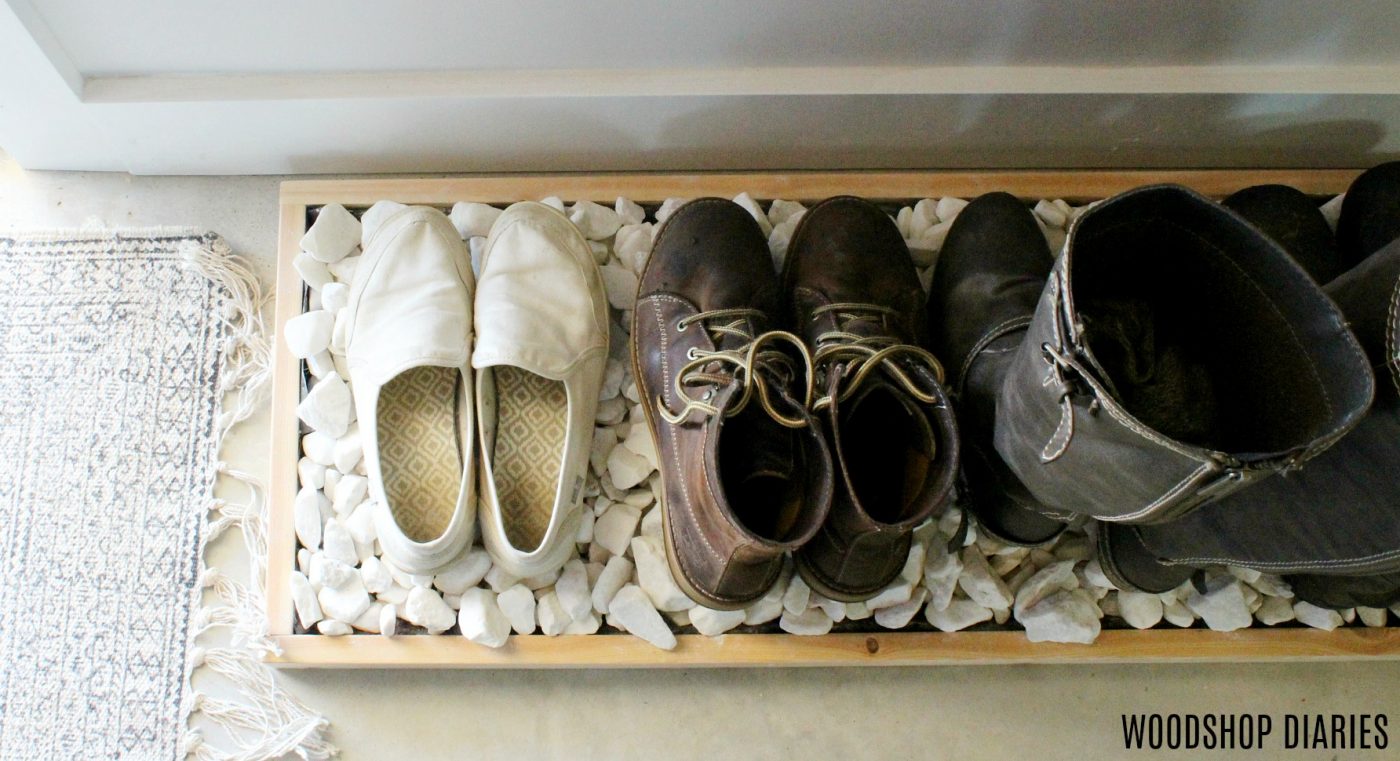
This modern boot tray offers both function and style and is still an inexpensive option to help protect your floors from wet and muddy boots.
The rocks on the top not only look nice, but also allow water to drain off of wet rain boots and shoes. Underneath the rocks is a moisture barrier so the water should never get all the way down to the floor.
If you’re ready to see how to make your own, let’s dive in!
What to know before building a DIY boot tray
This is a great beginner woodworking project you can easily complete in just about an hour or so.
Love DIY projects? Join our newsletter for priority access to new projects and building plans!
What type of wood to use for a boot tray
This project can be made from just about any type of wood you’d like. Although, I do recommend using a solid wood (not plywood) for the main frame portion of the tray.
I’ve made three of these over the years (see FAQ below). My first two were made from basic, inexpensive pine/whitewood that you get at the big box store. And I made my most recent one with cedar for the frame and birch plywood scraps for the bottom.
All of them have held up great, so feel free to pick your favorite wood (be sure to check your scrap pile!) and whatever fits your budget.
Overall dimensions
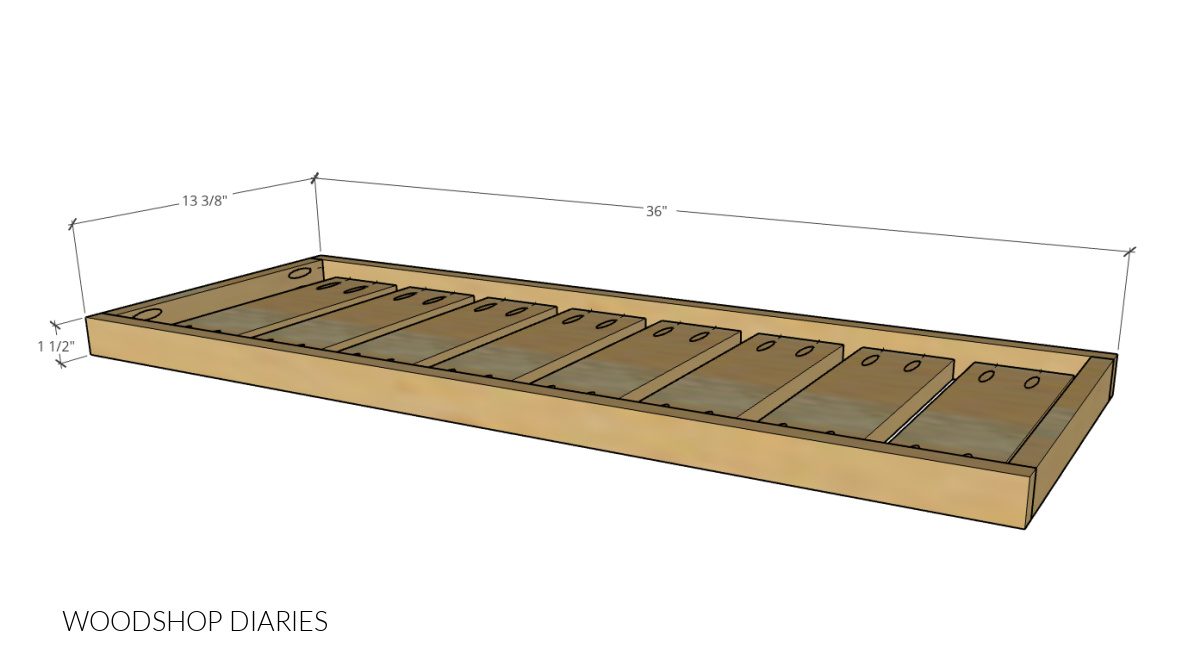
This boot tray is approximately 1 ½″ tall (not including the rocks) x 13 ⅜″ deep x 36″ long once assembled.
How much did it cost?
This project can be made from a one1x2x8 board and one 1x4x8 board plus a bag of rock. As of September 2023, this would cost approximately $15-20 depending on the type of wood and type of rock you use.
Of course, you’ll also need a moisture barrier to go under the rocks, but if you have a spare roll of tar paper (like they use for roofing), you can cut off a small piece, or even use a thick plastic bag or tray you already have on hand.
Frequently asked questions
I’ve had several questions over the years about this boot tray. Here are a few of the most common and my honest answers to them.
How do you clean it?
To be honest, it doesn’t really get that dirty. It does collect some grass clippings and a little dirt here and there, but most of the mud just dries on the boots/shoes and doesn’t get down into the rocks.
About once a month (or just when I notice it looks a little dirty), I’ll use my household vacuum and put the smallest attachment on the end of the hose (so it won’t suck the rocks up) and simply vacuum out any debris.
Do you have issues with mold?
I’ve had three of these over the last 8 years. I left my first one behind when we moved. I’ve had my second one for 5 years now (still using it) and I made a third one last year because we needed one for both the front door AND the garage door.
I’ve not seen mold in any of them–even after 5 years. I think the large rocks allow enough air flow that the moisture dries pretty quickly.
Now, that’s not to say it’s not possible to have mold. Everyone’s situation and the environment it’s placed in will vary. But, we’ve not experienced any mold with ours and we use it heavily.
Do pets/kids bother it?
Our dog doesn’t bother it at all. But, she doesn’t bother much of anything–we got lucky with a super well behaved rescue mutt! Of course, some dogs (or children) may want to eat the rocks or dig around in them.
So, if you have small children or mischievous pets, this may not be a great option.
How to build a modern boot tray
I’m sharing the steps to build this simple boot tray below along with some tips on the process.
But, if you prefer to watch, I’ve got a quick video showing how to assemble this tray here:
Are DIY project videos your thing? Subscribe to the Woodshop Diaries YouTube channel for new project videos and behind the scenes content!
Tools & Materials
Tools:
- Miter saw (or any saw that can cut straight lines)
- Pocket Hole Jig
- Drill/Driver
- Utility Knife
Materials:
- (1) 1x2x8 board
- (1) 1x4x8 board (or ¾″ thick scraps of any width)
- Tar paper (or other moisture barrier as desired–a plastic tray would work, too!)
- (1) bag decorative rocks (1″ diameter or larger are best)
Step 1: Assemble the Boot Tray Frame
First, I cut my 1×2 into the following pieces:
- (2) 11 ⅞″ long
- (2) 36″ long
If you’re cutting from a 1x2x8 board, it will be 96″ long. These pieces will take the entire board length with no scraps to spare.
Due to blade kerf, the 36″ long pieces may end up being SLIGHTLY (1/16″ or so) short. That’s okay. The measurements here don’t have to be extra precise.
I drilled ¾″ pocket holes into the ends of the short pieces, and assembled a simple frame like shown below using 1 ¼″ pocket hole screws.
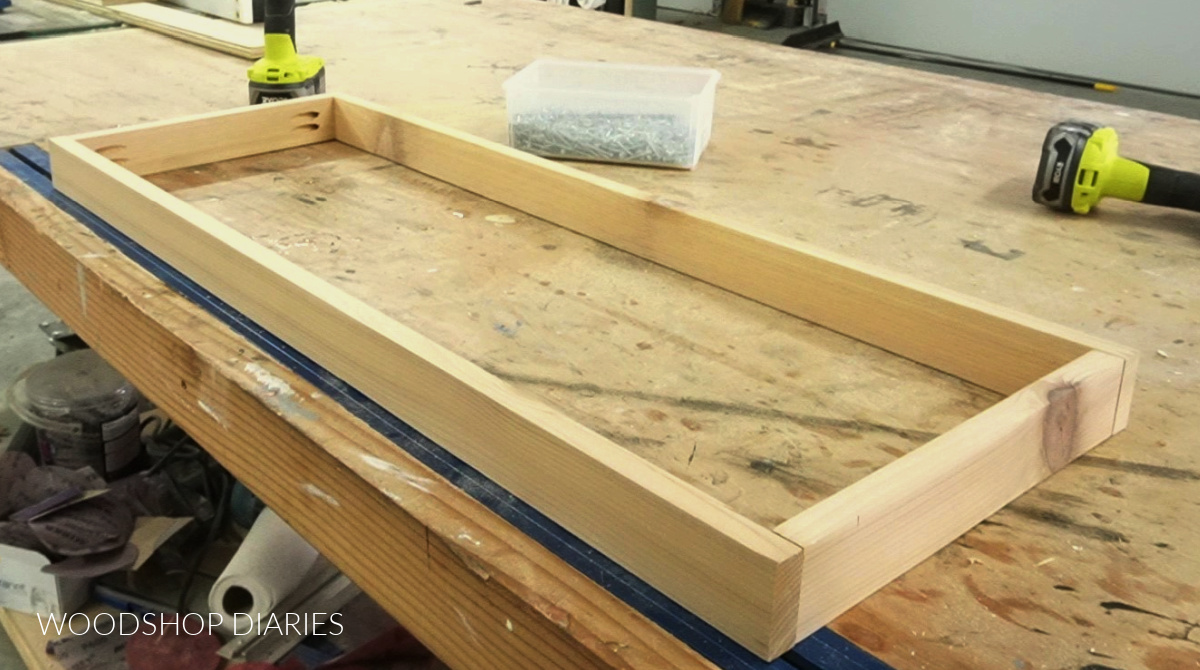
RELATED: How to use a pocket hole jig
Note that the pocket holes should face the inside. Feel free to use some wood glue on this joint for a little extra hold if desired.
Step 2: Install the Bottom Slats
Next, I cut some slats to run along the bottom of the tray. Originally, I used 1×4 pieces for these slats. But in my most recent version of this project, I just used some scrap ¾″ plywood pieces.
Feel free to use any ¾″ thick material you have on hand–you can even make this a solid plywood panel, if you’d like. But if you don’t have any scraps to work with and don’t want a lot of leftover material, a 1x4x8 board would work perfect.
Simply cut the 1×4 into eight 11 ⅞″ long pieces and drill ¾″ pocket holes into the ends.
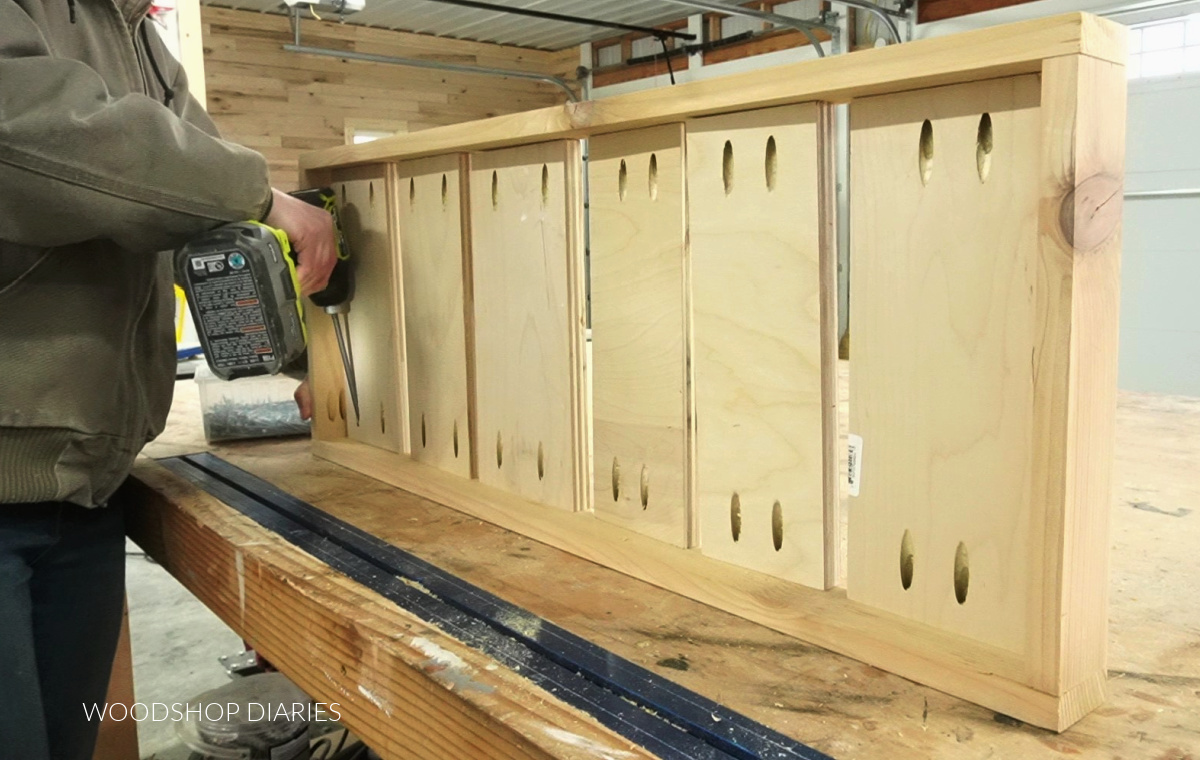
I evenly spaced the slats (it doesn’t have to be PERFECT) in the frame from step 1 and secured with 1 ¼″ pocket hole screws. The bottom of the slats should be flush along the bottom edge of the frame.
If you’d like to paint or stain, go ahead and do so before adding the liner and rocks. I never finished any of my trays–I left them as is.
Step 3: Add Liner
I keep a roll of tar paper in my shop because it just comes in handy quite often. Tar paper comes in a roll and is used in roofing as a waterproofing membrane between the sheathing and the shingles.
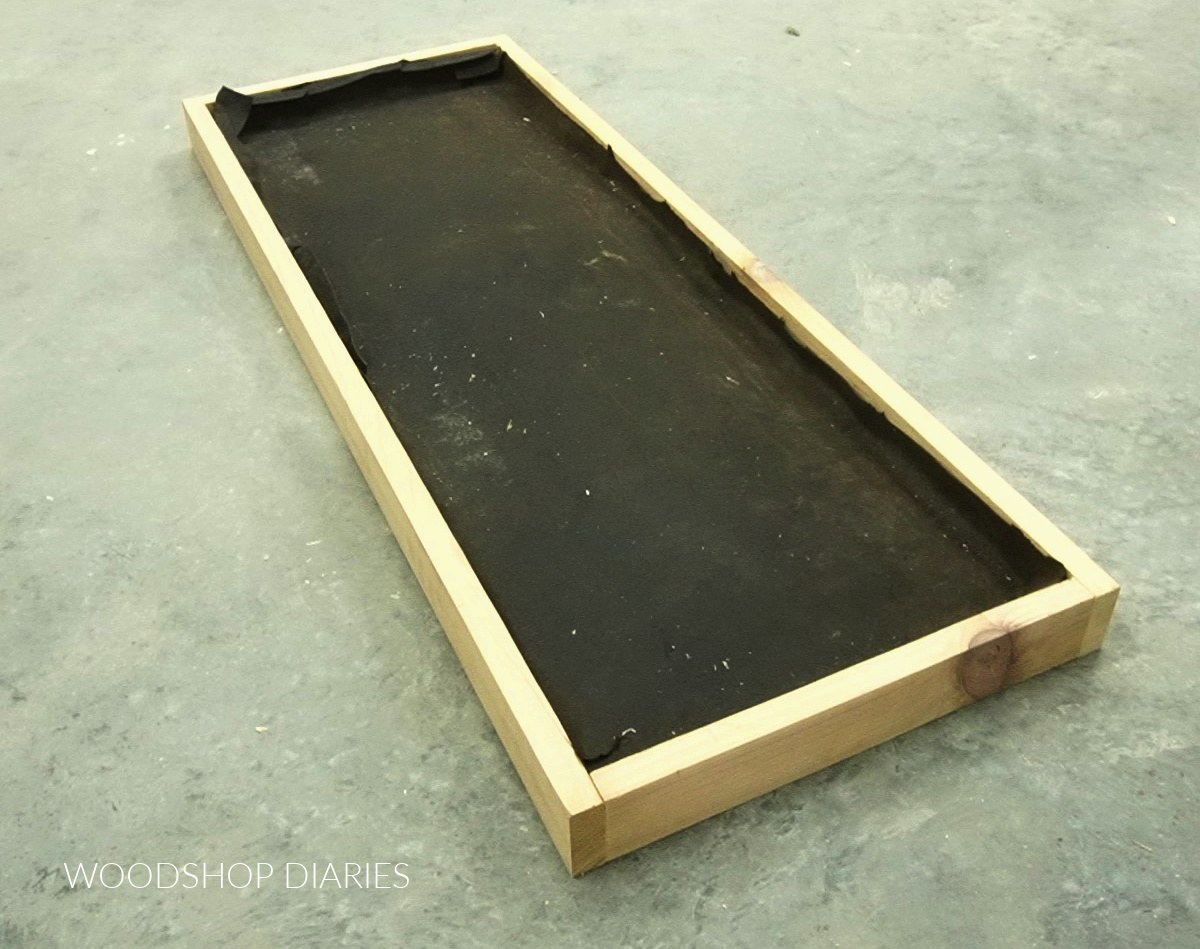
I used a utility knife to cut a piece off the roll to fit down into my tray to use as a moisture barrier.
However, if you don’t have tar paper handy, there’s no need to buy a whole roll just for this project. You could also use a heavy duty trash bag, or even grab one of those cheap plastic boot trays to fit down into this wooden tray.
Basically you just need something to help hold the rocks in place and catch the water that drains off the shoes so it doesn’t get to the floor.
I placed my moisture barrier into the tray. I didn’t staple or secure it as the rocks will hold it in place.
Step 4: Add Drainage Rocks
The final step is simply adding the rocks. I grabbed a bag of decorative landscape rock from my local big box store (The Home Depot) and poured onto the liner.
Feel free to pick any color or style of rock you’d like, but I do recommend going with some larger rocks (1″ diameter or larger) for best results. Smaller rocks won’t stay in place as well and won’t dry out as easily.
I just spread these out evenly across the tray and with that, it’s ready for use!
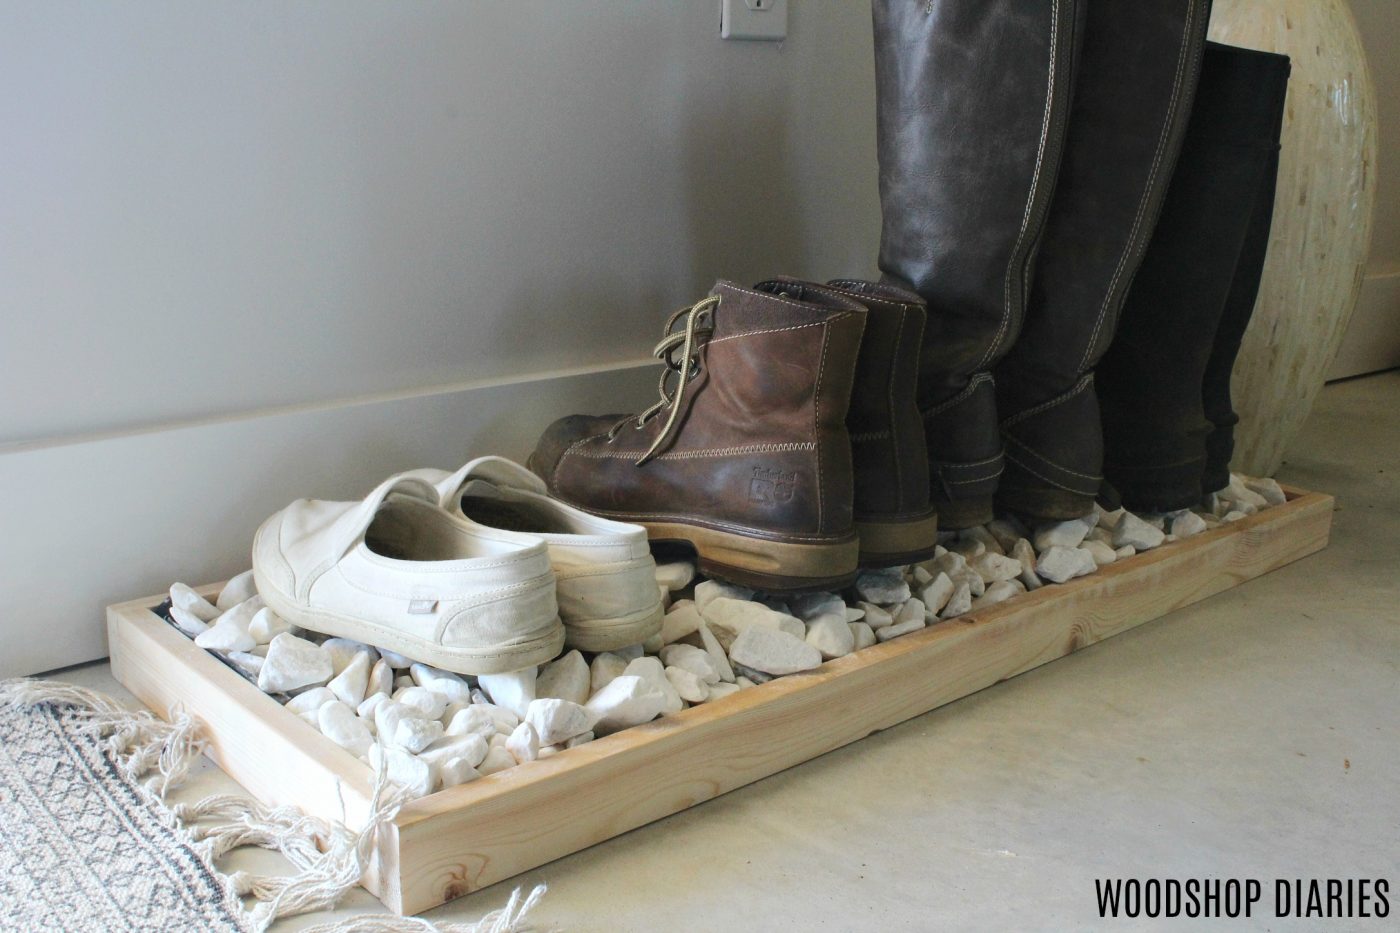
This simple project has been one of my all time favorites over the years and I’ve loved having it in our entryways–especially during snowy seasons!
If you’re ready to build your own, grab the full build plans (with a printable version) over on Kreg Tool.
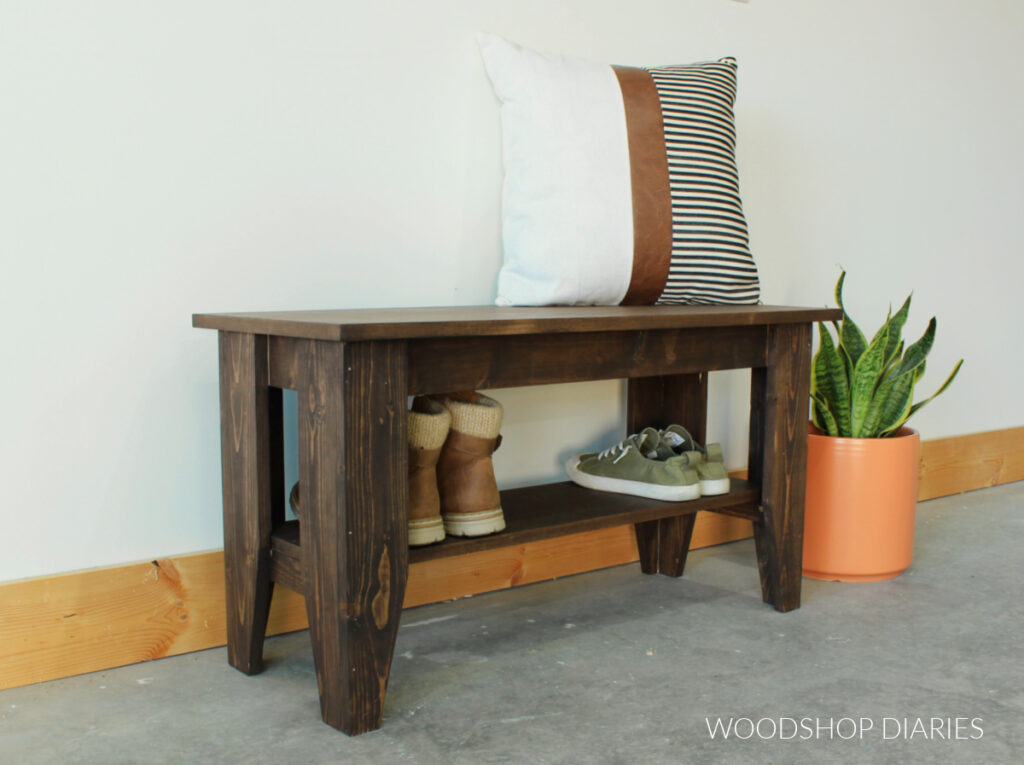
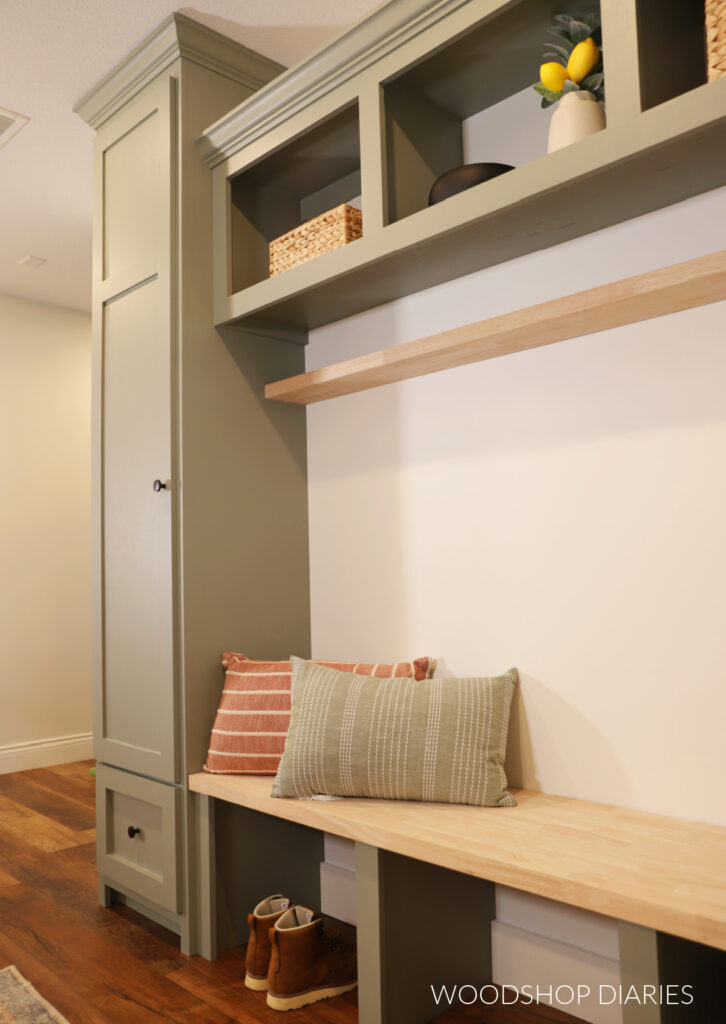
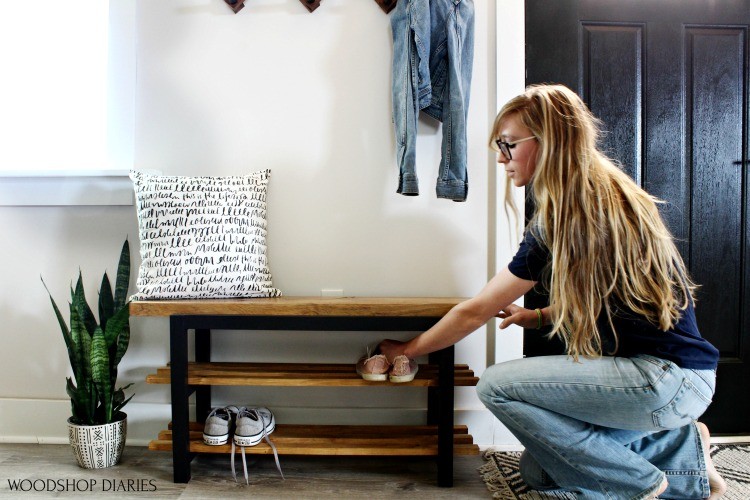
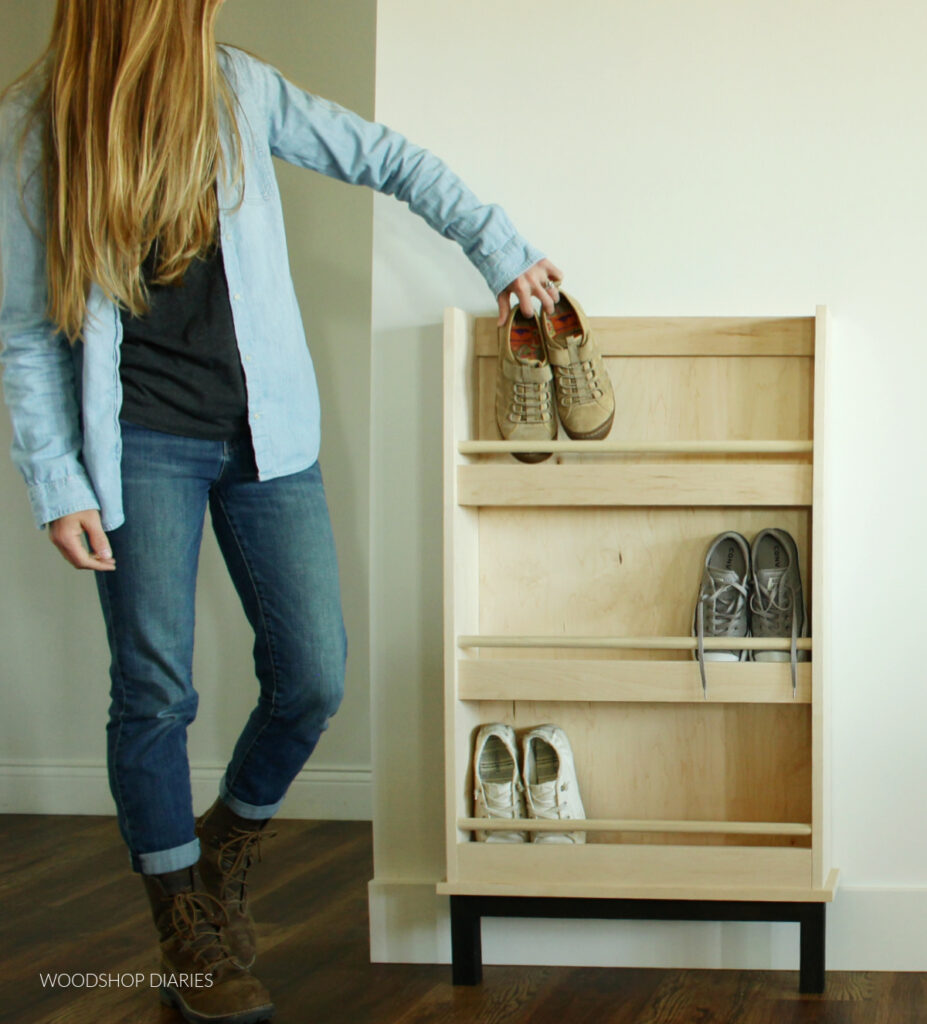
Looking for more DIY entryway ideas?
You may also enjoy these projects for shoe storage and entryway organization!

If you’d like to save this project for later, be sure to pin it or share to your favorite social channel!
Until next time, happy building! 🙂