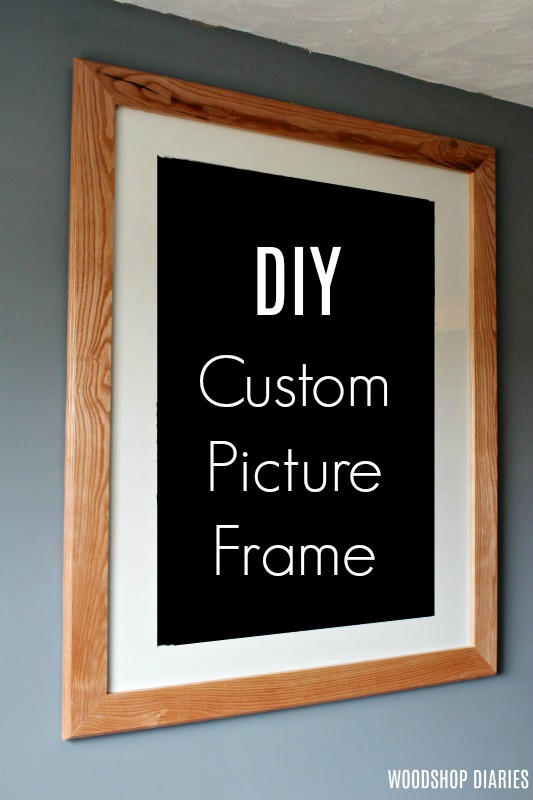
In this post, I’m showing you how to make your own easy large custom DIY picture frames.
…Or small custom DIY pictures frames–it’s custom, so you can make any size you wish. I just made mine HUGE!
Our dining room wall has been empty for over half a year because I just couldn’t find anything I loved to hang here. And if you’ve shopped for it lately, you know that large artwork is also…pretty pricey.
.
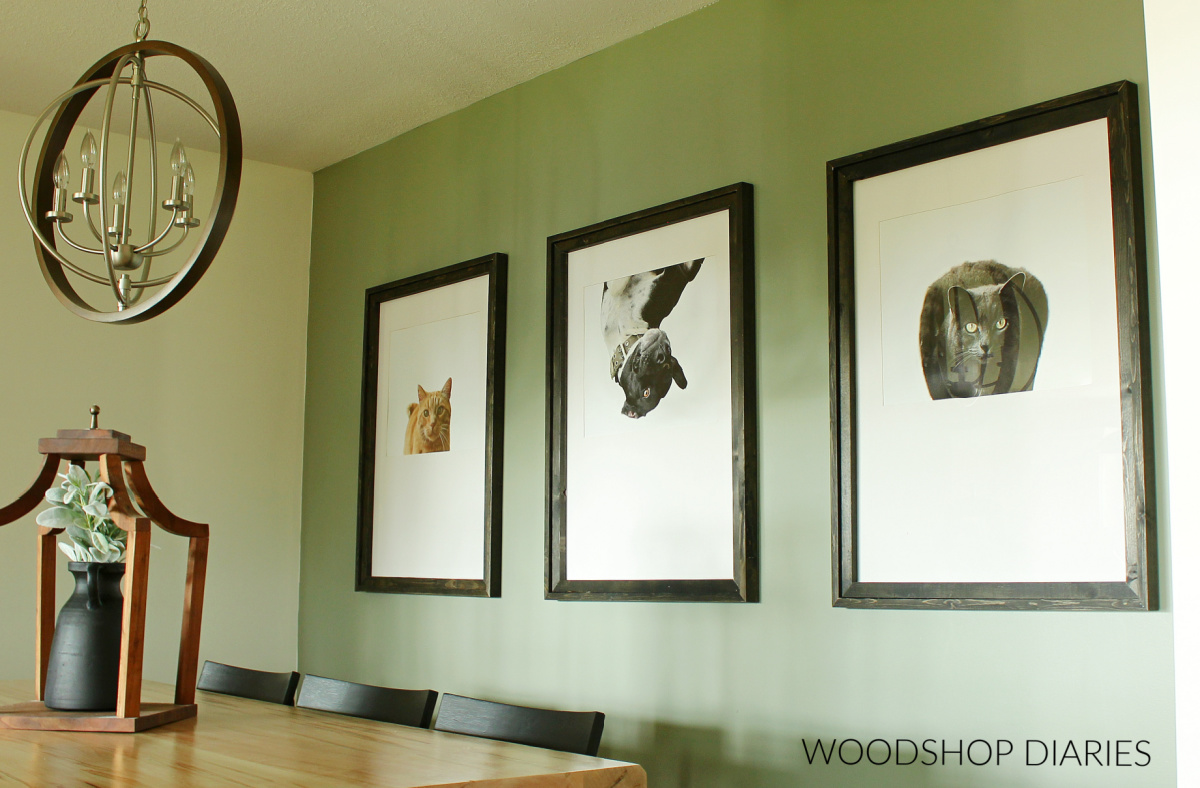
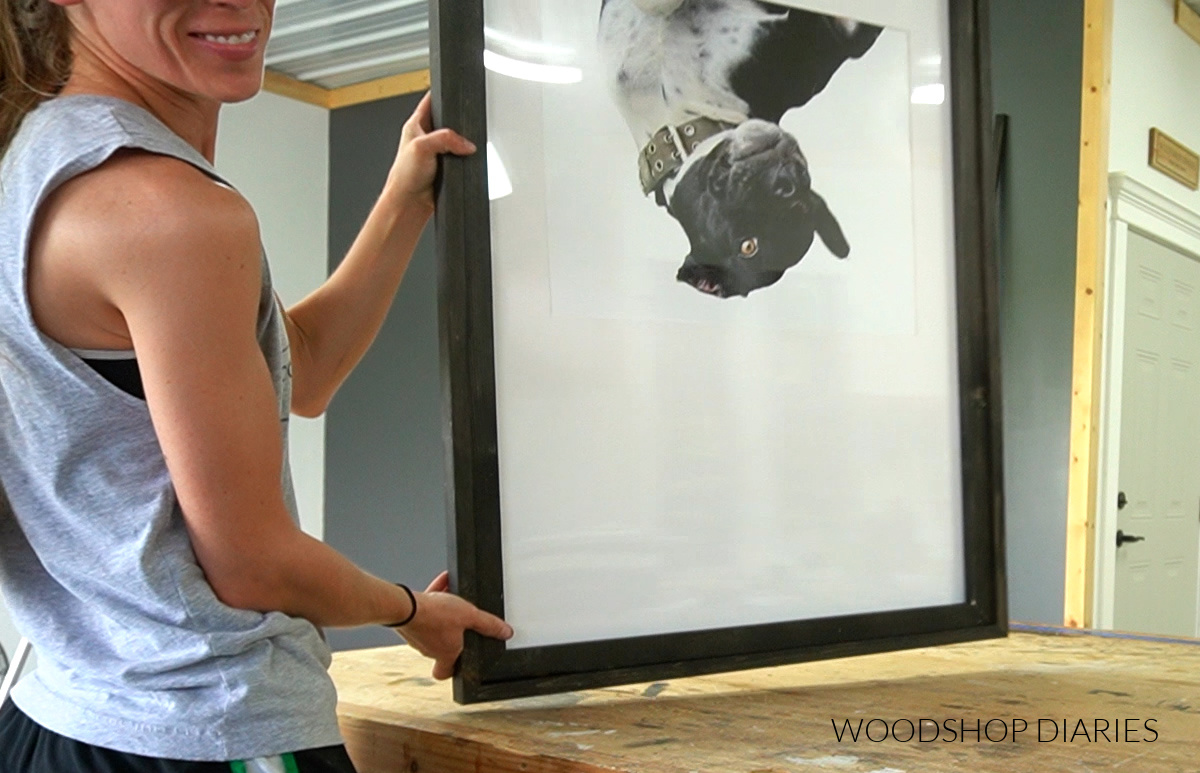
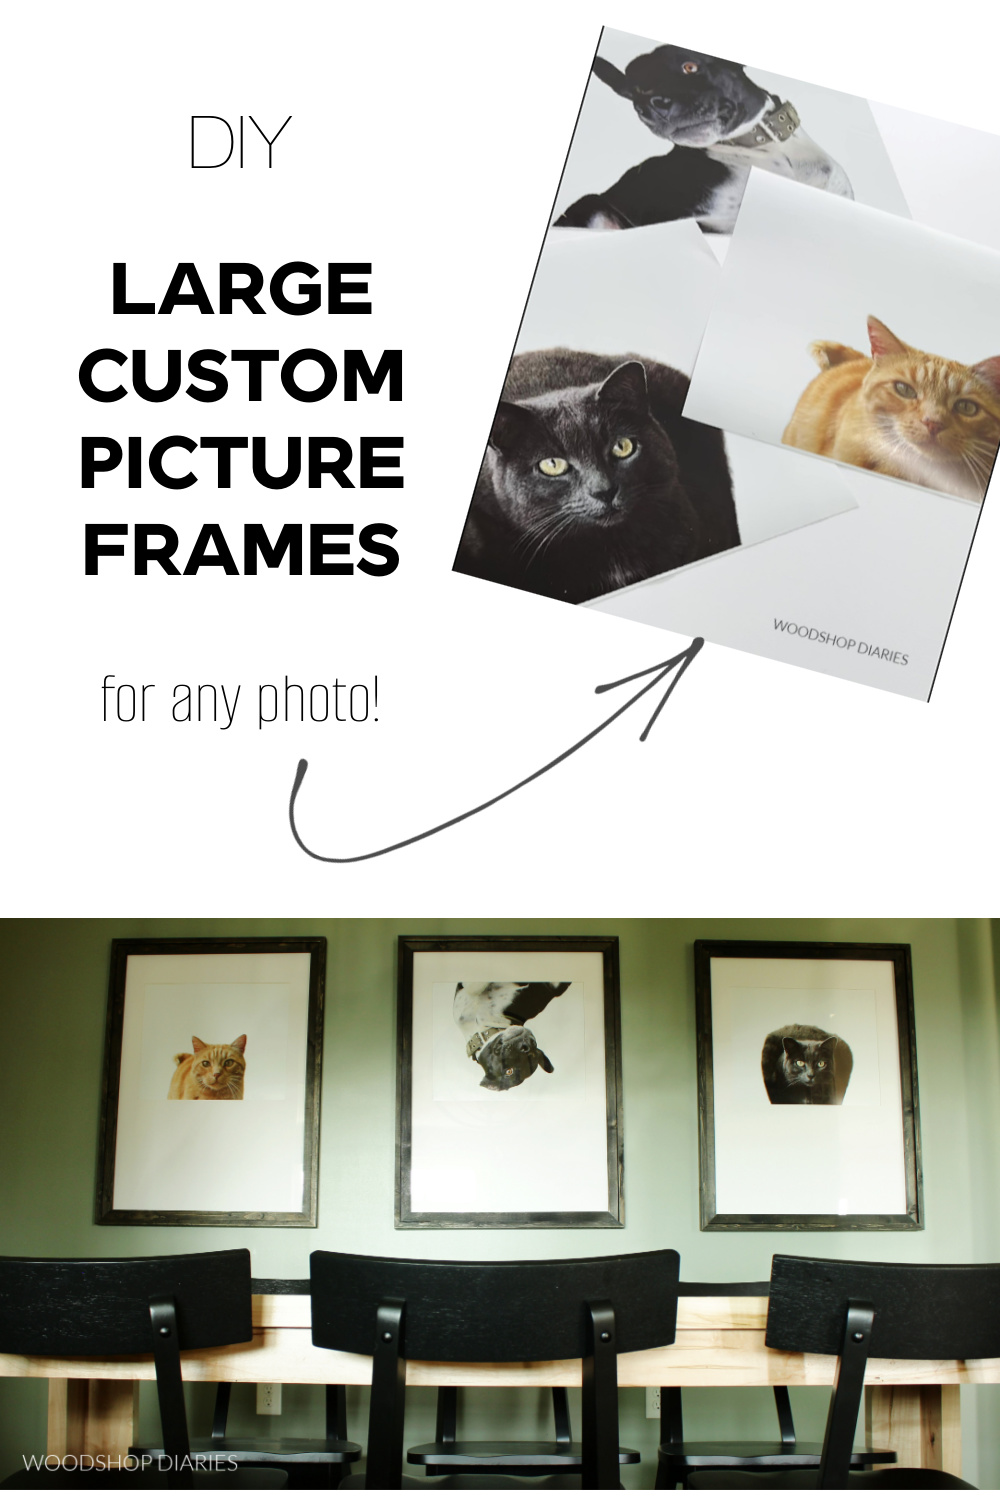
But, I had three photogenic pets and a phone full of photos of them, so why not just make some huge custom picture frames to put their cute faces in??
.
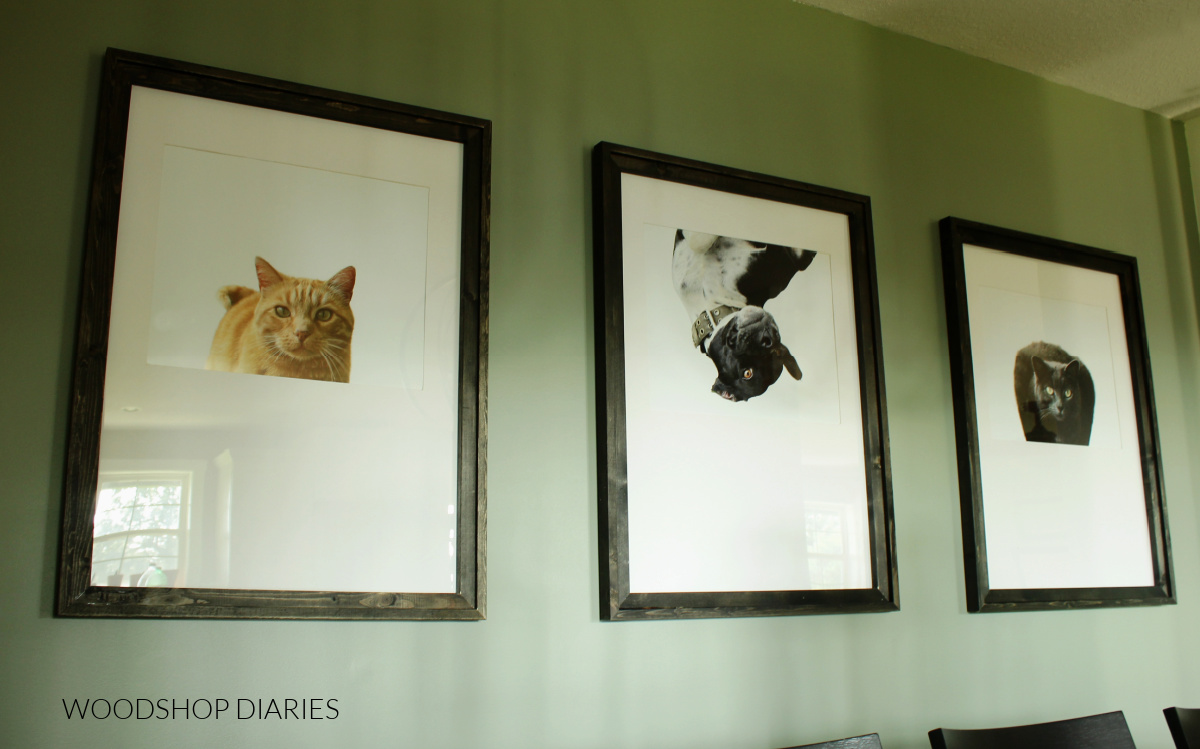
These large, simple frames were EXACTLY what this wall needed! So if you’ve got a blank wall you need to fill, let me show you how to make your own EASY custom DIY picture frames!
.
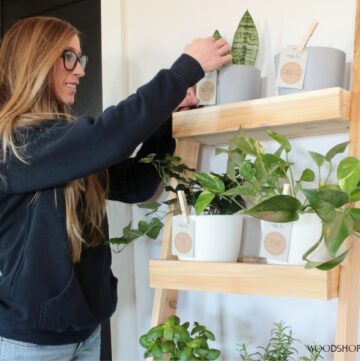
PSSST…See that lantern in the photo above? I’ve got the tutorial here for you to make your own scrap wood lantern!
Why Make Your Own Custom DIY Picture Frames?
First, let’s talk about custom framing. Tons of places offer custom framing—some can be pretty pricey, but some can be pretty comparable in price to what it costs to make your own—mostly because the plexiglass is expensive.
.
That said, making this yourself is likely to save you SOME money, but if you want something pretty standard, it may not be worth making it yourself…unless you just enjoy the process.
.
But if you’re like me and you want something out of the ordinary, it could save you a good chunk of money to make picture frames yourself.
.
Personally, I like to make my own stuff because a lot of times I break the typical “rules” with my ideas and it’s just easier to make it myself than to explain to people why I don’t want something done the “normal” way.
.
As an example, normally you’d frame your photos so that the image is centered in the frame and it’s oriented the same direction as the photo. Clearly, that’s not what I did here ha!
So for me, it was easier to just make these than to convince a framer to do what I wanted haha.
.
All that said, if you want to make some custom DIY picture frames, let’s get building.
Tools & Materials:
*This post contains affiliate links. See website policies.
Tools:
- Miter Saw
- Utility Knife
- Straight Edge
- Screwdriver
- Hammer
- Saw To Cut Plexiglass (*only needed if you want a specific size. See notes below.)
Materials:
- Pictures to Frame
- Plexiglass (*see notes below)
- Mat Board
- 1×2 boards (amount will depend on size frame(s) you build
- ¾″ or 1″ square dowels (amount will depend on size frame(s) you build)
- Cardboard
- Wood Glue
- Picture Frame Tabs
- Sawtooth Hanger
Notes on Wood Sizes:
There’s no “right” or “wrong” with this materials list. You can make these SO many different ways with tons of different materials.
.
For this, I used 1x2s for the OUTSIDE frame and ¾″ x 1″ strips for the INSIDE frame. But ¾″ x 1″ isn’t a common size you can purchase (I ripped mine on the table saw).
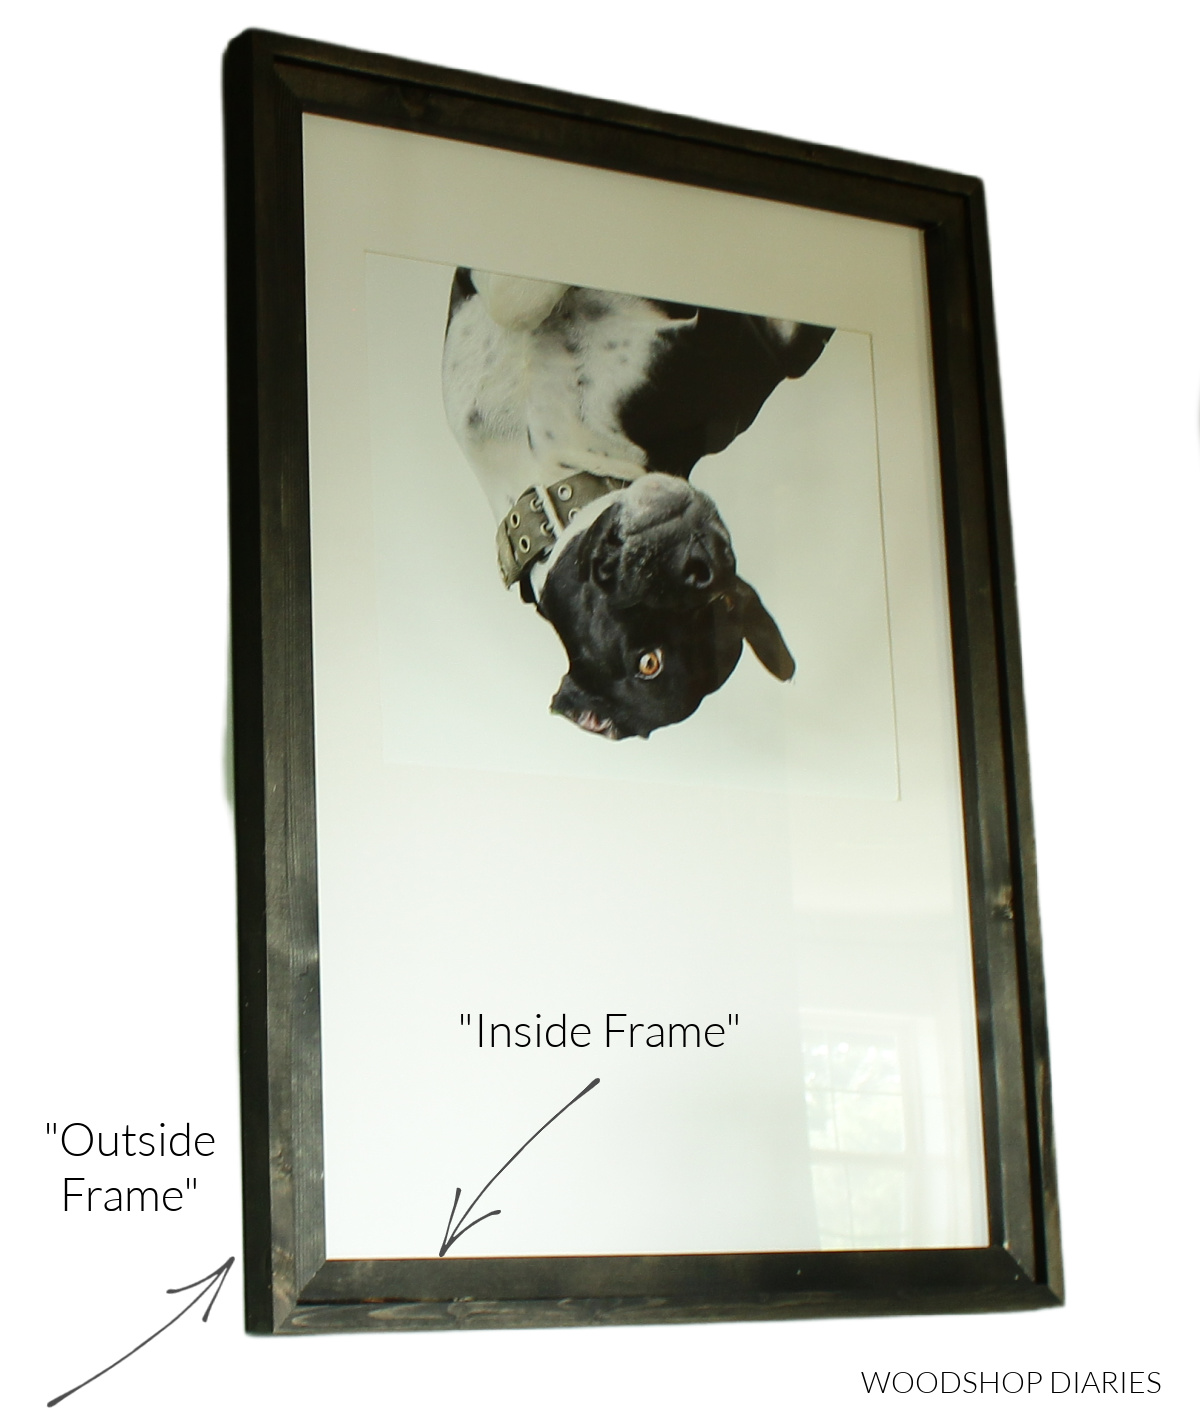
So a ¾″ square dowel OR 1″ square dowel would work perfectly fine OR you can just use a 1×2 for the inside frame as well.
Plexiglass Options for Custom DIY Picture Frames
I purchased 30″ x 36″ plexiglass panels for these picture frames. These come in TONS of precut sizes, so pick one up the same size, or a little bigger than you need based on step 1 below.
.
Mine was a little under ⅛″ thick (it was 0.093 in.) which is perfect for a picture frame.
.
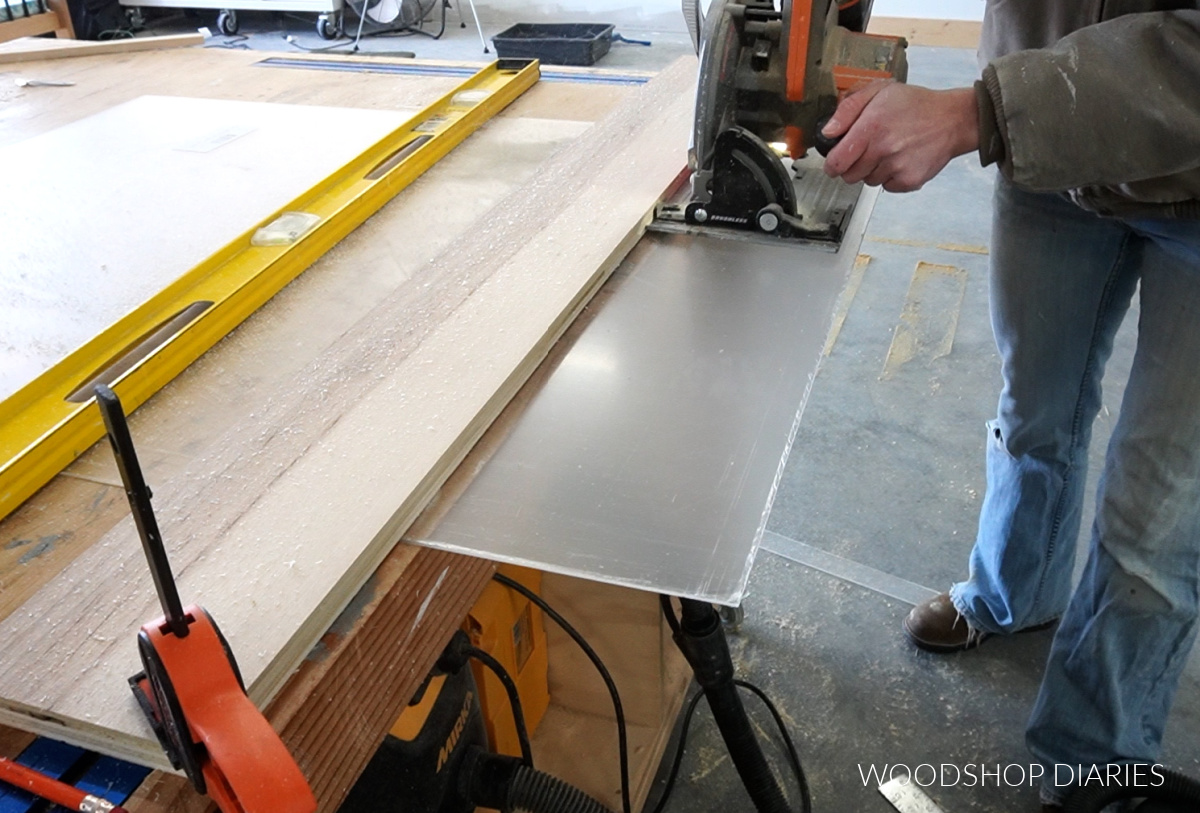
I cut mine down to a custom size using a circular saw and a fine finish blade. But you can cut plexiglass using other methods as well.
If you prefer not to cut it yourself, usually, you can have the store you purchase from custom cut your plexiglass, or you can just make do with the precut sizes available and not cut the sheet at all.
.
MONEY SAVING TIP: The plexiglass is the most expensive part of this project. My sheets were $35 each.
However, you can pick up large poster frames from Walmart or Amazon for about $20 or less. The frames aren’t great, but the plexiglass inside is useable so that’s an option if you want to save a few bucks.
What to Pictures to Frame
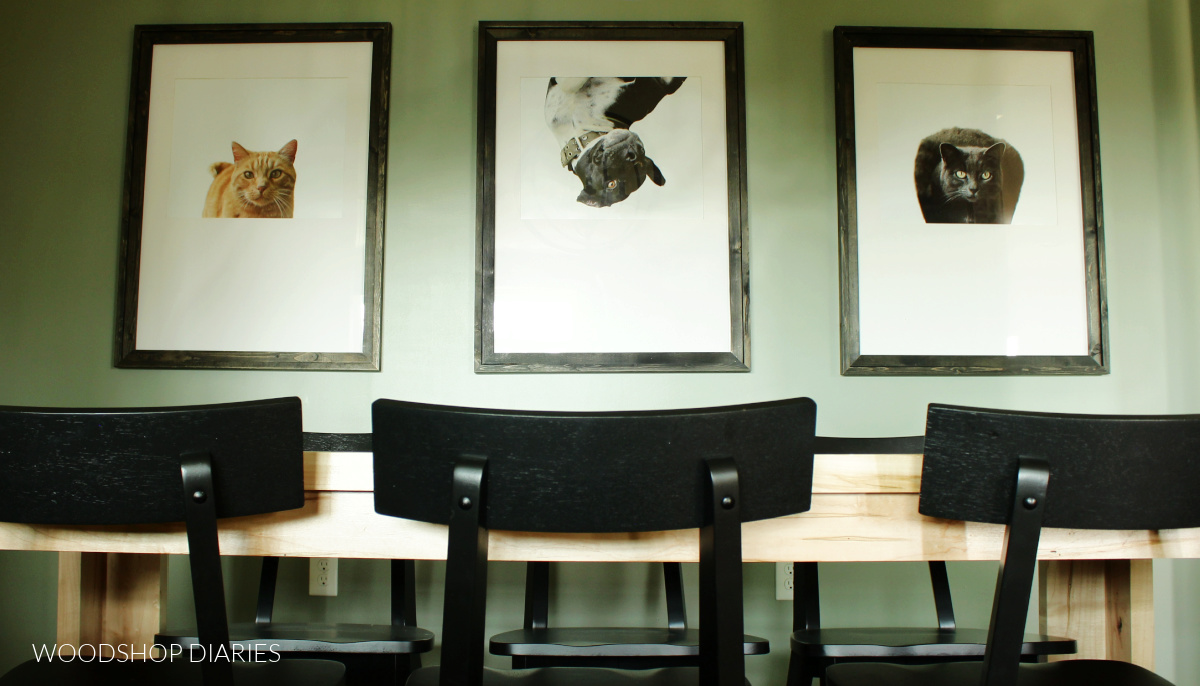
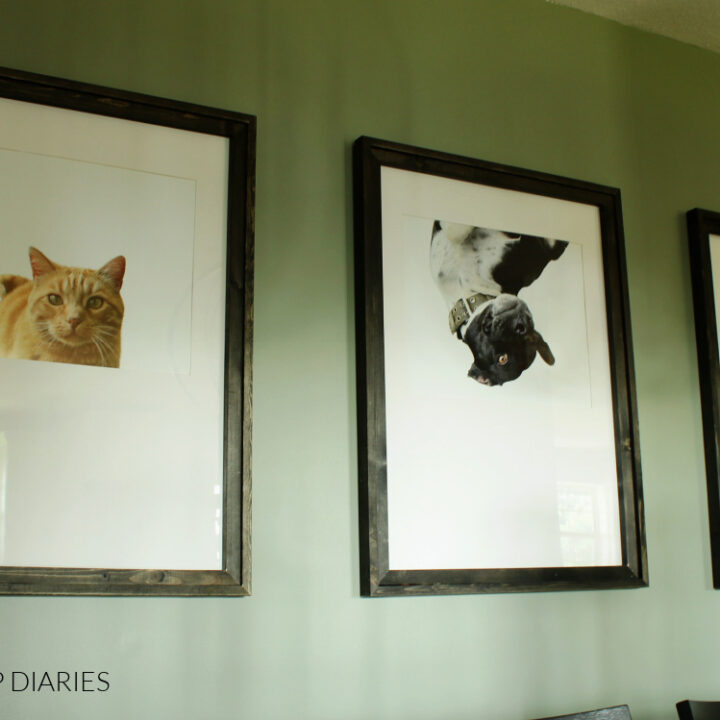
As you can see, I framed posters of my pets. Obviously, you can frame whatever you’d like.
.
But for this, I recommend printing a good quality photo, especially if it’ll be large.
.
Just in case you wondered what I did here, I took photos from my phone and uploaded them into PicMonkey and used their background remover tool to remove the backgrounds and make them white.
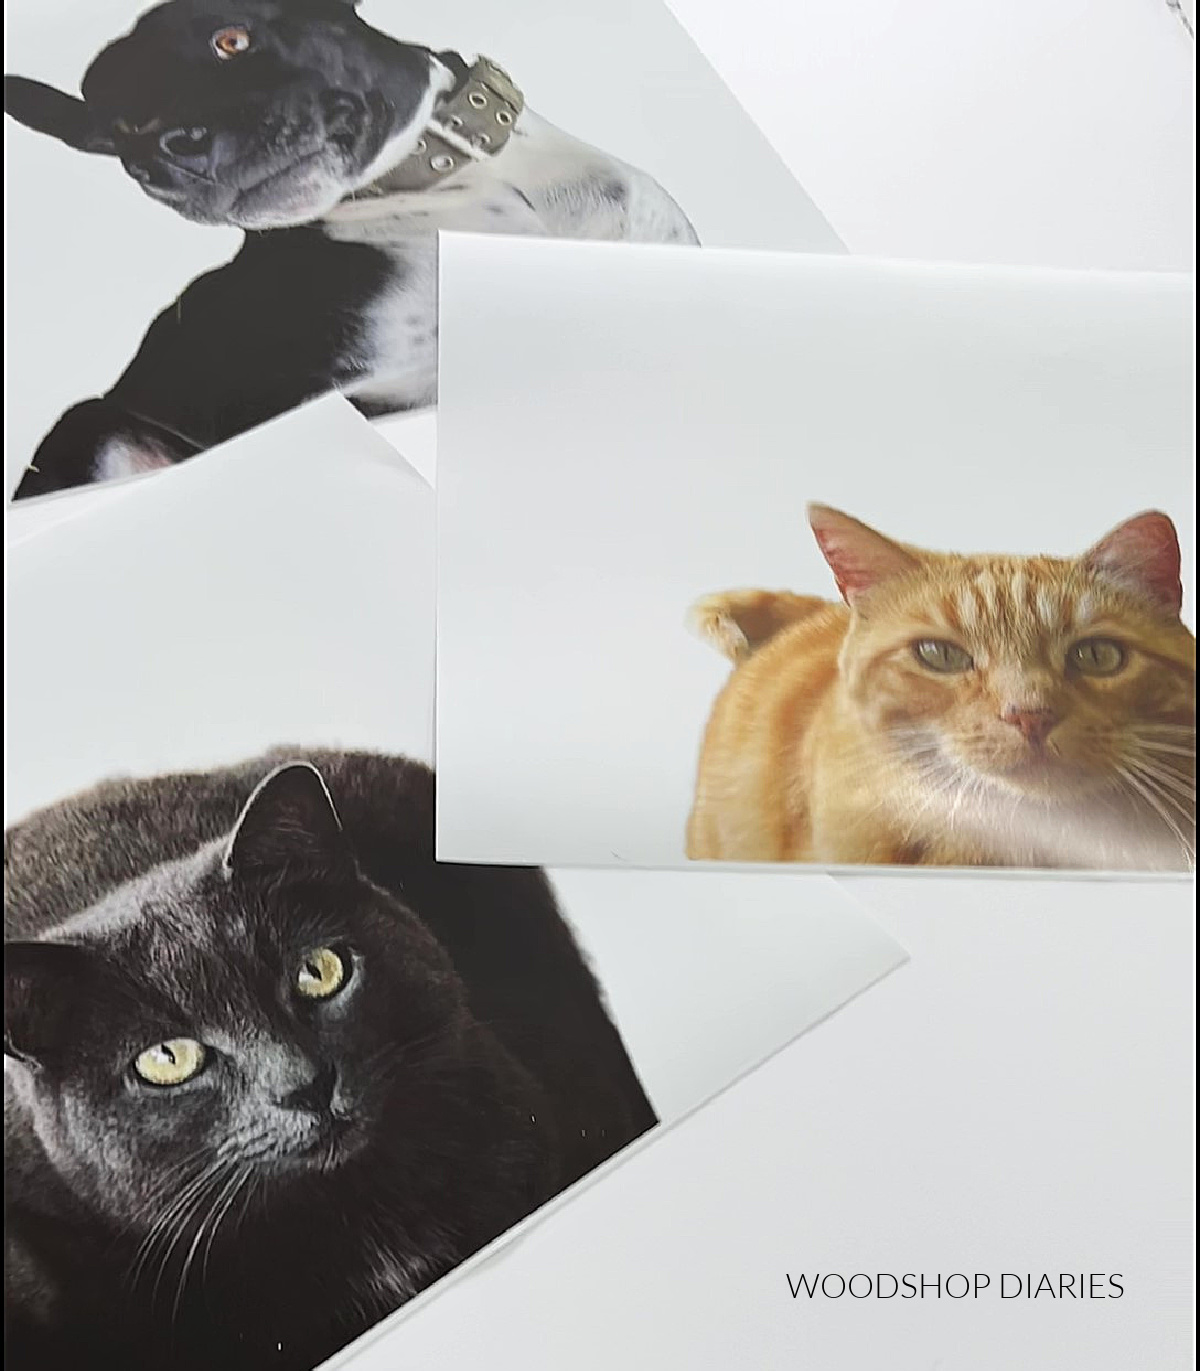
Then, I ordered these as 16×20 posters from Walgreens.
How to Build a Custom DIY Picture Frames
The steps below outline how I build these simple frames and I’ve also got a video tutorial here as well:
If you like videos, be sure to subscribe to the Woodshop Diaries YouTube Channel Here!
Step 1: Determine Inside Picture Frame Size
The first step is determining the size of the inside frame. Take note that the inside frame is where I used the thinner material. So this is where you’d use the ¾″ square dowels, or 1″ square dowels–or 1x2s if that’s what you decide.
.
Now, there is a lot of creative freedom with this, so feel free to change things up as desired.
.
But, to give you an example to work with, here’s what I did.
.
For the height, I didn’t really care specifically how tall these were as I was off centering my photo anyway.
.
Since my plexiglass sheets were already 36″ tall, I just used 36″ for my height so I didn’t have to cut that side.
.
But for the width, I decided that I liked the look of having about 2 ½″ of mat board on each side of the photo.
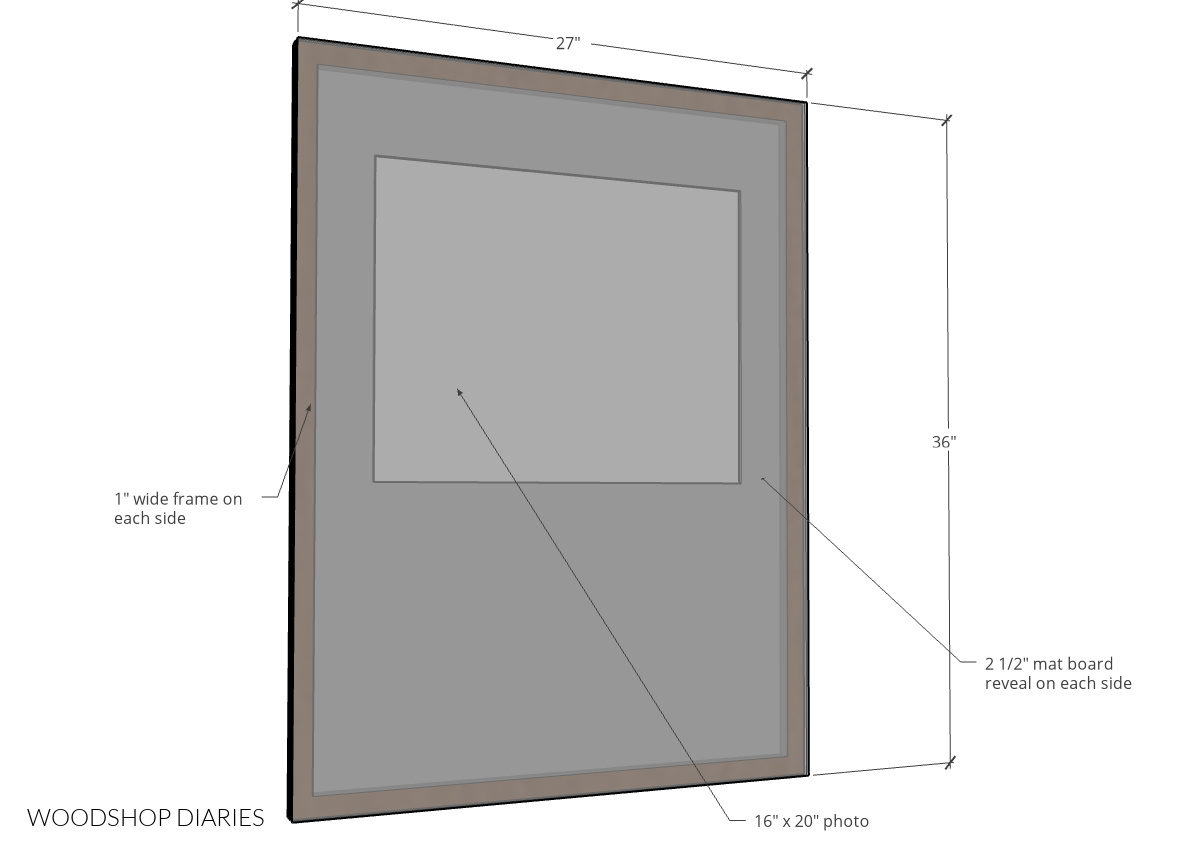
So I took my photo width (which was 20″) plus 2x my desired mat reveal (which was 2 x 2 ½″ = 5″) plus 2x the thickness of the inside frame (in my case, it was 1″ thick, but if you used ¾″ square dowels or 1x2s, yours would be different).
.
So, 20″ + 5″ + 2″ = 27″. That’s the width I need to cut my plexiglass.
.
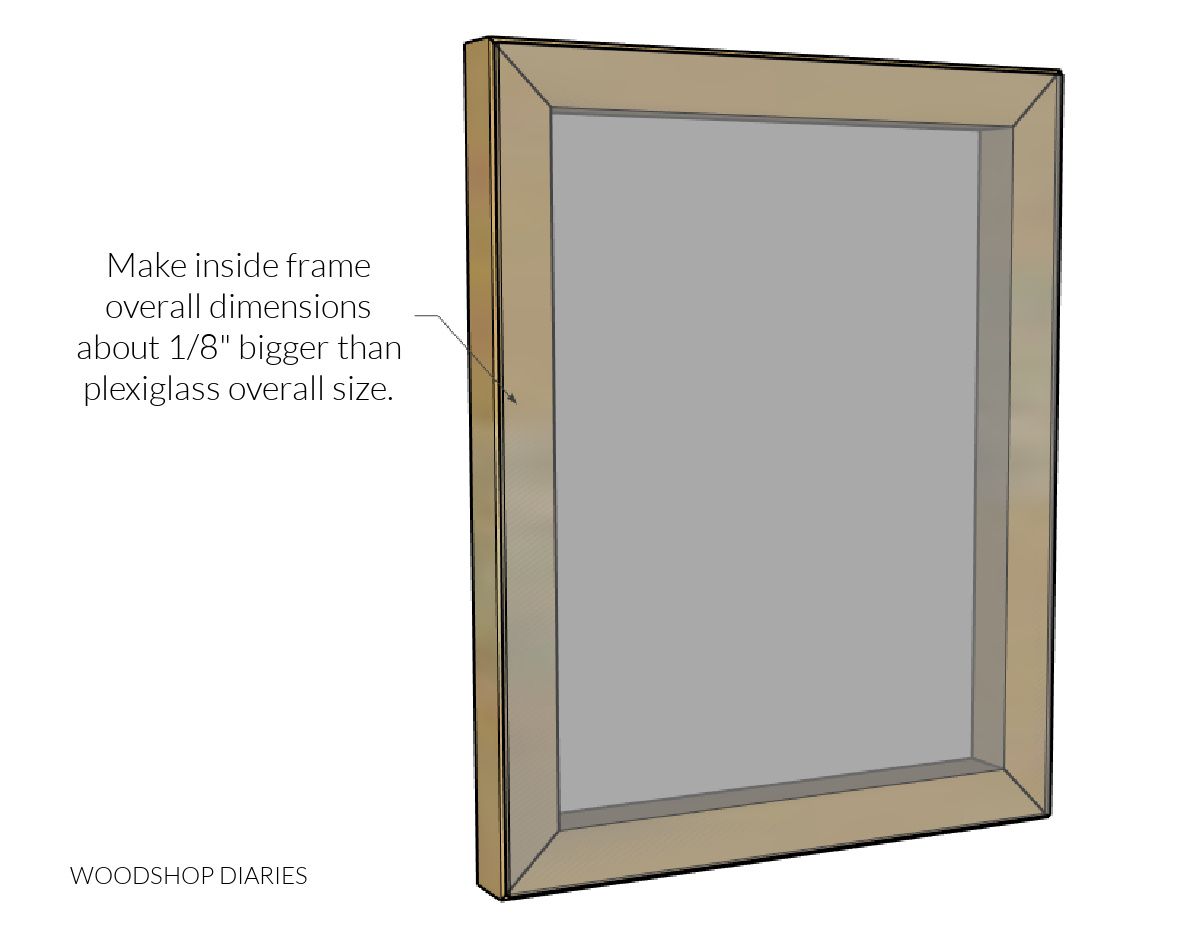
My inside frame’s overall dimensions should be ⅛″ larger in both directions than my plexiglass (just to allow for some wiggle room to set it in place). So if my plexiglass will be 27″ x 36″, I’ll make my inside frame 27 ⅛″ x 36 ⅛″ overall.
As a note, you can also play around with these numbers a little and work backward to figure out how to make your frame boards bigger or smaller and your mat reveal bigger or smaller in order to work with a precut plexiglass size.
.
Feel free to get creative and make do with what you have.
Step 2: Build Inside Picture Frames
Now, once you figure out your sizing, it’s SUPER easy to build.
.
Use your measurements from step 1 to determine the amount of 1×2 and square dowels you’ll need. I stained all my boards ebony before cutting as I thought it would be easier to stain now than after it’s assembled.
.
But you can stain or paint before OR after–it’s up to you.
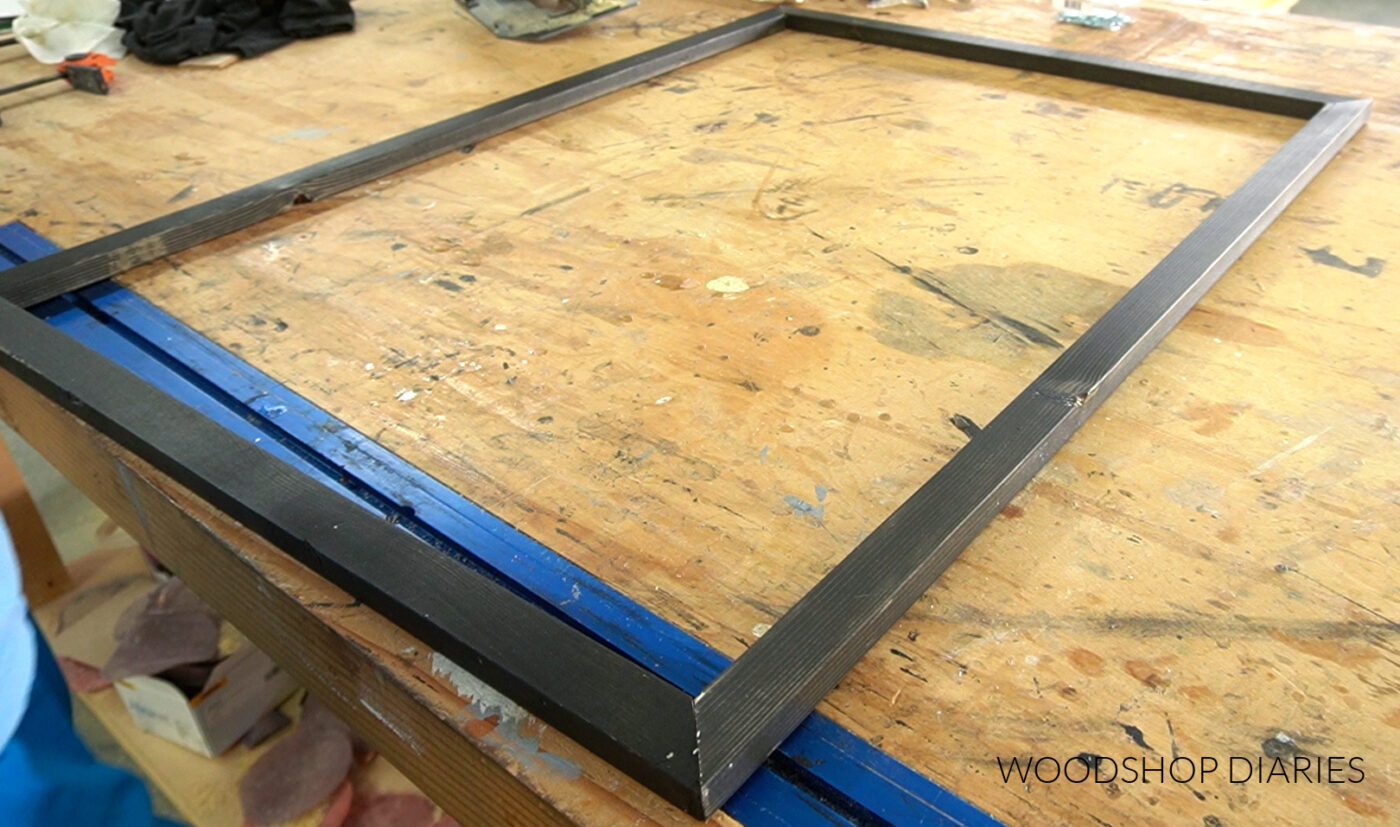
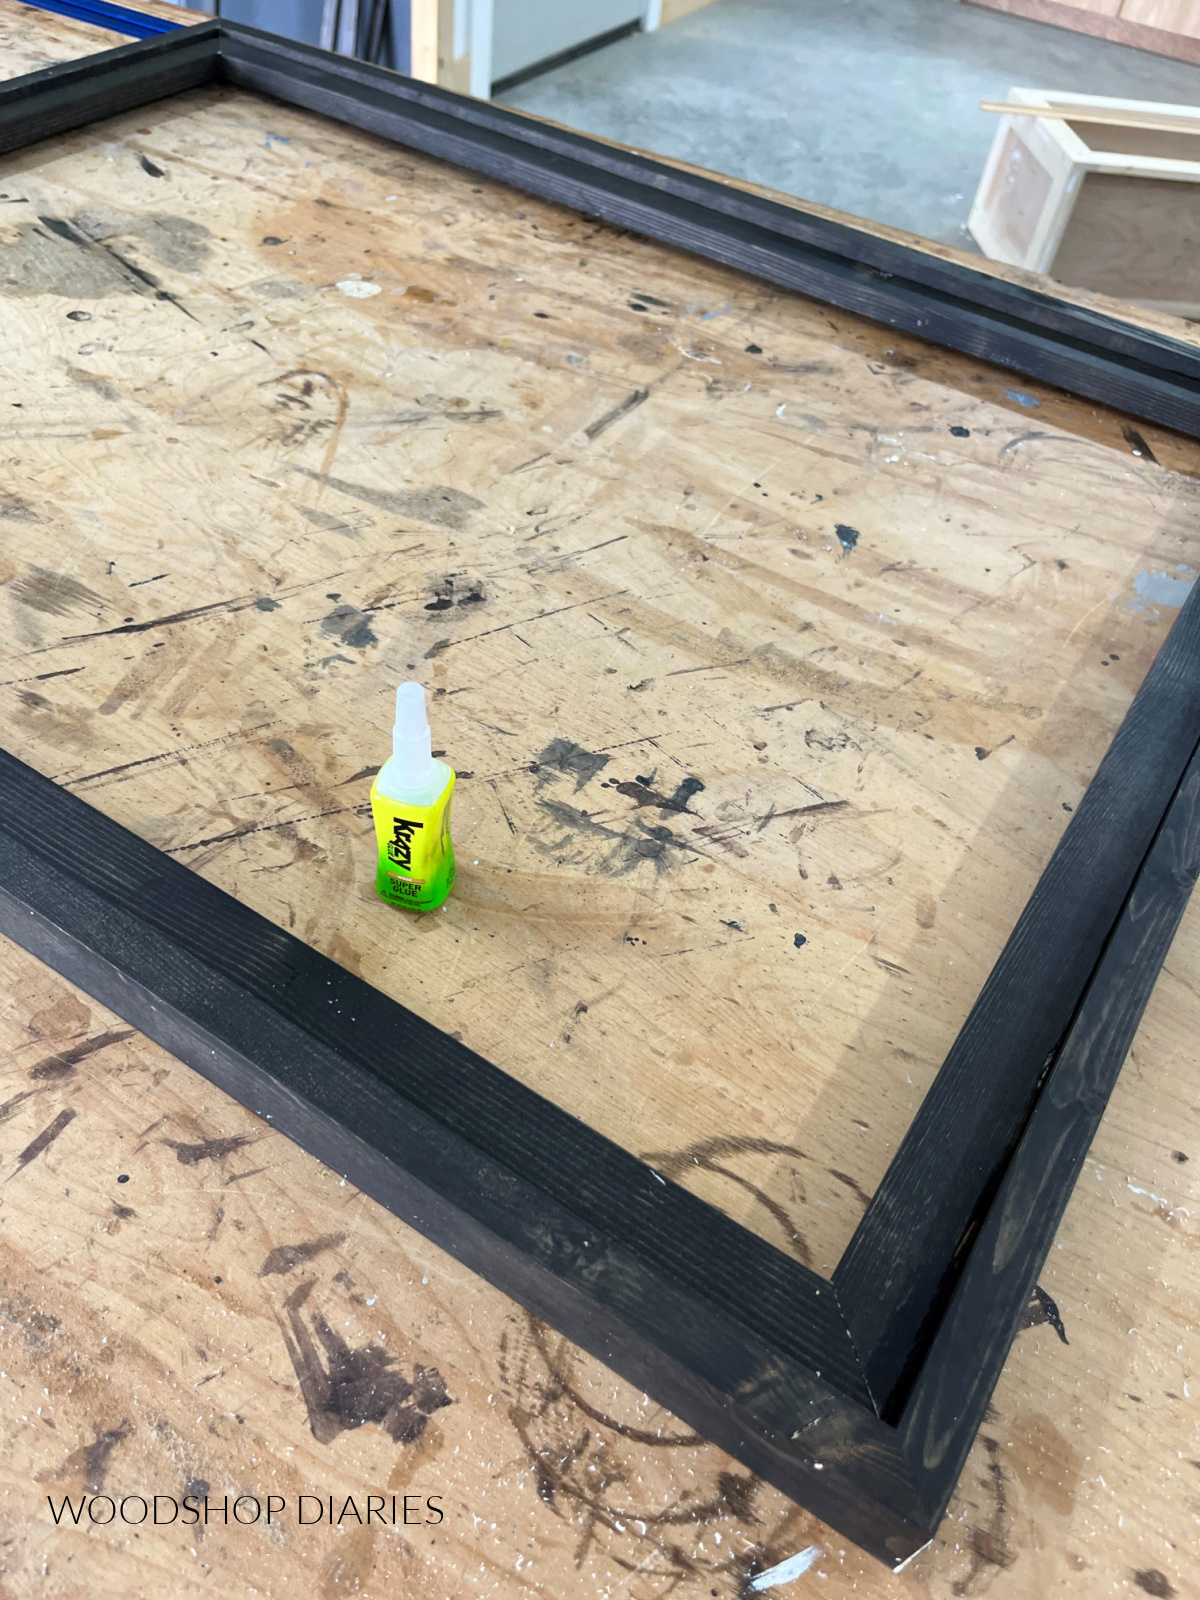
I adjusted my miter saw to cut 45 degrees and cut four pieces of my ¾″ x 1″ board with mitered ends so that when fit together, their overall size would be 27 ⅛″ x 36 ⅛″.
.
Then, I used some Krazy Glue Fast Dry Wood Glue on each corner to assemble. This is a quick drying formula and dries clear, so it made assembly super easy.
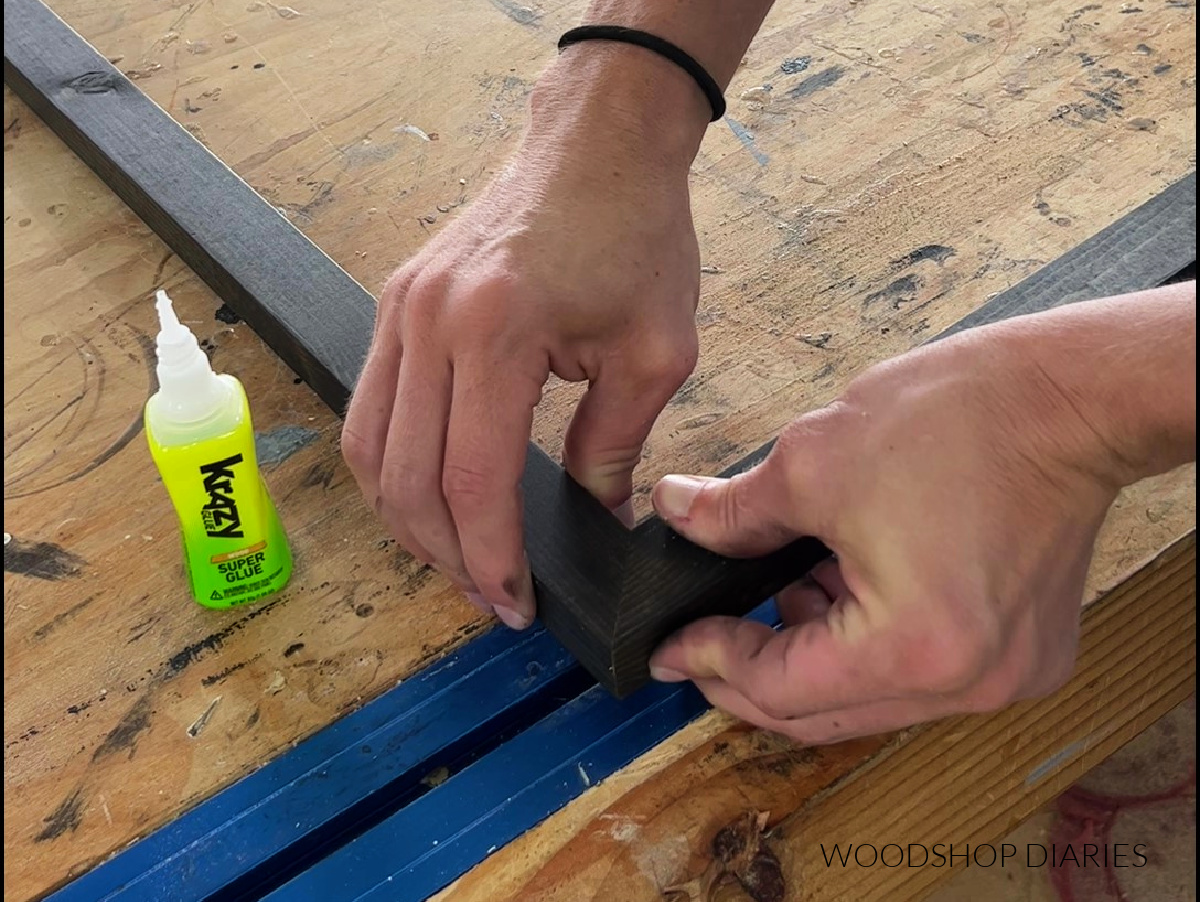
However, you can use regular wood glue and clamps here instead if you prefer.
Step 3: Add Outside Frames
Once the inside frame is assembled, I basically “wrapped” 1x2s around the outside edge just to thicken it up a little and make it look nicer.
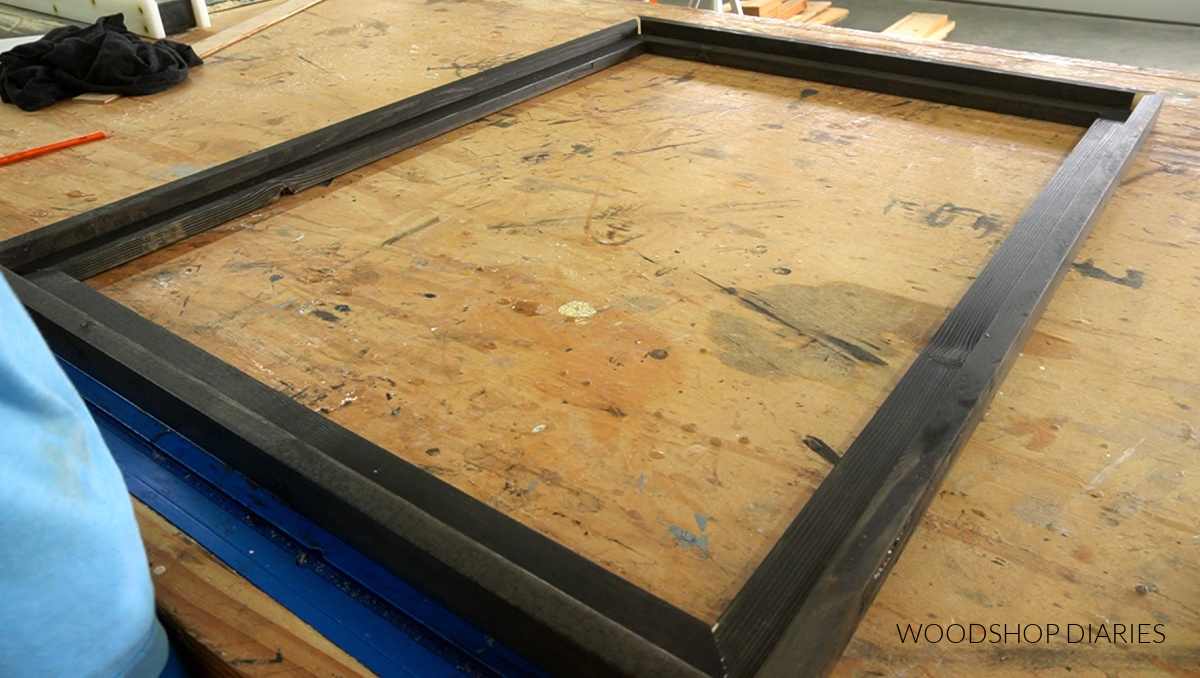
I mitered the ends 45 degrees and cut each piece to fit perfectly around the inside frame.
.
Then, I glued these one side at a time around the inside frame.
I used a piece of scrap ¼″ plywood to keep my inside frame inset from the back edge of the 1x2s about ¼″. This just leaves a “lip” on the back side to set the plexiglass, mat, and backer into later.
Step 4: Cut and Install Plexiglass In Picture Frames (if needed)
Now that the frame is assembled, if you decided to cut your plexiglass, it’s time to trim it down to fit inside the frame.
.
I used a circular saw with a fine finish blade and a straight edge clamped to my workbench to trim my plexiglass sheet to size from step 1.
.
I left the protective layer on the sheet while cutting. That just helps prevent chips and scratches while cutting.
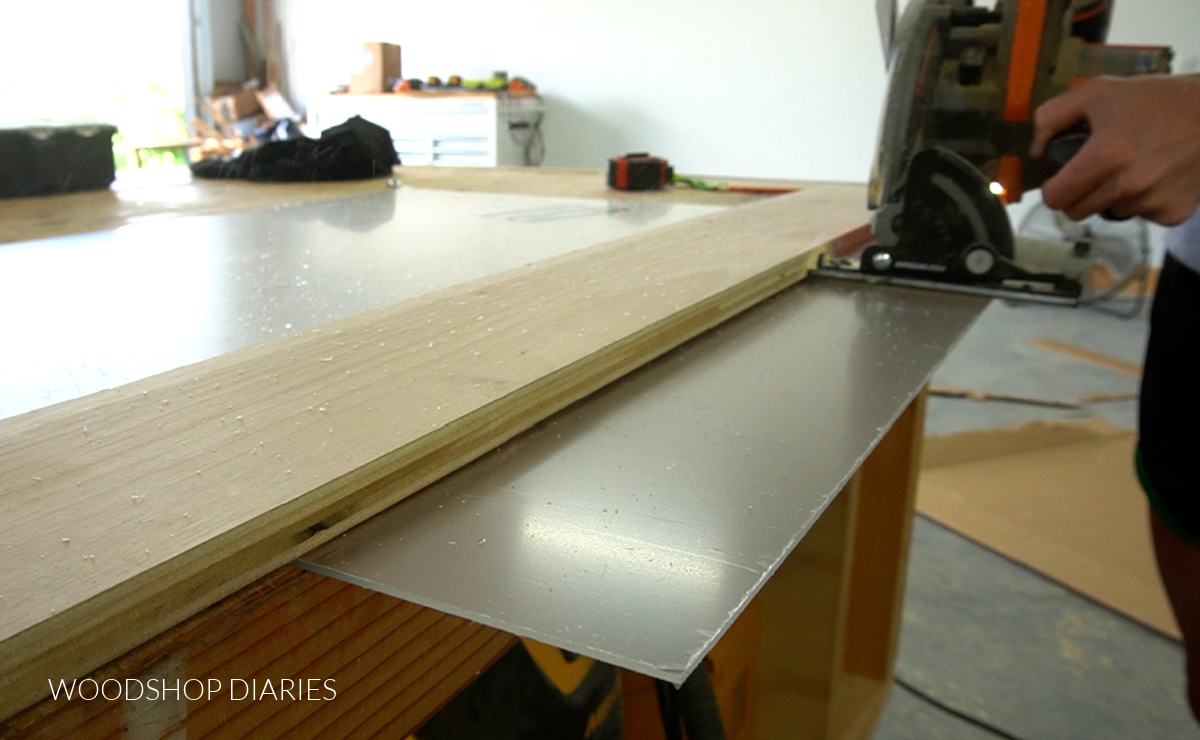
You can also use a cut off tool, a table saw, or a special utility knife designed to score plexiglass as well if you didn’t want to use a circular saw.
.
Once the plexiglass was cut, I placed it into the back of the frame and wiped it clean.
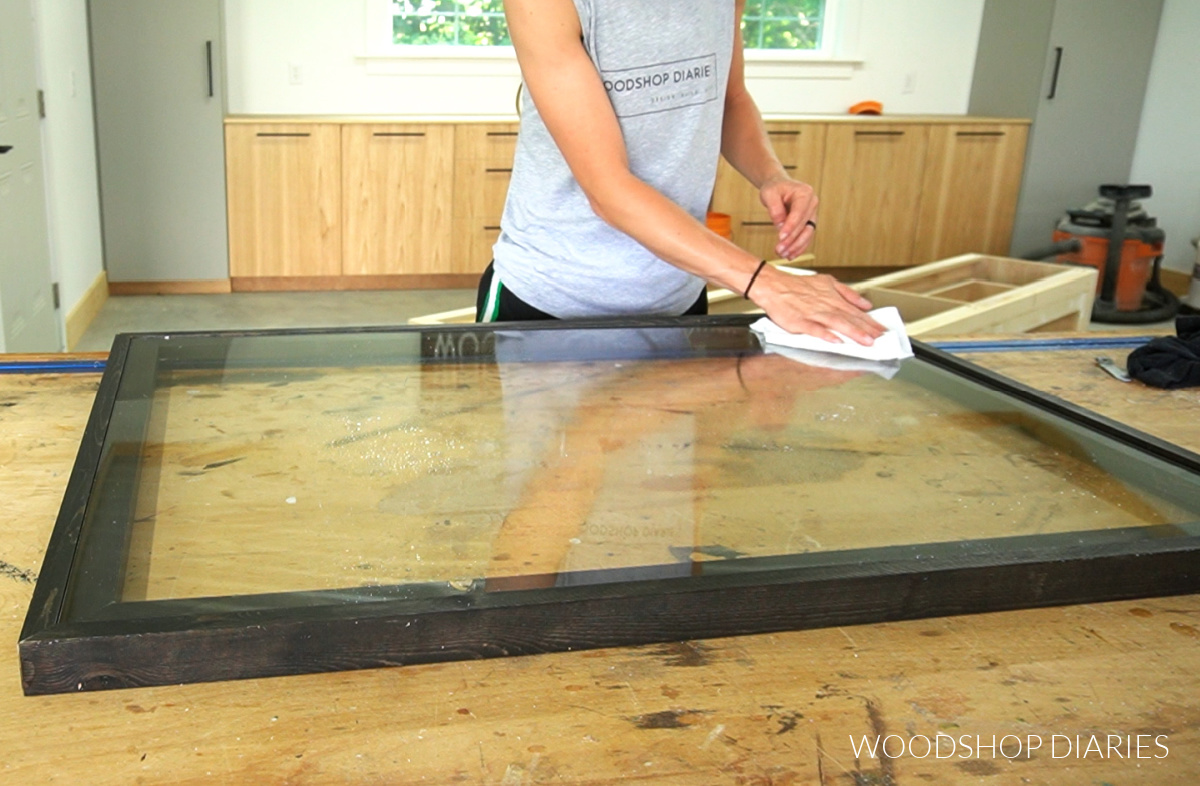
OPTIONAL STEP: If desired, you can glue these plexiglass panels in place. Sometimes I like my plexiglass to be glued in–it makes it easier to keep clean and seals out dust. But that’s totally optional.
.
If you decide to glue it, you can run a bead of Krazy Glue Max Bond Gel along the inside frame before placing the plexiglass in.
Step 5: Custom Cut and Install Picture Frame Mat Board
Now, this part is a little frustrating if you are a perfectionist.
.
Cutting mat board isn’t difficult, but you have to be careful.
.
Helpful tip: BE CAREFUL TO KEEP MAT BOARD CLEAN. It’s not very forgiving if you get any smudges or dirt on it.
.
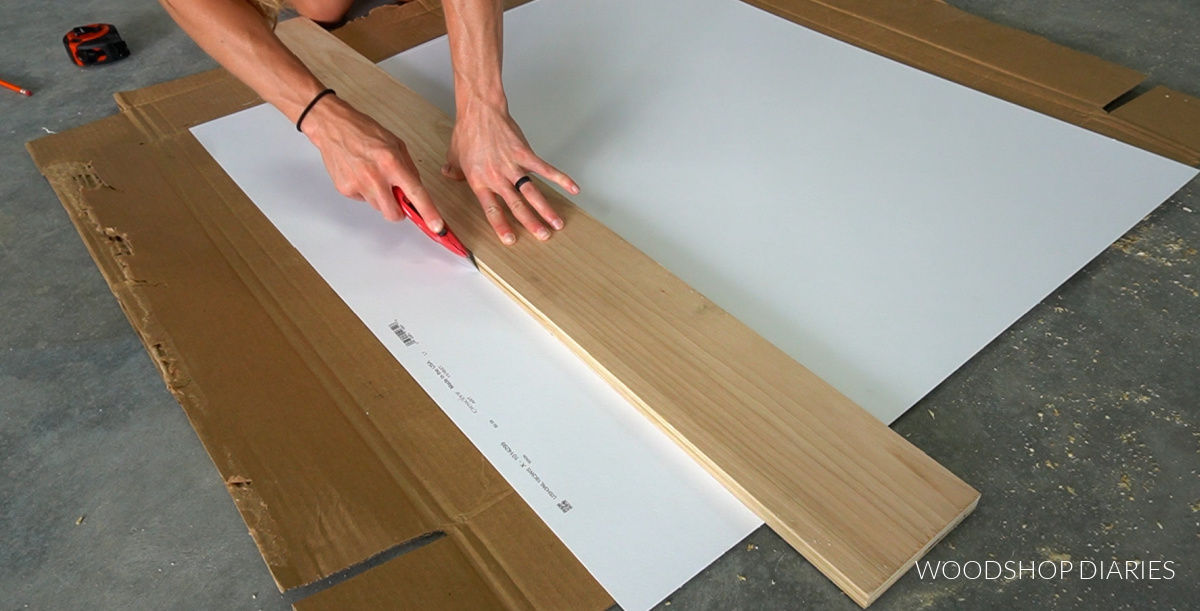
I purchased some 32×40 white mat board from Hobby Lobby and used a SHARP utility knife and a straight edge to trim it down to the same size as my plexiglass from step 1.
Then, I placed it face down on a clean piece of cardboard and drew out where to cut the “picture hole.”
.
You want to make your pencil marks on the back side as it’ll be difficult to remove any pencil marks later.
.
Draw your square/rectangle about ½″ smaller than your picture in both directions to give you some wiggle room for the photo edges to overlap the mat.
.
My photo was 16″ x 20″, so I made my opening 15 ½″ x 19 ½″.
.
You’ll have to draw out your own square/rectangle based on the size photo you are framing…just make sure it’s correctly centered (or off centered if you so choose) before cutting anything.
.
Once it’s drawn, use a straight edge and a SHARP utility knife to carefully cut along the lines.
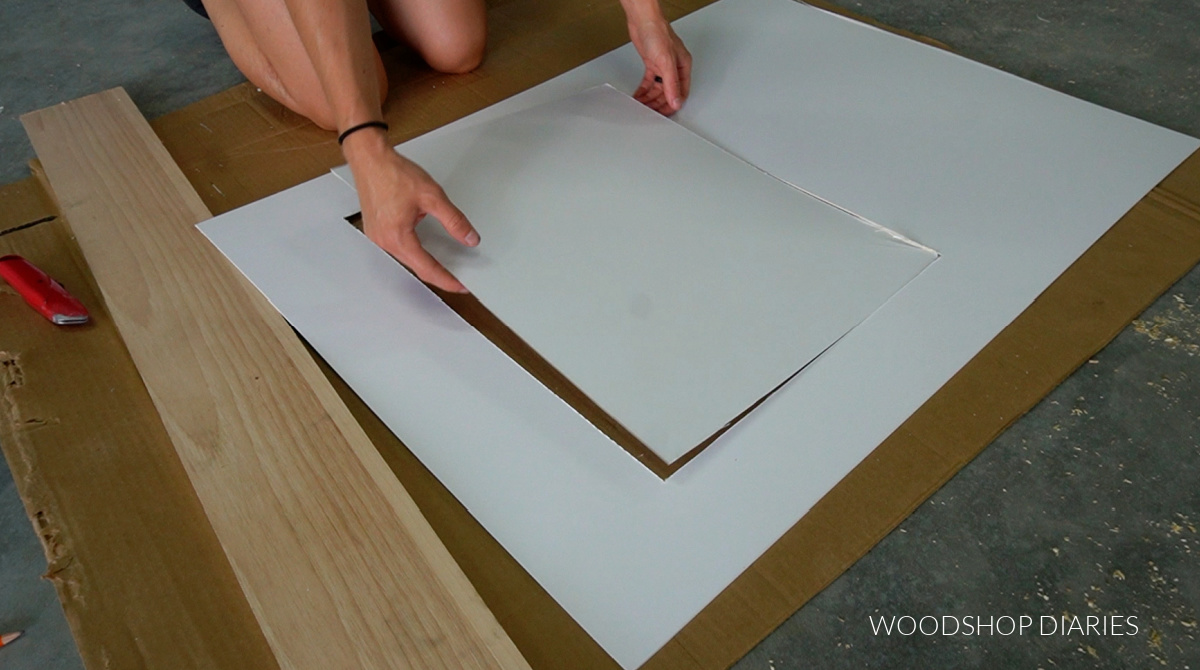
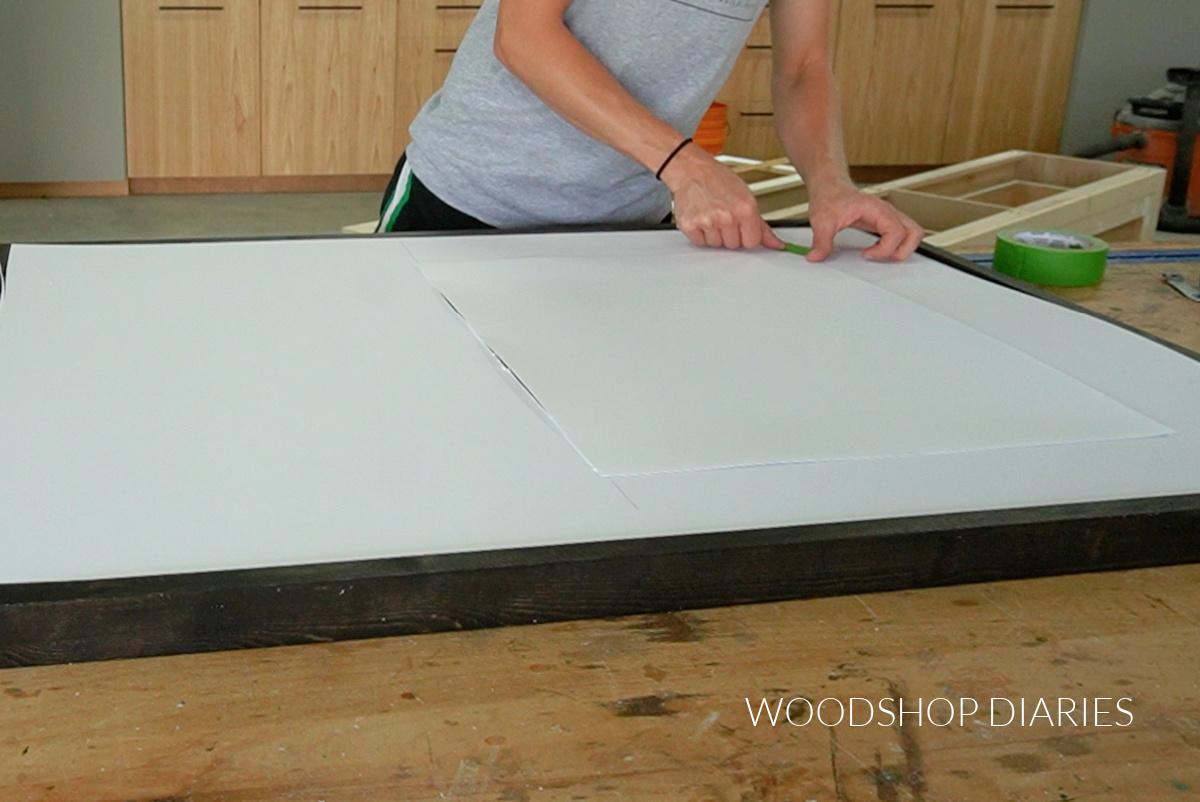
After I had my opening cut, I placed this inside the frame as well and placed the picture over the opening.
.
I used some painters tape at the corners to hold it in place–I’m sure there’s a better way to do that, but this works fine and it’s what I had on hand haha.
Step 6: Add Hardware and Hanger to Picture Frames
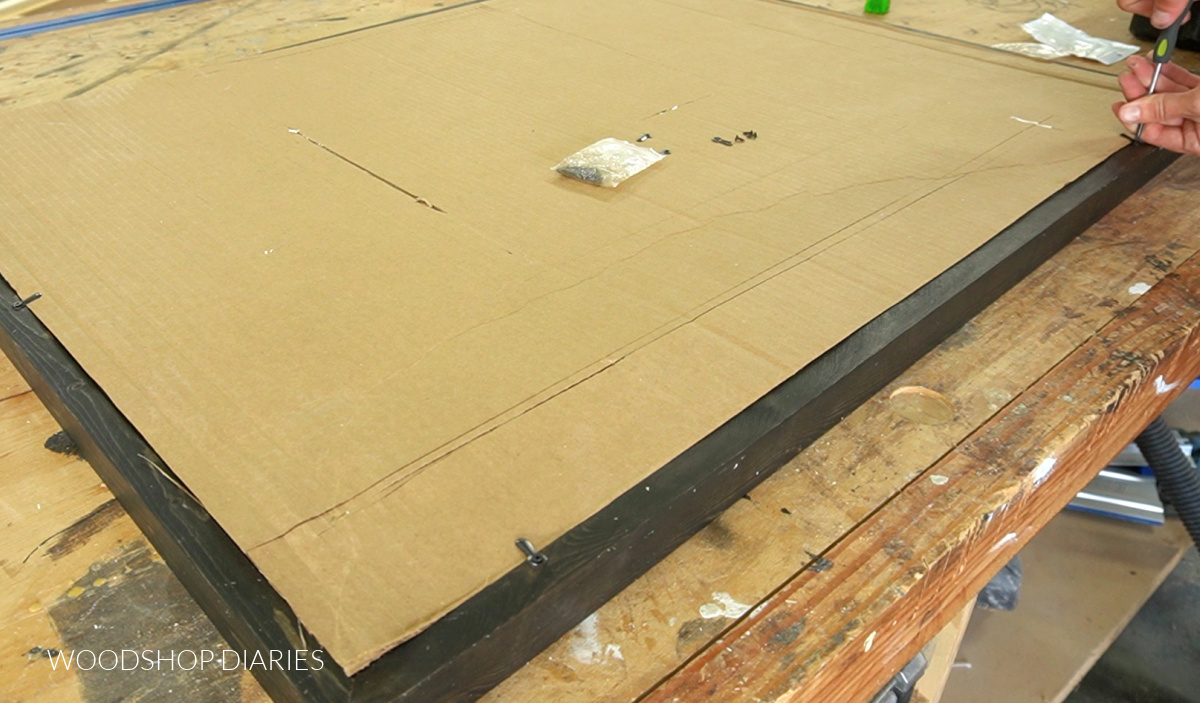
Finally, I cut a piece of cardboard the same size as the plexiglass and mat board and placed in the back.
.
This cardboard will just help “flatten” everything out and hold it all in place.
.
I screwed some turn buttons along the edges to hold the cardboard in place. These turn buttons are great options to make this easy to remove and swap out photos later as needed.
And finally, to hang them, I installed a sawtooth hanger centered on the top.
.
All that was left, was using some roofing nails (or screws or whatever you prefer) to hang them along my back dining room wall!
These are definitely not “fancy” picture frames, but they’re EXACTLY what I wanted for this space. The simple photos of my sweet pets in these huge frames makes me smile every time I walk by.
.
And, best of all, compared to store bought artwork, this saved me a TON of money and is the best kind of “custom” artwork I could find.
I hope you enjoyed this simple custom DIY picture frames project and I hope it inspires you to create your own!
.
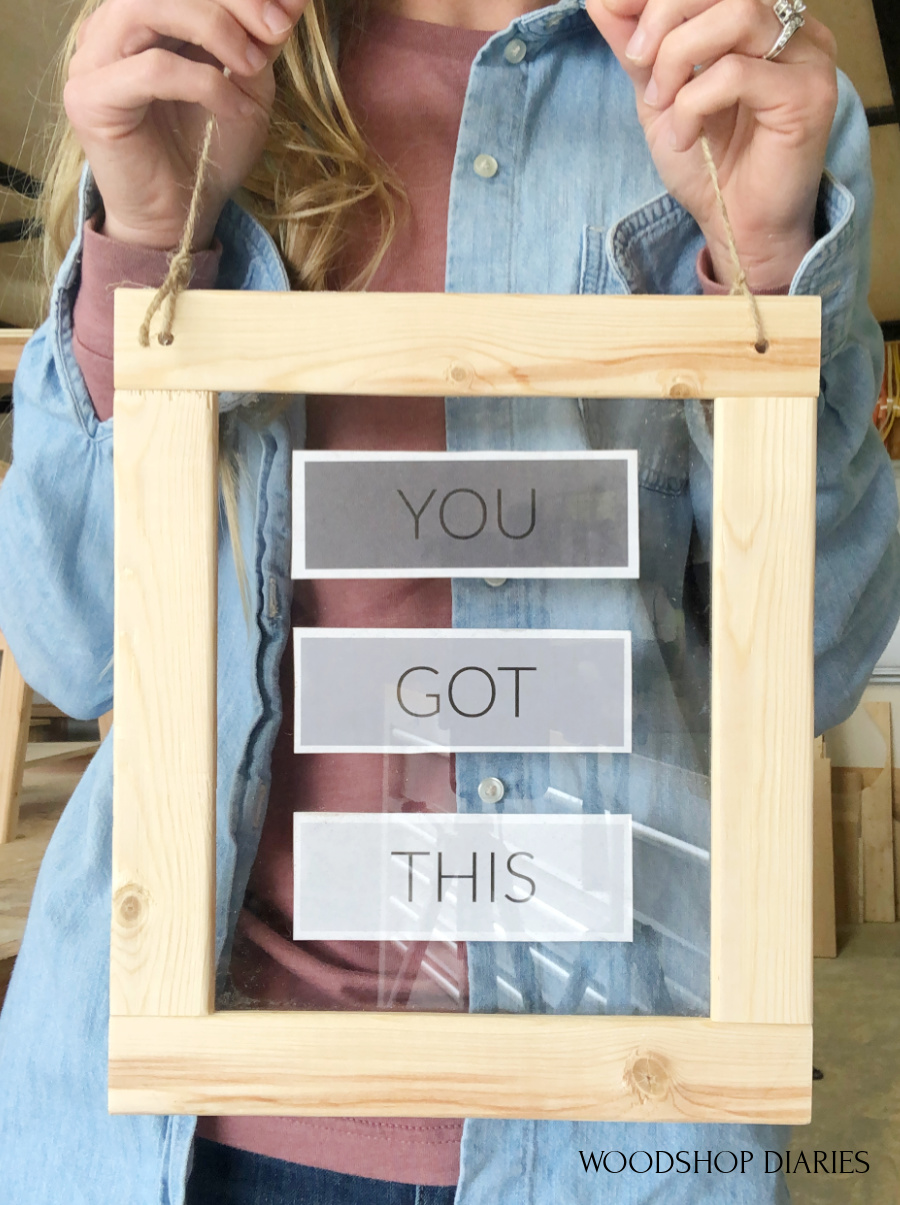
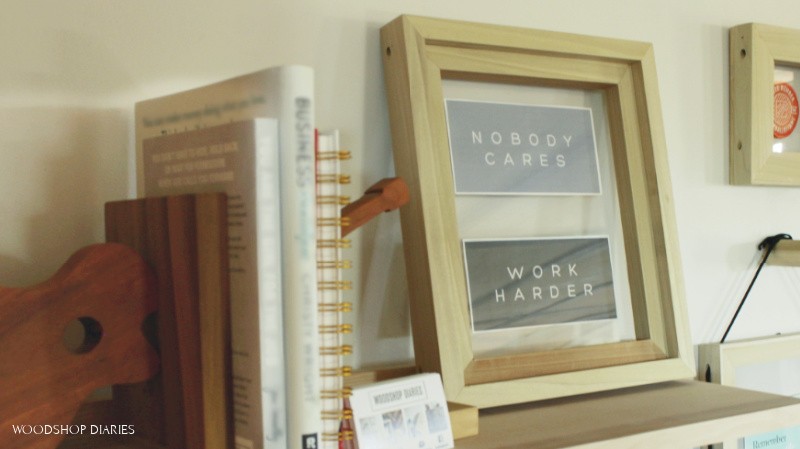
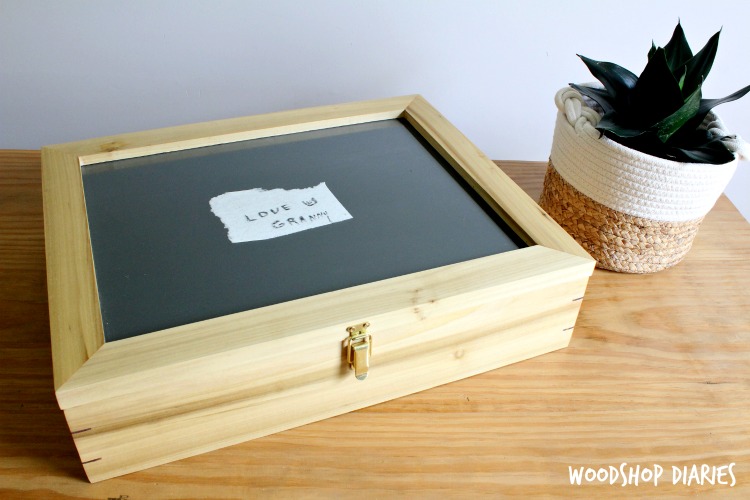
If you’d like to check out more picture frame projects, here’s a few favorites!
For more woodworking tips, tutorials, and building plans, be sure to subscribe to our newsletter to be the first to know about new posts!
And if you’d like to save this for later, don’t forget to pin it or share it to your favorite social channel.
Until next time, friends, happy building!
Large Custom DIY Picture Frames
If you've got a blank wall you need to fill, let me show you how to make your own EASY custom DIY picture frames!
Materials
- Pictures to Frame
- Plexiglass
- Mat Board
- 1x2 boards
- ¾" or 1" square dowels
- Cardboard
- Wood Glue
- Picture Frame Tabs
- Sawtooth Hanger
Tools
- Miter Saw
- Utility Knife
- Straight Edge
- Screwdriver
- Hammer
- Saw To Cut Plexiglass
Instructions
- Determind inside picture frame size.
- Build the inside picture frame with 1x2s and dowels.
- Build the outside frame by attaching to the inside frame using wood glue.
- Stain the frame. You can do this before or after assembling.
- Cut and install plexiglass if needed.
- Custom cut and install picture frame mat board and add your photo.
- Add hardware and hanger to picture frame and hang it up!