I have a thing about legs. I’m kind of picky. I don’t really care if they are skinny, or a little bit chunky, but they have to be straight and smooth. What? Did you think I was talking about “people legs?” You crazy.
Furniture legs, guys. Let’s all get on the same page. Wow, that could have been bad….
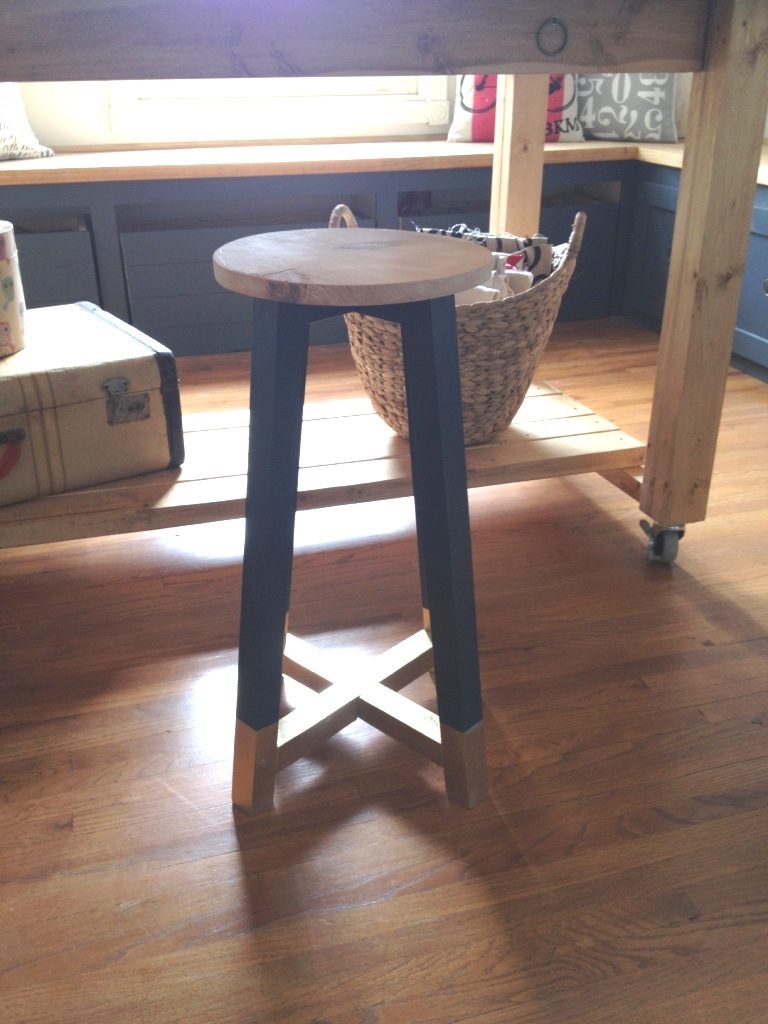
Ever since I built my office stool, I’ve wanted to do the same design on a bigger scale. I mean, it’s super simple…nothing fancy. But I think that’s what I’m drawn to lately.
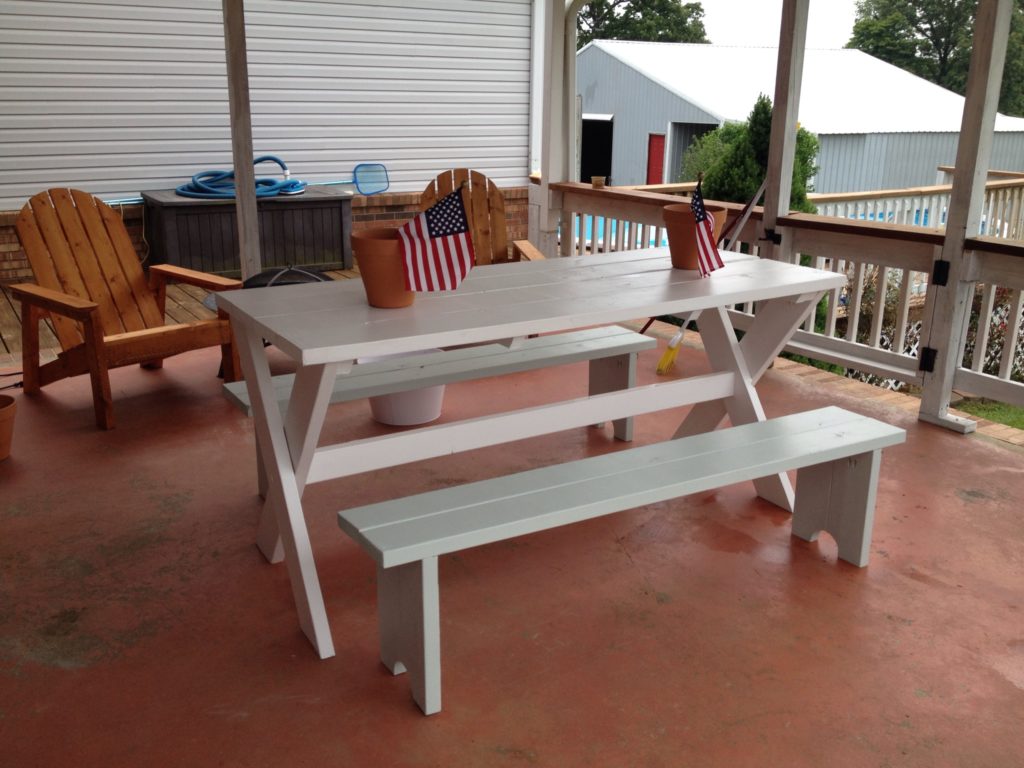
So when I sold last year’s “rush decision” outdoor picnic table I made, but never really loved….
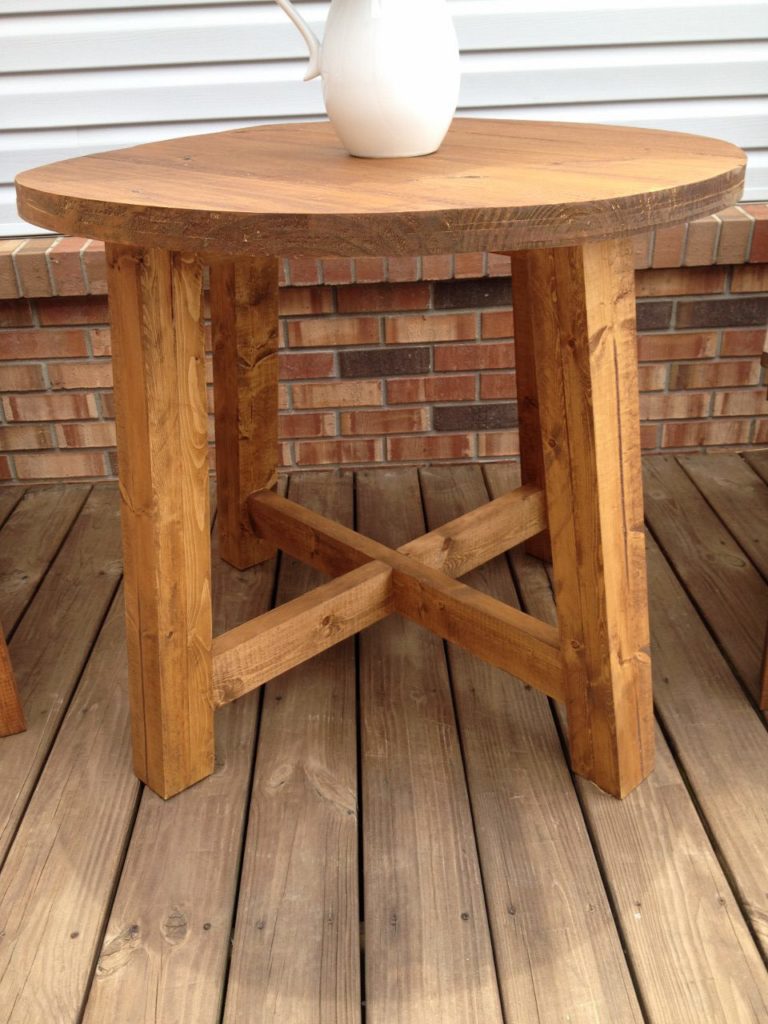
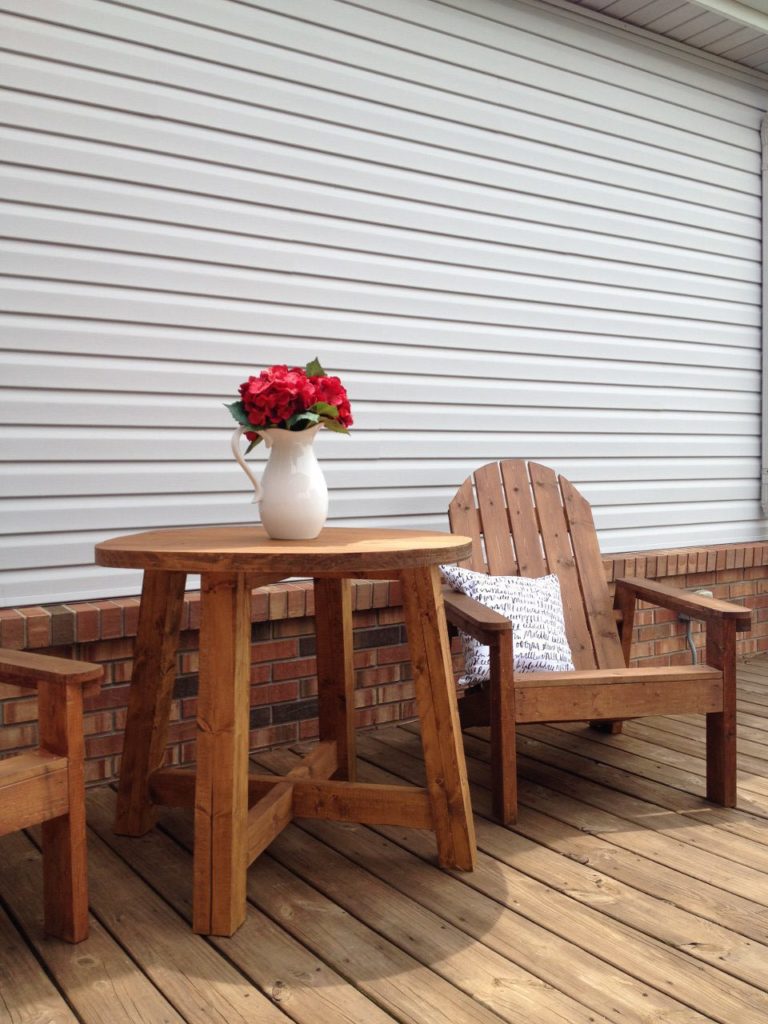
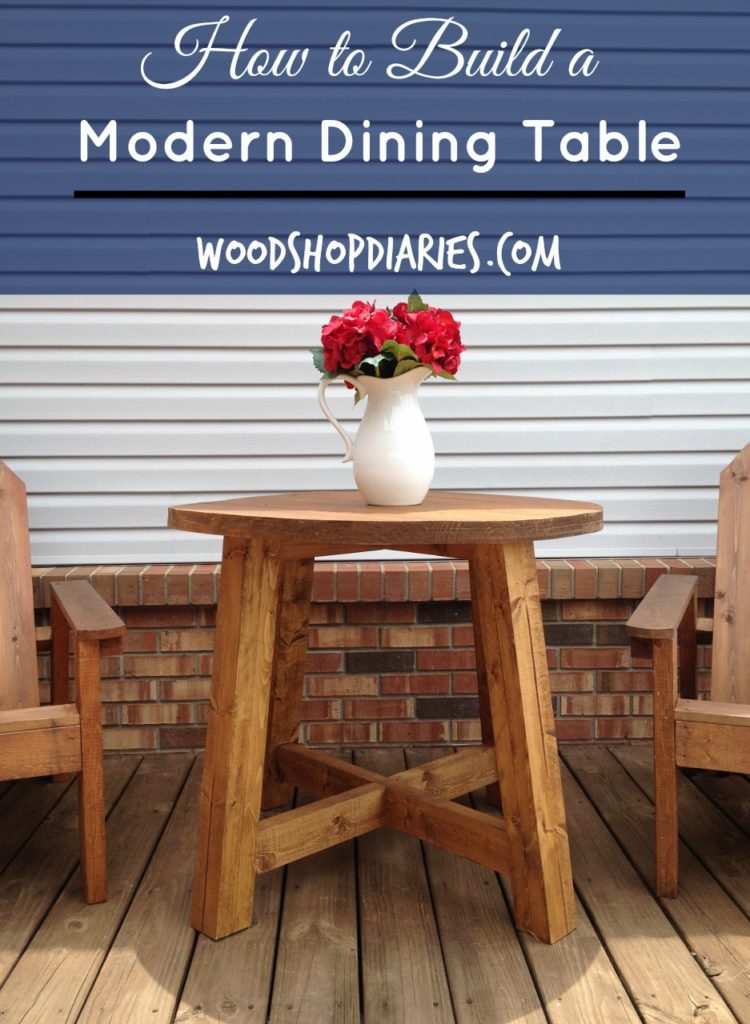
I replaced it with this modern round dining table and used my stool design as inspiration. It’s super simple and really a quick build that could be used both outdoors or indoors. But, obviously mine is outdoor since it’s replacing my old picnic table. What do you think?
NOTE: This post contains affiliate links. Please see disclosure policy for more information.
Here’s how the build went down…
I used:
about (4) 2x4x8 boards for the base
(2) 2x10x8 boards (for the top)
2 ½″ regular wood screws (or could use pocket hole screws instead)
Couple of 1 ¼″ wood screws
(WAIT!! Let me do the math real quick…beep beep boop…that’s only $30 in lumber!!! No joke!)
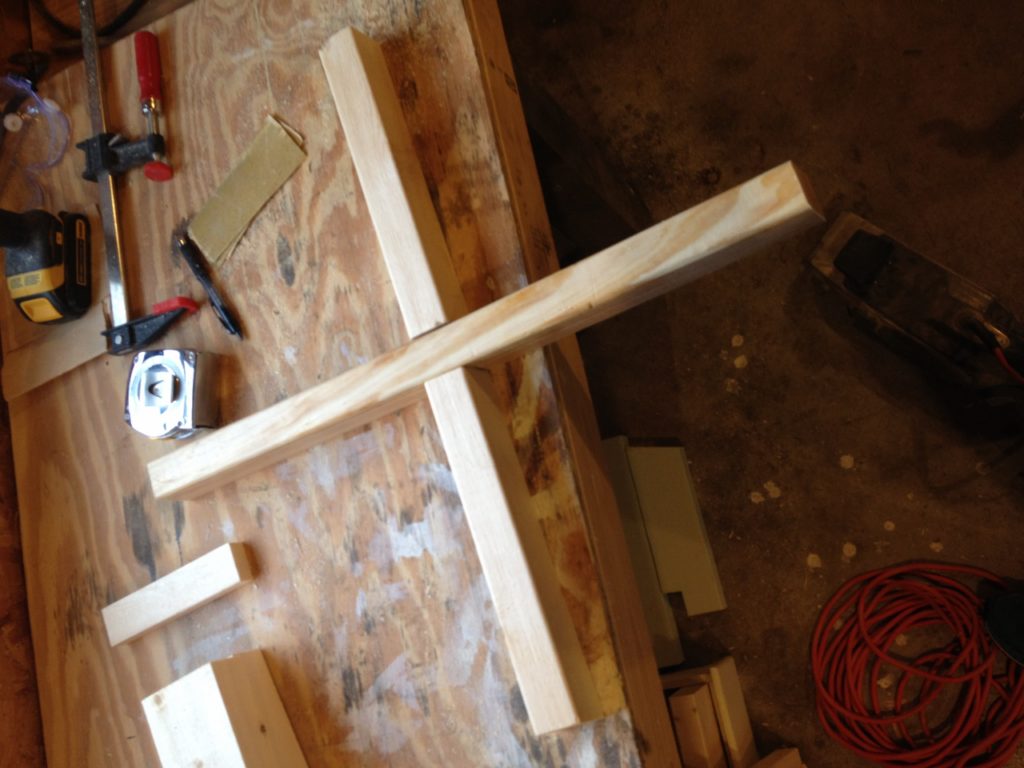
Instead of buying 4x4s (those things are hard to find untreated), I glued 2x4s together to make the legs. I glued 4 legs together and made them about 30″ long.
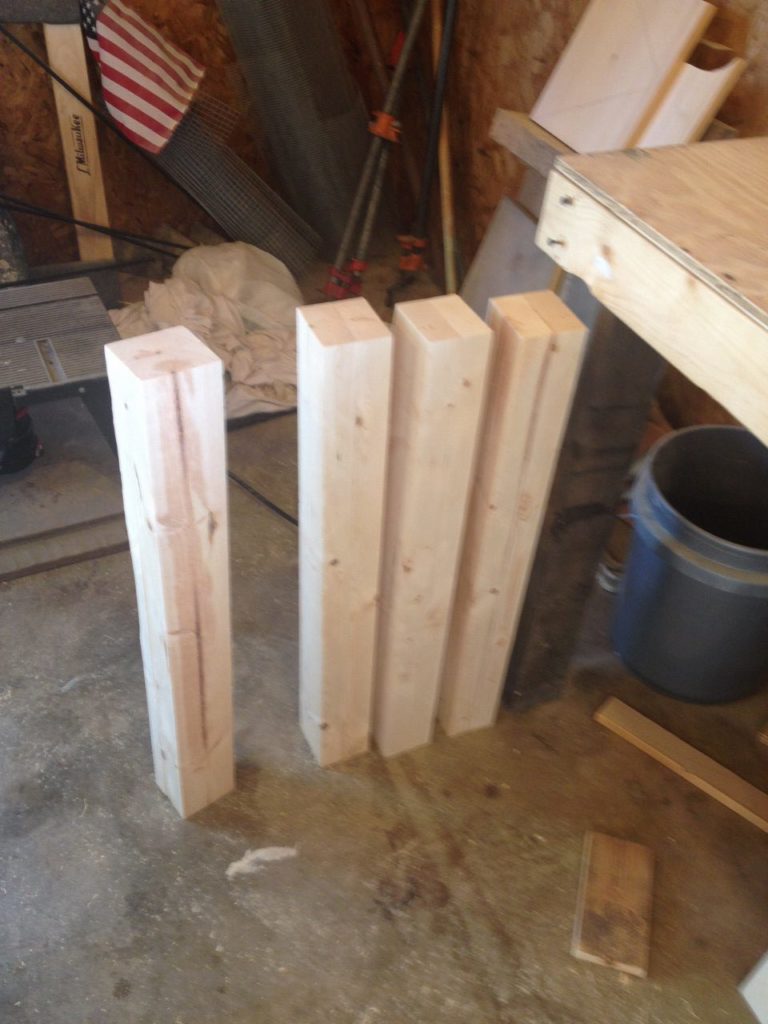
Once the glue was dried, I ran them through the table saw to square off the ends. I shaved about ¼″ off both sides where the joints were and made the leg 3″ wide. So the legs are actually 3″x3″ instead of a true 4×4 which is 3 ½″ x 3 ½″. No one will notice : )
I sanded them down with the belt sander to make sure all sides of each leg was super smooth. Then I cut all the ends at a 7 degree angle parallel to each other on my miter saw, making sure all the legs were the same length.
I wanted my top to be about 36″ diameter, so I made the top of the table base a little smaller than that at 28″ wide at the top. So the top x needed to be about 22″ wide. (28′-(2×3″ legs)=22″)
I used the table saw to rip a piece of 2×4 22″ long in half to make two 2×2 pieces. (I ripped them at 1 ½″ wide.) I cut the ends off at 7 degrees not parallel to each other. I wanted to notch each one out in the center to the two would fit snugly together. So I found the center of each piece and marked ¾″ to each side of the center and marked halfway down the piece (see picture below). I used a jig saw to cut two lines then used a chisel to knock the block out.
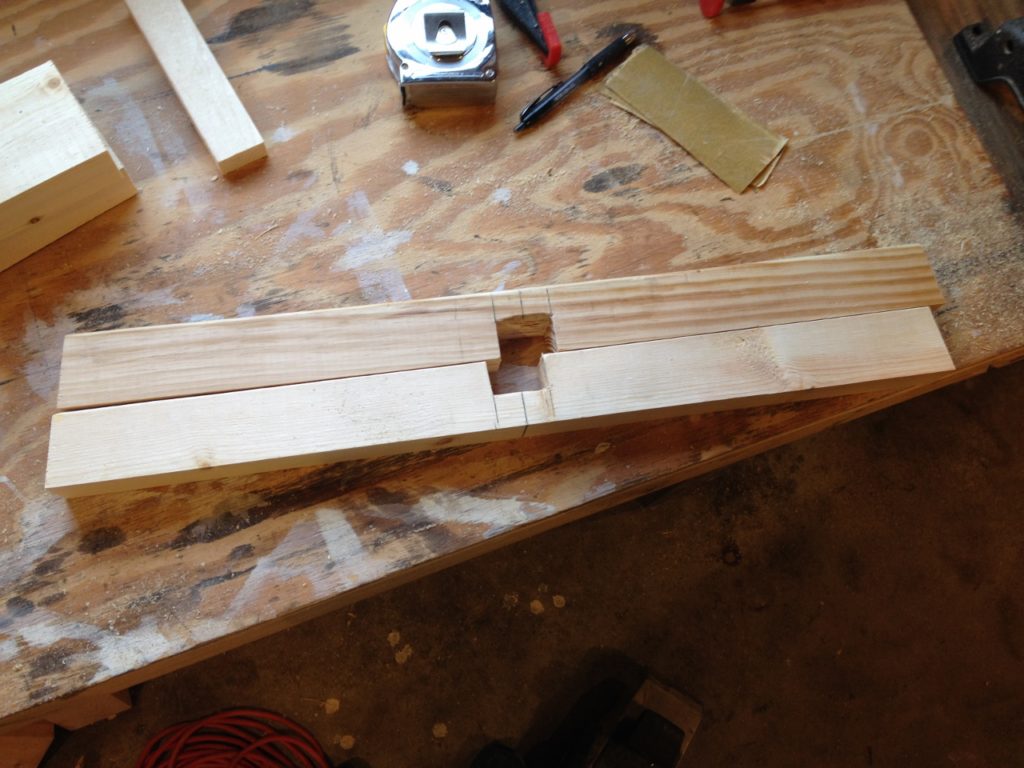
If they fit together the first time, awesome. If not, trim a little off with the chisel or jig saw until they fit good.
Then I put a couple screws through the bottom to hold them together.
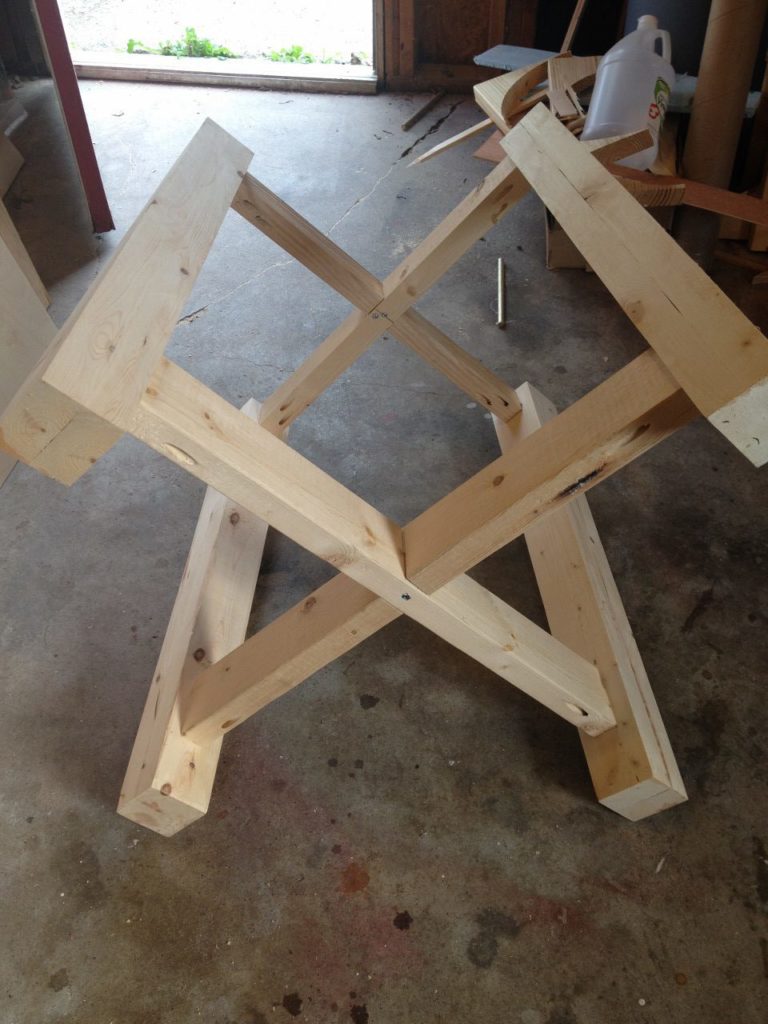
I drilled pocket holes using my Kreg Jig (set for 1 ½″ thick material) in each end on the bottom side of the X (you could do top or bottom). I screwed them into the top of each leg using 2 ½″ pocket hole screws.

Then, I did the same thing for the bottom X except I used 2x4s instead of 2x2s. I made these 28″ long and also cut 7 degrees off each end as before. I notched them out and drilled pocket holes in the bottom and also screwed that into the legs. I screwed them in about 3″ from the bottom of each leg. Your height may vary a little based on your exact measurements. Just make sure your table sits square when you attach the bottom X.
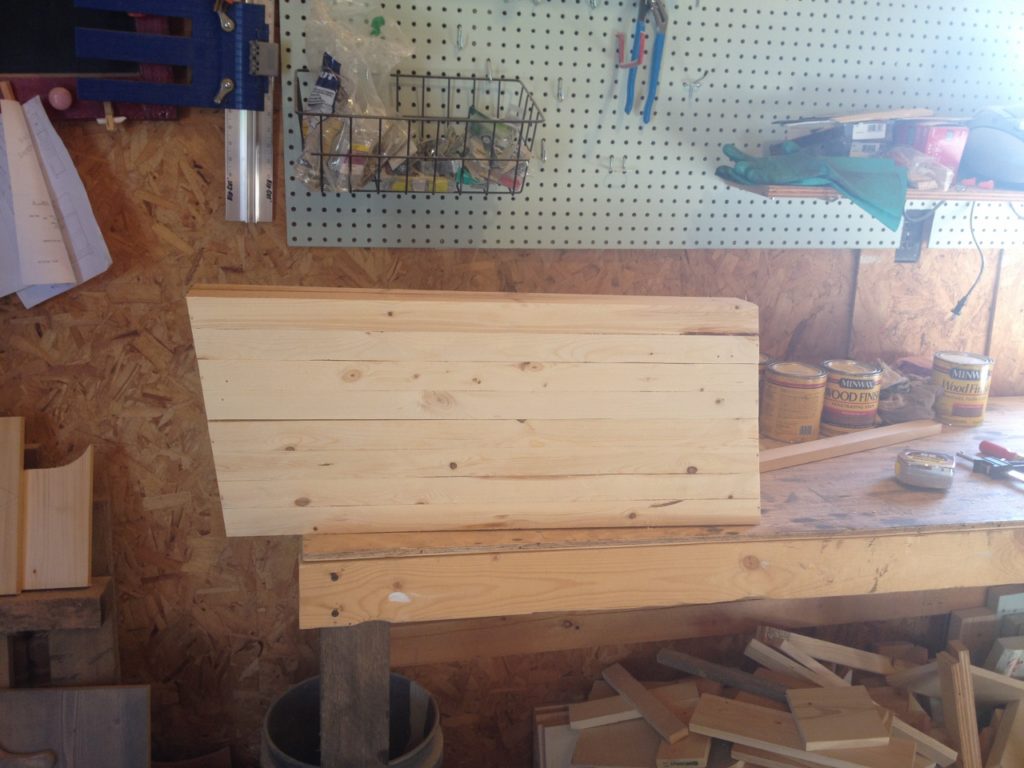
For the top, I cut 4 pieces of 2×10 a little over 3′ long (about 37″ or so–doesn’t have to be exact). I squared them off on the table saw to get a good flat edge then glued and clamped them together. I used a router and a jig to cut the circle out of the top just like I did with my coffee table. This picture is from that project:
![IMG_3547[1]](https://www.woodshopdiaries.com/wp-content/uploads/2015/08/img_35471-768x1024.jpg)
I gave everything a good sanding, then stained it with outdoor deck stain and sealant (I used Olympic Deck Stain Toner in Canyon Brown). Once the stain was dry, I flipped the table top upside down and set the base on top of it upside down. I used 2 ½″ screws and attached the top by screwing through the 2x2s into the top. I put several screws in to make sure it would hold. Then I flipped it back over and brought it out back.

I made my mom and sister pose for a picture by it haha.

By the way, these Adirondack chairs are AMAZING. I love them. You can find Ana White’s plans for them here. I built these two last year and they are super easy and super sturdy and cheap to build.

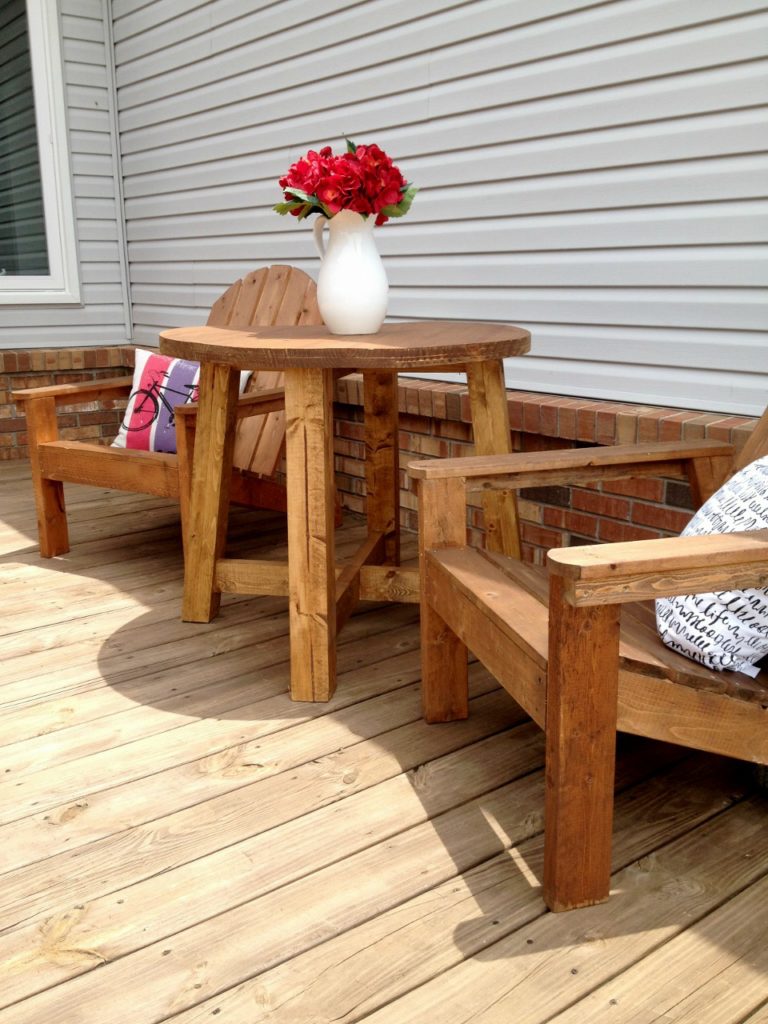
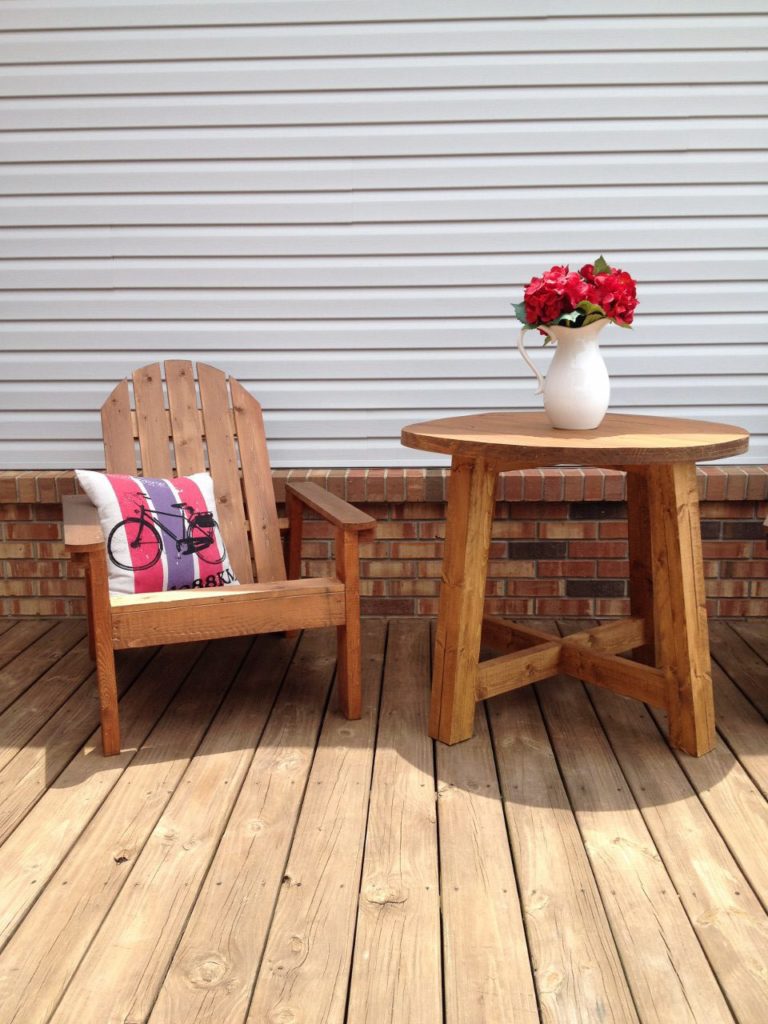
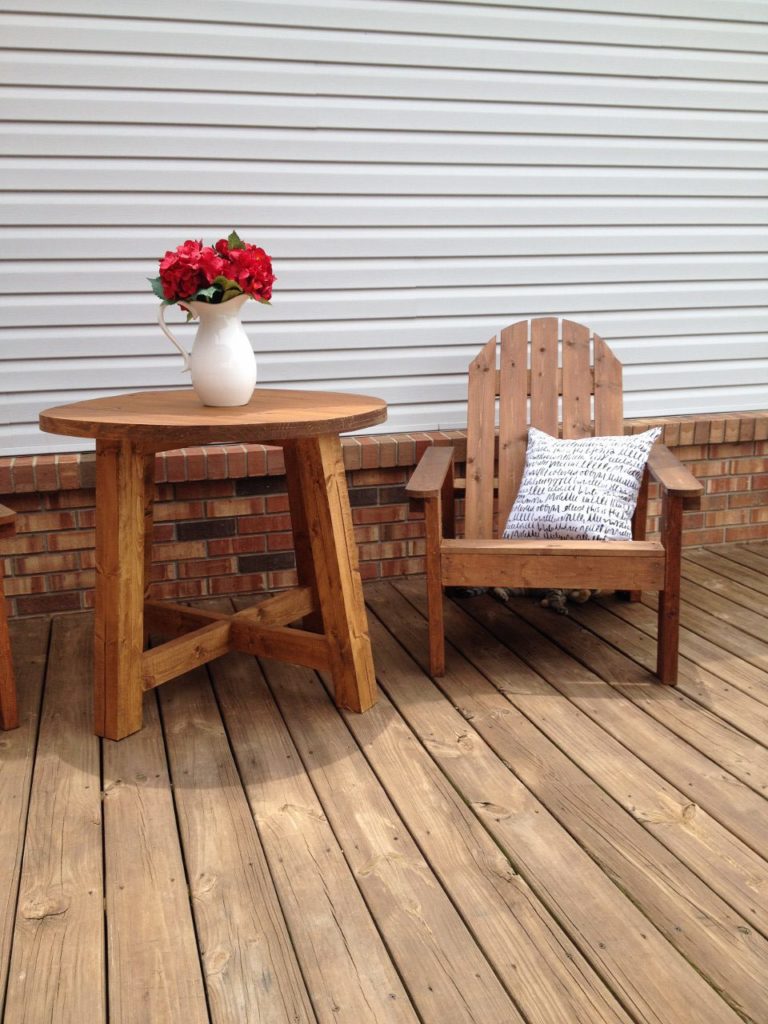
I mean, for real, check out those LEGS. It’s probably just me, but I am loving this simple style. Super easy to make and just a simple, modern design. One day, maybe I’ll throw an umbrella in the mix, but for now, it’s fine by itself in the shade.
PS Funny story…this is what the cats do when I’m trying to take pictures on “their” back porch…

Cute right? Within five seconds after this picture she was digging her little kitten claws in my back trying to play with my hair…

Then this….

I give up…
I waited until they were napping and tried again haha
So what do you think? Adorbs, right? It’s seriously super cheap to build. So what are you waiting for?! Get building!!
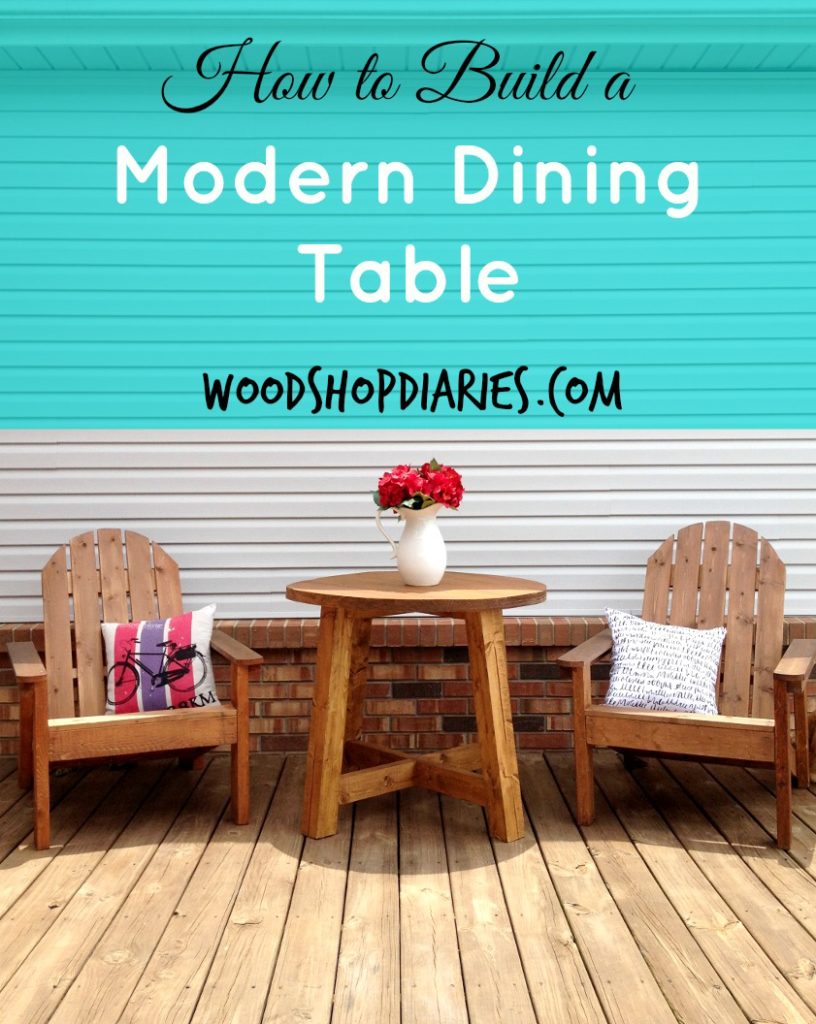
But first, don’t forget to pin it : )
Happy Building!!! Oh, and Happy Independence Day!! Hope you have a safe and fun holiday!!
Shara, Love the Outdoor Modern Table!
I am so inspired, to see your postings and am building my own furniture to Fit My Sewing Room and give me the storage I need.
I first re-made drawers in an antique wardrobe, with the Kerg screws, after looking at your website.
I was so pleased at the results, I then made a storage cabinet, for storing thread boxes for my embroidery machine.
Customizing a Cutting Table and Storage Cabinet is my next Big project, with drawers and plenty of storage for more threads, etc.
Loyal Fan, Sylvia
Thank you! So glad my posts have been helpful with your projects!! 🙂