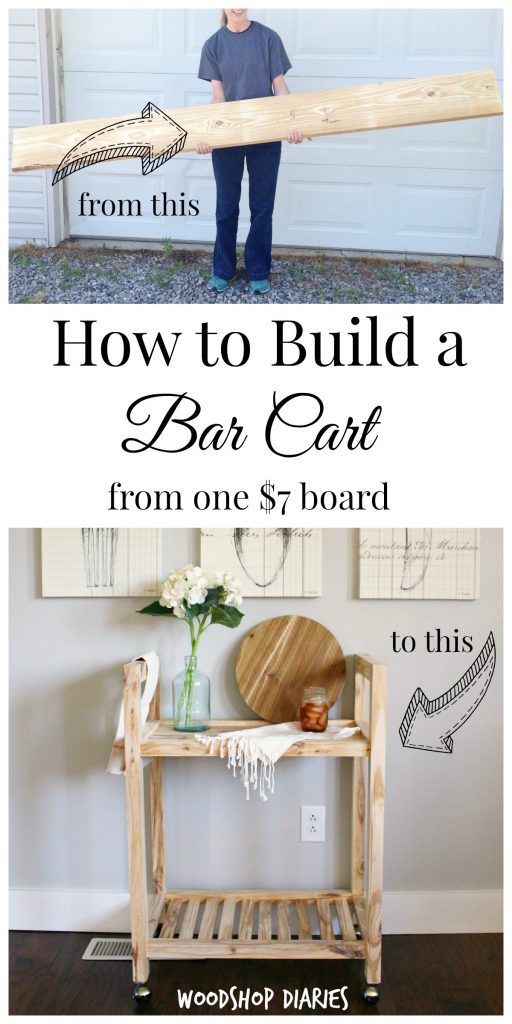
Can you believe you can build a DIY bar cart from a single board?? Read on to find out how.
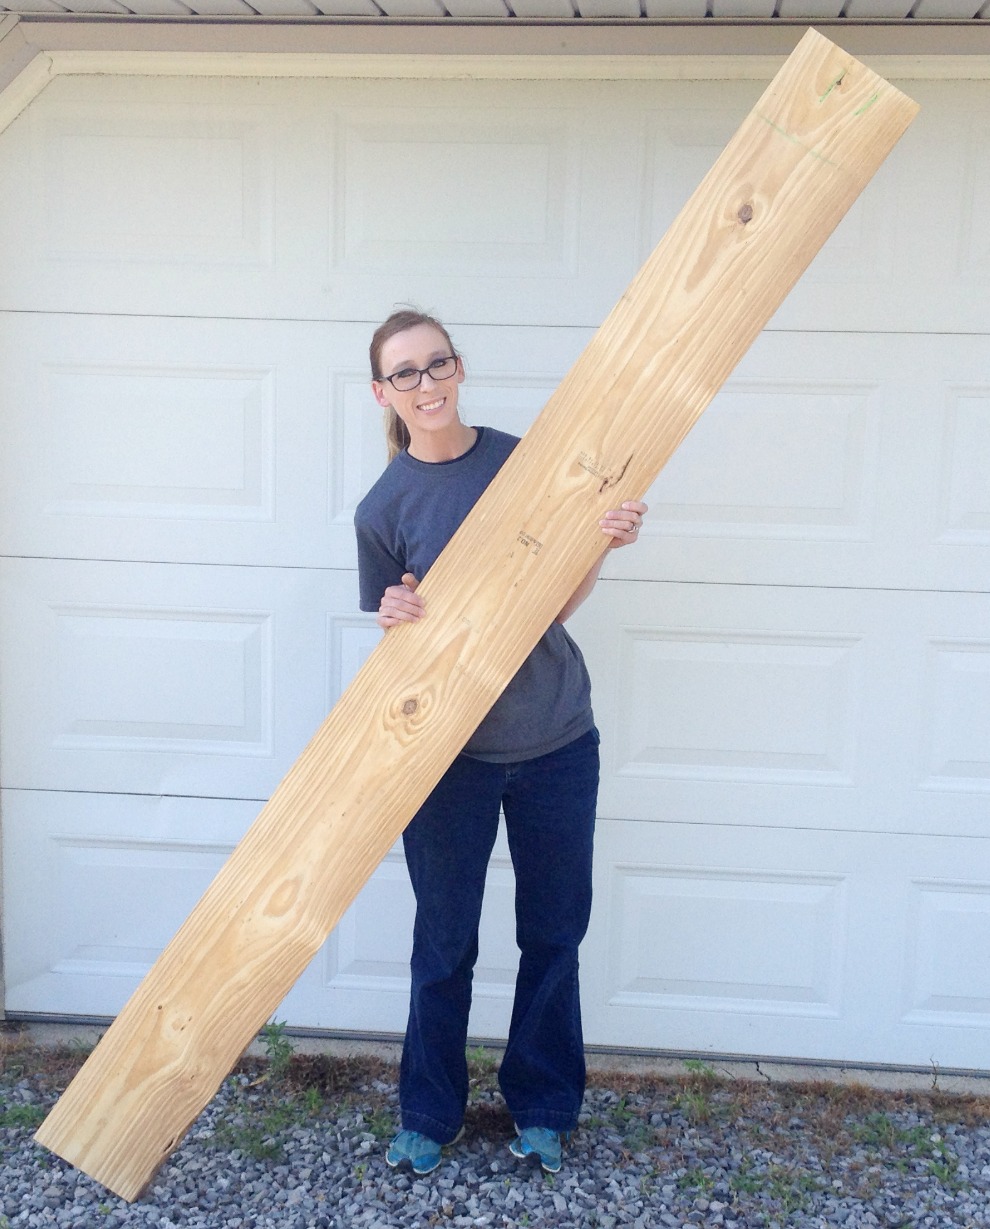
I built this project from a single 2x10x8 board.
Now, the 2x material you find at the building stores is what you typically call “construction lumber.”
It’s probably not the most glamorous stuff you’ve ever seen. You may have to dig through a large pile just to find some straight ones.
But, it’s cheap. And it’s readily available.
And, despite the bad reputation this type of wood gets, most of what I build is made from construction lumber.
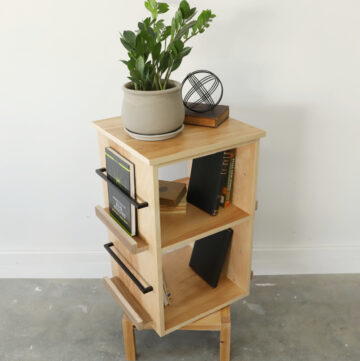
When you get a little creative, you can make some really pretty stuff it–like this simple DIY bar cart.
I’m sharing how to build your owns DIY Bar Cart (I guess since I don’t drink, it’s technically a tea cart??) from a single 2x10x8 board that only cost $6.56 (in 2017 when I bought it).
I’ve got the project details, printable plans, and the how to for you below. If you prefer to watch, I even have a video tutorial, too!
To build this DIY bar cart, you’ll need:
This post contains affiliate links. See disclosure policy for details.
Materials:
Tools:
- Table Saw
- Miter Saw
- Drill
- Kreg Jig for pocket holes
- Measuring tape
- Sander
- Clamps (optional, but helpful)
How to Build a DIY Bar Cart From One Board:
Grab the printable plans below after you check out the video here:
You’ll find the step by step building process in the tutorial below, but if you prefer a printable version, I’ve got the complete printable plans available as well.
Prefer to print your plans?
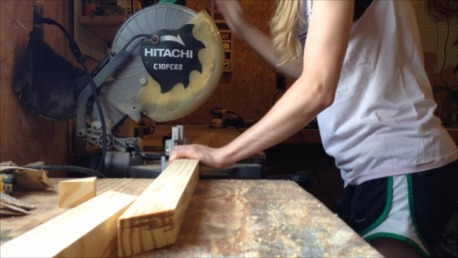
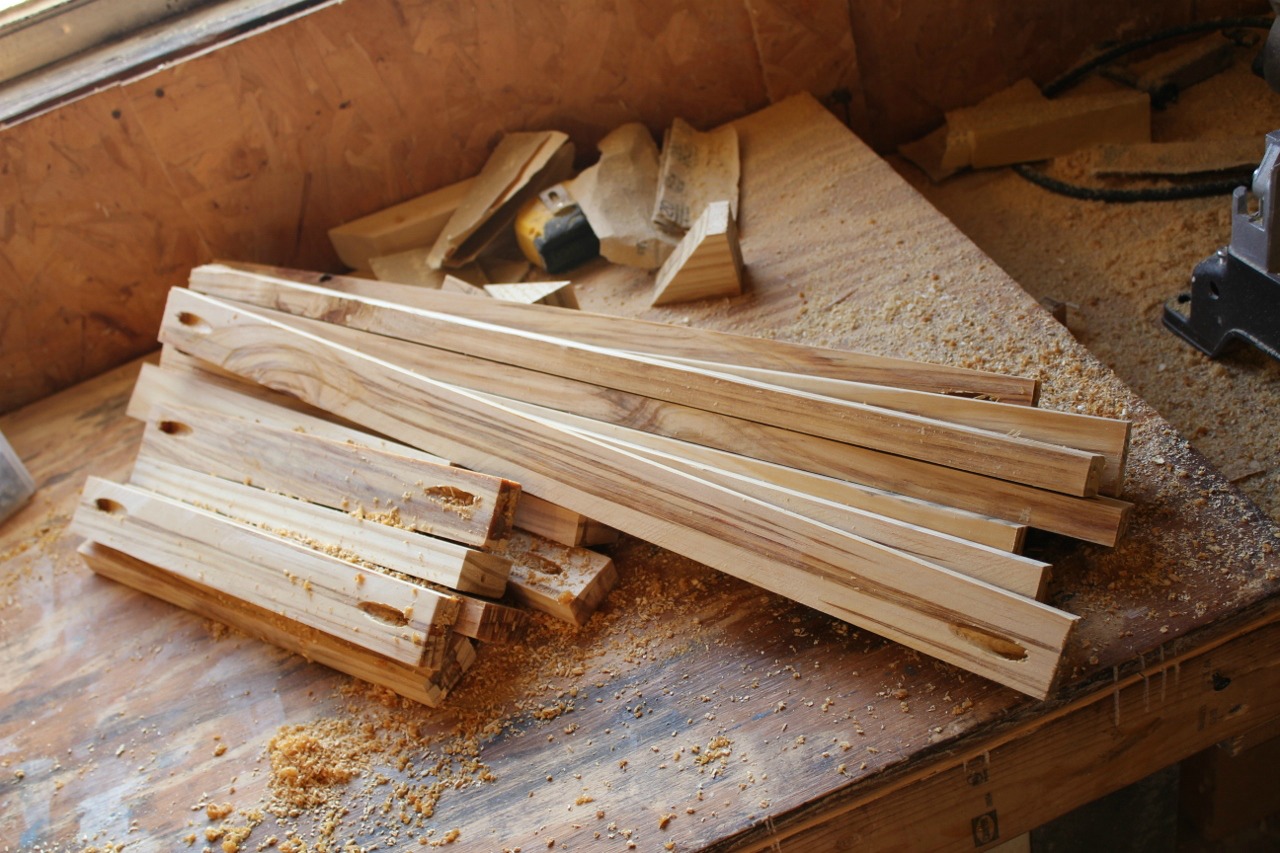
Step 1: Cut down the 2×10 board
First, I had to cut down my board to size using a table saw.
NOTE: If you don’t have a table saw, you can purchase four 2x2s and four 1×2 to make this instead.
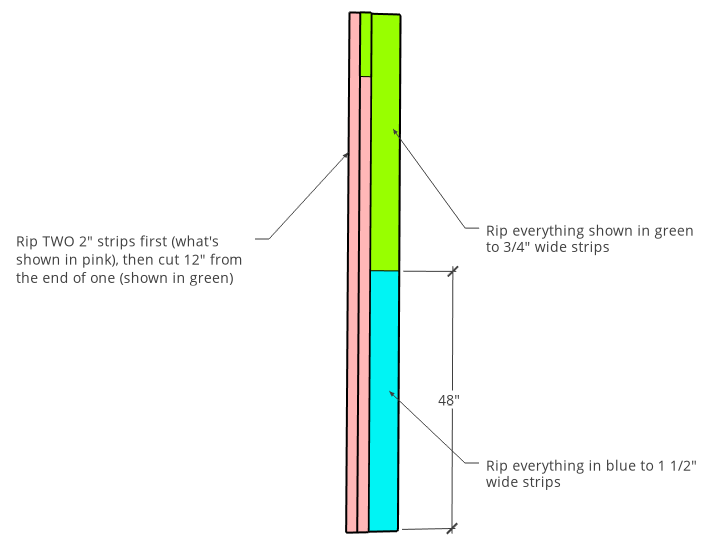
I cut in this order:
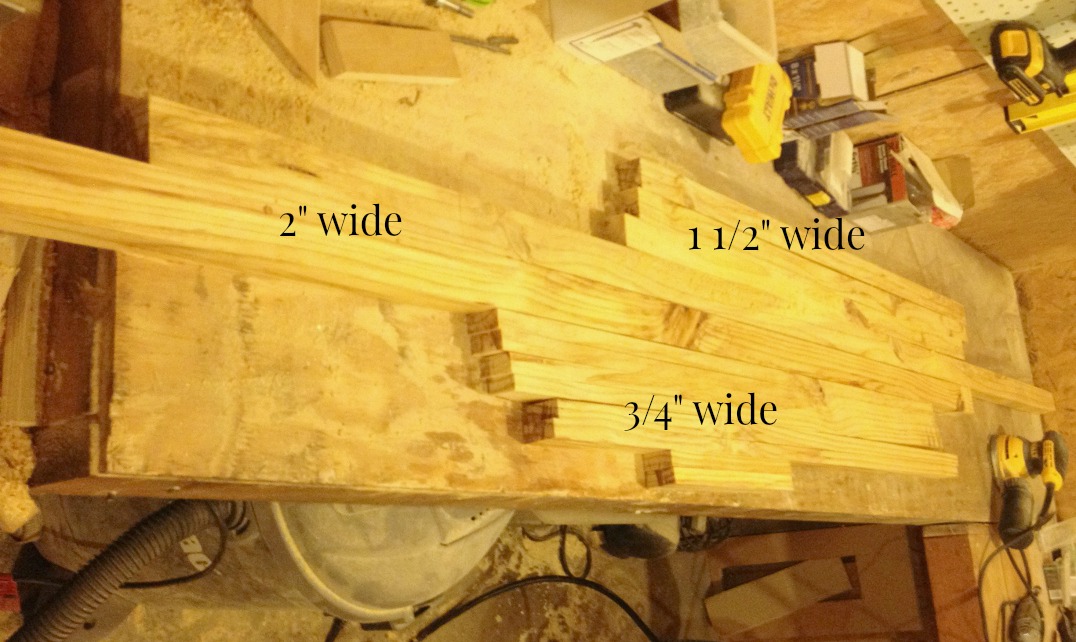
First, I ripped two strips of 2” wide board from the 2×10 using a table saw.
I cut 12” off of ONE of these 2” boards with a miter saw and set it to the side.
Then, I cut what’s left of the 2×10 in half (two 4 ft pieces). I ripped three strips from one of these pieces at 1 ½” wide.
.
Lastly, I ripped the remaining wood and the 12” piece I cut from the 2” wide boards earlier all down to ¾” thick strips.
I know that’s a lot of instructions, but once this is cut, it’s easy peesy from here.
If you’d like to check out the cut diagrams, cut list, and printable step by step instructions, grab the complete building plans here.
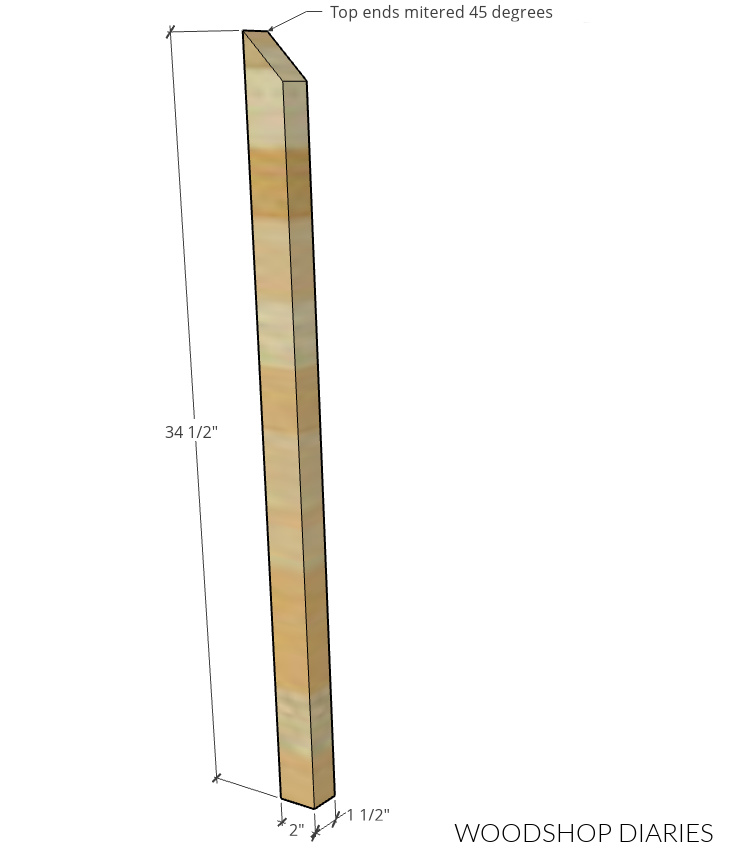
Step 2: Cut Legs for DIY Bar Cart
The 2” wide strips are the legs.
NOTE: If you are using 2x2s instead, it’s fine that it’s 1 ½″ instead of 2″ wide, but you’ll need to add a little piece onto the bottom to attach the casters because…
I would have made these 1 ½” wide instead of 2”, but the casters had 2” long brackets to screw into the legs. So I made the legs 2”.
I cut two legs and a top from each 2” piece. The legs are mitered at 45 degrees on ONLY ONE END and cut at 34 ½” long at the longest point.
Step 3: Cut out the frame pieces
I cut down the 1 ½” wide pieces so that I had 4 pieces at 11 ⅞” long and 4 pieces at 23 ⅞” long. Why ⅞”??
If you cut at an even 12” and 24”, you won’t have enough board because you didn’t account for the blade width on the cuts.
Your last piece will be too short…helpful hint 😉
I drilled one 1 ½” pocket hole in each end of these pieces.
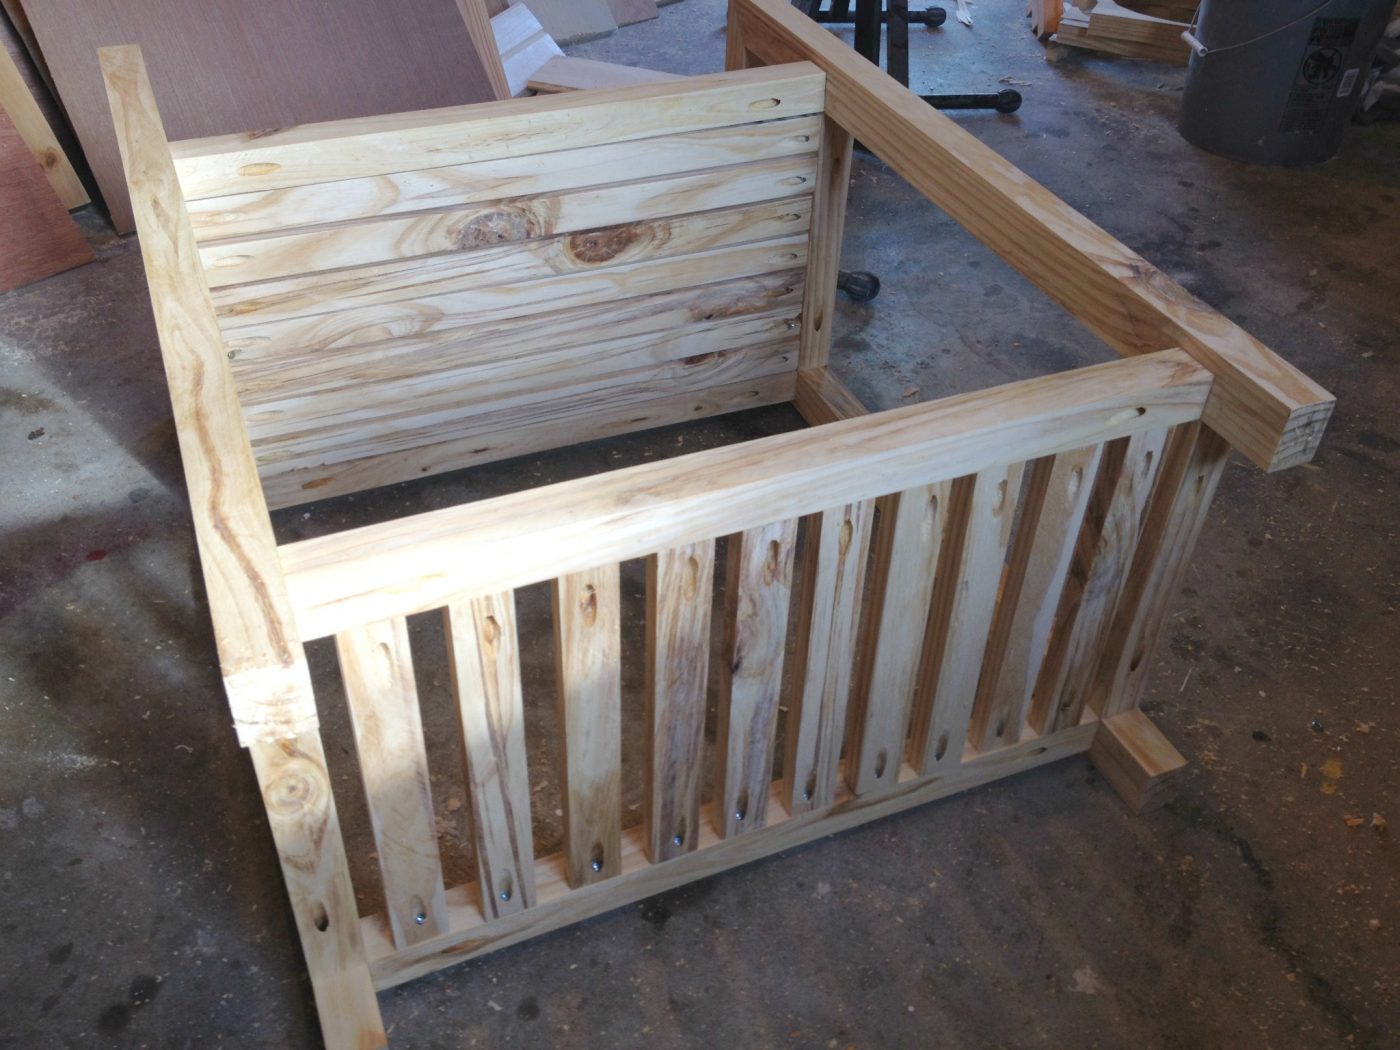
Step 4: Assemble the Cart frame
I measured up from the bottom of the legs 4” and made a mark, then 26 ½” and made another mark.
You can pick different measurements if you want–this is really just personal preference how high or low you place your shelves.
I lined the frame pieces up with these marks and assembled the frame like shown using 2 ½” pocket hole screws in the pocket holes I drilled in step 3.
RELATED: How to use a pocket hole jig
I checked to make sure the miters were turned the right way on the legs.
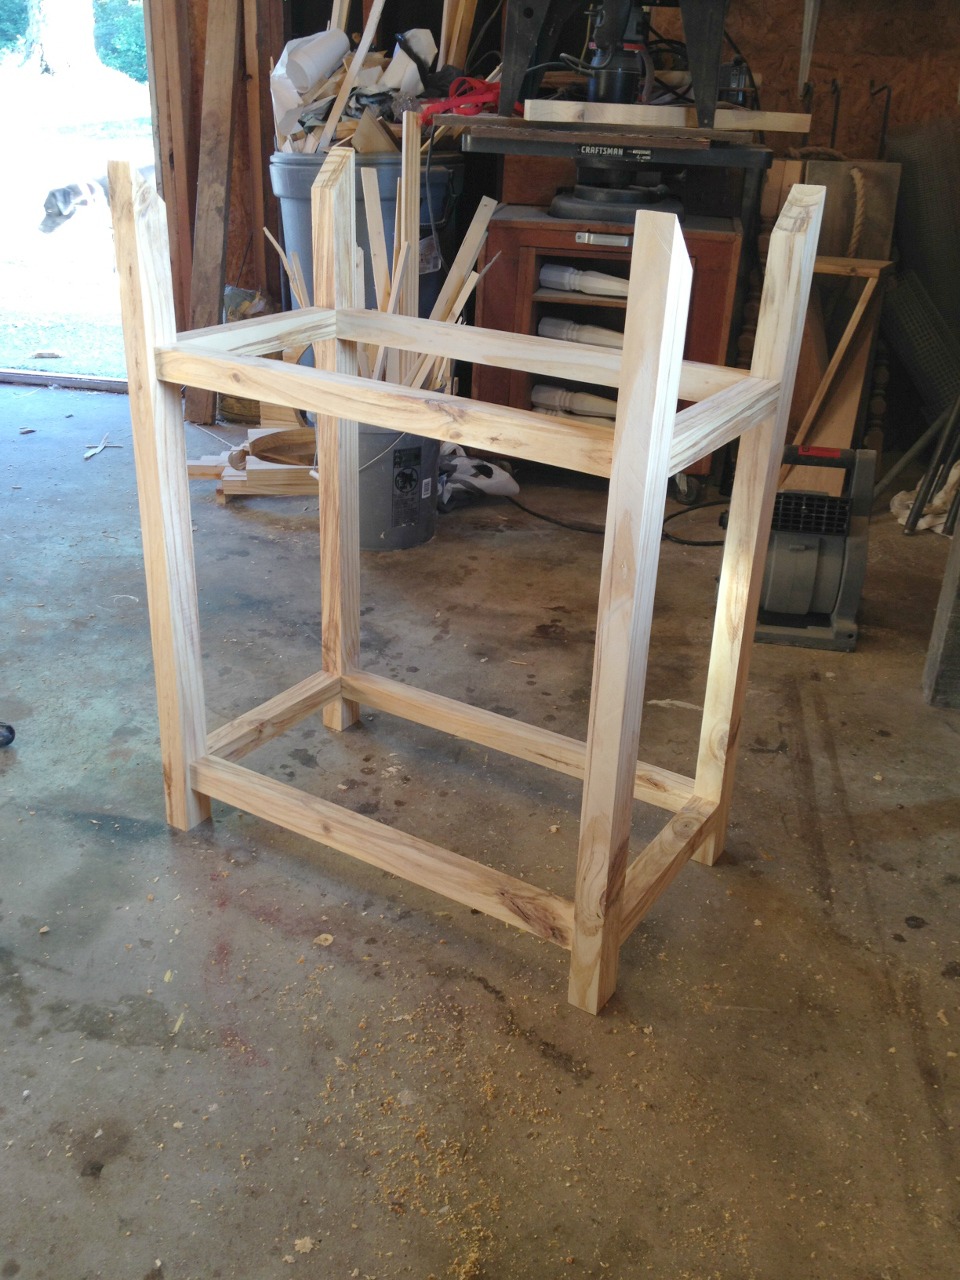
I found it easiest to assemble the two side frames first, then attach them together with the longer pieces.
You can see this in the video.
Also note that all the frame pieces are flush to the INSIDE of the legs.
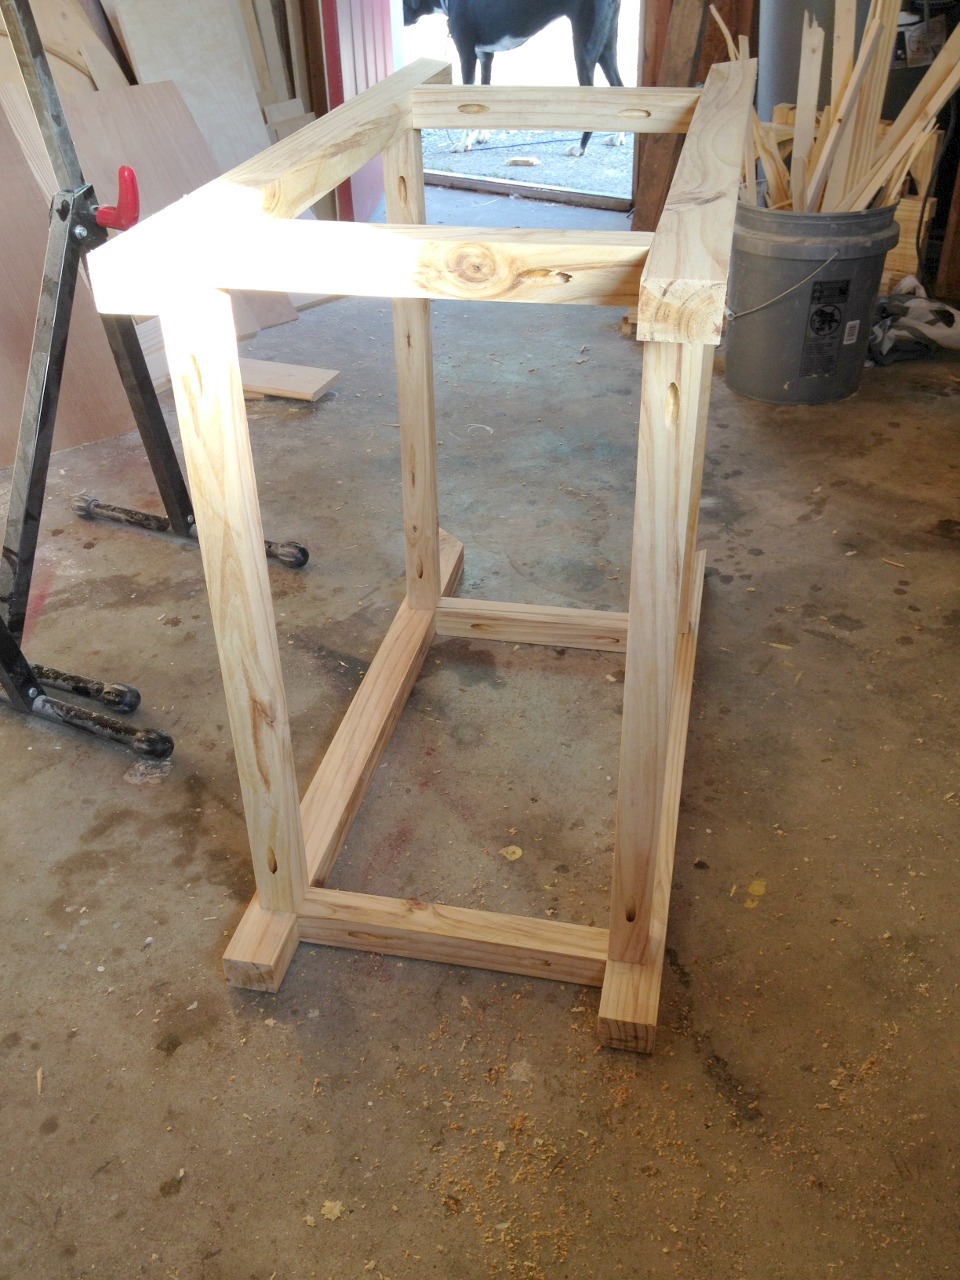
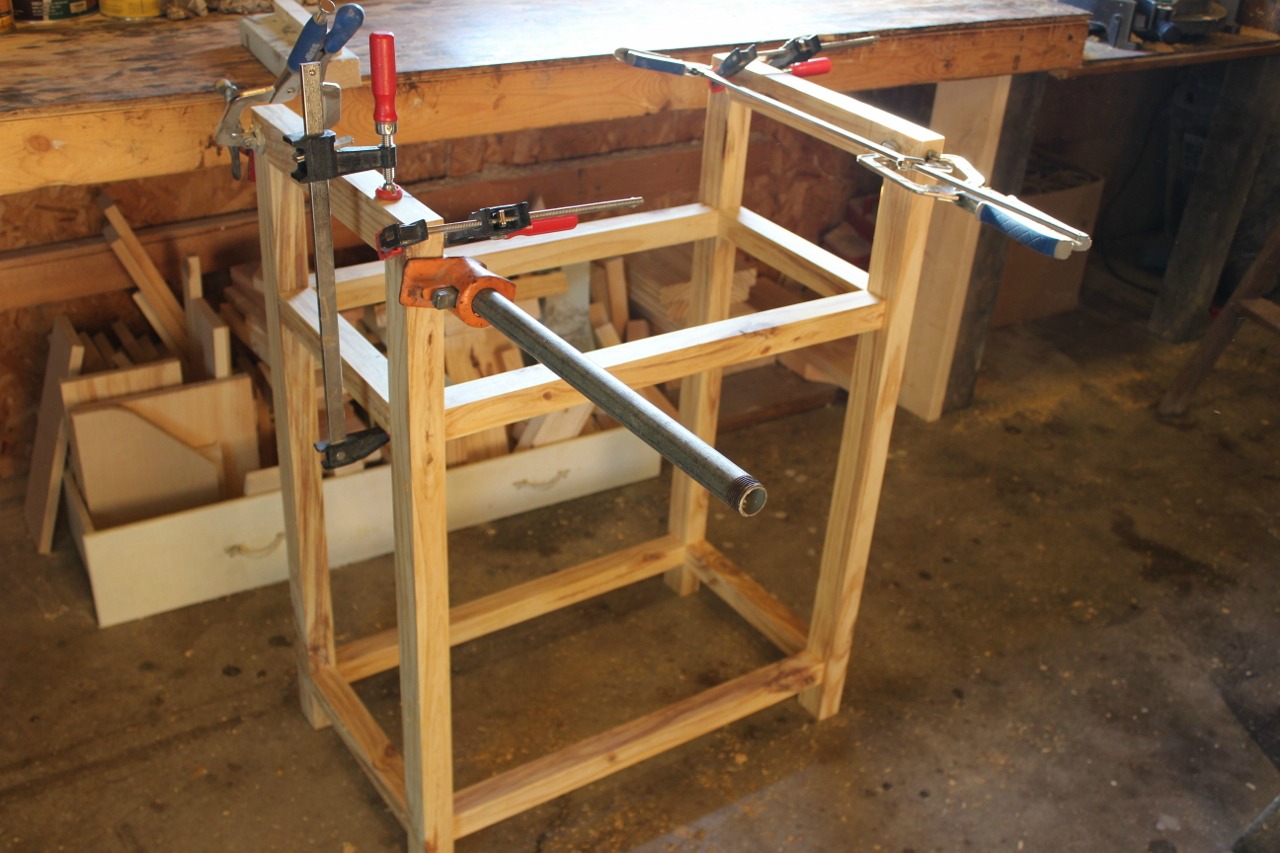
Once the frame was together, cut the top pieces from what was left of the 2″ wide pieces from step 1.
The tops are mitered at both ends not parallel to each other and cut at 15 ⅞” long at the longest point.
I glued and clamped on the top pieces between the corner legs. Allow the glue plenty of time to dry.
Step 5: Cut the slats for Bar Cart
While the glue was drying, I cut 10 pieces of 11 ⅞” long and 7 pieces of 23 ⅞” long from the ¾” thick boards.
The longer ones will be the top slats and the shorter ones will be the bottom slats.
I drilled one ¾” pocket hole in each end of each board.
Step 6: Attach the slats
I screwed the slats in place using 1 ¼” pocket hole screws, making sure to space them out evenly.
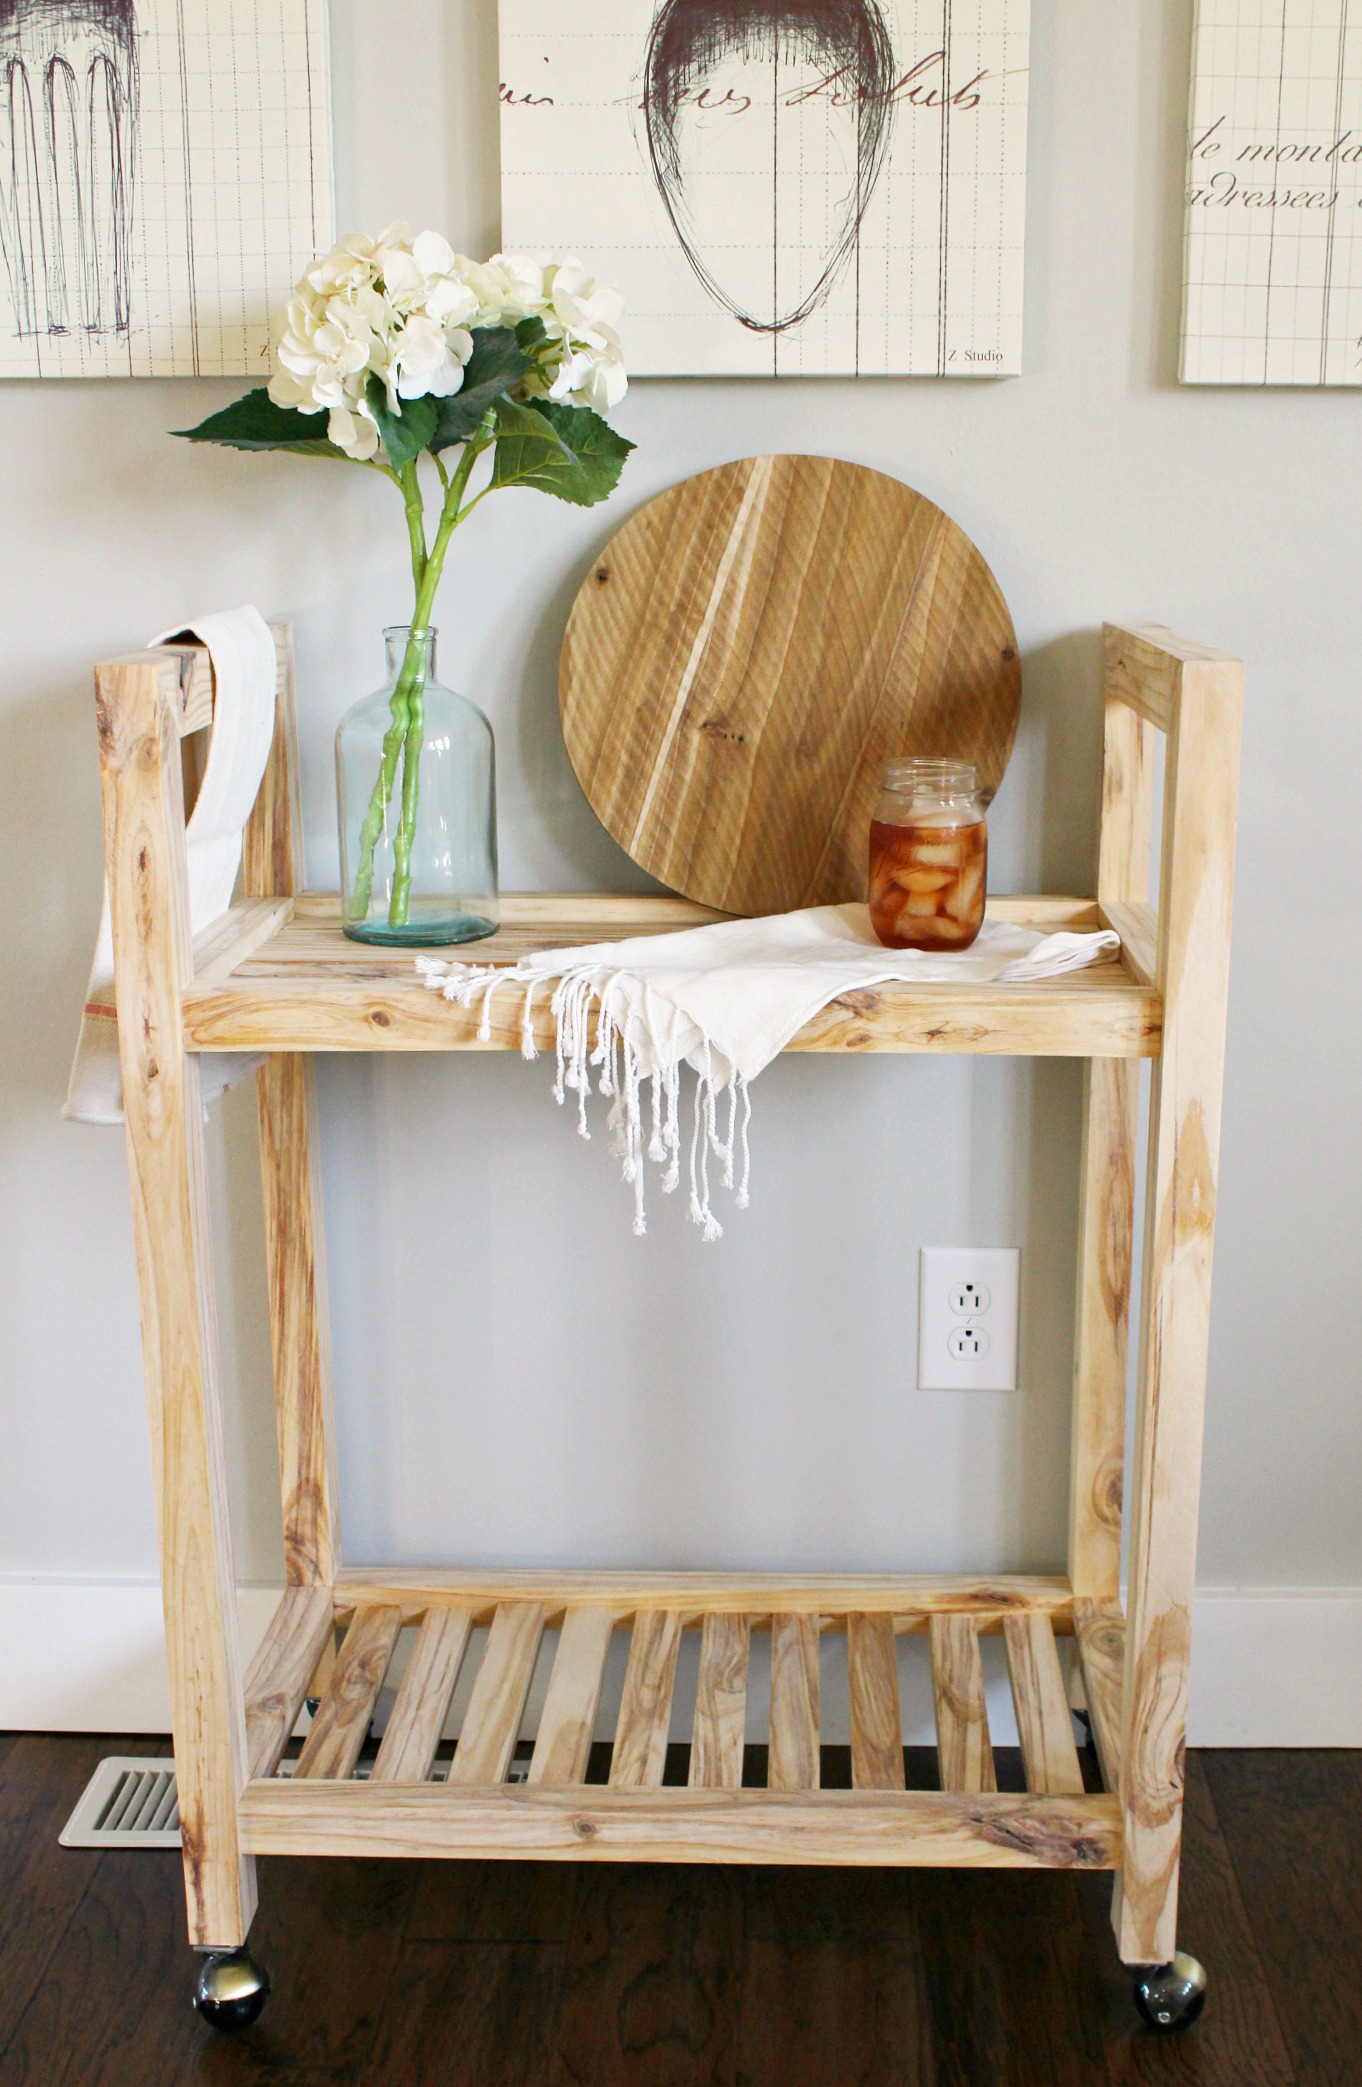
I made the tops slats run lengthwise and the bottom run opposite.
I screwed them in so that the bottoms were flush with the bottom of the frame pieces.
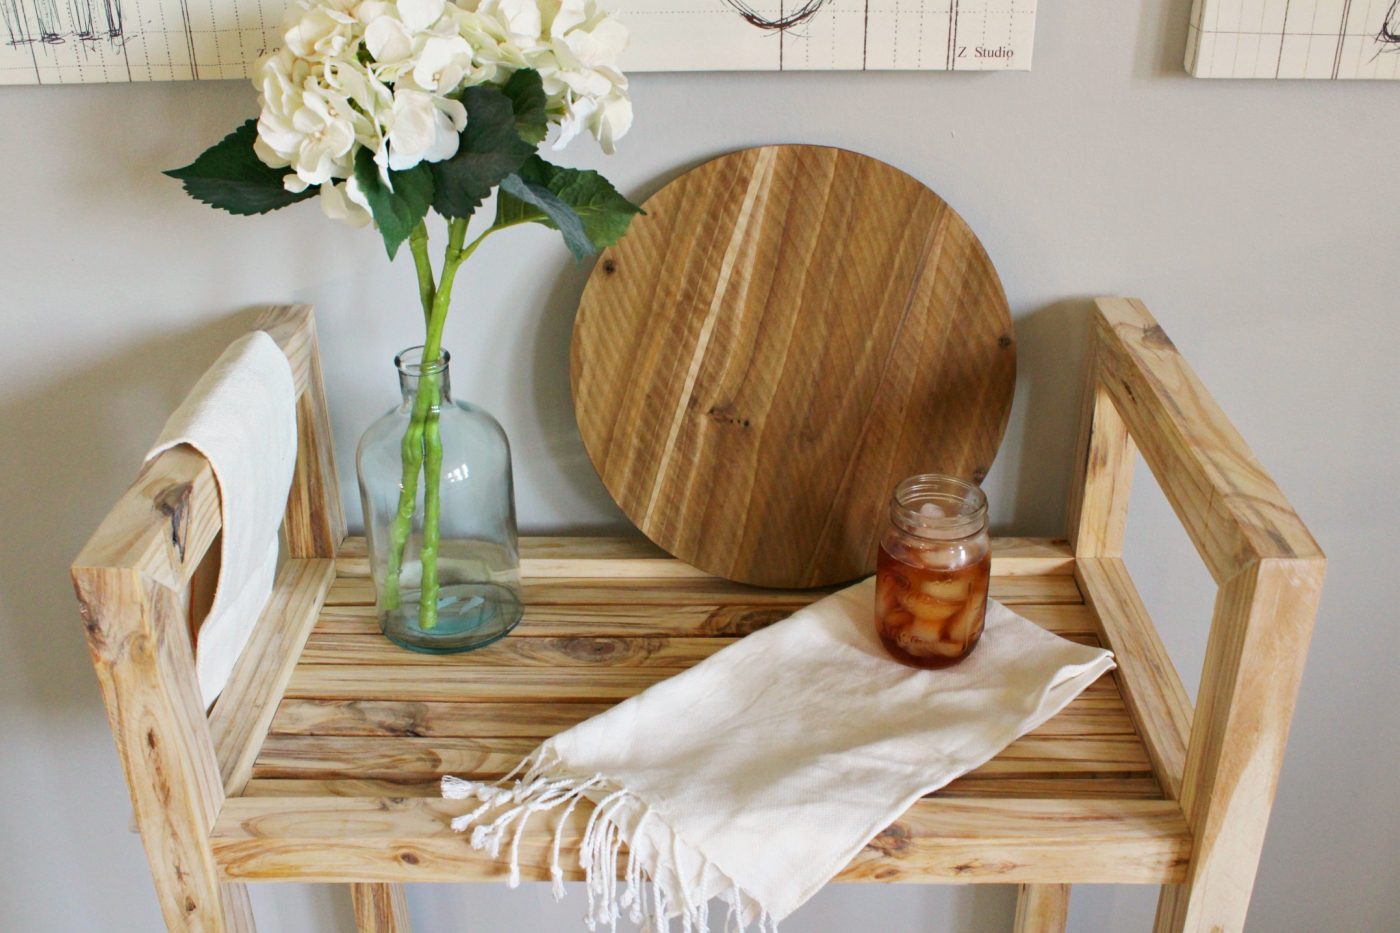
This left a shallow “lip” around the edges so that they were more like a “tray” than a “shelf.”
You can make the top flush across if you’d rather. It’s just personal preference.
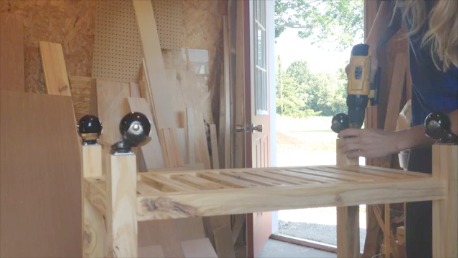
Step 7: Add casters to DIY Bar Cart
At this point, I simply screwed the casters into the bottom of the legs.
Step 8: Putty, sand and finish
I put a little putty around the mitered corners and sanded it down really well.
I’m really digging natural finishes lately, so I chose to leave mine as is with just a coat of poly on it.
Of course, you can stain or paint as desired.
Step 9: Roll DIY Bar Cart in place
Fill up your tea pitcher, grab your mason jars and get ready for a party.
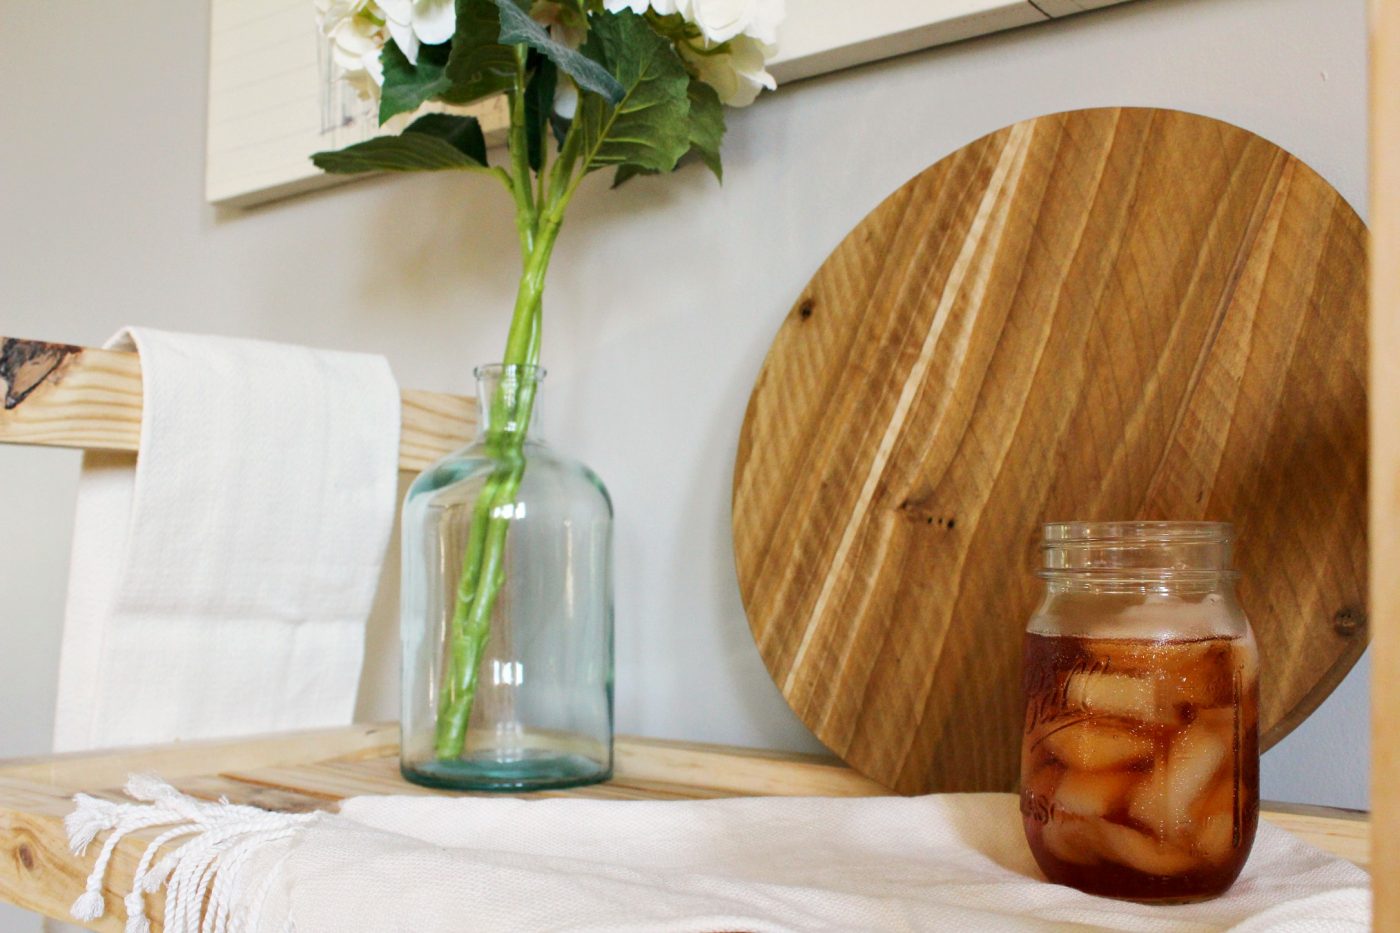
I love how it turned out and I think the natural wood color looks great.
If you plan on leaving your cart “naked,” look for a board with lots of large, dense knots to add some color variation and character.
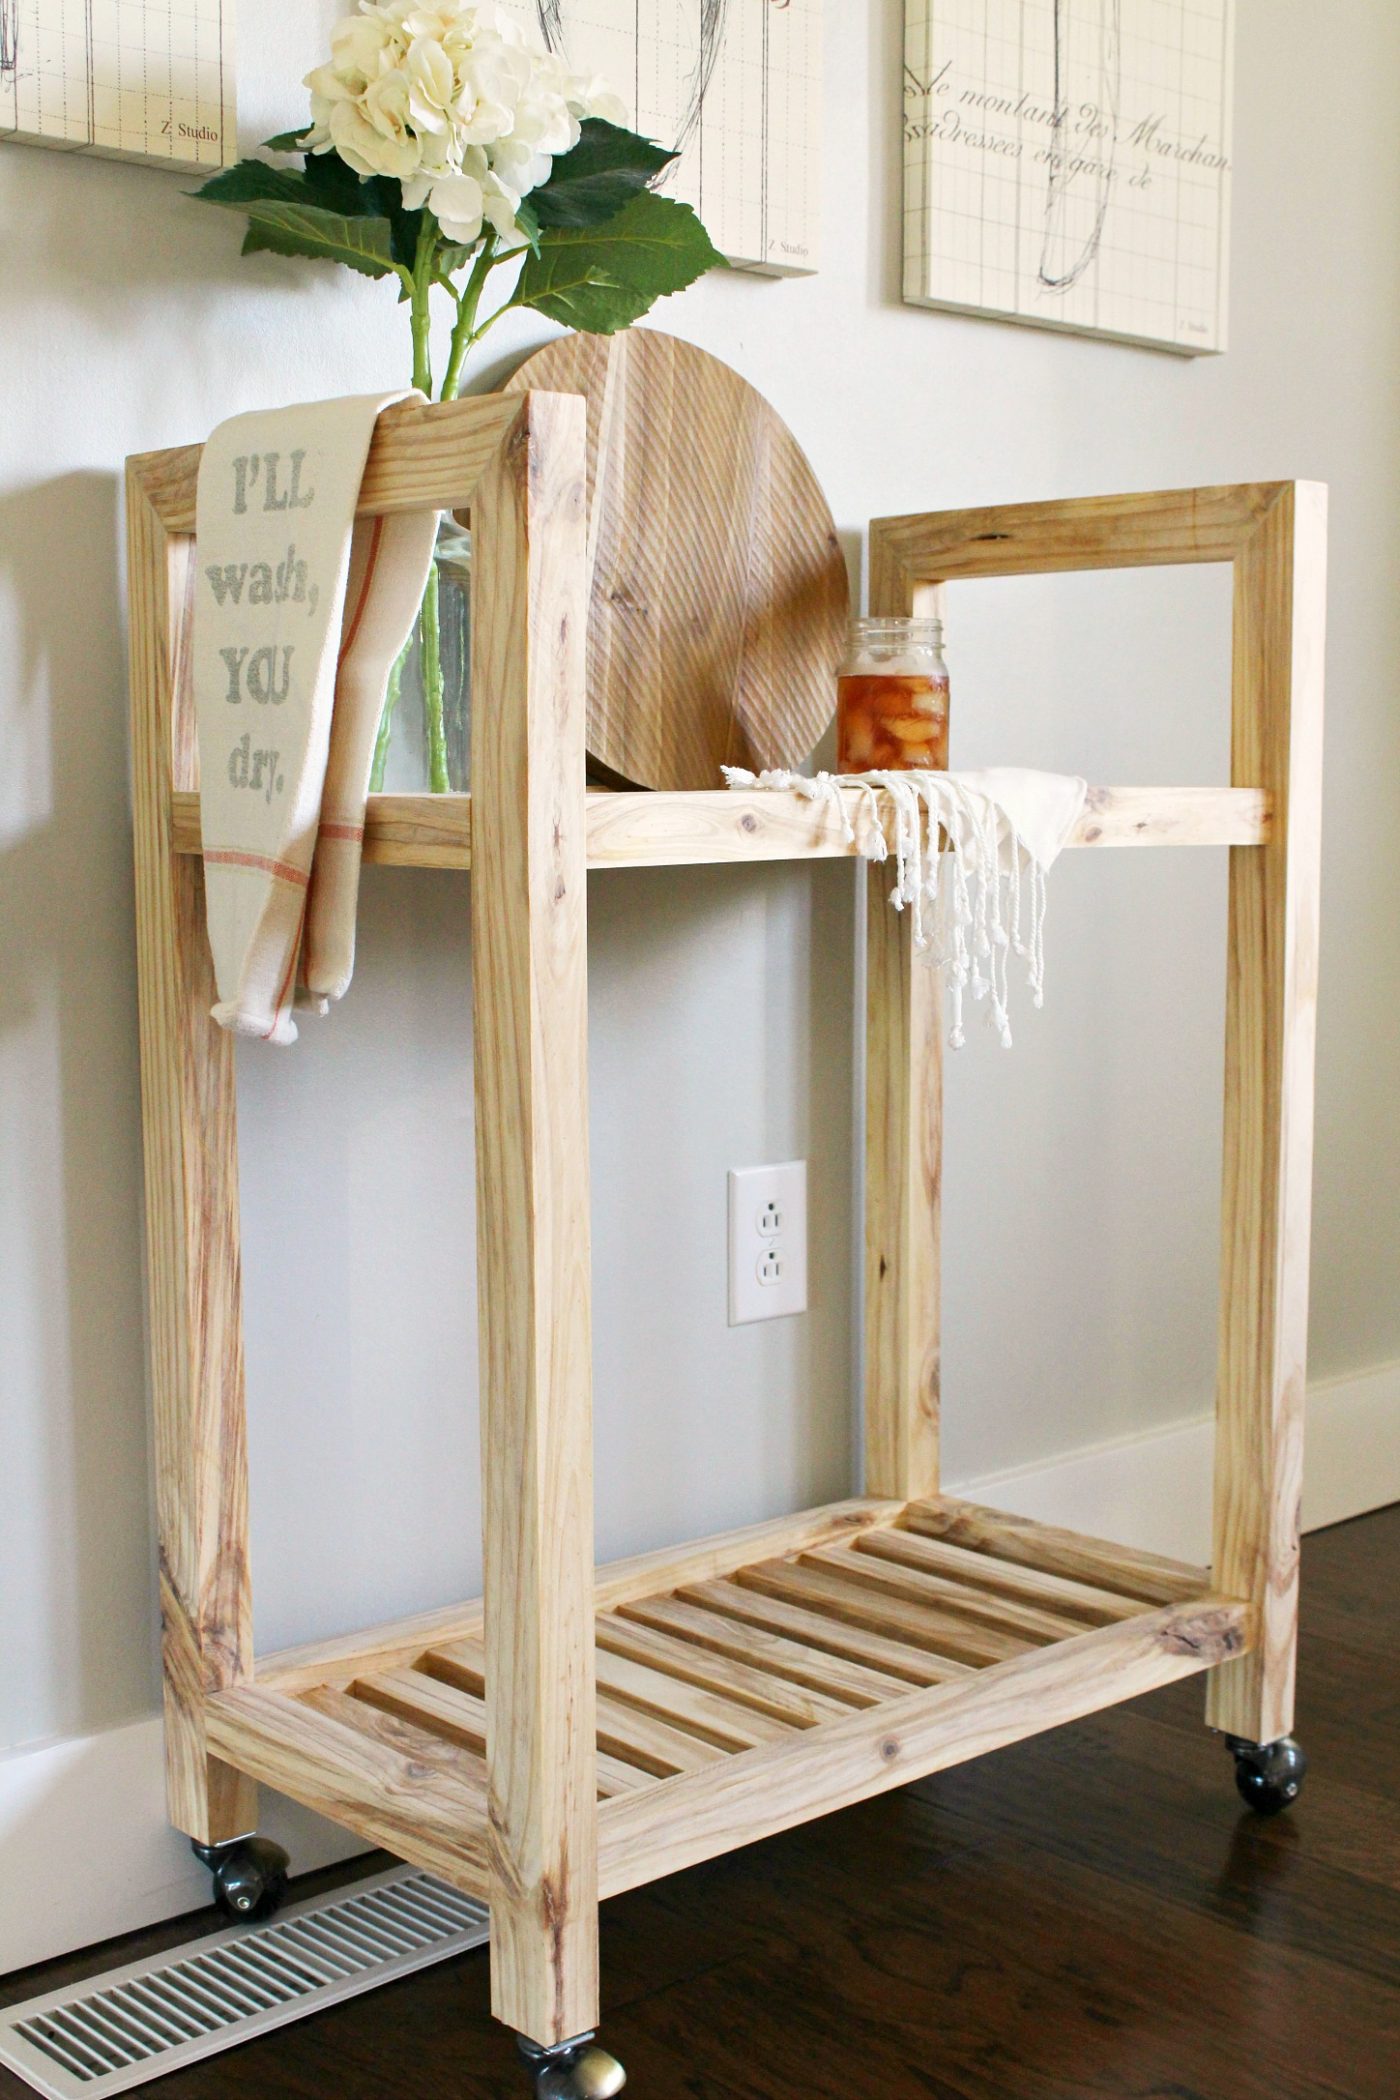
I love this little cart for my kitchen.
That wood round was made from rough cut poplar I originally bought to cover a steel beam in our kitchen remodel, but changed my mind.
After I made lazy susans, I had an idea and glued some of that old wood up and cut it out.
Why I waited so long to make these, I have no idea!!
Okay that’s enough pictures…I may have gotten carried away haha.
Be sure to check out the video tutorial and all the 2×4 and More projects below, but first, I’d love it if you’d pin this for later! 🙂
Now, check out all these other awesome #2x4andmore Challenge projects from these other talented bloggers!
.
- garden arbor | Remodelaholic
- 15 minute coffee table | The Ugly Duckling House
- tiered corner plant stand | Charleston Crafted
- single-board rolling bar cart | Woodshop Diaries
- outdoor bench w/rope detail | At Charlotte’s House
- wall planter and herb garden | Making Joy and Pretty Things
- upholstered x-base bench | Frazzled Joy
- jumbo tic tac toe | Ginger Snap Crafts
- porch bench | Everyday Party Magazine
- console table | Hertoolbelt
- farmhouse patio table | North Country Nest
- easy flower planters | Our House Now a Home
- treadmill incline | Practical and Pretty
- patio side table | Small Home Soul

SUCH a creative idea. You can’t beat a stylish bar cart for less than $7!
Thanks so much!! And yes, you can’t beat $7 🙂
Love this piece! Just curious…do the wider 2x’s just have more square edges? I read through the instructions and it doesn’t appear that you cut anything off…
I did cut 1/8″ off the edge of my board before I started ripping it down to square off the edge. This is something I do with all my 2x material before I use it, so I didn’t even think to mention it. It’s just personal preference. But if I didn’t, that would just mean that two corners on two of the legs of the cart would be slightly rounded. Not really noticeable. The rounded edges are minimal on wider pine boards. They are more significant on 2×4 spruce boards.
Thanks, Shara! I have been contemplating a bunch of projects using ripped 2x’s but haven’t actually done any yet 😉 It’s too darn hot here and, TBH, I’m a little afraid of my table saw…
This is pure genius! I love that you made it out of one piece – so smart! The character of that wood is beautiful! Great job 🙂
Thank you so much!! Yes, I made sure to pick the knottiest board I could to get some character on it 🙂
1 board! Genius. So pretty too. Pinning…everywhere.
Thank you!!! Pin away, friend!! 😉 I appreciate it!
Oh my gosh, seriously brilliant! And I love all the great grain you got out of that board, it really gives so much character to your beautiful bar cart Shara. So glad to have been in the challenge with all you talented bloggers.
Thank you!! I picked the grainiest and knottiest looking board to use for this 🙂 This challenge was so much fun and I was excited to be in it as well!
SO AMAZING! I thought about ripping down my boards because I love the crisp edge but… I didn’t. 🙂 Your bar cart looks terrific!
Thank you friend!!! Sometimes I rip all my boards in my builds for that crisp edge and sometimes I don’t, but I really like it on this project…makes it look more modern I think 🙂
Love this project. I think the wheels are my favorite. 🙂 Good job!
Thank you!! Yes I love the little wheels too!
This turned out so beautiful. I would love something like this in my front entry way!
Thank you!! I really enjoyed this project…I may make one for every room! 🙂