Demo in the master bathroom started on August 3. The plan was to have it finished in three weeks. HAHAHAHAHAHAHA. I’m not an optimist….and of all the things I choose to be optimistic about, this was the most unrealistic outlook we could have possibly had. Two and a half months later, I’m finally ready to show you the finished bathroom and tell you all the details. That’s only three times as long as expected….oops.
.
In case you are new and haven’t seen the bathroom progress updates, here are links to all the updates:
.
My Bathroom is Cute, But I Hate It
.
.
The Best Plan is No Plan–Unexpected Bathroom Chaos
.
If You Don’t Laugh, You’ll Cry–Never Ending Remodel
.
This post contains affiliate links to products used during the remodel. I only link to the products we used for your convenience. I highly recommend each one. Please see disclosure policy for more details.
.
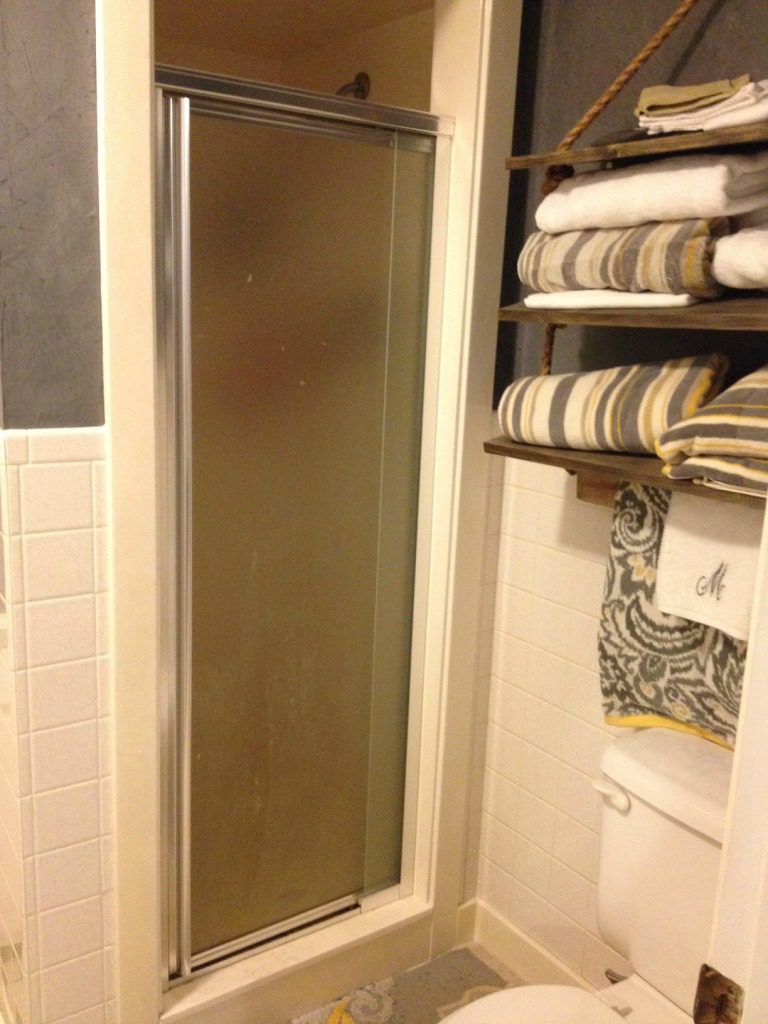
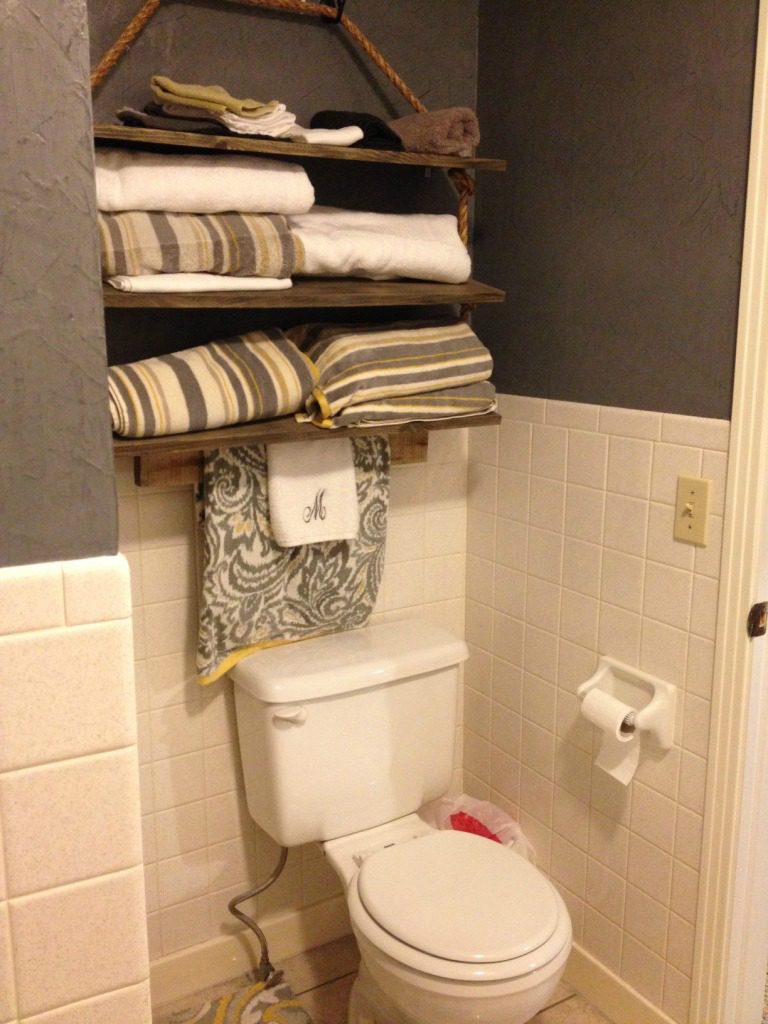
Now, let’s take a trip down memory lane and look at the before:
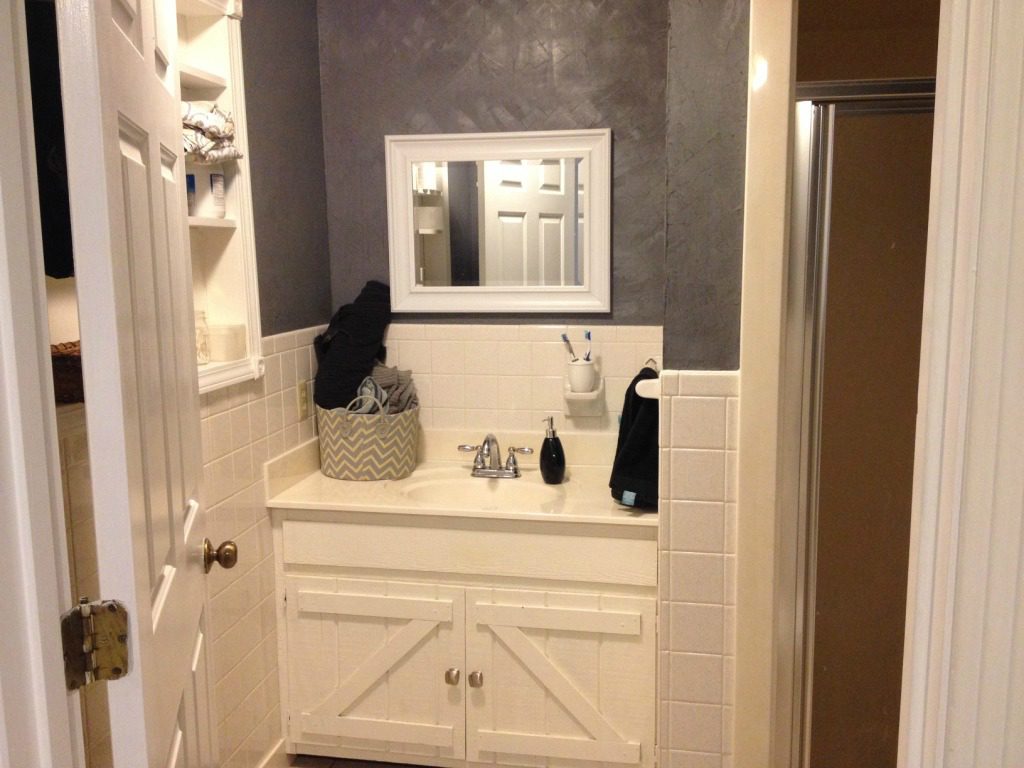
I explained how it was cute, but I hated it here. In a nutshell, the subfloor was rotten from a previous leak, so whether we liked it or not (and I did not), we were going to have to remodel.
.
We did all the work ourselves–with the help of Dad on occasion–and we budgeted about $3,000 for the entire remodel. I lost track of the exact numbers after going to the store a MILLION times for more plumbing fittings, but I do know that we ended up slightly under budget. Not bad for a complete bathroom gut job.
.
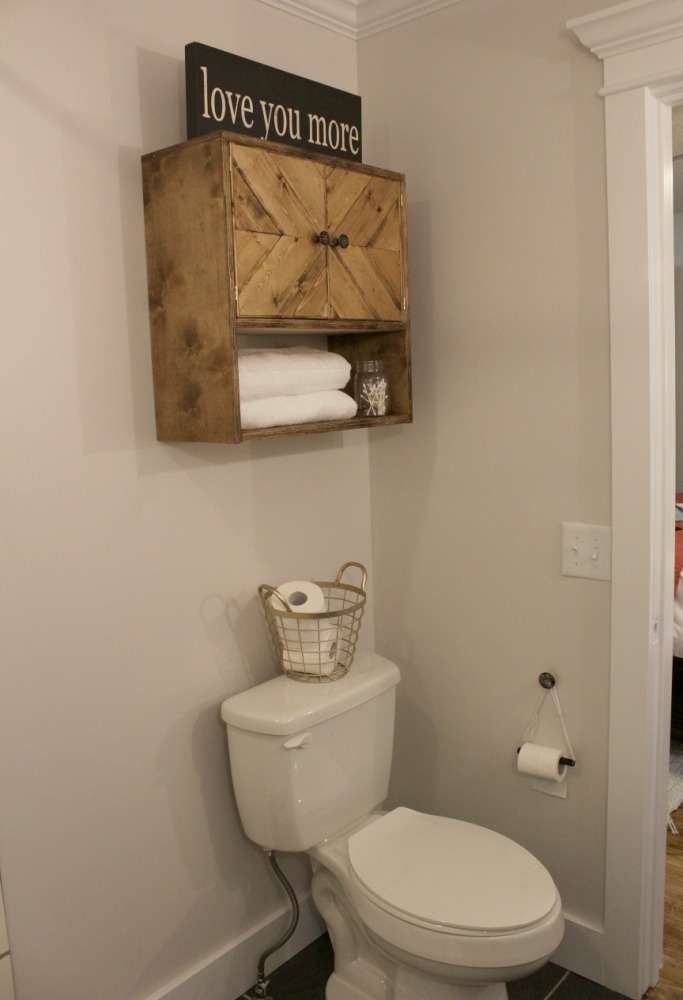
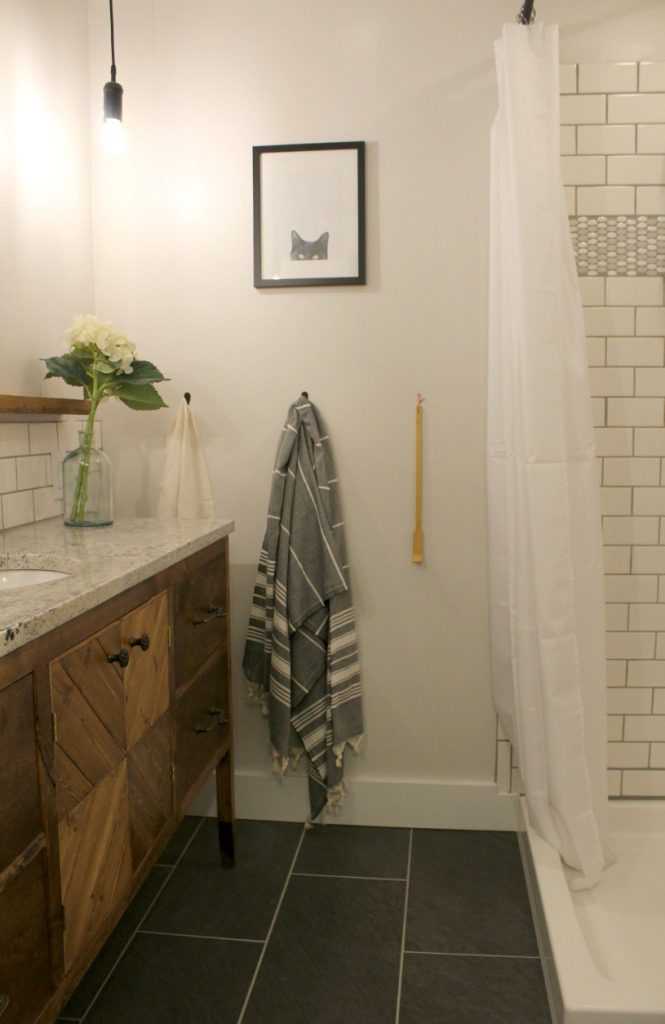
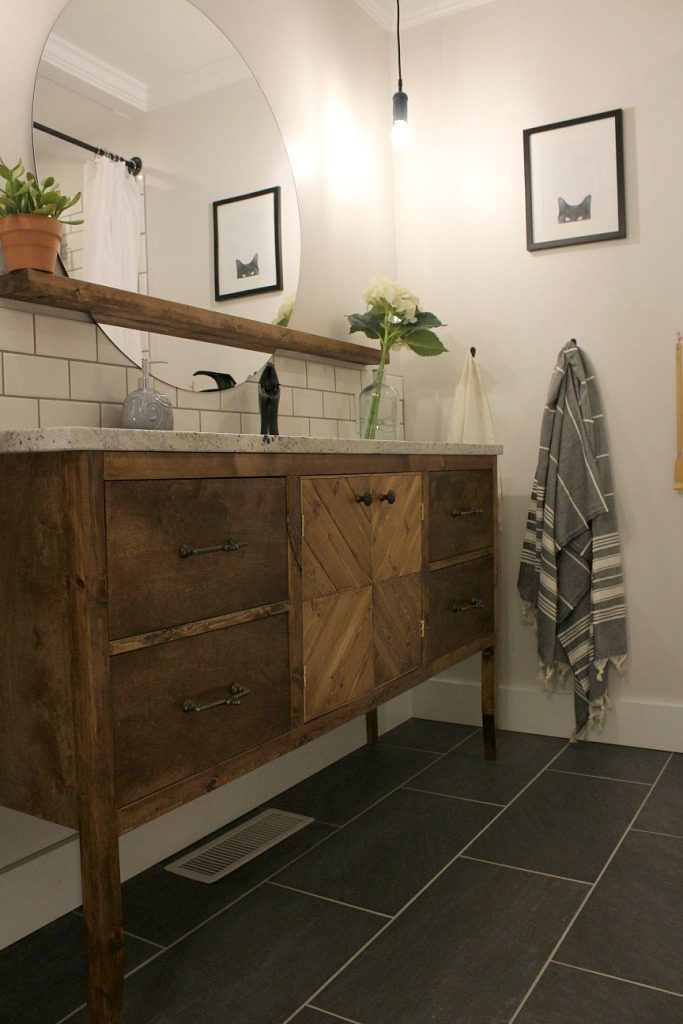
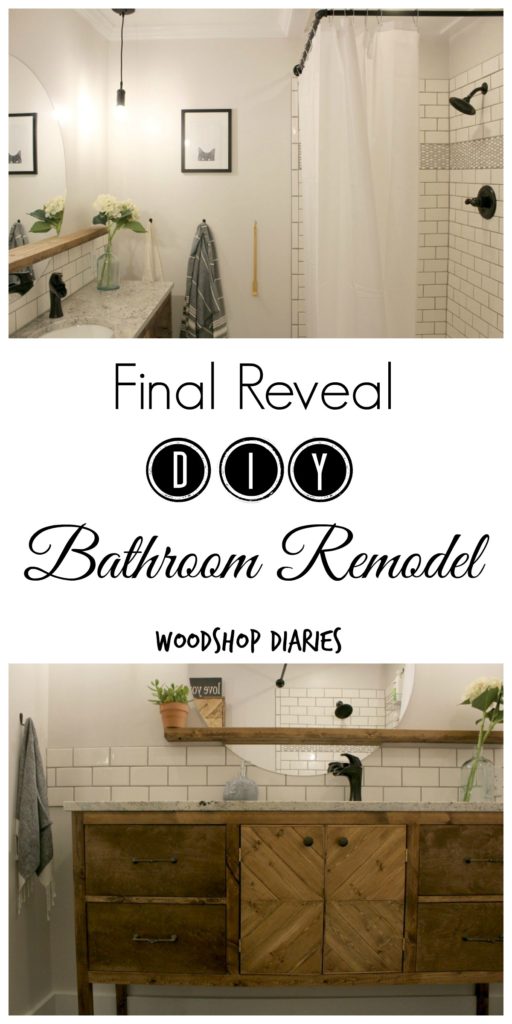
Now, here is the after:

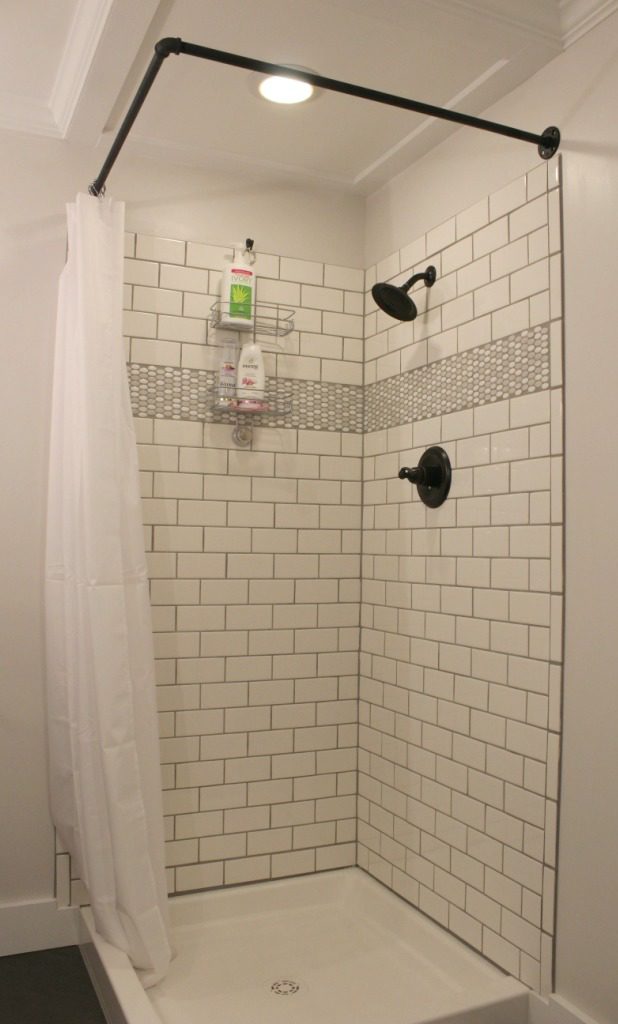
We ripped everything out down to the subfloor, then replaced a large section of the subfloor in the bathroom and a small section that extended under the wall into the closet. The shower and toilet plumbing stayed in the same location, but we moved the vanity plumbing to the other wall. We removed the wall beside the shower and installed a corner shower pan instead so the space would feel more open.
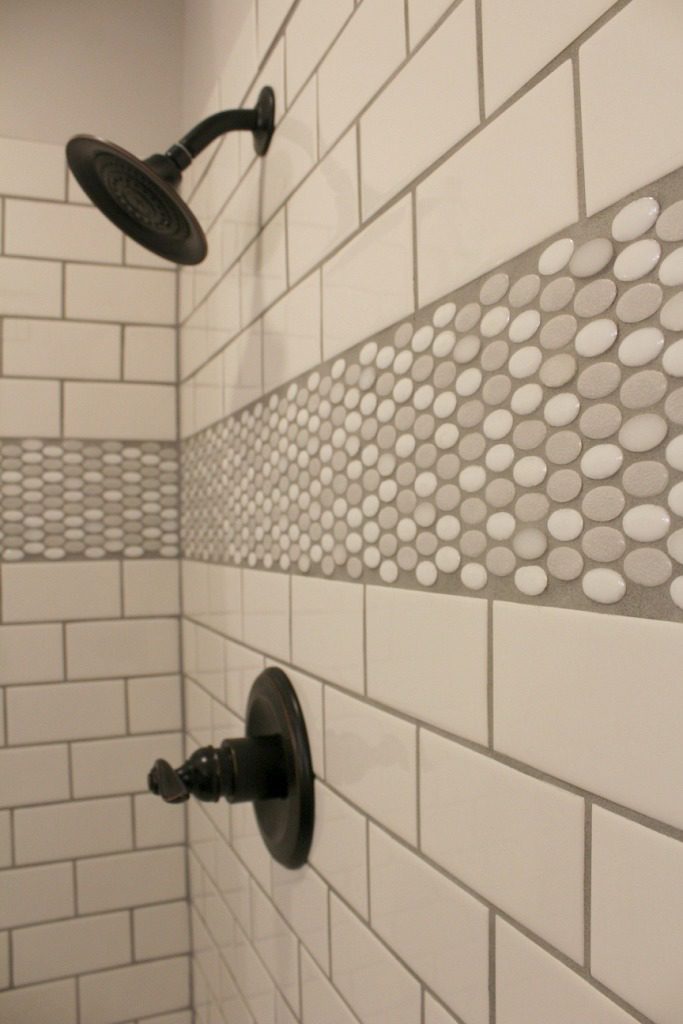
Originally, we had planned to tile the shower with large 12×24 marble look like tiles. We had already purchased the tiles and everything, but last minute, Danny made me worry we were going to regret using that tile. I returned the tile and we chose to use white subway tile with these oval accents. I’m so glad we changed our mind. Although it took forever to install, I’m really happy with the result and I think they are the perfect fit for the room. It seems like everyone is using subway tile, and I really wanted to be “different,” but the truth is, they are classic and that’s what I was going for.
.
By the way, the paint color in here is Eider White by Sherwin Williams, and the trim color is Extra White by Sherwin Williams.
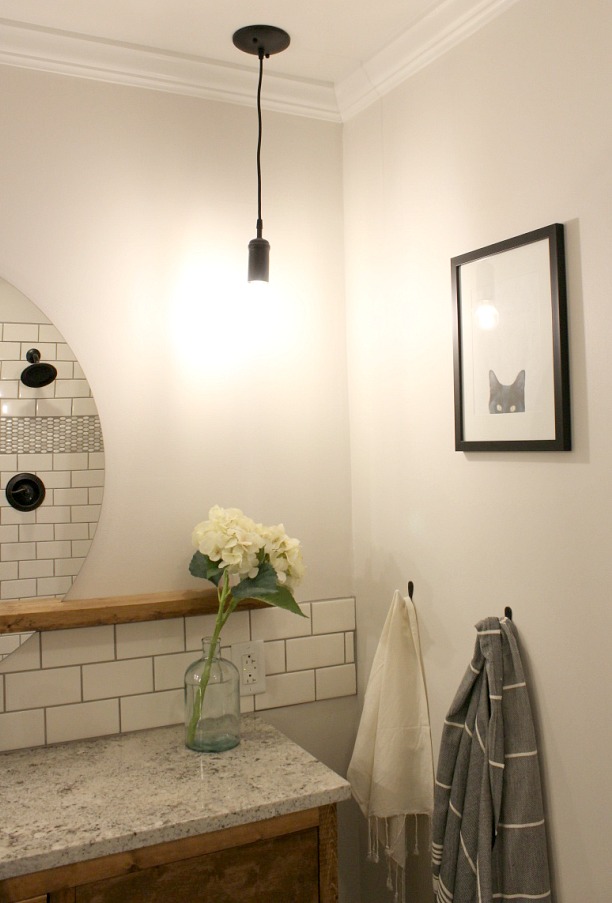
It’s kind of hard to take good pictures in here because there is no natural light, but I’m telling you the difference in here with these new pendant lights vs our one measly 1980s recessed light that was in here before is AMAZING. These pendant lights are not everyone’s style, I know, but I LOVE THEM. They are simple, inexpensive, bright, and classic. Oh and so easy to install. I found them here and the bulbs are here. LOVE LOVE LOVE them.
.
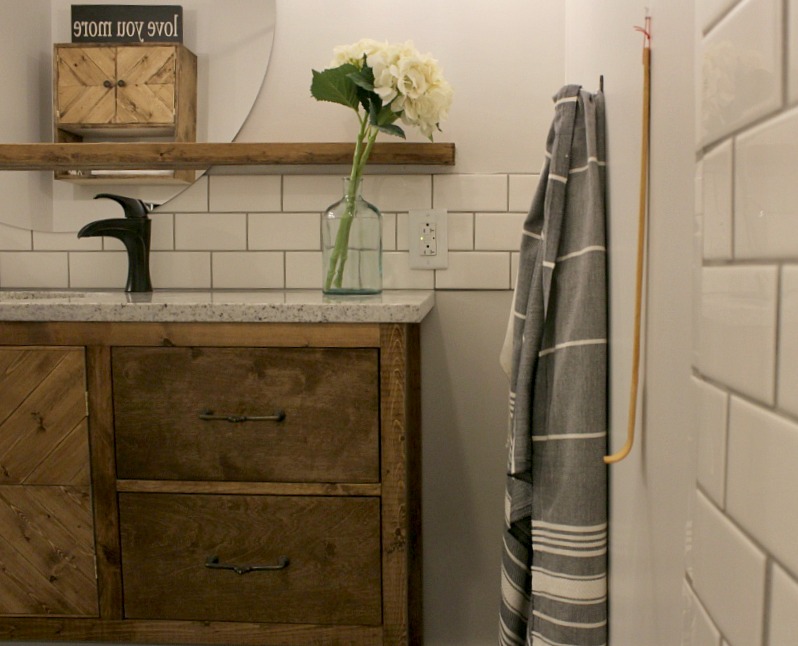
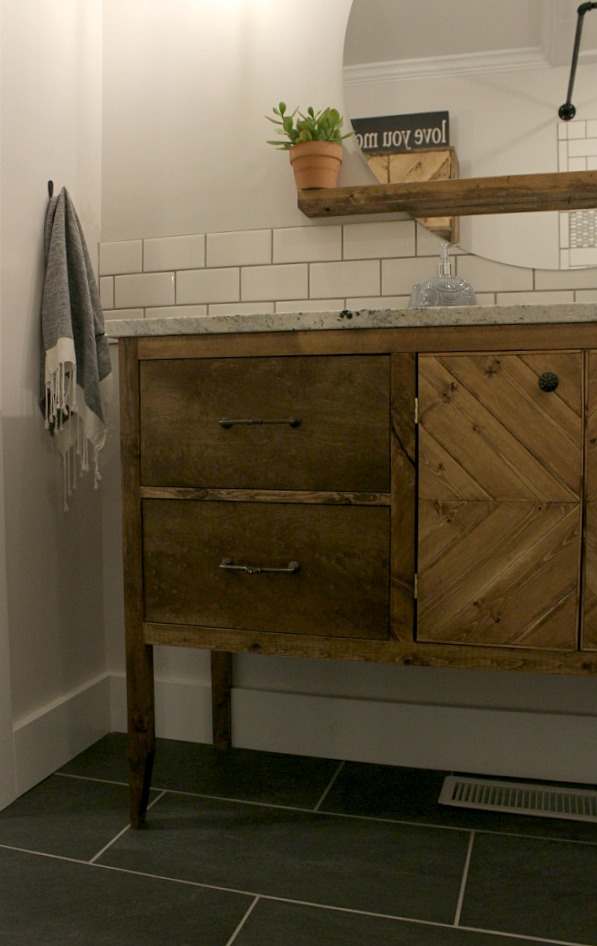
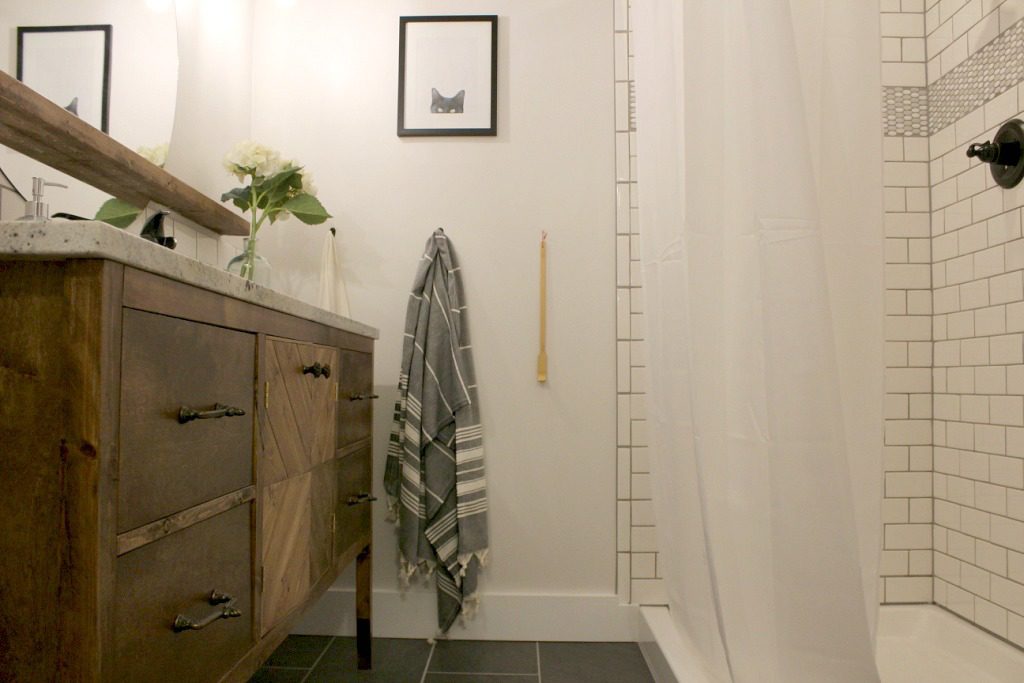
And this grey towel and these hand towels are AMAZING, as well. I love the fringe and they are SUPER soft.

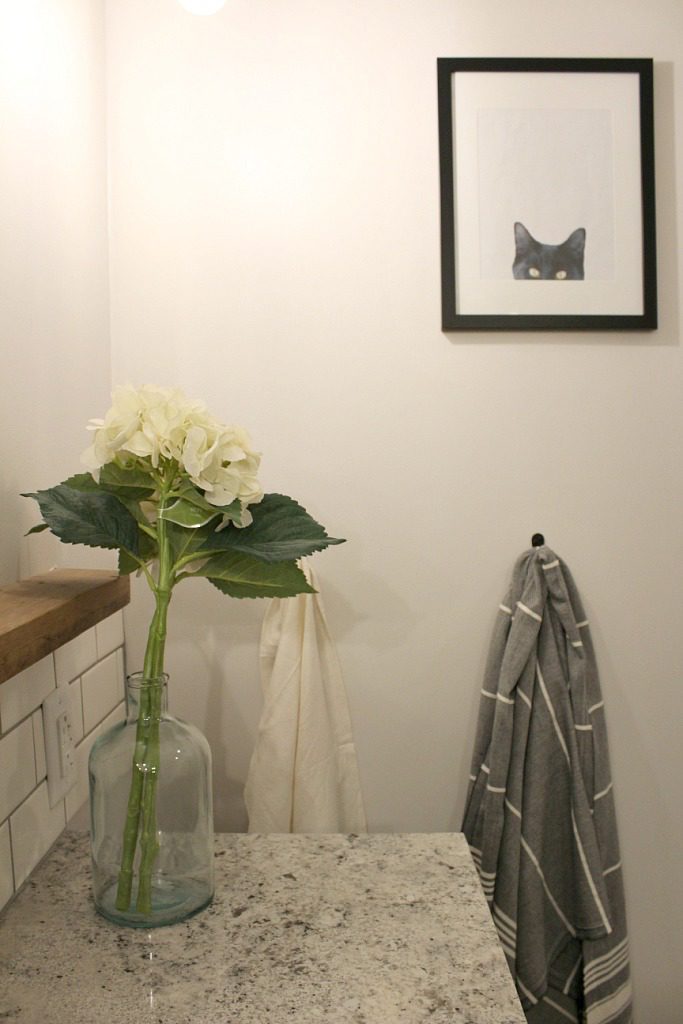
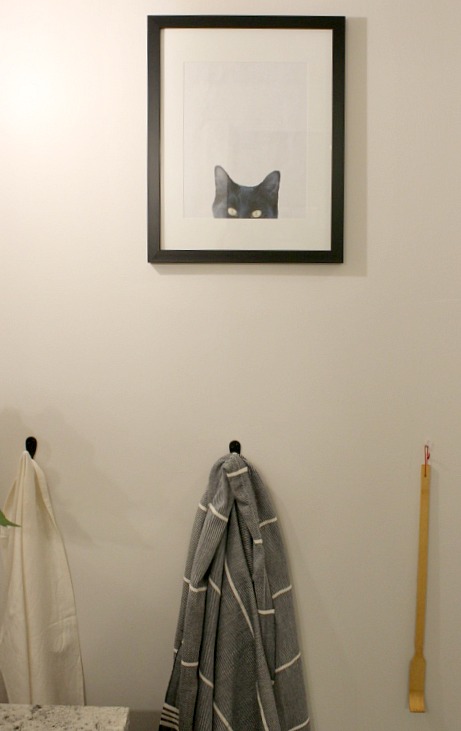
This cat picture is one of my favorite parts of this bathroom. Before you call me a crazy cat lady, just hear me out. A long time ago, I saw a poster on Pinterest of just the top of a black cat’s head coming from the bottom of the poster. I don’t even like cats, but I thought it was cute. Then later I saw it again at Hobby Lobby and I still liked it, but was too cheap to spend the money. Now, at the time, we had two kittens around our house because we didn’t want mice. Well, we sort of got attached to them (even though I thought I hated cats), and then my favorite, Black Cat, died on my birthday last year. It was so super sad.
.
Well, after seeing that poster at Hobby Lobby AGAIN shortly after black cat died, I had an idea. So I took a picture I had of him from my phone and carefully cut it out in Paint on my computer and printed it out. I had it stuck on a shelf in my office for almost a year. Then, when I was trying to decide on artwork for the wall in this bathroom, I thought it would look perfect. Isn’t it cute? I love things like that that have a little story and mean something more than just a piece of art on the wall.
I posted a tutorial on how I made the floating mirror shelf not long ago. My original plan was to make a round frame for the mirror, but things didn’t go as planned and this actually worked out so much better. This is a far cry from the tiny little mirror we used to have.
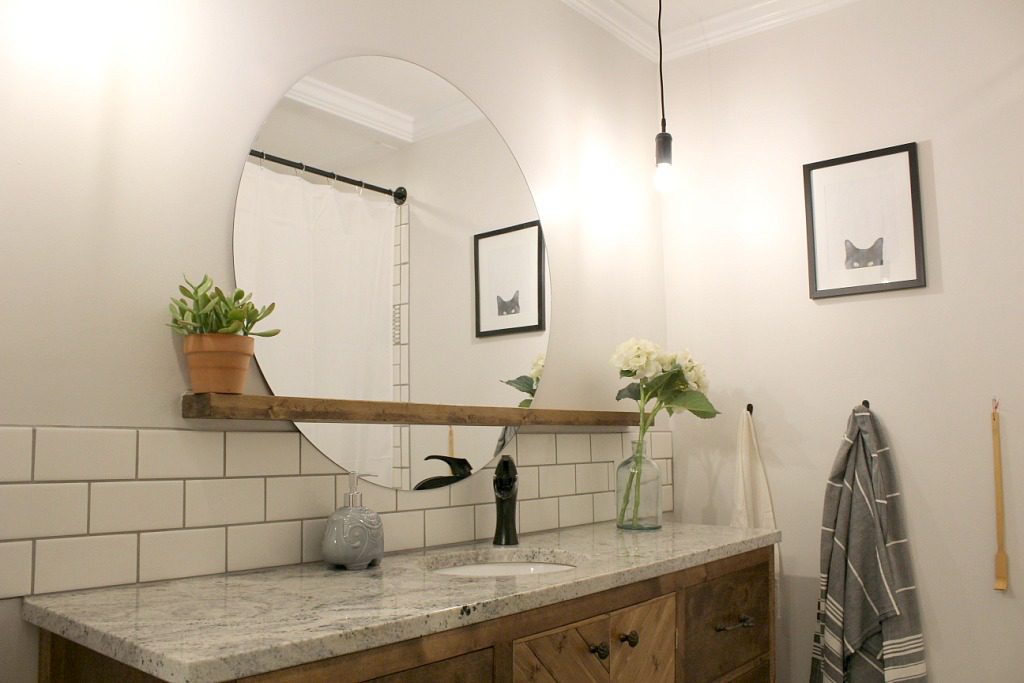
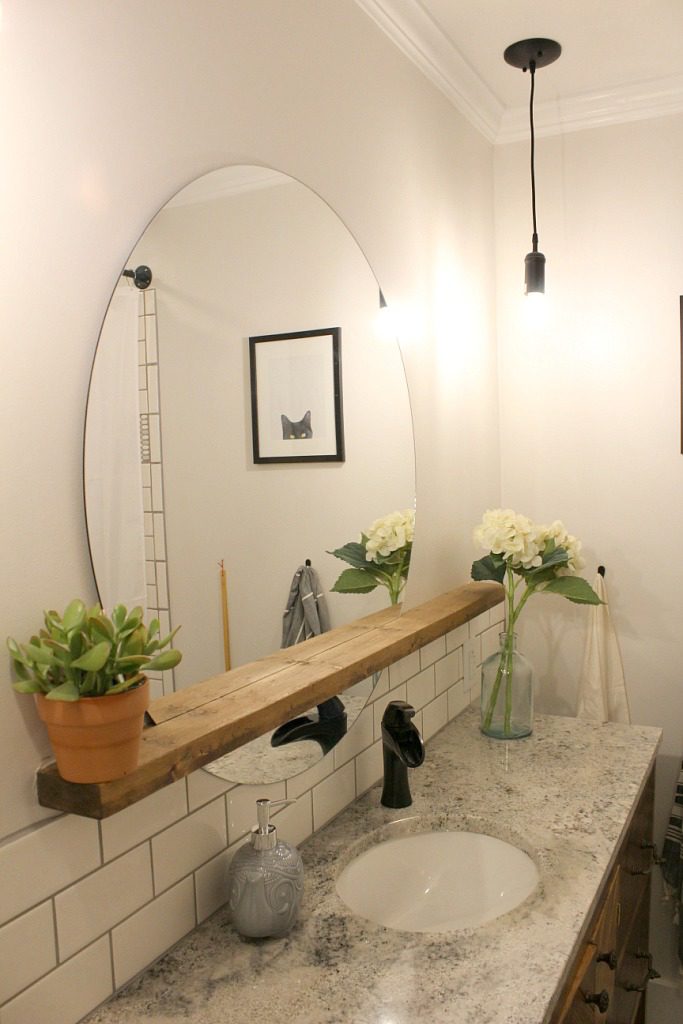
Danny and I work well together….this even goes for sharing a sink. A lot of couples wouldn’t dare share a bathroom sink, but we try to make it fun…by fun I mean we race to brush our teeth so we can beat the other one to spit. FUN STUFF. But, really, when it came time to decide on one sink or two, we both wanted one. It would be cheaper (we are both cheap), save space on the countertop and in the vanity (which we needed), and it would force us to share. And let’s face it…sharing is caring, right? We love each other…a small thing like sharing a sink should be one of those “inconveniences” that strangely brings you closer and makes you laugh. Plus that’s one less sink to clean…win win.
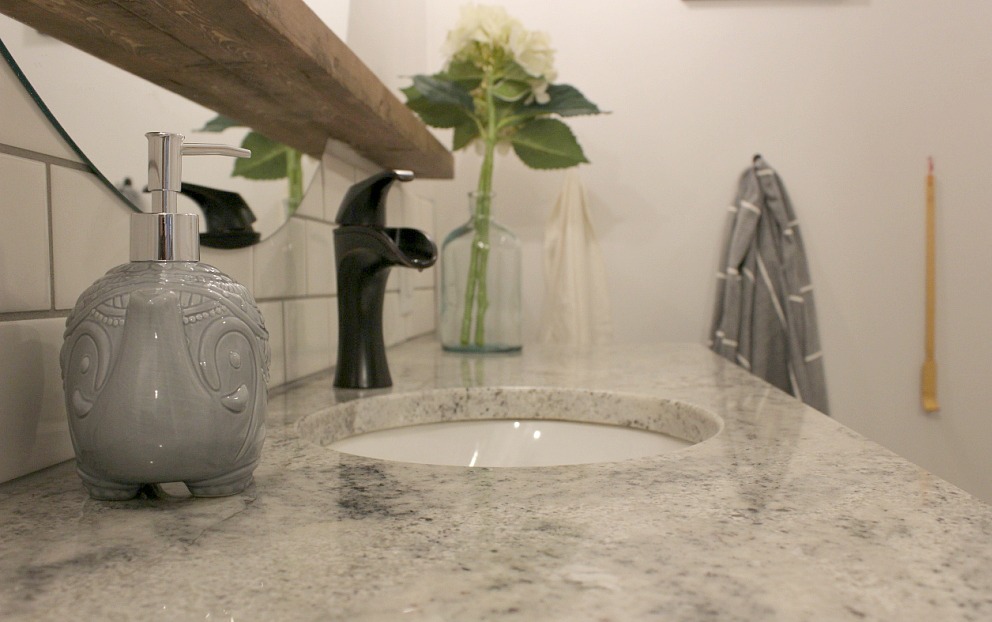
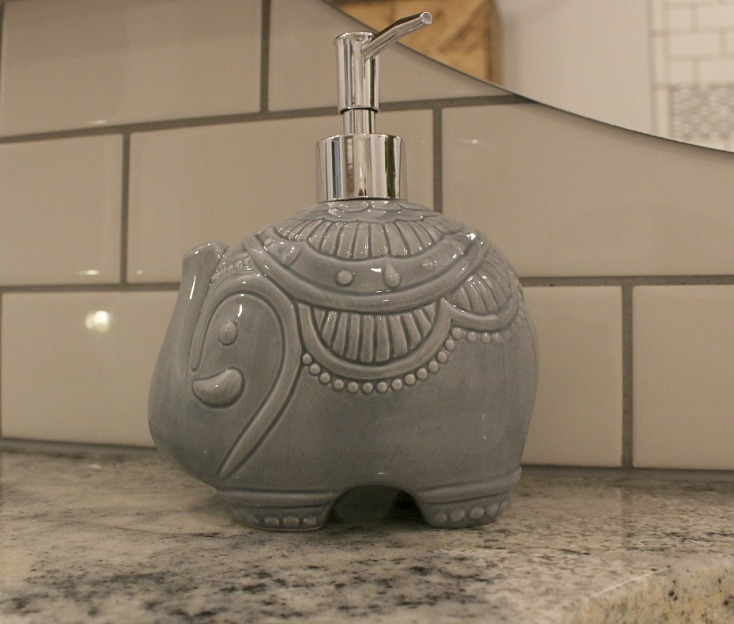
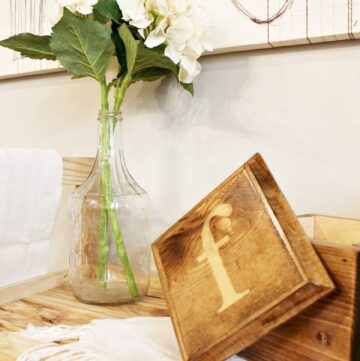
Isn’t the little elephant soap dispenser like THE CUTEST THING YOU’VE EVER SEEN?! I found it on clearance at Kirklands.
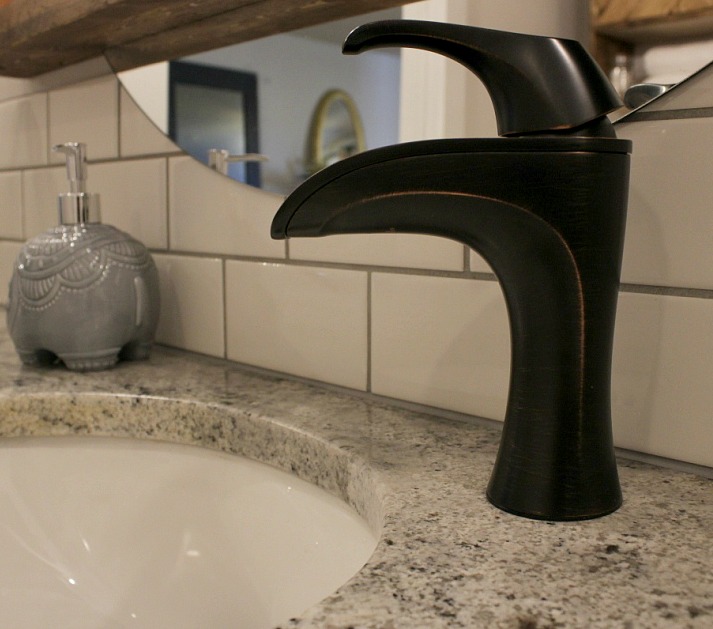
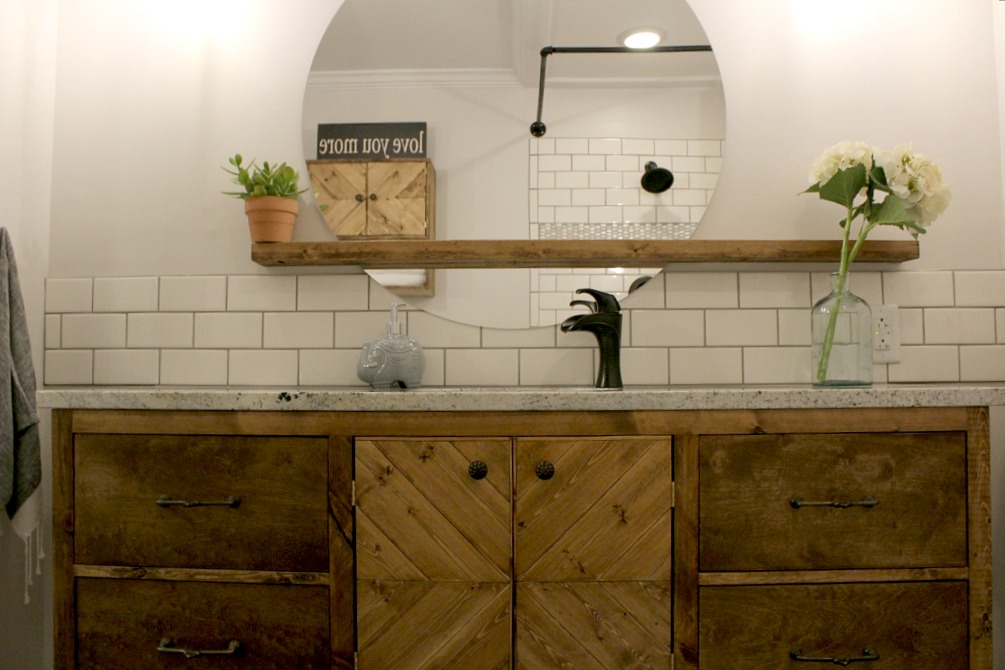
I bought our faucet MONTHS before we even started demo in here. I KNEW this was the one I wanted. LOVE it. Because our vanity was so shallow, we had to mount the faucet off center.
.
Speaking of the vanity, here is the tutorial on how I built the vanity. It had to be a custom size to fit the space, but despite it being shallow, it provides much more storage than we had before.
We installed a new toilet…nothing fancy. But after it was installed, neither of us wanted to use it first because we had never had a toilet before that had never been used. Once it was “christened” it couldn’t be “unchristened.” HAHA 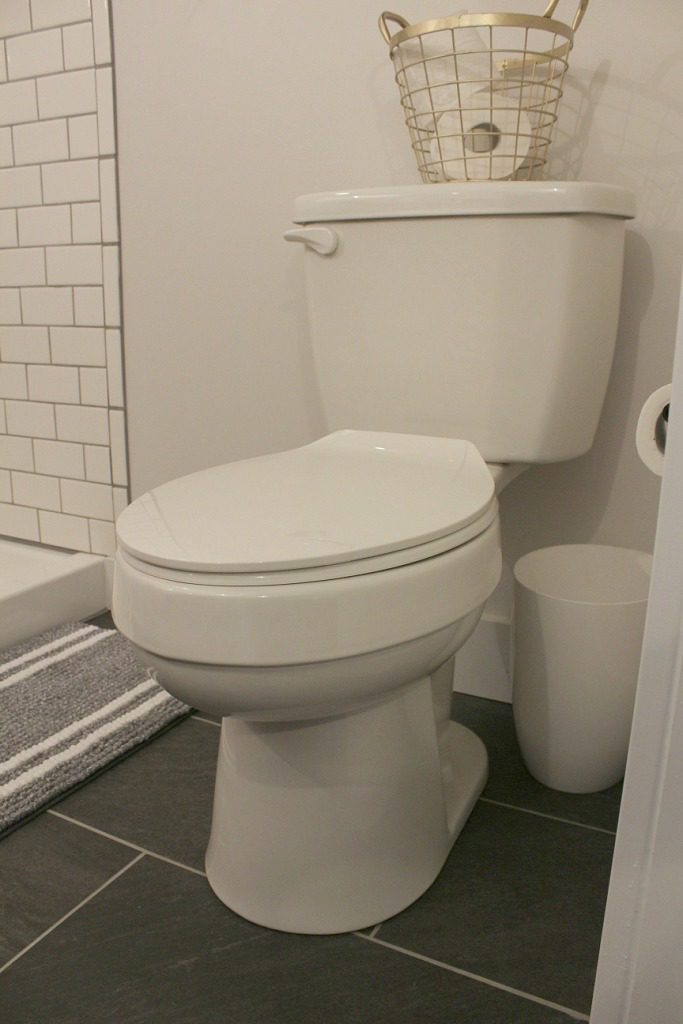
We recently started working on our master bedroom (it’s not close to being done yet), and the view from the bedroom into the bathroom now is my favorite.
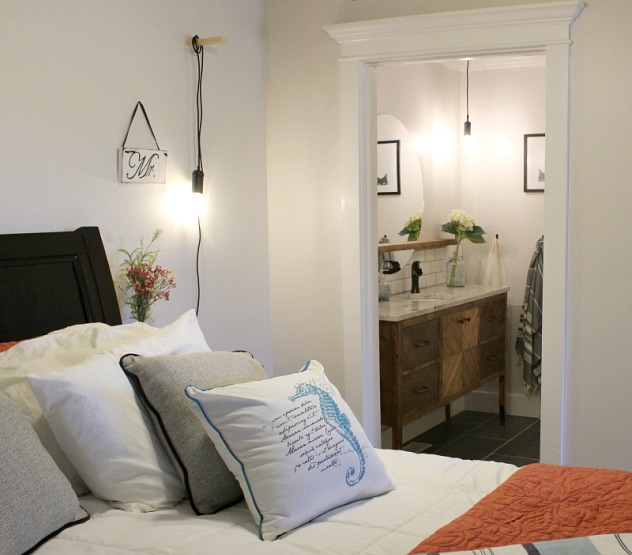
My plan is to build French doors here soon….but my to do list is never ending so not sure when I will get around to it. Right now, we just don’t have a door haha.

We decided to try a shower curtain first instead of getting a glass enclosure. We are on a well for water and the water is really hard and we were afraid it would damage the glass if we didn’t clean it constantly. So far, we like the curtain. For a corner curtain rod, we used black pipe. Because we had to mount it so high, we had to buy a 84″ shower curtain instead of a standard 72″ curtain. Consequently, it’s VERY difficult to find an 84″ decorative curtain and I hadn’t had time to make one. The curtain we are using is a “fabric curtain/liner” so it’s fine to use by itself I guess. One day I may make a decorative curtain, but not today haha.
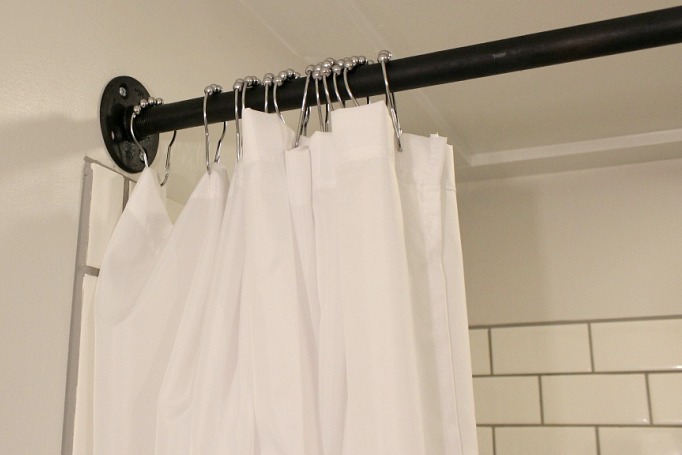
These curtain rings are seriously awesome and the cheapest ones that I could find. Highly recommended.
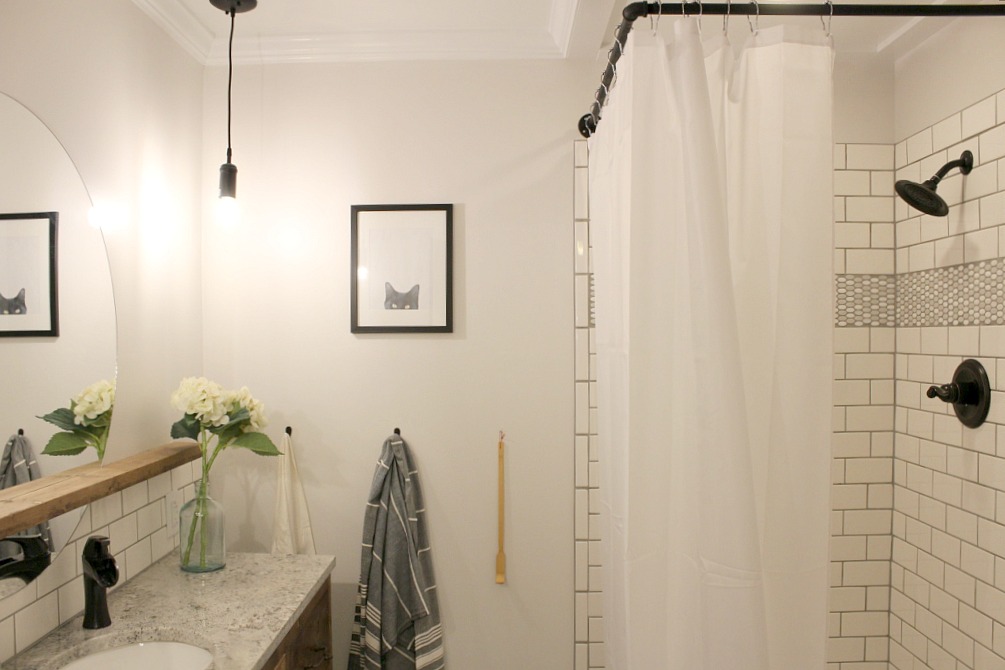
The showerhead and faucet are beautiful. We bought the Delta Windemere faucet. This link is to the trim kit.
.
I’m trying to think if there is anything else in here to tell you about, but I think I’ve covered everything. I am so glad this project is finished and I would love to hear your feedback in the comments below! And don’t forget to pin for later!
Until next time, happy DIYing!

This is beautiful! What color grout did you use for the floor and the shower?
Thank you! I believe the grout color was “silver.” I looks lighter against the dark tiles in the floor but darker against the white tiles in the shower.
Love the countertop – what kind of granite is that?
Hi! Thank you! I do not know the name of the granite color…we went to our local granite place and picked out a leftover piece from when they did someone’s kitchen. They had them stacked up and I just chose a grey color, so I’m not sure exactly. Sorry! I know that’s not much help 🙁
Beautiful bathroom! What type of tile did you use for the flooring? I’ve been searching for something similar. Sorry if I overlooked it in one of your posts!
Thank you! We used 12×24 Charcoal colored tiles from Style Selections at Lowes.
Hello Woodshop Diaries,
I love the remodel have to do mine to but money is very tight these days, so one thing at the time.
I have one question how did you get the showercurtain rod to stay leved with the corner like that?
Thank you! For the shower curtain rod, we used 3/4″ black pipe and just screwed two 36″ pipes each into their own flange, then attached the two other ends of the pipe with an elbow. Then we screwed the flanges to the wall with 2 1/2″ screws where we would hit a stud and used anchors where we wouldn’t hit a stud. It sits level on it’s own…black pipe isn’t very flexible.
Great! How big is the shower?
The shower pan we used was 36×36
Absolutely a stunning remodel . . . I particularly love the offset vanity faucet . . . it was the first thing that drew my eye. Love it.
Thank you so much!
Beautiful remodel. Love the vanity, tiles in shower are perfect. You said you were going to put french doors on bathroom, the style here, I think a barn door would look great here. Give it a thought, it doesn’t have to look like it was just pulled off the barn, something a little more smooth.
Thank you! Yes, I am actually working on the French doors now. I considered a sliding door here, but decided I didn’t want to do another track. I hope to have a post about the doors soon. I’d love for you to check it out and let me know what you think 🙂
I love it. My favorite part is the new shower setup. It gives me hope for my daughter’s little bathroom. Right now it has a sad-looking stall that is similarly shaped, but has glass sides and a door…it really closes off the space SO much. We may try this approach in the future. I’d love to hear about your experience actually USING the shower…do you find that the water mostly stays in?
Thank you so much! We’ve been using the shower now for about a month or so and the curtain is working great for us! We may get a drop or two of water outside the shower, but that would happen with any shower. I am pleased with both the look and function of the curtain 🙂
I remember seeing that mirror tutorial on hometalk… loved it then, love it now. There’s nothing as interesting as a round mirror I think. I also love your final tile choice… the small ovals add a nice contrast to the rectangular subway tiles, and the toned grout make both pop. And I didn’t realize that your shower curtain was just a liner… I thought it was a white fabric curtain and thought it looked so elegant! It’s great when the simple solution works!
Thank you so much! And yes, I’m so glad I went with the subway tile…I love the look and feel of them and the ovals break up all the straight lines. I’m so glad to hear you thought the curtain looked elegant 🙂 I was afraid it might look unfinished. Thank you so much!
Love it Shara. I love the shower curtain too. Our water is super hard as well. I have glass doors on my shower, but put a curtain inside on a tension rod to keep the water from spotting it. You are wise not to install an expensive glass shower. Cleaning hard water spots all the time is no fun.
I think you are so very talented. All the cabinets and furniture you build is great… BUT… my favorite thing you’ve done is that mirror. GENIUS!!!
So unusual and simple and beautiful. Great job!
Thank you so much! That’s a good idea to put a curtain on the inside of the glass to prevent water spots! I never thought about that. Thanks again 🙂
I love your bathroom remodel. The bathroom looks so much bigger.
P.S. I want to be you when I grow up (I’m only 70 yrs young ?).
Thank you so much! 🙂
As I recall you spent a lot of time anguishing over the design for the storage over the toilet. It came out perfect especially the way it matches the vanity. Well Done!
Thank you! Yes, I spent a lot of time trying to come up with a simple design that I liked that fit the space. It was my husband’s idea to make the cabinet doors match the vanity. I thought it turned out nice 🙂
So much lighter and clean. Fantastic job, well done.
Thank you so much!
Great job on your bath.love the vanity. Enjoy.
Thank you so much!
It’s beautiful!!! We renovated our bathroom last spring (ahem, took about 5 months total – super impressed with your 3 months!) and I know how much work it is! Love your vanity, and the colors you chose are all so soothing. Absolutely lovely! 🙂
Thank you so much! Yes, bathrooms are sooooo much work, but so worth it. I’m headed to check yours out right now! 🙂