
I love windows! I love as much natural light as I can get. The only thing about windows is that although you can see out, everyone else can see in. It’s not that I necessarily have anything to hide, or that I’m a complete hermit (complete being the key word…), it’s just that it makes me uncomfortable knowing that once it gets dark, I can’t see out, but everyone can see in.
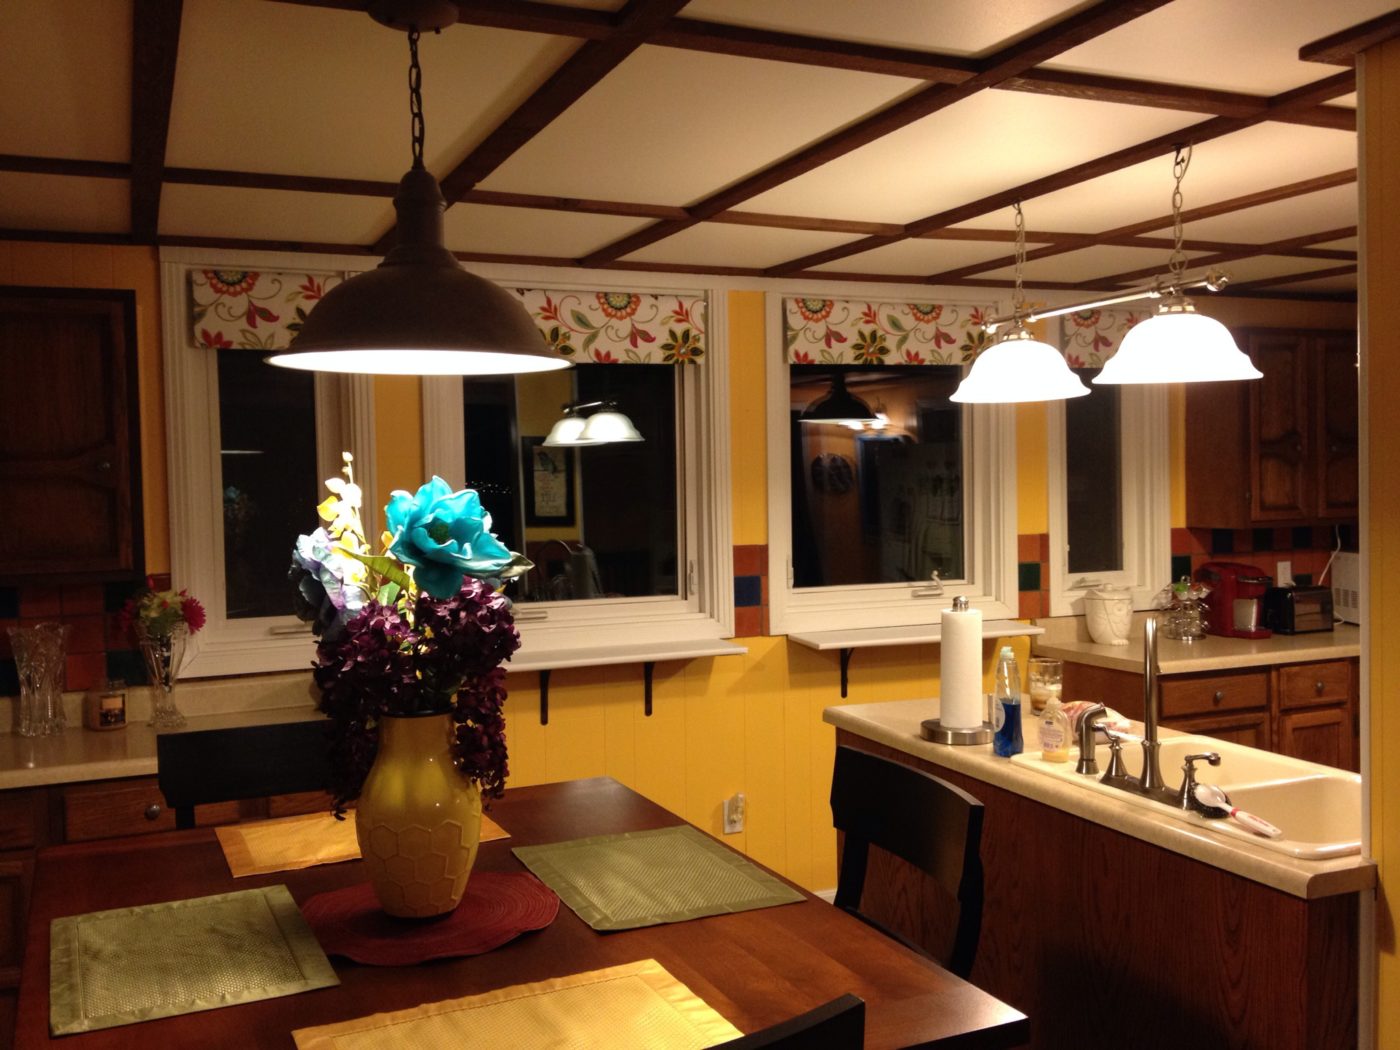
Our kitchen is in the front of the house and it has four huge windows. I. Love. Them.
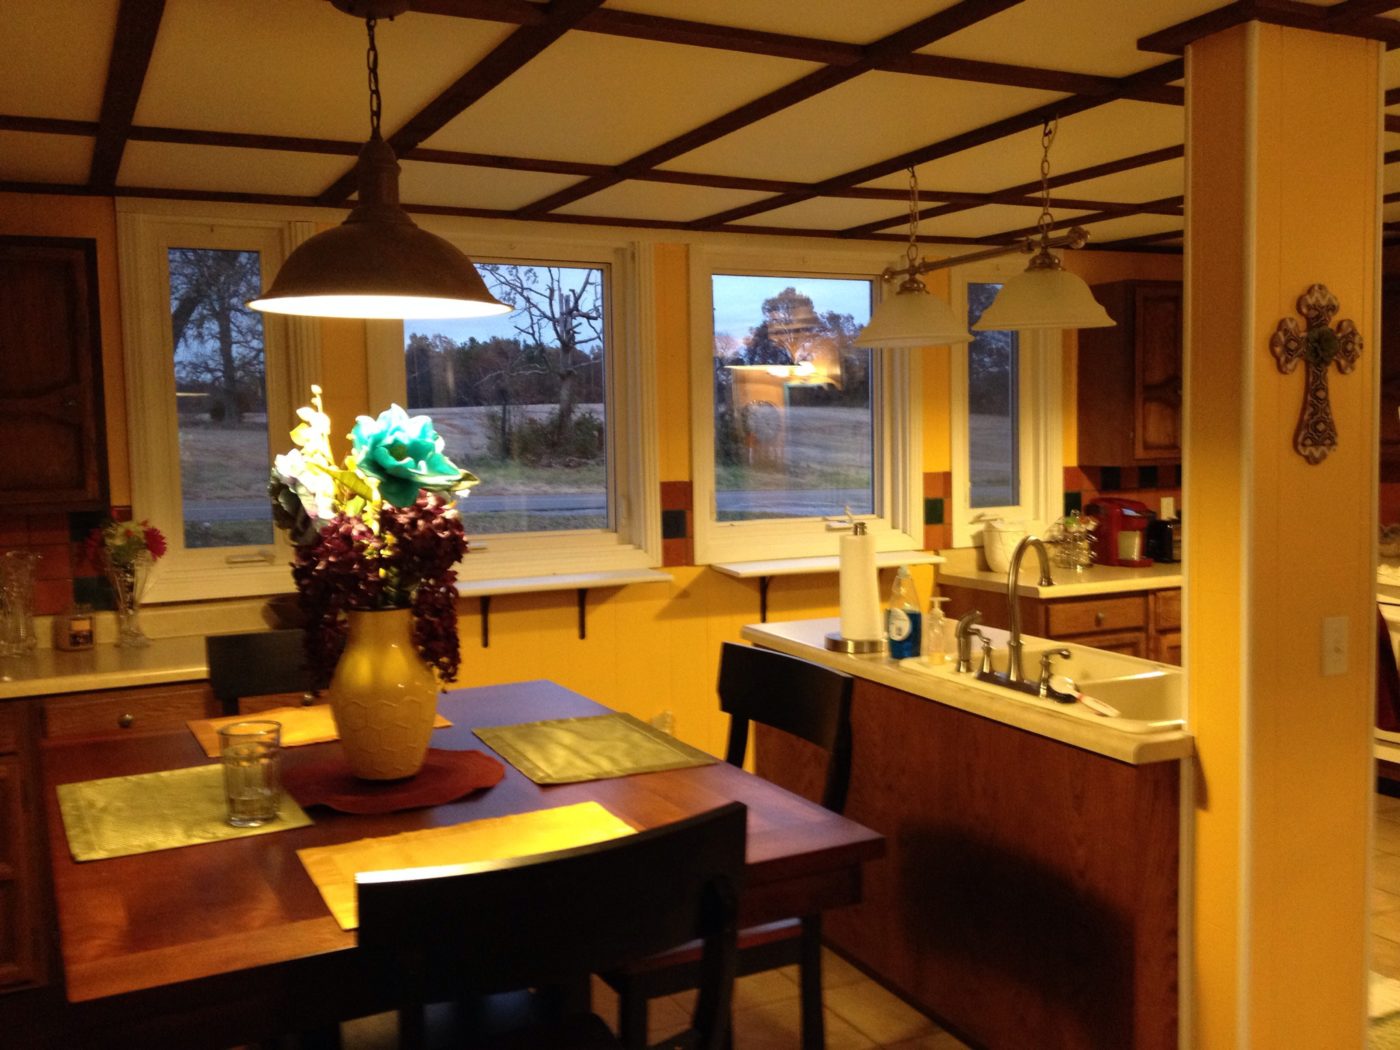

However, they make me feel like I’m on display once it is dark outside. It wouldn’t bother me if people always looked in and saw a big happy family at the table eating and laughing like you see in the movies at Christmas. But, me cooking dinner and washing dishes in my PJs and my hair in a towel isn’t exactly what I want broadcasted out my front windows. (We live on a busy highway by the way.)
It just wasn’t practical to install curtains on these windows. Roman shades would have been nice, but reading reviews on the cheap ones made me realize they weren’t a good option either. I wasn’t prepared to spend a fortune, so I kept exploring options.
I LOATHE cheap vinyl roller shades, so I had already ruled those out. But, then I saw a blog and another blog and another who had made their own “custom” roller shades and they were awesome!
I will be the first to tell you that I totally copied this from SEVERAL other blogs I found online. I am not the first, I won’t be the last, and I’m definitely not the best one who has done this. Nevertheless, here are some instructions from my own experience in case you don’t want the world seeing you in your pjs and hair in a towel through your front windows either 🙂
You will need:
Vinyl shades cut to size (Lowes)
Mounting brackets for each shade (Lowes)
Fabric to cover the shade
Spray adhesive (use medium or heavy duty)
Fabric glue
Hammer (to mount brackets)
First, take very accurate measurements of the inside of your window where you will mount your brackets. (Note: we did inside mount. If you mount on the front of your window frame, you will have to measure differently.)
We took our measurements to Lowes and got their cheapest vinyl shade and had them cut it to the correct size. They will need the exact width between your inside frames. (Make sure the person who cuts them knows what they are doing. We had to make two trips because our first ones didn’t fit.) Pick up your mounting brackets while you’re there.

Measure the width of the vinyl on each shade and add 2″. Measure the length of your window (from the top where you will mount the shade to however far you plan to pull down your shade) and add about 3-4″. This tells you how much fabric you will need.
I bought my fabric at Hobby Lobby. I needed 3 yds, but I got 3 ¼ just in case I needed a little extra. The fabric rolls are TYPICALLY 45″ wide FYI.
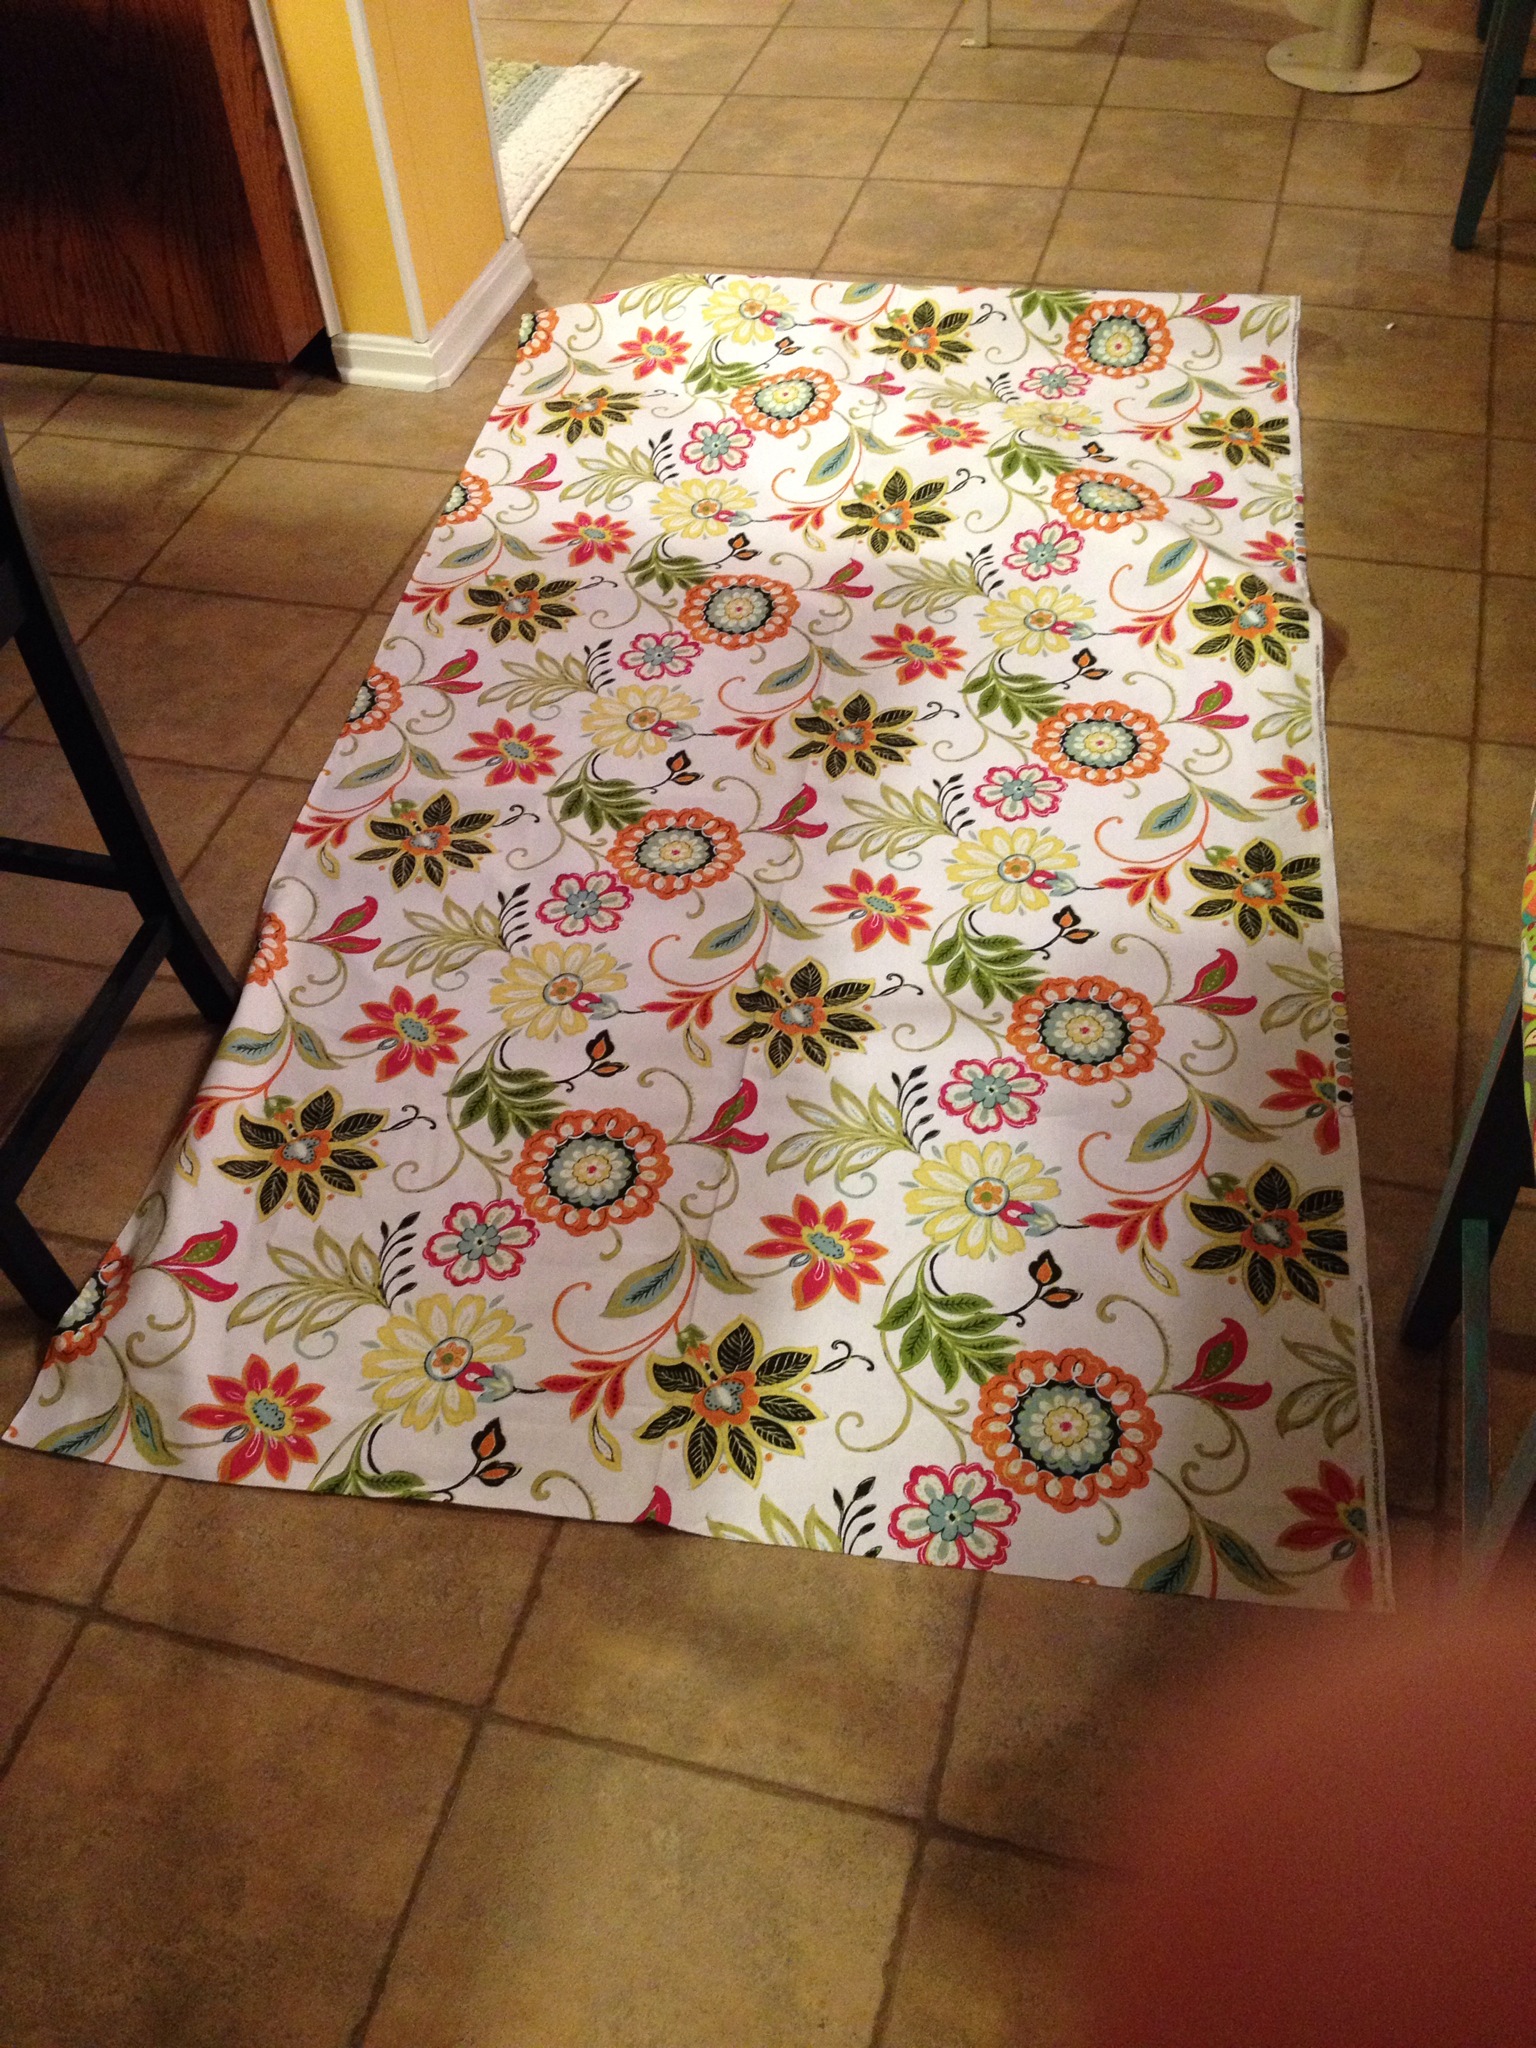
If you’re like me, you don’t have a good work table (one that’s large enough to lay out 3 yds of fabric), so you have to lay out your fabric on the kitchen floor to cut it to size. Remember to cut 2″ wider than the width of your vinyl and 3-4″ longer than you want the shade to pull down.
Once you cut your fabric to size, you’ll want to dust off your iron (I NEVER use my iron except on occasional craft projects) and iron out the wrinkles.

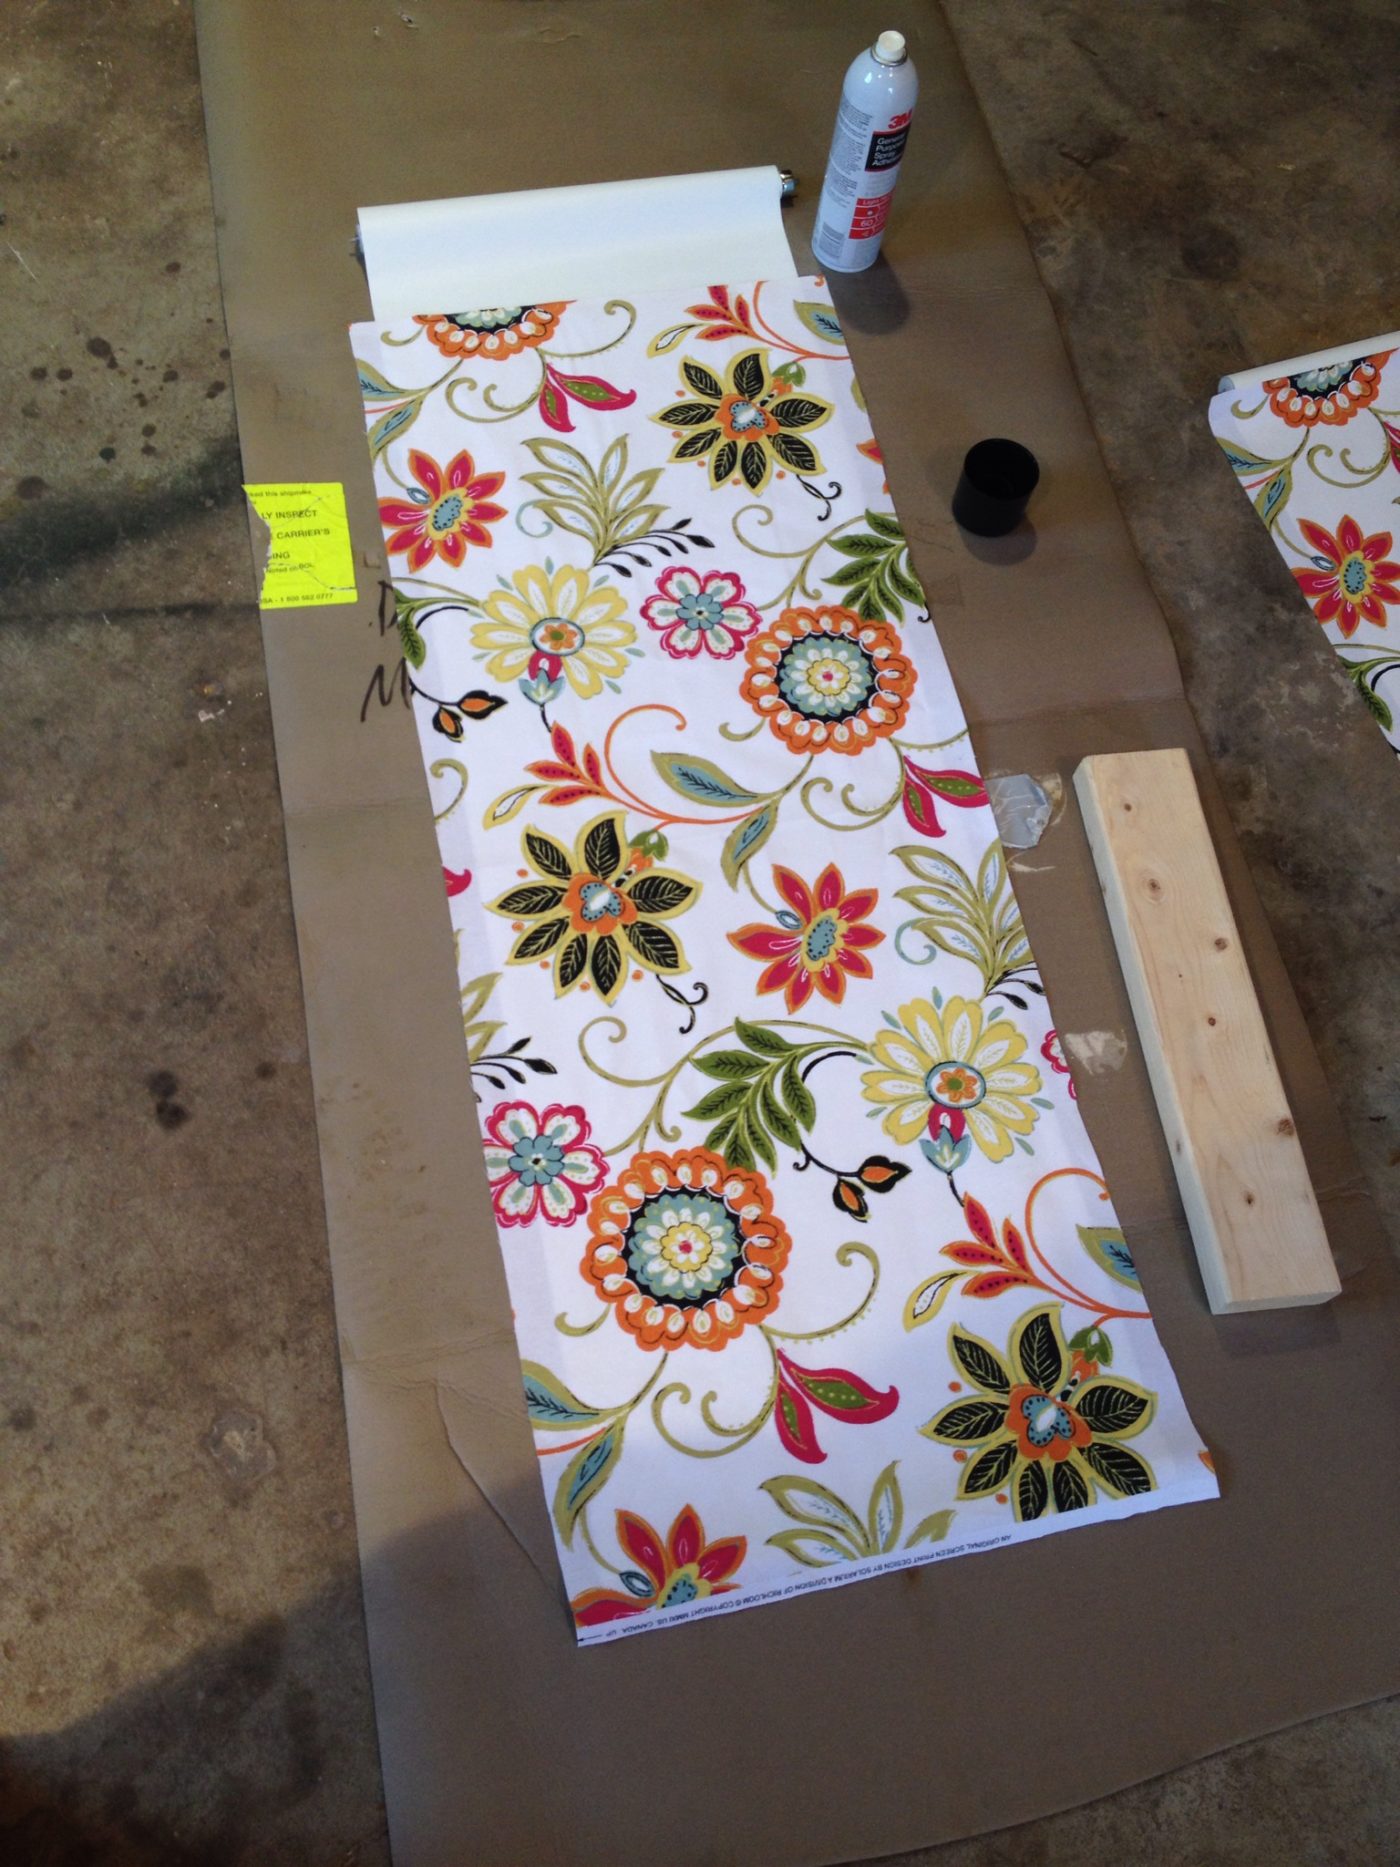
Next, I took everything out to the shop so I could spray the adhesive. You need adequate ventilation because this stuff stinks. I suggest doing it outside but it was raining so I did in in the shop with the door open for air.
Lay out some clean cardboard, trash bags, or paper and roll your shade out on it. Make sure the side of the vinyl you want the fabric to be on is facing up. I wanted my fabric to roll over the top like the picture below.

Make sure your vinyl shade is flat with no wrinkles. You may want to tape it down to stay put. I didn’t, but should have.

Lay the fabric on top and try to let an inch hang off the bottom and each side. You will glue this to the back later. If your fabric has a pattern, make sure it is lined up right.
Fold back half of the fabric, and spray adhesive on the vinyl shade. Follow instructions on the can. Most say to wait a minute before bonding. Use something flat and straight (I used a clean piece of 2×4) to smooth the fabric onto the shade. It helps to have someone hold the fabric up while you smooth it down a little at a time. Make sure you get out as many wrinkles as you can.
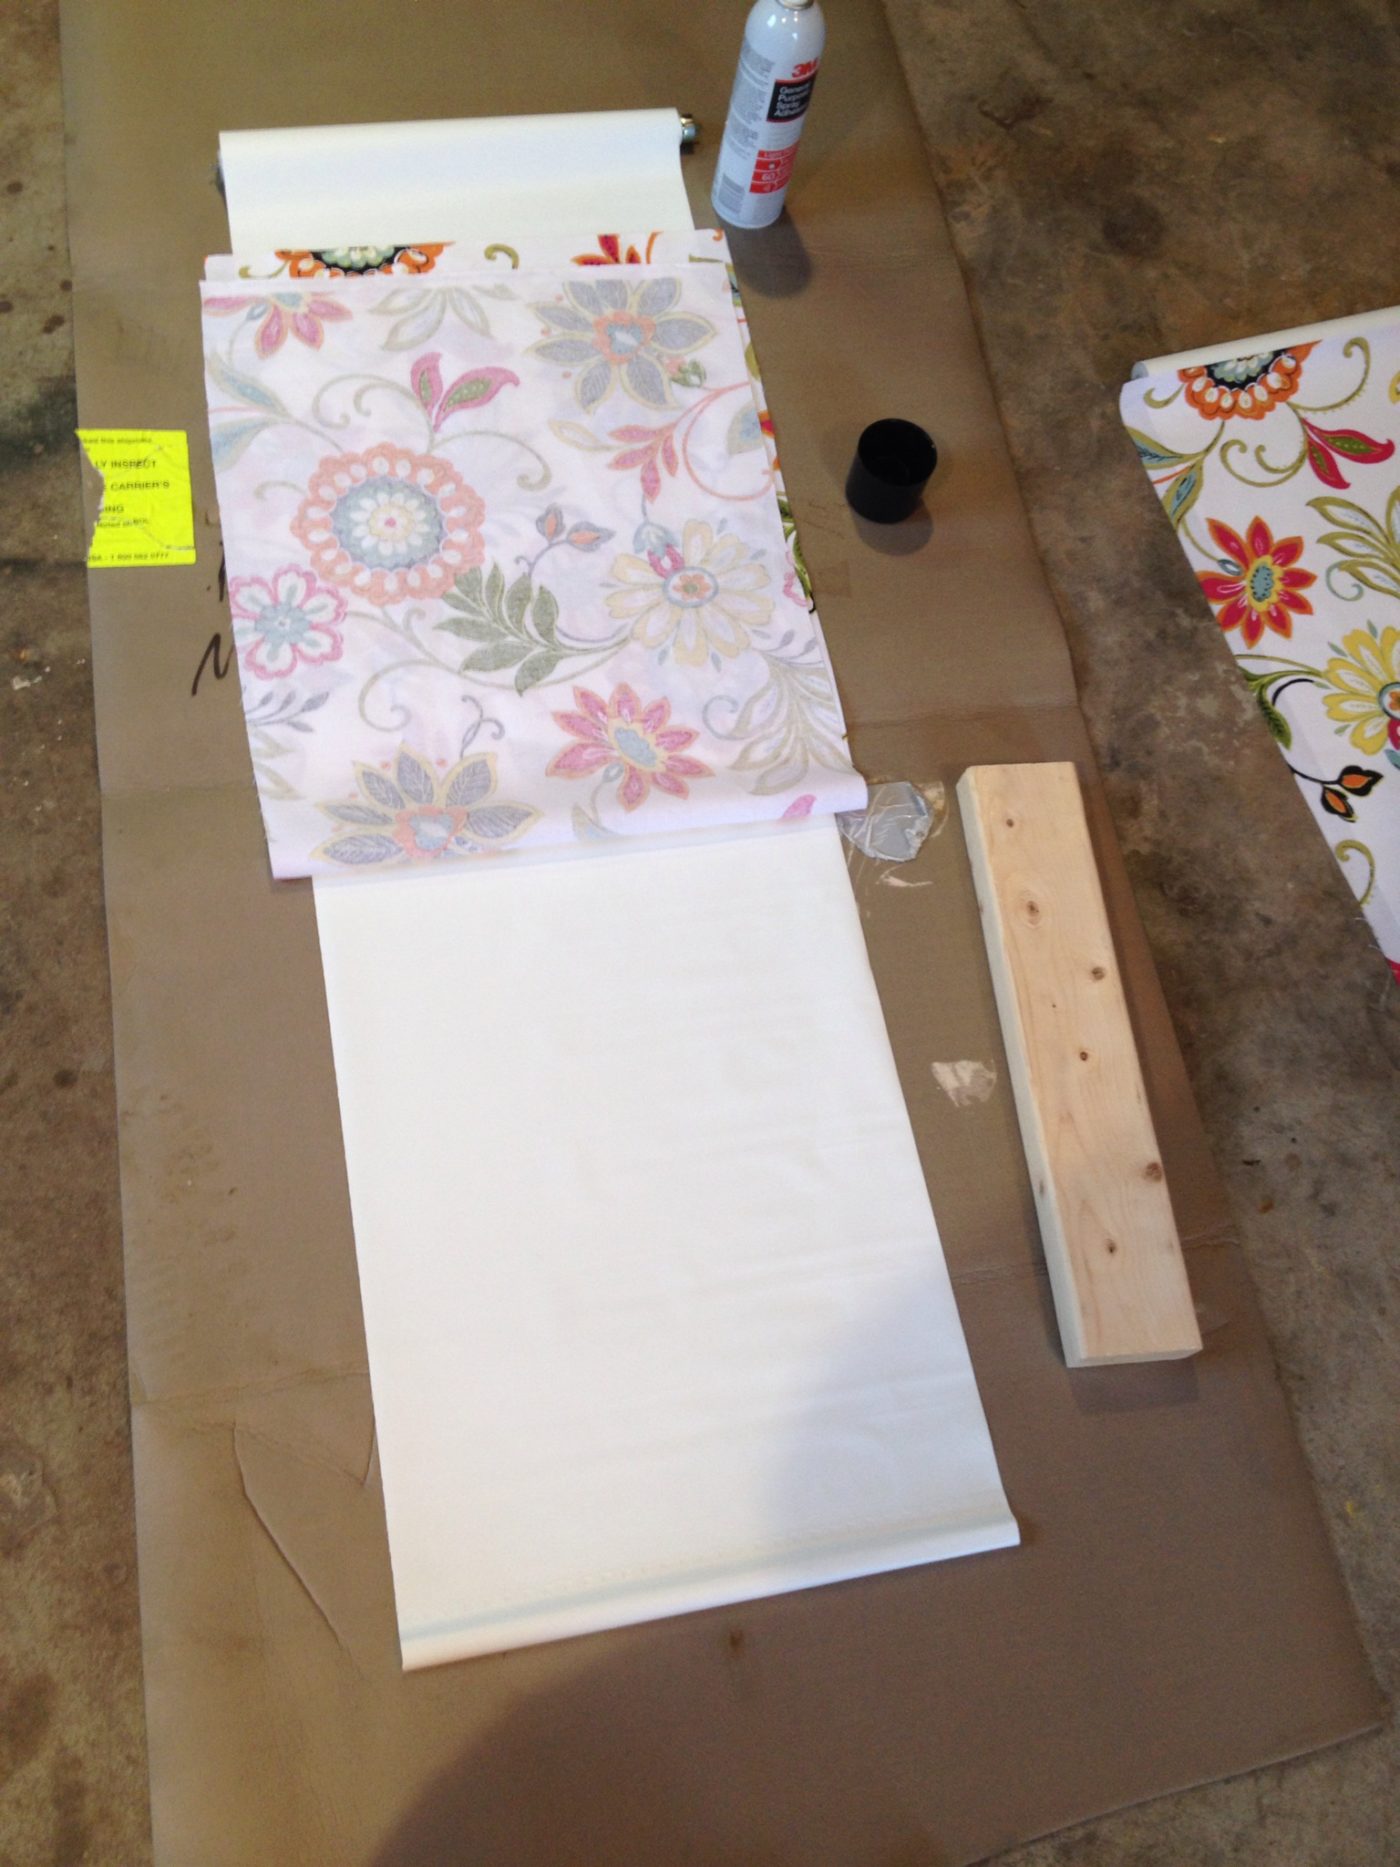
Friendly note: I didn’t tape my shade down and ended up having several wrinkles. I also used light duty spray adhesive and ended up having to reglue some of my fabric. Don’t make these mistakes! Tape down and get medium or better spray adhesive.
Do the same with the top half of the shade and let dry for a while. After about thirty minutes, test to make sure the fabric is sticking good to the vinyl. If not, peel what is loose and reglue. If it is sticking, move on to the next step.
Lay your shade out flat with fabric side down. Squeeze some fabric glue down the edges of fabric that are sticking off the sides and bottom and fold over making sure to keep the edge straight.


Let dry overnight. Once the glue is dry, roll the shades up tightly. Then anxiously wait all day until you get home from work to hang them 🙂

I won’t go I to detail on mounting the brackets. That’s pretty self explanatory. However, I will make some suggestions:
Measure ten times, hang brackets once. Your shades with be much thicker once you put fabric on, so don’t hang the brackets until you can see how thick your shades are.
Make sure the shades won’t rub the back of the window or frame and mount brackets so shades will be able to move freely. I would hold my shade up, hold the brackets up, nail part of it, check to make sure shade still fit, nail the other part, check again. Over and over…keep checking to make sure it’ll fit!
Make sure you mount the right bracket on the right side of the window frame. This will vary depending on which way you want your shade to roll…over or under. Like I said, hold your shade up to make sure you put your brackets on right.
Make sure the shades are level.
I think the shades come with instructions about this, but…hang your shade so that it is already rolled up. If you hang it pulled down, you won’t be able to get it to go back up. You’ll have to remove it from brackets, roll it up, then put back in.
I love the way these turned out! They are so easy and so cheap. I did this whole project for about $50 on a Sunday afternoon and Monday night.


If you try this, too, please let me know. I’d love I see how yours turn out! 🙂 Please share this link if you thought it was helpful or interesting or inspiring. I would really appreciate any help in getting my blog out there to people who don’t already know about it. Happy crafting!

Oh my goodness that fabric is just so cute – what a great job too!
Thank you so much!
I think I read this post in 2014 and thought it was awesome then, I just didn’t have a place to use them. I’ve been re-reading most all of your posts today, and this is STILL awesome. I have a bedroom that needs these now! Thanks for the great post.
Aww thank you 🙂 I didn’t know anyone actually read any of my posts back then hahaha. Thanks so much for following along. Readers like you make my day 🙂 I’d love to see your version when you get done!
I really enjoy reading your blog. You explain all of your projects so well! I LOVE your new shades! Keep your ideas coming!